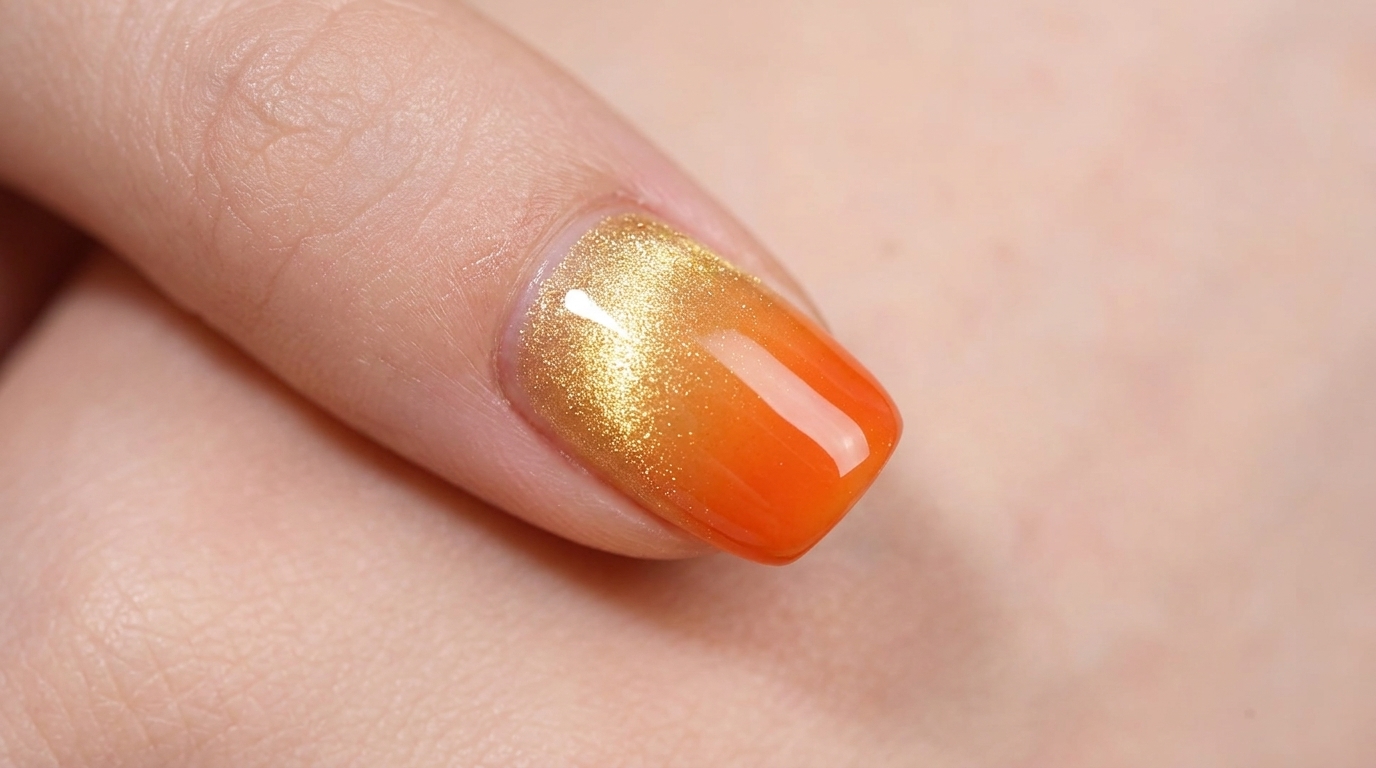
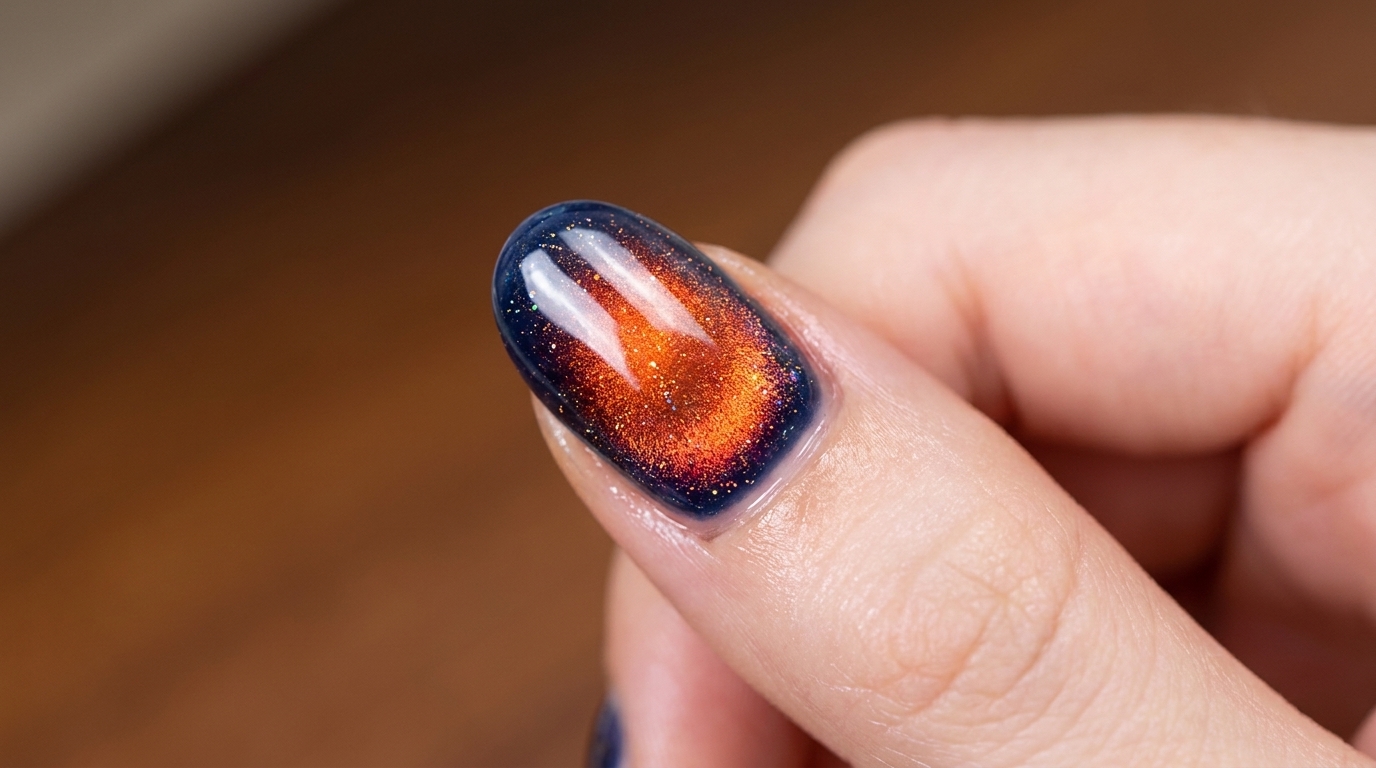
Sunset Orange Sea Magnetic Amber Nails — Step-by-Step Tutorial
Create a mesmerizing, textured water-wave effect with this Sunset Orange Sea magnetic amber nail tutorial. Perfect for a dimensional, high-shine manicure.
The sunset orange sea nail look combines the depth of magnetic cat-eye gel with the warm, rich tones of an amber series finish to create a stunning, multi-dimensional effect. By using both a rectangular magnet for a base beam and a ball-tipped magnet for intricate, rippling water-wave textures, you can achieve a salon-quality manicure at home. This tutorial guides you through layering colors and light effects to build this sophisticated, sunset-inspired design.

Steps
- 1Apply glass cat-eye gel
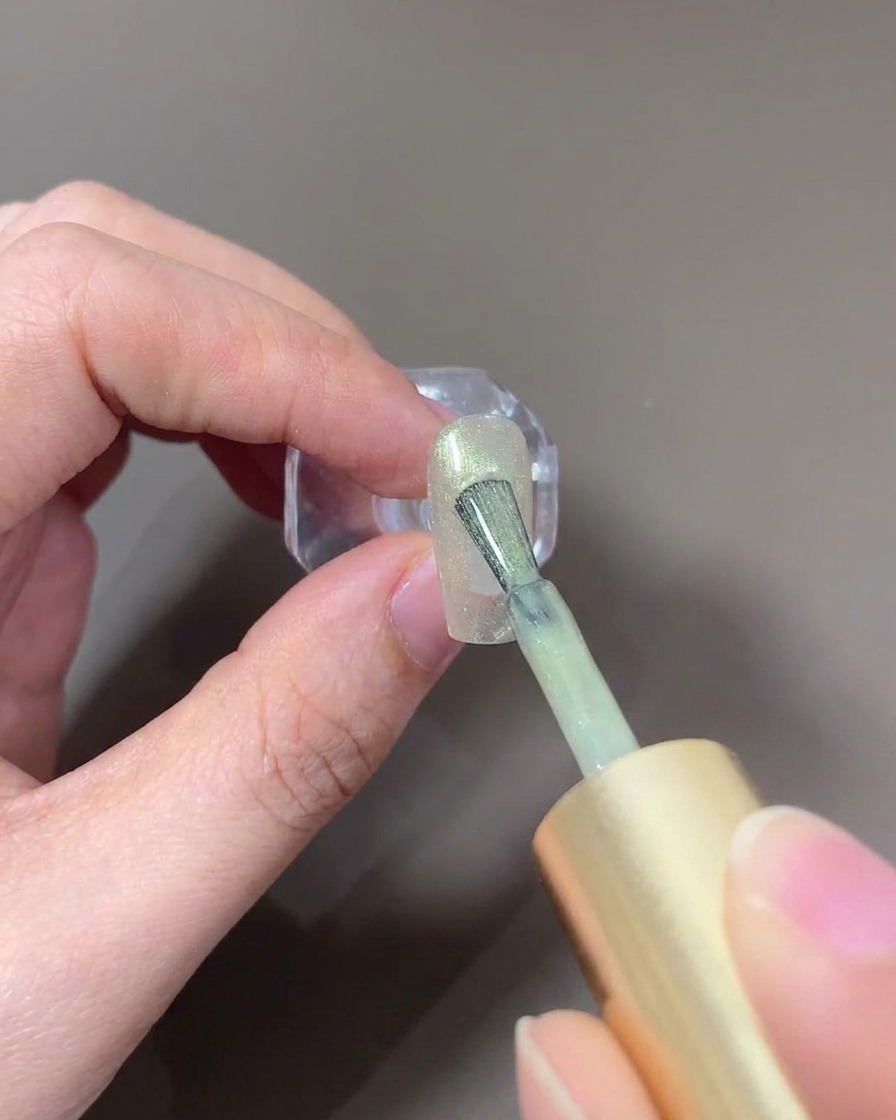
Apply an even, thin layer of the glass cat-eye gel across the entire nail surface. Ensure you cover the full nail, avoiding the skin, as this layer will serve as the base for the magnetic effect.
Tip: Keep the layer thin to ensure the magnetic particles can move freely and create a sharp, defined effect. - 2Create wide light beam
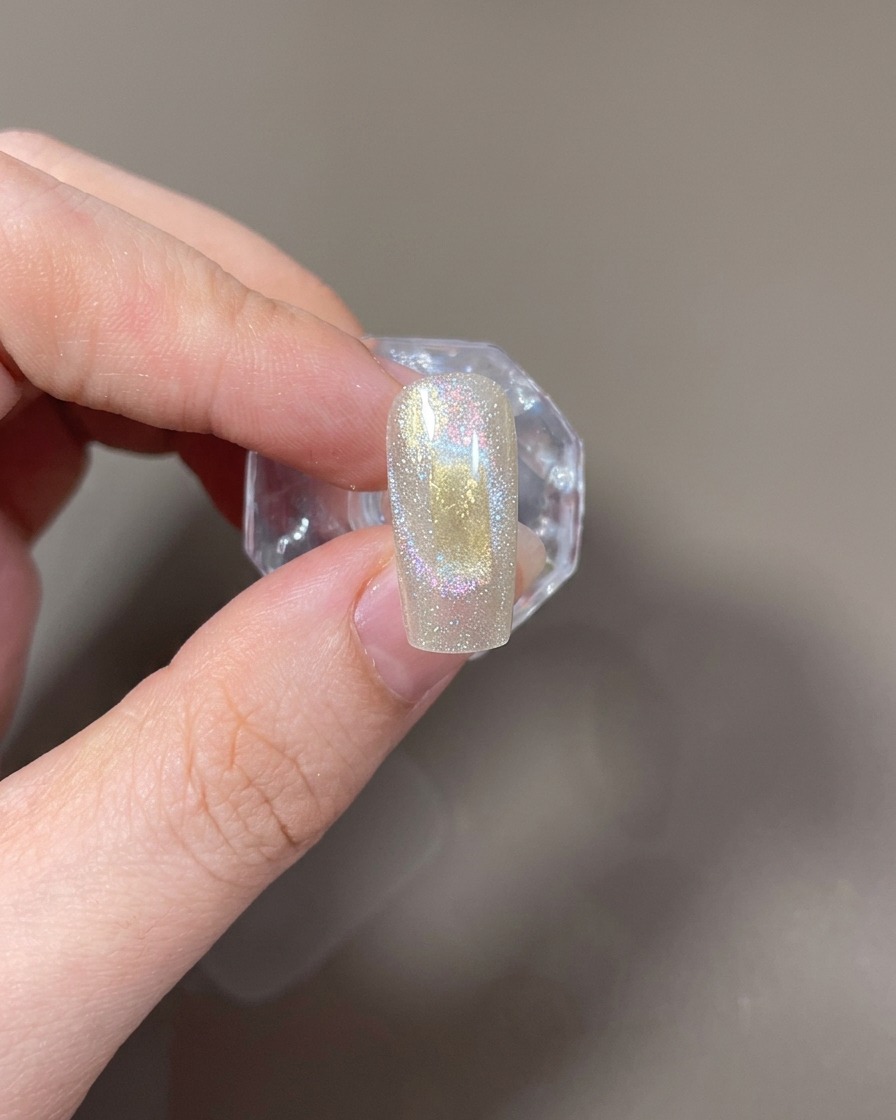
Hold the rectangular magnet horizontally on both sides of the nail. The magnetic force will pull the cat-eye particles toward the center, creating a wide, glowing light beam across the nail.
Tip: Hold the magnet steady for a few seconds to allow the particles to settle into the desired shape before curing. - 3Create water-wave effect
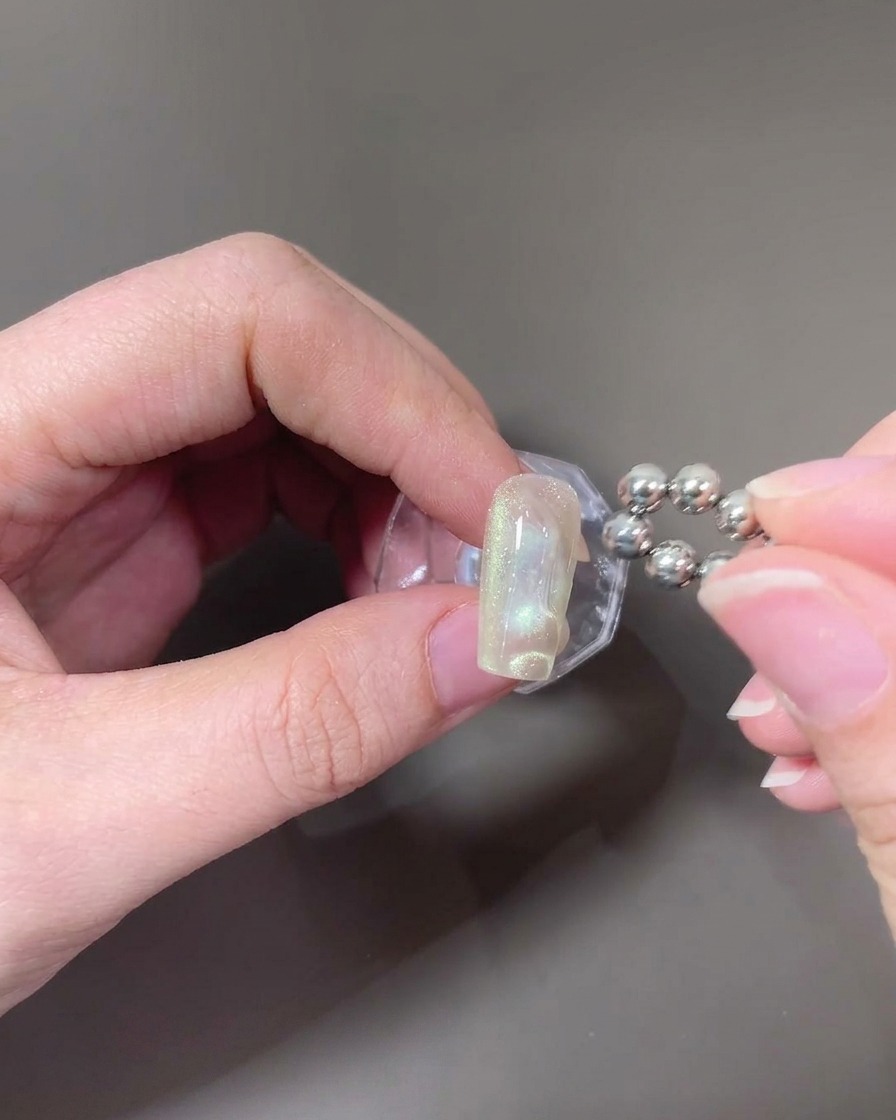
Gently hold the ball-tipped magnet near the surface of the wet gel. Move it slightly to push the magnetic particles into rippling, water-wave patterns.
Tip: Do not touch the wet gel with the magnet; keep it just close enough to influence the particles. - 4Cure the first layer
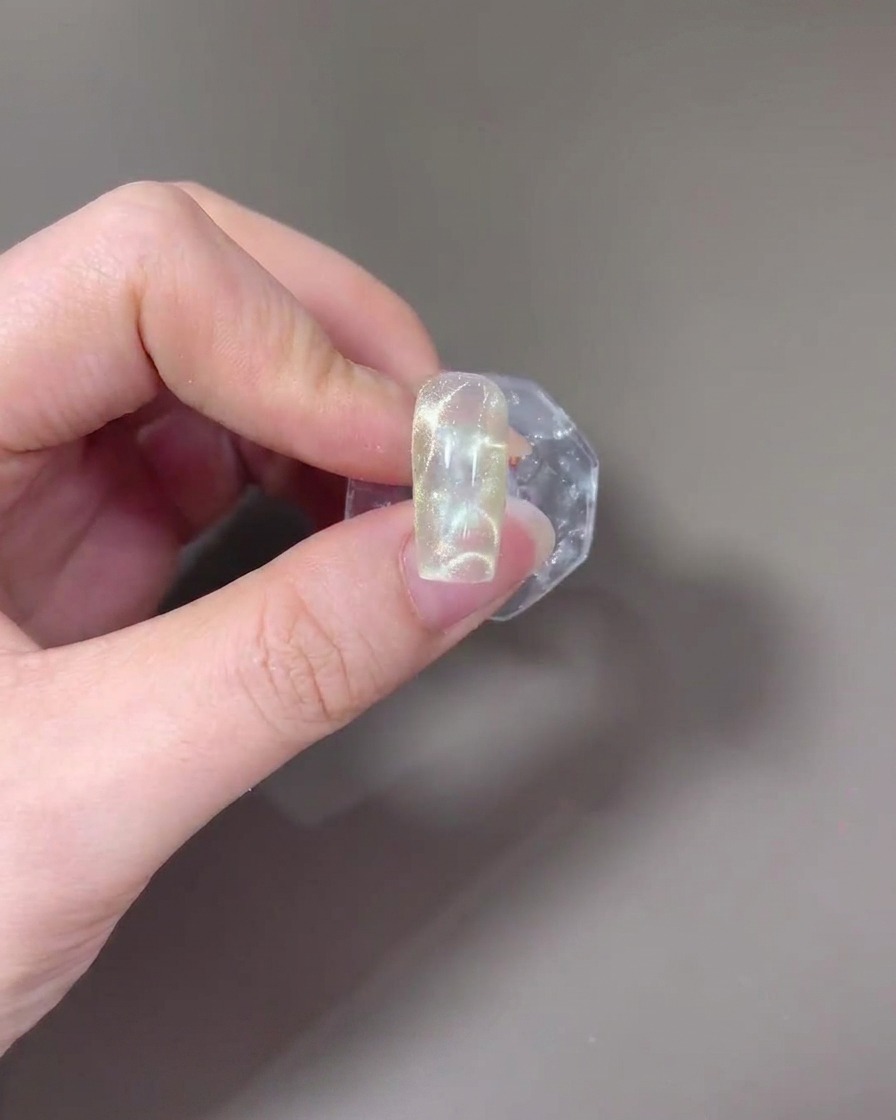
Place your nail under a UV or LED lamp to cure the first layer of cat-eye gel. Follow the manufacturers recommended time to ensure the magnetic design is locked in place.
Tip: Make sure your finger is positioned directly under the light for an even cure. - 5Apply second layer
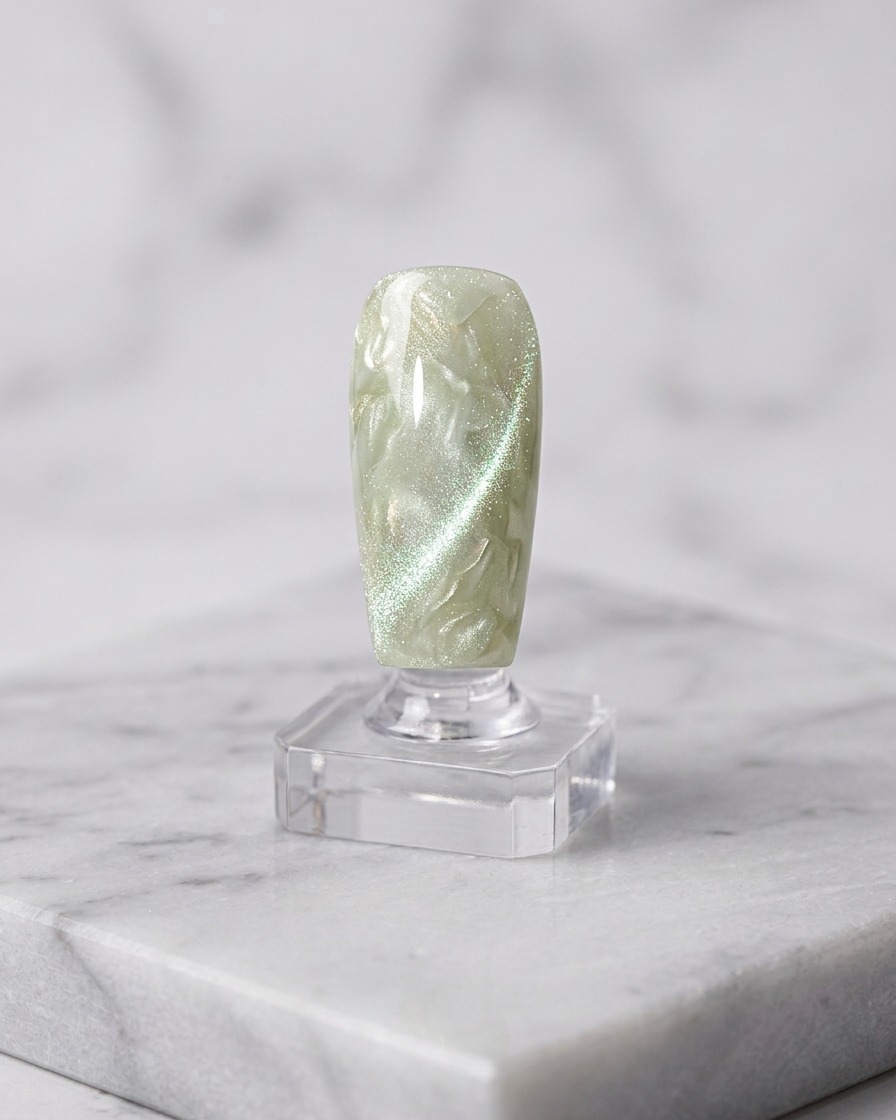
After the first layer is fully cured, apply a second layer of the same light glass cat-eye gel over the nail. This builds depth for the final effect.
Tip: Apply this layer just as thin as the first to maintain the clarity of the magnetic particles. - 6Refine the light beam
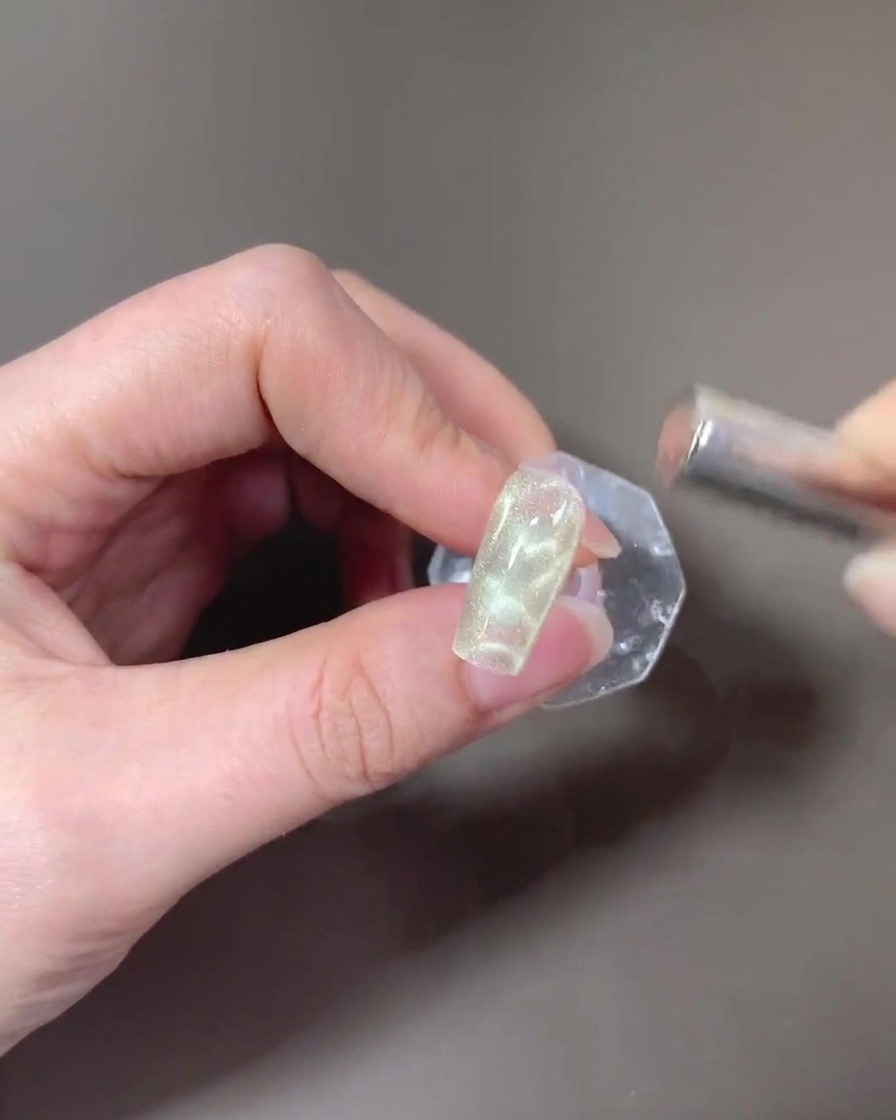
Repeat the magnetic process by using the rectangular magnet to pull the particles into a clean, wide light beam again, ensuring a consistent look with the second layer.
Tip: Take your time to align the light perfectly before moving on to the final curing or detail steps. - 7Create second layer of water waves
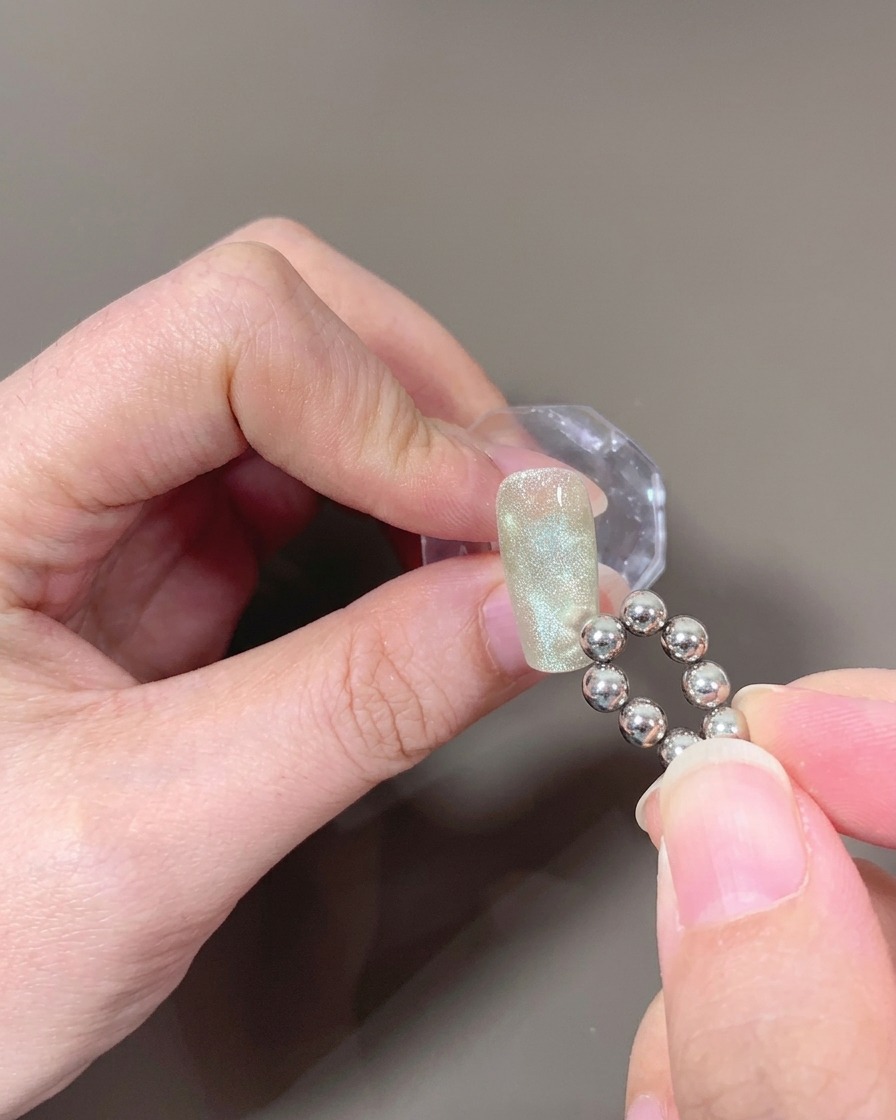
Using the ball-tipped magnet, move it over the surface of the uncured cat-eye gel to push the magnetic particles into a second, deeper layer of water-wave textures. This step adds dimension and complexity to the sunset orange design.
Tip: Move the magnet slowly to get better definition in the wave pattern. - 8Cure the second layer
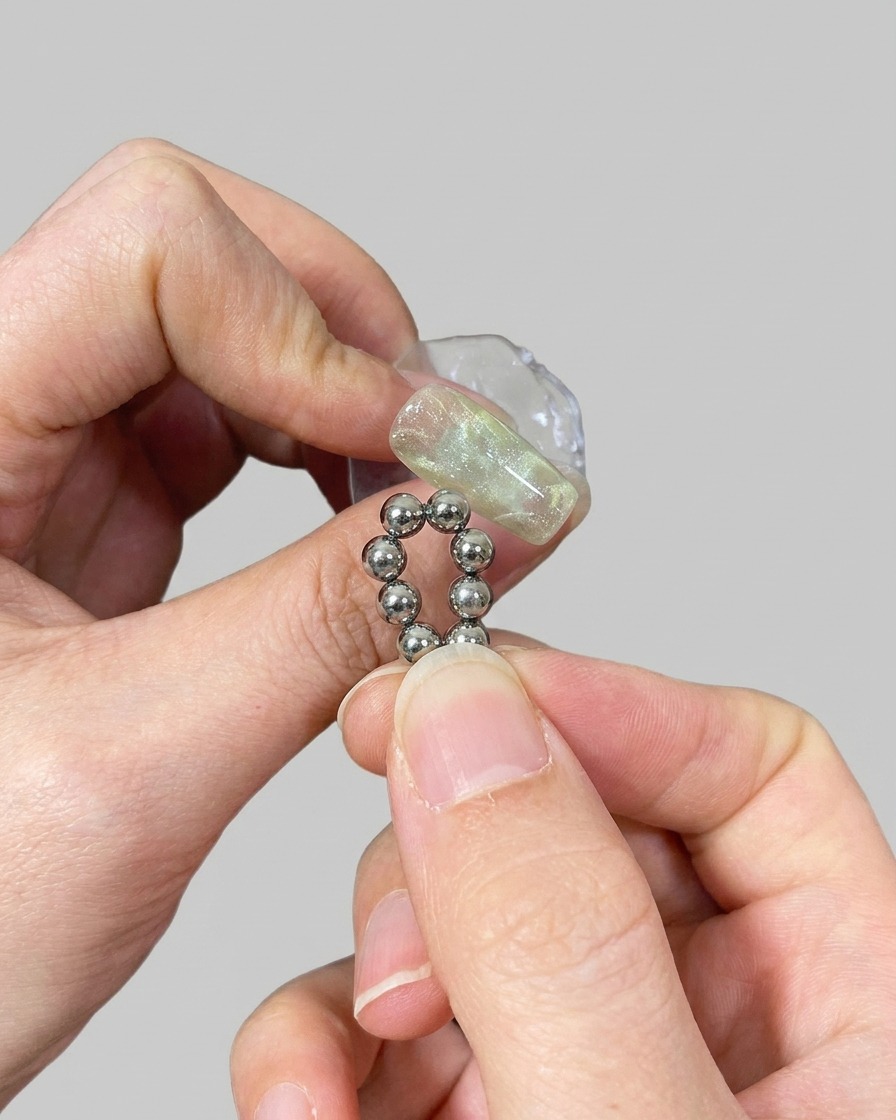
Place the nail under the UV or LED lamp to cure the second layer of cat-eye gel. Ensure the nail is properly positioned to allow for a full and even cure of the magnetic design.
Tip: Keep your hand steady in the lamp to prevent shifting the gel before it sets. - 9Apply amber translucent gel
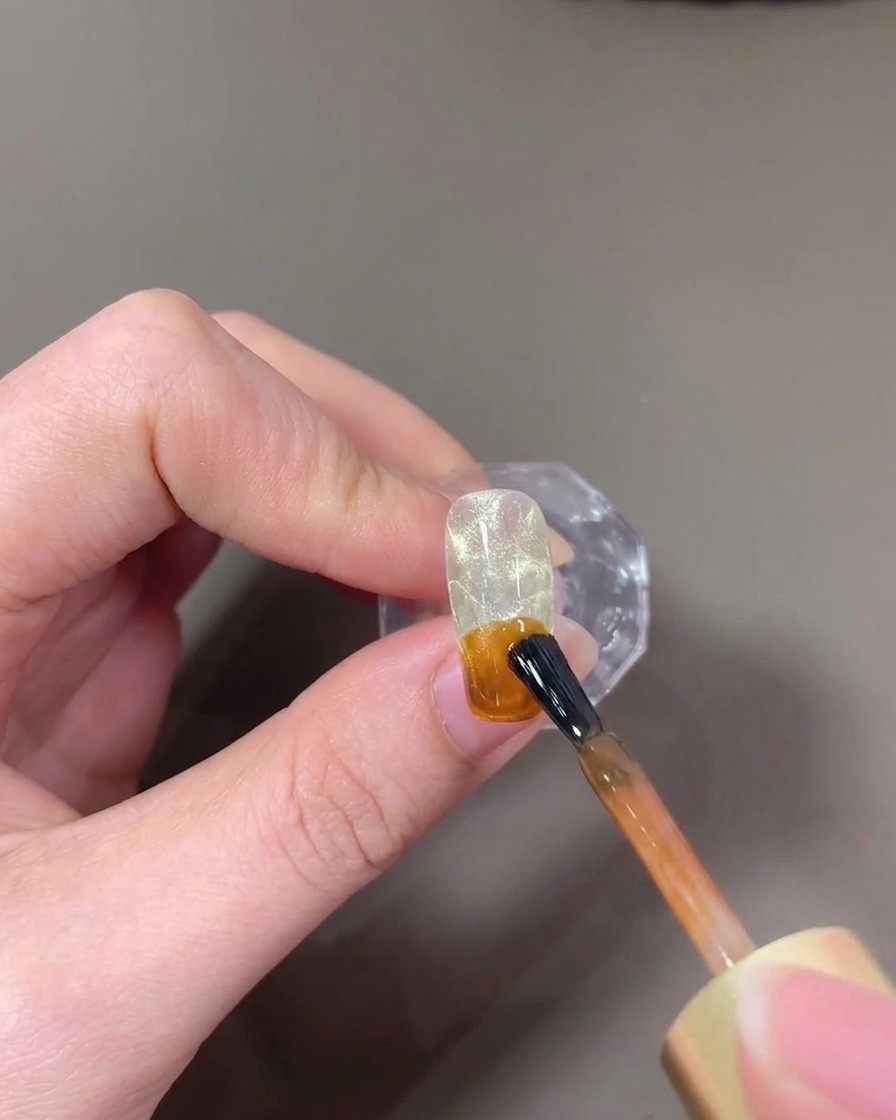
Using the brush, apply a small amount of the amber-colored translucent gel to the bottom half of the nail tip. This layer adds warmth to the color profile of the manicure.
Tip: Use a light hand when applying to maintain the translucency of the gel. - 10Blend for gradient effect
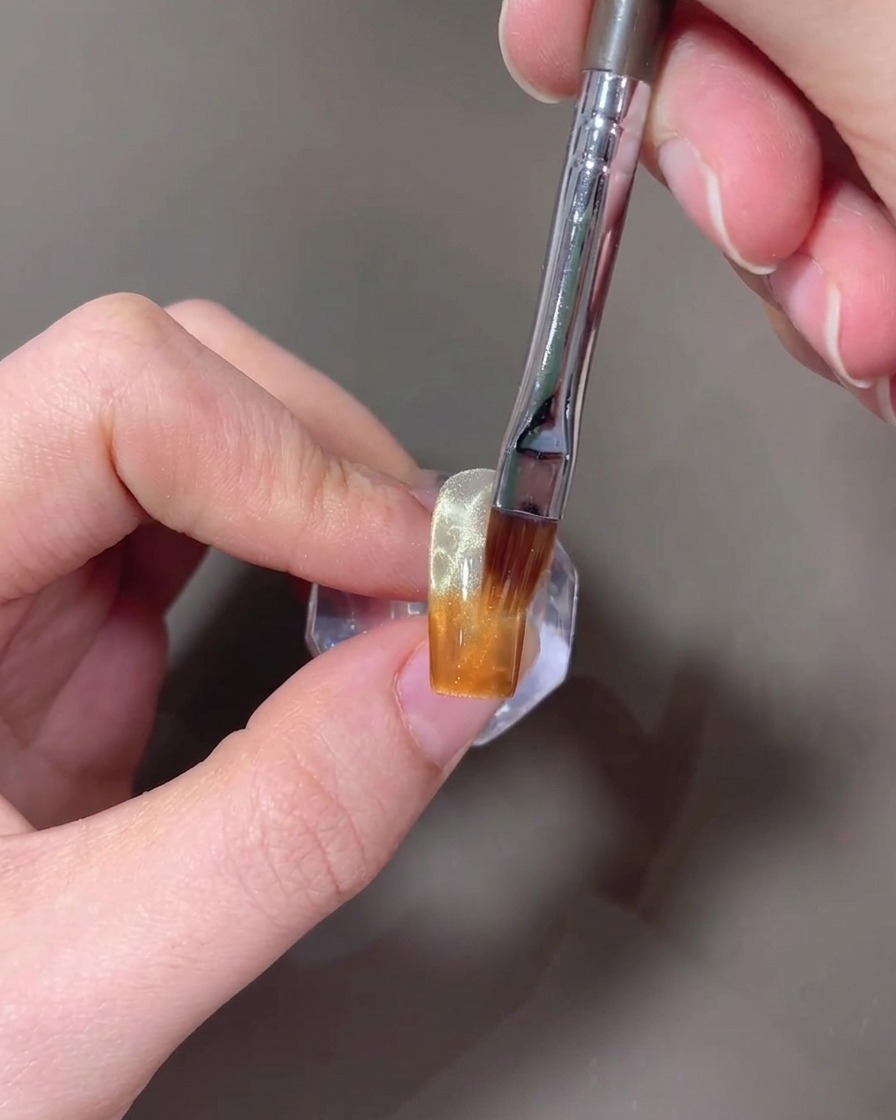
Take a clean brush and gently sweep upwards from the tip to blend the amber gel into the cat-eye base. Focus on creating a soft, seamless transition for a gradient look.
Tip: Clean your brush on a lint-free wipe periodically to keep the blending smooth and prevent streaks. - 11Apply top coat
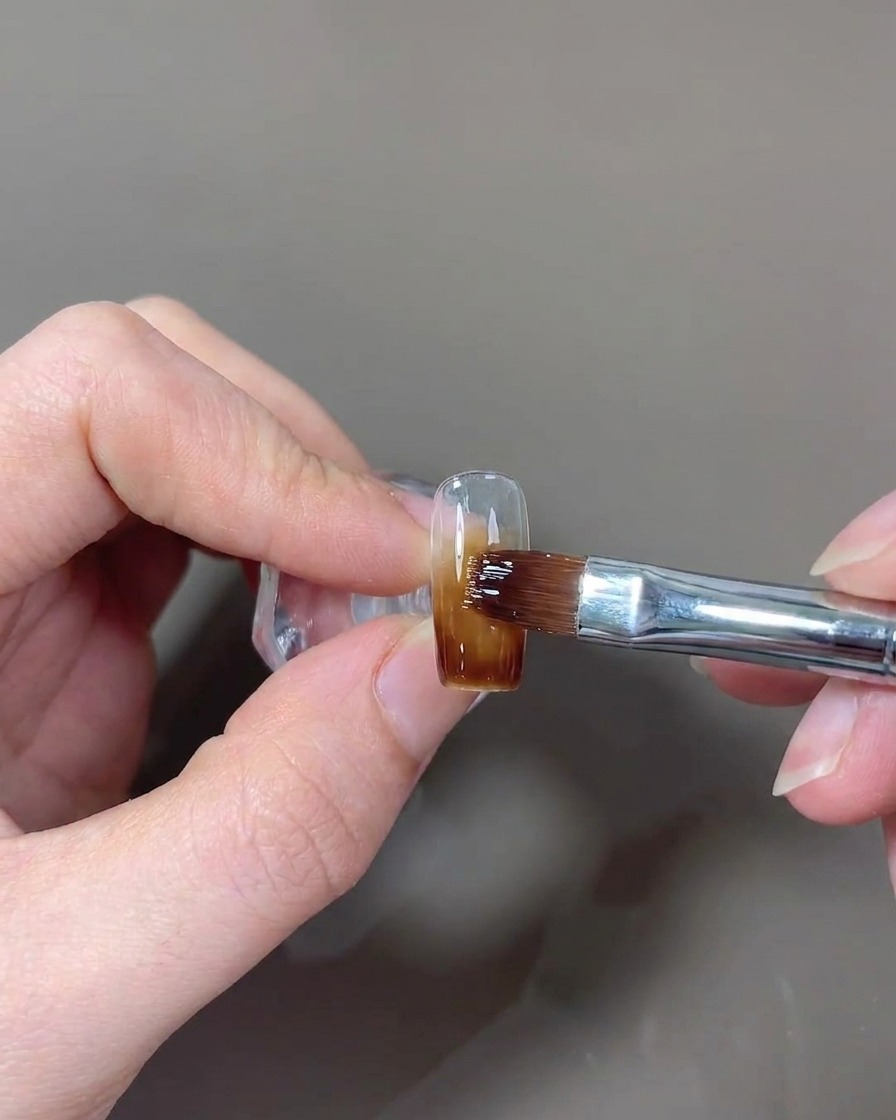
Apply a final layer of glossy top coat over the entire nail to seal the design and provide a high-shine finish. Ensure you cap the free edge for better durability.
Tip: A smooth application of top coat will enhance the depth of the cat-eye effect. - 12Final cure
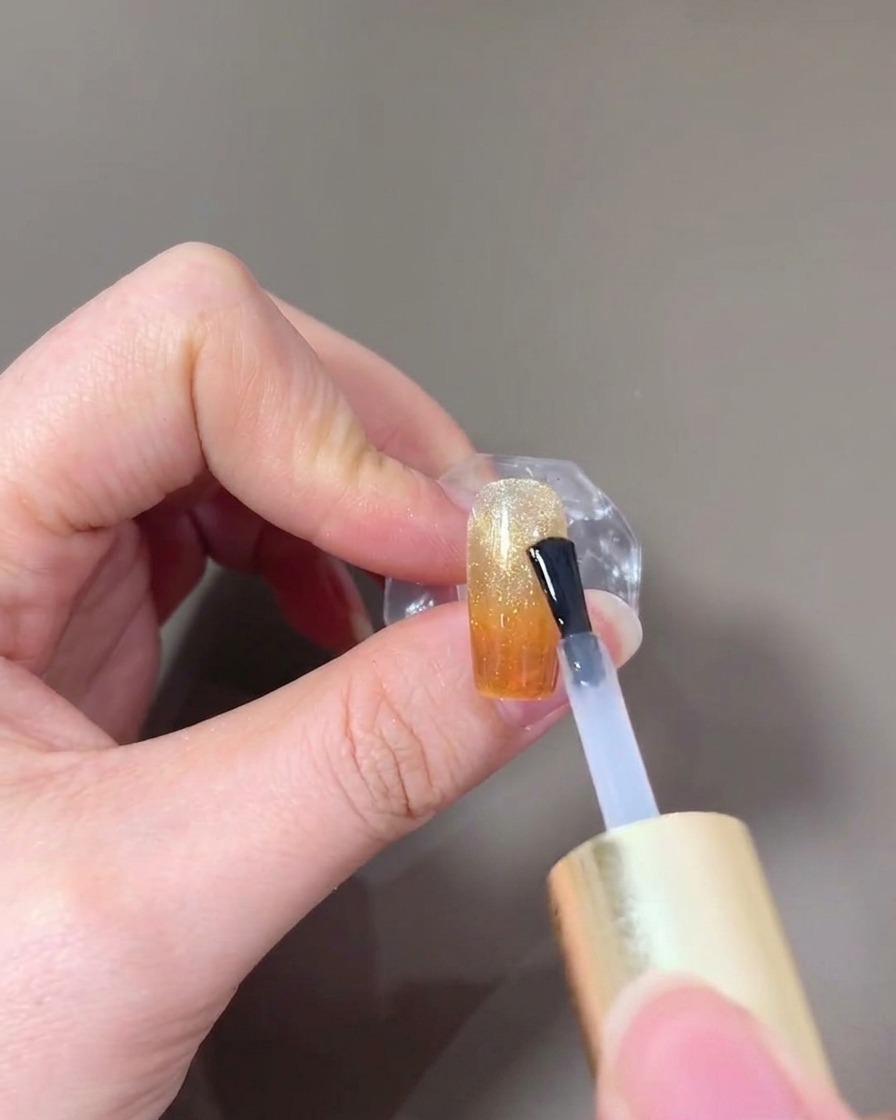
Perform the final cure under the UV or LED lamp to fully set the top coat and complete the sunset orange sea nail art.
Tip: Ensure the full recommended curing time is met for a long-lasting, glossy finish.