Sunset Orange Cat-Eye Gradient Nails — Step-by-Step Tutorial
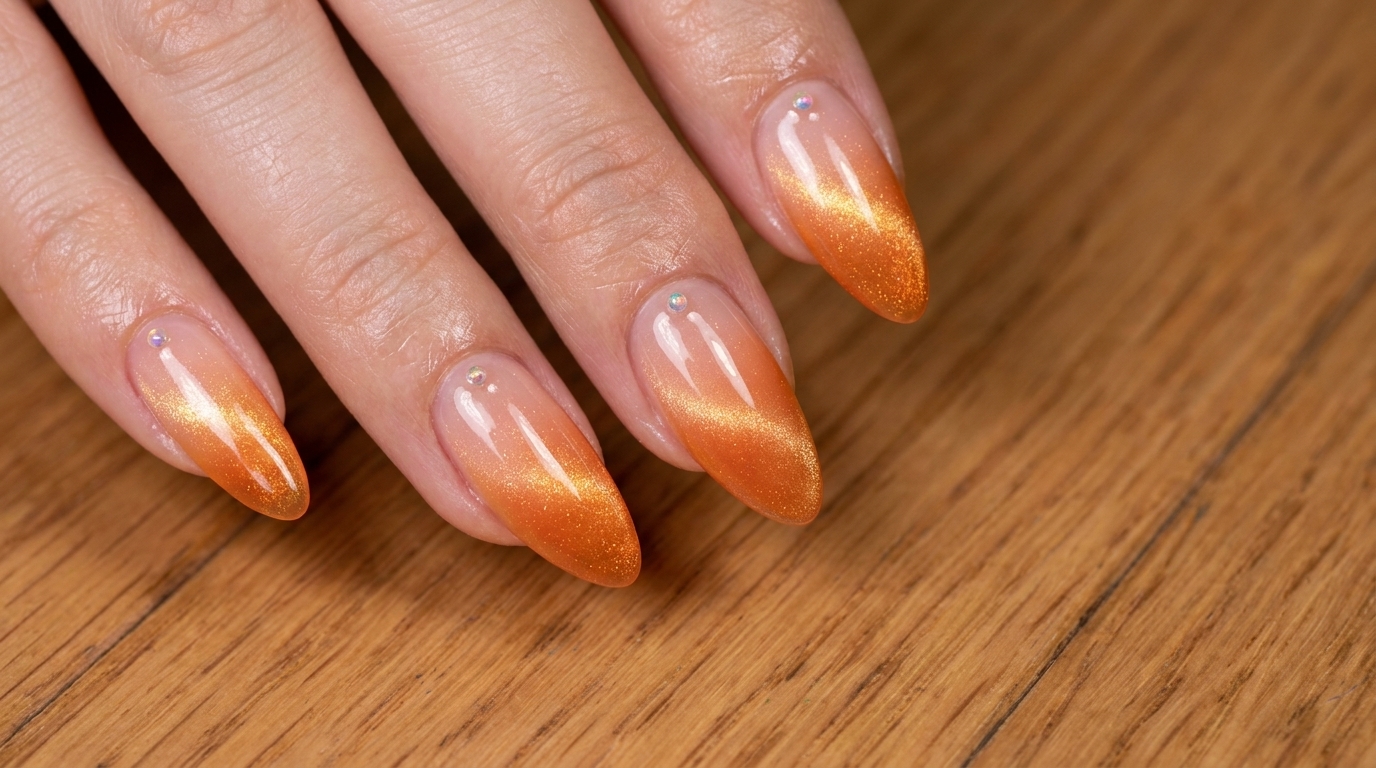
Master the perfect fusion of magnetic shimmer and vibrant color with this stunning sunset orange cat-eye gradient nail tutorial.
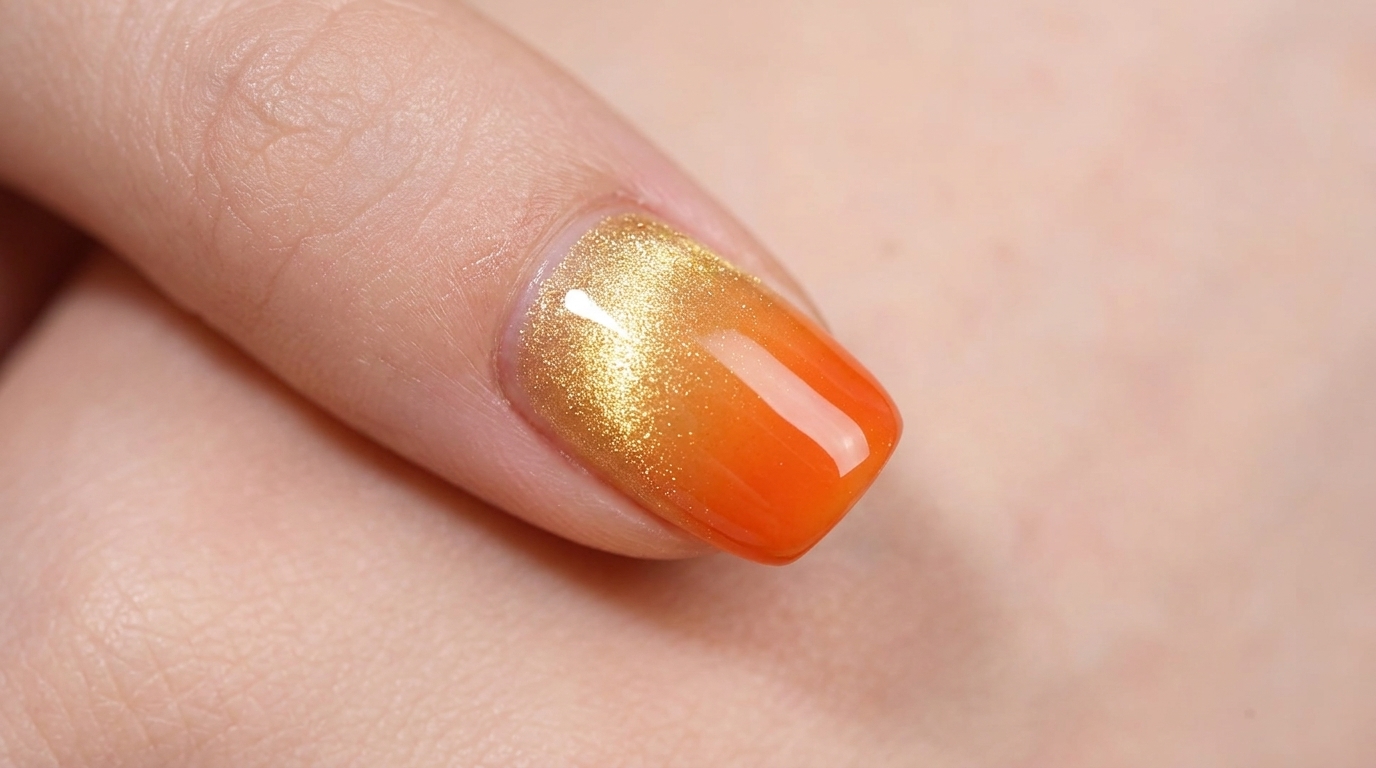
This look perfectly captures the warmth of a summer sunset by combining the depth of explosive gold cat-eye gel with a vibrant, hand-blended orange gradient. By utilizing different magnetic techniques, you can achieve a sophisticated, dimensional finish that truly stands out. It is an excellent way to elevate your everyday manicure with a touch of radiant, professional-looking art.
Steps
- 1Apply gold cat-eye base
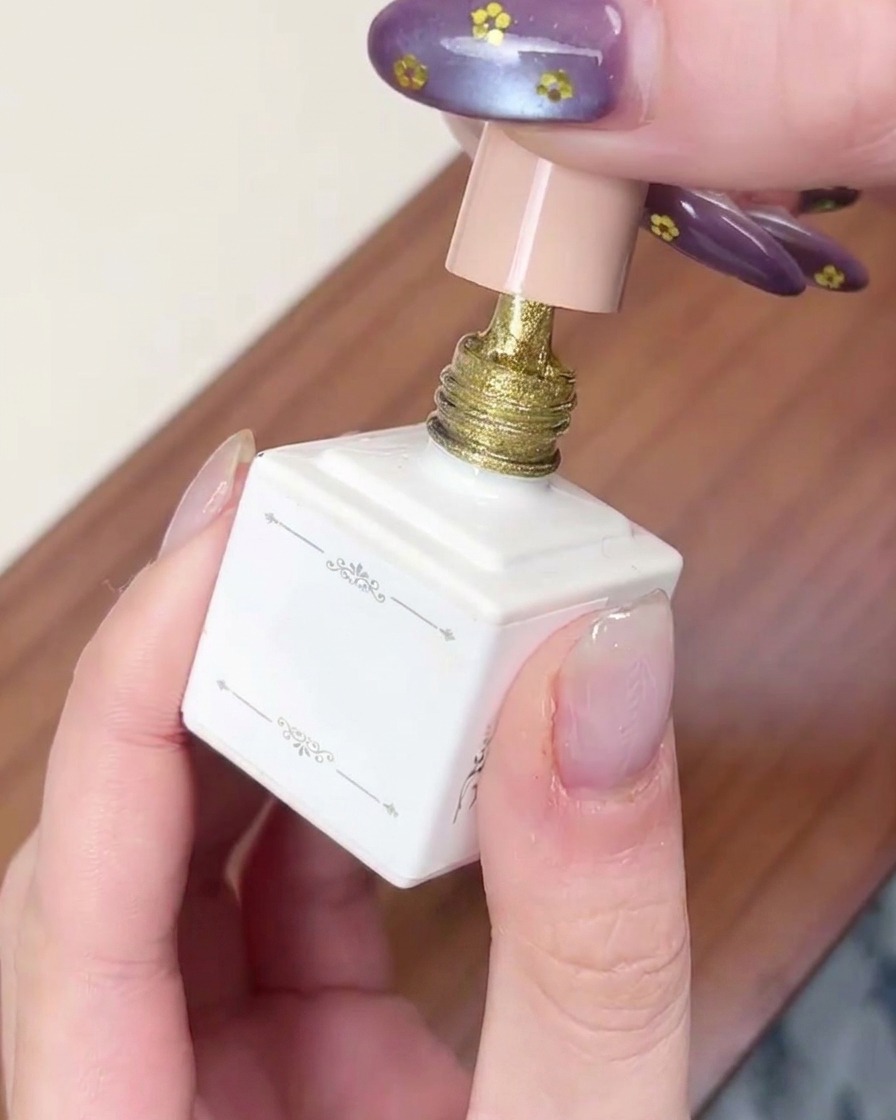
Apply an even, thin layer of explosive gold cat-eye gel polish to the prepped nail plate. Ensure you cap the free edge for better wear, and avoid touching the surrounding skin to prevent lifting. Do not cure yet, as we will be using the magnet to create the effect.
Tip: Applying a consistent base layer ensures the magnetic particles can move freely and create a uniform cat-eye look. - 2Create side cat-eye effect
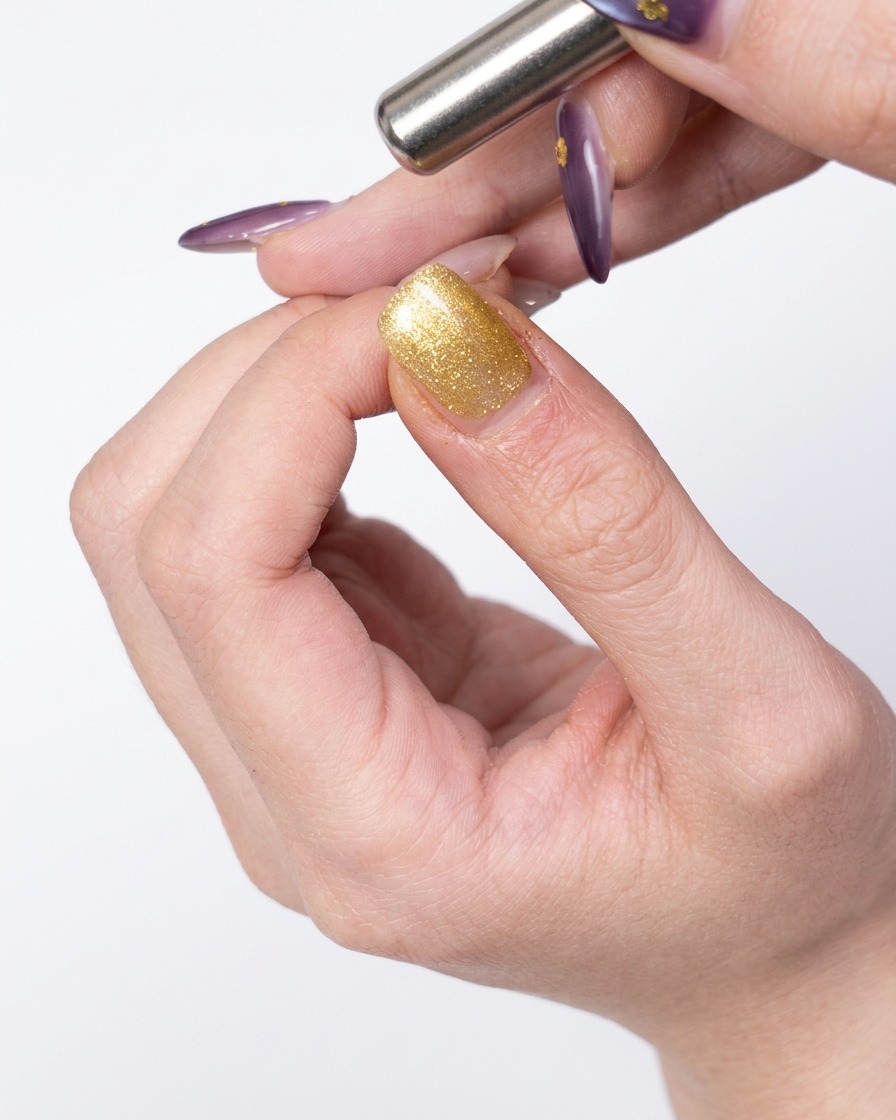
Position your magnet near the side of the nail and pull it from the top down toward the base, moving the magnetic particles to one side of the nail plate. This movement creates the signature cat-eye streak across the surface.
Tip: Keep the magnet steady and close to the nail, but be careful not to touch the wet gel surface with the magnet. - 3Create wide cat-eye effect
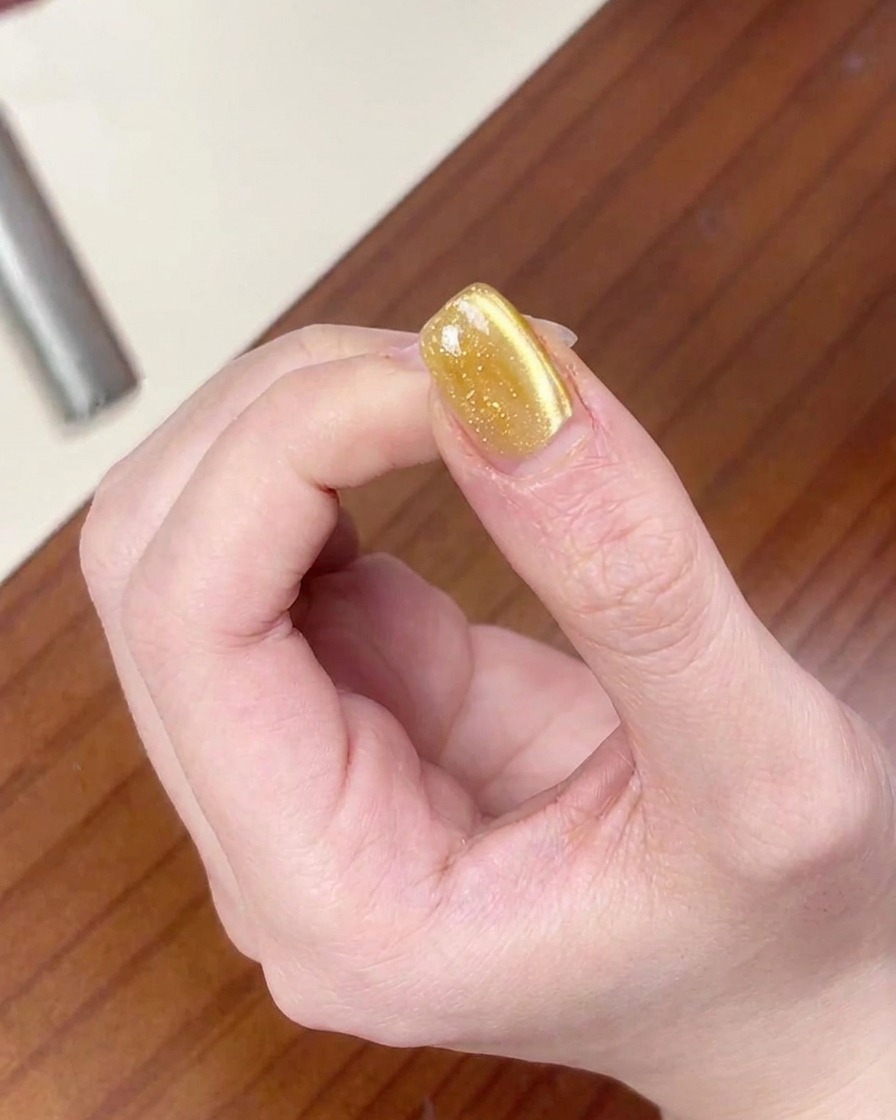
Move the magnet to the opposite side of the nail and near the fingertip. Gently pull the magnetic particles to broaden the cat-eye streak, creating a wider, more diffused shimmer effect across the nail.
Tip: Slow, controlled movements with the magnet will allow you to manipulate the particles for a more dramatic wide effect. - 4Create glass bead effect
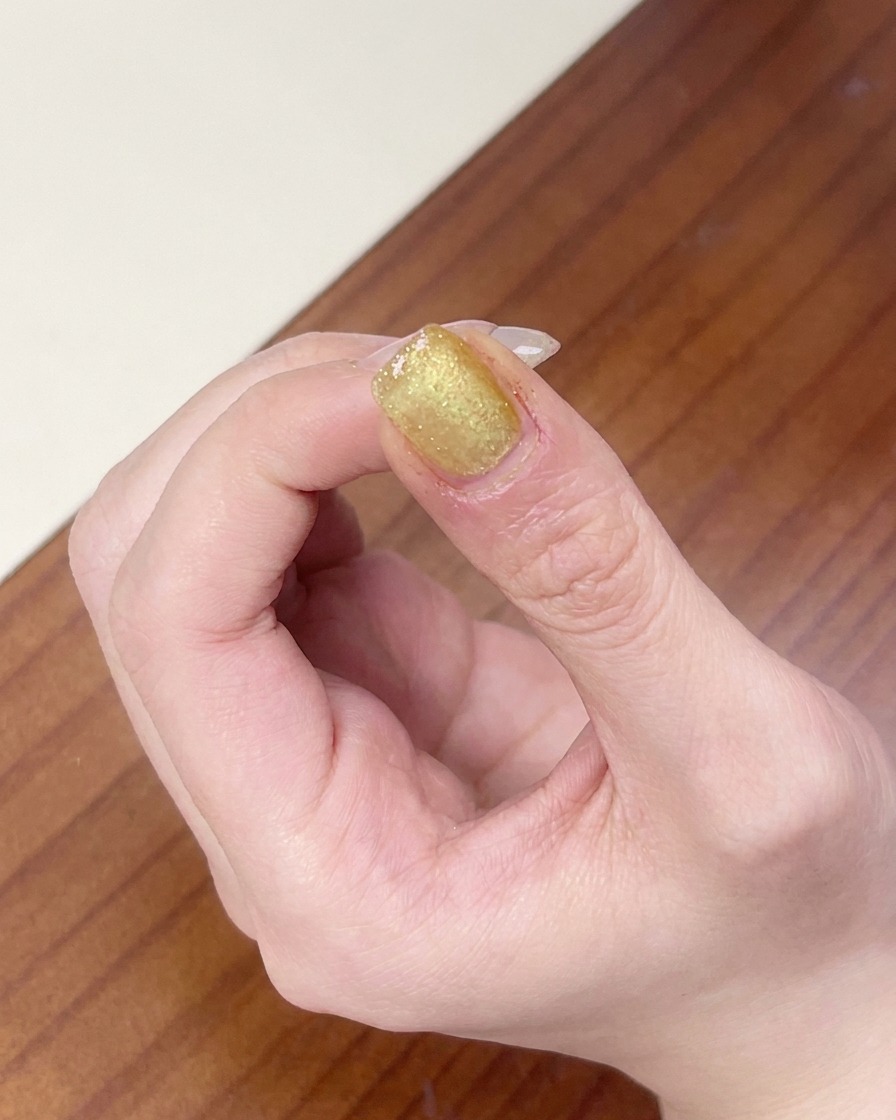
Take your magnet and slowly swirl it in a circular motion around the fingertip. This action shifts the magnetic particles into a concentrated, round shape that resembles a glass bead sitting in the center of the nail.
Tip: Circular motion helps concentrate the sparkle for a high-impact, dimensional look. - 5Cure the base layer
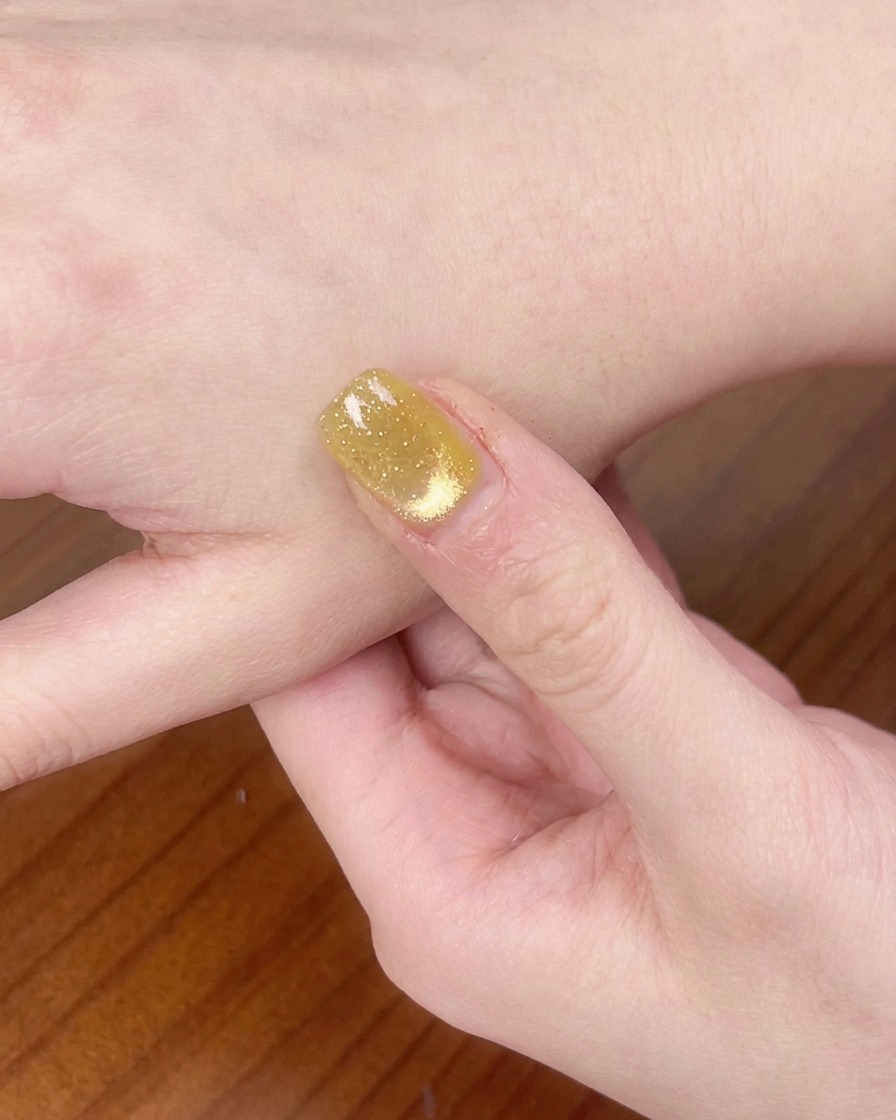
Place your hand into the UV or LED lamp to cure the gold cat-eye gel. Follow the specific timing recommended by the gel polish manufacturer to ensure the product is fully set and the magnetic effect is locked in place.
Tip: Curing locks the magnetic particles in their desired position, preventing them from shifting before the top coat. - 6Add orange color detail
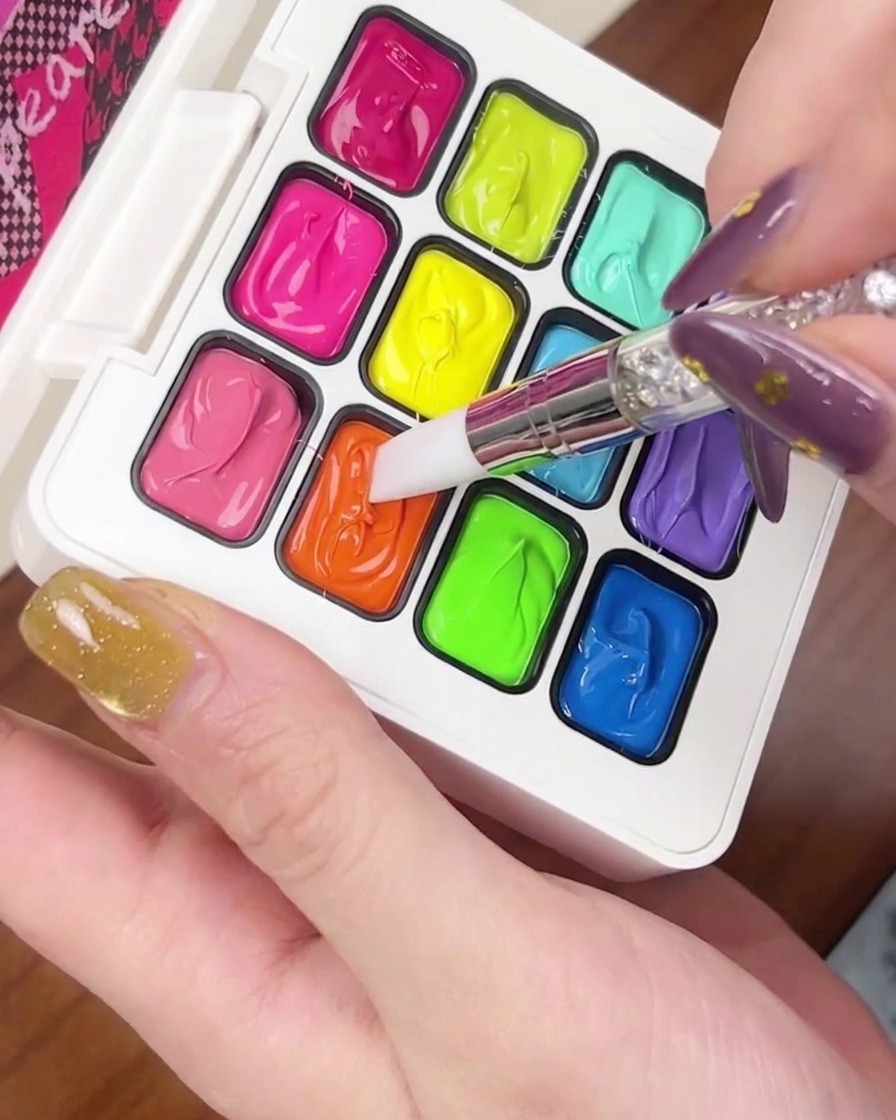
Using a small brush or dotting tool, place a small amount of orange gel polish on the tip of the nail. You will use a sponge next to blend this into a gradient, so focus on placement near the free edge.
Tip: Applying a small amount of color at a time makes it easier to blend a seamless gradient. - 7Create an orange ombre gradient
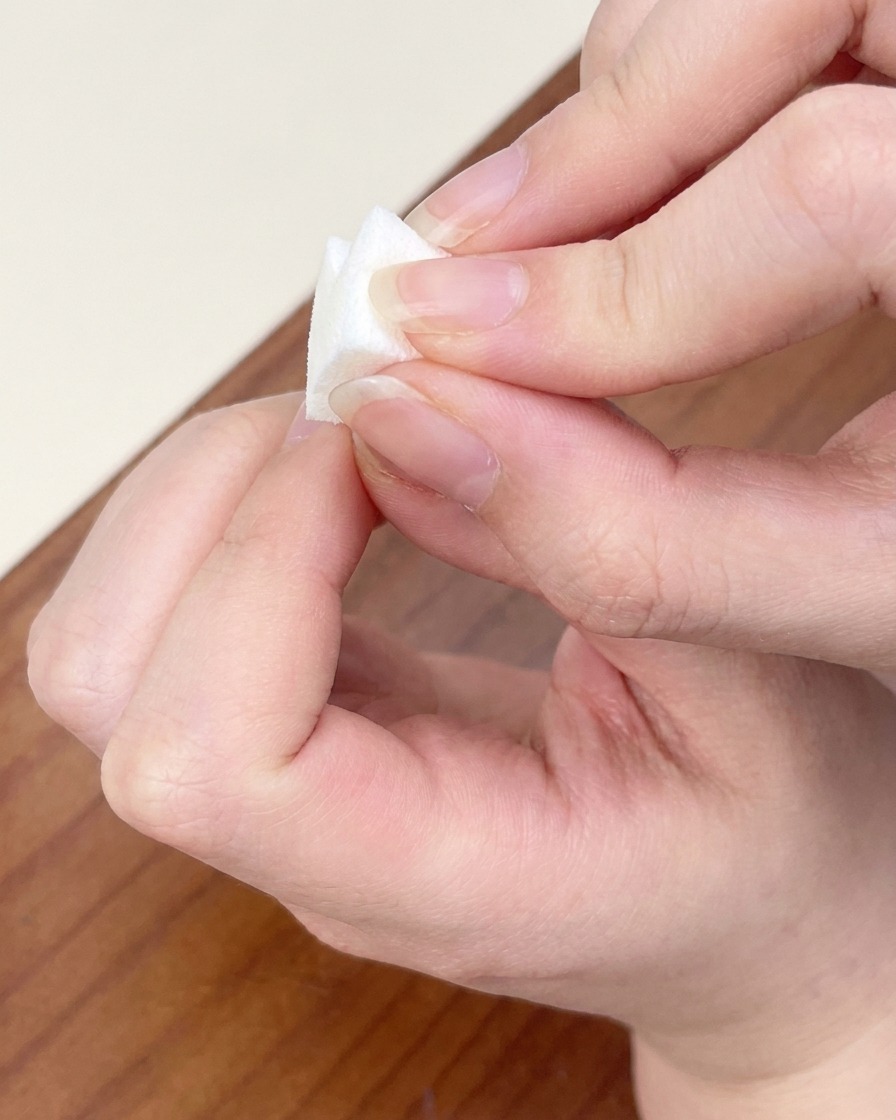
Apply a small amount of orange gel polish to the tip of a clean makeup sponge. Gently dab the sponge onto the nail surface, blending the color into the existing base to create a smooth, seamless gradient effect. Ensure the color transition is soft and even across the nail.
Tip: Use a light tapping motion with the sponge to avoid creating texture or dragging the underlying gel layer. - 8Cure the gradient
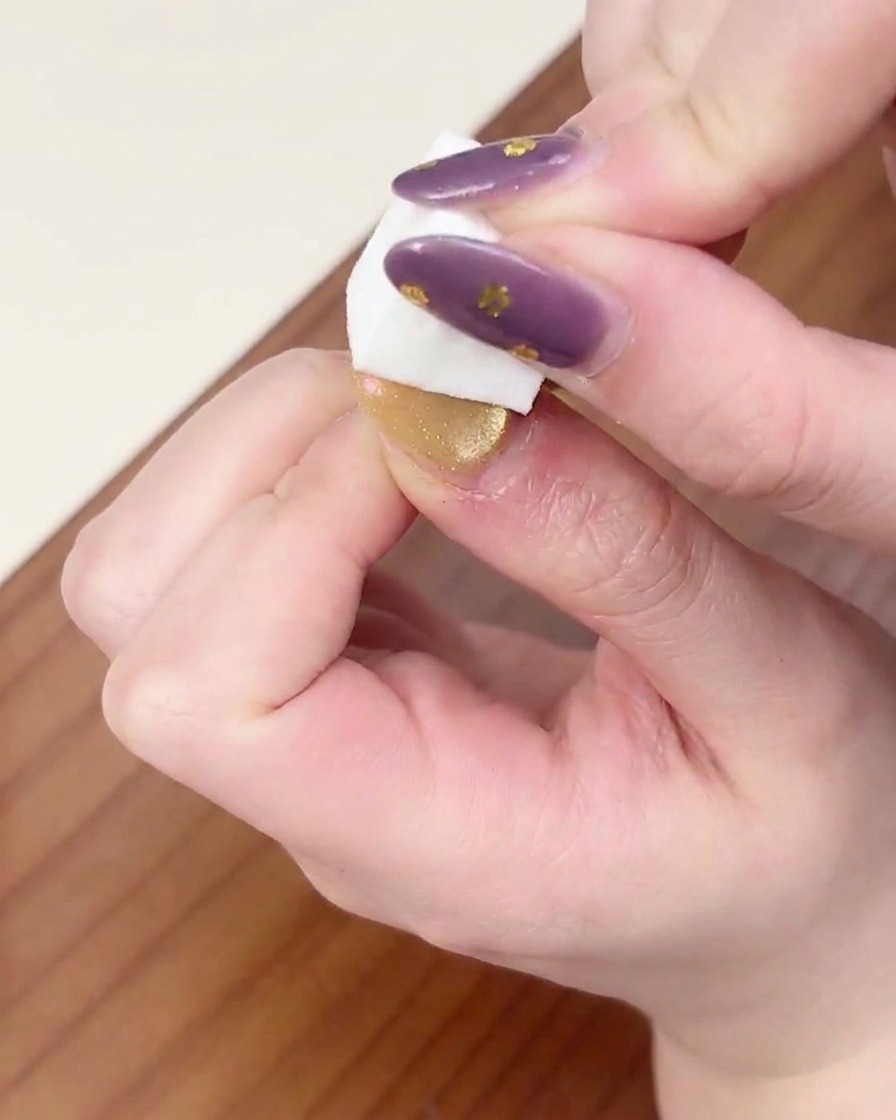
Place your nails under the UV/LED lamp and cure the orange gradient layer thoroughly. Follow the recommended cure time for your specific gel polish brand to ensure the product is fully set.
Tip: Keep your fingers flat and centered under the lamp to ensure even light distribution and complete curing. - 9Apply high-gloss top coat
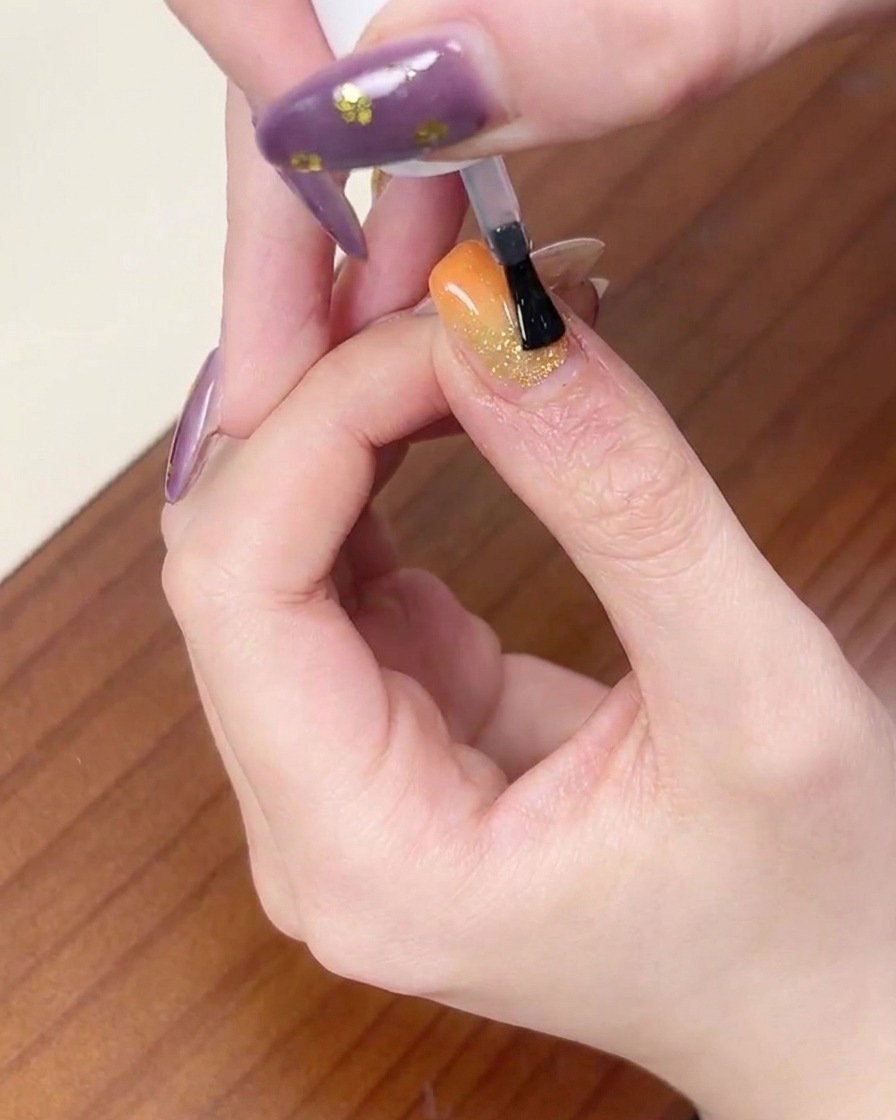
Apply a final, thin layer of clear, high-gloss top coat over the entire nail to seal the design and add shine. Ensure you cap the free edge to protect your manicure from chipping.
Tip: Apply the top coat smoothly to avoid bubbles and ensure a glass-like finish.