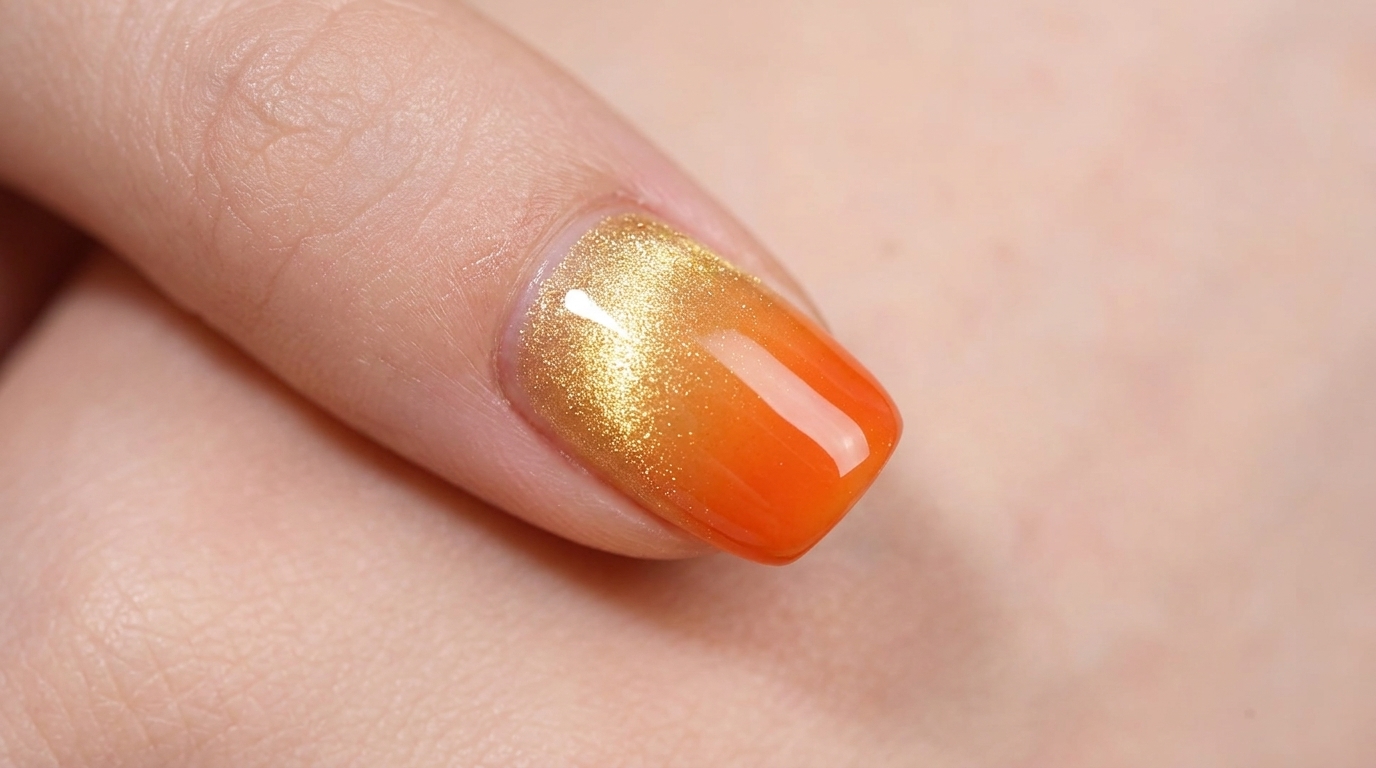
Sunset Gradient Cat Eye Nails — Artistic Gradient Tutorial
Master this stunning sunset-inspired gradient look featuring a shimmering cat-eye effect and delicate cuticle bead details with our easy-to-follow guide.
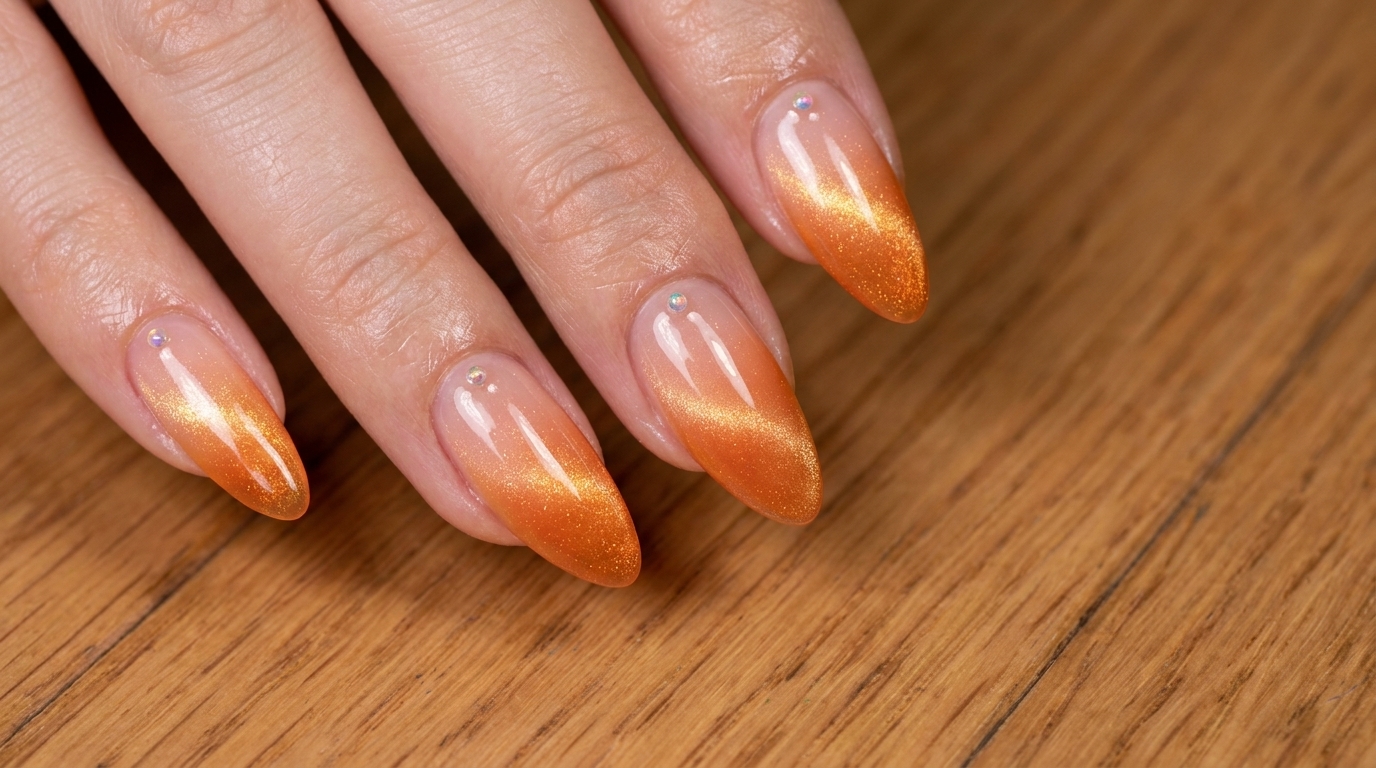
This sunset gradient style captures the perfect transition of warm tones, elevated by the depth of a cat-eye shimmer. It is a sophisticated design that looks incredibly complex but is achievable through simple layering and magnetic manipulation. Perfect for those looking to add a touch of professional artistry to their routine, this look brings out a unique charm that truly stands out.
Steps
- 1Apply nude gel base
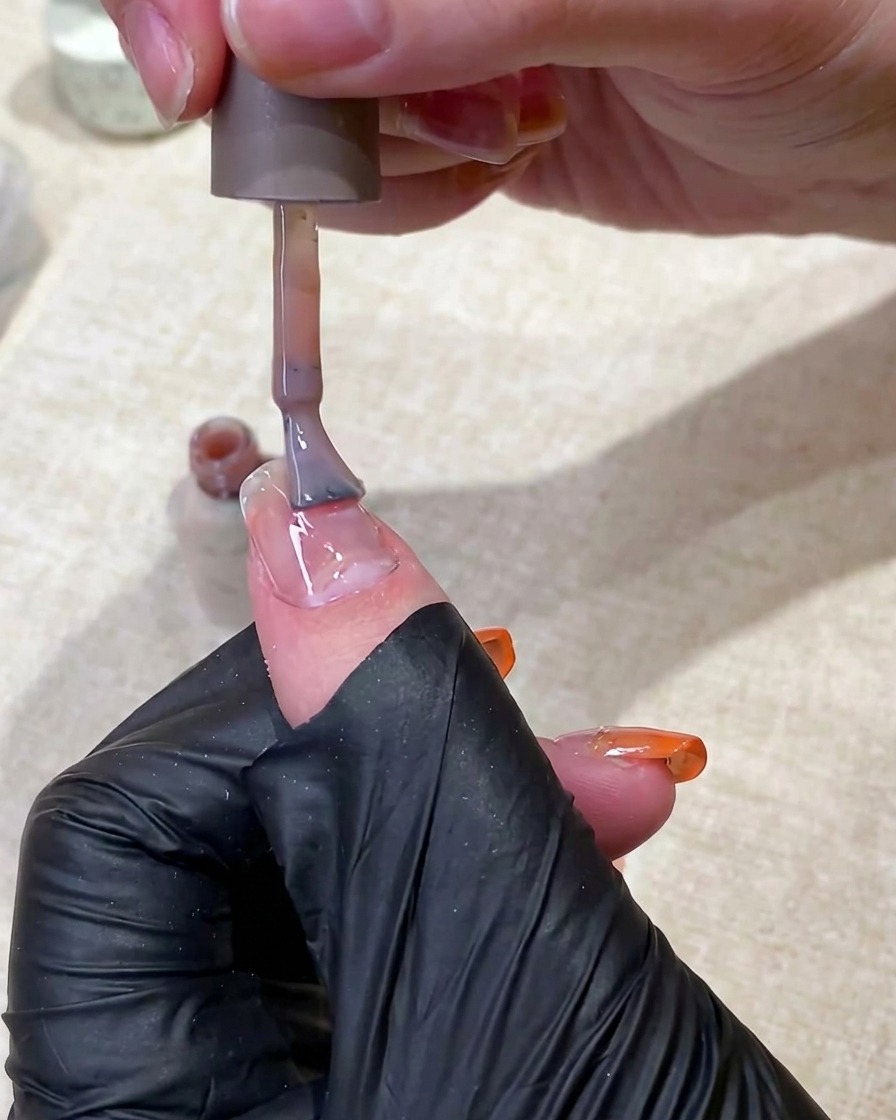
Begin by applying a smooth, even layer of nude gel base coat across the entire nail plate. Keep the application neat and avoid flooding the cuticles, ensuring a solid foundation for the gradient design.
Tip: Wipe off excess polish from the brush before applying to maintain thin, manageable layers. - 2Cure the base coat
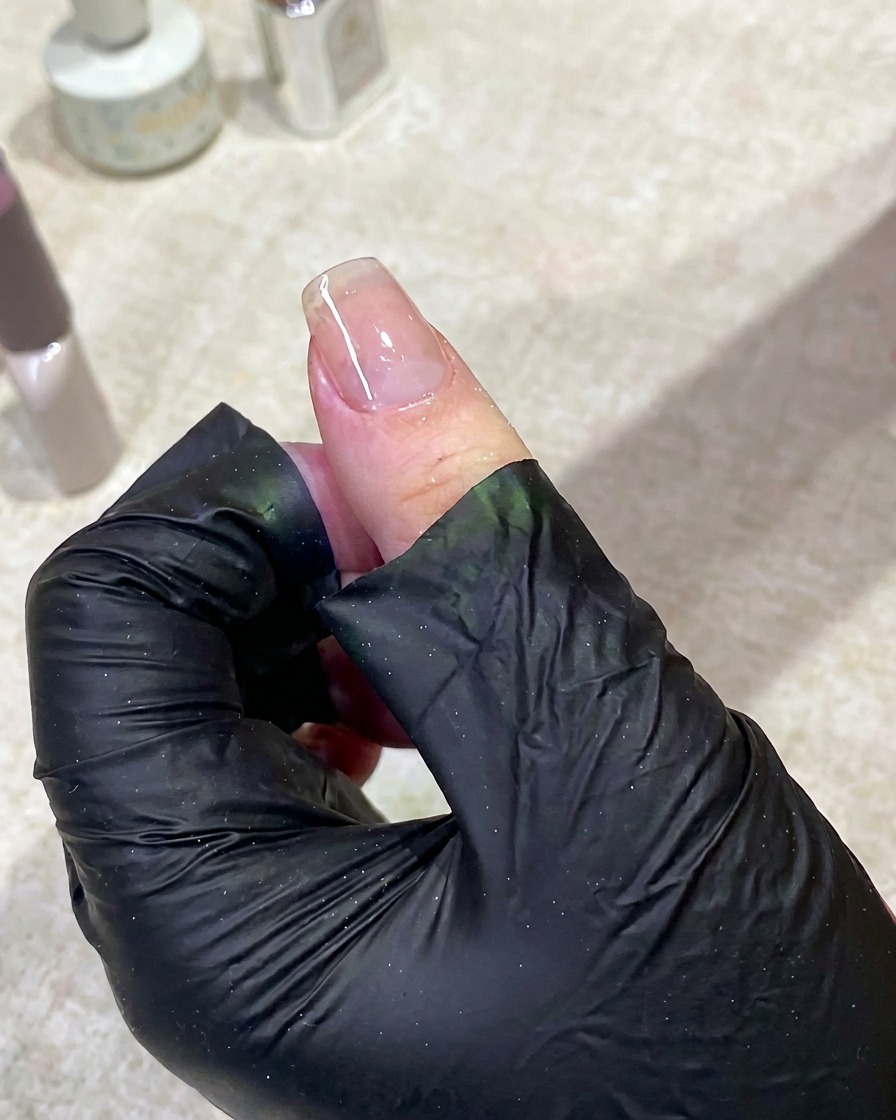
Place your nails under the UV/LED lamp to cure the base coat. This step solidifies the base layer, creating a durable foundation for the gradient and color application.
Tip: Ensure your hand is positioned correctly inside the lamp for an even cure. - 3Remove the sticky layer
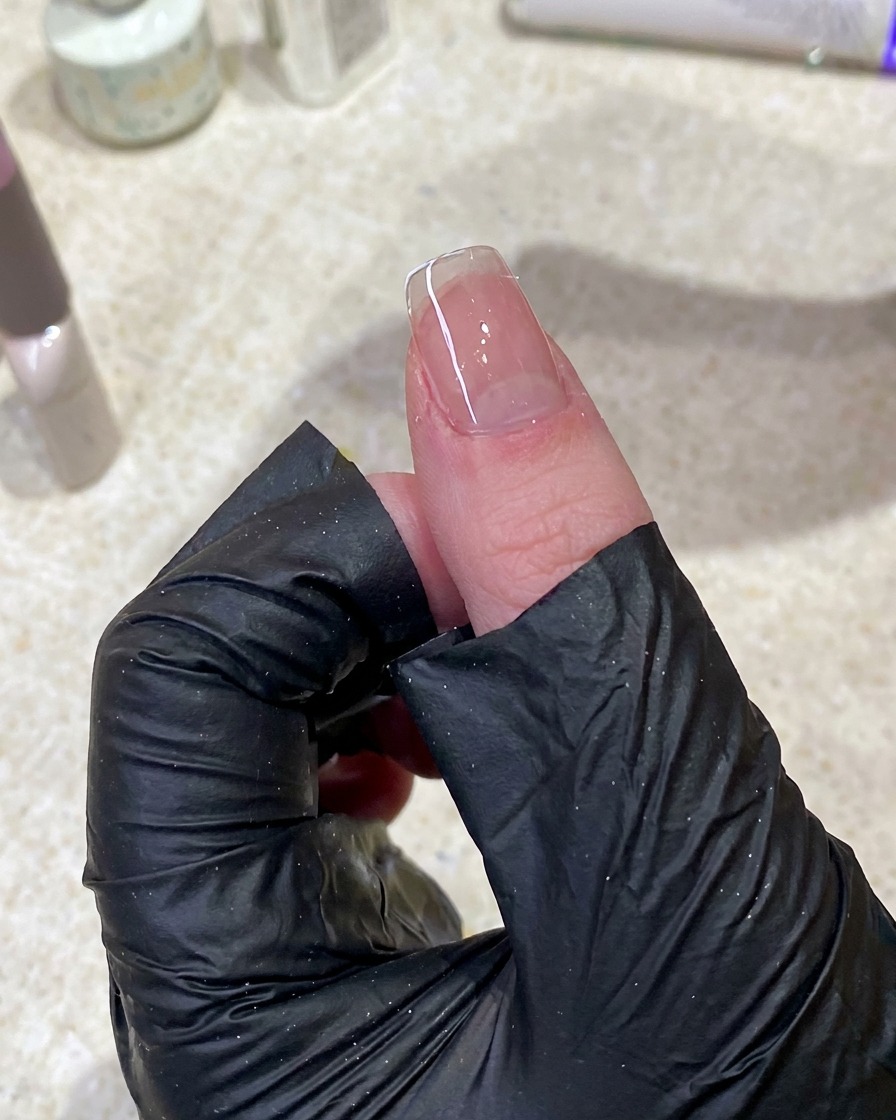
Use a lint-free wipe dampened with cleanser to gently remove the tacky inhibition layer from the cured base coat. This prepares a clean, non-sticky surface for the gradient effect.
Tip: Using lint-free wipes prevents fibers from sticking to the nail surface. - 4Prepare the sponge tip
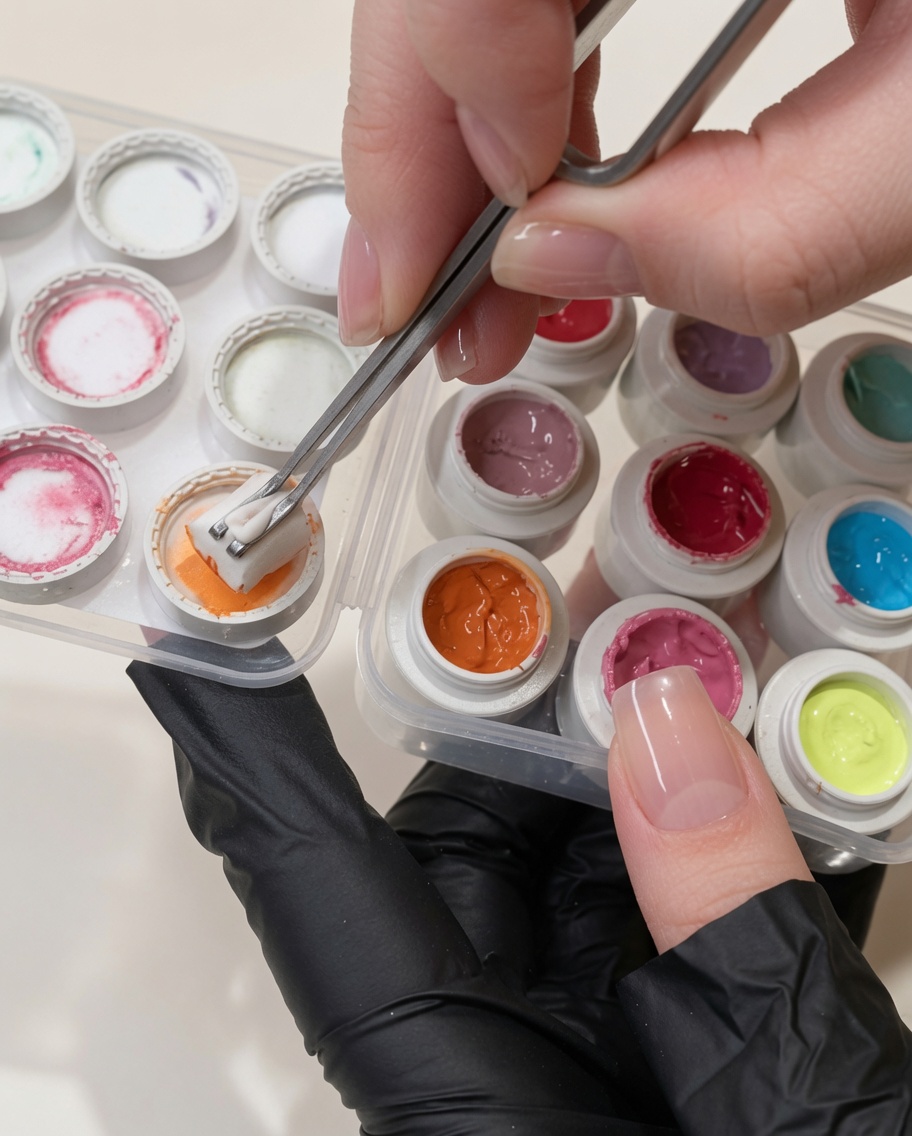
Using a pair of tweezers, firmly grip a small piece of sponge. Gently dab it into an orange gel polish from your palette to pick up a minimal amount of color for the gradient.
Tip: Dont overload the sponge with gel; its easier to build up the color gradually than to remove excess polish. - 5Dab orange gel on the tip
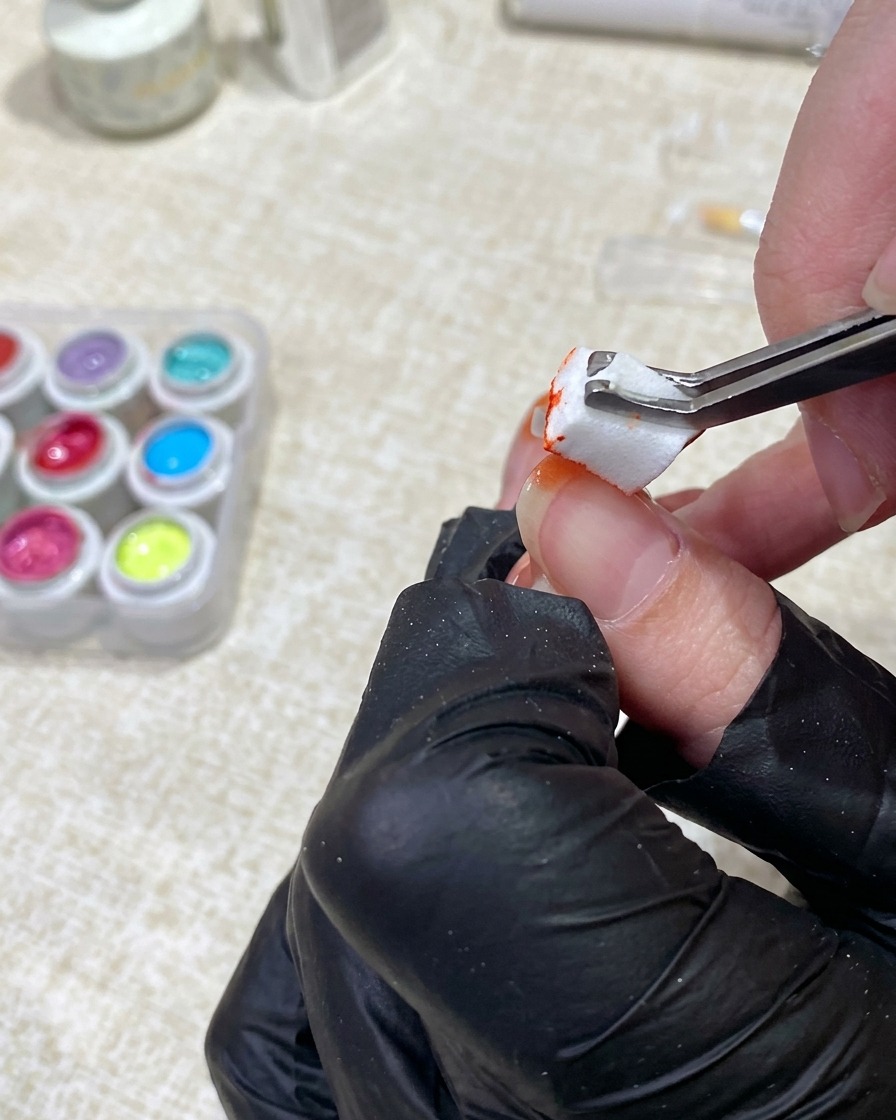
Gently pat the loaded sponge onto the very tip of the nail. Use light tapping motions to deposit the orange gel, creating the most intense color at the free edge.
Tip: Focus the color primarily on the bottom third of the nail, leaving plenty of room to blend it upwards. - 6Blend the gradient transition
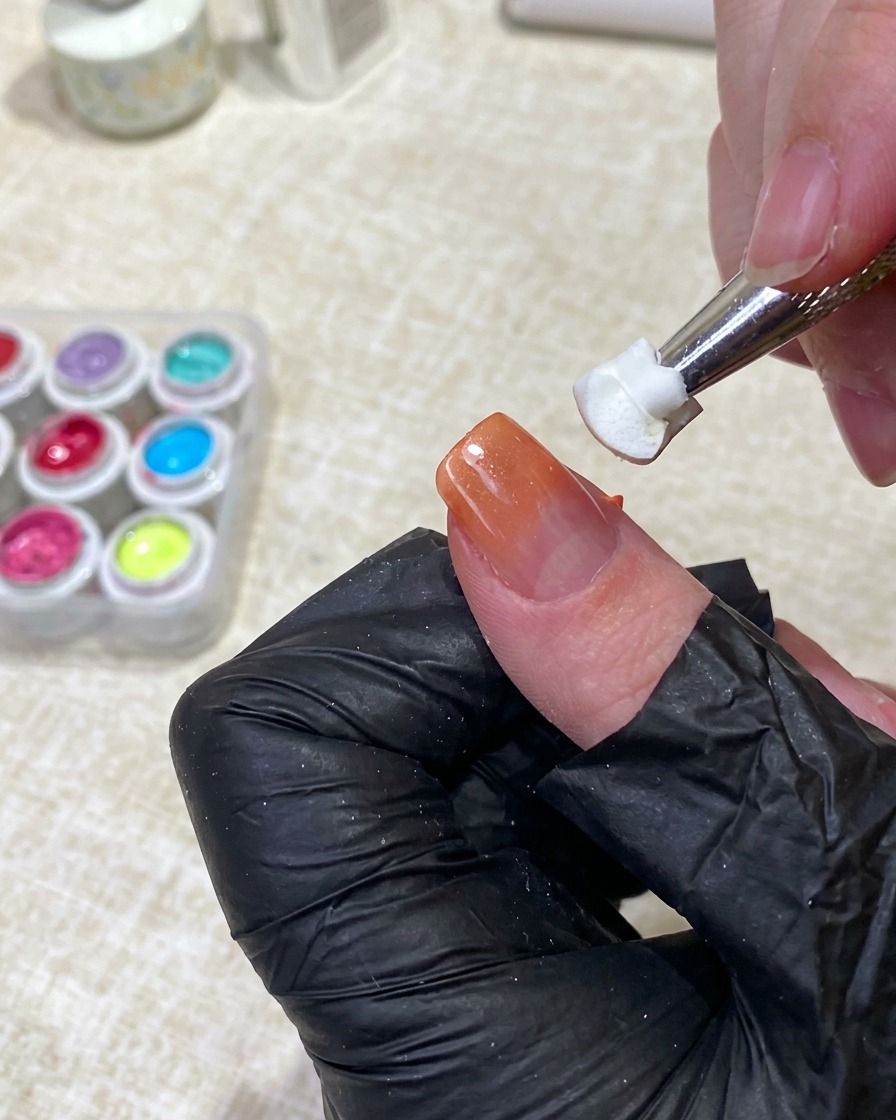
Take a clean sponge tip with an applicator or tweezers and lightly tap along the transition line between the orange gel and the nude base. Diffuse the hard line until the colors blend seamlessly into a soft ombre.
Tip: Use a very light touch when blending so you do not accidentally wipe away the base color or create harsh patches. - 7Cure the gradient
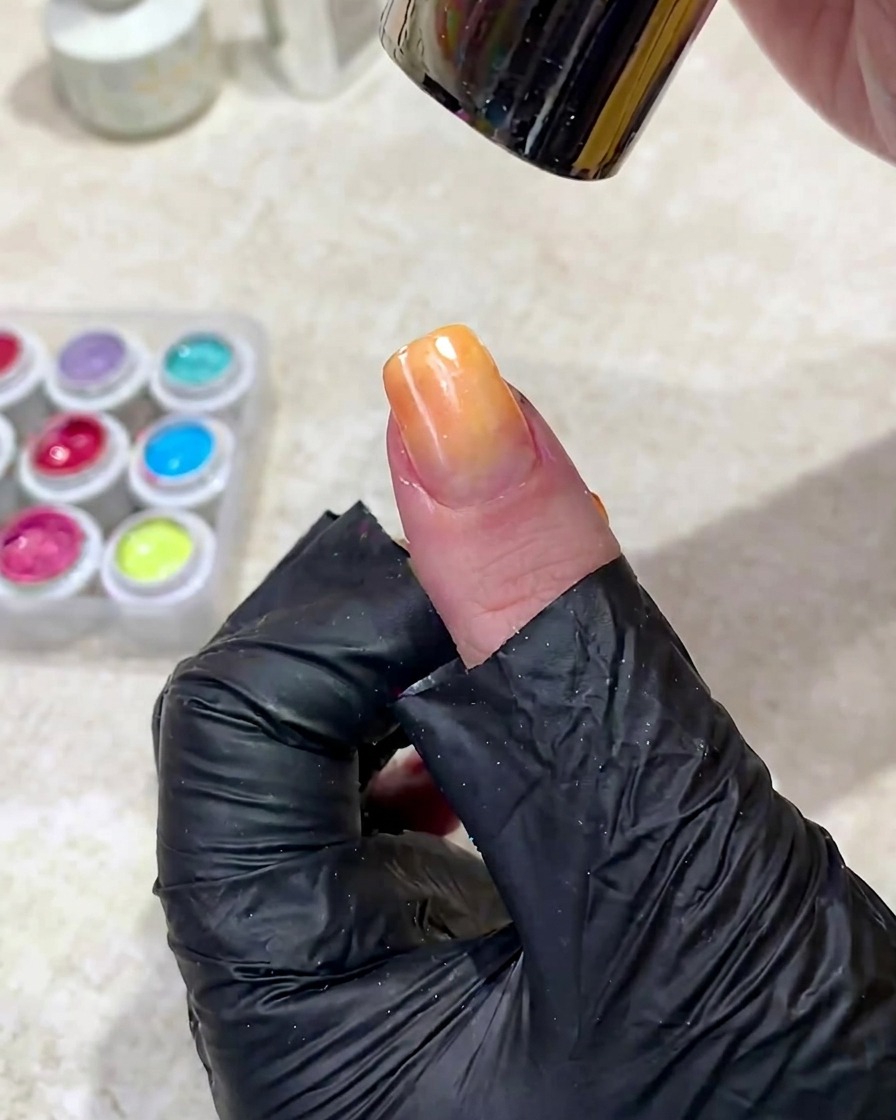
Place your nails under the UV/LED lamp to cure the orange gradient gel. Curing ensures the pigment stays in place and sets the smooth transition.
Tip: Keep your fingers flat to ensure the light reaches all parts of the gradient evenly. - 8Apply cat-eye gel
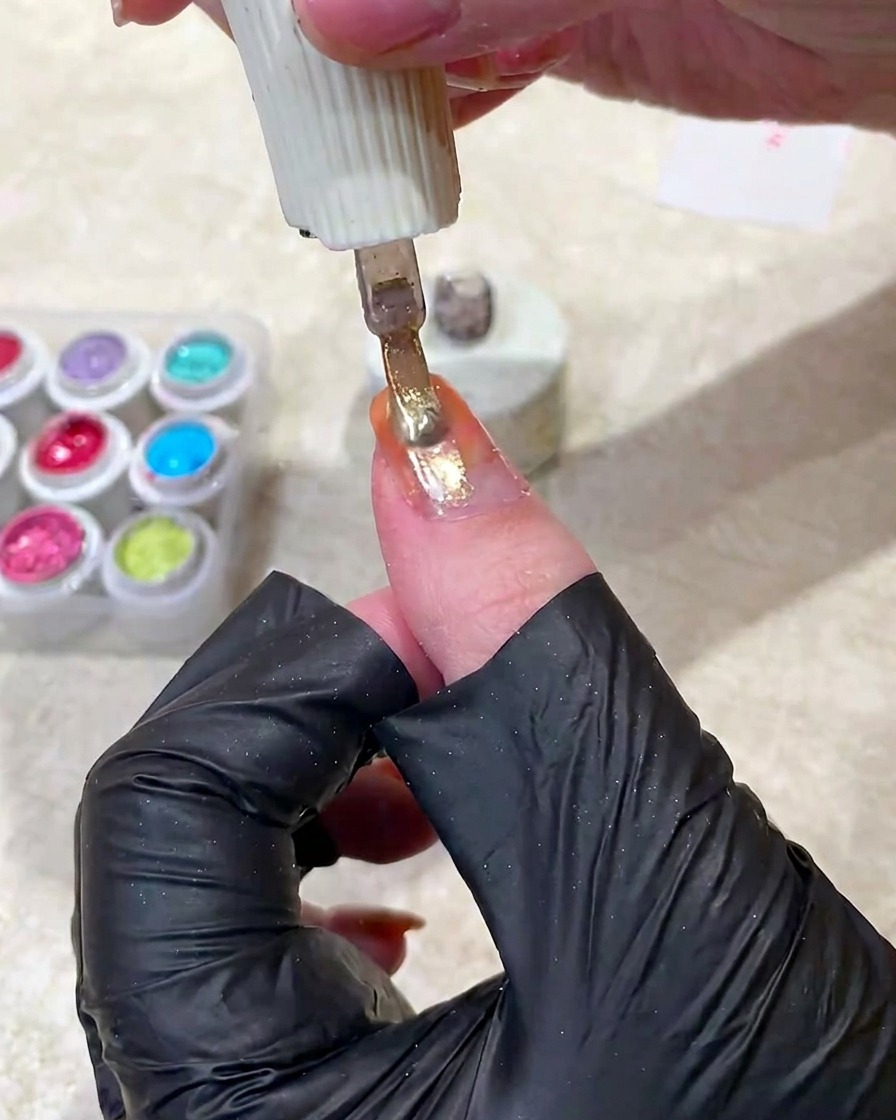
Apply a thin, even layer of fine cat-eye gel over the gradient base. This magnetic polish will provide the depth and shimmer for the final look.
Tip: Apply the gel slowly to avoid bubbles and ensure a smooth, level surface. - 9Create the cat-eye effect
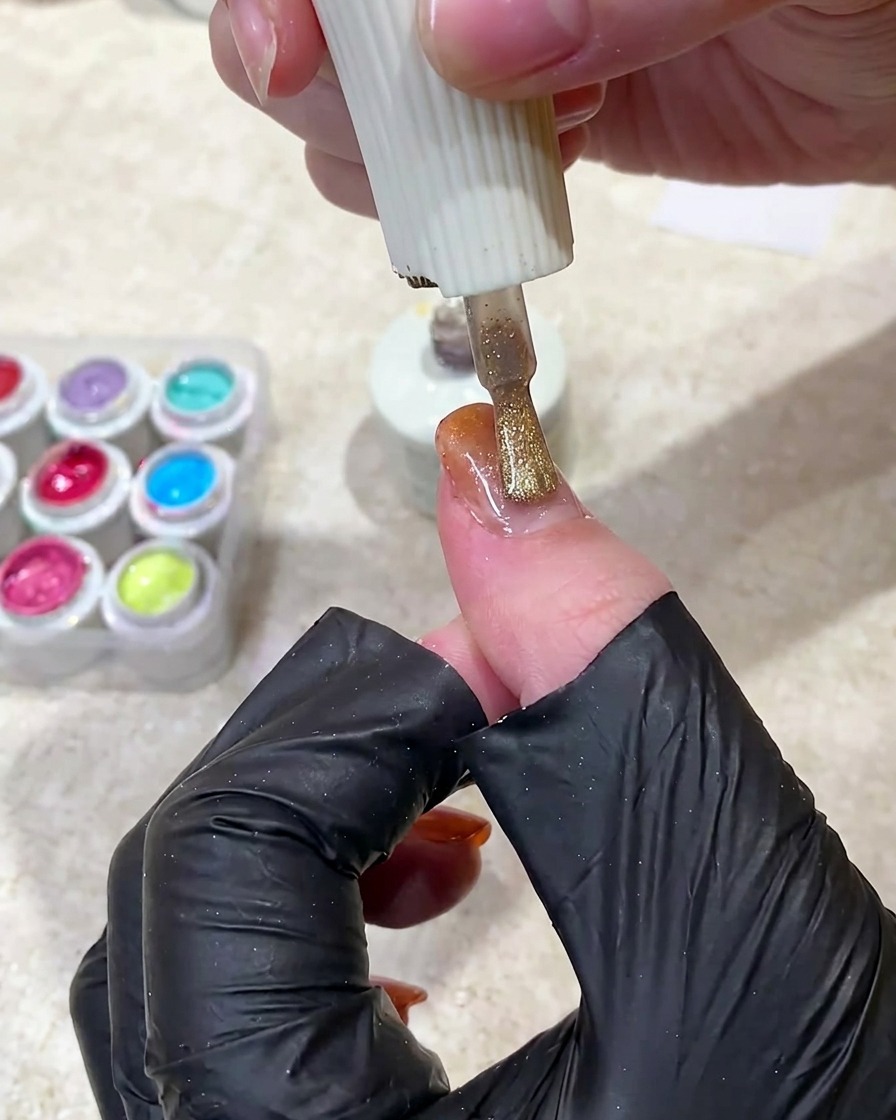
Hold a magnet near the wet cat-eye gel to manipulate the metallic particles. Move the magnet to pull the particles into a wide, luminous beam across the center of the nail.
Tip: Hold the magnet steady for a few seconds to let the particles fully align. - 10Add the bead effect
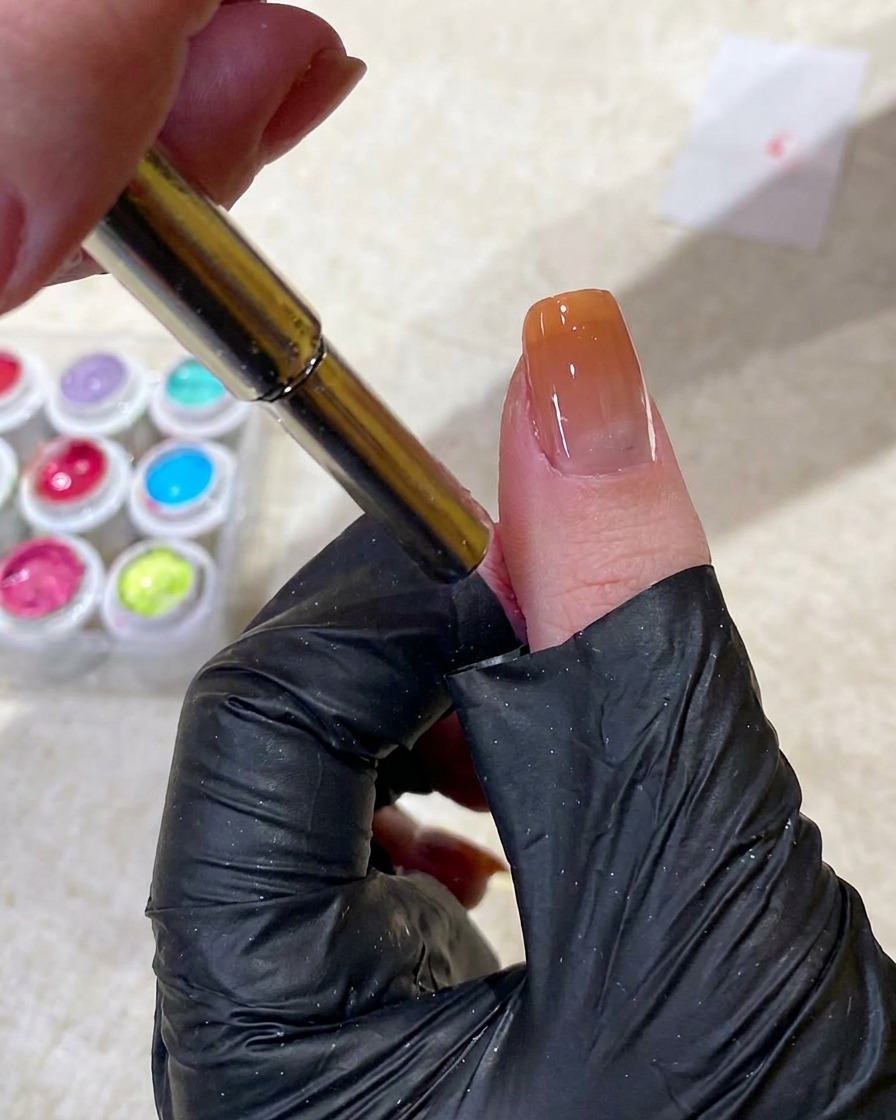
Use the edge of your magnet tool to carefully push the cat-eye particles into a circular bead shape near the cuticle area. This creates an elegant accent to the wide cat-eye beam.
Tip: Use a light touch with the magnet so you dont smudge the existing beam. - 11Intensify the color gradient
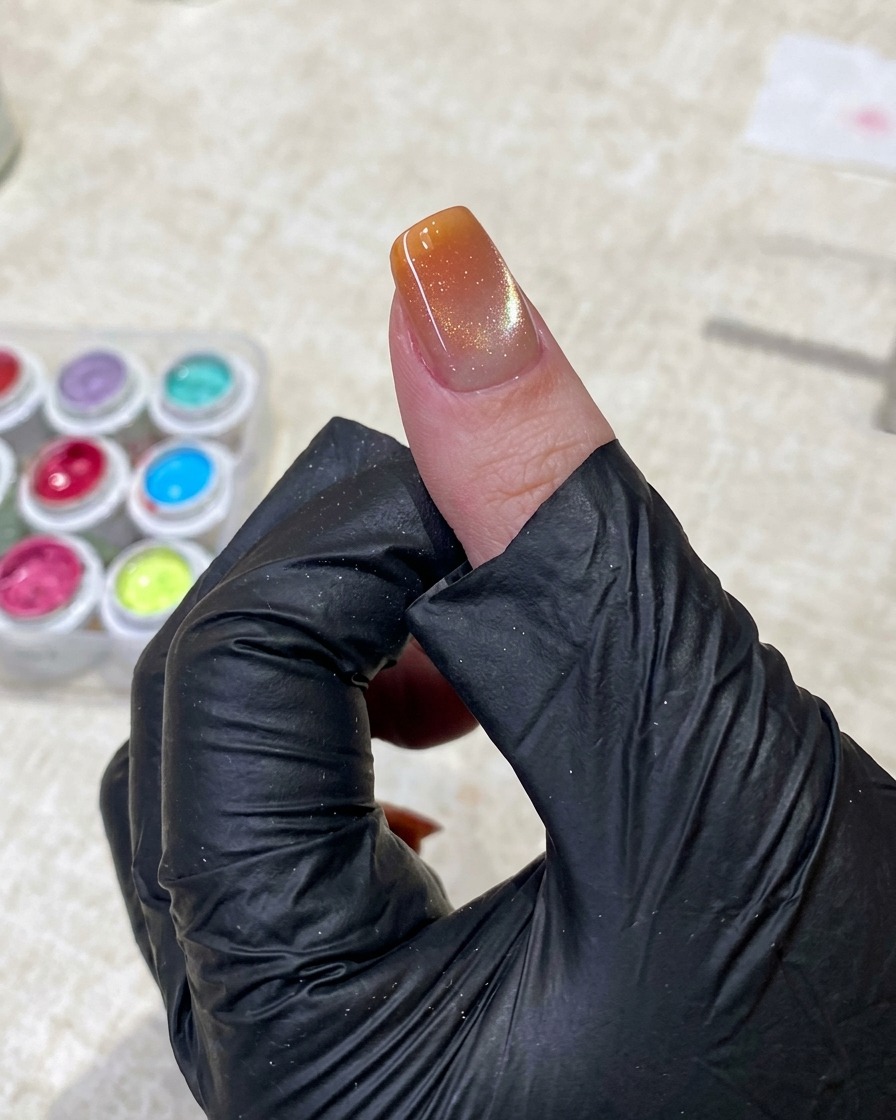
Using tweezers to hold a sponge tip, apply more orange gel polish to the tip of the nail. Use a patting motion to layer the color, which increases the saturation and depth of the gradient effect at the free edge of the nail.
Tip: Apply in thin, successive layers to maintain control over the gradient intensity and avoid creating a bulky layer at the tip. - 12Cure the nail
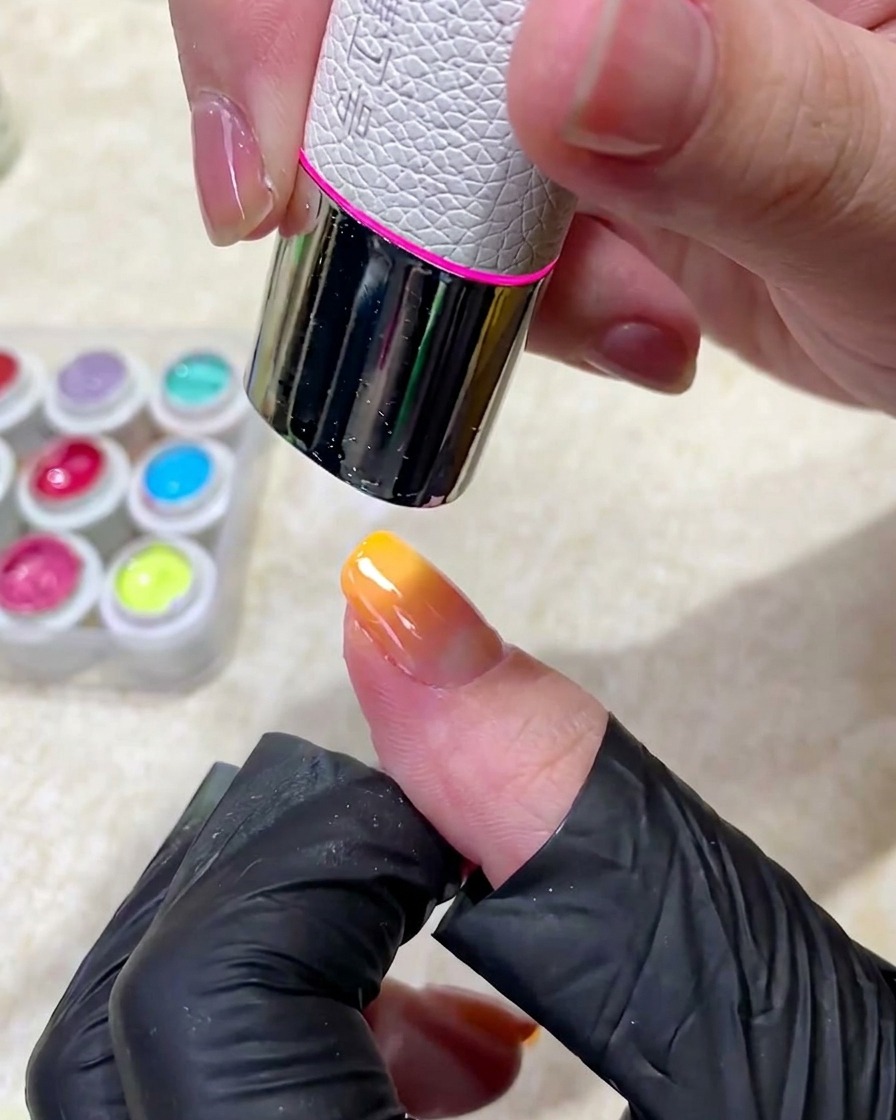
Place your hand under the UV or LED lamp to cure the freshly applied orange gel and the underlying cat-eye effect. This step ensures that the layers are completely dry, hardened, and set in place before moving on to the final finish.
Tip: Ensure your fingers are positioned directly under the light source for an even cure across the entire nail surface. - 13Apply top coat
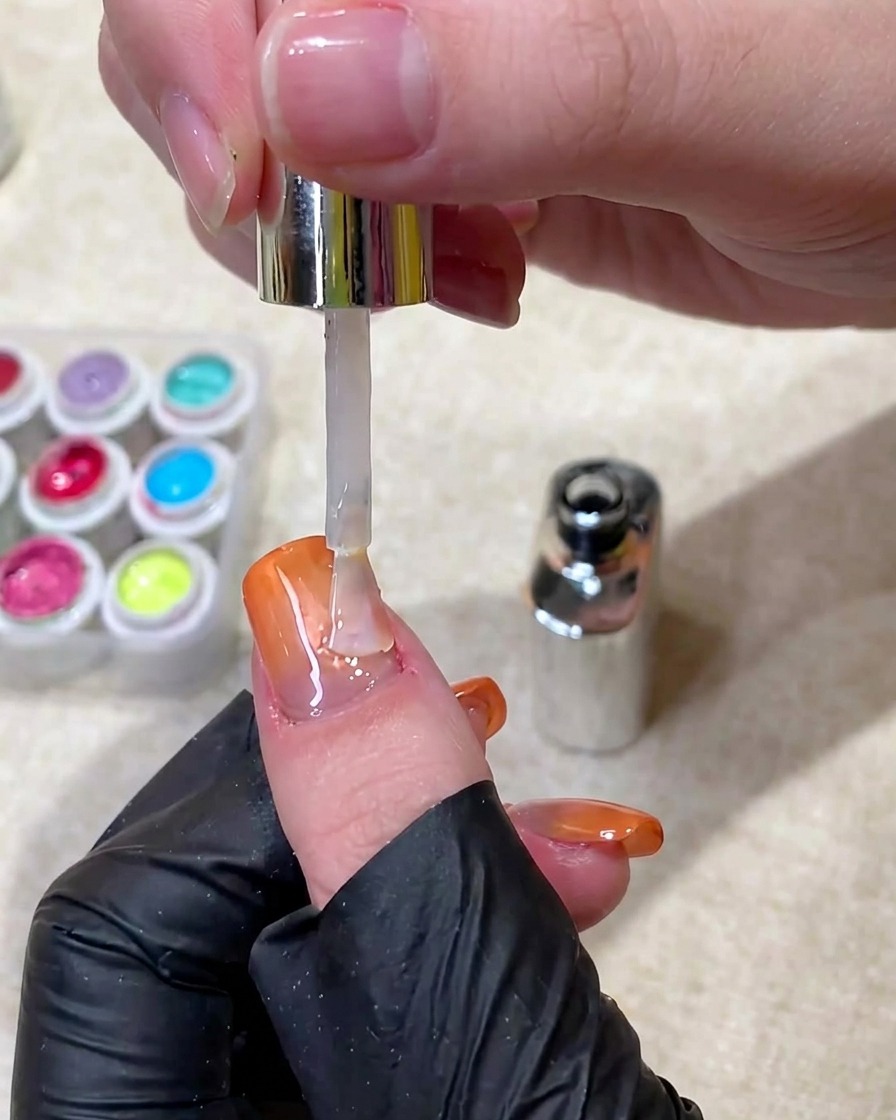
Apply a generous, even layer of top coat over the entire nail to seal the design. Capping the free edge with the top coat helps prevent chipping and provides a high-gloss, protective finish that highlights the gradient and cat-eye details.
Tip: Cap the free edge carefully to seal the entire nail, which significantly increases the longevity of your manicure.