Fairy Yellow Gradient Daisy Nails — Beginner Step-by-Step Tutorial
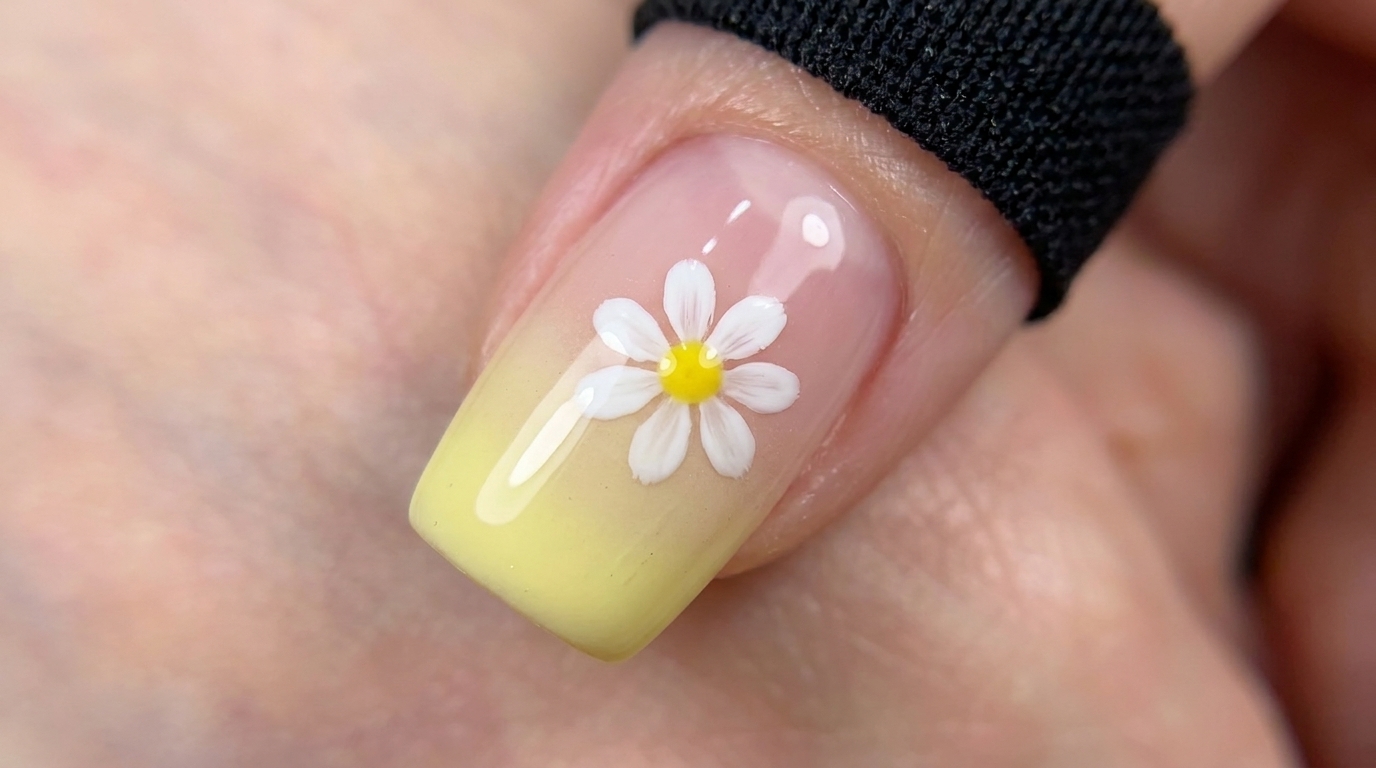
Achieve a dreamy, fairy-inspired look with this easy yellow gradient daisy nail art tutorial. Perfect for a soft, cheerful manicure at home.
Embrace a whimsical and cheerful vibe with this delicate daisy nail design. The soft yellow gradient serves as the perfect sun-kissed backdrop for hand-painted florals, creating a look that is both playful and elegant. This tutorial breaks down the gradient and floral techniques into simple steps suitable for any skill level.
Steps
- 1Apply yellow gradient color
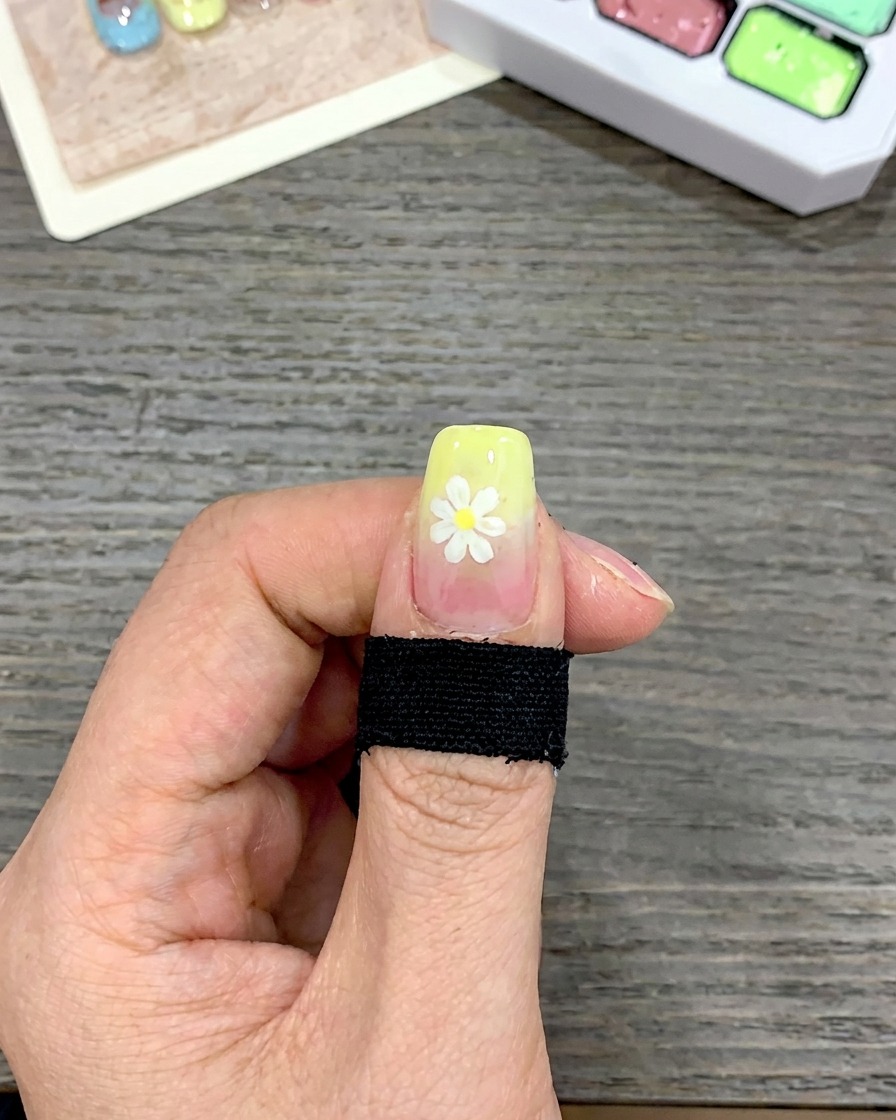
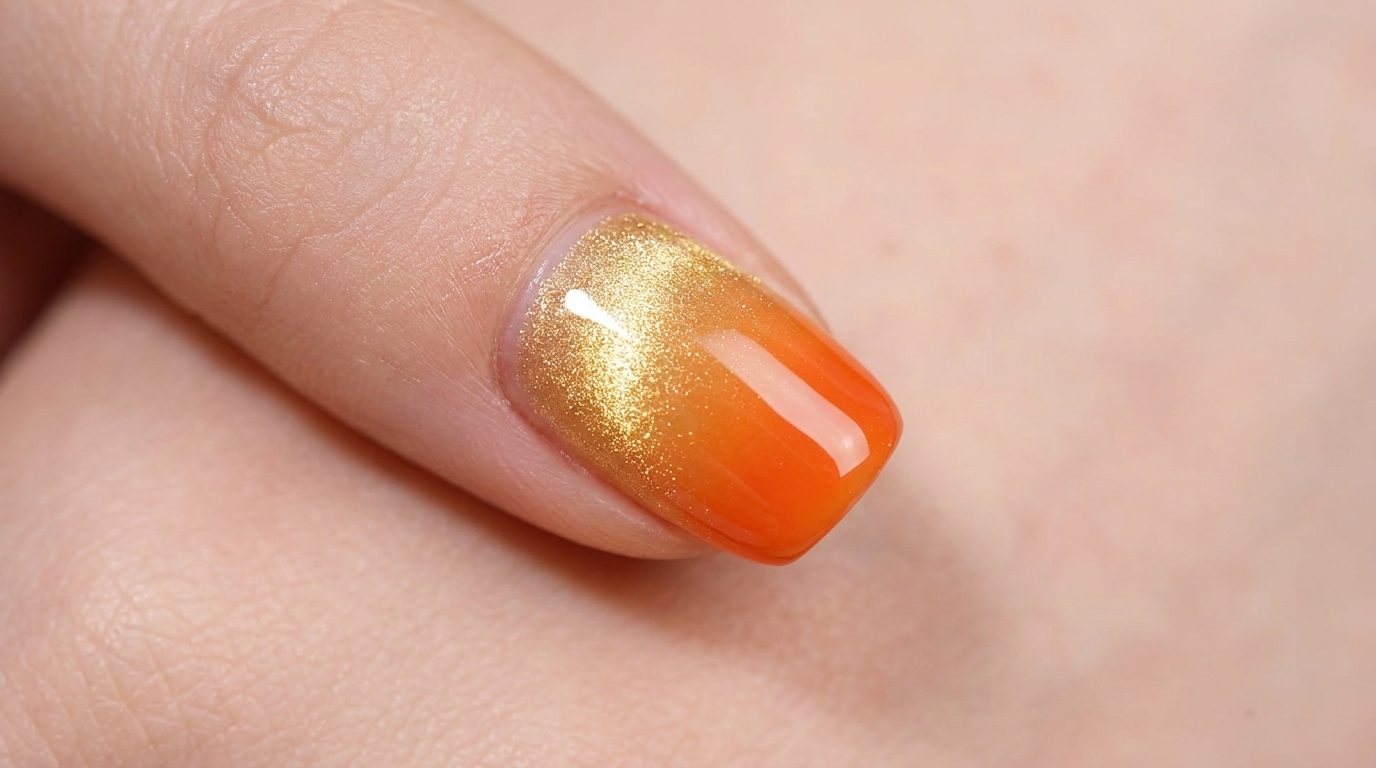
Using a flat square brush, apply a concentrated amount of yellow gel polish to the tip of the nail. You do not need to worry about creating a perfect edge yet, as the sponge will be used in the next step to blend it into a gradient.
Tip: Apply a thicker layer of polish at the very tip for a more saturated gradient effect. - 2Pat the gel to create a gradient
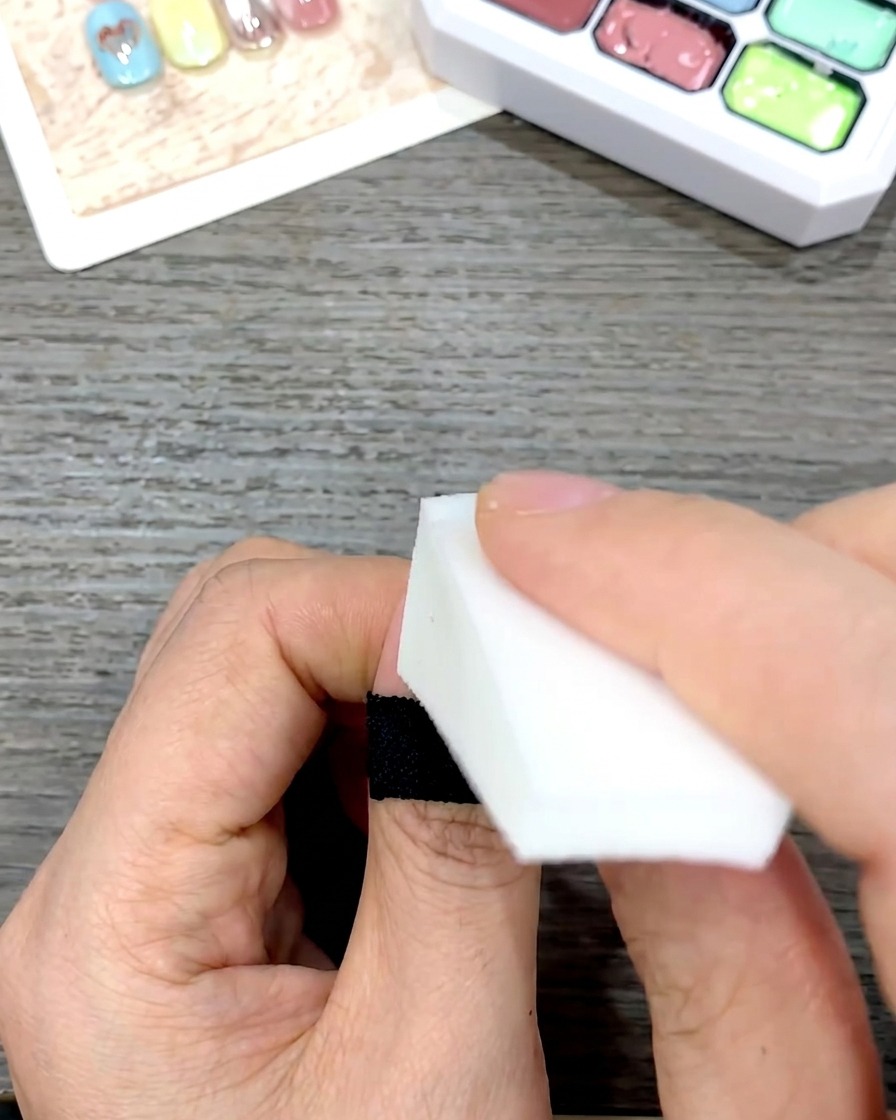
Using a clean white wedge makeup sponge, gently pat the wet yellow gel polish starting from the tip and moving downwards toward the cuticle. The sponge helps to pull the pigment, creating a soft, feathered transition that blends into the base of the nail.
Tip: Use a light tapping motion to avoid picking up too much gel and to keep the gradient transition smooth. - 3Refine the gradient blend
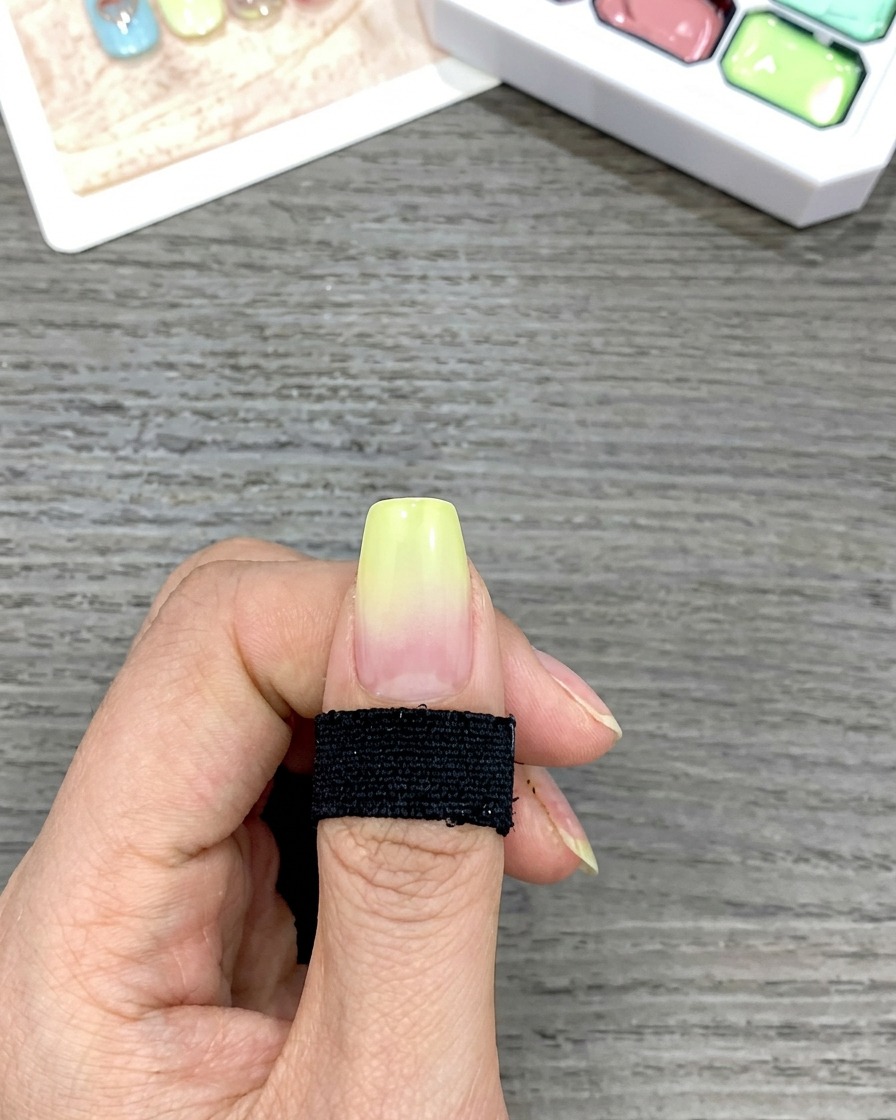
Continue tapping the sponge lightly across the middle section of the nail. This action further refines the blend, ensuring the yellow pigment fades seamlessly into the natural nail base without any harsh lines.
Tip: If the transition looks too harsh, keep tapping with a clean side of the sponge until the fade is seamless. - 4Map out the daisy placement
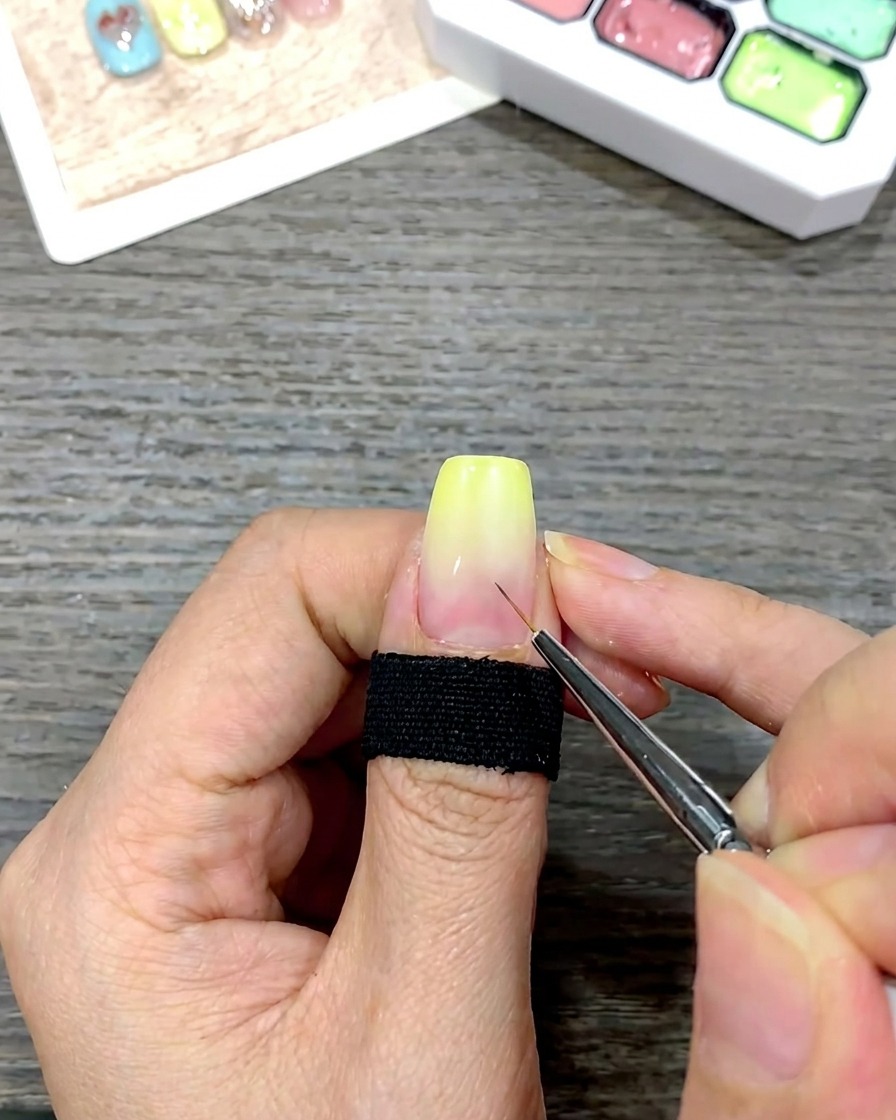
Dip a fine liner brush into white gel polish and create small, precise dots in the center of the nail. These serve as positioning marks, helping you map out exactly where the center of your daisy flower will be.
Tip: Keep the positioning marks small so they are easily covered by the petals and the center core of the flower. - 5Paint the daisy petals
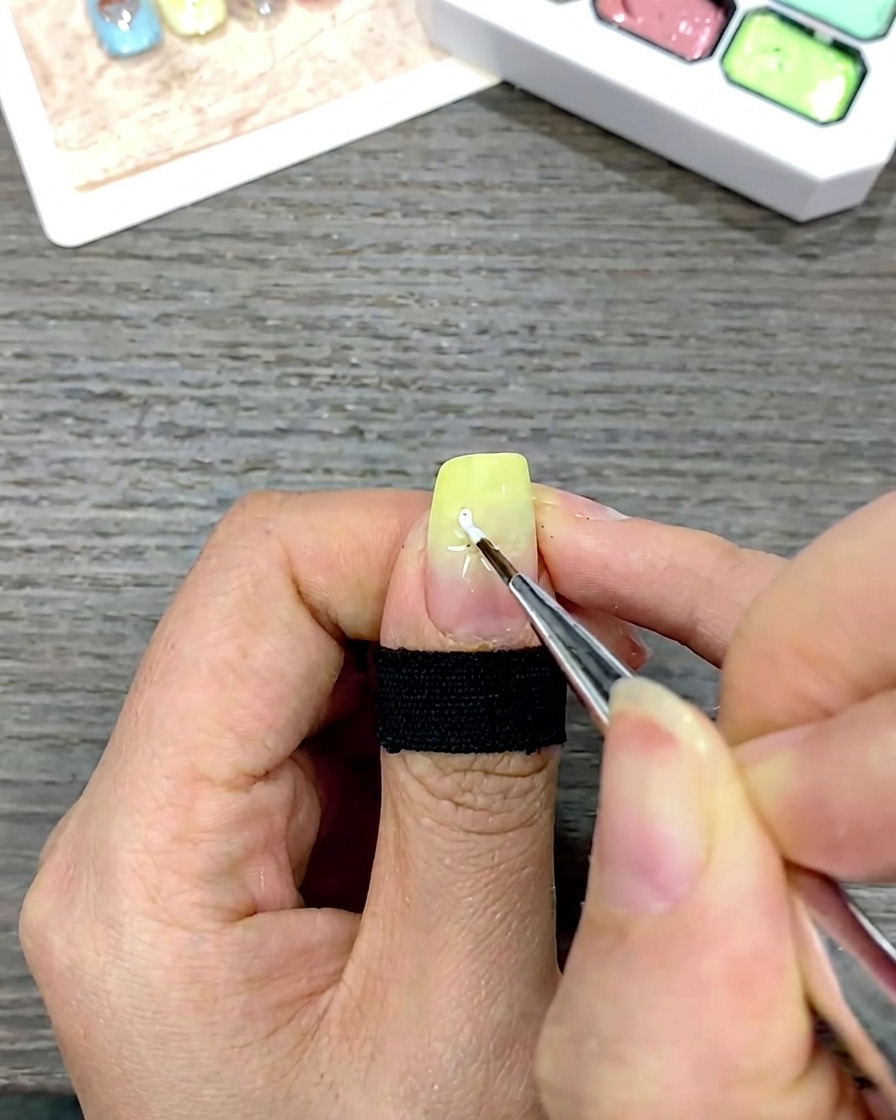
Using the fine liner brush, begin painting the daisy petals. Start by pulling the white gel inward toward the center positioning mark you created previously. Focus on creating consistent, rounded shapes for the upper petals.
Tip: Using a high-pigment white gel will make the petals stand out clearly against the yellow gradient. - 6Complete the flower shape
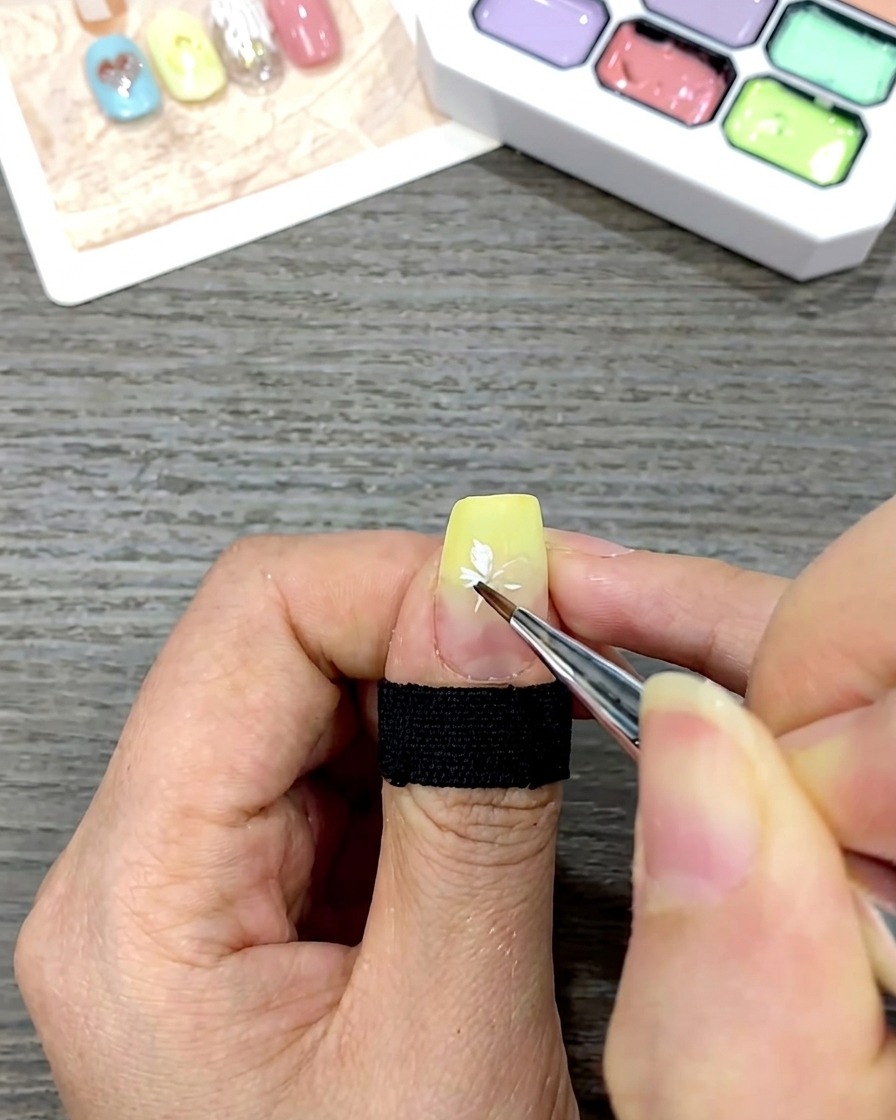
Finish the floral design by painting the remaining side and bottom petals. Ensure they are symmetrical and connect cleanly to the center point to form a full, recognizable daisy shape.
Tip: Check the symmetry of the petals as you work to ensure a balanced, professional-looking flower. - 7Create the flower center
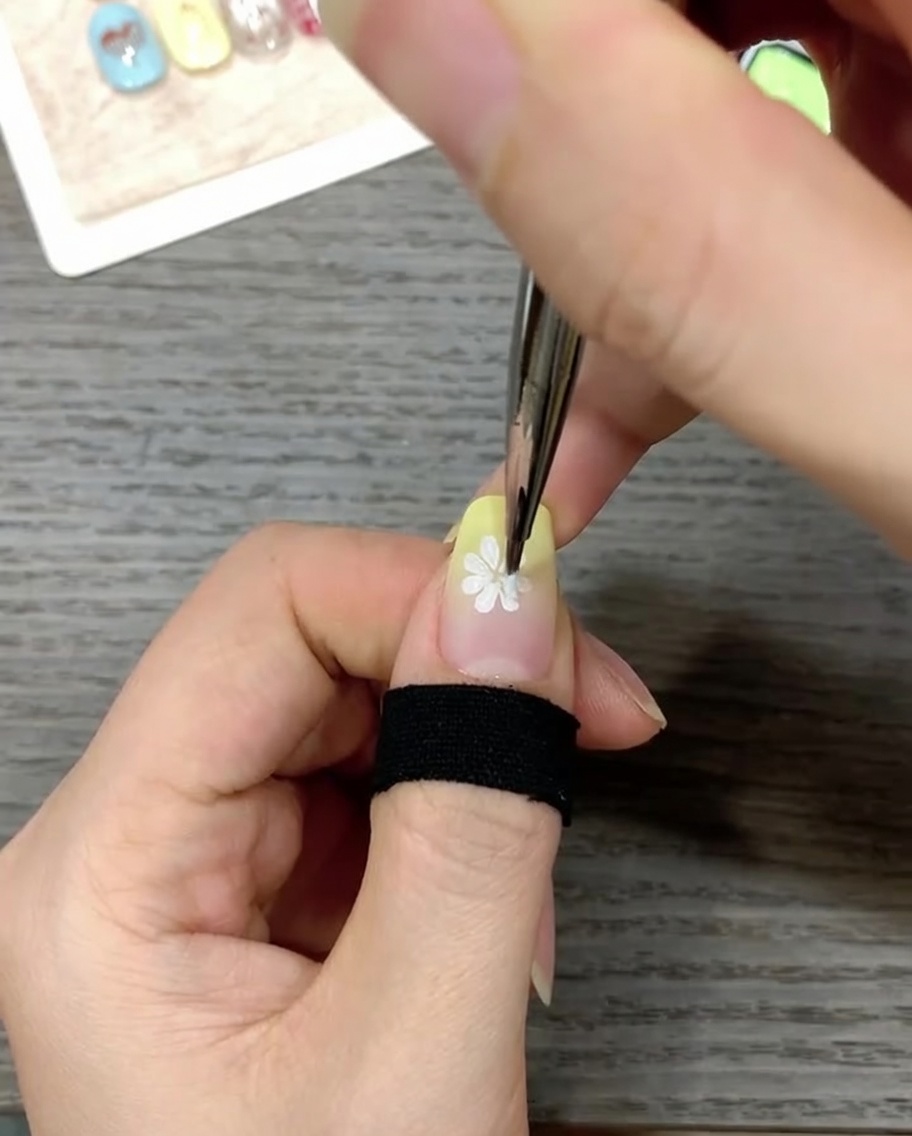
Using a fine liner brush, pick up a small amount of yellow gel polish. Carefully place a single, vibrant yellow dot precisely in the center of your previously painted white daisy petals to complete the flower core.
Tip: For a perfect circle, hold the brush perpendicular to the nail surface and gently touch down without dragging the brush. - 8Apply glossy top coat
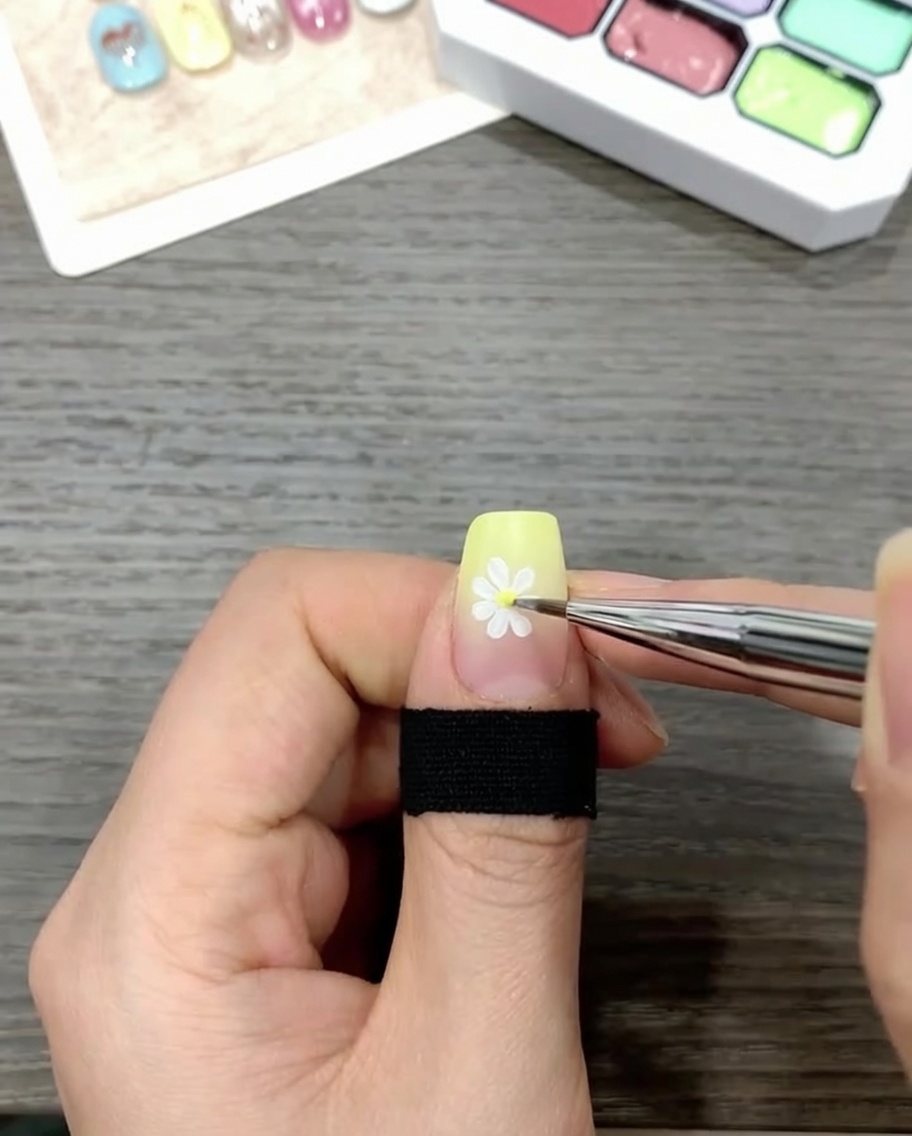
Apply a liberal, even layer of clear glossy top coat over the entire nail surface. Ensure you cover the painted daisy design completely to seal and protect your artwork, and cap the free edge for long-lasting results.
Tip: Apply the top coat with light pressure to avoid smearing the uncured gel art underneath. - 9Smooth the finish
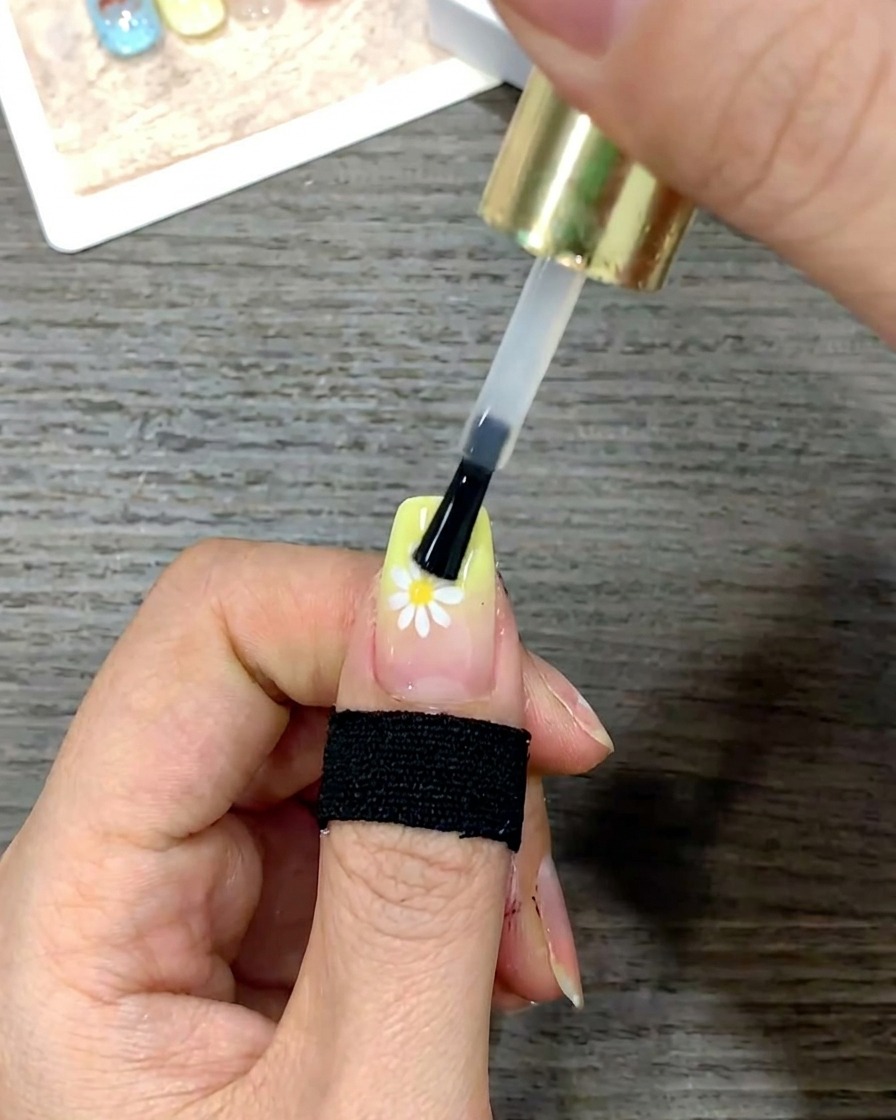
Gently smooth the top coat by pulling the brush from the cuticle area down toward the tip in long, controlled strokes. This leveling motion ensures an even, high-shine surface and removes any potential streaks, creating a professional protective finish.
Tip: Check the reflection of your light source on the nail surface to ensure the top coat is perfectly level.