Sunset Gradient Aurora Nails — Magnetic French Tip Tutorial
Create a stunning sunset-inspired manicure with this chic magnetic French tip and iridescent aurora chrome finish. Perfect for a glowing, trendy look.
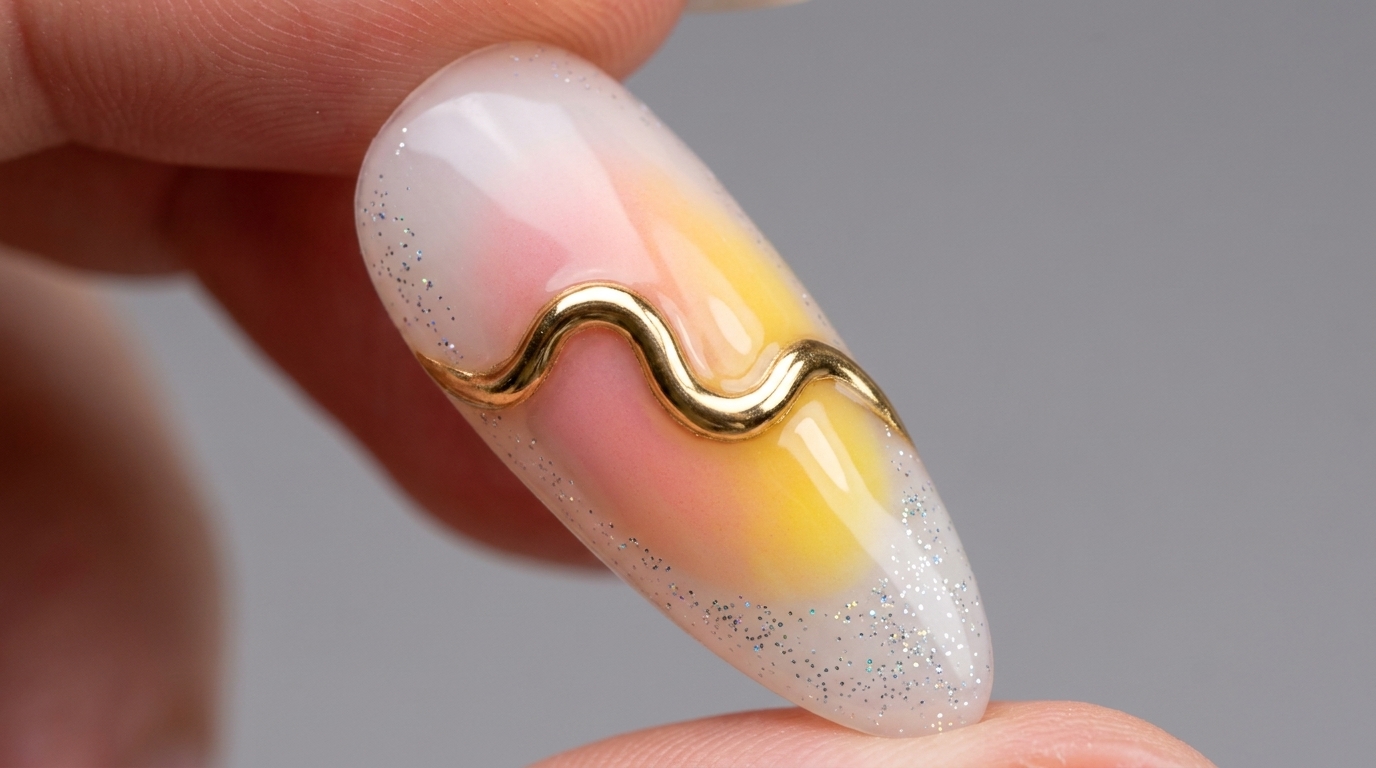
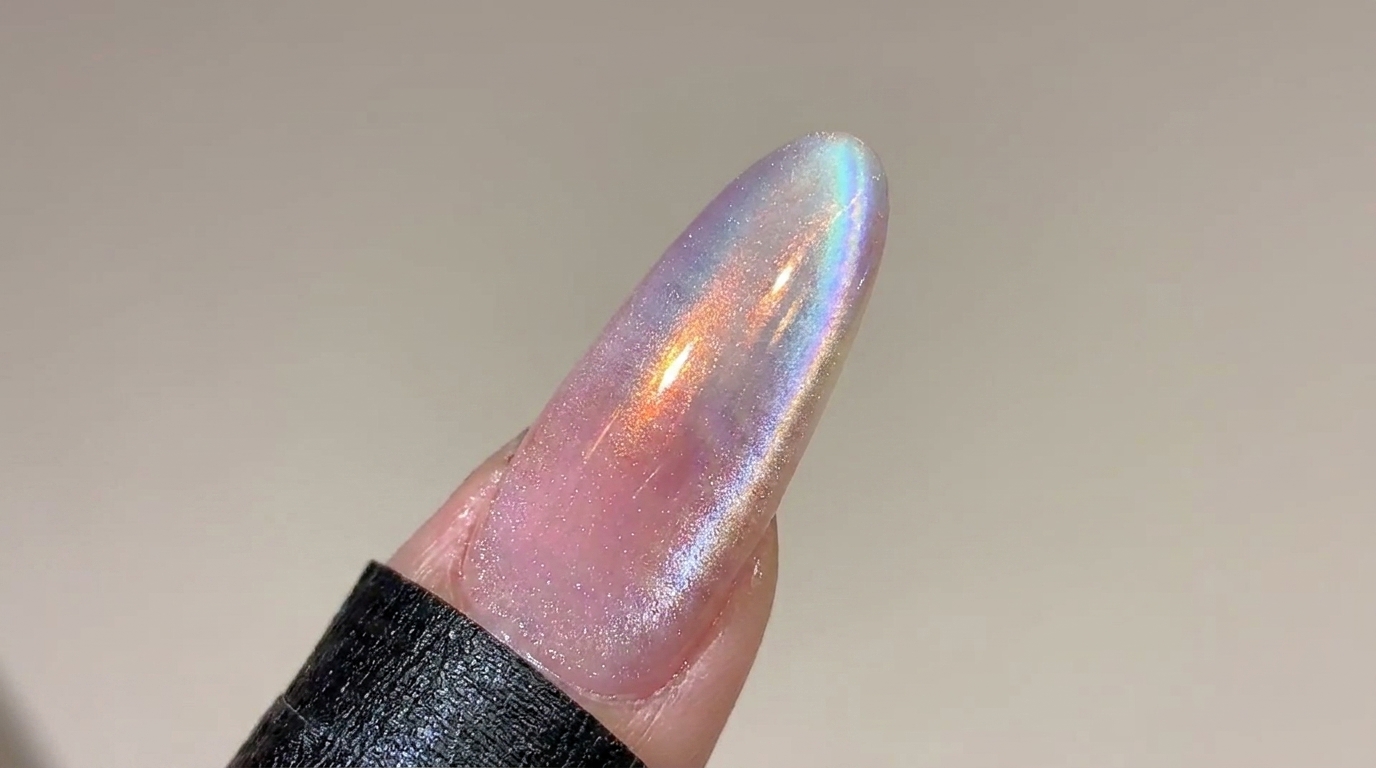
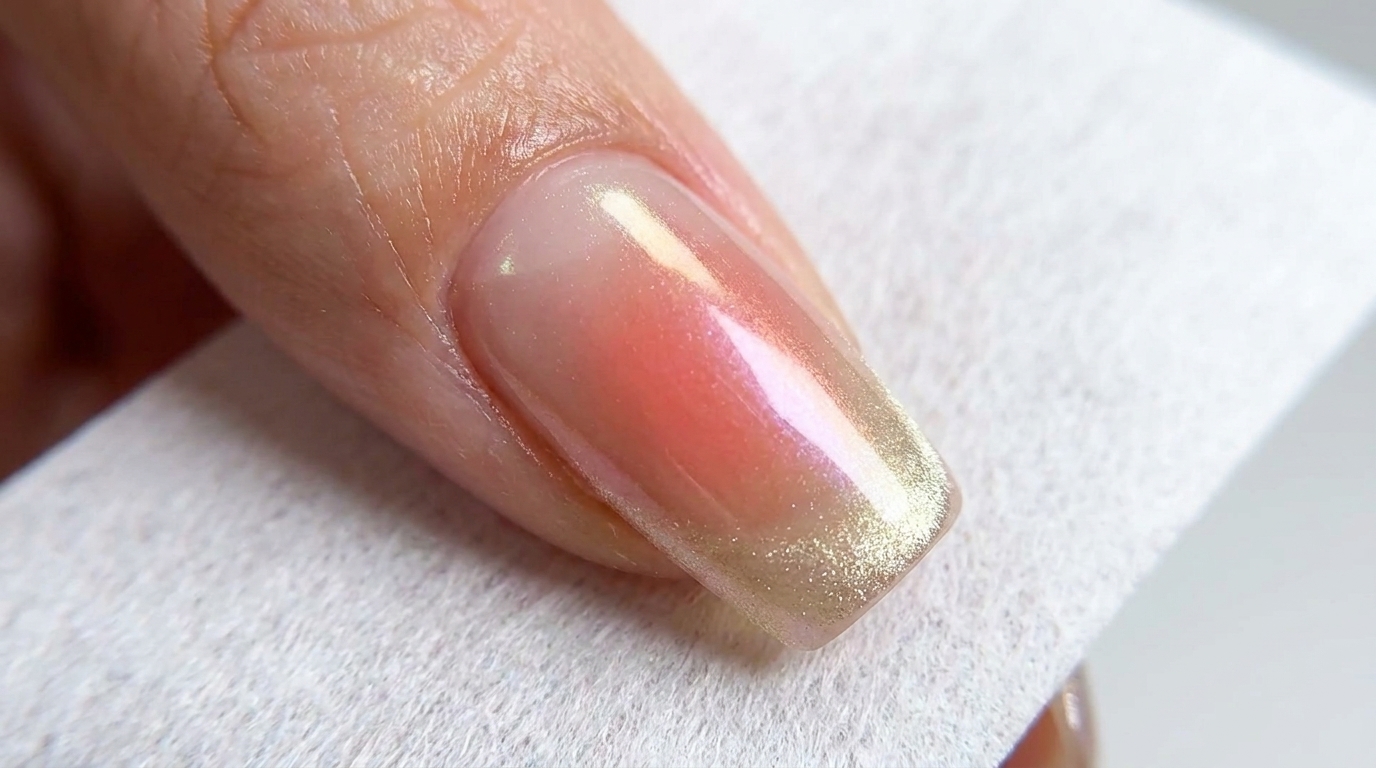
This sunset gradient look combines the soft, diffused beauty of blush nails with the sharp, futuristic allure of a magnetic French tip. The final touch of aurora chrome powder adds a magical, iridescent shift that changes beautifully in the light. It is a sophisticated technique that balances delicate color transitions with bold, high-shine magnetic detailing.
Steps
- 1Apply nude gel base coat
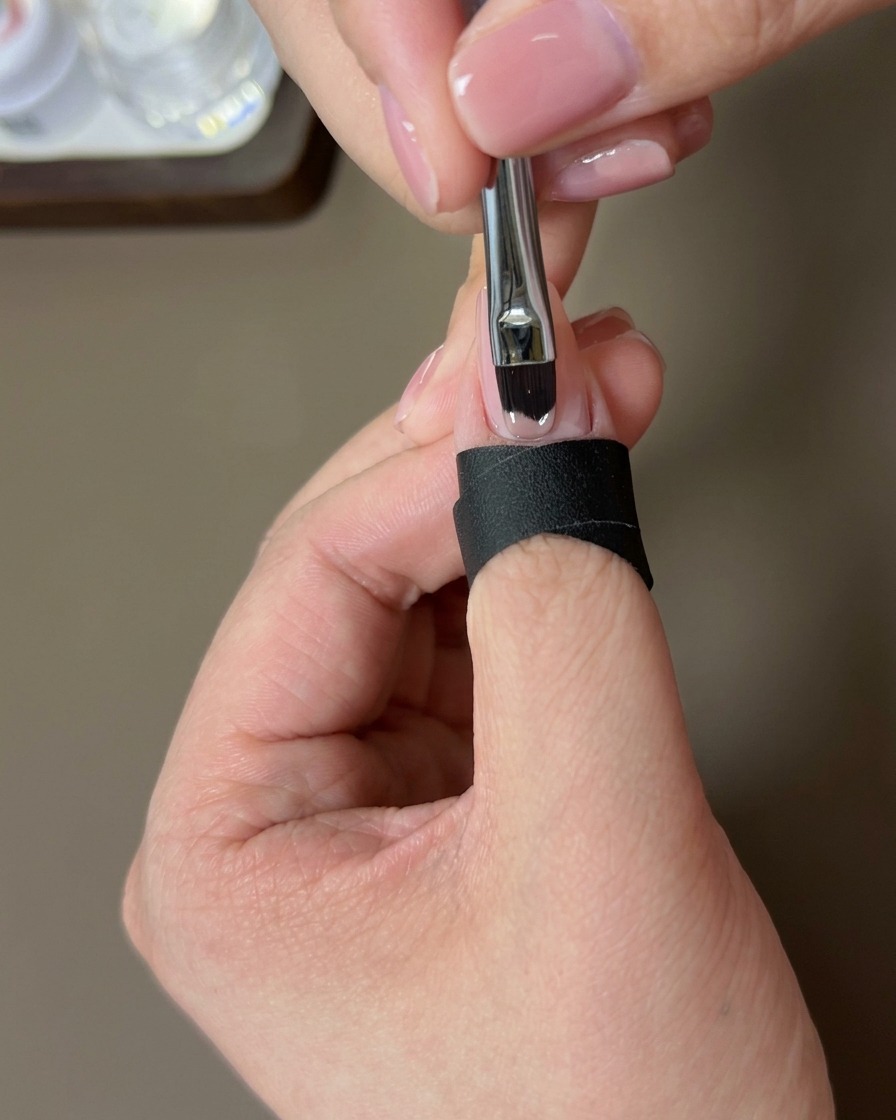
Apply a thin, even layer of nude gel polish over the entire nail surface. Ensure smooth coverage and cap the free edge to prevent premature lifting. This will serve as the canvas for your blush nail art.
Tip: Keep the layer thin to avoid pooling at the cuticles, which can cause lifting. - 2Cure the base coat
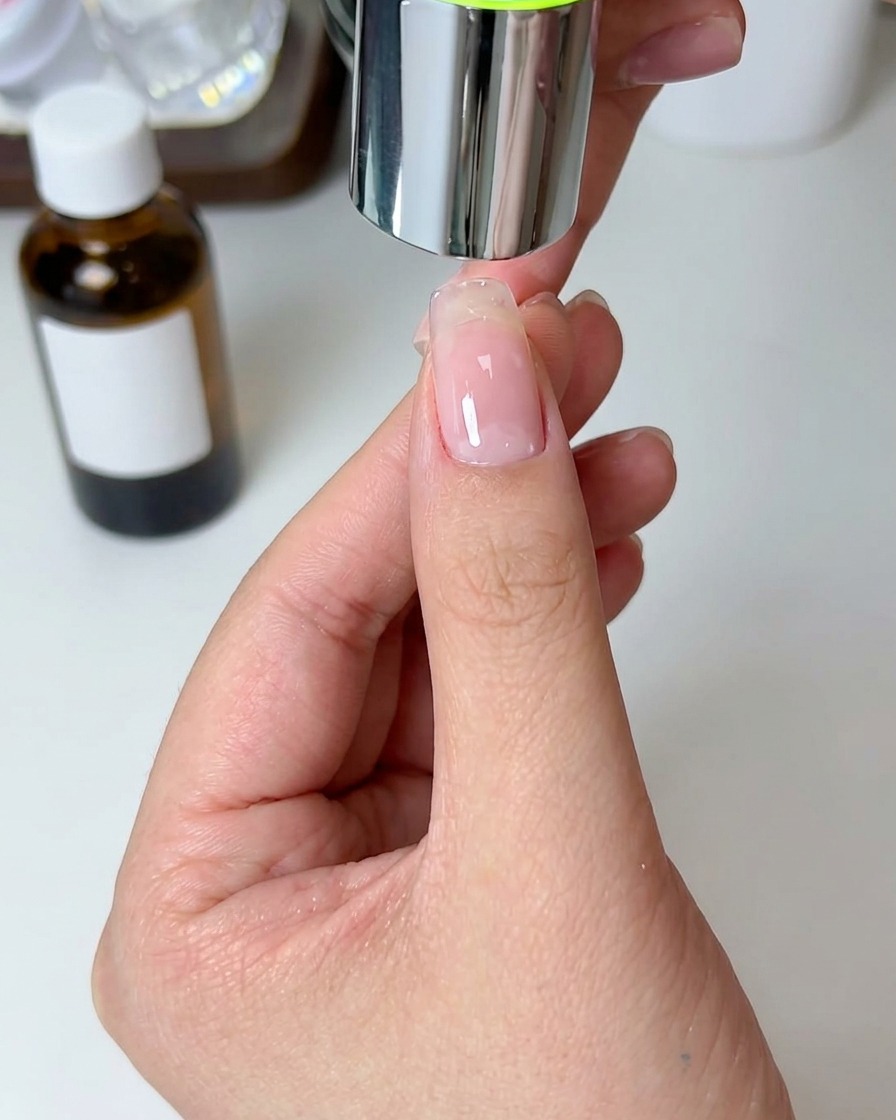
Place the nail under your UV/LED lamp and cure for the time recommended by the product manufacturer to ensure the base coat is fully set.
Tip: Ensure the entire nail surface is exposed to the light inside the lamp for an even cure. - 3Clean the nail surface
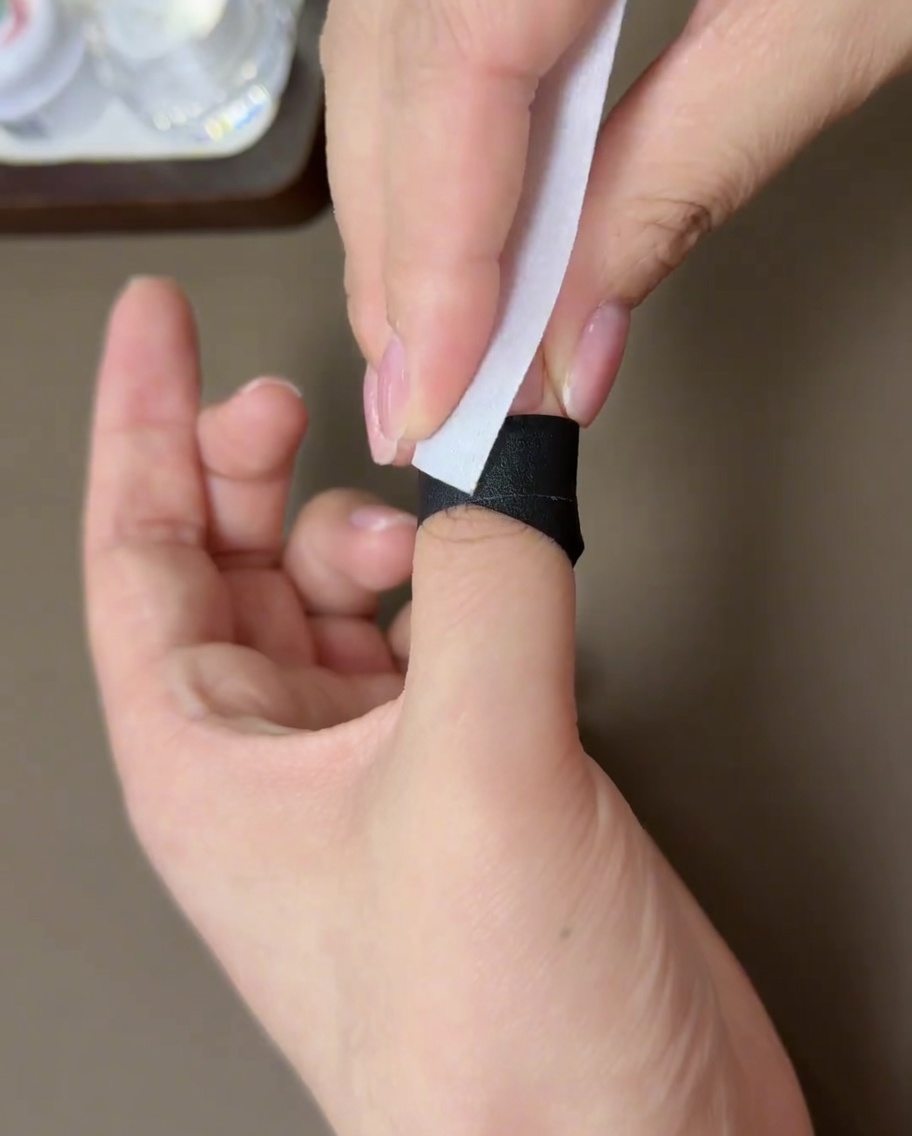
Using a lint-free wipe soaked in rubbing alcohol, thoroughly cleanse the cured nail surface. This removes the sticky inhibition layer, providing a clean, dry surface for the next step.
Tip: Use a fresh section of the wipe for each nail to avoid spreading uncured gel residue. - 4Create the blush center
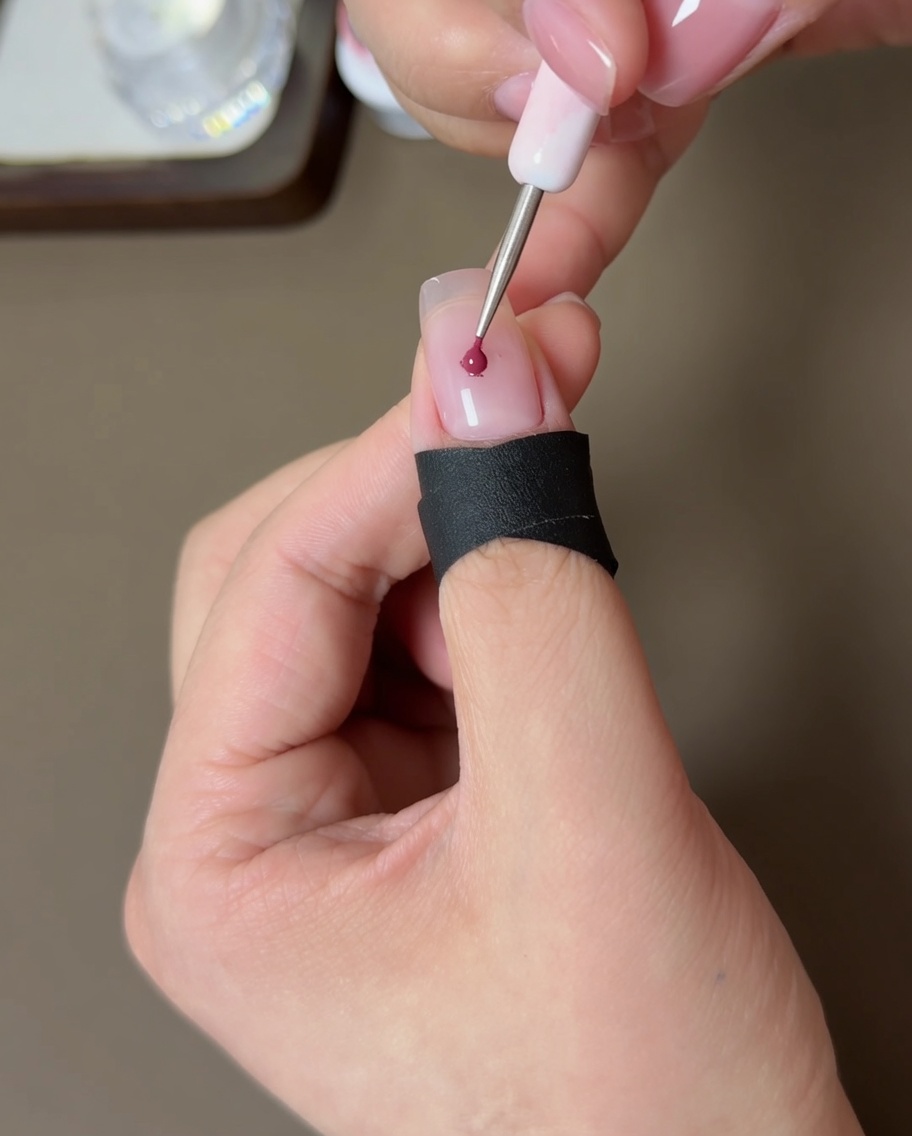
Using a small brush or dotting tool, apply a small amount of peach gel to the center of the nail. Lightly dab and blend outward to create a soft, diffused blush gradient effect.
Tip: Apply in small amounts, blending from the center outward for the best gradient. - 5Cure the peach blush
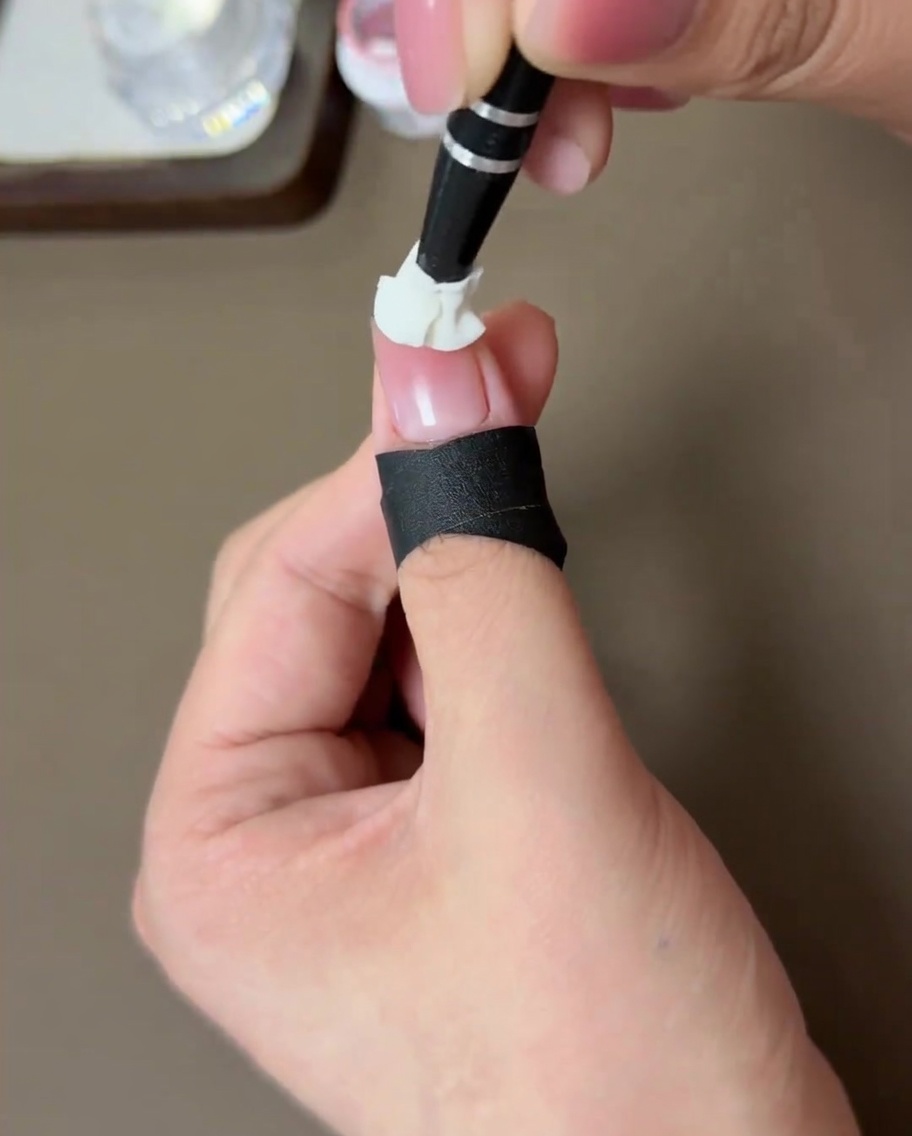
Place the nail under the UV/LED lamp and cure the first layer of peach blush color according to the manufacturers instructions.
Tip: Ensure the hand is positioned correctly inside the lamp for consistent curing. - 6Apply second layer of peach
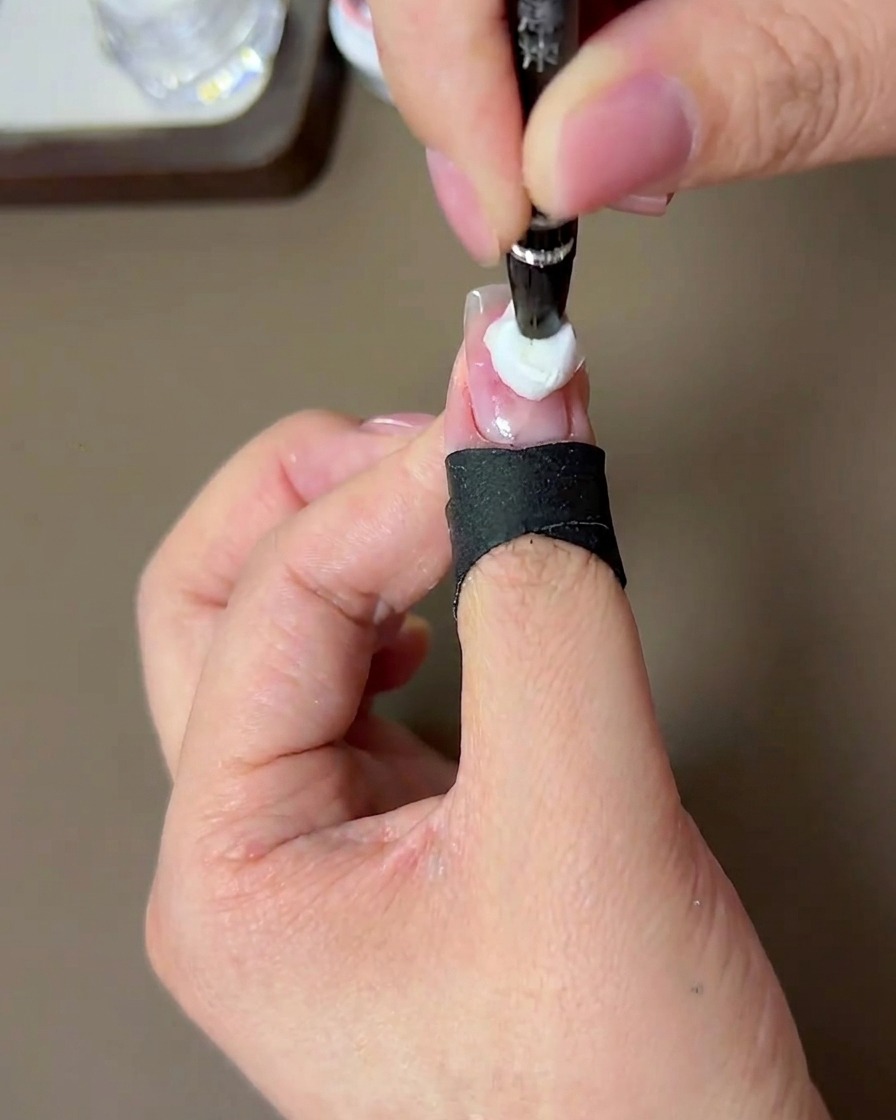
Apply a second, slightly smaller layer of peach gel to the center of the nail. Blend the edges carefully to deepen the color intensity while maintaining the soft blush look.
Tip: Focus the second layer strictly on the center to create depth in the gradient. - 7Cure the blush effect
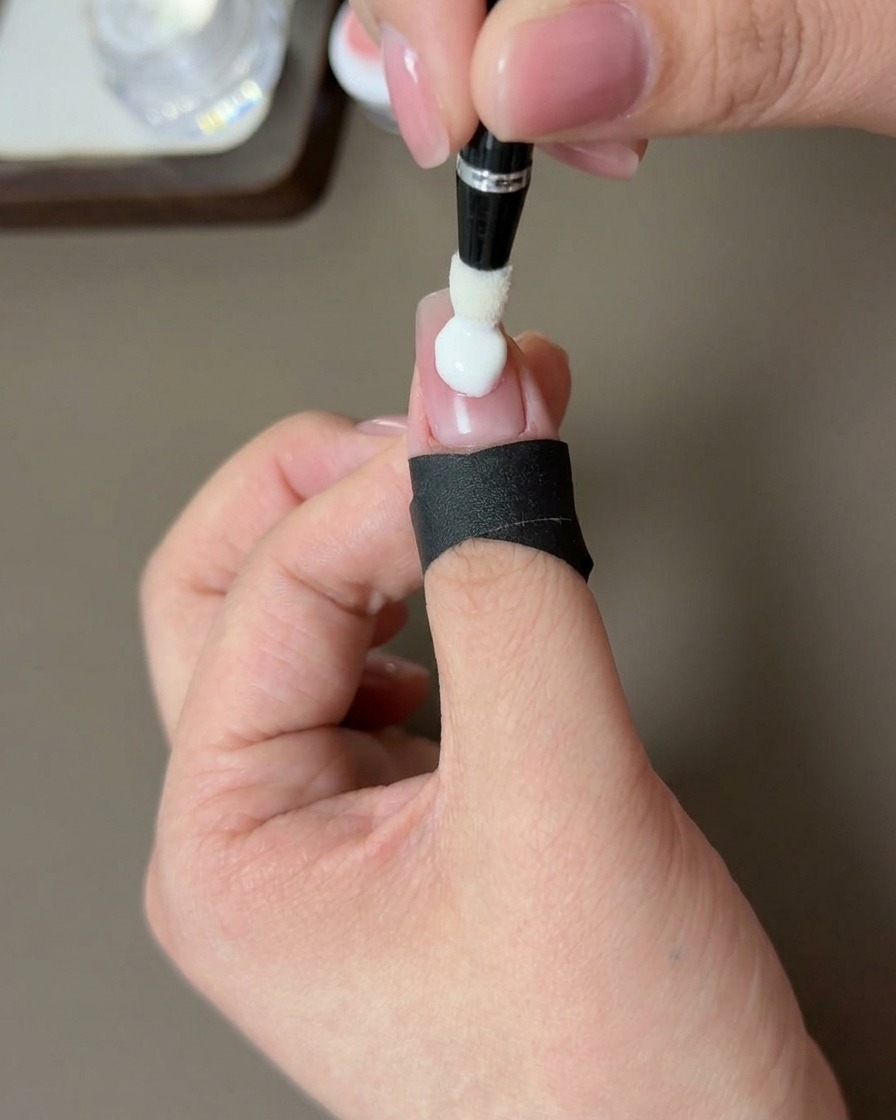
Place your hand under the UV or LED lamp to cure the second layer of peach blush gel. Ensure the nail is positioned directly under the light for the full duration recommended by the product instructions to lock in the color and blush gradient.
Tip: A full cure is essential for the blush effect to stay smooth and prevent the next layers from wrinkling. - 8Apply magnetic cat-eye gel
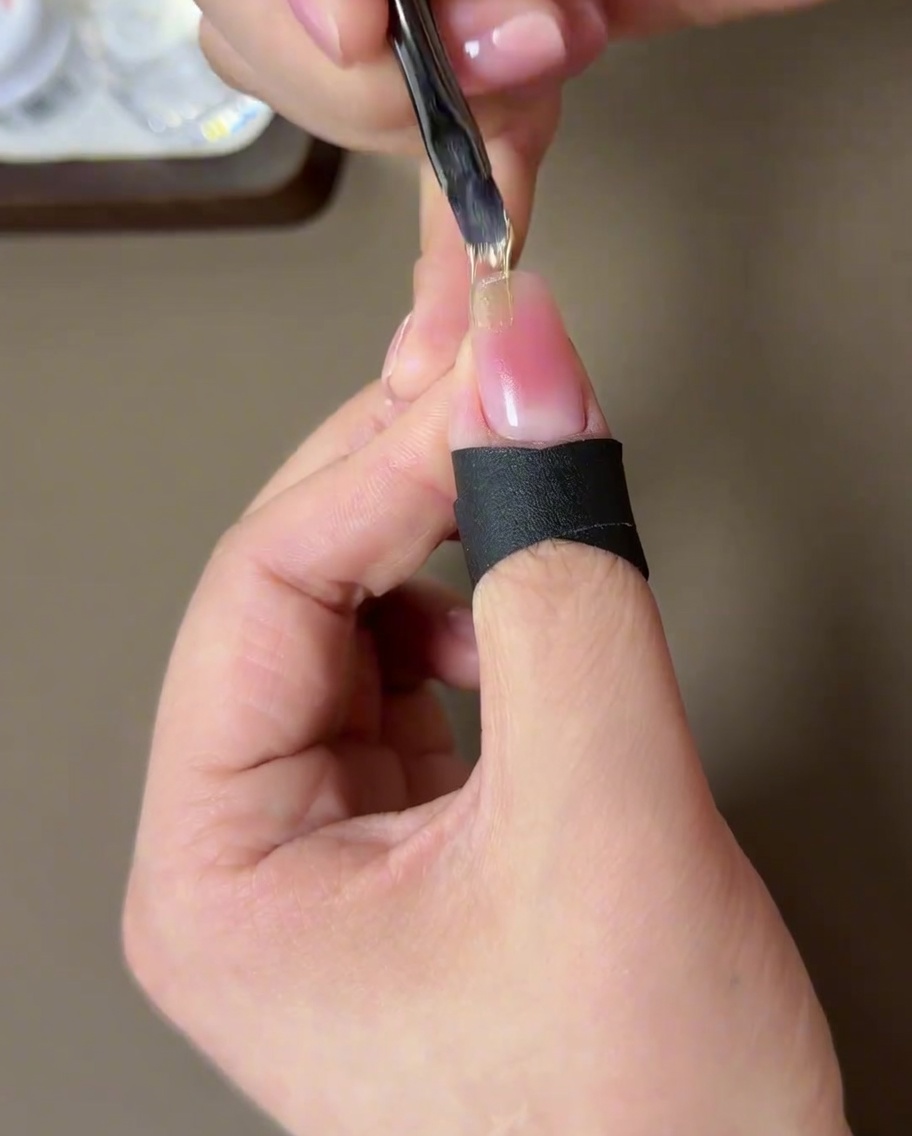
Using a small gel brush, carefully apply a thin layer of champagne gold cat-eye magnetic gel to the top third of the nail, preparing the surface for the magnetic French-tip effect.
Tip: Apply the gel thinly to maintain a clean transition line where the magnetic effect will later be pushed. - 9Blend the gold gel
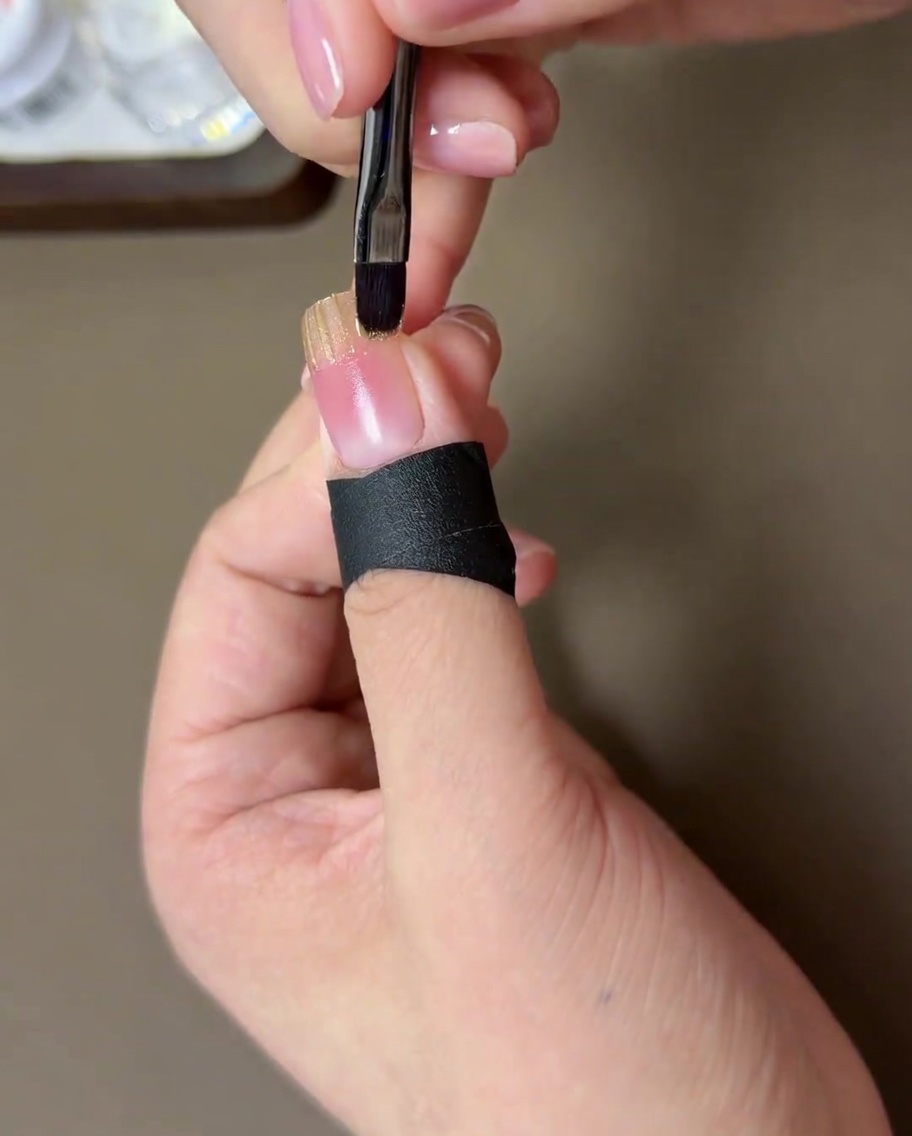
Use a clean, small brush to gently tap and feather the edge of the gold gel where it meets the blush base. This softens the transition to create a smooth gradient effect before you apply the magnet.
Tip: Wipe your brush on a lint-free wipe frequently during blending to keep the edges clean and avoid dragging too much product. - 10Activate magnetic particles
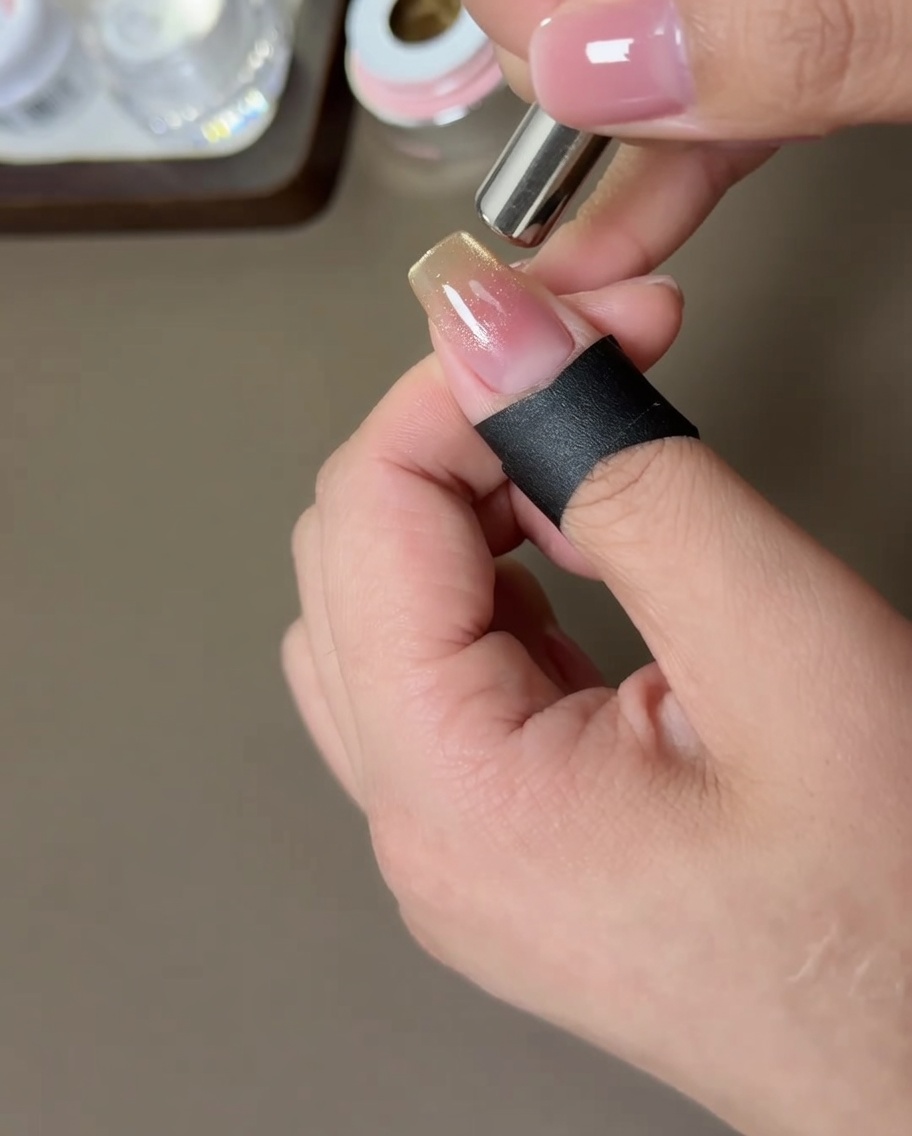
Position a cylindrical magnet on either side of the nail for a few seconds. This movement draws the magnetic pigment in the gel toward the center, creating depth and a glowing effect before shaping it further.
Tip: Hold the magnet close to the nail without touching the wet gel to get the strongest magnetic response. - 11Form the magnetic French line
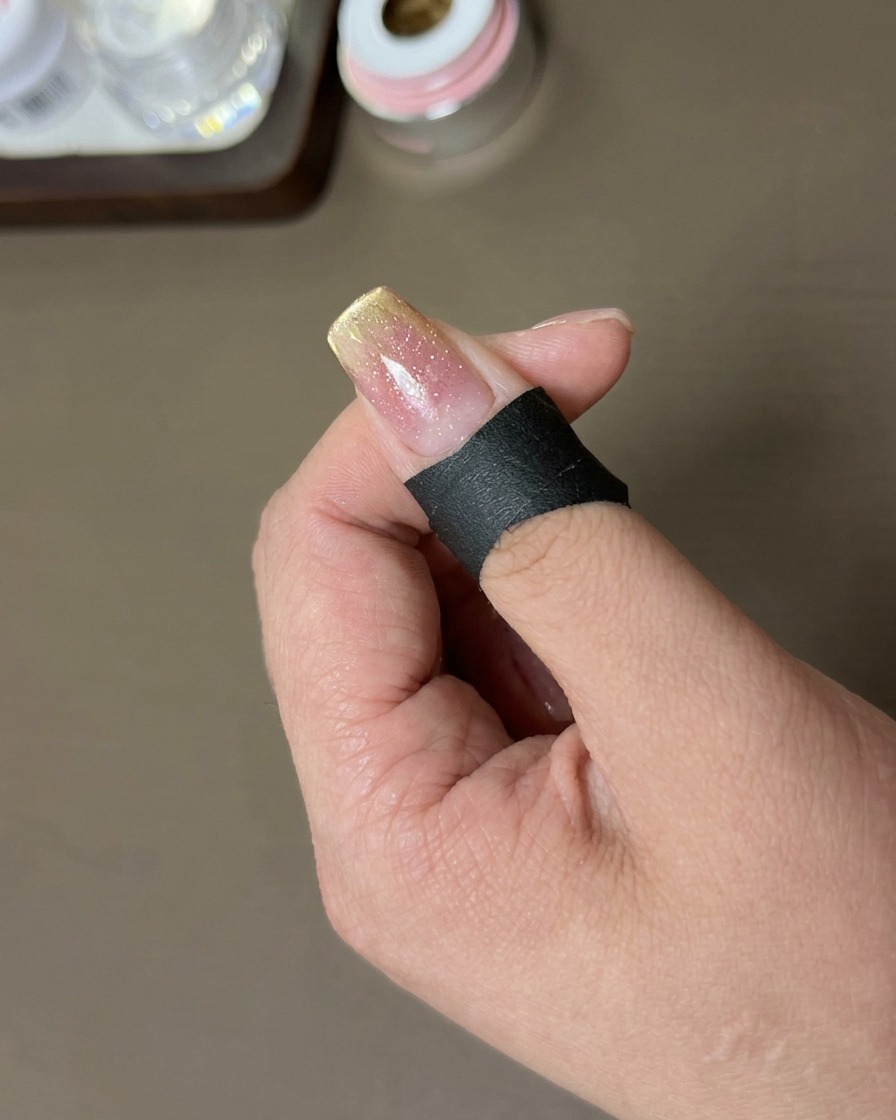
Hold a rectangular magnet parallel to the nail tip. Gently guide the magnetic particles toward the very edge of the nail to form a crisp, sharp French-tip line before curing.
Tip: Move the magnet slowly and steadily to ensure the line is even and sharp across the entire tip. - 12Cure the magnetic design
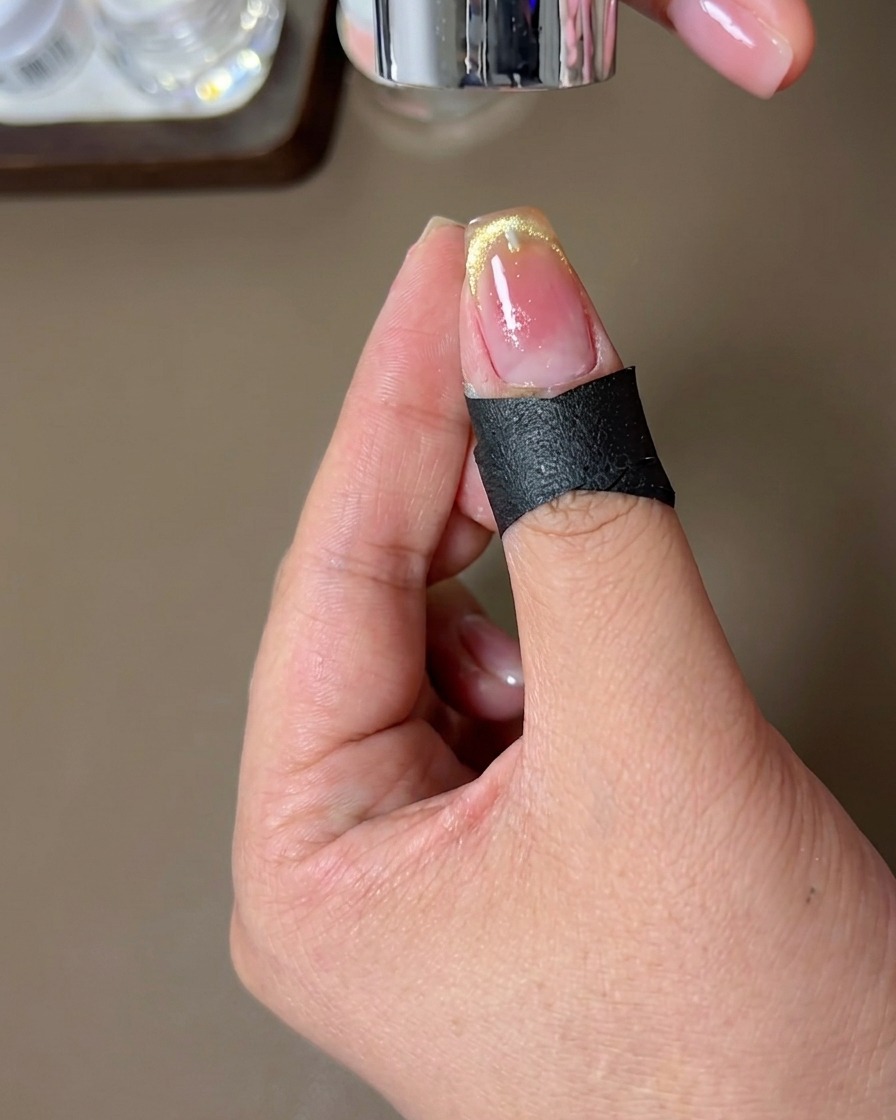
Once you are satisfied with the sharp French-tip line created by the magnet, immediately place the nail under the UV or LED lamp to cure. This locks the magnetic particles in place so the line stays crisp.
Tip: Avoid moving the magnet once the nail is inside the lamp, as the particles will not be set until the cure is finished. - 13Apply no-wipe top coat
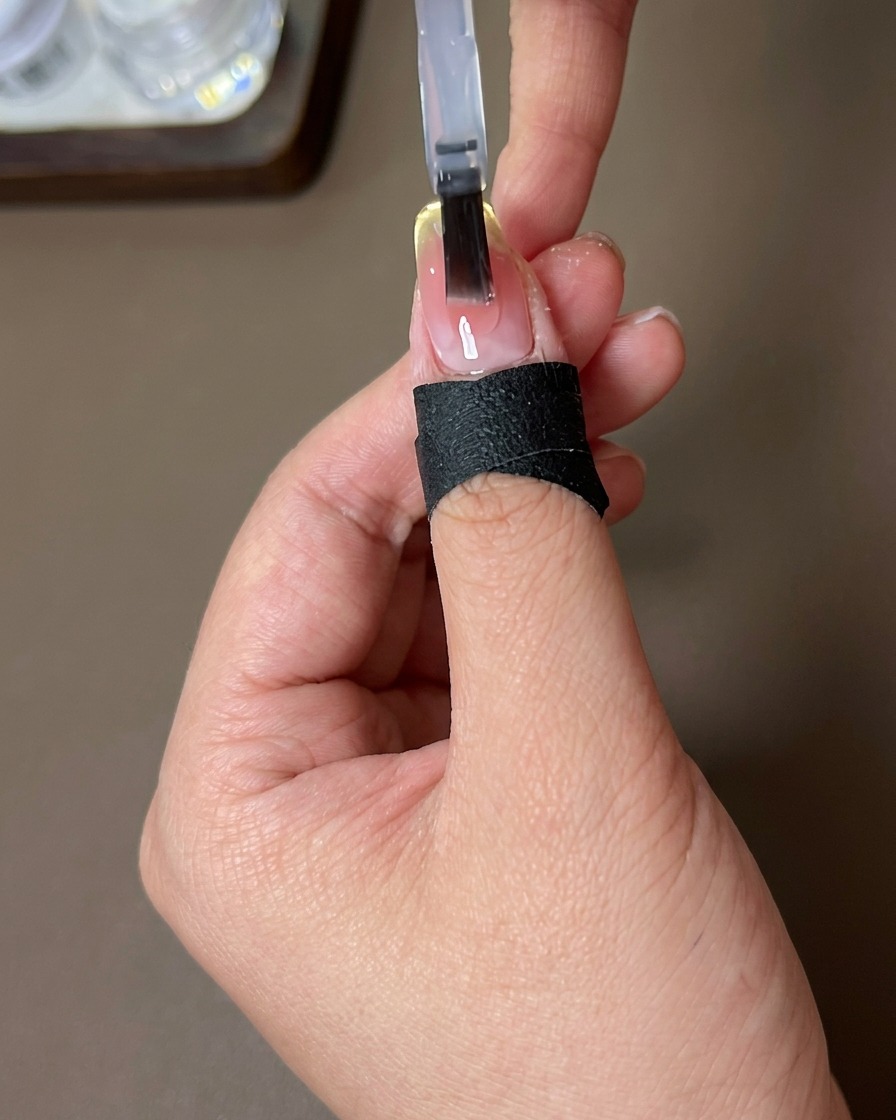
Apply an even layer of no-wipe top coat over the cured nail surface. Ensure the product covers the entire nail, including the free edge, to seal the design and protect the chrome effect applied in the next step. Cure under the UV/LED lamp as directed by your top coat brand.
Tip: Applying a smooth layer here is crucial, as the chrome powder will highlight any unevenness in the top coat surface. - 14Cure the top coat
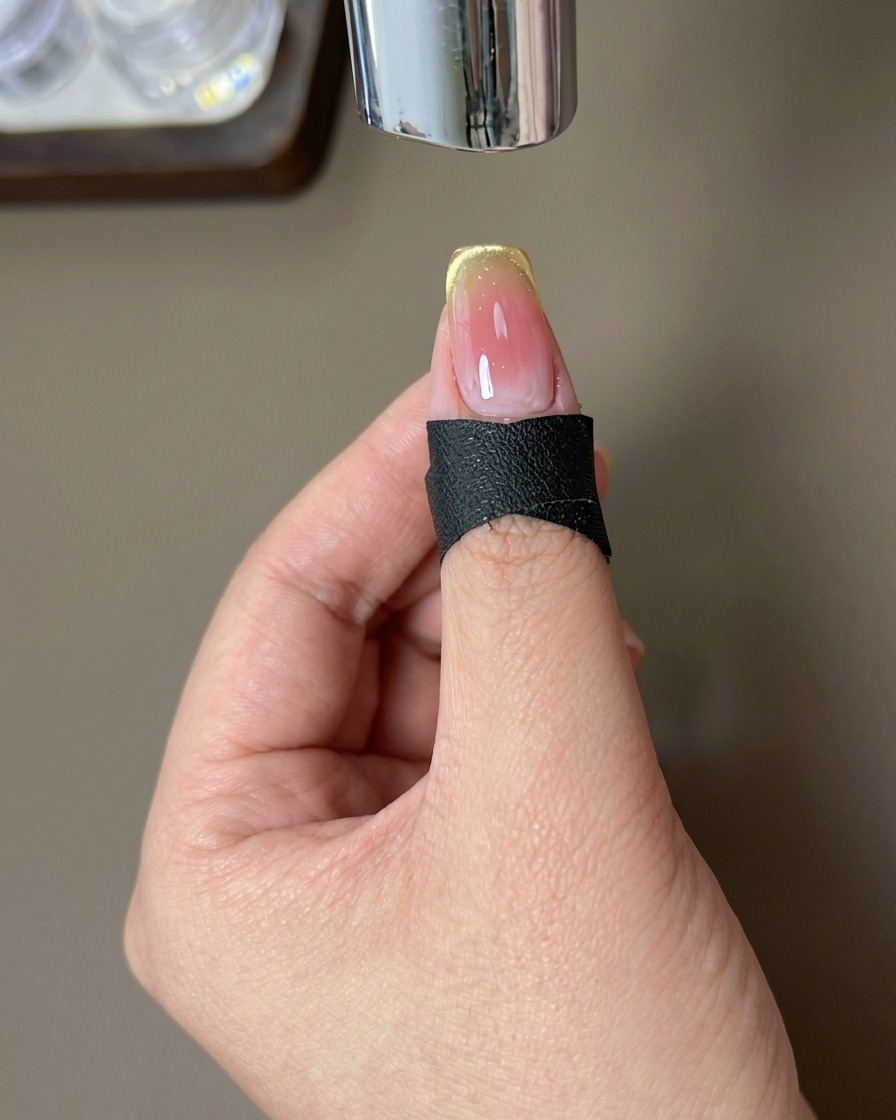
Place your finger under the UV or LED lamp to cure the no-wipe top coat. Ensure your finger is positioned directly under the light source for the full duration recommended by the product manufacturer to ensure complete curing.
Tip: Check that the nail is centered under the lamps light to ensure an even cure across the entire surface. - 15Apply aurora chrome finish
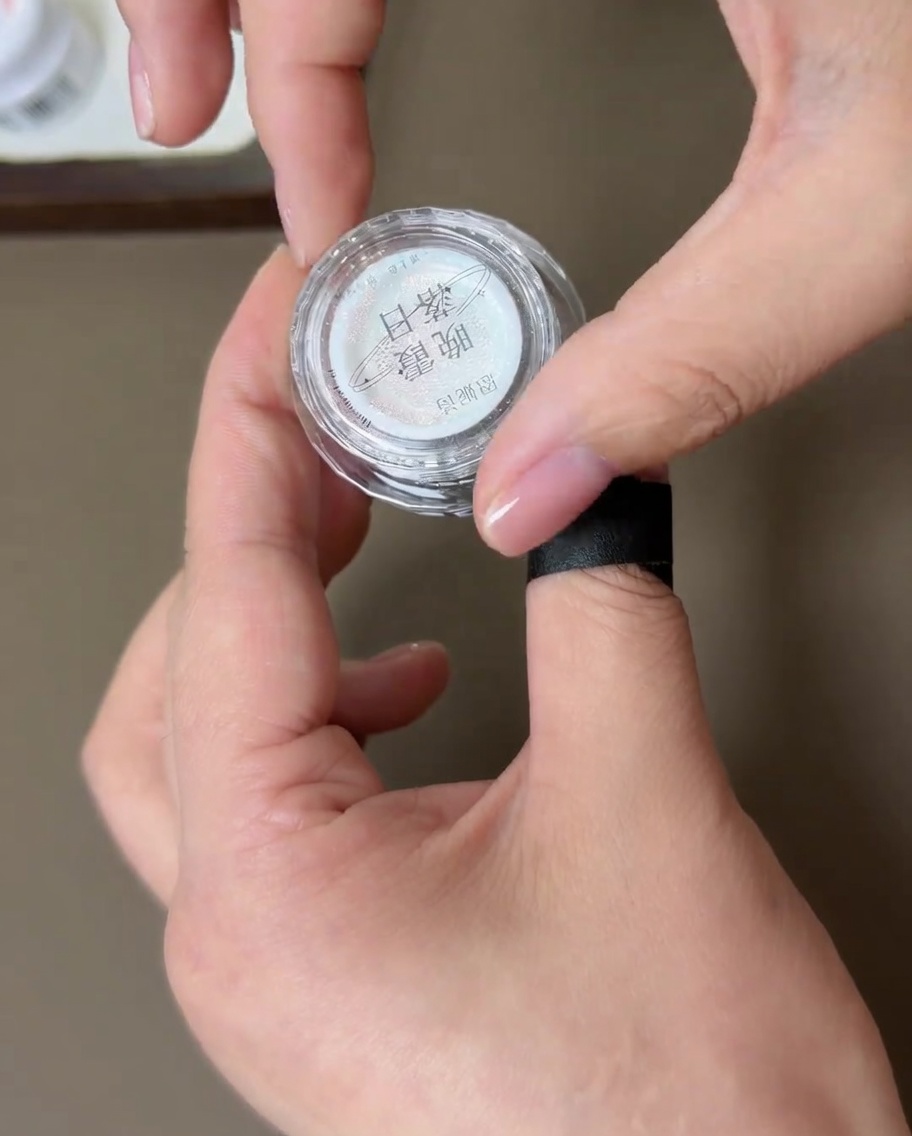
Using a soft foam applicator sponge, pick up a small amount of sunset aurora chrome powder and rub it over the cured nail surface in circular motions to achieve a mirror-like iridescent finish.
Tip: A little powder goes a long way. Start with a small amount on the sponge and build up intensity to avoid mess. - 16Clean nail edges
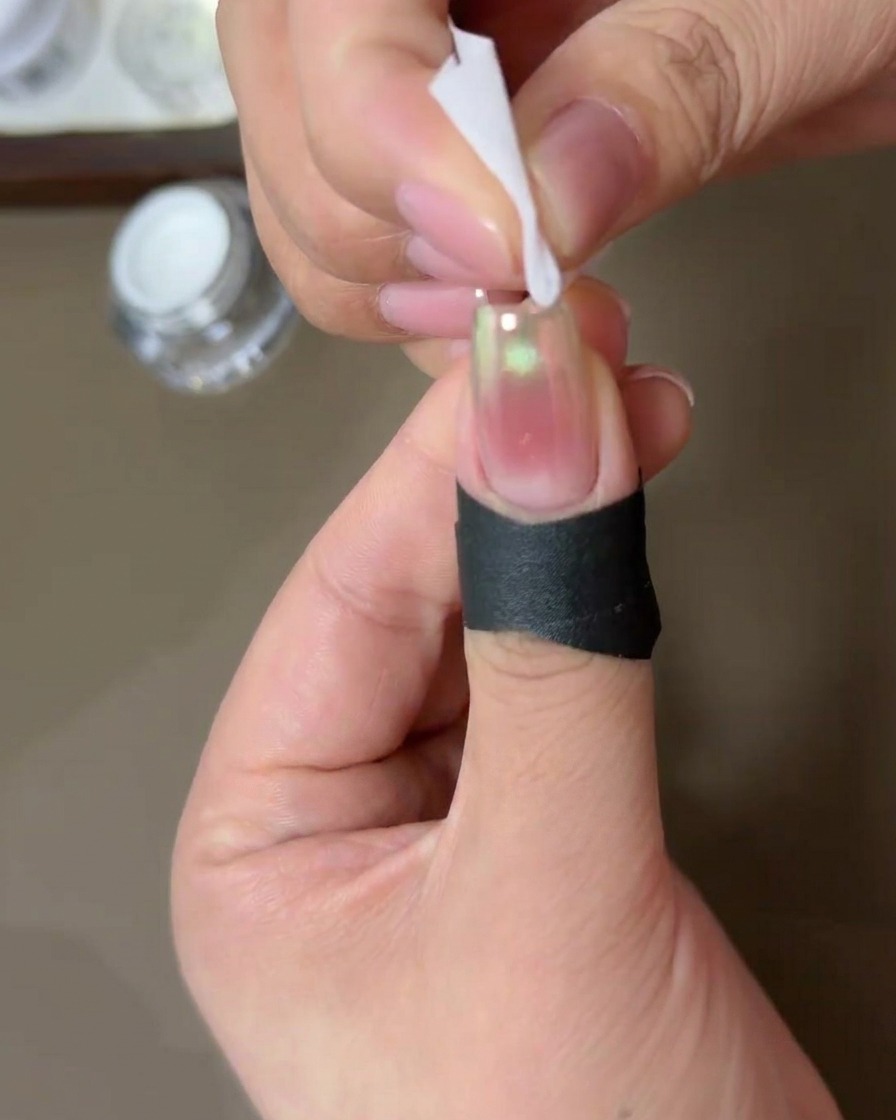
After applying the chrome powder, use a lint-free wipe dampened with alcohol to clean the edges and sidewalls of the nail. This removes any stray powder particles that might cause the top coat to lift or peel prematurely.
Tip: Be thorough when wiping the edges to ensure the final seal coat adheres only to the nail and not to loose powder. - 17Apply final strengthening top coat
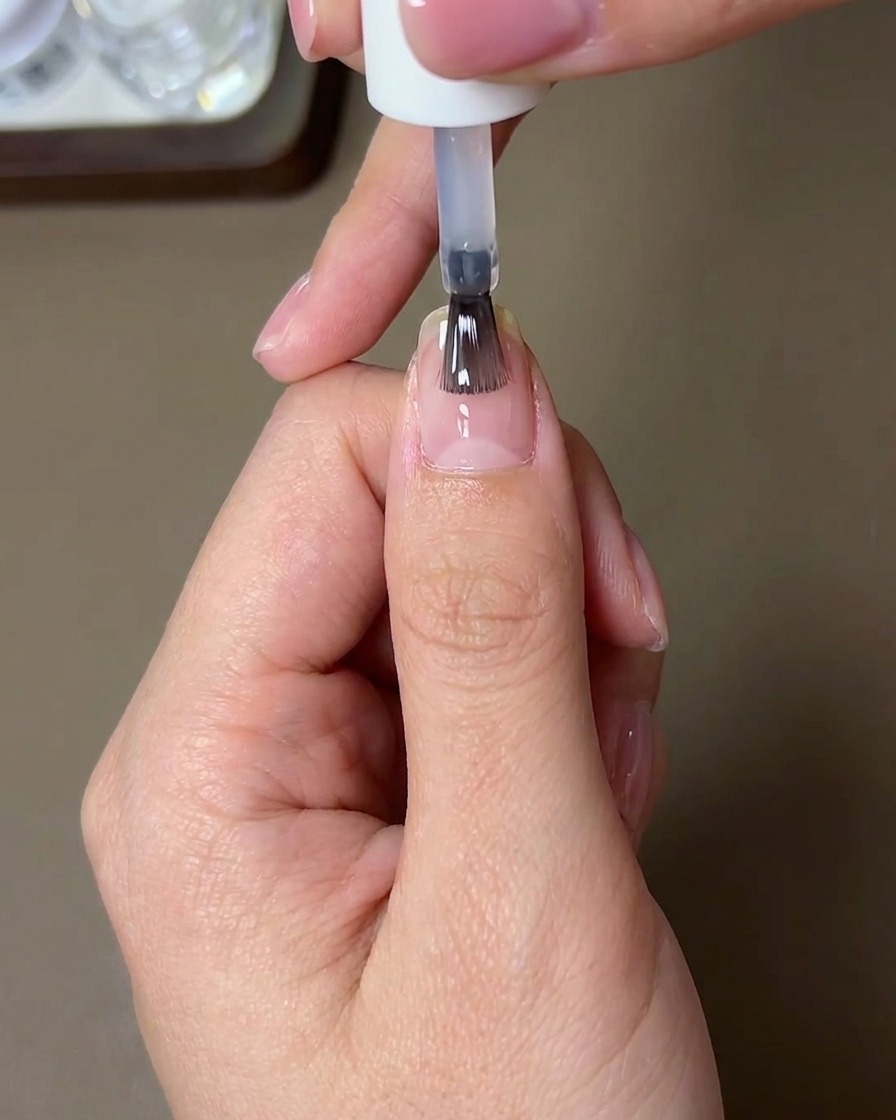
Apply a final layer of strengthening top coat over the entire nail to lock in the sunset aurora chrome effect. Carefully cap the free edge to ensure longevity and prevent the chrome from rubbing off at the tips.
Tip: This final top coat provides the durability needed to keep the chrome finish shiny and resistant to scratches. - 18Cure the final top coat
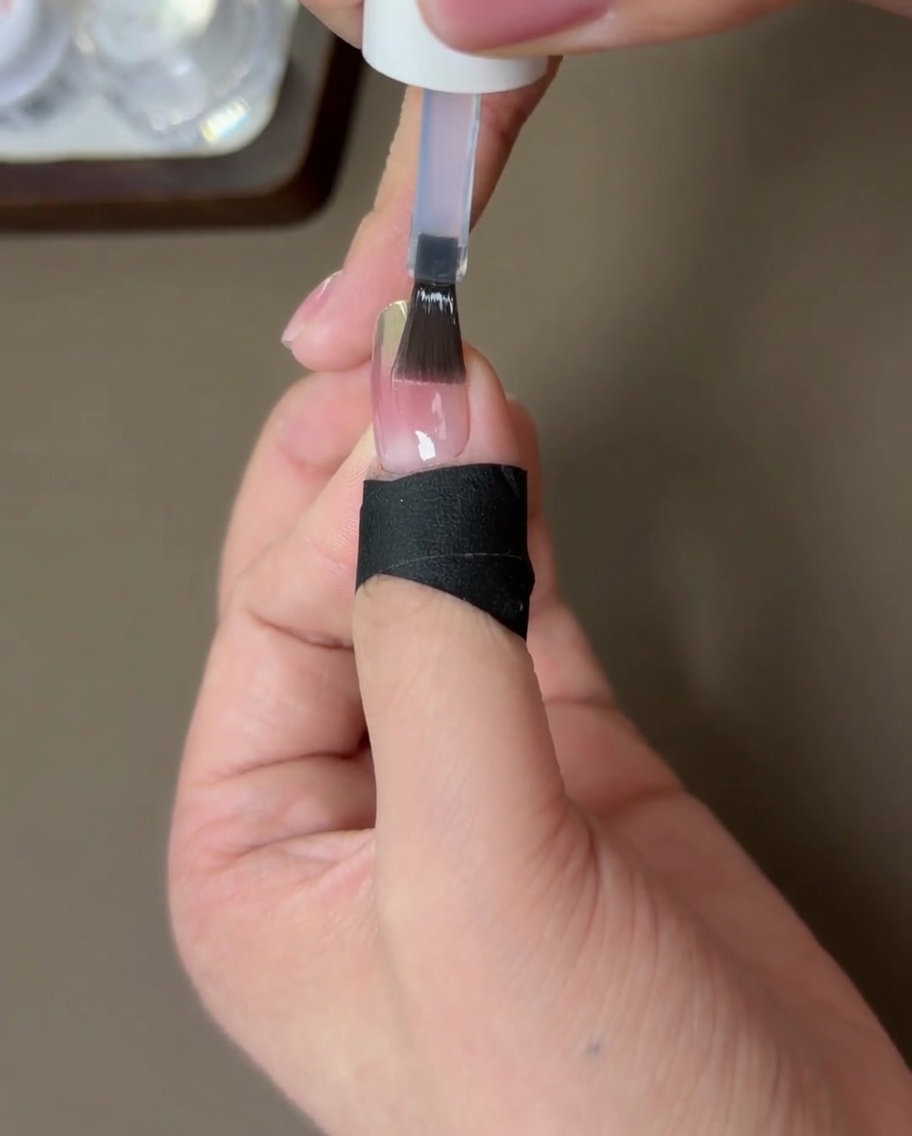
Place the nail under the UV or LED lamp one last time to cure the strengthening top coat. Allow it to cure for the full recommended time to ensure the manicure is completely set, hard, and high-gloss.
Tip: Once cured, avoid touching the nail for a few seconds to let it cool, ensuring the best possible shine.