Sunset Glow Aurora Cat Eye Nails — Step-by-Step Tutorial
Create a mesmerizing sunset glow with this cat eye nail tutorial. Learn to blend blush tones with iridescent aurora powder for a stunning, high-gloss finish.
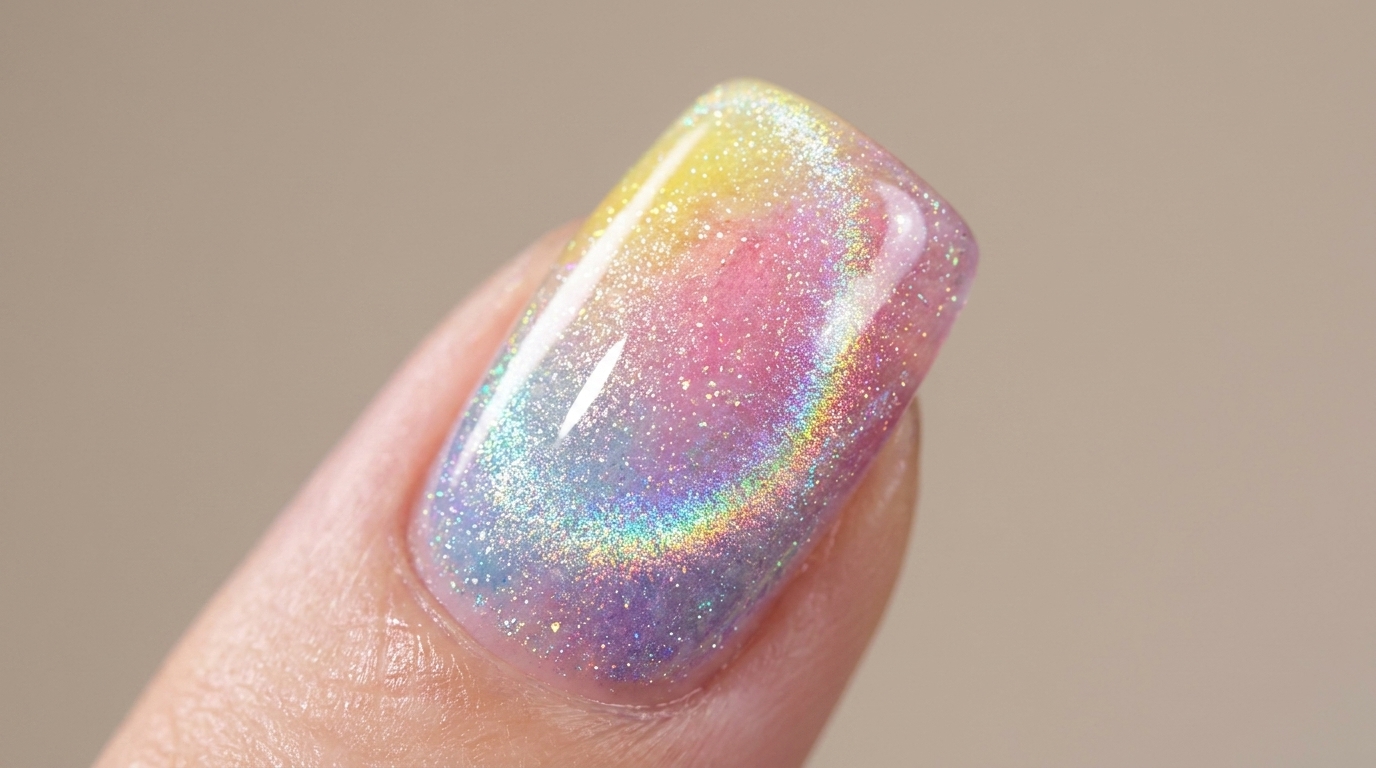
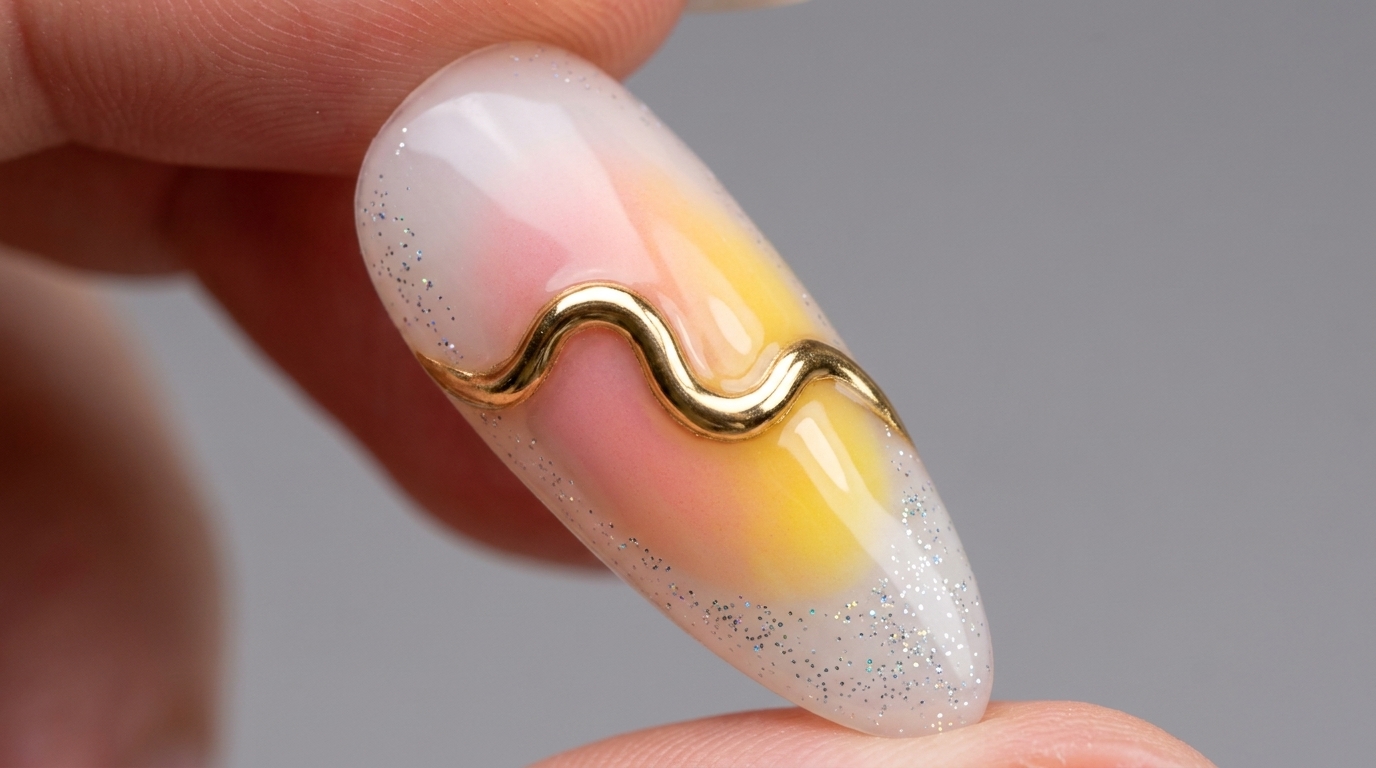
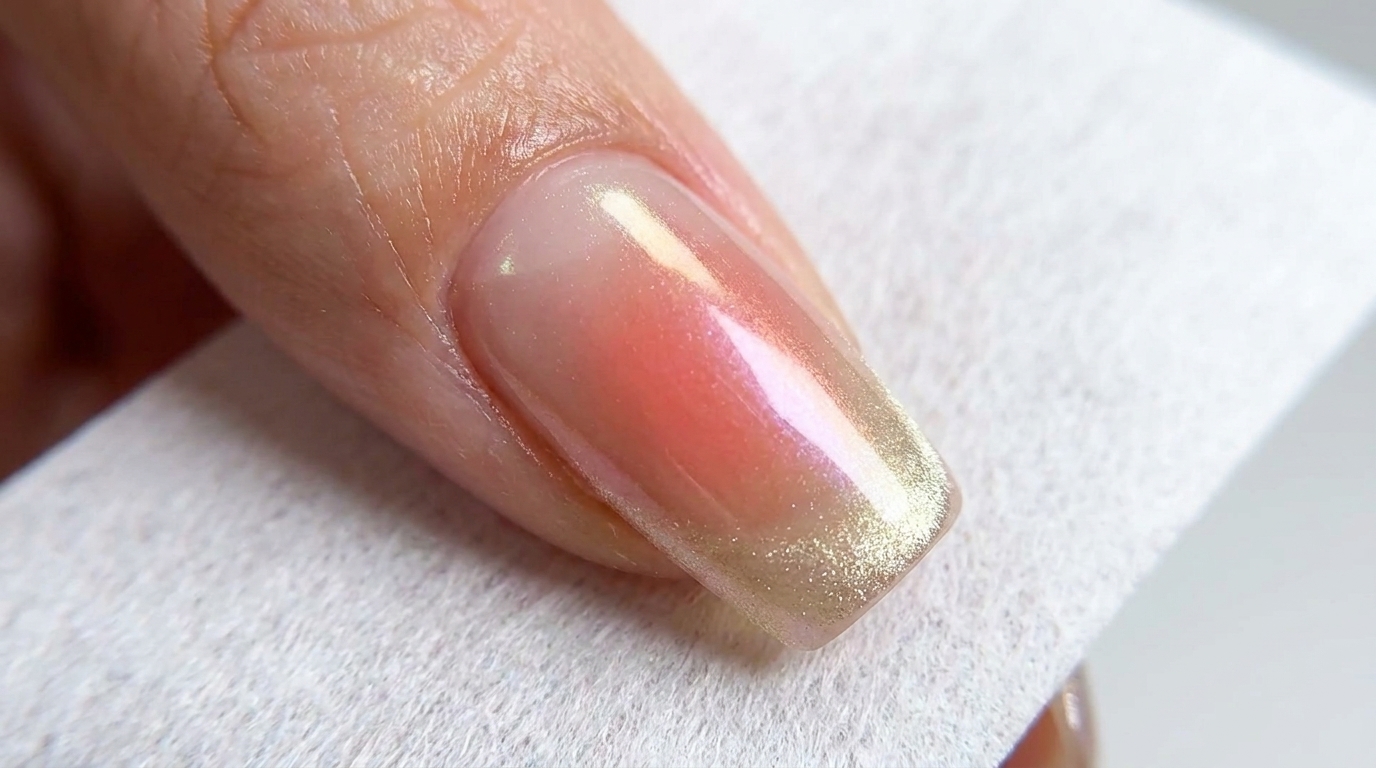
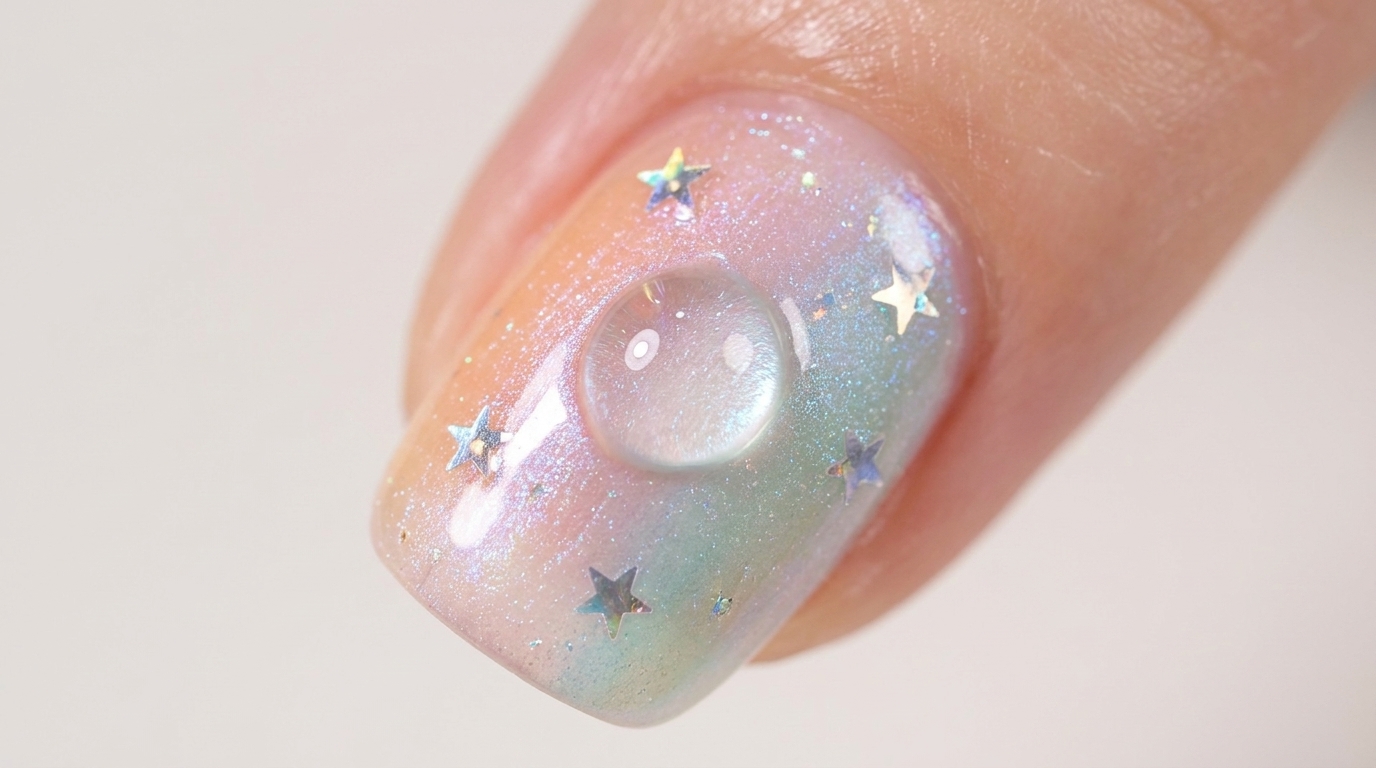
The sunset glow aurora cat eye look is a breathtaking combination of depth and shimmer, perfect for those who love ethereal, color-shifting nails. This design uses a soft blush base layered with magnetic cat eye gel to create a multidimensional arc, finished with a subtle aurora powder gradient that mimics a golden hour sky. It is a fantastic technique to elevate your manicure game with a professional, salon-quality aesthetic.
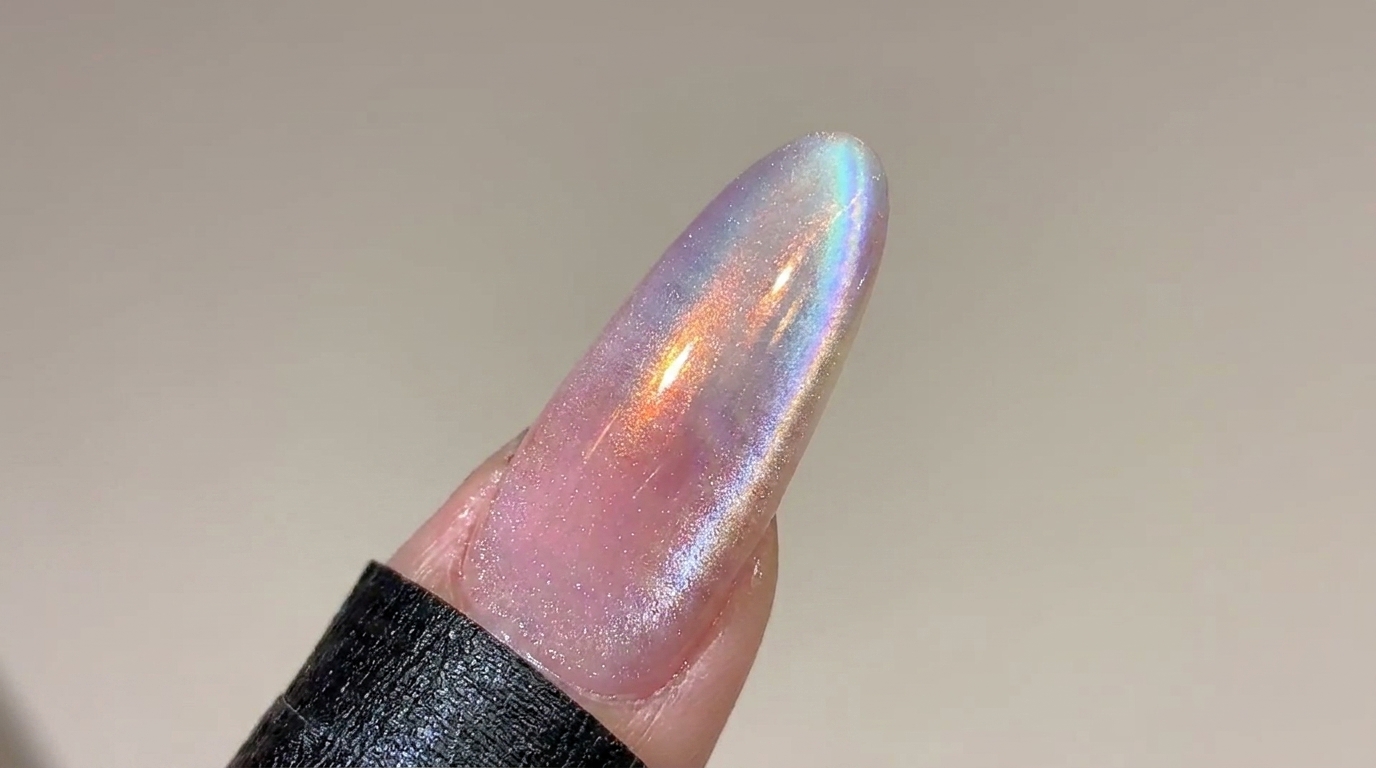
Steps
- 1Apply base color to free edge
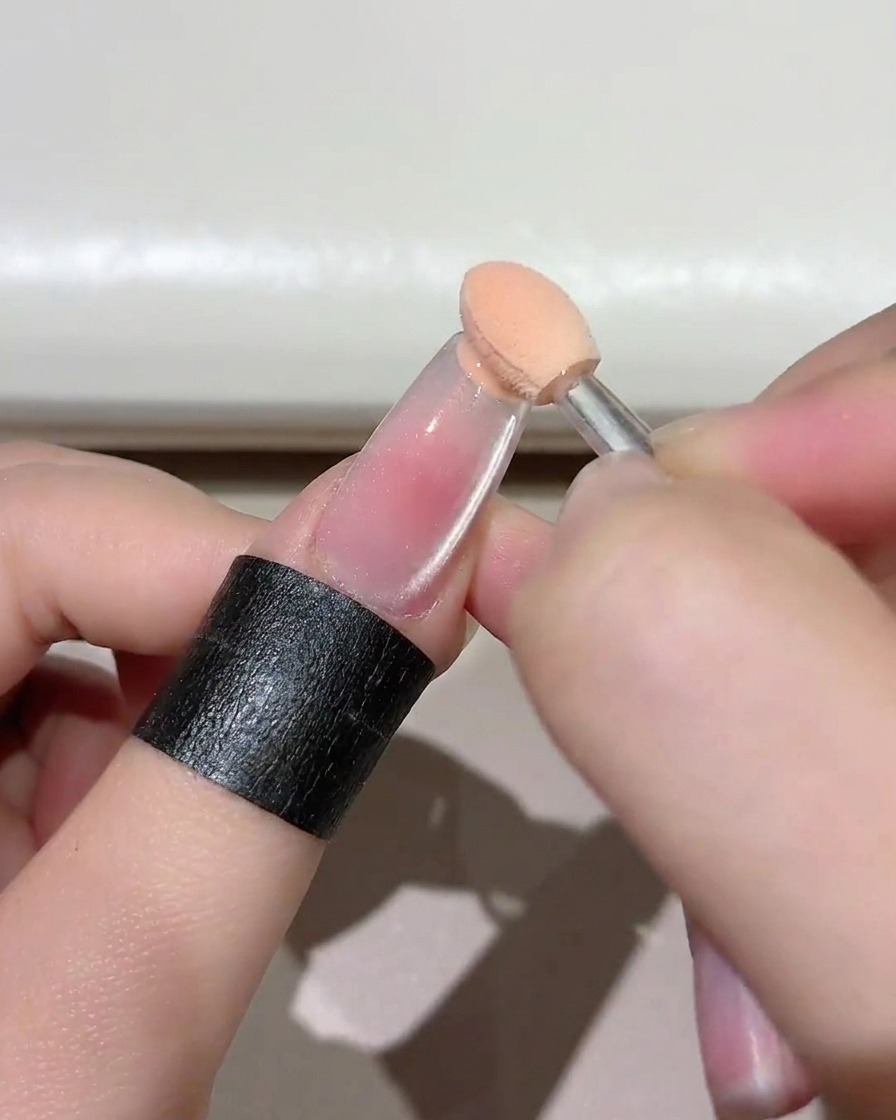
Using a small sponge applicator, gently dab the Gentle No. 01 gel onto the free edge of the nail. Concentrate the product at the tip and lightly fade it upwards to ensure a seamless blend. This creates the foundational coverage for your sunset gradient.
Tip: Dabbing rather than wiping with the sponge helps build opacity exactly where you need it without smearing the product. - 2Create the blush effect
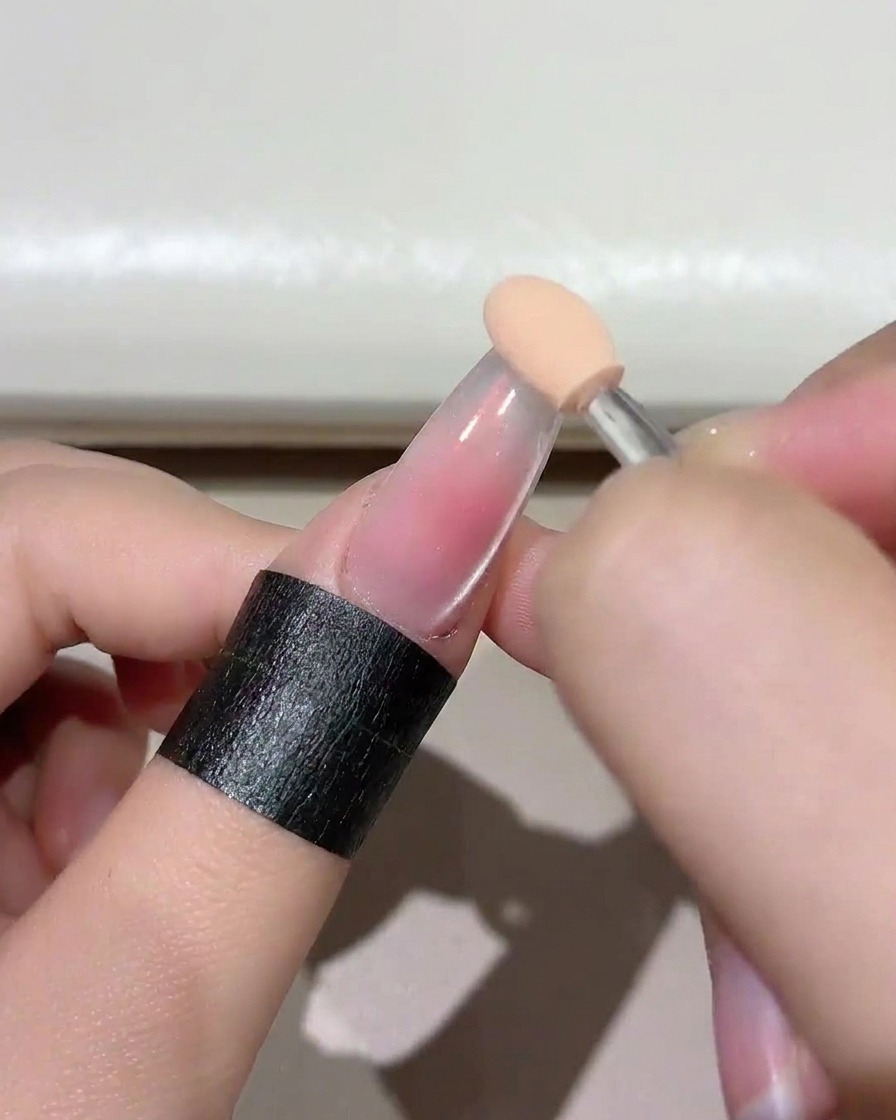
Take the Gentle No. 06 gel and apply it over the nail tip area with your sponge applicator. Lightly pat the color to blend it into the previous layer, creating a soft, diffused blush effect across the nail. Take your time to ensure the transition is perfectly smooth.
Tip: Use a very light hand when patting the gel to avoid lifting the underlying layer. - 3Cure the blush-effect gel
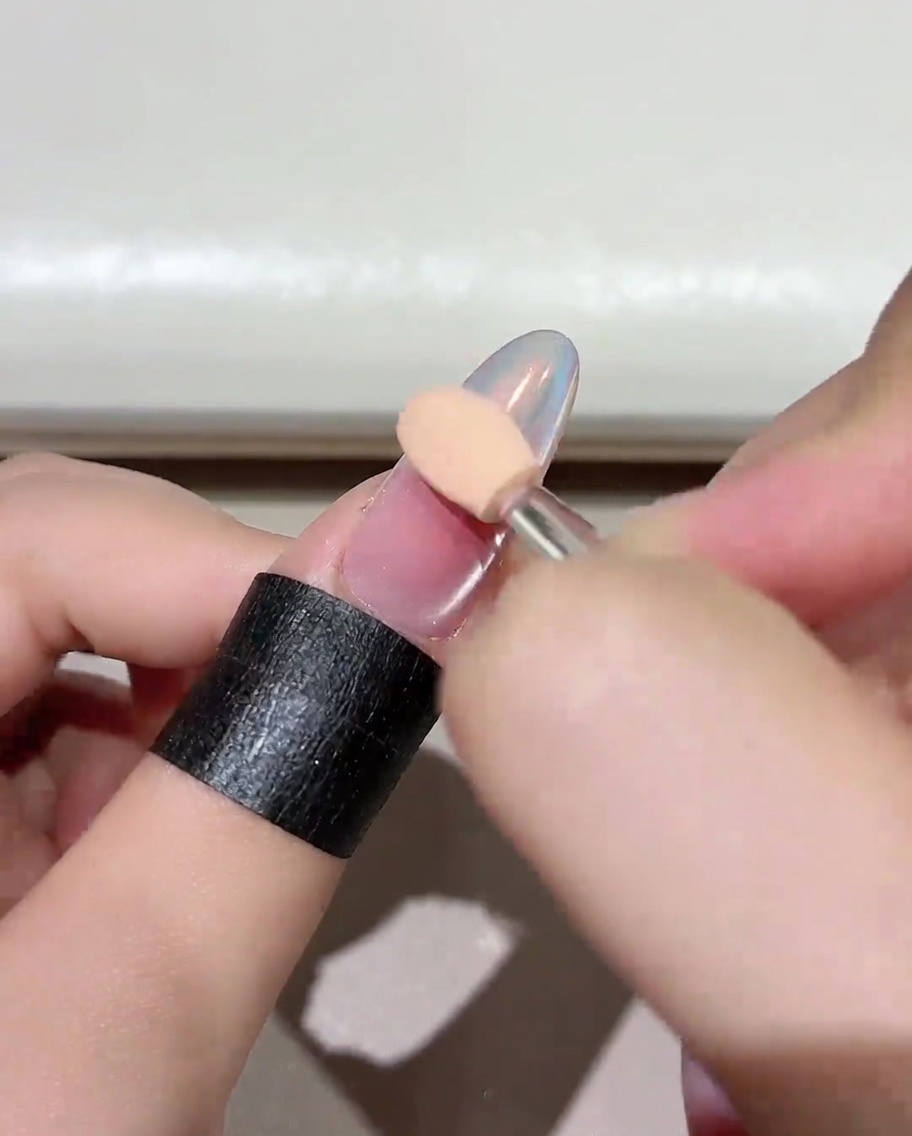
Place your nails under the UV/LED lamp to cure the blush-effect gel layer. Ensure your fingers are positioned flat to allow for even light distribution across the entire surface of the nail. Follow the recommended curing time for your specific gel polish to guarantee a durable, long-lasting finish.
Tip: Do not move your hand while curing to prevent the gel from smudging or unevenly settling before it sets. - 4Apply Jade D05 gel
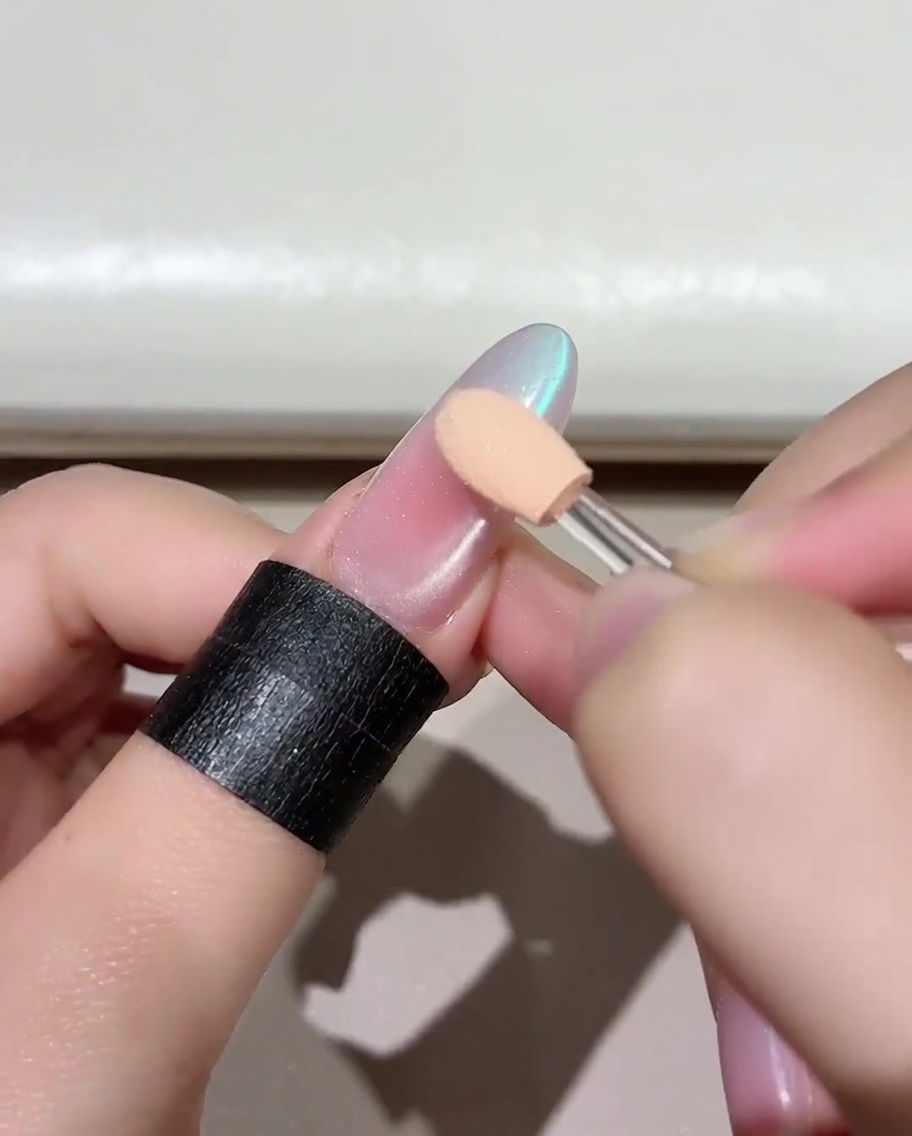
Apply an even layer of Jade D05 gel over the entire surface of the nail. Use smooth, consistent brush strokes to ensure uniform coverage and prevent pooling at the cuticles or edges. Capping the free edge will help improve wear and prevent chipping.
Tip: Use a light hand when brushing to avoid creating streaks or bubbles in the gel finish. - 5Cure the Jade D05 layer
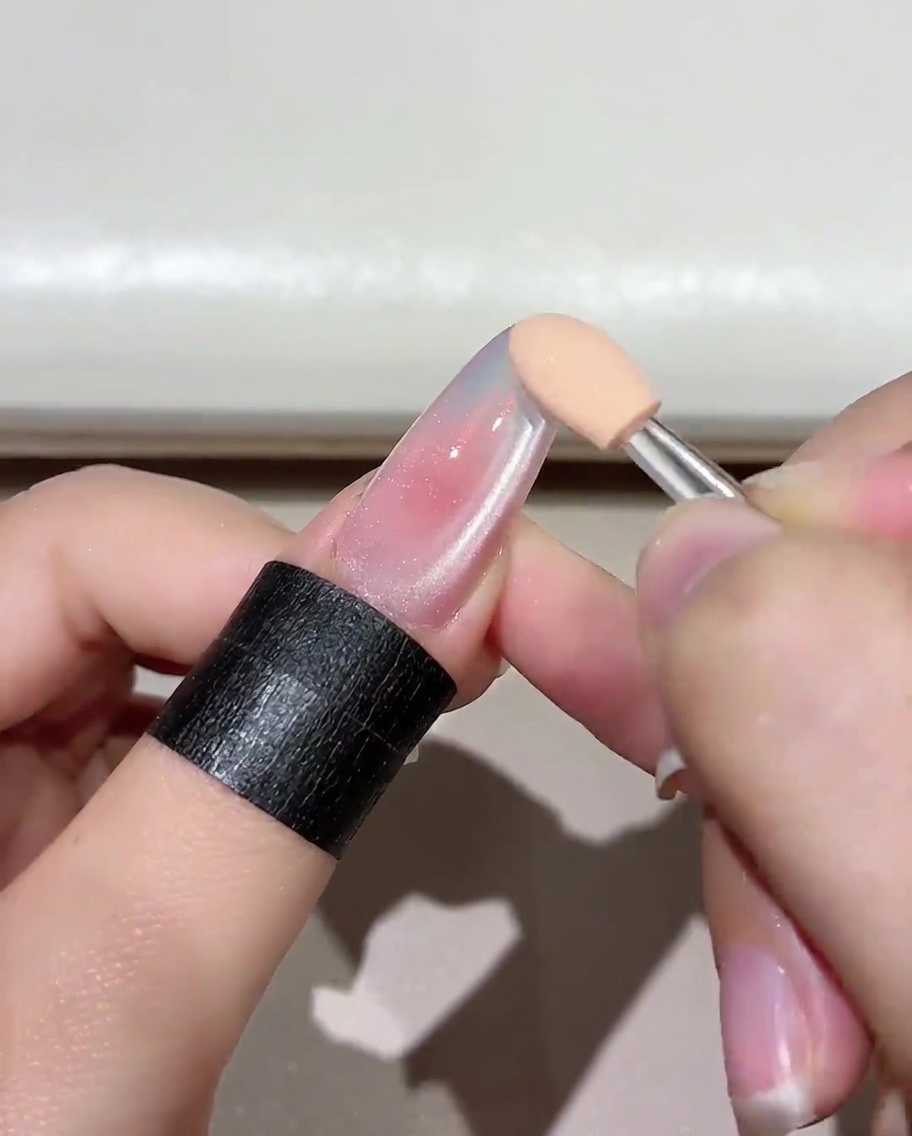
Place the nail under the UV/LED lamp to cure the freshly applied Jade D05 gel. Keep the finger steady during the curing cycle to ensure the gel hardens into a smooth, even layer. Properly curing this base color provides the perfect foundation for the cat eye effect.
Tip: Check that the entire nail surface is exposed to the light inside the lamp for a thorough cure. - 6Apply cat eye gel
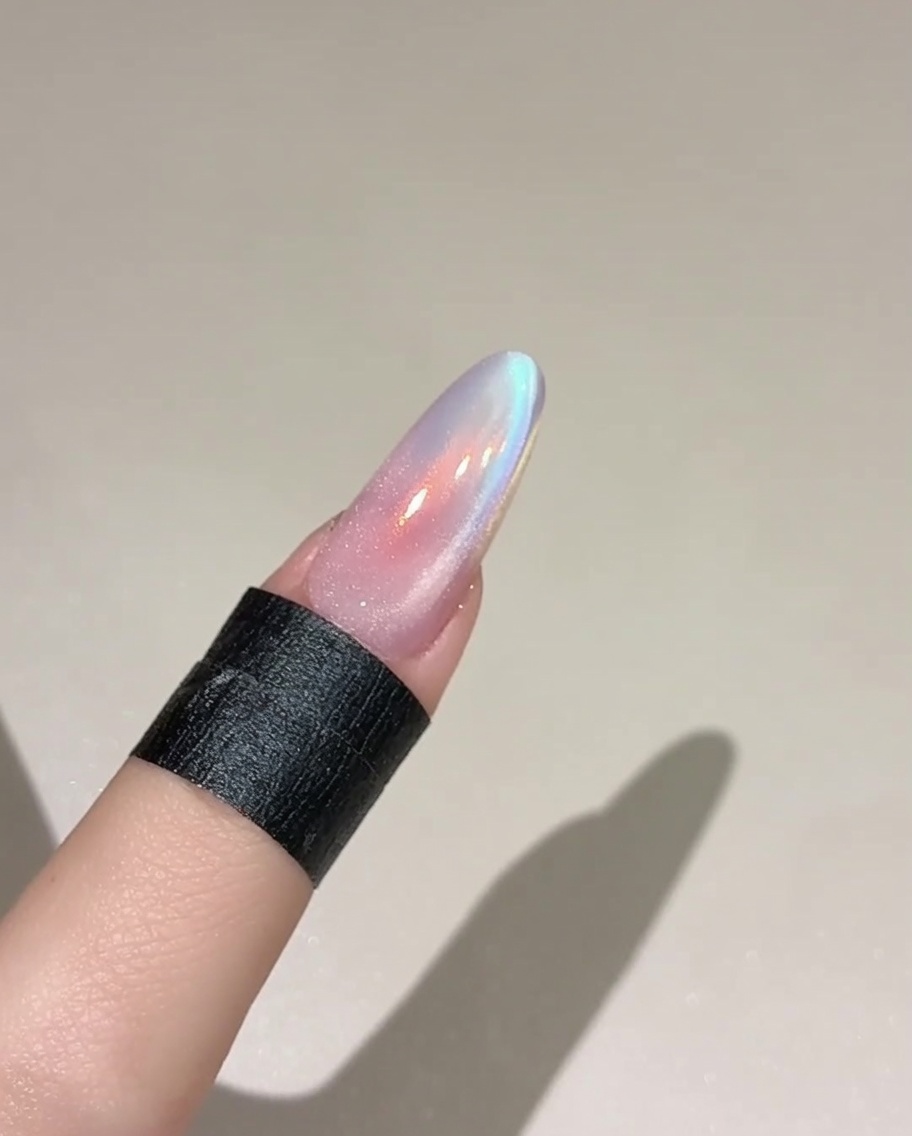
Apply a coat of Watery Clear No. 02 cat eye gel over the existing color. Apply it evenly, ensuring good coverage across the whole nail. You do not need to cure this layer yet, as you will need to manipulate the magnetic particles immediately after application.
Tip: Applying a medium-thickness coat gives the magnetic particles enough room to move and create the desired cat eye pattern. - 7Form the magnetic side arc
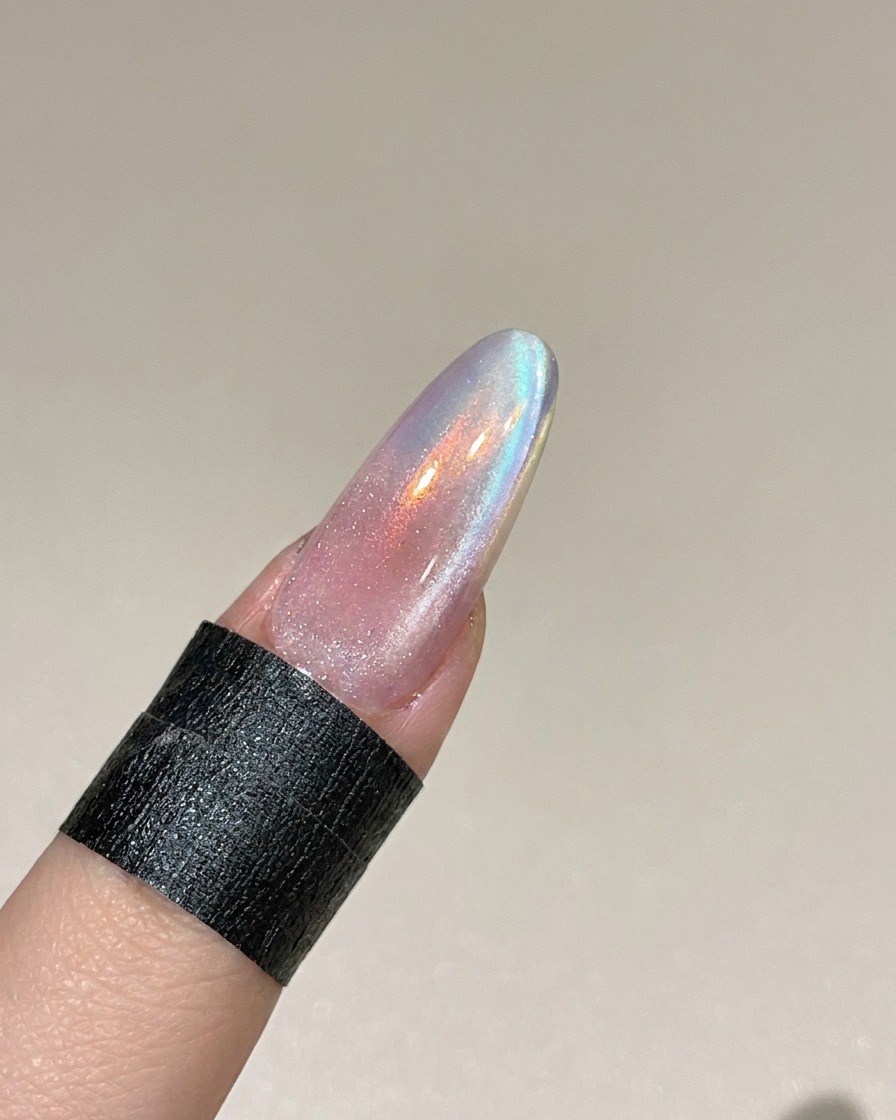
Hold the special magnet close to the side of the nail without touching the wet gel surface. Slowly guide the magnet along the side to draw the magnetic particles into a beautiful side arc effect. Once you are satisfied with the shimmering arc, keep your hand perfectly steady for a few seconds before placing it into the lamp to cure.
Tip: The closer the magnet is to the nail, the sharper and more defined the cat eye arc will appear. - 8Cure the cat eye effect
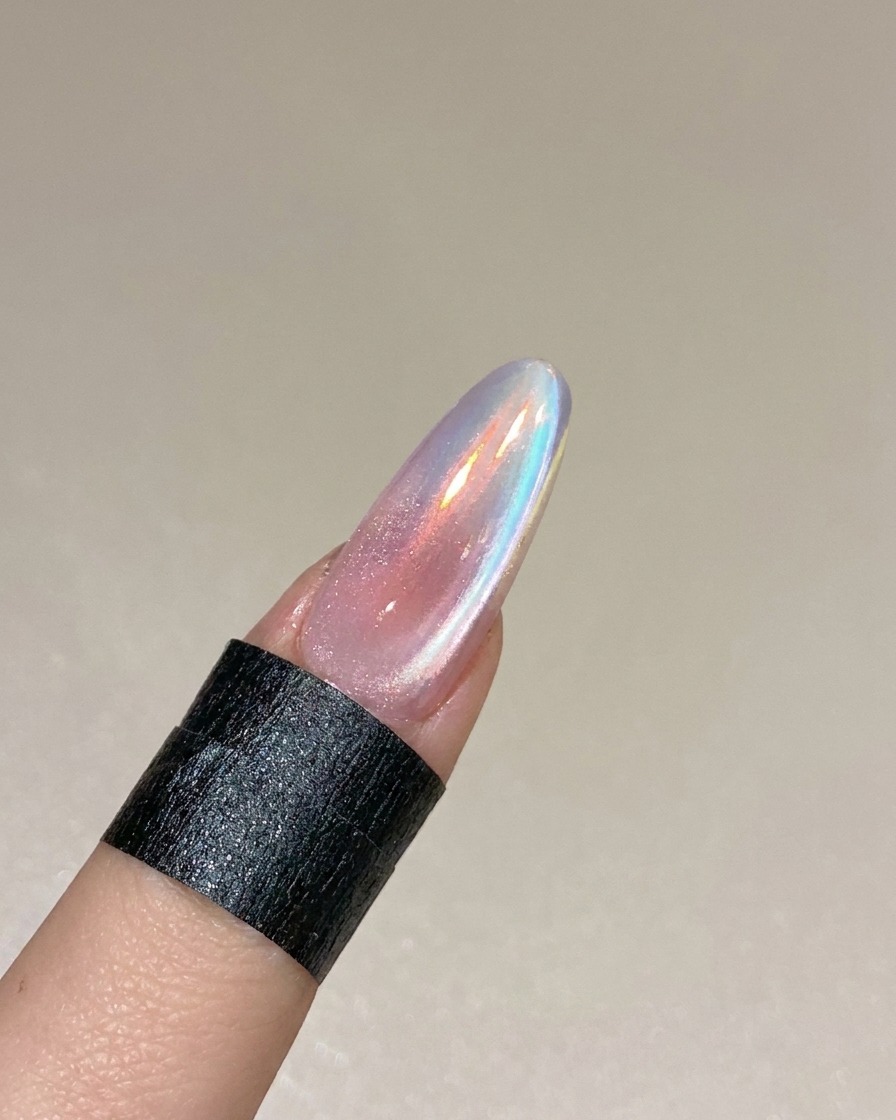
Carefully place your finger into the UV/LED lamp to cure the finished cat eye design. Curing will lock the magnetic particles in place, preserving the sharp, shimmering arc effect you created. Ensure it cures for the full duration specified to avoid any uncured gel remaining.
Tip: Make sure the nail is positioned directly under the center of the light source for optimal curing results. - 9Apply and cure the buffing top coat
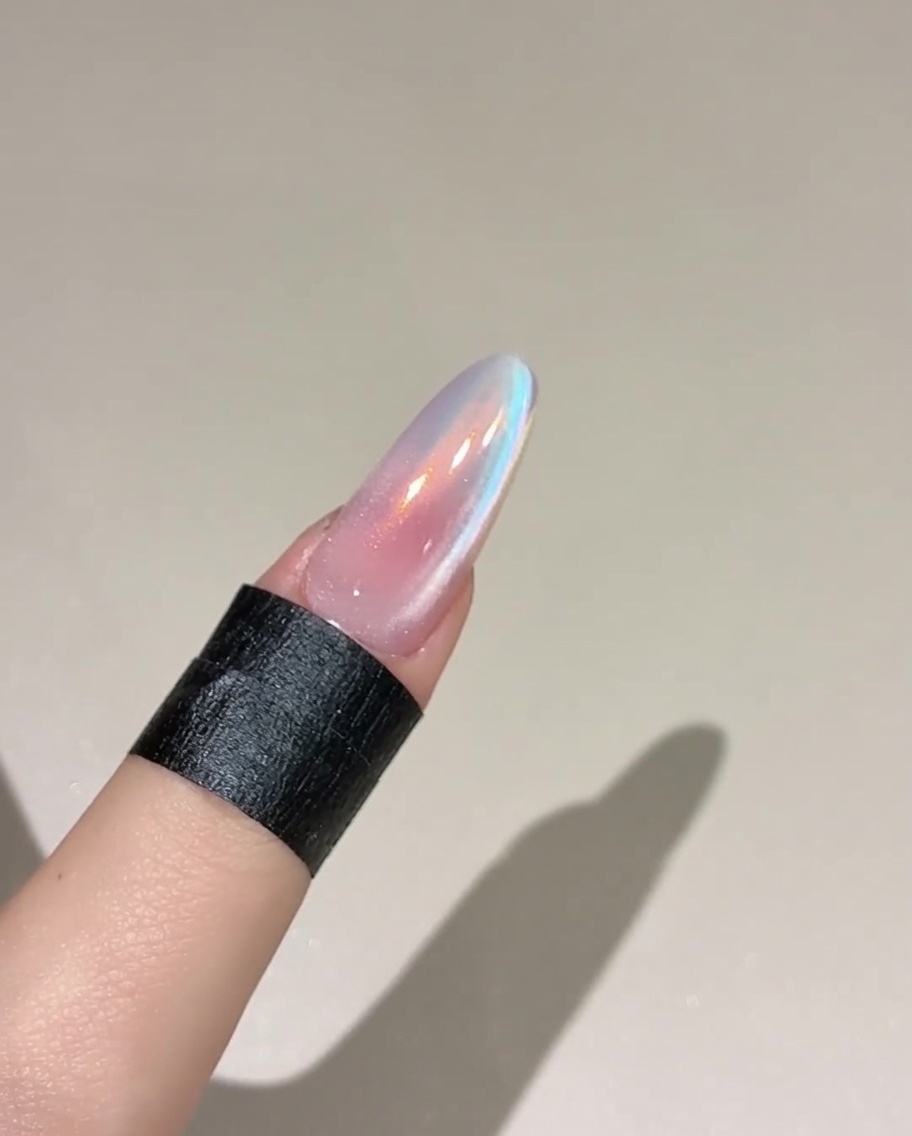
Apply a generous, even layer of buffing top coat over the entire nail surface. Ensure the product is applied smoothly to create a protective, matte-finish barrier that will hold the aurora powder in place. Cure under the lamp for 45 seconds.
Tip: Check for any streaks or uneven areas before curing, as this layer provides the texture needed for the powder to adhere properly. - 10Apply sunset aurora powder
Using a sponge applicator, pick up a small amount of sunset aurora powder. Gently rub the powder onto the nail, starting from the tip and moving backwards towards the cuticle to create a soft, glowing gradient effect. Dust off any excess powder once the desired sunset look is achieved.
Tip: Apply the powder lightly at first and build up the intensity; a little goes a long way to create that beautiful sunset glow.