Dopamine Watercolor Gradient Cat-Eye Nails — Step-by-Step Tutorial
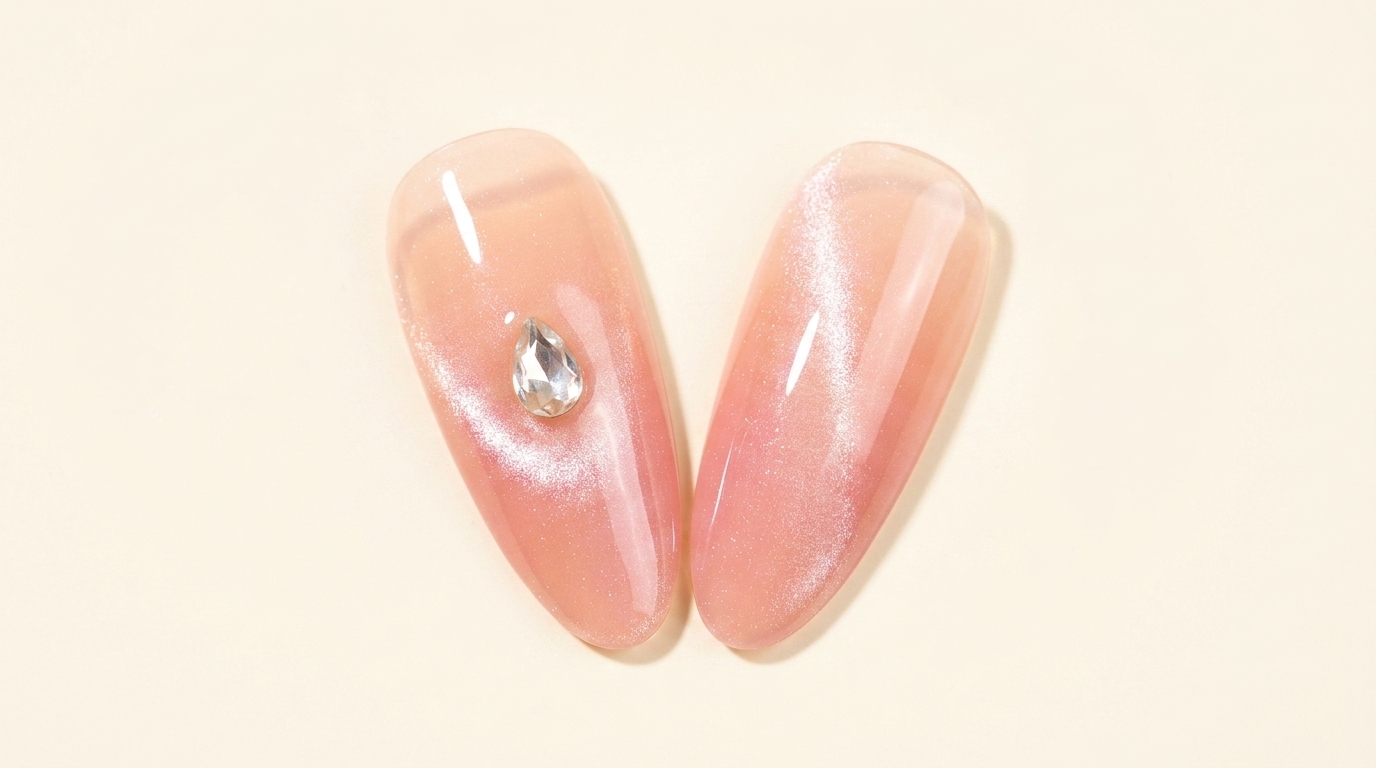
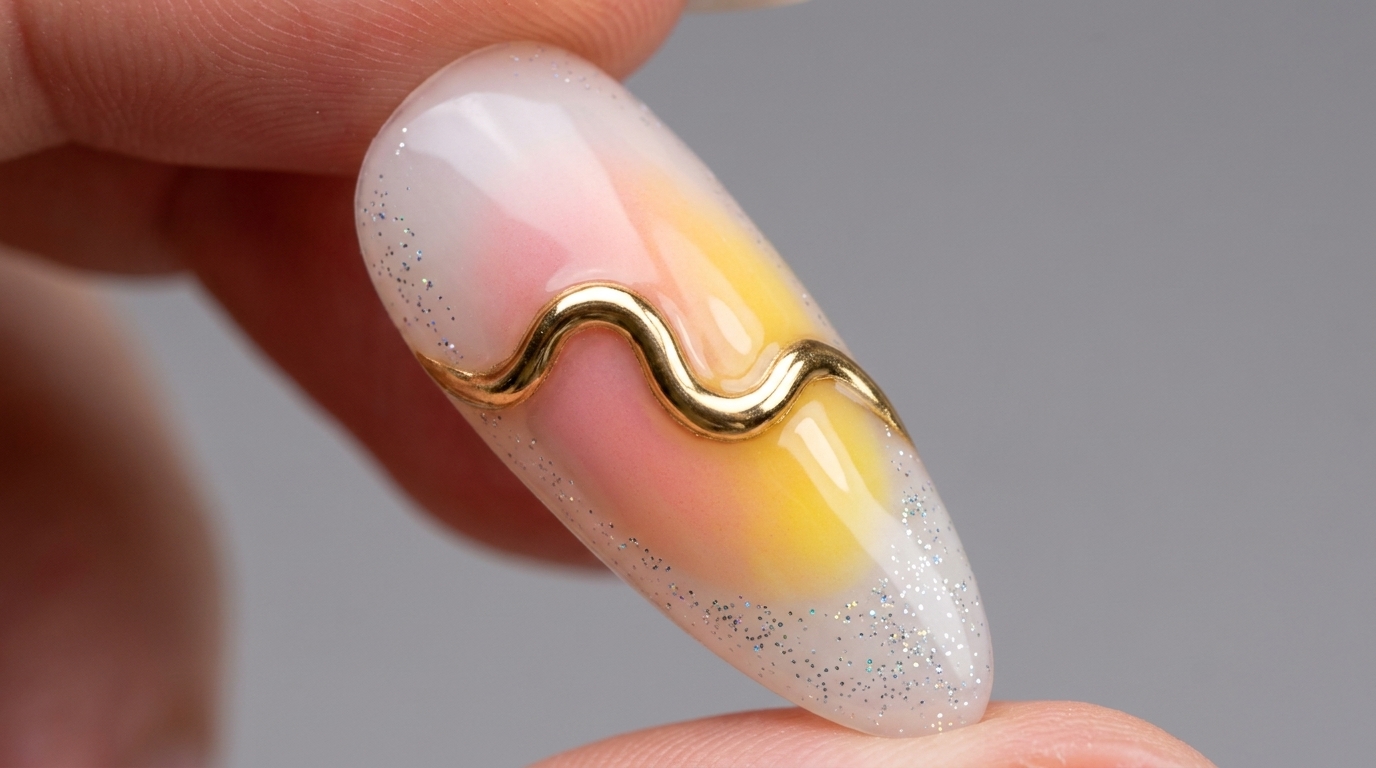
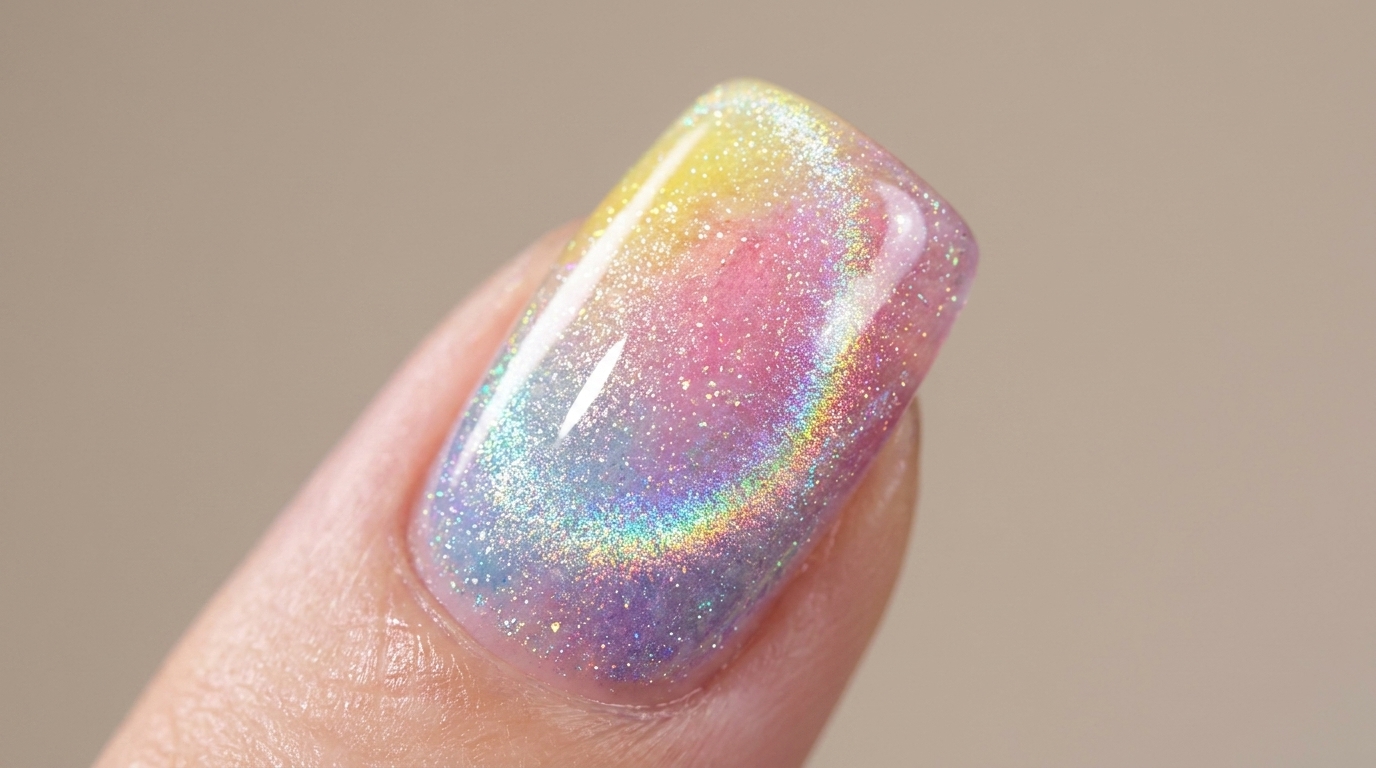
Learn how to create a vibrant watercolor gradient nail look featuring a shimmering aurora cat-eye finish. This colorful dopamine design is perfect for spring.
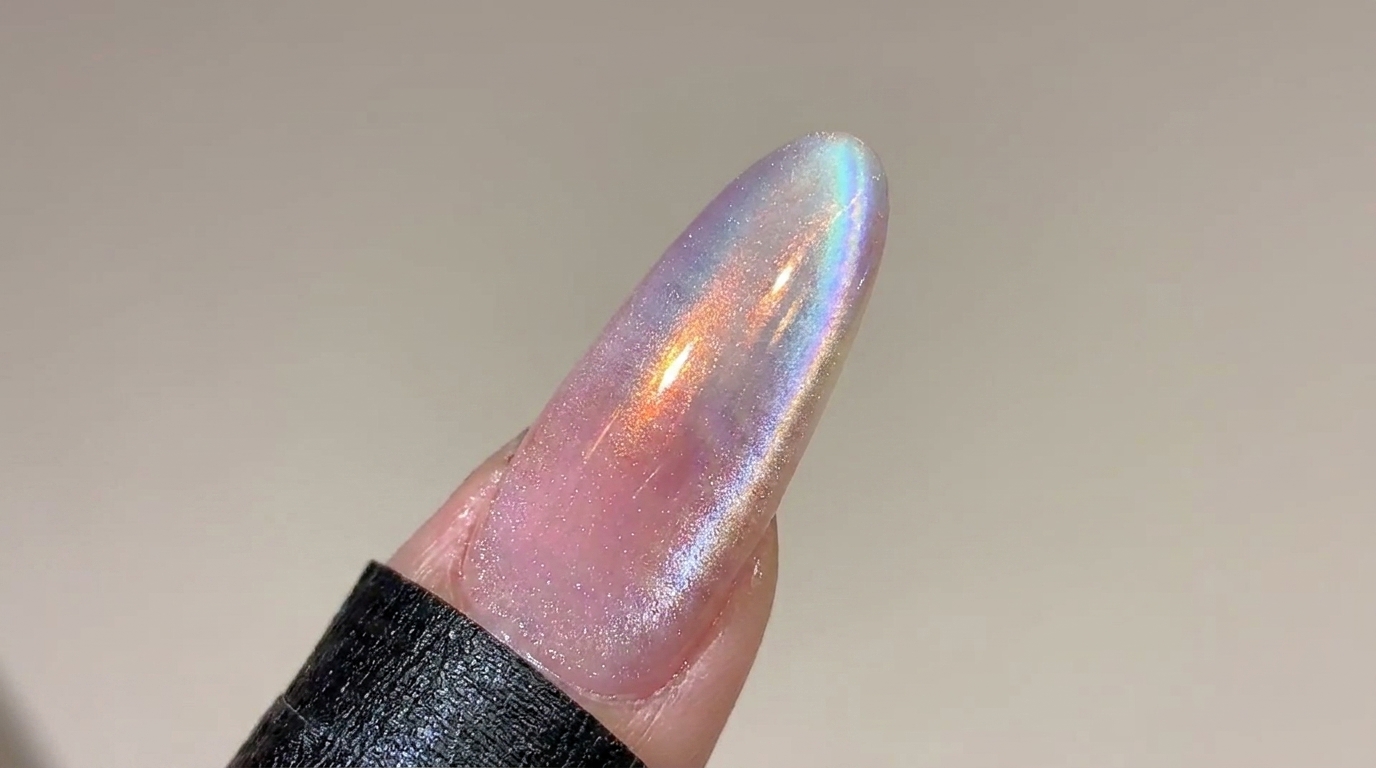
Dopamine dressing has made its way to manicures, and this bright watercolor gradient is the ultimate mood booster. By sponging together vibrant spring shades like yellow, pink, blue, and purple, you can create a soft, seamless transition of color. The magic really happens with the addition of a white aurora cat-eye gel, which adds a mesmerizing, water-like reflection over the bright base.
Steps
- 1Apply color gel dots
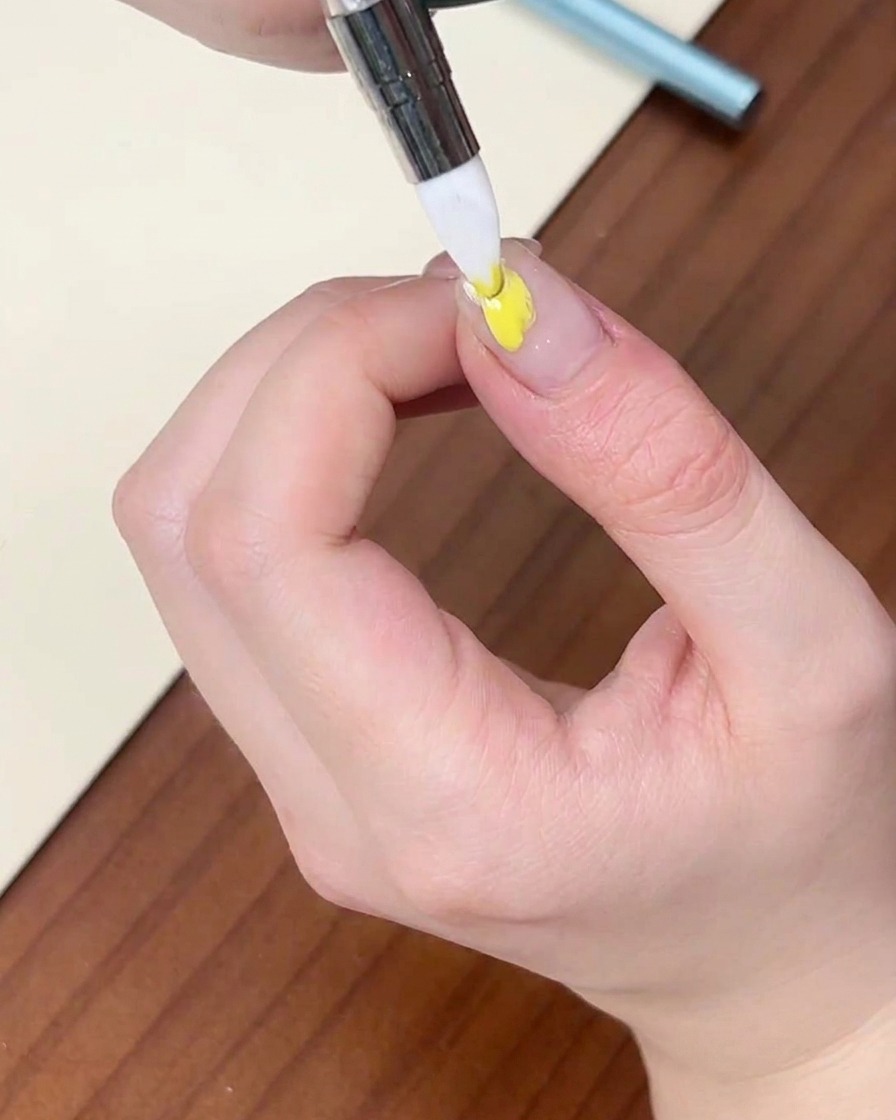
Using a liner brush, apply small dots or streaks of your chosen gel colors onto the nail plate. Here, yellow, purple, pink, and blue are used to create a bright, dopamine-themed palette.
Tip: Keep the dots relatively thick so they blend nicely when sponged, but avoid flooding the cuticles. - 2Absorb excess gel
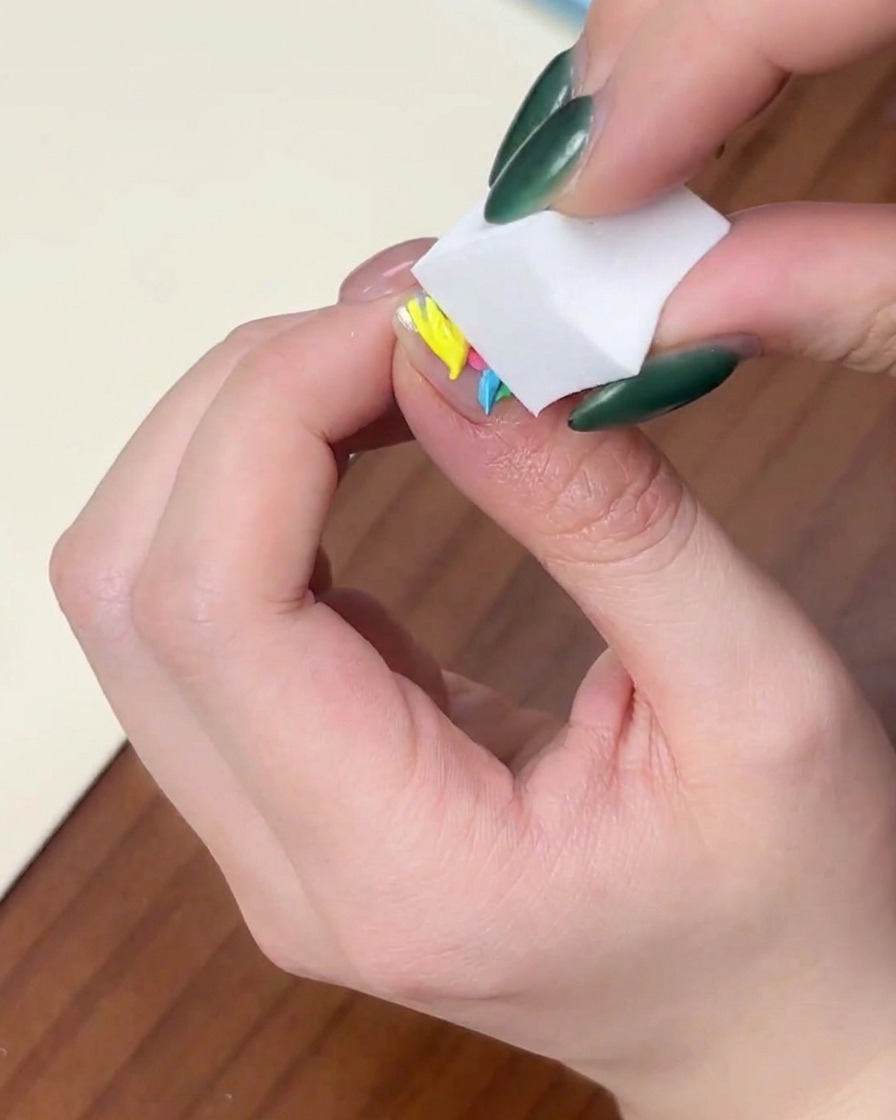
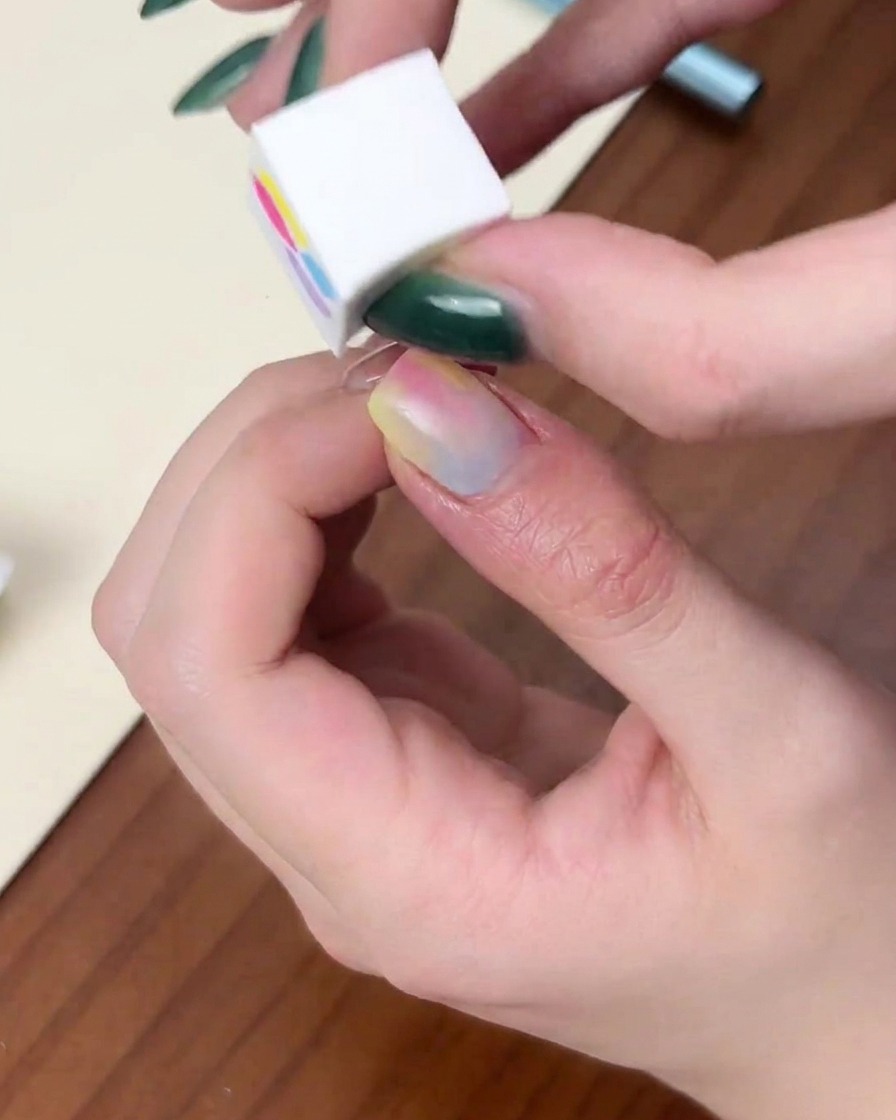
Press a clean rectangular sponge vertically onto the nail surface. This technique helps to lift and absorb any excess gel polish, ensuring that the layer remains thin and even for a better gradient effect.
Tip: Ensure the sponge is clean to prevent unwanted colors from mixing into your base. - 3Blend colors into an ombre
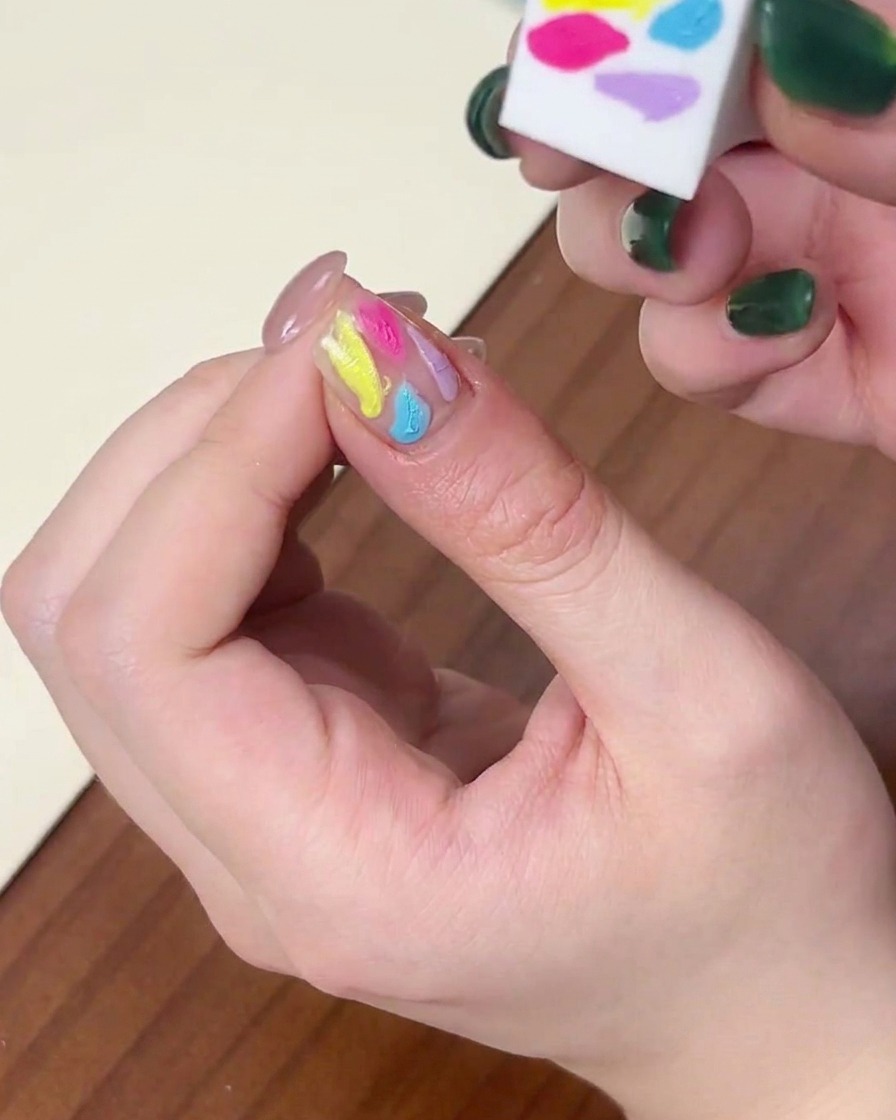
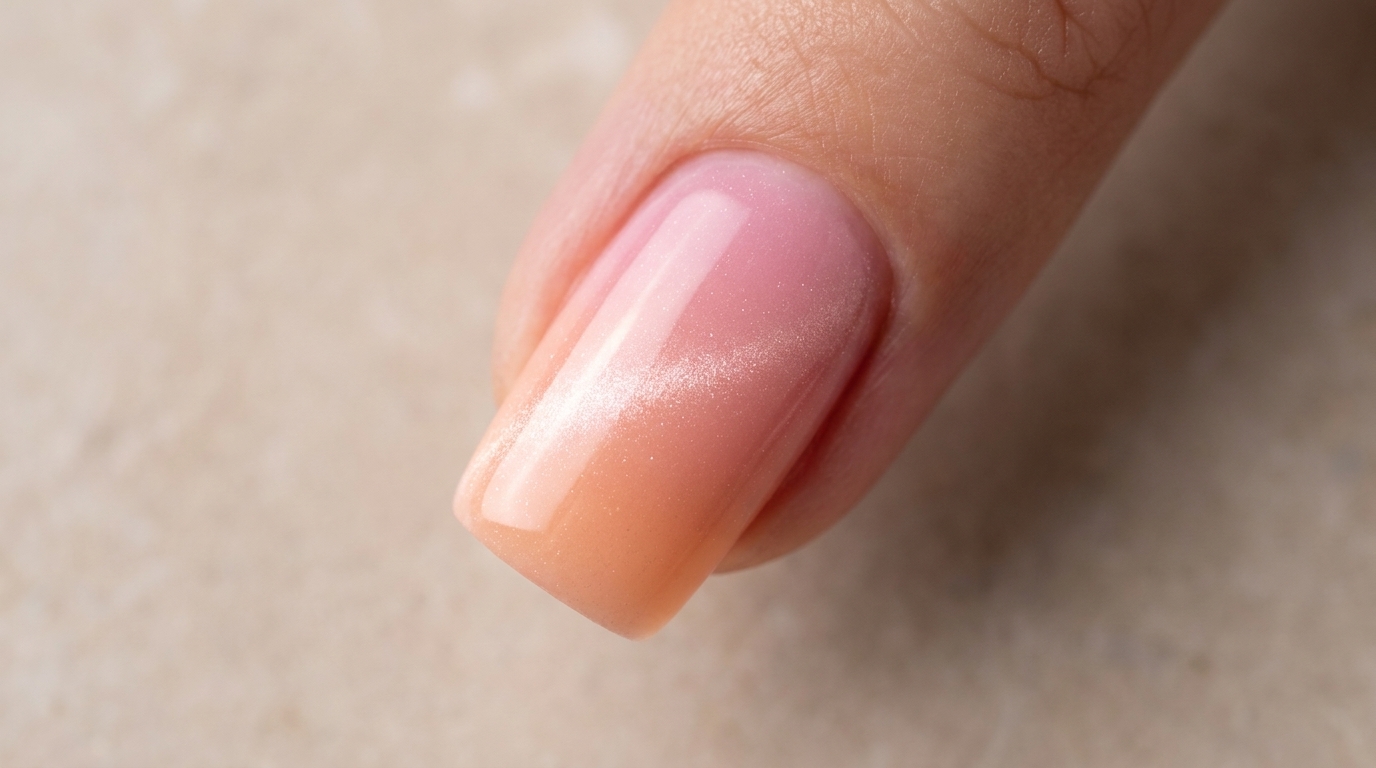
Using a clean side of the sponge, gently tap over the colored gel dots on the nail. Continue tapping in a light, rhythmic motion to blend the colors together until a smooth, natural ombre gradient is achieved.
Tip: Keep your tapping light to avoid smearing the colors too much; you want them to transition naturally. - 4Cure the gradient base
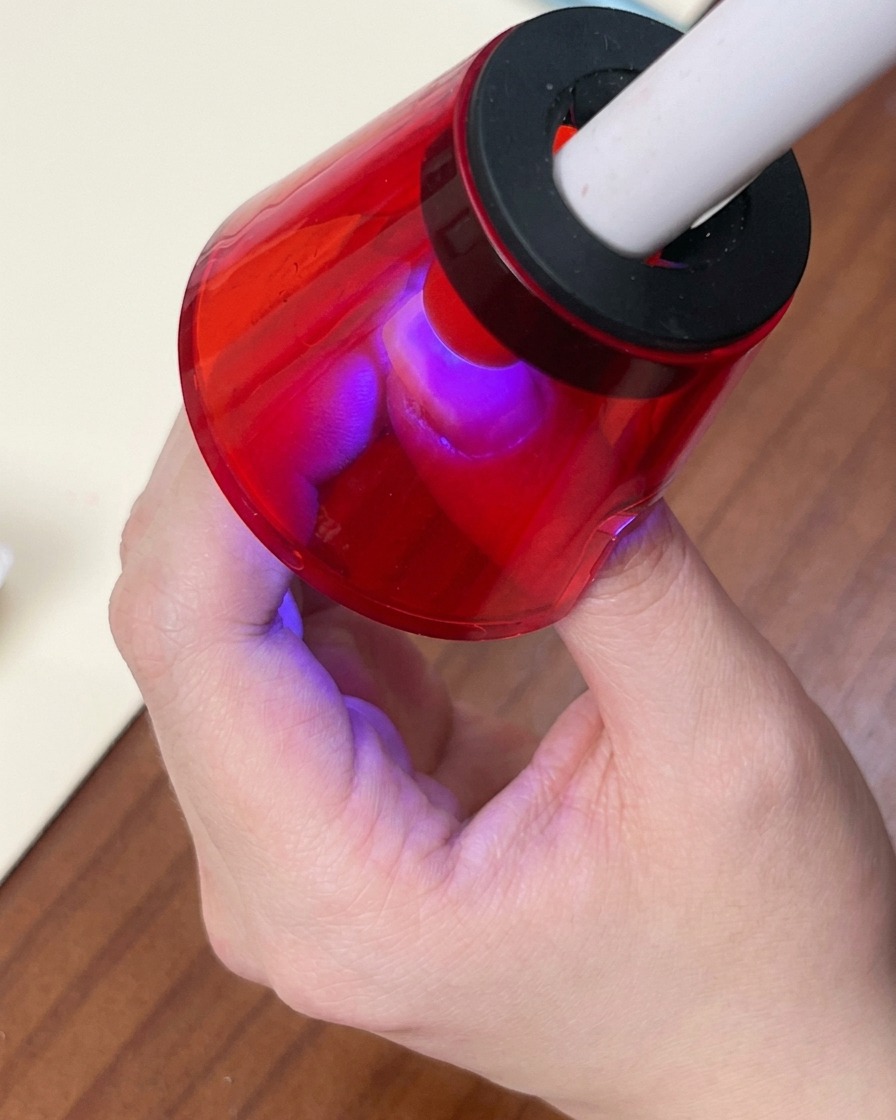
Place your finger inside the UV/LED lamp to cure the blended gradient layer. Follow the specific curing time required for your gel polish brand to ensure the base is fully set.
Tip: Make sure your finger is positioned directly under the light source for an even cure. - 5Apply white aurora cat-eye gel
Apply a thin, even layer of white aurora cat-eye gel over the previously cured gradient. Keep the layer thin to ensure the underlying colors remain visible beneath the cat-eye effect.
Tip: Applying the cat-eye gel too thickly can obscure the vibrant gradient underneath. - 6Create the cat-eye effect
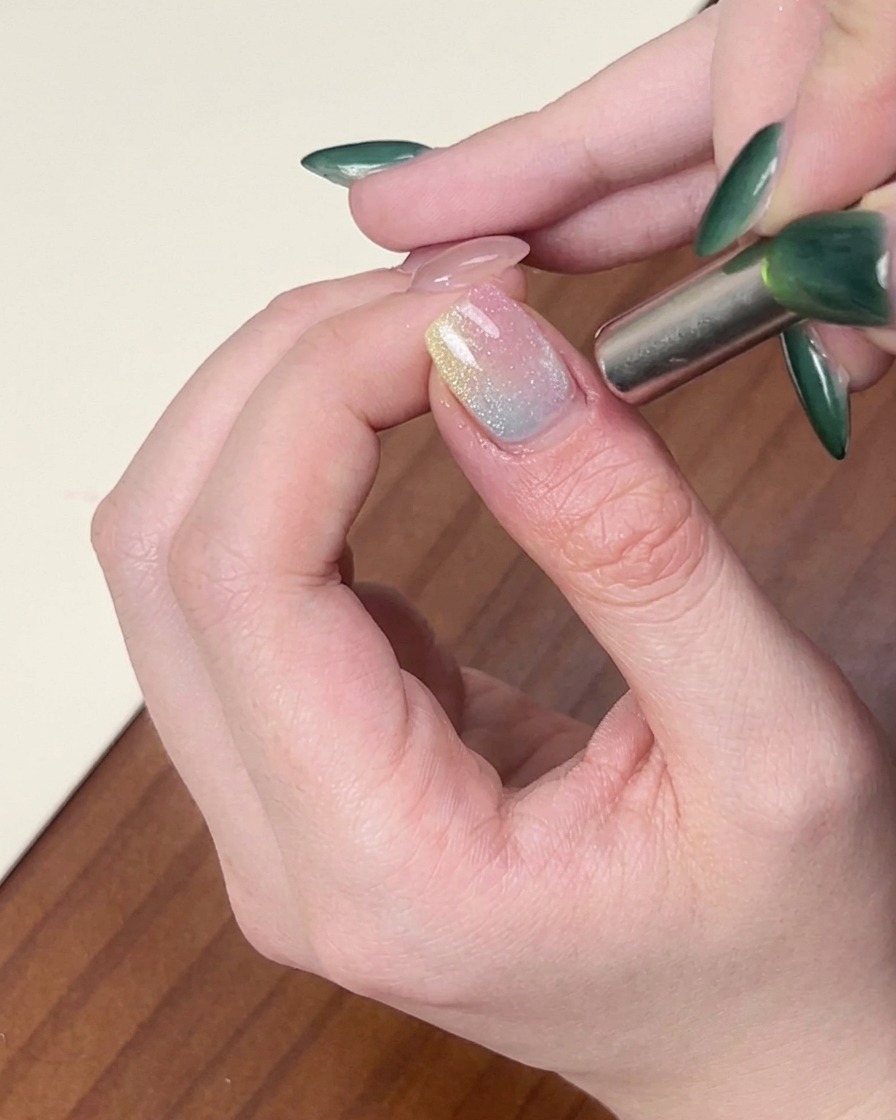
After applying the aurora cat-eye gel, take a cylindrical magnet and hold it closely alongside one edge of the nail. Move it gently back and forth to pull the magnetic particles into a striking, water-like streak before moving on to cure.
Tip: If you are not satisfied with the magnetic effect, simply brush over the gel layer again to reset the particles and try again before curing. - 7Cure the cat-eye effect
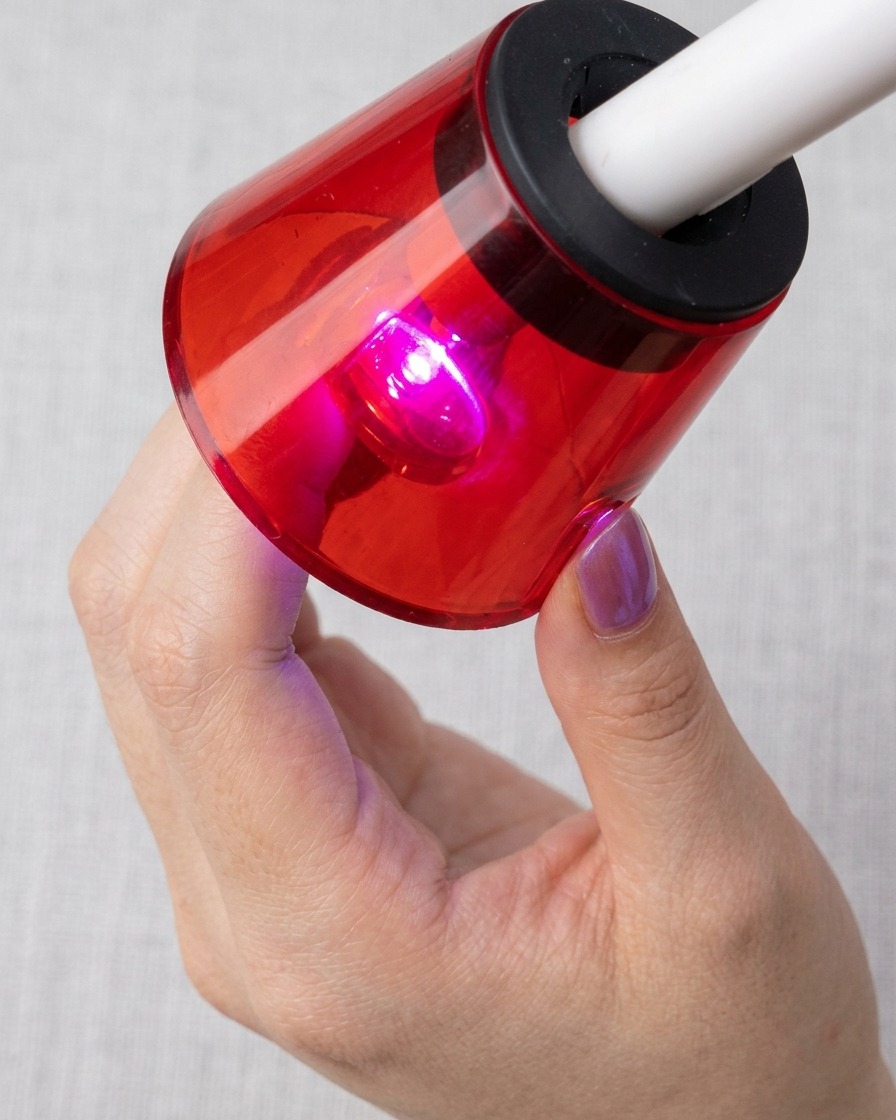
After creating the water-like effect with the magnet, place your finger inside the UV/LED lamp to cure the cat-eye layer. Ensure it cures for the duration recommended by your gel product manufacturer.
Tip: Curing locks the magnetic particles in place, preserving the desired cat-eye pattern. - 8Apply glossy top coat
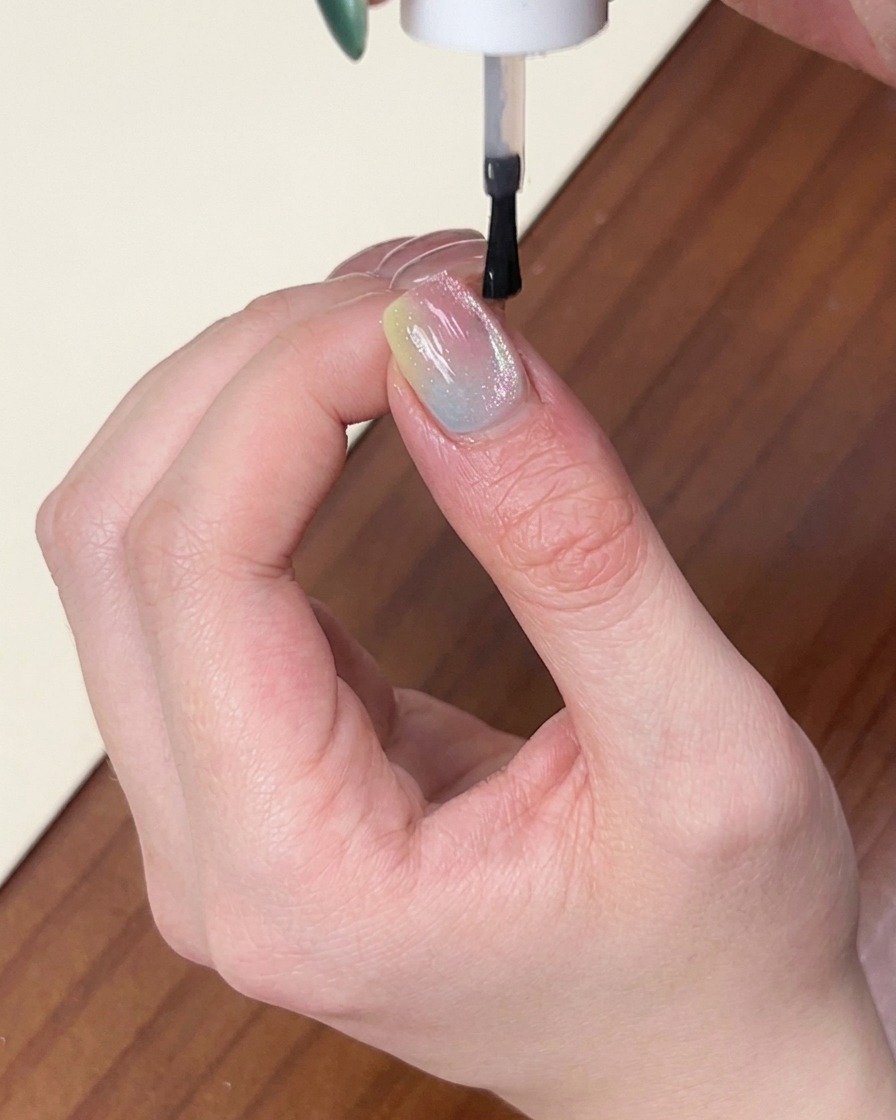
Apply a final glossy top coat over the entire nail to protect the design and add shine. Ensure you cap the free edge for long-lasting wear before moving to your final cure.
Tip: A high-quality top coat will enhance the depth of the aurora cat-eye effect. - 9Cure the top coat
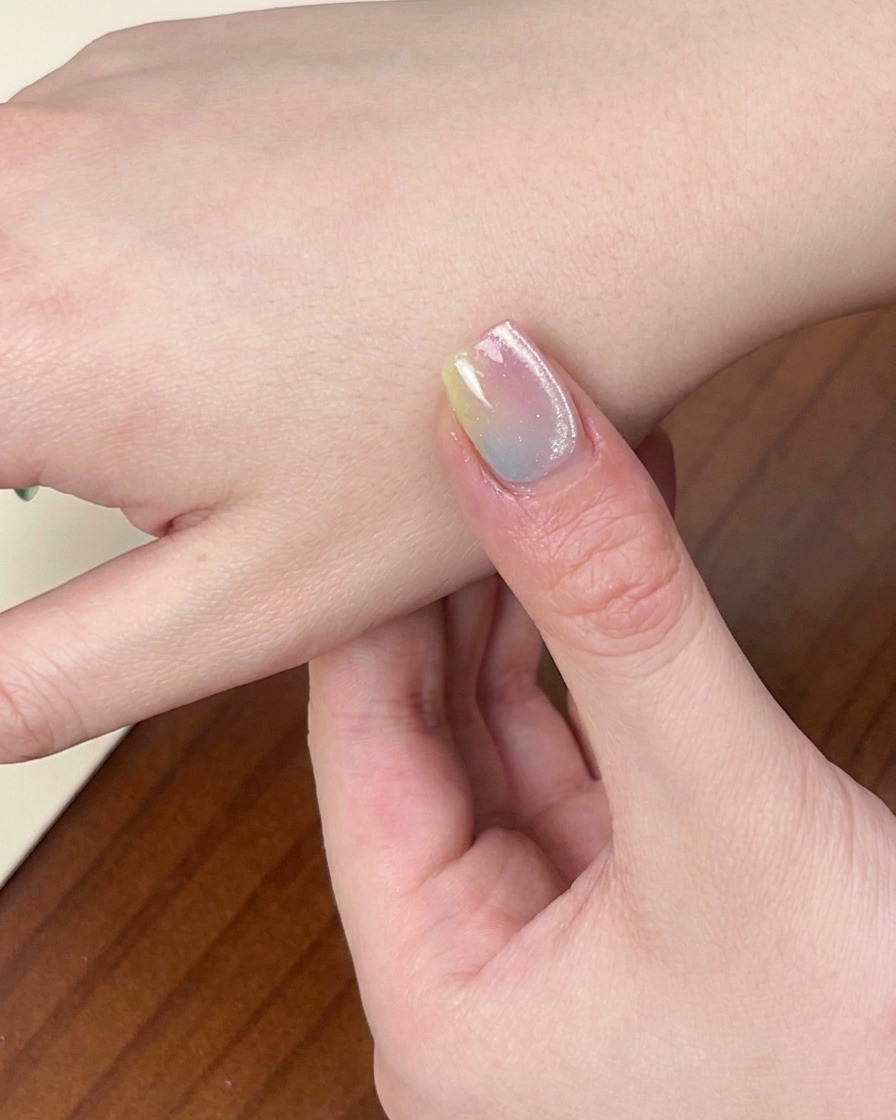
Place your finger inside the UV/LED lamp to cure the final glossy top coat. This final curing step ensures the polish is hardened, durable, and provides the necessary high-shine finish for your spring dopamine-themed nail art.
Tip: Ensure your finger is positioned flat and fully under the light source for an even cure.