Melting Gold Sunset Nail Art — Atmospheric Gradient Tutorial
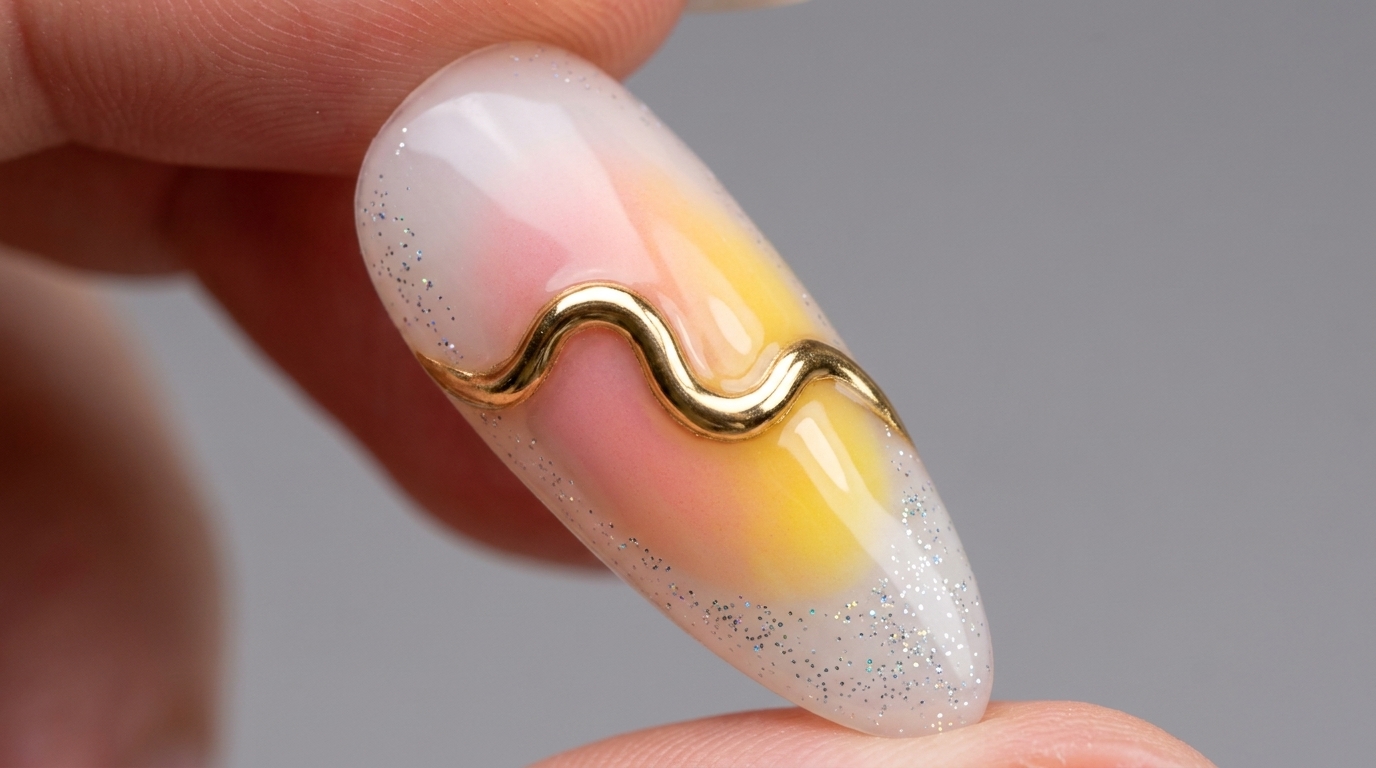
Capture the magic of twilight with this melting gold sunset nail design. Learn to create a soft color gradient topped with a stunning 3D metallic wave.
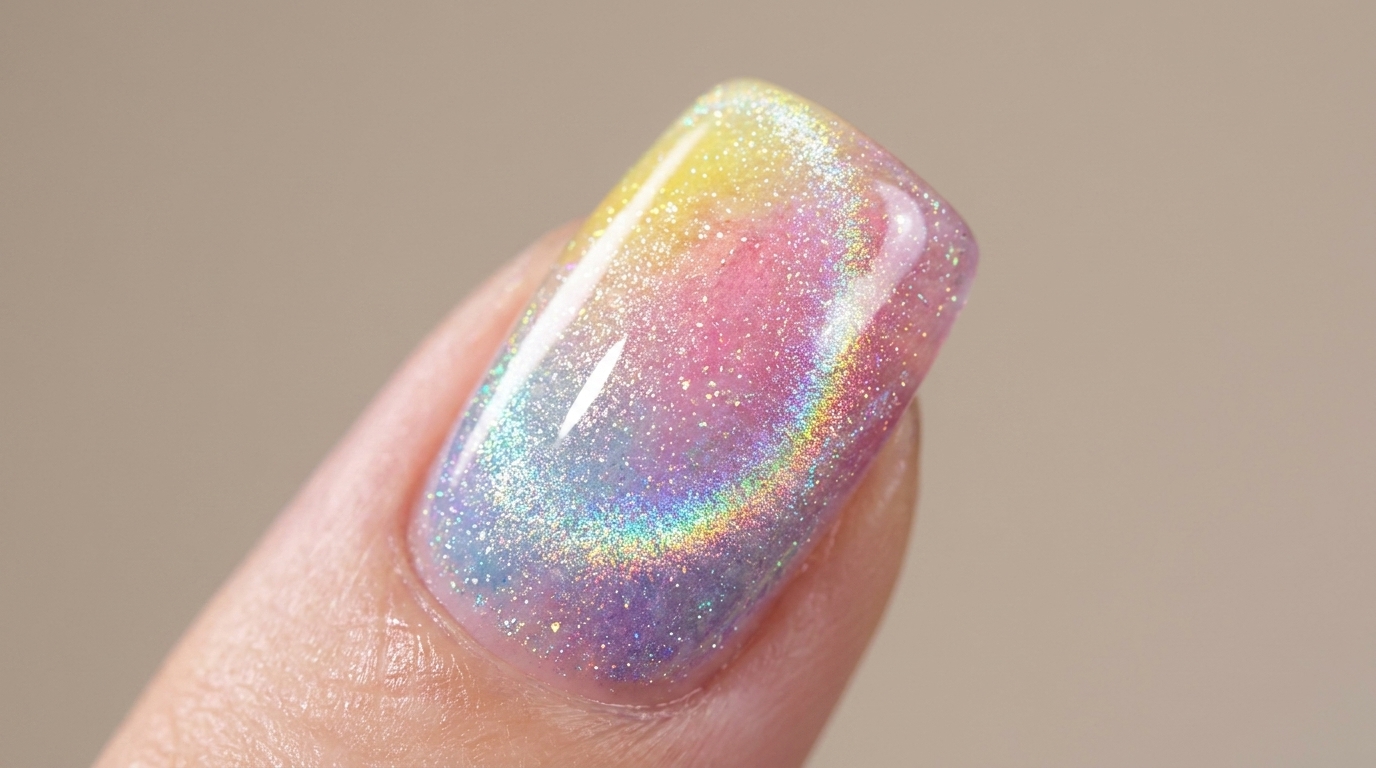
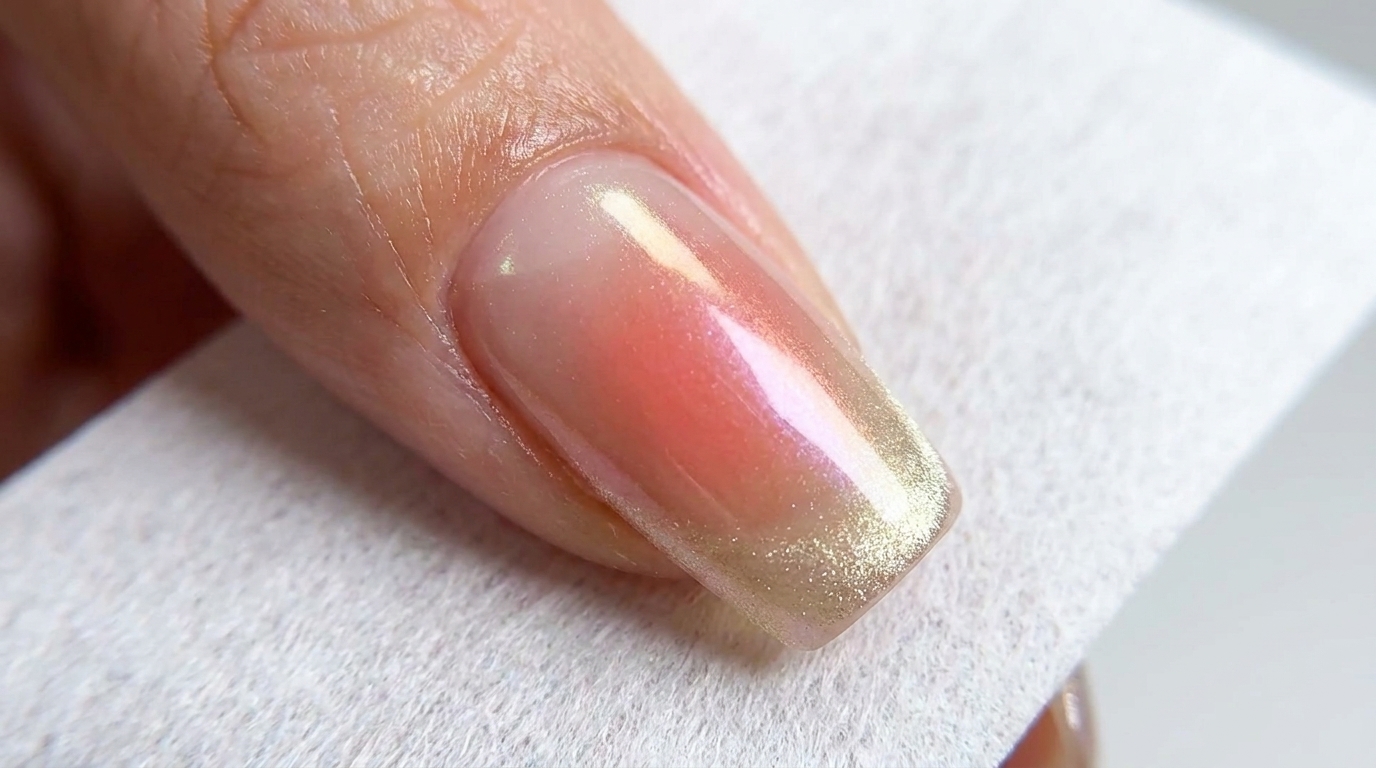
This melting gold sunset design is the absolute ceiling of atmospheric nail art. By layering milky white with twilight purple, yellow, and pink, you can create a rich, three-dimensional gradient that looks like a burning evening sky. The addition of a 3D metallic gold wave adds a modern, sophisticated edge that catches the light from every angle.
Steps
- 1Apply milky white base layer
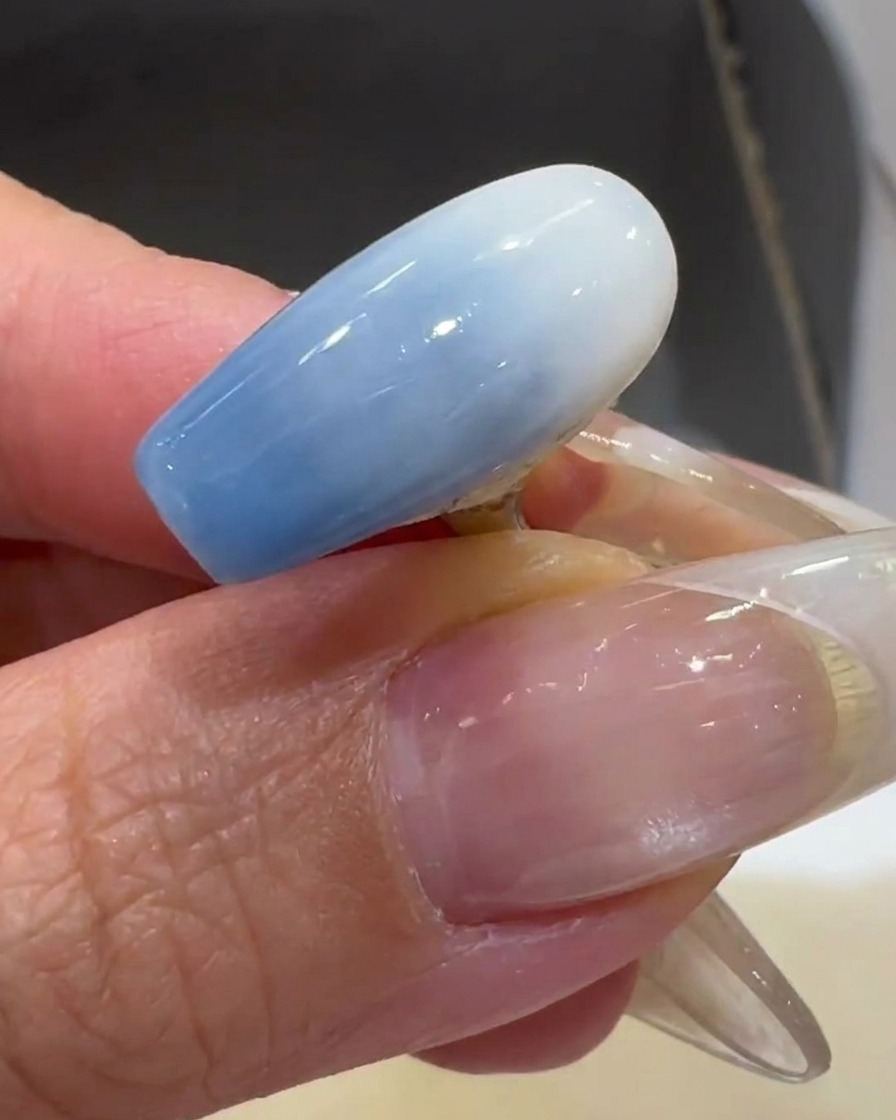
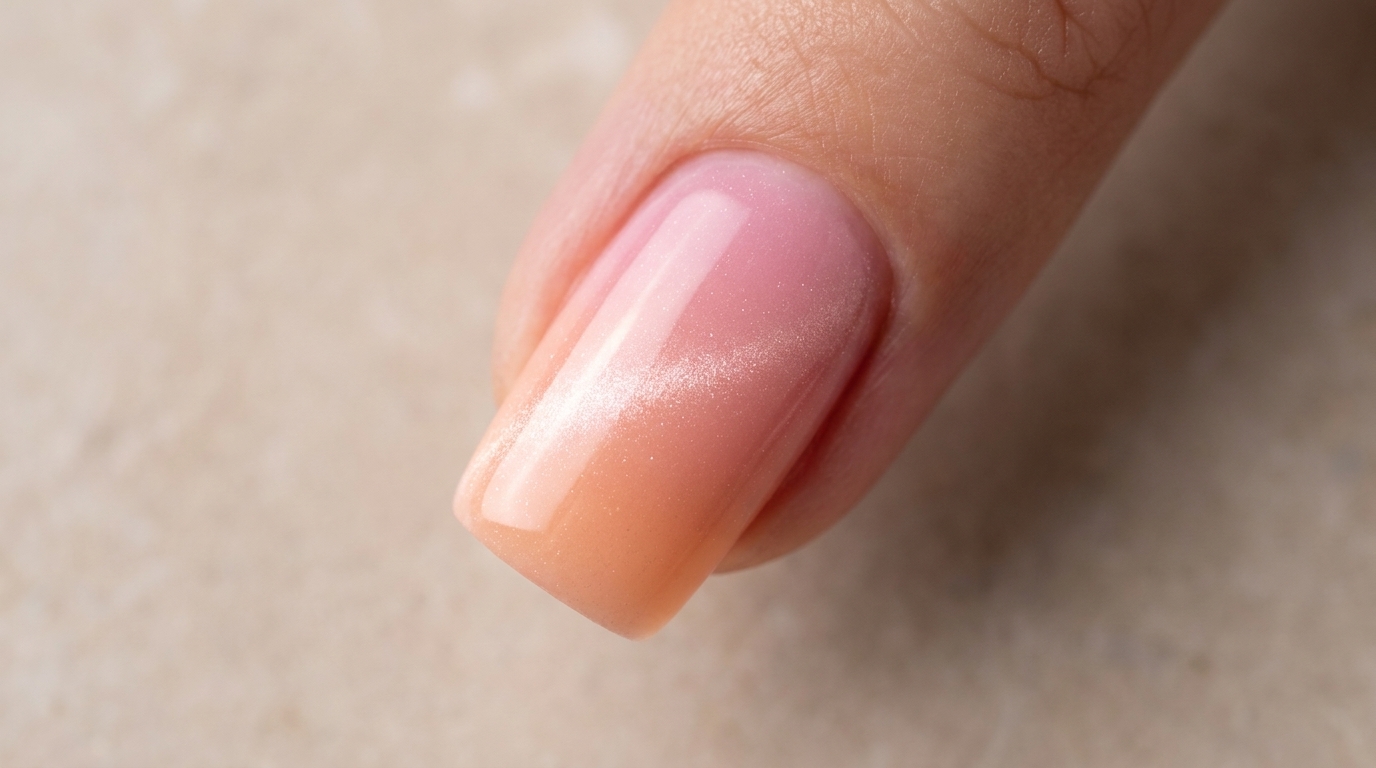
Apply a thin, even layer of milky white gel polish onto the clear nail tip. This layer acts as a translucent canvas for the sunset gradient, providing a soft background for the colors to blend seamlessly. Ensure the polish is applied smoothly to create an even surface.
Tip: Apply the base layer thinly to maintain translucency, which helps the gradient colors appear more vibrant and blended. - 2Cure the base layer
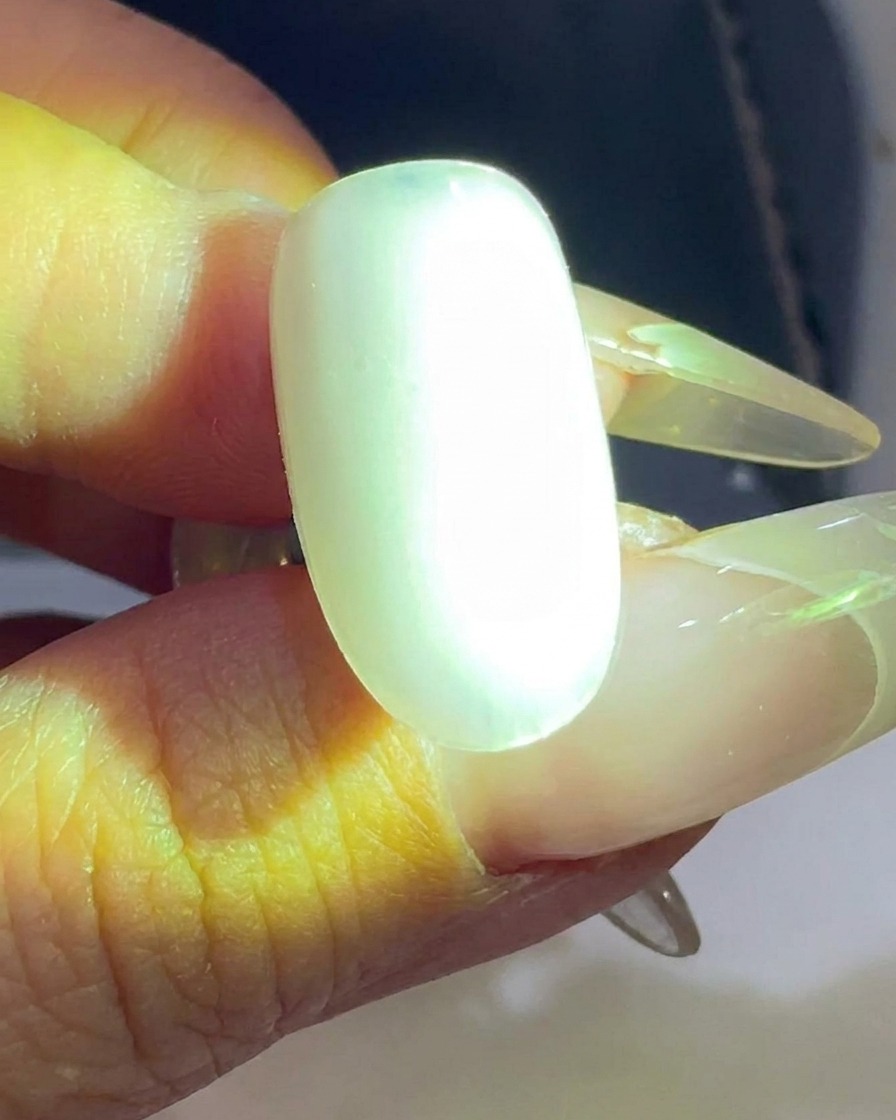
Place the nail tip under a UV/LED lamp to cure the milky white base layer. Follow the manufacturers recommended curing time to ensure the base is fully set and ready for the next color application.
Tip: Ensure the nail is centered under the lamp for even light exposure and proper curing. - 3Apply pinkish-purple pigment
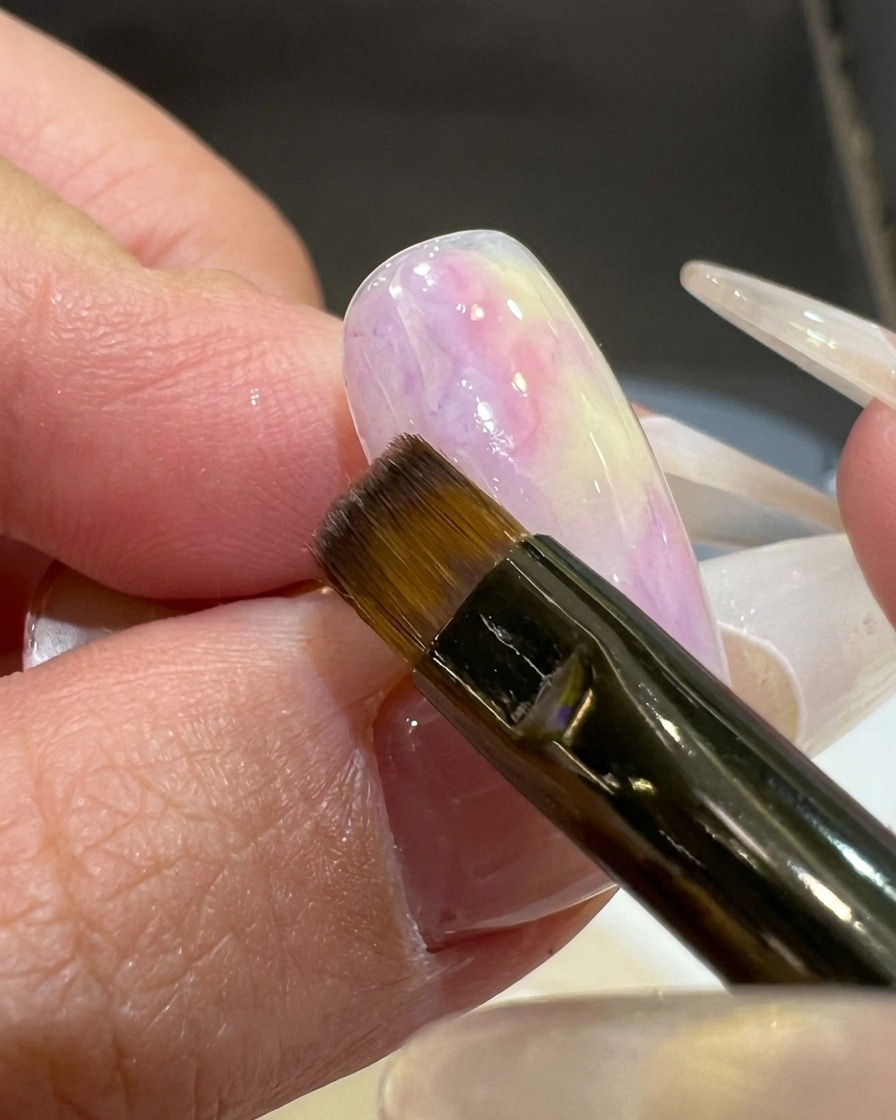
Use a flat brush to apply a small dab of sheer pinkish-purple polish to the upper left section of the nail tip. This color will form the top portion of the sunset gradient, representing the twilight sky.
Tip: Use a light touch with the flat brush to avoid streaks and keep the application sheer. - 4Add yellow color
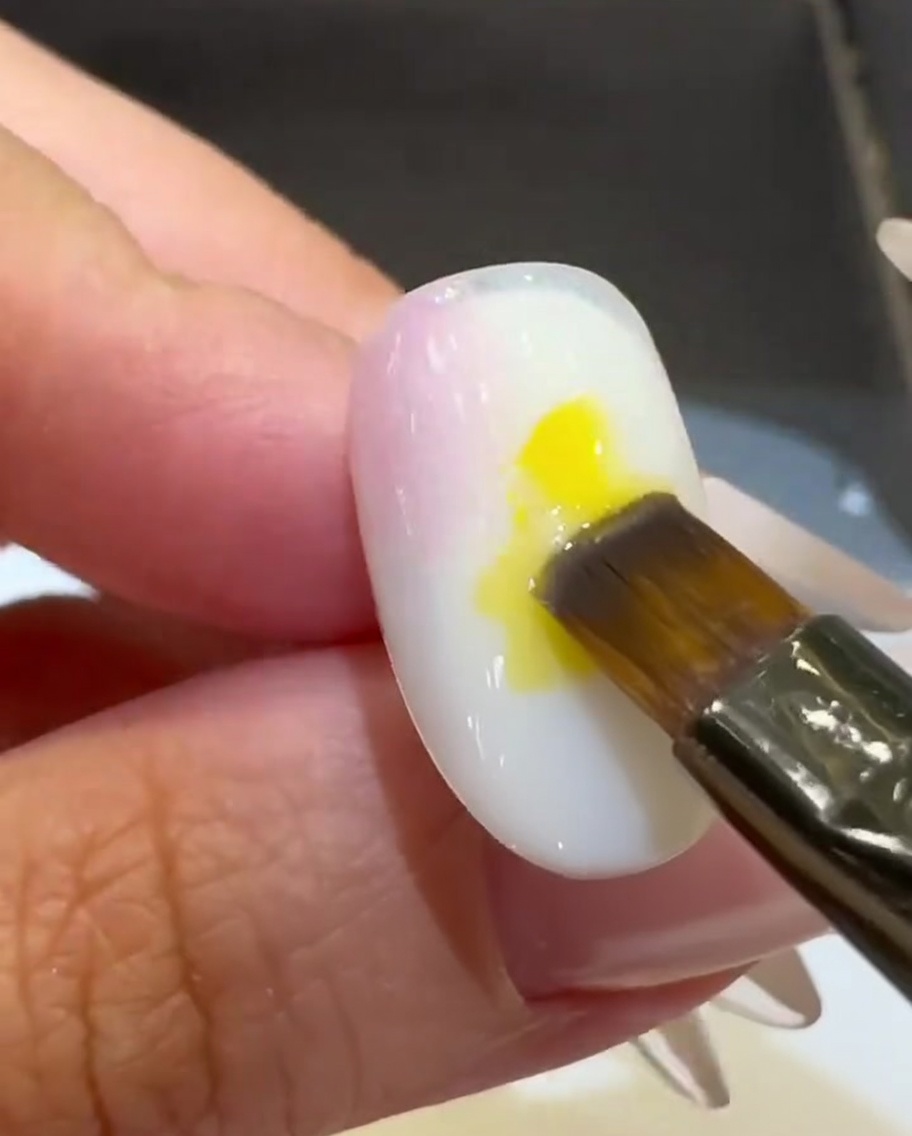
Apply a small amount of bright yellow polish to the center of the nail plate, positioning it below the pinkish-purple shade. This yellow serves as the brilliant highlight of the melting gold sunset effect.
Tip: Keep the yellow application centered to allow for easier blending with the surrounding colors. - 5Layer and blend pink
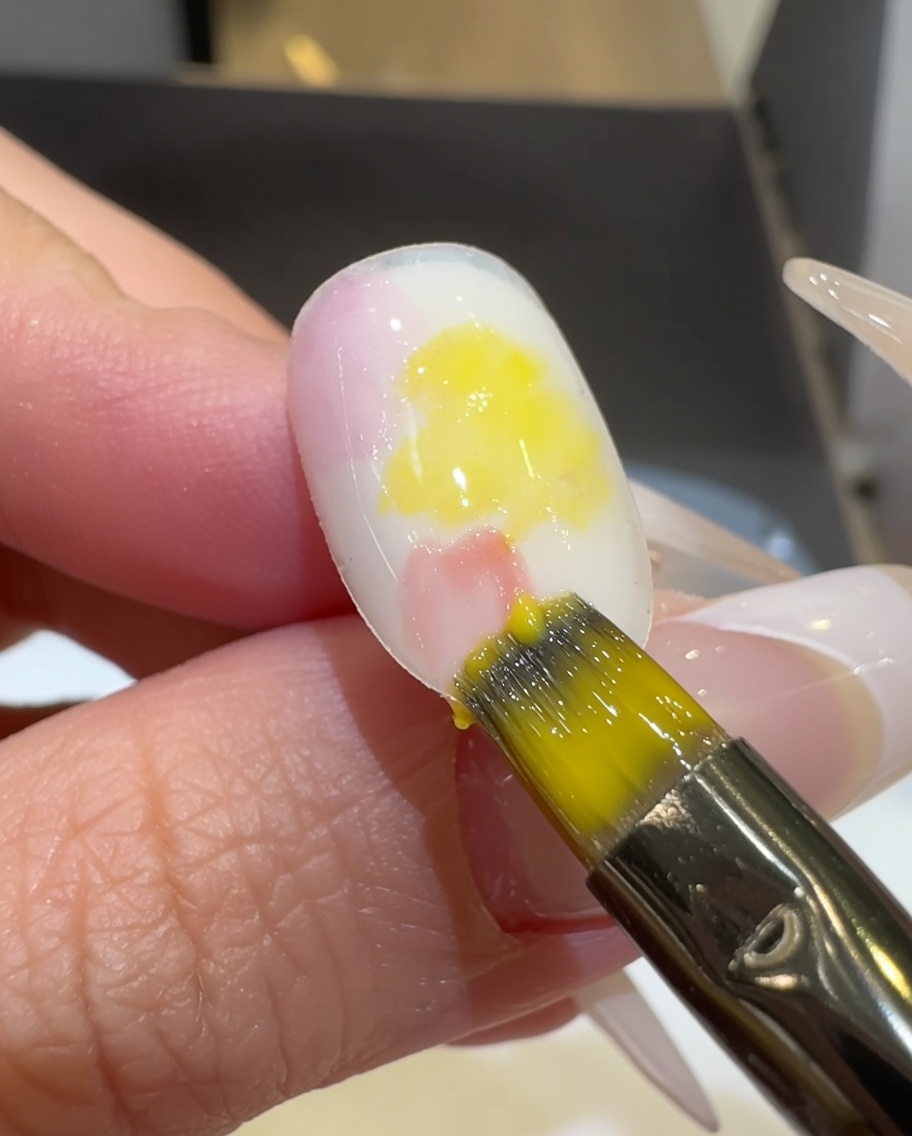
Apply more pink polish below the yellow section. Gently pat and blend the edges where the pink and yellow colors meet using your flat brush to create a smooth, seamless transition between the colors.
Tip: Use light, patting motions with the brush to soften the color boundaries without lifting the polish. - 6Perfect the sunset gradient
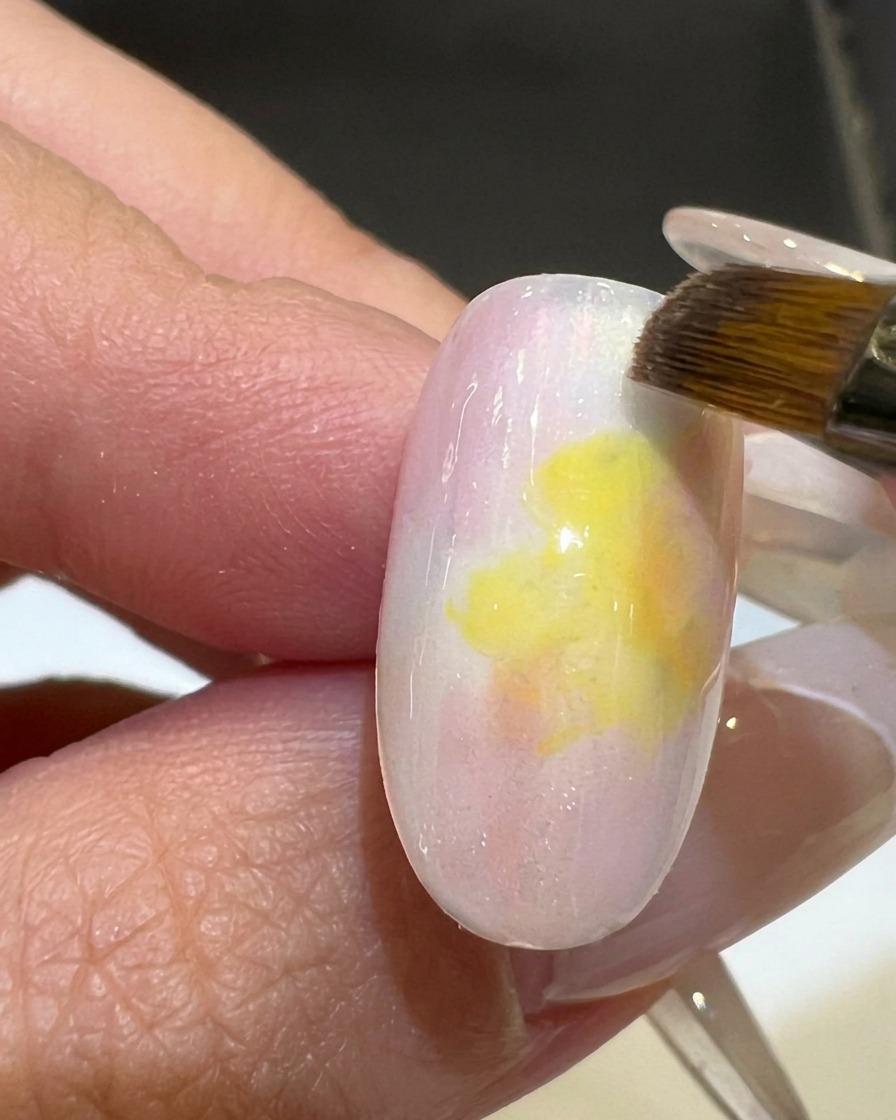
Continue to pat and blend the pink and yellow polish, moving the brush across the intersection of the colors. This blending process is essential to achieve a rich, three-dimensional sunset gradient that looks like a natural sky at twilight.
Tip: Take your time blending; the goal is to have the colors flow into one another without harsh lines. - 7Cure the first color layer
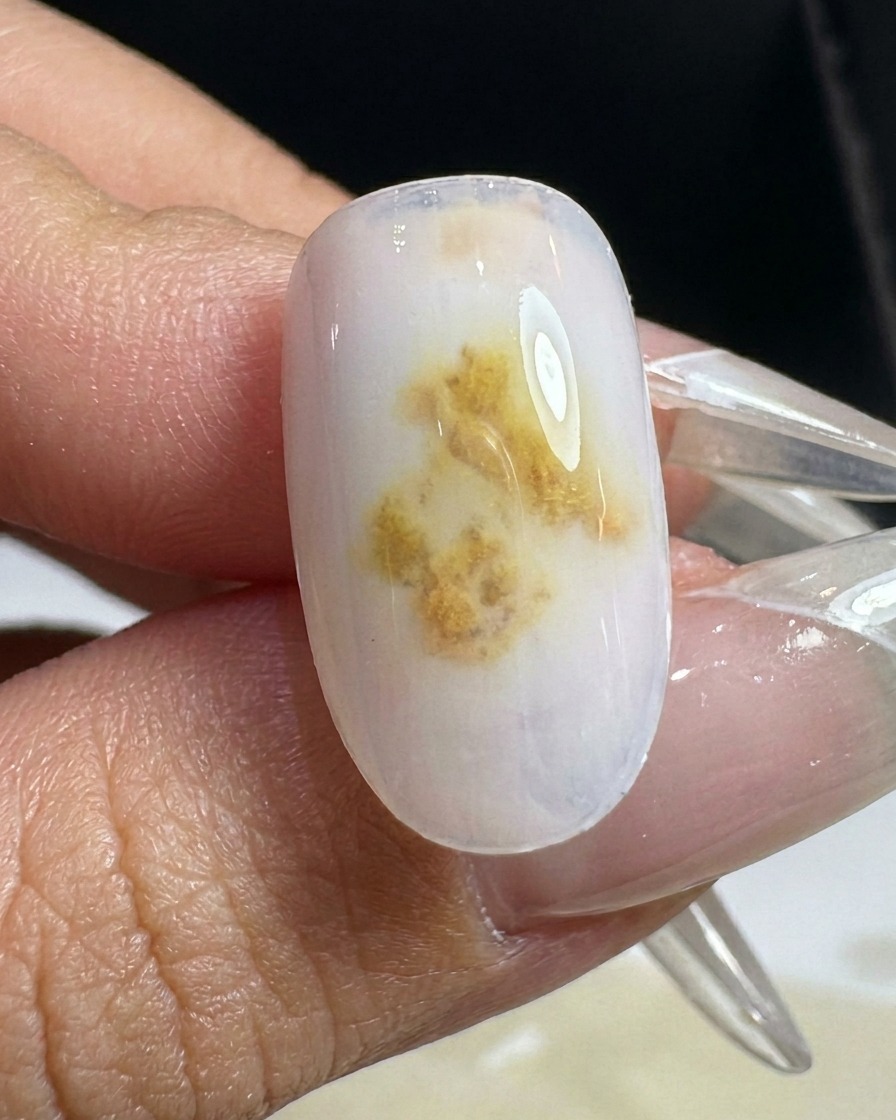
Place your hand inside the UV/LED lamp to cure the first layer of your gradient design. Ensure the fingers are positioned so the light covers the entire nail surface evenly. Curing sets the gel, creating a stable foundation for the next color application.
Tip: Keep your hand flat inside the lamp to avoid pooling gel on the sides of the nail. - 8Intensify with yellow
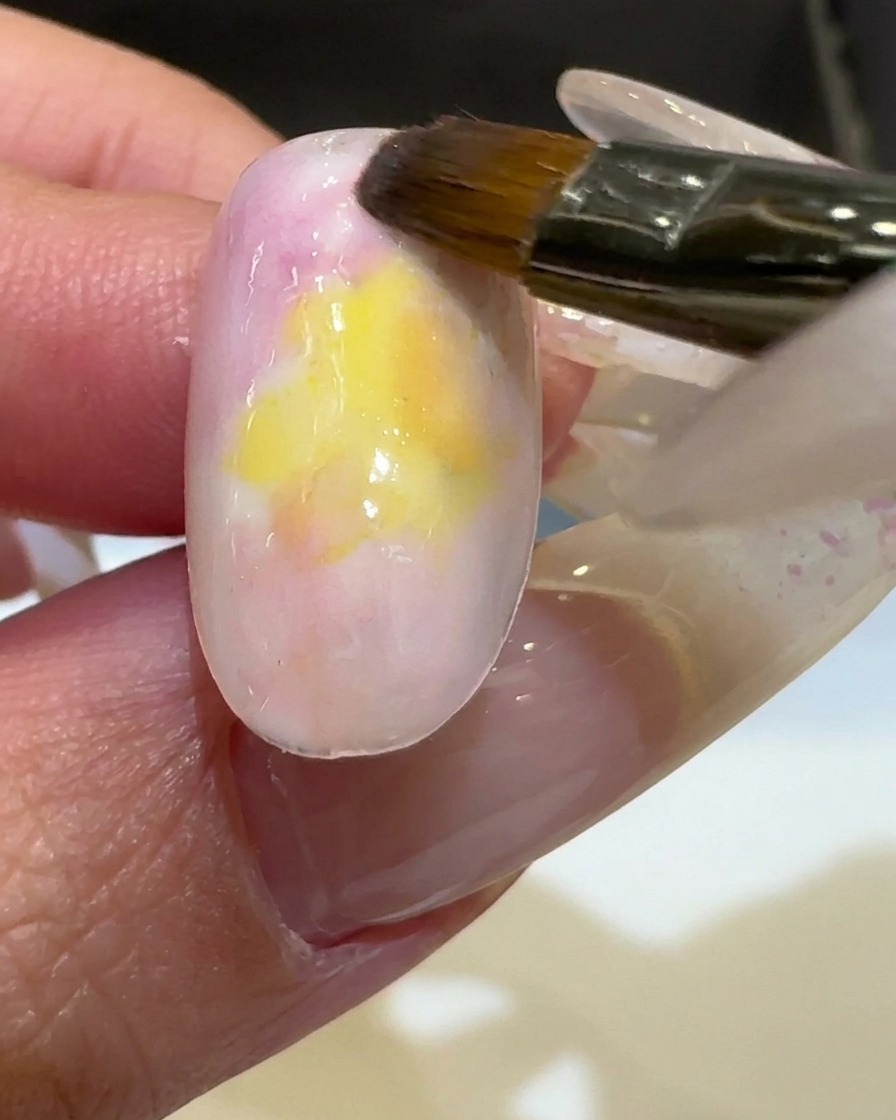
Using a small nail brush, apply a second layer of bright yellow polish to the center of the nail. This layer increases the vibrancy of the color, building depth for the sunset effect. Focus the application in the middle to maintain the surrounding color transitions.
Tip: Use a light touch when applying the second layer to prevent dragging or streaking the first cured layer. - 9Layer and blend pink
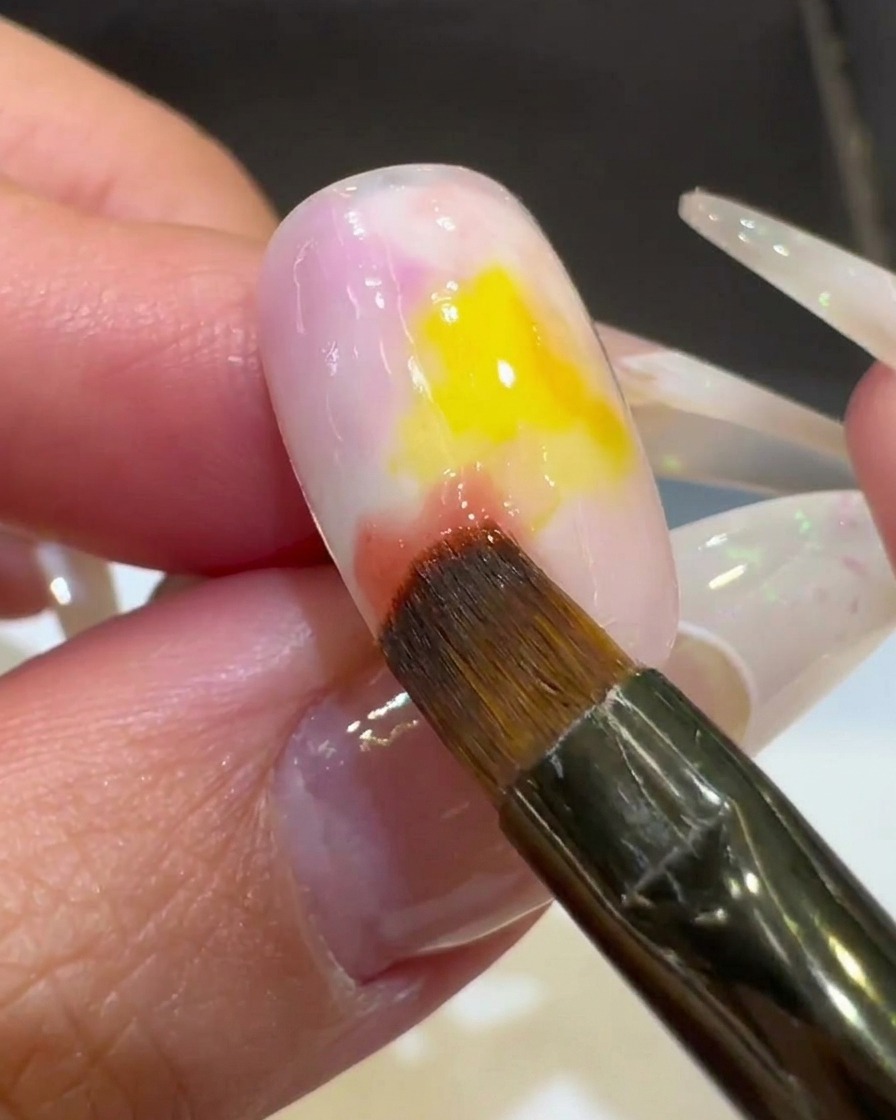
Apply a second layer of pink polish around the yellow area. Using your brush, gently tap and sweep at the transition points to blend the two colors together, creating a seamless gradient. This step adds dimension to the sunset palette.
Tip: Work quickly while the gel is wet to achieve the smoothest blend between colors. - 10Cure the second layer
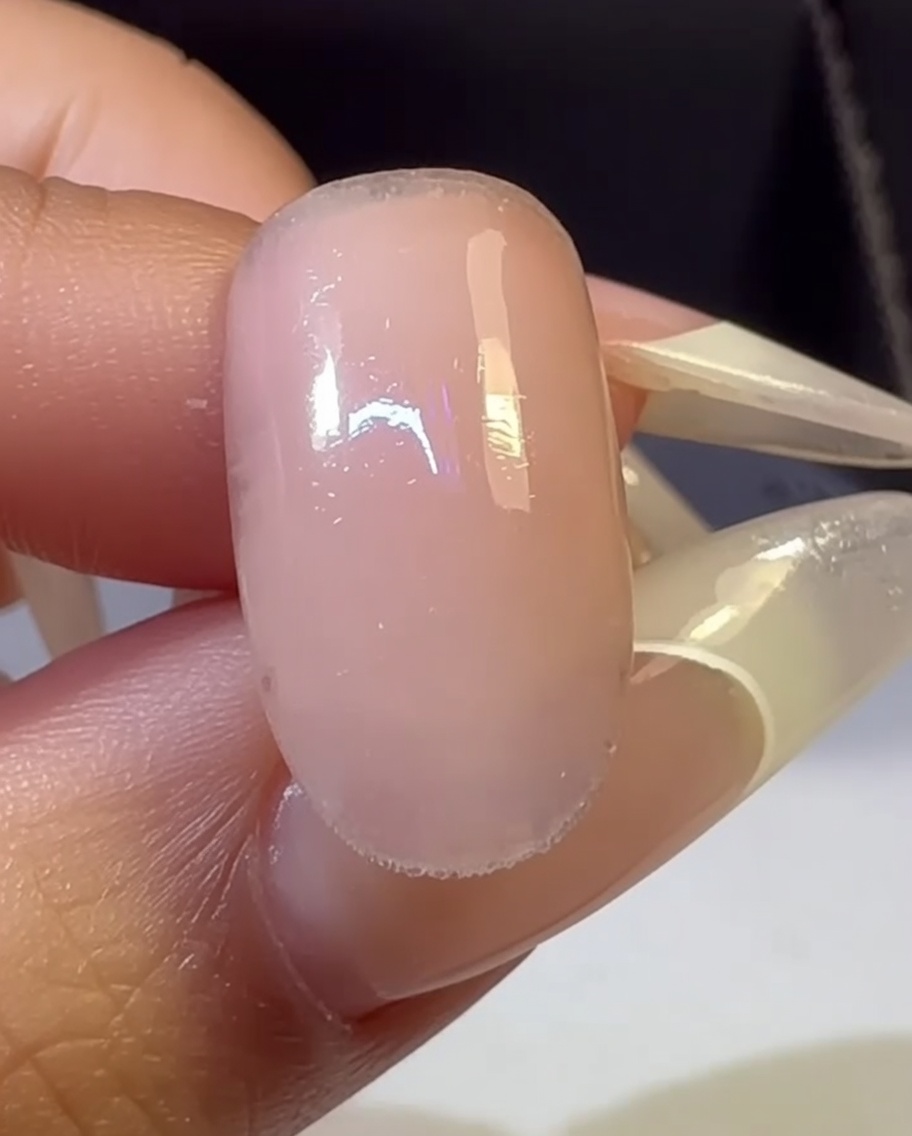
Once the gradient is blended to your satisfaction, place the nail back under the UV/LED lamp. Cure for the manufacturers recommended time to lock in the deepened color saturation.
Tip: Full curing is essential for long-lasting wear and preventing color shifting. - 11Softening with white
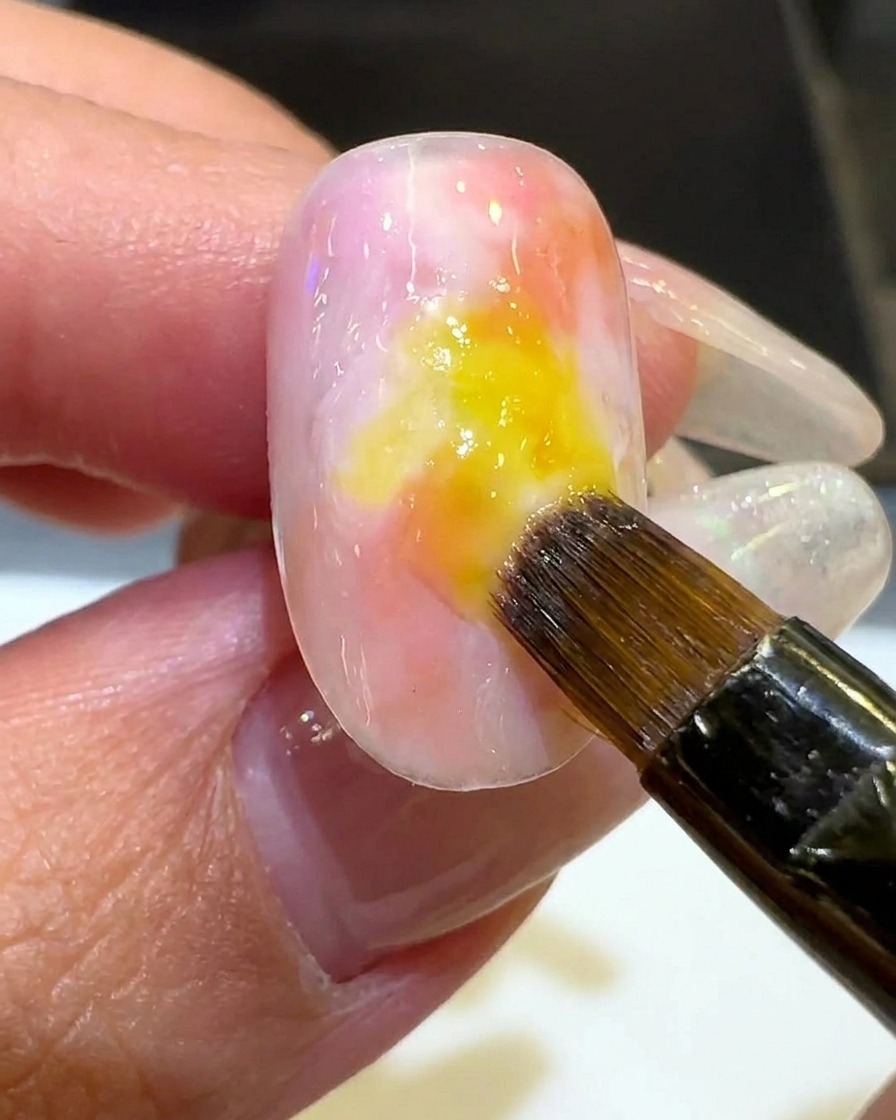
Using a clean brush, apply a small amount of milky white polish around the outer edges of your sunset design. This technique softens the transition between the vibrant colors and the natural nail edge, giving the design a dreamy, diffuse look.
Tip: Use a sheer milky white to keep the effect translucent rather than opaque. - 12Add final shimmer
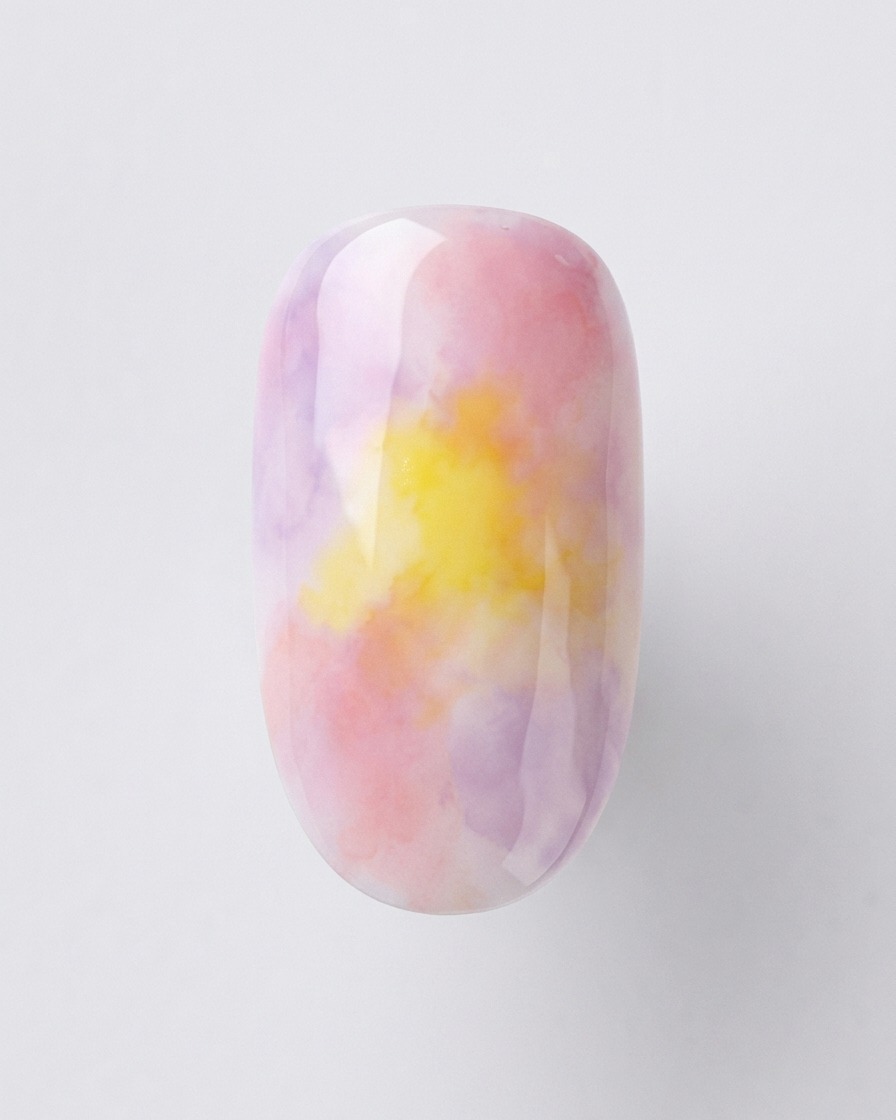
Lightly dab a small amount of silver holographic glitter polish onto the lower edge of the nail. This adds a subtle, magical sparkle that mimics the final brilliance of the sunset. Avoid overloading the brush to keep the glitter sparse and delicate.
Tip: Use a dabbing motion rather than a brushing motion to distribute the glitter evenly without dragging the polish beneath. - 13Apply matte top coat
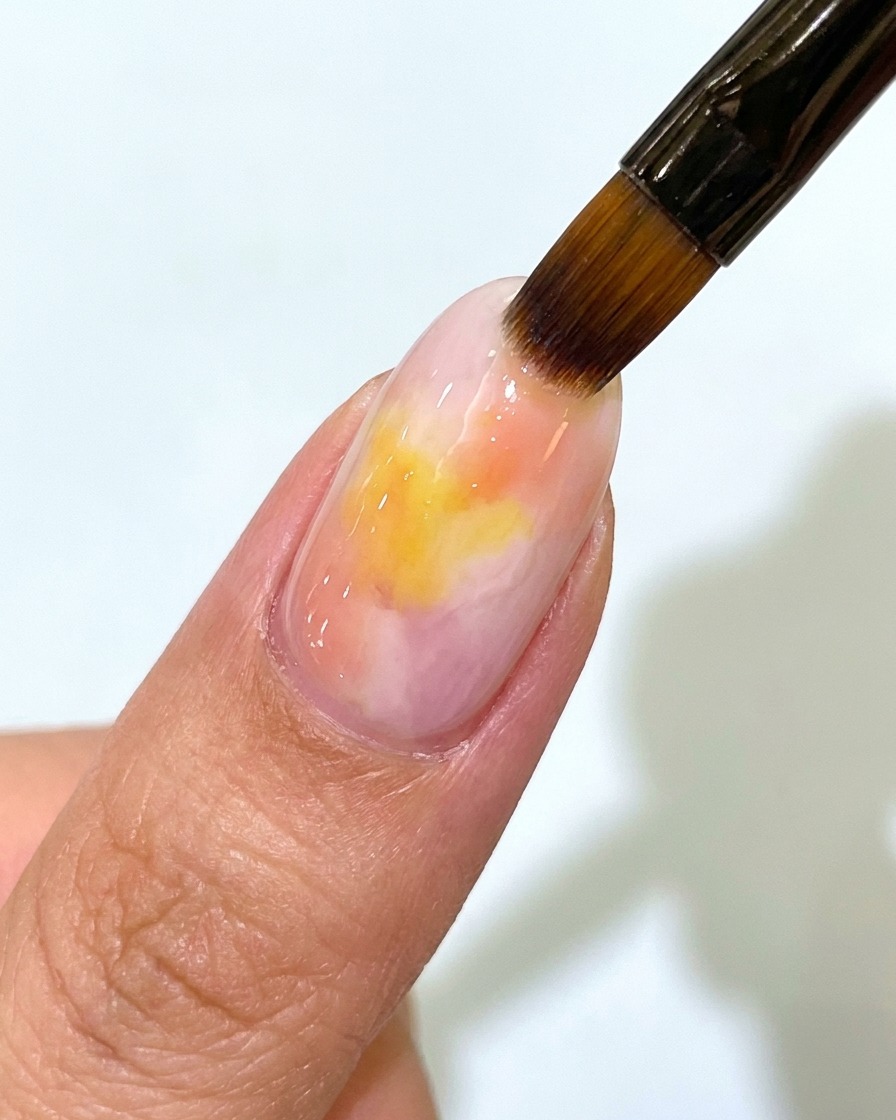
Brush an even layer of matte top coat over the entire sunset gradient to remove the shine. This frosted surface provides the perfect canvas, allowing the 3D gel to adhere properly and ensuring the chrome powder will not stick to the background later.
Tip: Ensure the matte top coat is completely cured before moving on to the 3D gel to prevent any unwanted powder adhesion. - 14Draw the top of the 3D wave
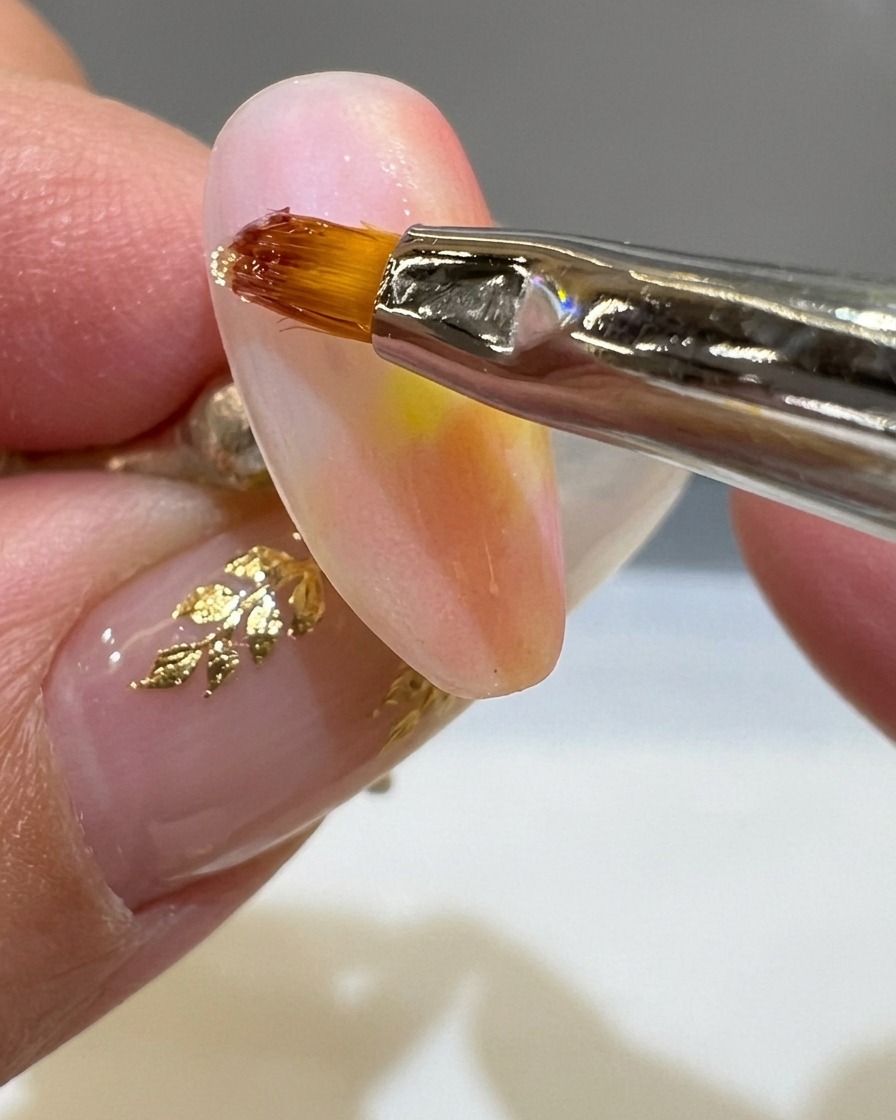
Using a fine liner brush and a non-flowing solid clear gel, begin drawing an S-shaped wavy line across the center of the nail. Start from the upper portion and drag the gel down to create the top half of the textured wave.
Tip: Use a solid or builder gel that doesnt level quickly, so the 3D texture holds its shape before curing. - 15Complete the 3D wavy line
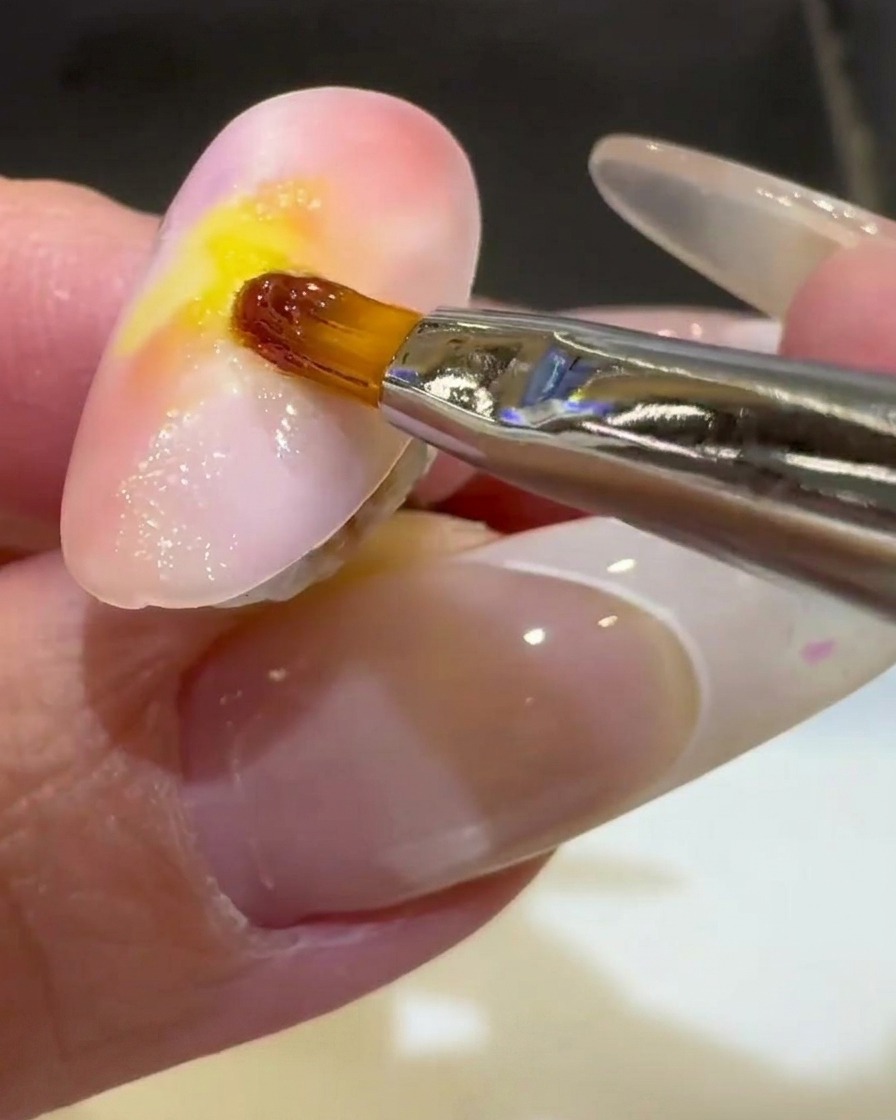
Continue dragging your clear solid gel downwards to finish the S-shape design. Connect the bottom half of the wave seamlessly with the top half, ensuring the thickness and height remain consistent. Once you are happy with the flowing texture, cure the nail completely.
Tip: Flash cure the first half if you are worried about the gel losing its shape while working on the second half. - 16Apply aurora chrome powder
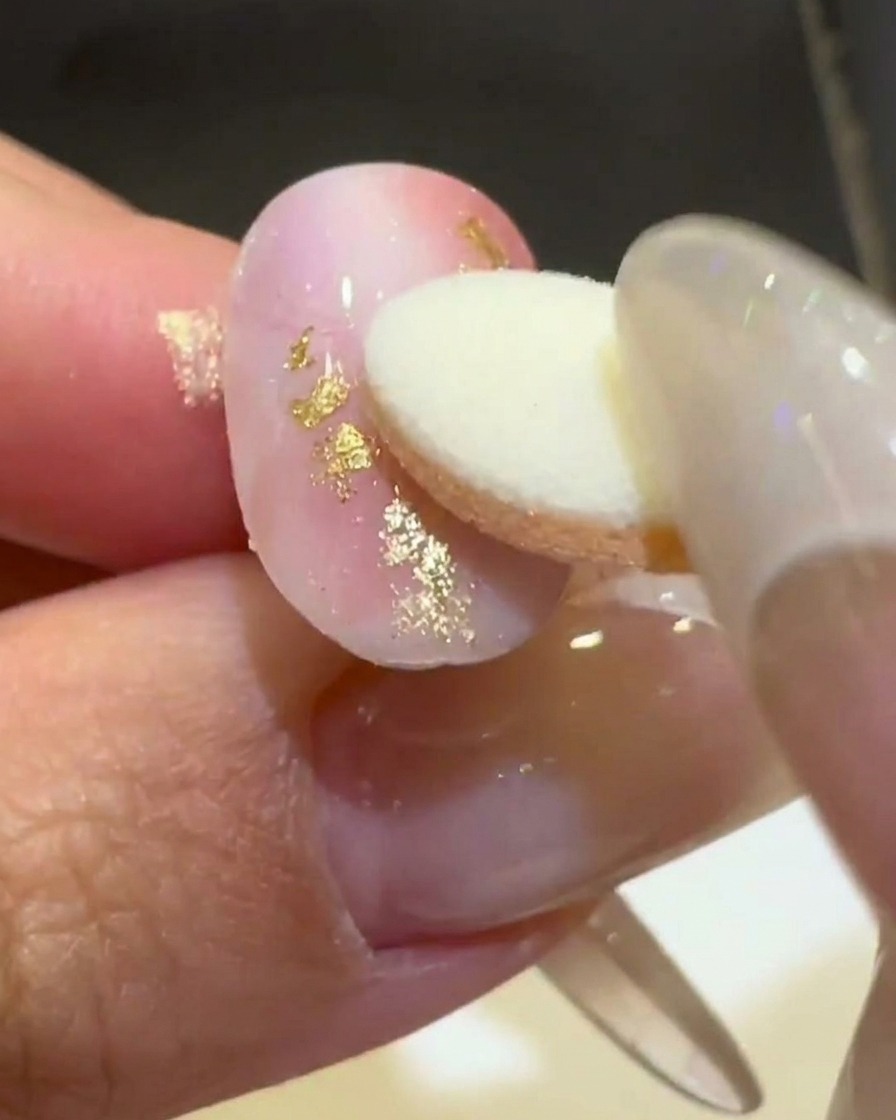
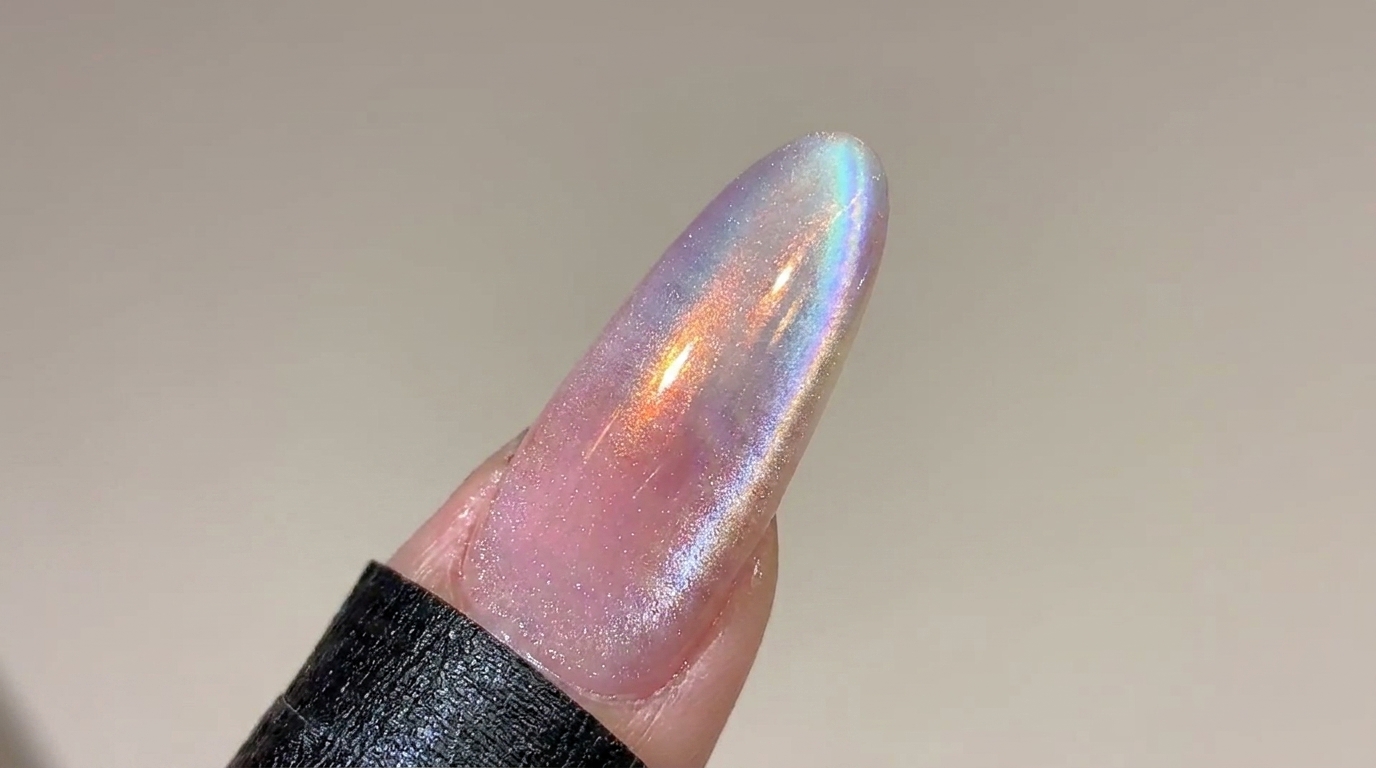
Using a small sponge applicator, firmly rub aurora chrome powder onto the cured 3D wavy gel lines. The powder will instantly adhere to the smooth 3D gel, creating a brilliant, metallic gold effect that catches the light beautifully like a setting sun.
Tip: Use a light but firm pressure to buff the powder into the 3D gel until it achieves a high-shine, mirror-like metallic finish. - 17Dust off excess powder
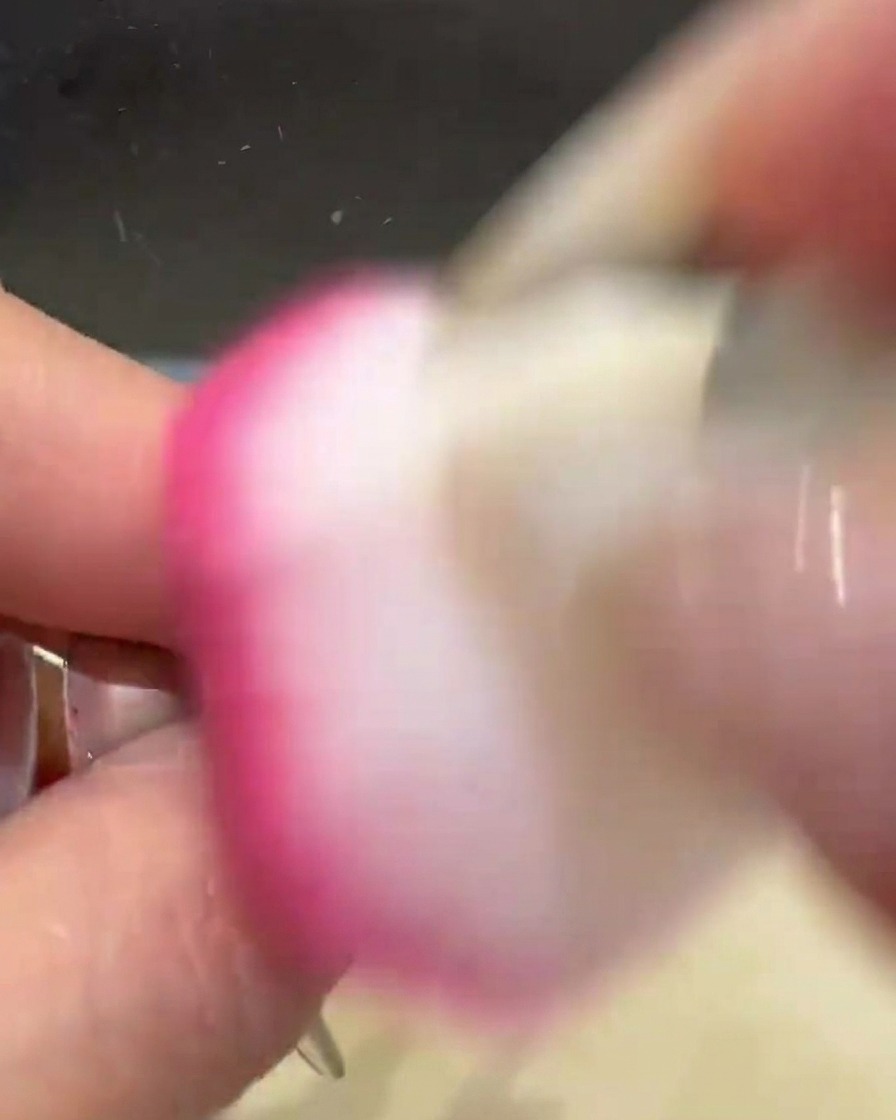
Take a soft, fluffy dusting brush and gently sweep it over the entire nail. This removes any loose or excess chrome powder from the matte background, ensuring the metallic gold effect stays crisp and confined only to your 3D wavy design.
Tip: Use a very soft, clean brush to avoid scratching the matte surface while effectively clearing away the tiny, stubborn chrome particles.