Aurora Sunset Gradient Nail Art — Dreamy Celestial Manicure Tutorial
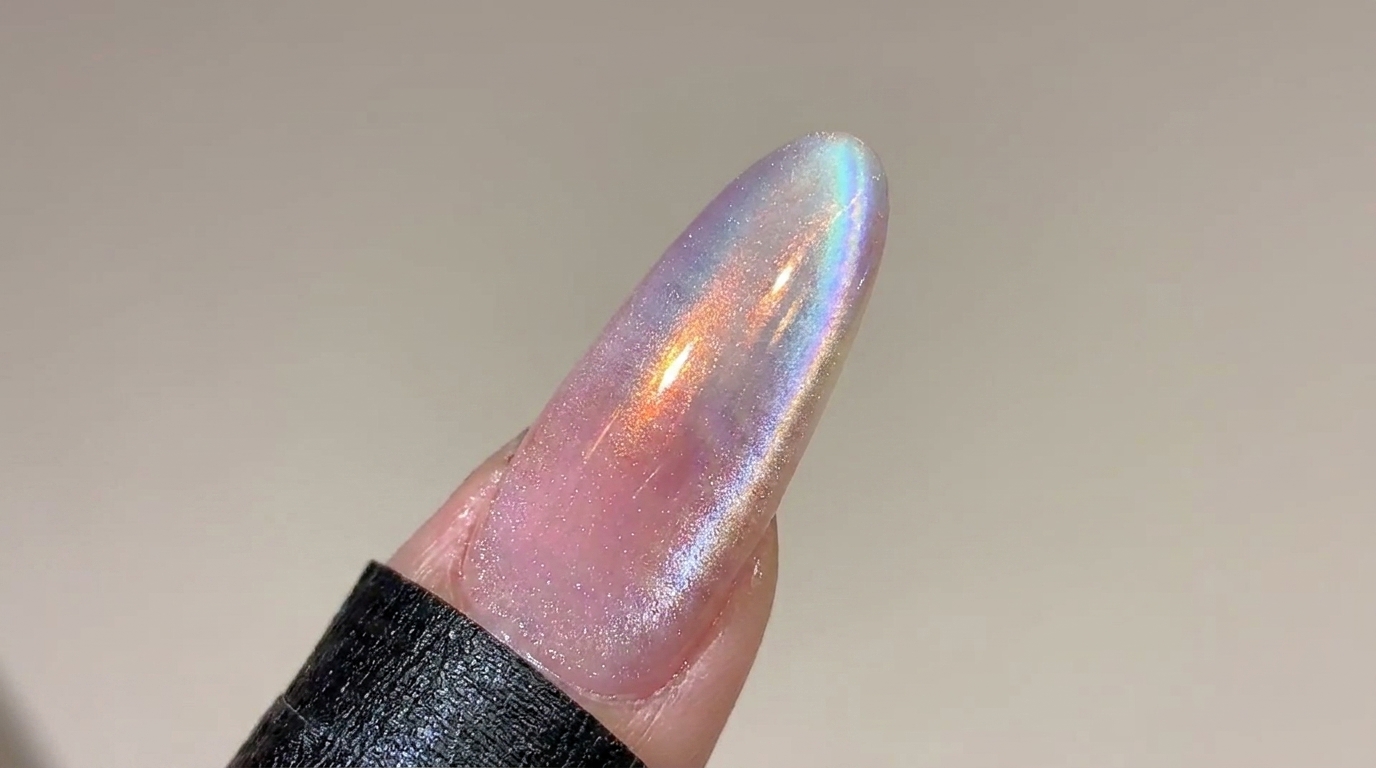
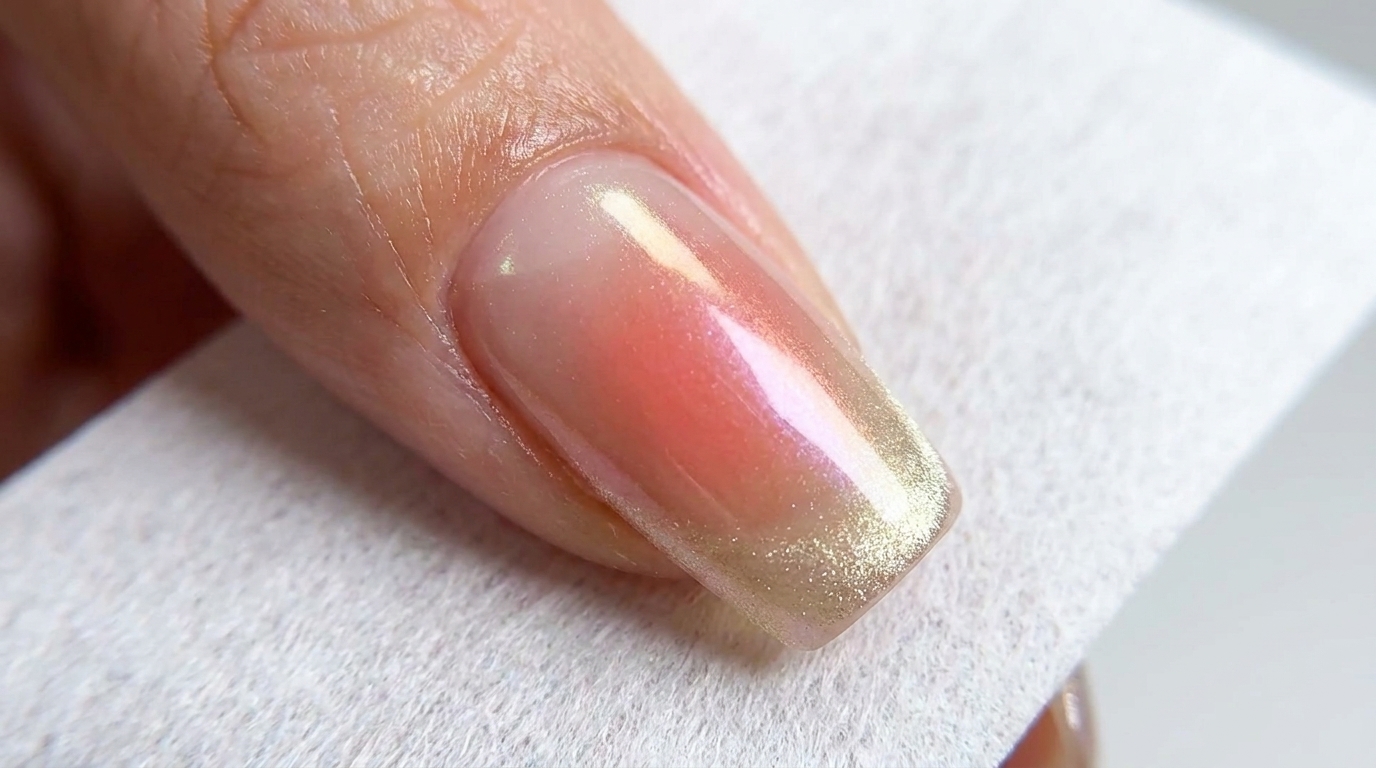
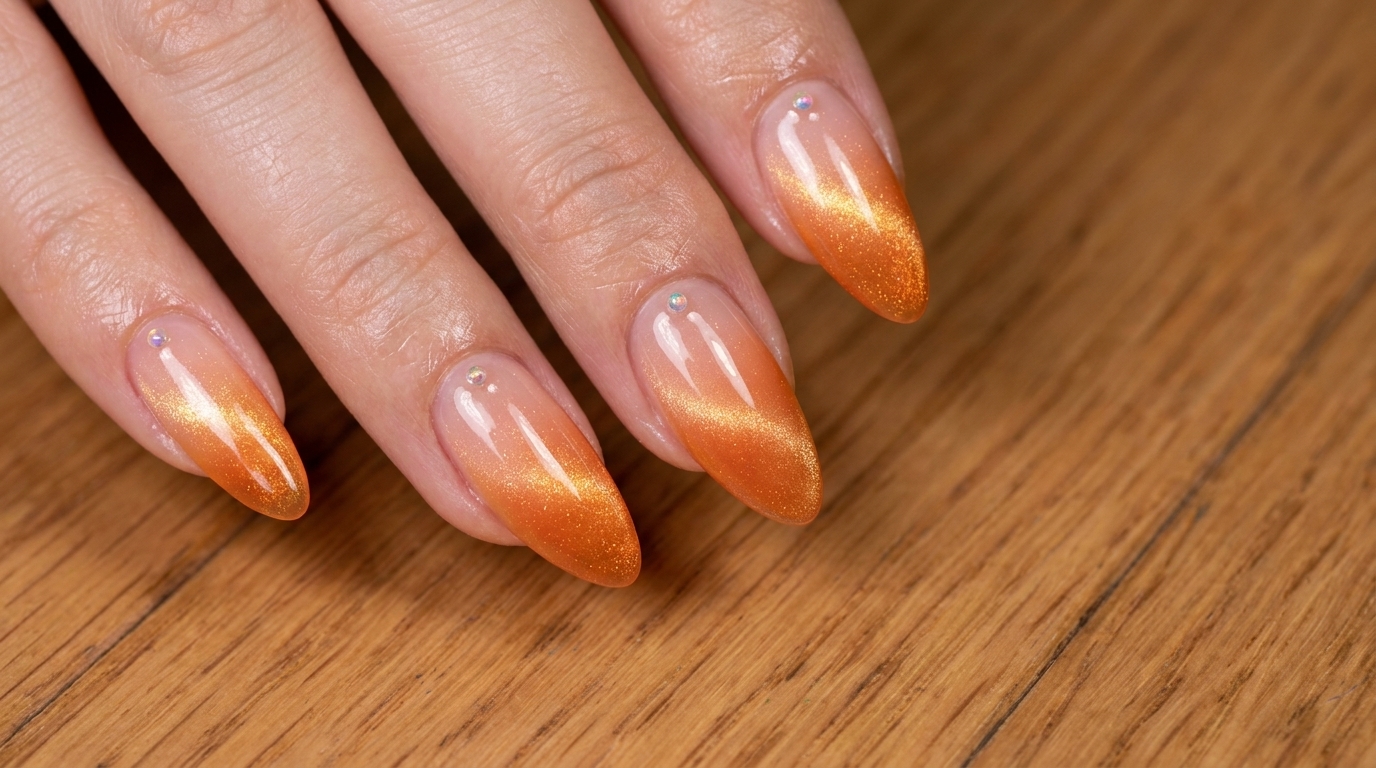
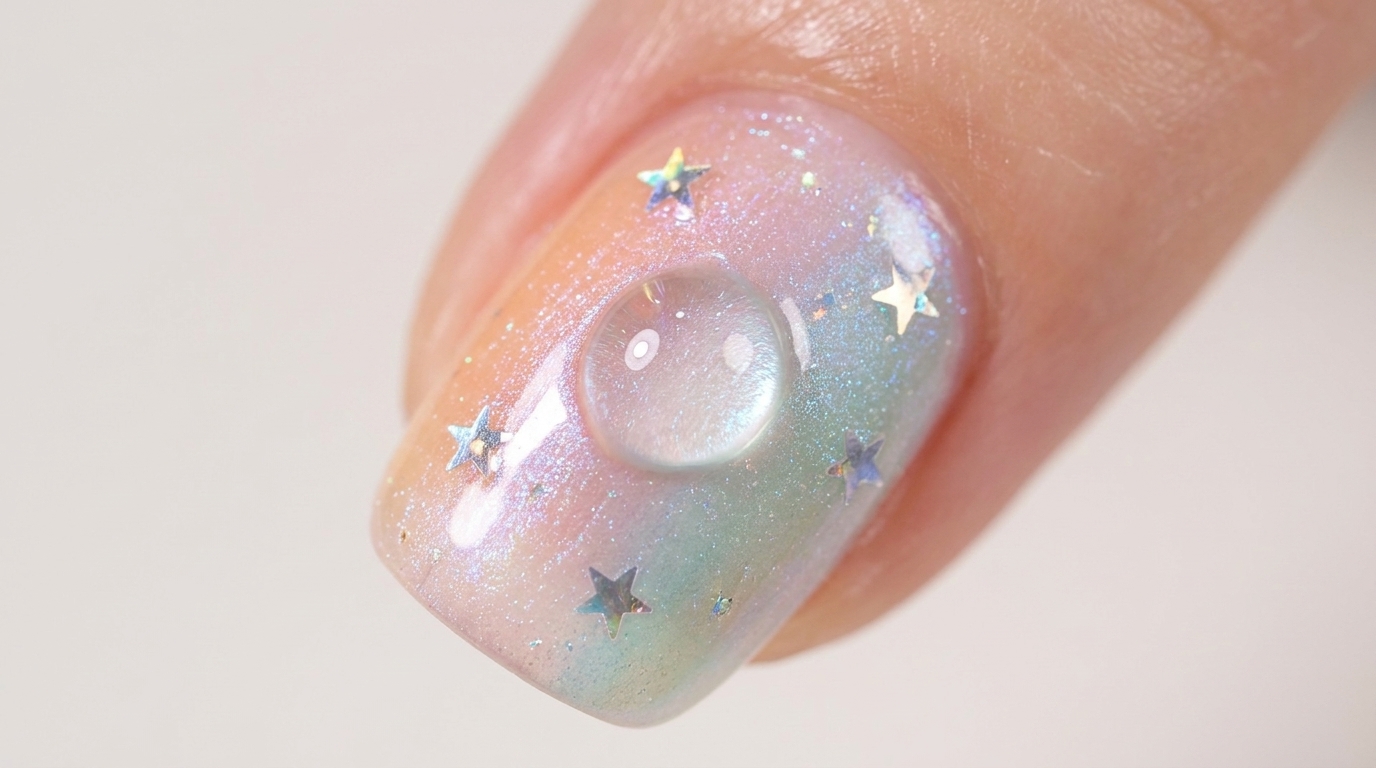
Capture the magic of the evening sky with this stunning aurora sunset gradient manicure, complete with shimmering star accents and a 3D water-drop effect.
The aurora sunset gradient is a mesmerizing nail art style that blends vibrant sunset hues with an ethereal shimmering finish. This look combines high-gloss textured gels to create depth, topped with delicate star sequins and a unique water-droplet accent. Perfect for those who love celestial themes and multi-dimensional nail designs, this tutorial will guide you through creating this wearable art piece.
Steps
- 1Apply milk white base coat
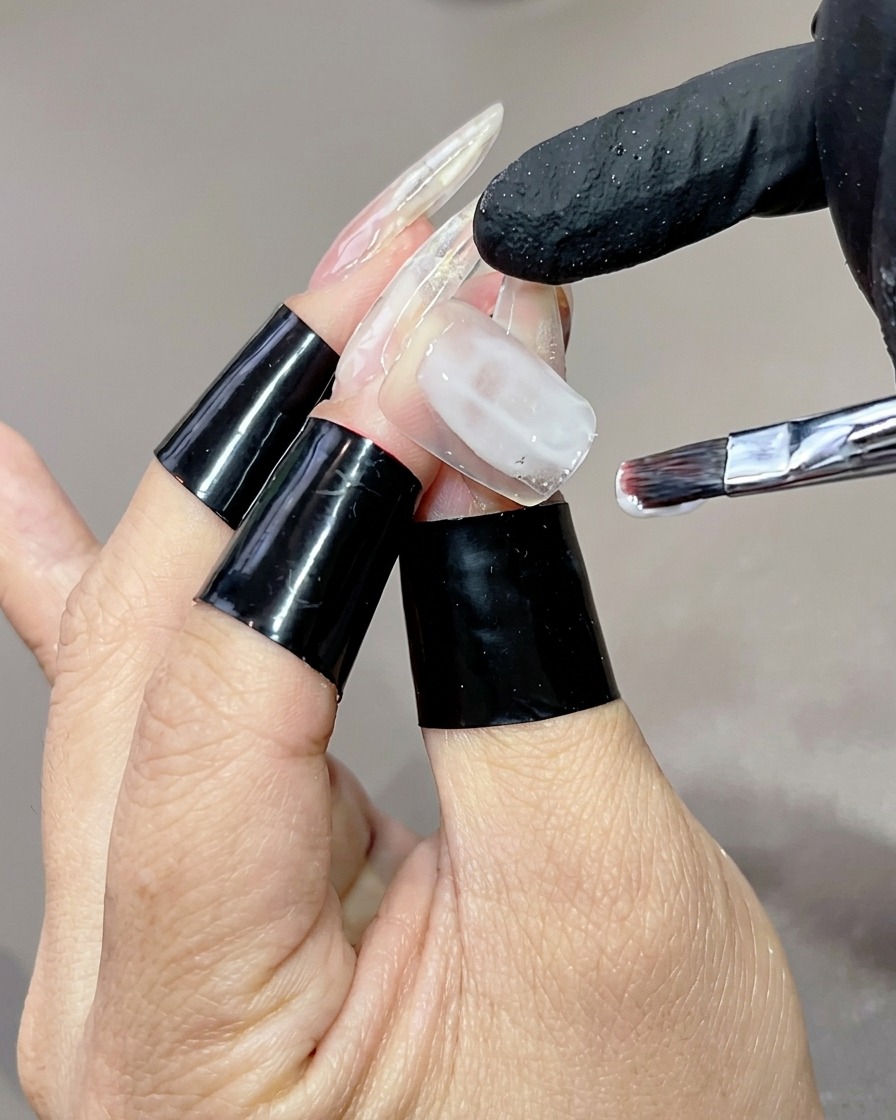
Begin the aurora sunset manicure by applying a layer of milk white base coat. Use a flat brush to distribute the gel evenly across the nail surface, ensuring full coverage while keeping the layer smooth and thin.
Tip: A milky white base provides a soft, opaque canvas that helps the bright sunset colors pop and gives the design its ethereal glow. - 2Cure the base coat
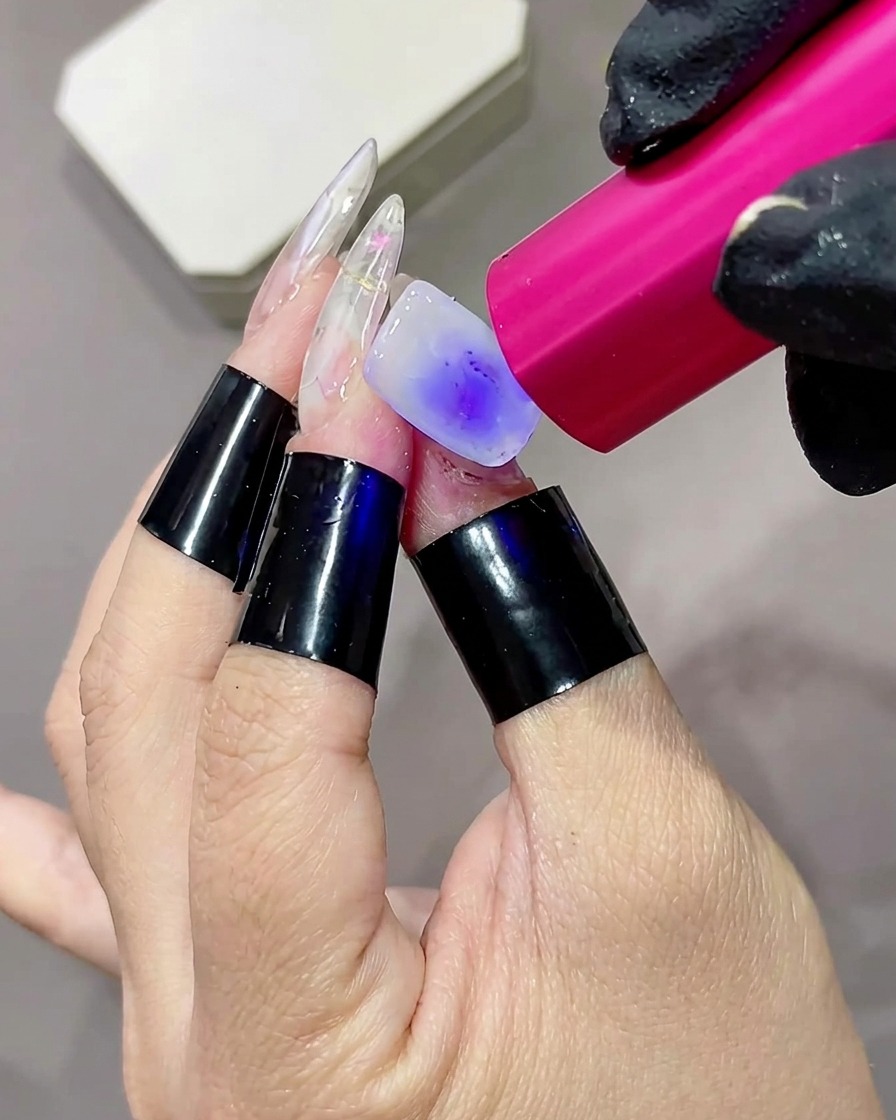
Once the milk white base coat is applied evenly, cure it completely under a UV or LED nail lamp. Follow the manufacturers recommended time to ensure the base is fully set before adding the colored texture gels.
Tip: Ensure your hand is placed correctly under the lamp so the light hits the entire nail surface for an even cure. - 3Apply textured color streaks
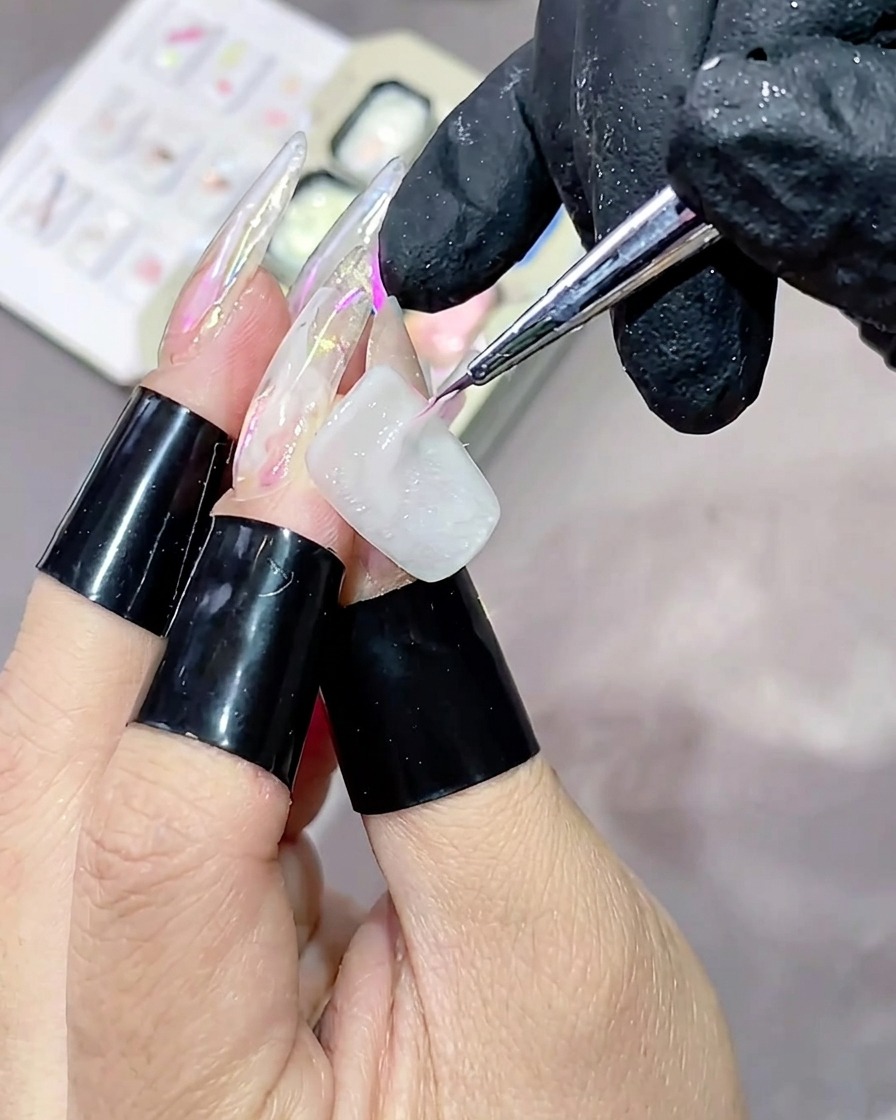
Take a high-gloss texture gel and begin creating a marbled effect on the nail. Using a fine liner brush, apply horizontal streaks of bright sunset colors—such as orange, pink, green, and blue—allowing them to intersect.
Tip: Pick up enough gel on your brush to maintain a slightly raised, textured look rather than brushing it entirely flat. - 4Blend for a marbled texture
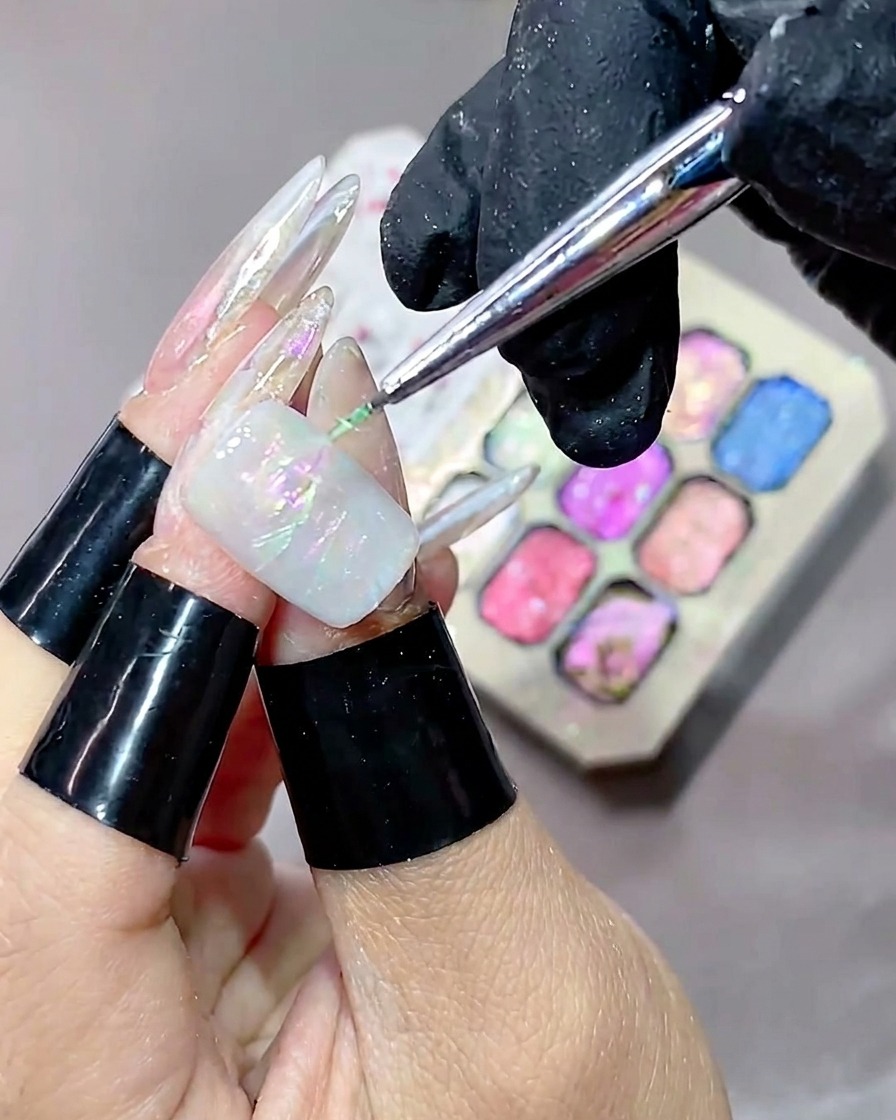
Continue adding your vibrant sunset colors, swiping them horizontally across the nail. The goal is to blend the edges of the gels slightly where they intersect, creating a beautifully textured marbled appearance.
Tip: Work lightly with the tip of the brush so you dont over-blend the colors into a muddy mixture. - 5Enhance texture with blue gel
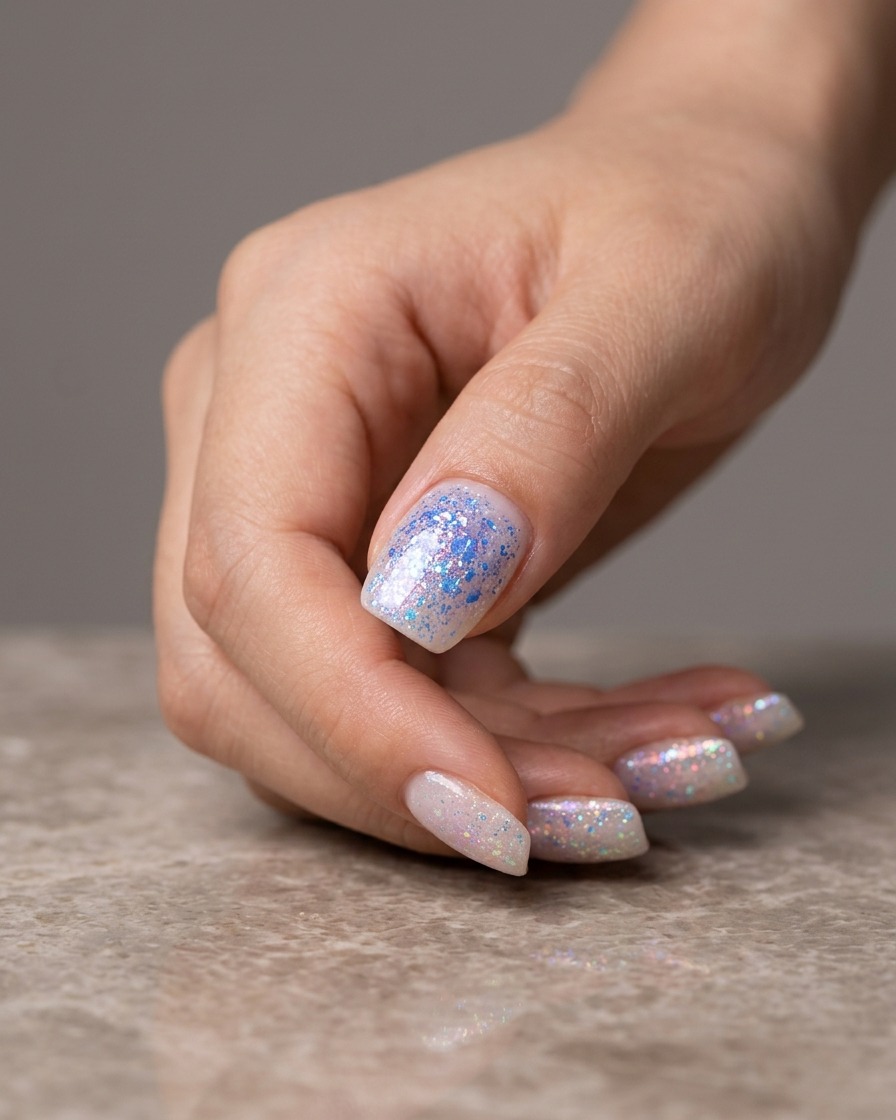
Apply a small amount of the blue high-gloss texture gel over your existing marbled base. Focus on intersecting the blue strokes horizontally across the nail to deepen the color dimension and enhance the textured effect.
Tip: Be generous with the blue gel to ensure the textured, multi-dimensional look pops against the lighter base colors. - 6Cure the texture gel
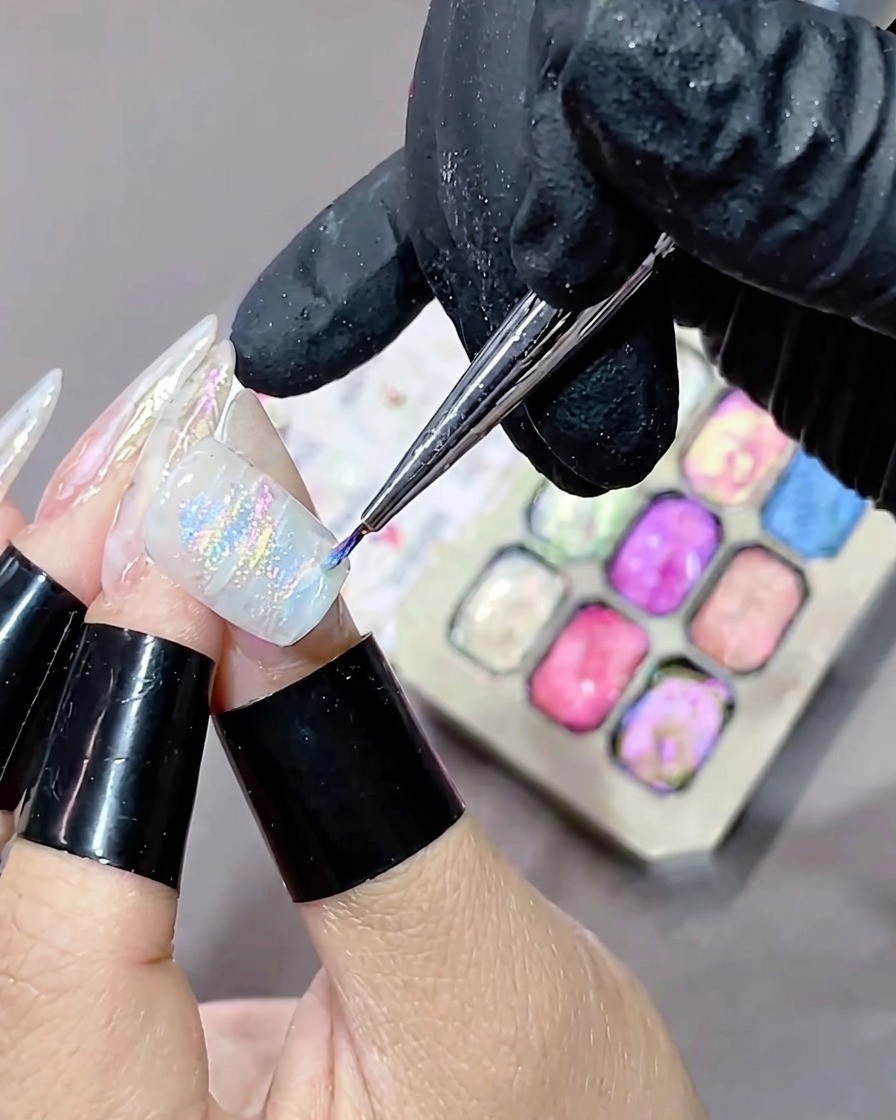
Once you are satisfied with the marbled texture and blue highlights, place your nails under your UV or LED lamp to cure the gel completely. This ensures the textured design is set and stable before moving on to the next layer.
Tip: Follow your lamps manufacturer guidelines to ensure a proper, full cure of the textured gel layer. - 7Apply highlight gel
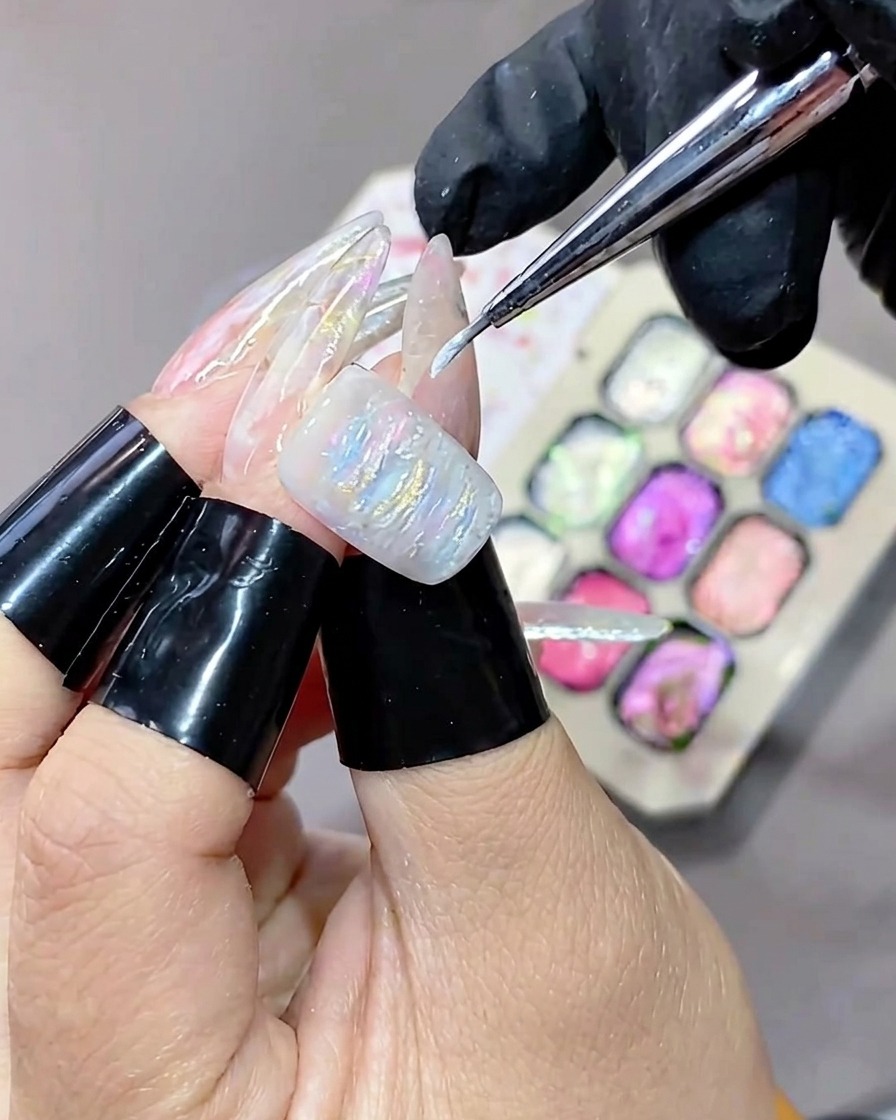
Apply a small amount of white high-gloss gel to create highlights on the textured surface. This step is key to achieving the signature shimmering, aurora-like effect across the design.
Tip: Use a light touch to apply the white gel, focusing on the highest points of your texture for maximum shimmer. - 8Cure the highlight layer
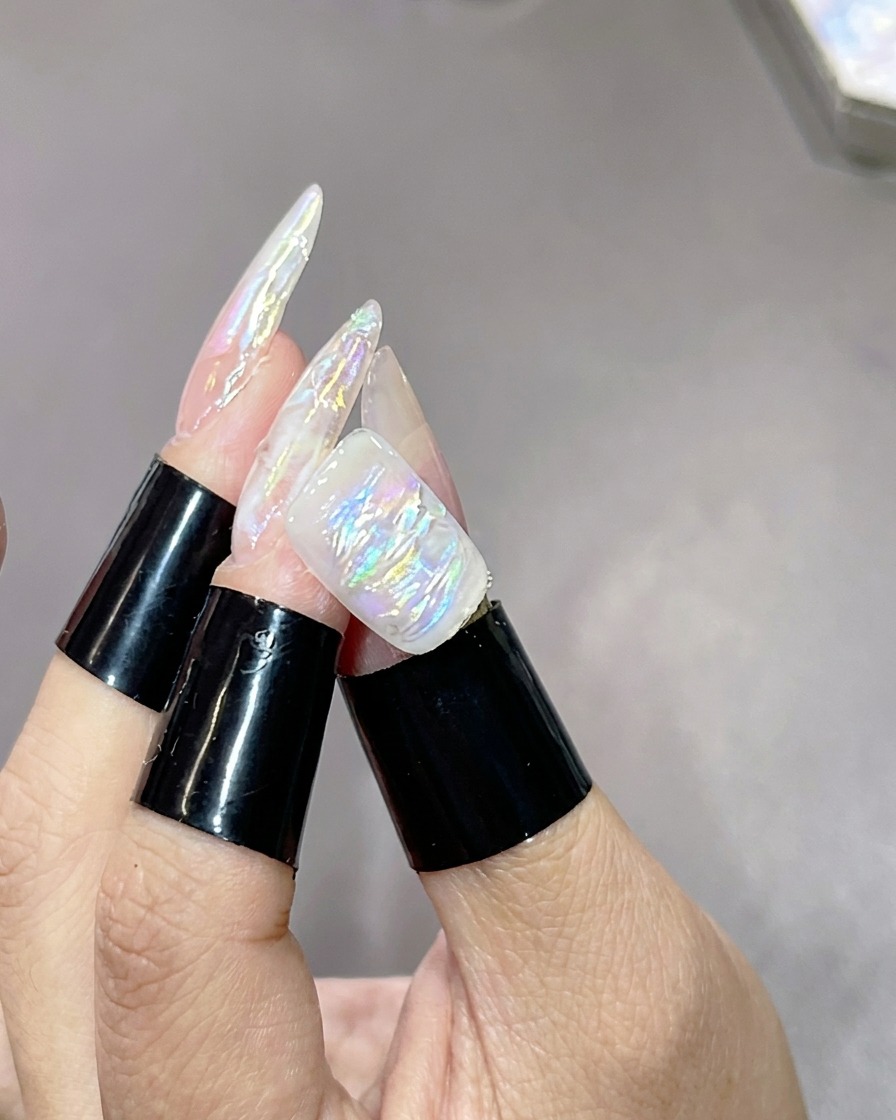
Place your nails under the UV or LED lamp again to cure the white highlight gel. This locks in the shimmering aurora effect.
Tip: Ensure the entire surface is exposed to the light so the highlight layer cures evenly. - 9Apply glitter gel
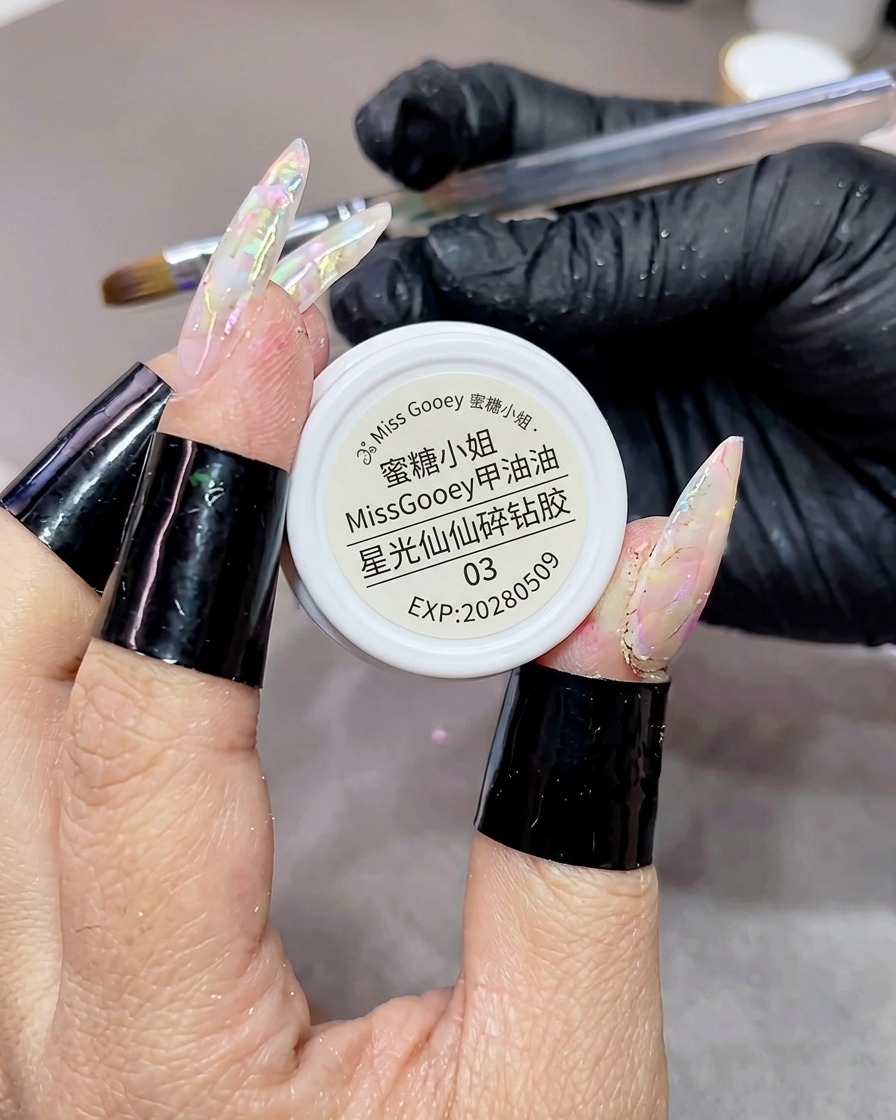
Apply the star-shaped glitter gel over the textured base using a Z shaped motion with your brush. This helps distribute the glitter evenly for a beautiful, atmospheric look.
Tip: The Z motion helps create a more natural, scattered appearance for the glitter. - 10Cure the glitter layer
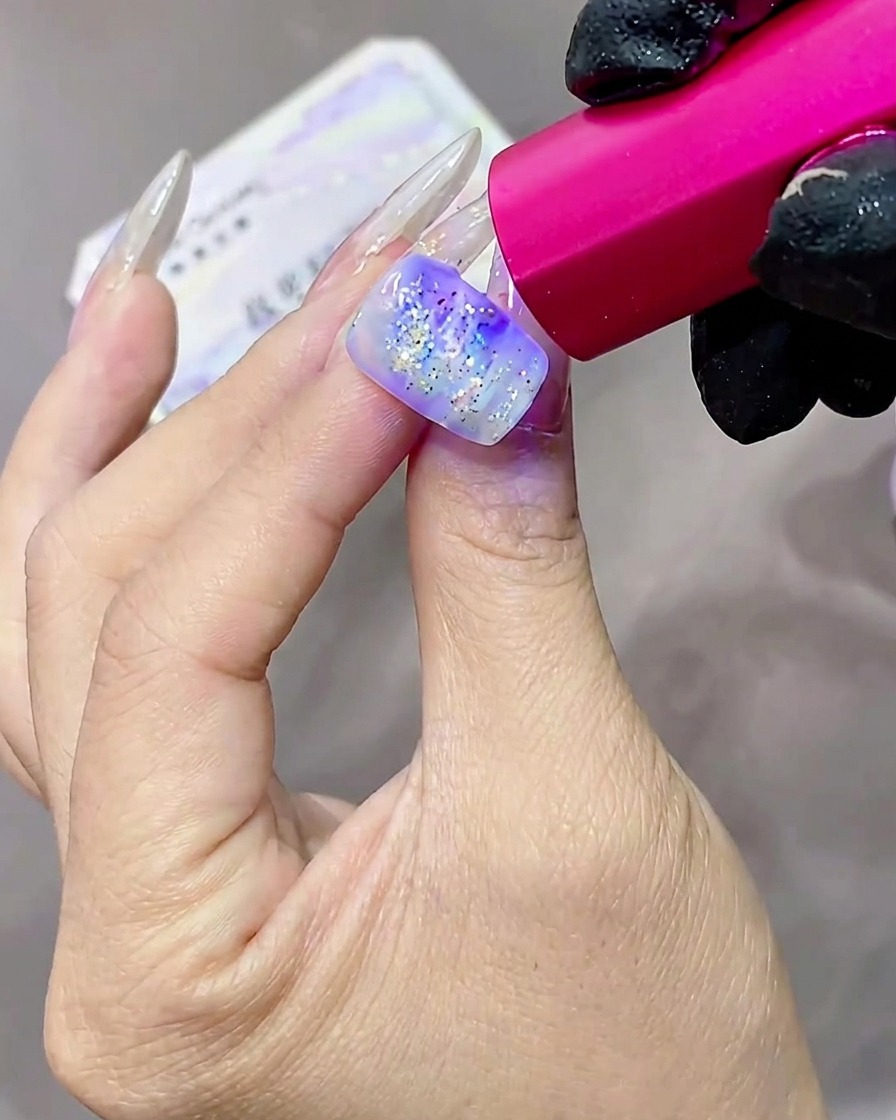
Finally, cure the star-shaped glitter layer under your UV or LED lamp to set the design in place.
Tip: Make sure all the glitter pieces are embedded well into the gel so they remain smooth after curing. - 11Apply builder gel
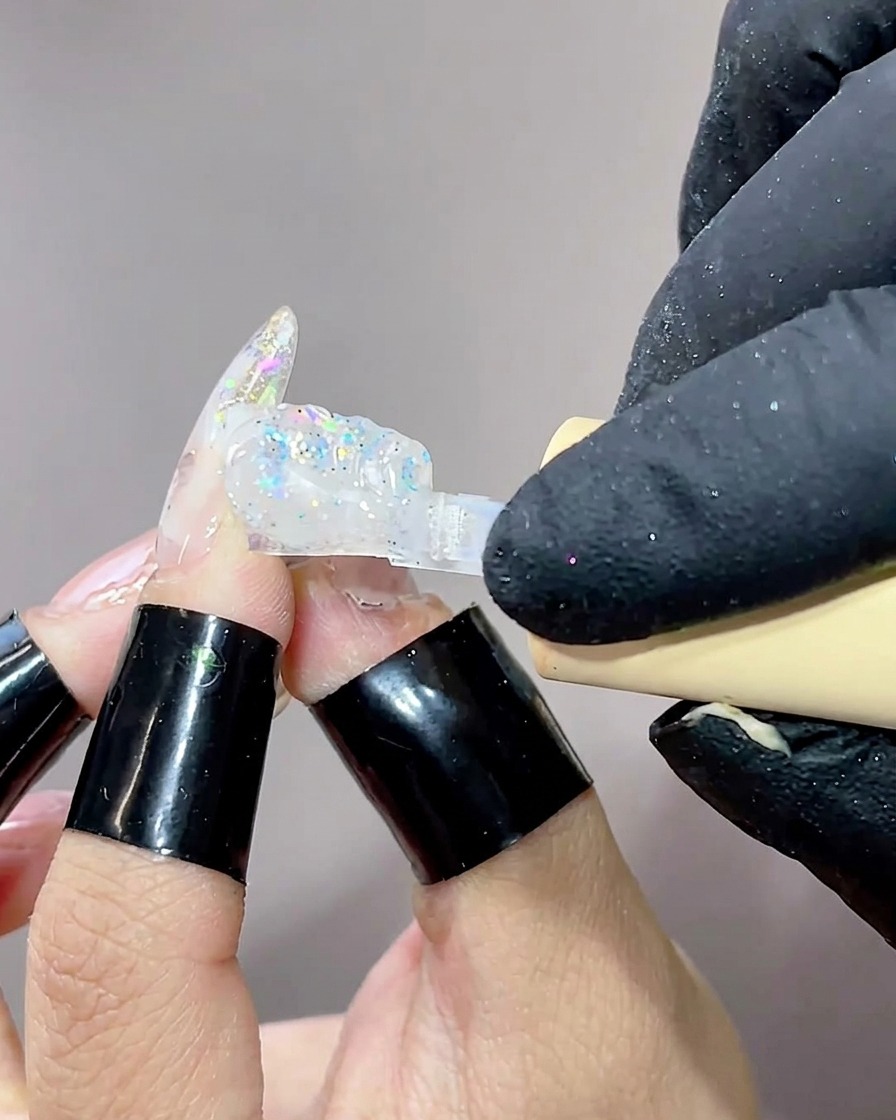
Apply a thin, even layer of builder gel over the nail surface. This acts as a sticky base for the glitter decorations. Do not cure this layer yet, as it needs to remain wet to hold the sequins in place.
Tip: Work with a light touch to keep the layer thin and even, which prevents the nail from looking bulky. - 12Place star sequins
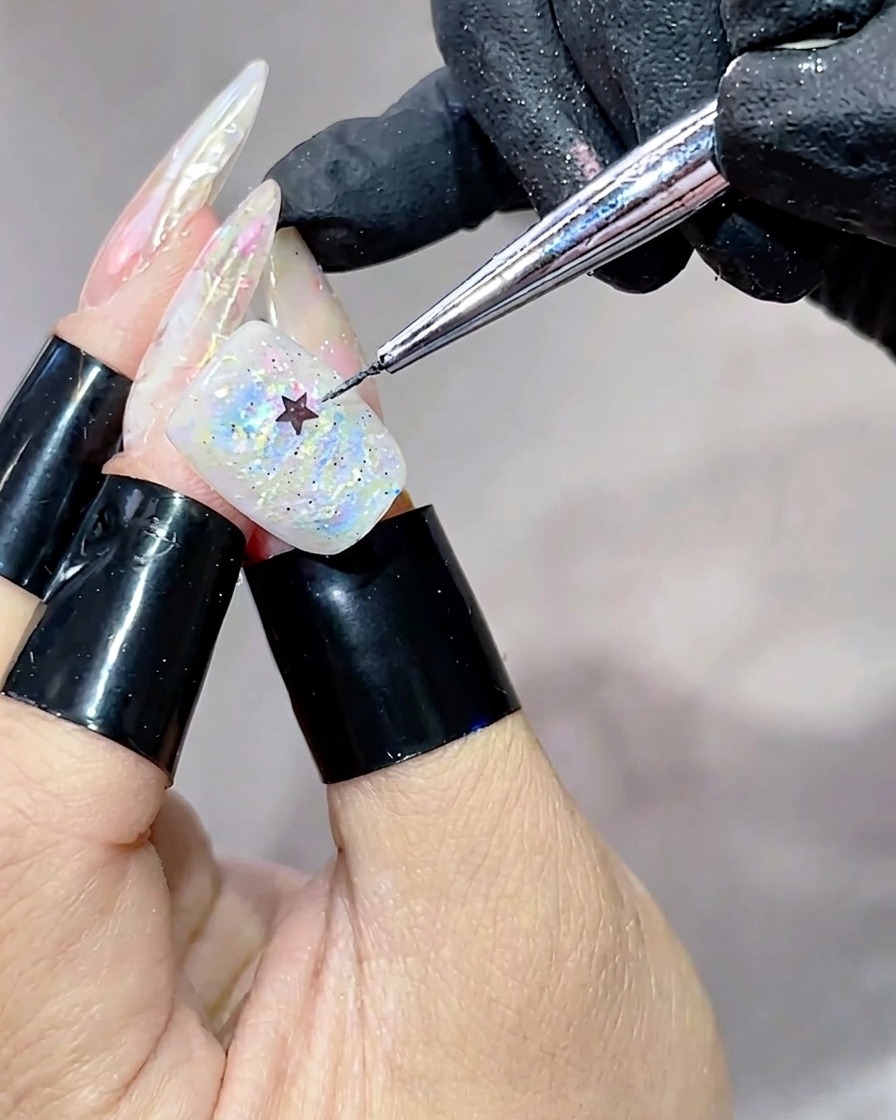
Using a dotting tool or tweezers, carefully place star-shaped sequins of various sizes onto the wet builder gel layer. Arrange them aesthetically across the nail to complement the underlying aurora design.
Tip: Press the sequins lightly into the gel so they lay flat, which ensures they stay in place during the curing process. - 13Add green sequin accent
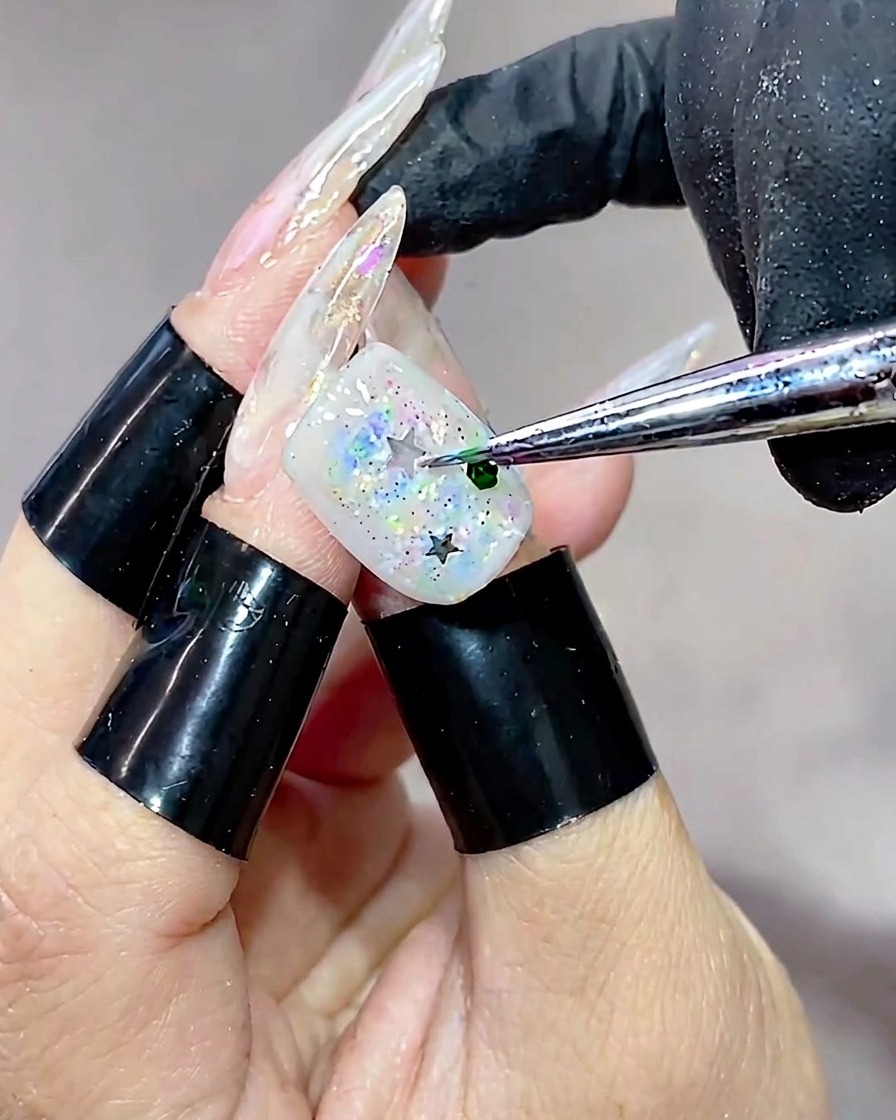
Place a single green sequin onto the nail to serve as a colorful accent. This adds a pop of contrast to the existing star glitter design.
Tip: Position the green sequin in an empty spot to balance the composition without overcrowding the nail art. - 14Cure the nail
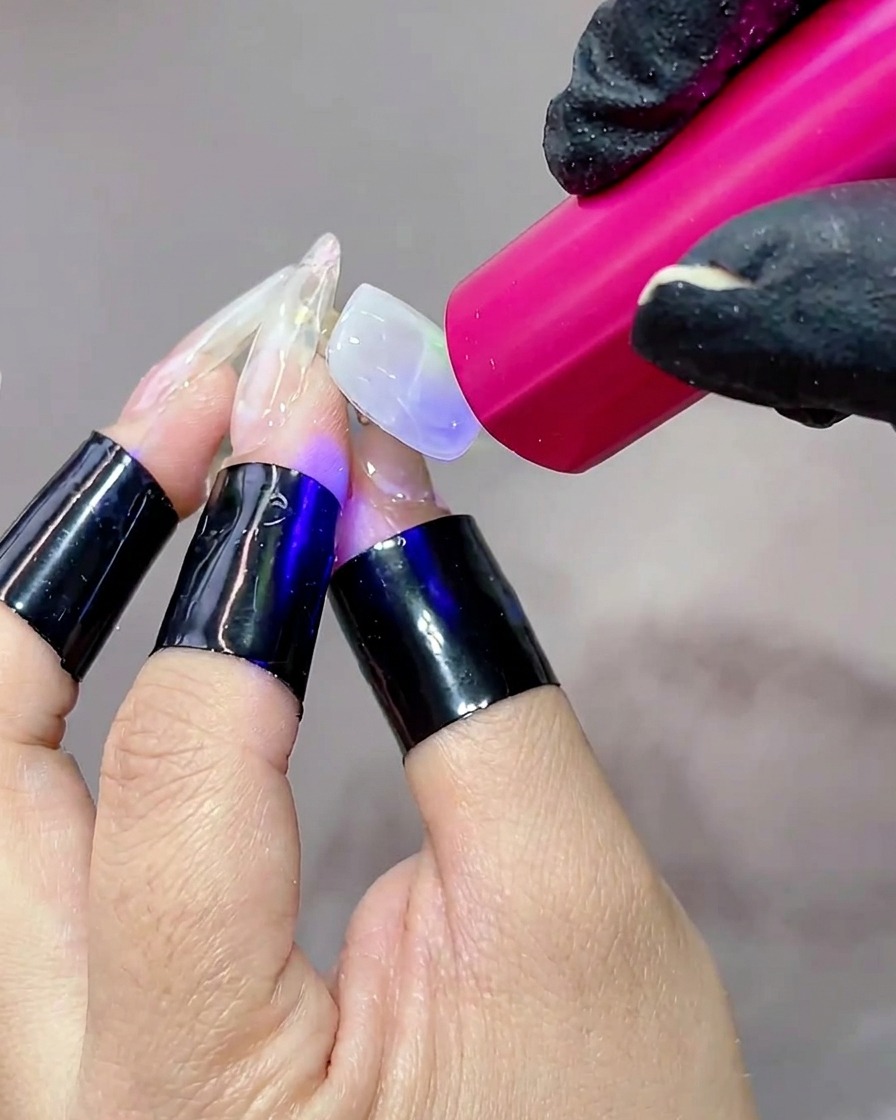
Place the nail under your UV or LED lamp to cure the builder gel and secure the sequins. Follow the recommended curing time for your specific gel product to ensure a durable finish.
Tip: Ensure the entire nail is evenly exposed to the lamp light to avoid under-curing, which can lead to the decorations falling off. - 15Apply top coat
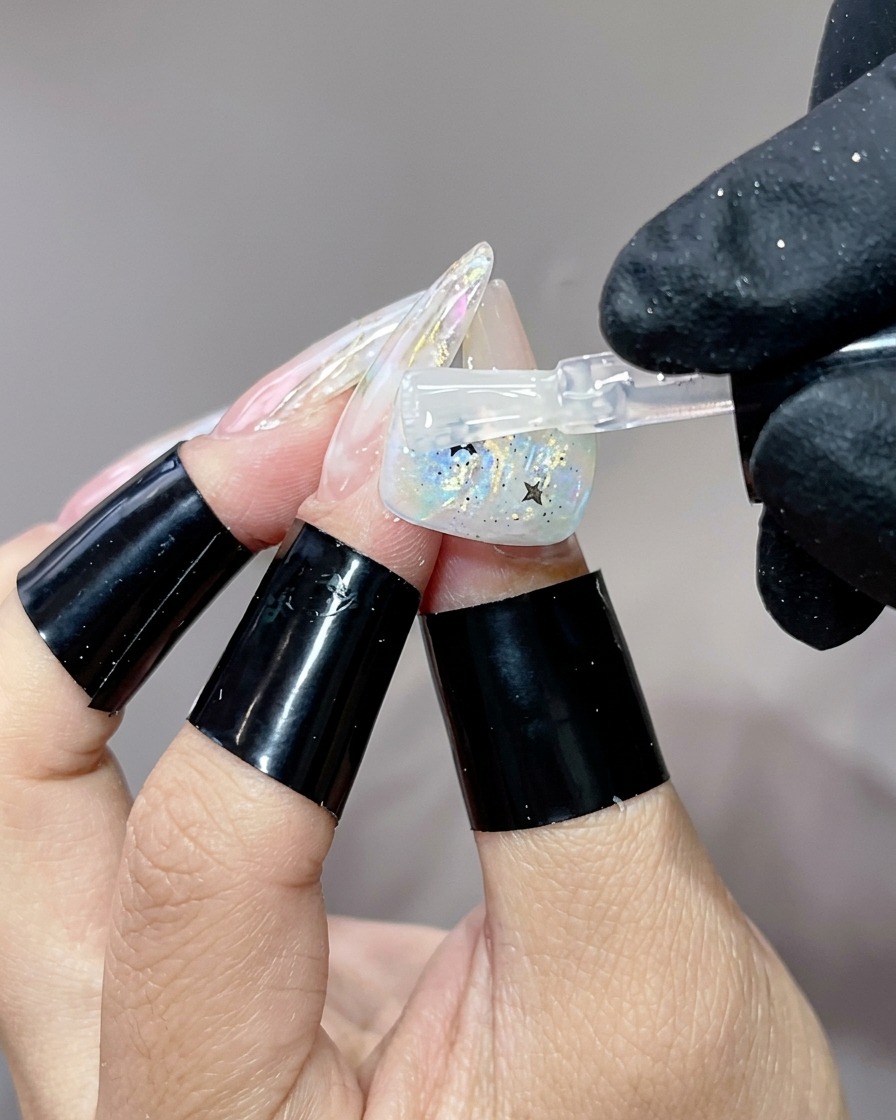
Apply a layer of top coat over the entire nail. You can build up a little extra structure with the top coat to enhance the overall transparency and shine of the design.
Tip: Use a light brushing motion to level the top coat, ensuring it covers the sequins completely for a smooth, glass-like finish. - 16Final cure
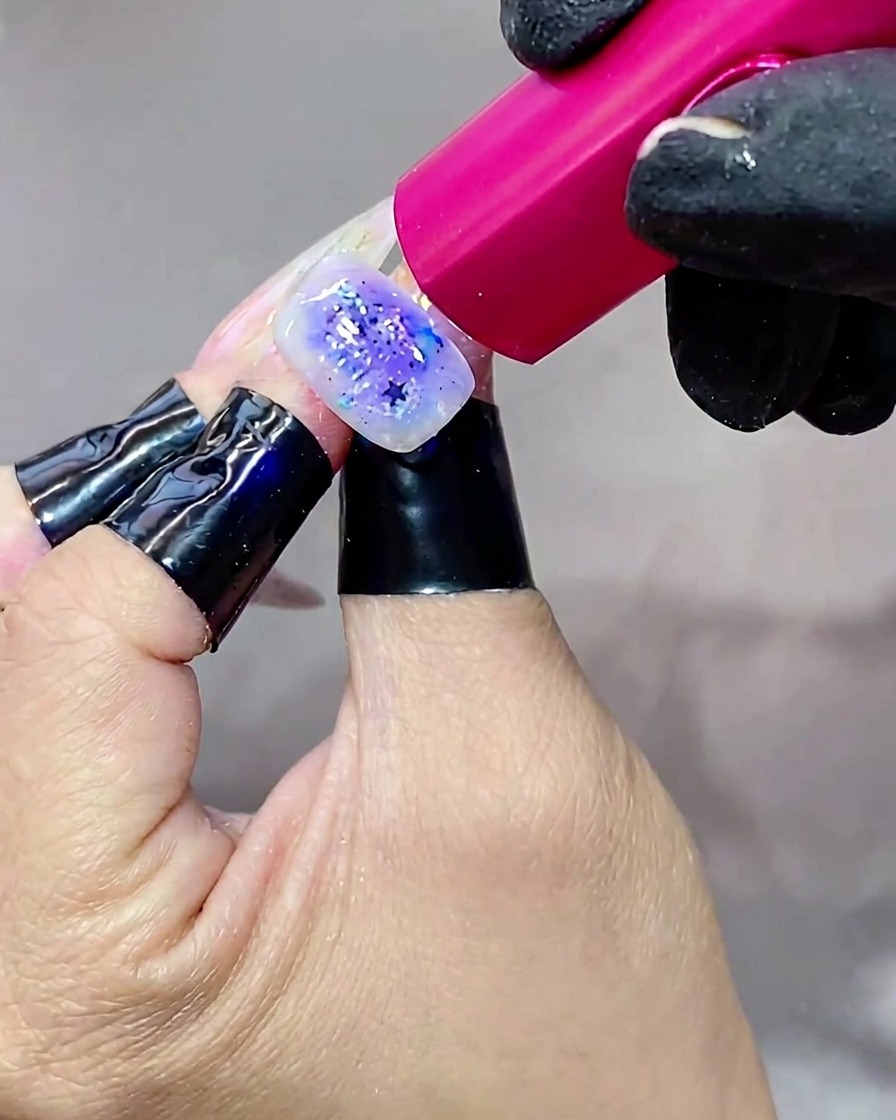
Place the nail under the UV or LED lamp one last time to fully cure the top coat. This final cure ensures the design is protected and the surface is set to a high-gloss finish.
Tip: Let the nail cool for a few seconds after removing it from the lamp before touching it, as this helps the top coat achieve its maximum hardness. - 17Apply hard gel 3D accent
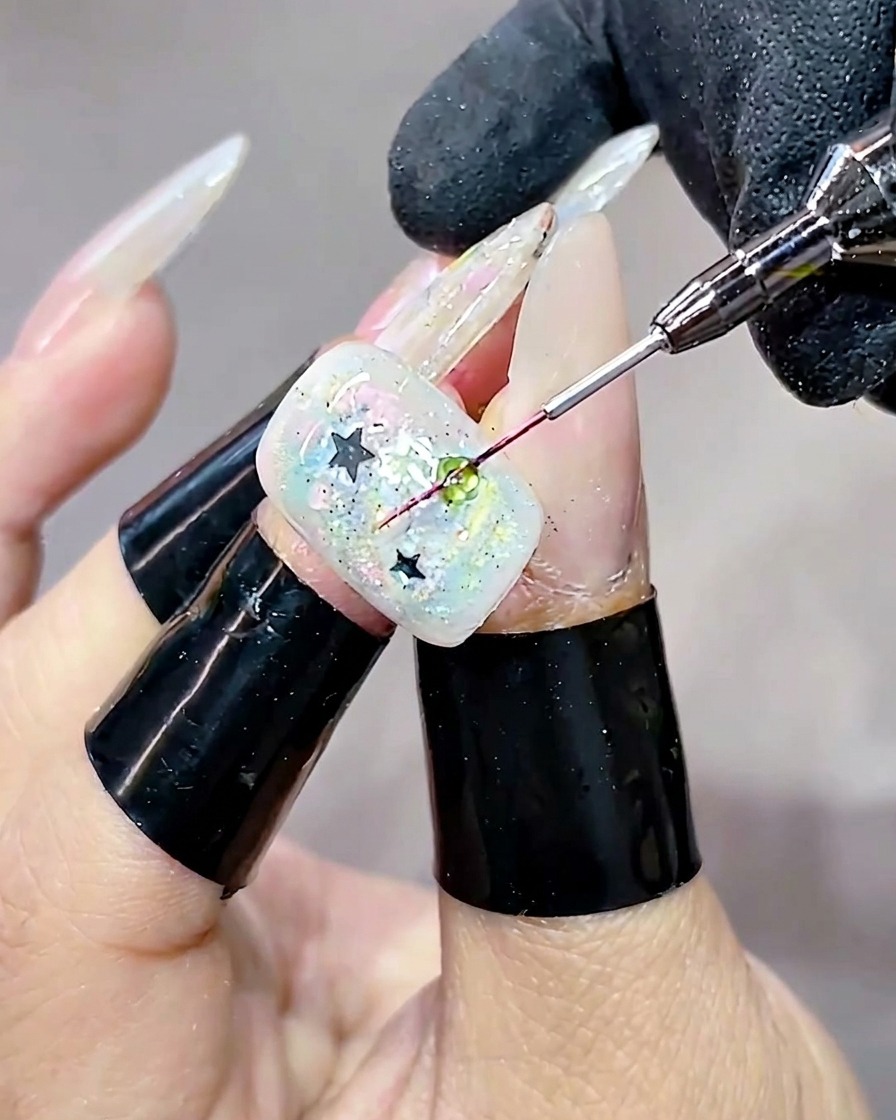
Using a fine-tip brush, pick up a small amount of hard-style top coat and carefully place it directly over the green sequin to create a water-droplet shape. Ensure the droplet is centered and maintains a rounded, 3D structure. Cure the nail under your UV or LED lamp to set the accent firmly in place.
Tip: Keep your hand steady while applying the droplet to ensure the gel doesnt spread; a dotting motion with the brush tip helps create that perfect spherical shape.