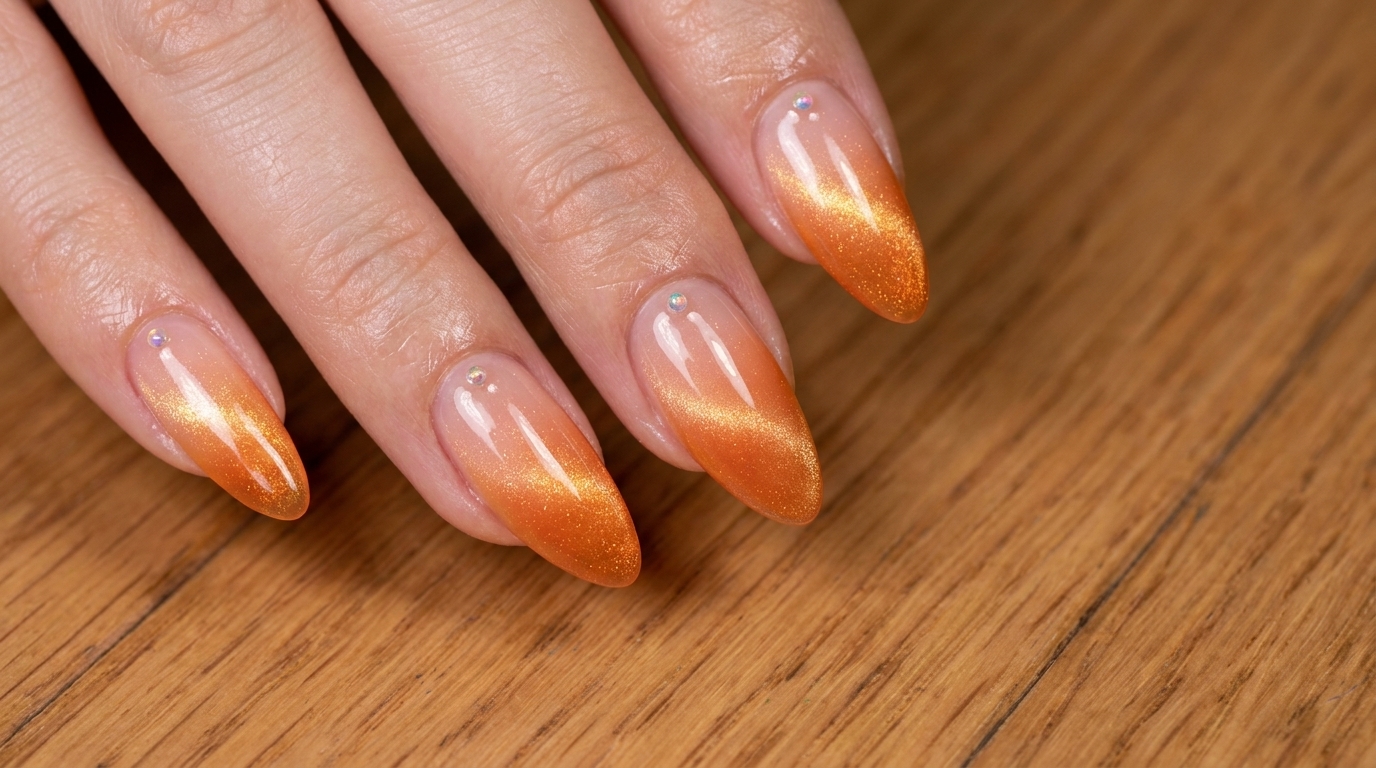
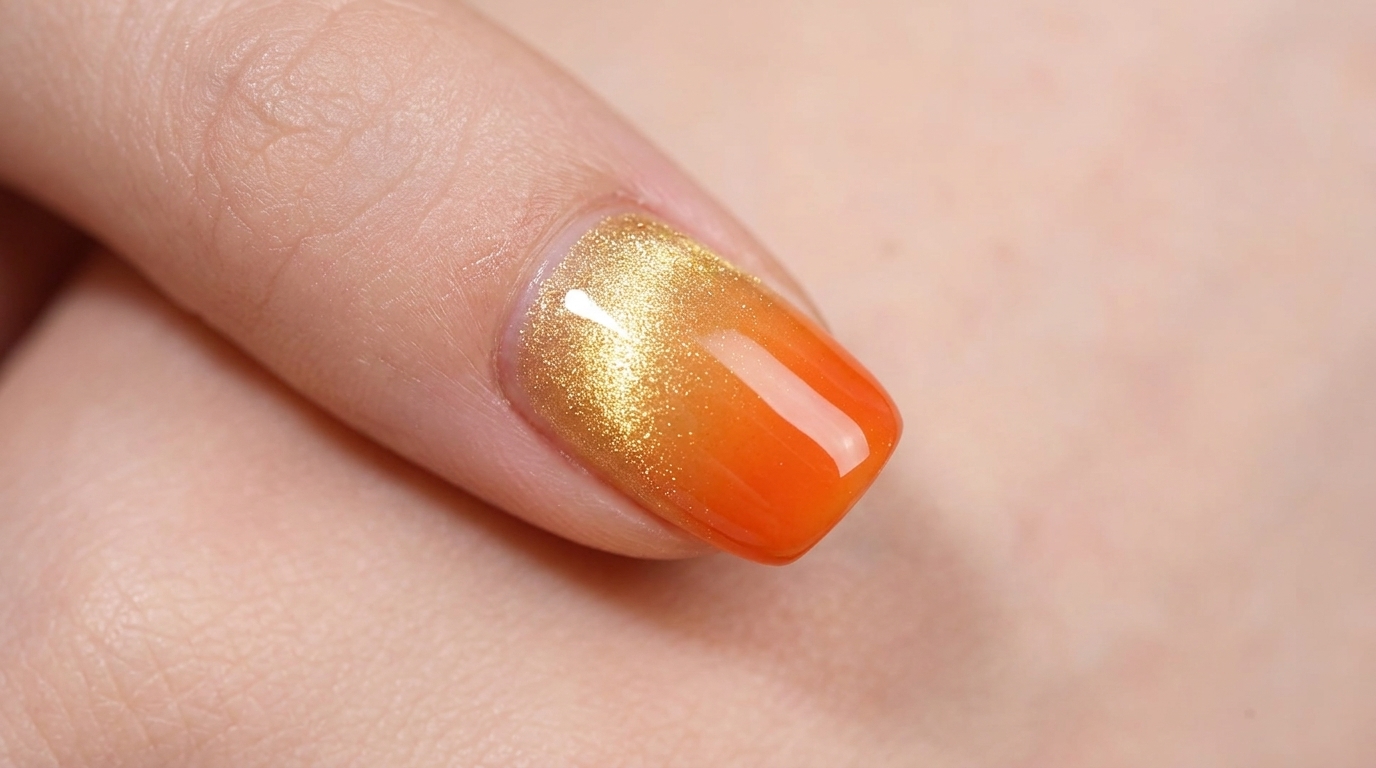
Sunset Orange Sea Cat Eye Nails — Glass Bead Gradient Tutorial
Create a romantic sunset orange sea manicure with this step-by-step tutorial, featuring a luminous light gold cat-eye base and a vibrant glass-effect ombre tip.
The sunset orange sea nail design combines the mesmerizing depth of magnetic cat-eye polish with the seamless blend of a jelly gradient. By layering a translucent, glass-like orange gel over a meticulously shaped light gold magnetic base, you achieve a glowing, multi-dimensional look that captures the magic of golden hour. Finished with a self-leveling Russian-style top coat, this manicure looks just like a precious glass bead on your fingertips.

Steps
- 1Shape the cat-eye gel
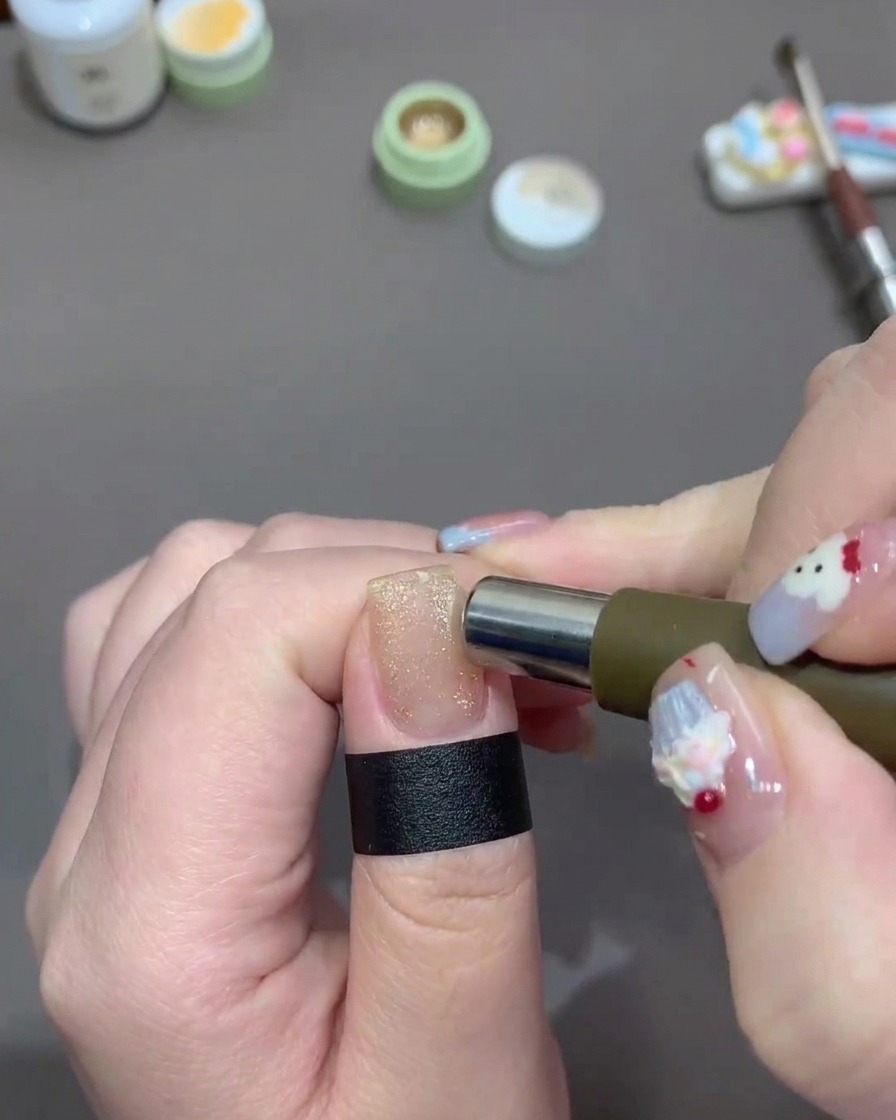
Hover a cylindrical magnet around the outer contour of the nail to manipulate the magnetic particles in the light gold cat-eye gel. Move the magnet back and forth along the edges to push the shimmer towards the center, creating a dimensional, glass bead effect. Take your time to ensure the particles form a smooth, rounded light reflection.
Tip: Keep the magnet close to the nail surface without touching the wet gel to get the strongest magnetic pull. - 2Cure the cat-eye base
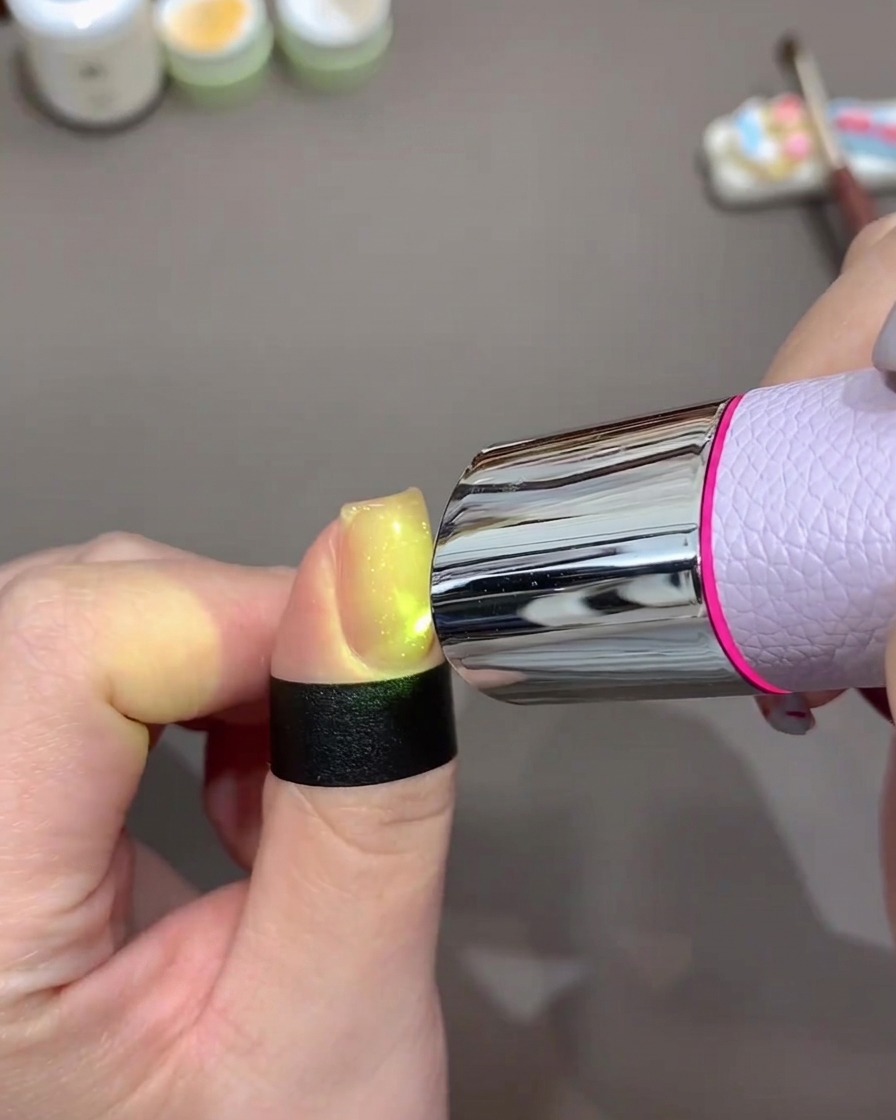
Once you are satisfied with the magnetic glass bead effect, immediately place the nail under a portable UV or LED lamp to freeze the particles in place. Flash cure it for a few seconds to prevent the magnetic shimmer from dispersing, then do a full cure according to the gel polish manufacturers instructions.
Tip: Flash curing immediately after magnetizing is crucial, as the magnetic particles will slowly spread back out if left wet. - 3Prepare the sponge for gradient
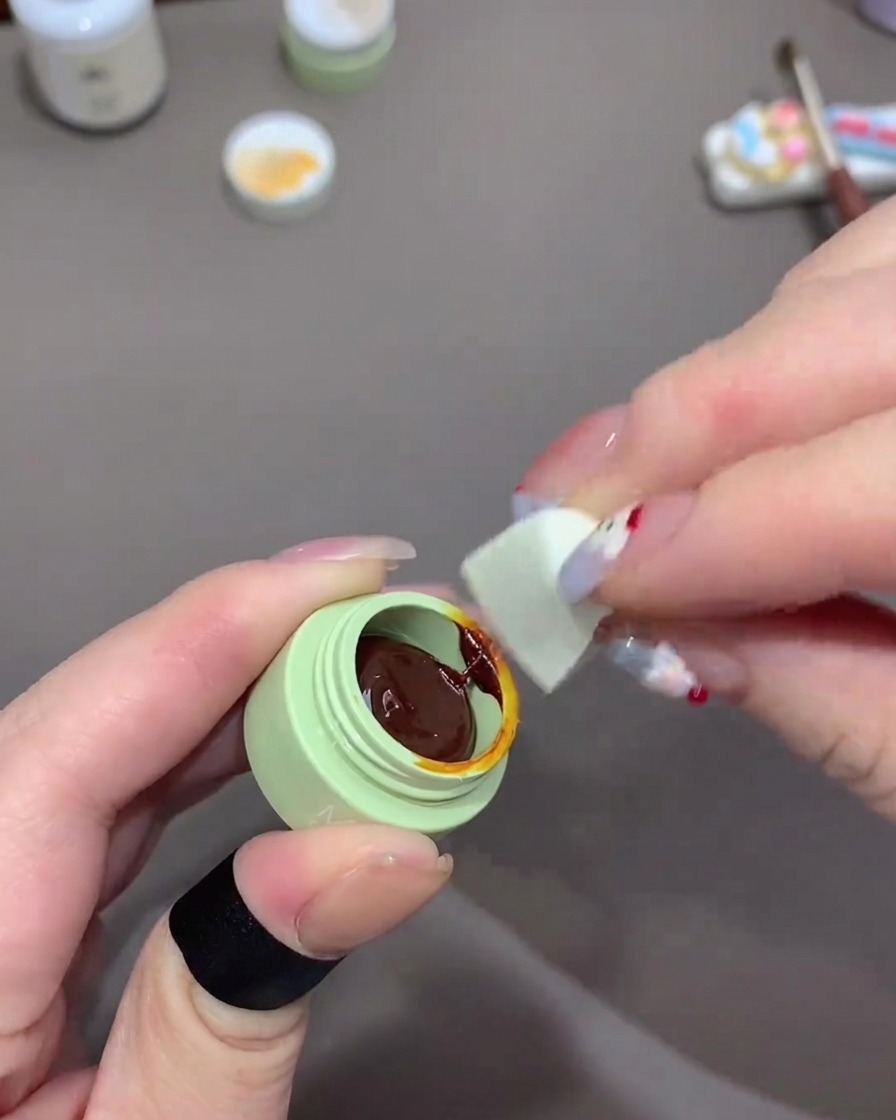
Take a small wedge of a disposable makeup sponge and pick up a small amount of translucent, glass-effect orange gel polish. Dab it lightly into the pot to load the sponge evenly without soaking it. This sponge technique will help create a seamless, diffused color gradient on the nail without brush strokes.
Tip: Using a dense cosmetic sponge works best for this technique, as it diffuses the gel evenly without leaving large air bubbles. - 4Dab the first gradient layer
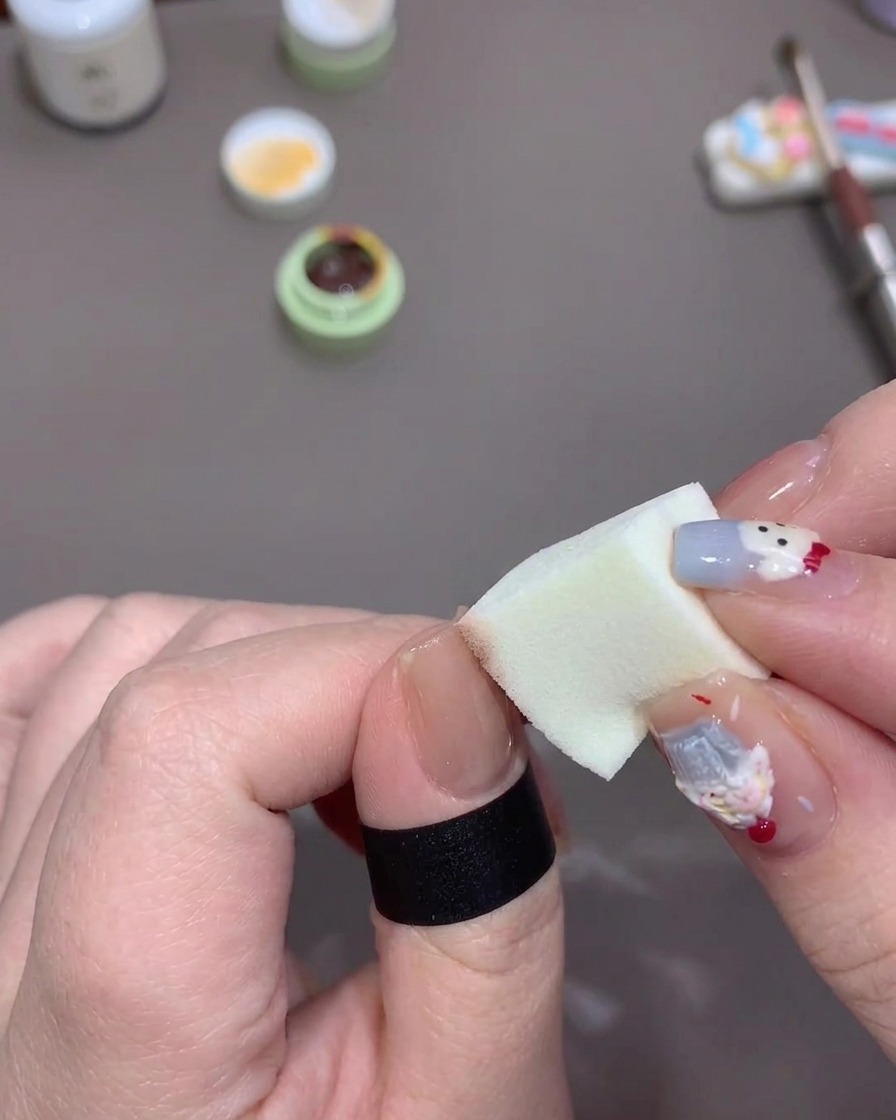
Gently dab the gel-loaded sponge onto the free edge of the nail. Use light, tapping motions to blend the orange color upwards toward the middle of the nail, allowing it to fade out smoothly over the gold cat-eye base. Cure this first thin layer under the lamp before adding more.
Tip: Always start with a very sheer layer and light pressure to ensure the gradient blends seamlessly without harsh lines. - 5Deepen the orange gradient
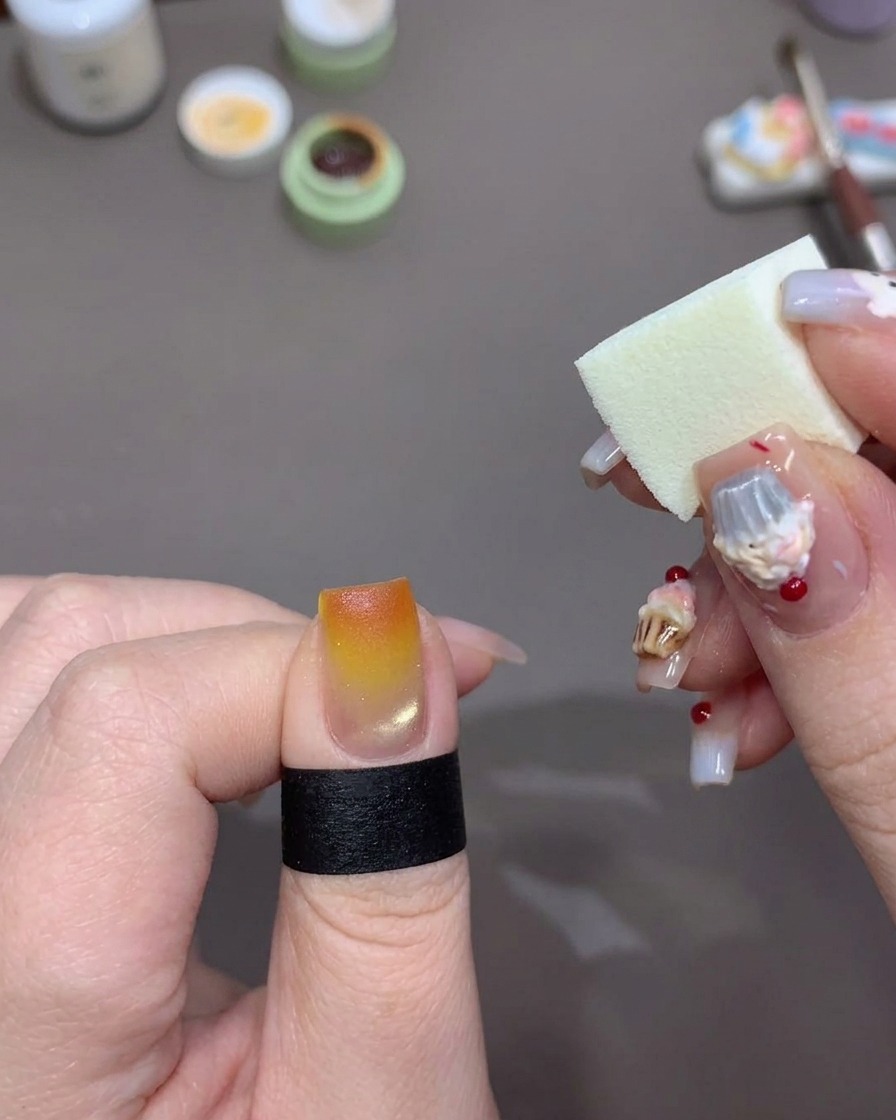
Pick up a little more orange gel on the sponge and continue dabbing it onto the very tip of the nail. Keep the second and subsequent layers concentrated closer to the free edge to build up a vibrant, rich sunset color while maintaining the soft blend into the gold center. Cure between each layer until you reach your desired opacity.
Tip: Building the color in multiple thin layers creates a much smoother and more professional ombre effect than applying one thick layer. - 6Cure the gradient layers
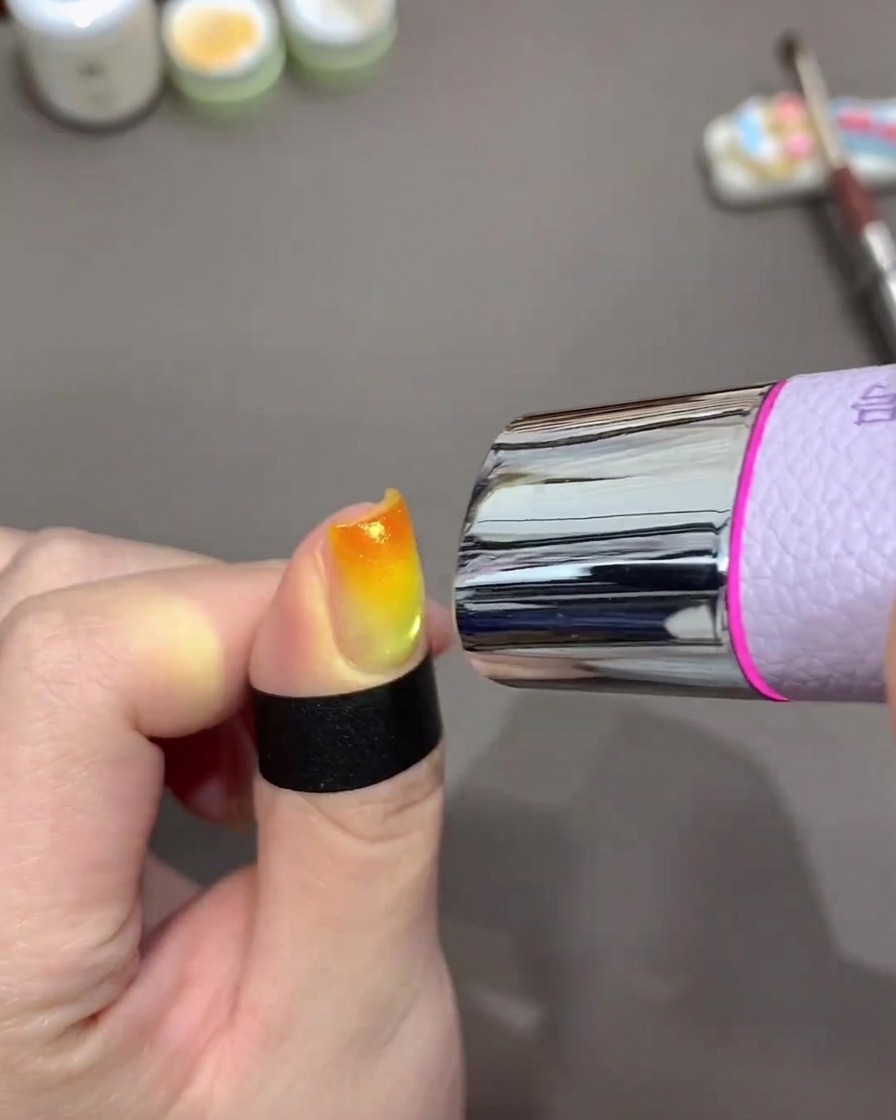
Use a mini UV or LED lamp to flash-cure the orange gradient layers. Hold the light directly over the nail to quickly lock the gel in place, ensuring the colors do not bleed or shift.
Tip: Flash curing between delicate design steps helps maintain the gradients placement and prevents wet gel from flooding the sidewalls. - 7Apply Russian-style top coat
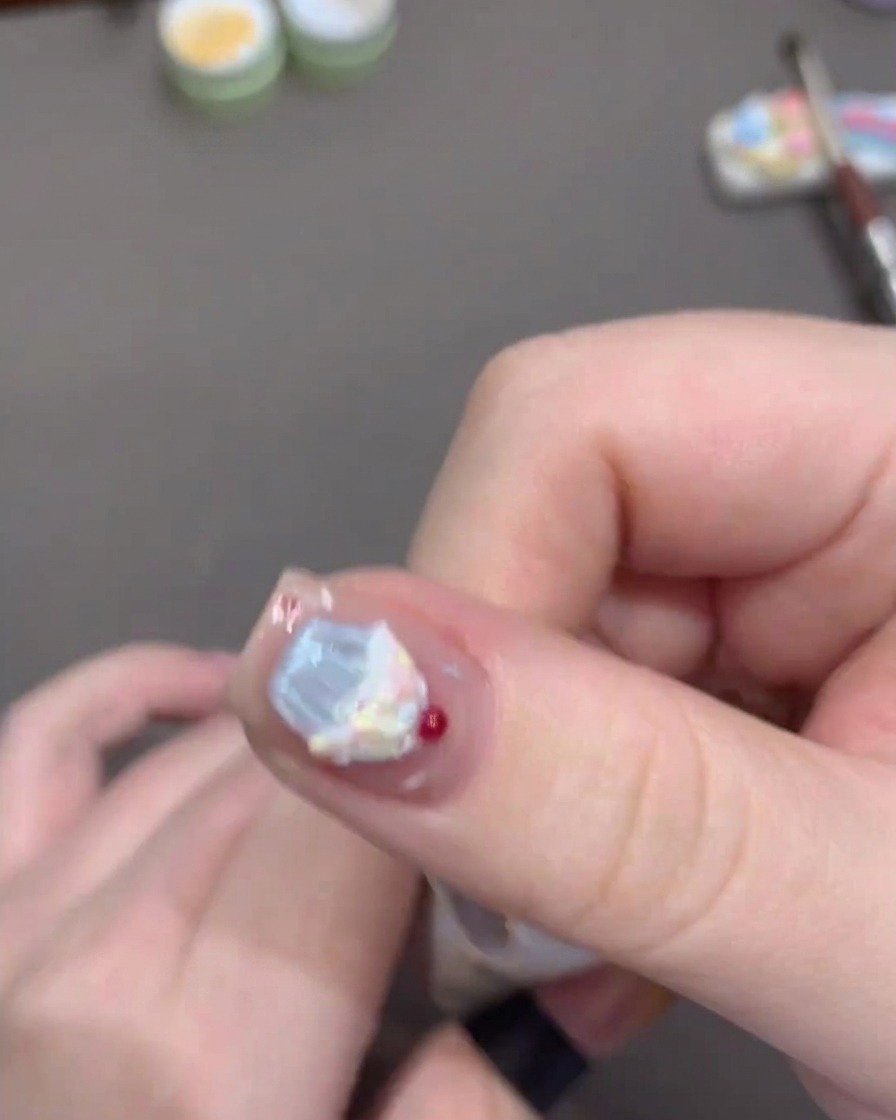
Apply a generous, even layer of Russian-style top coat over the entire nail to seal the design. Ensure you cap the free edge carefully to maximize durability and high-gloss shine. This final layer protects the sunset orange sea effect, giving it a smooth, glass-like finish.
Tip: Russian-style top coats are self-leveling; let the product settle for a few seconds before curing to ensure a perfectly smooth surface. - 8Cure the final layer
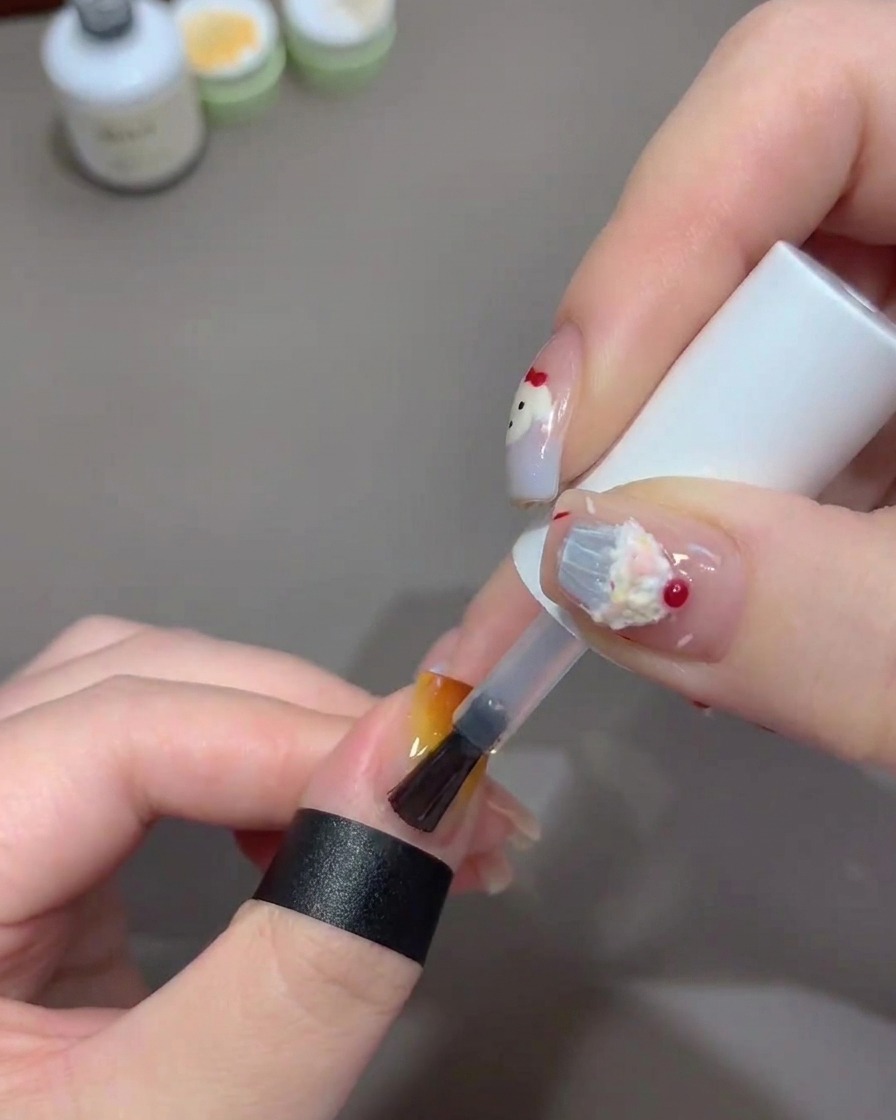
Place your nails under the UV/LED lamp to fully cure the top coat. This final step locks in the color, seals the nail art, and provides the durable, high-gloss finish that completes the romantic sunset orange sea look.
Tip: Avoid touching the nails immediately after curing; let them cool for a few seconds to ensure the gel is fully set.