Red Gradient Cat-Eye Metallic Nails — Autumn Step-by-Step Tutorial
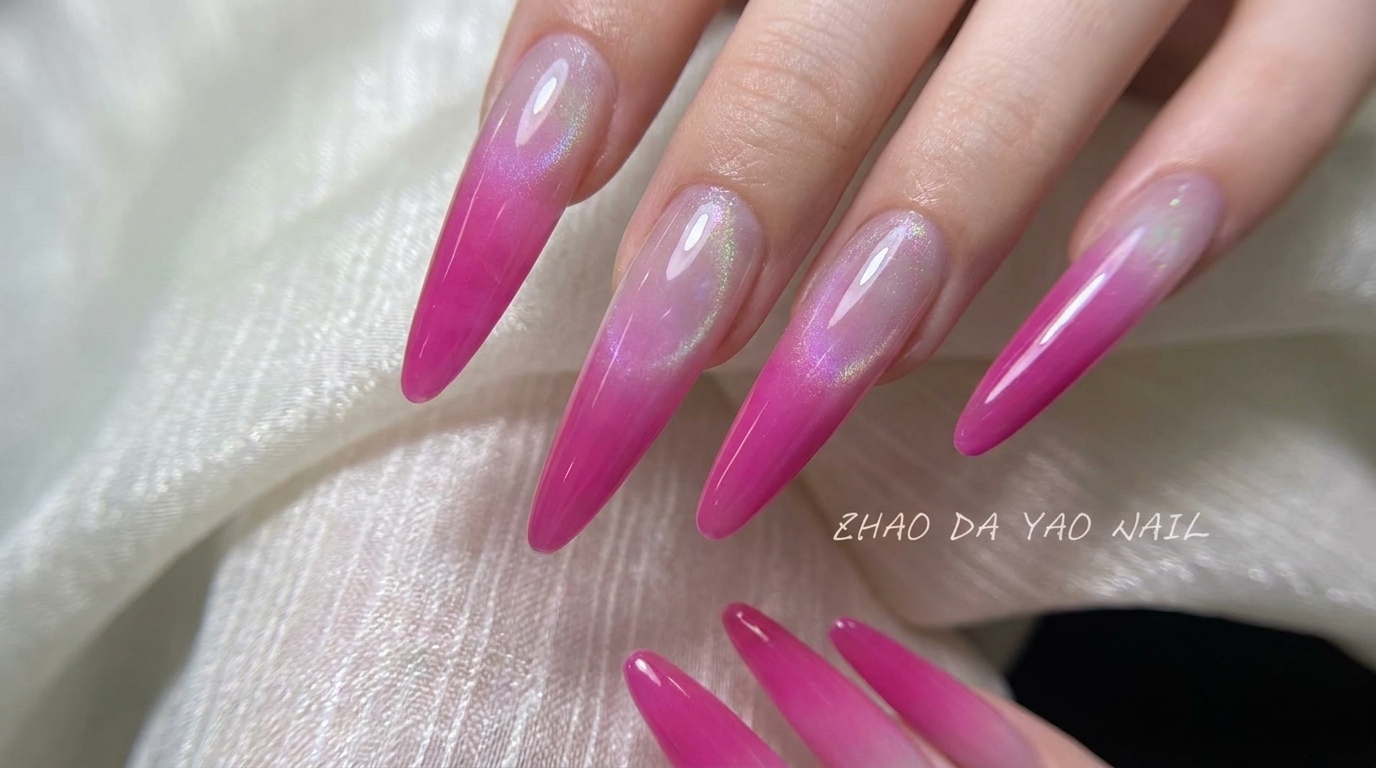
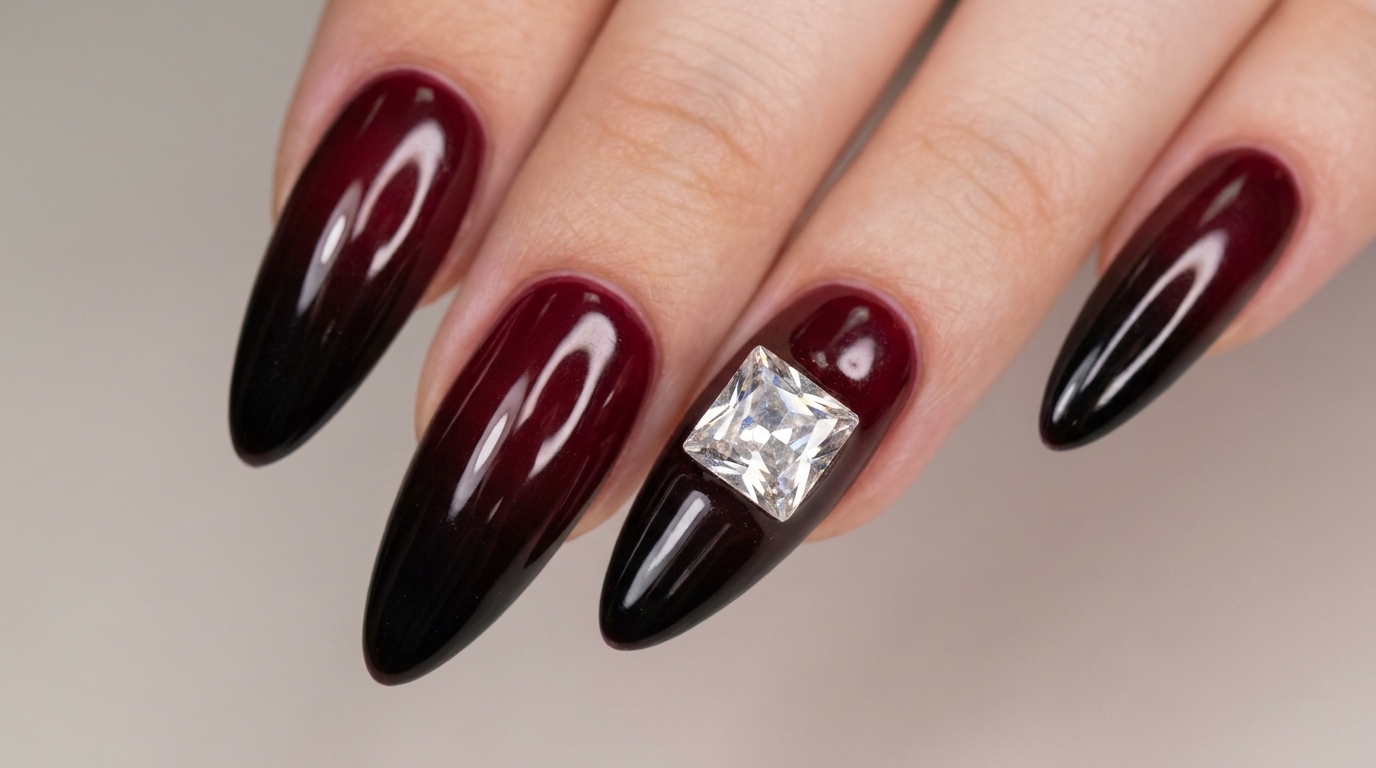
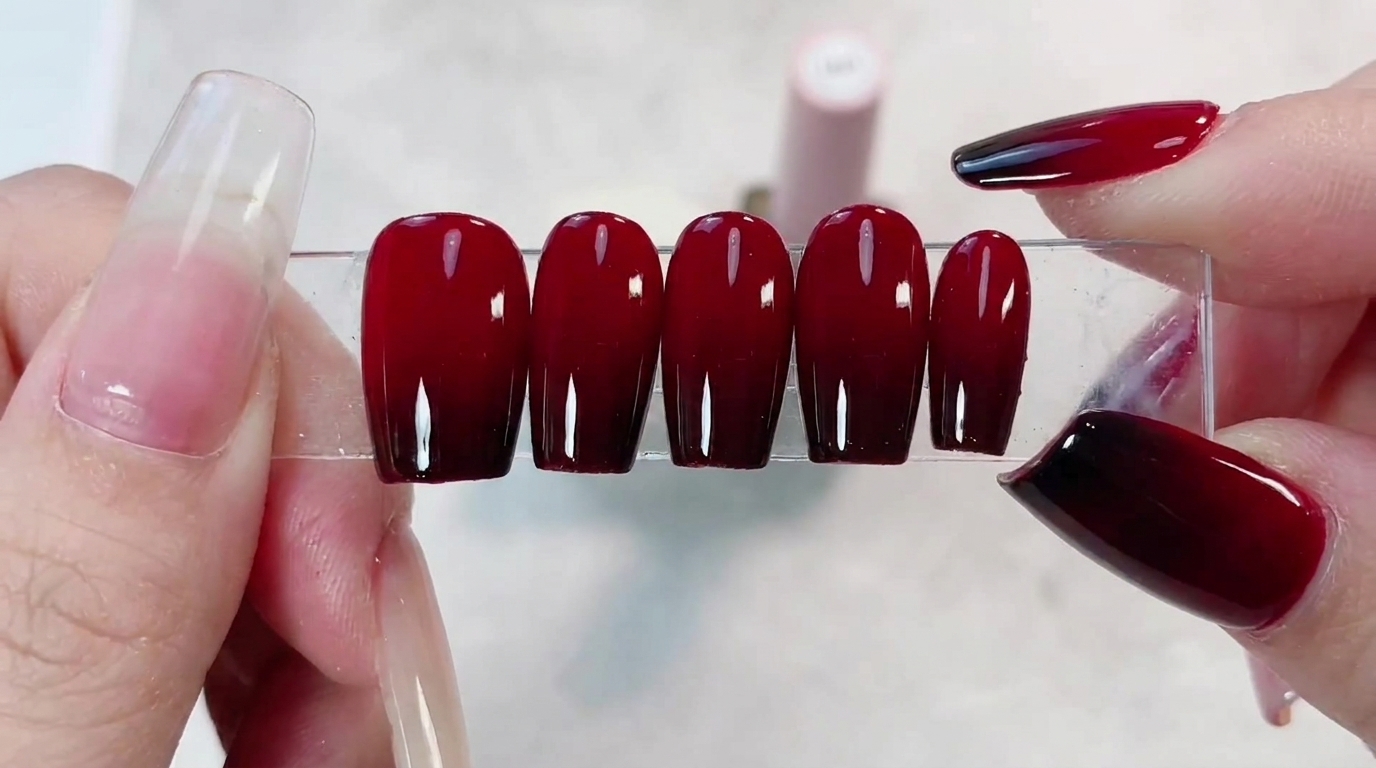
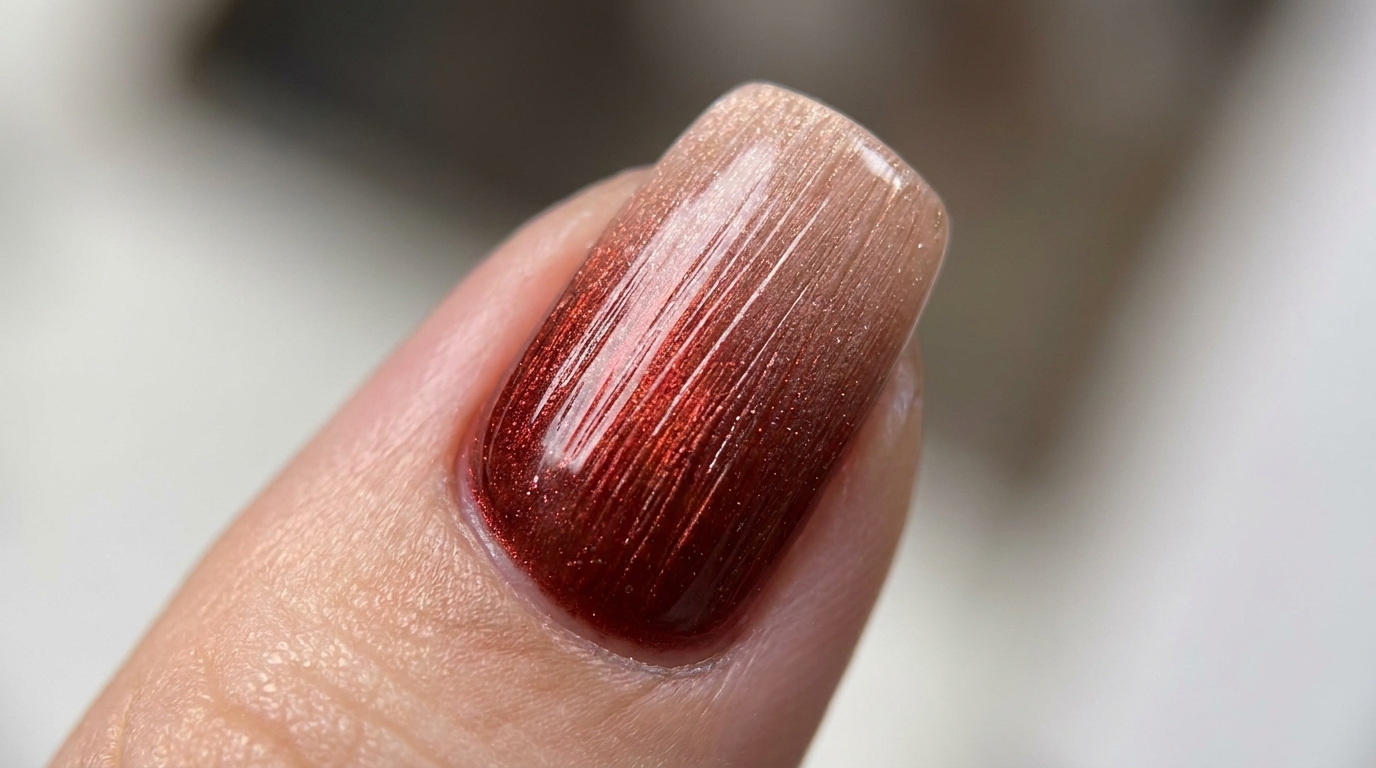
Elevate your autumn manicure with this sophisticated red to nude gradient featuring a textured metallic cat eye shimmer
This look perfectly captures the cozy yet refined aesthetic of the season by blending a warm smoky red gradient with a striking metallic cat eye effect The addition of a textured parallel line finish gives it a unique fibrous depth that sets it apart from traditional magnetic nails It is a stunning elevated design that brings a touch of luxury to your fingertips
Steps
- 1Apply clear base gel
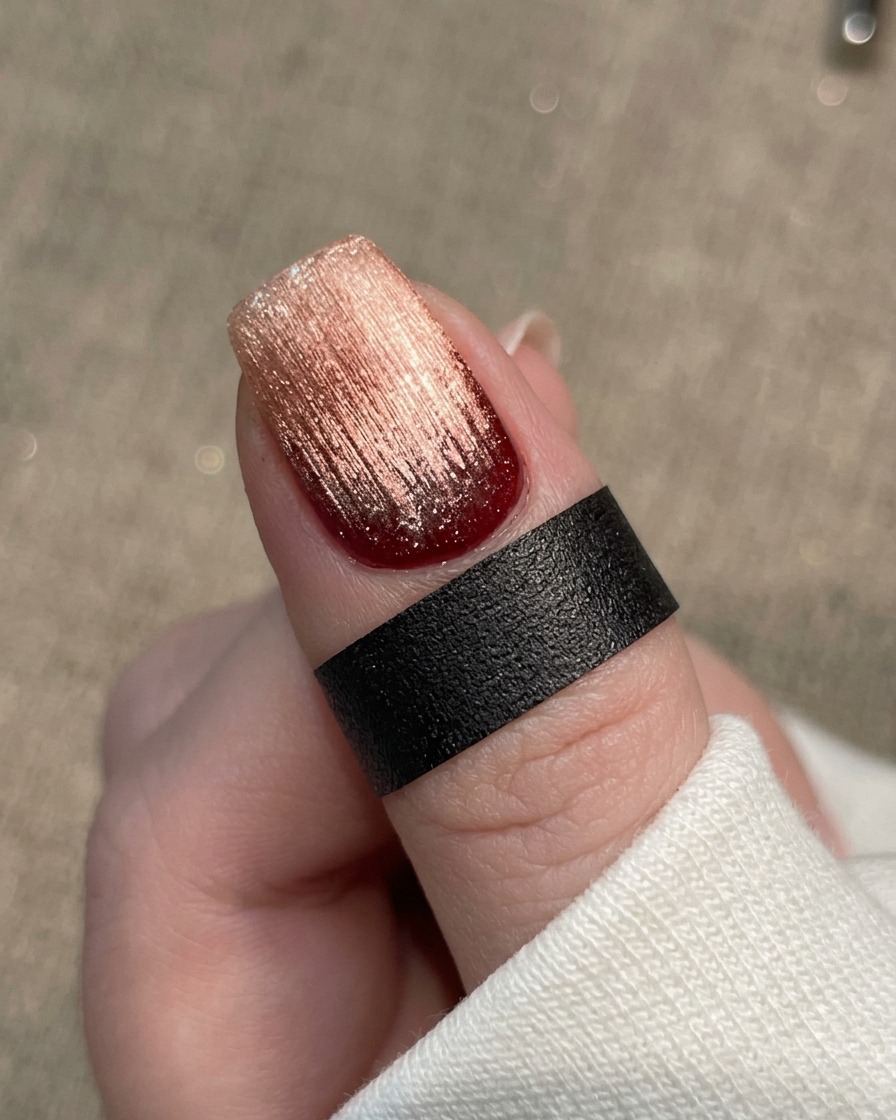
Apply a layer of clear base gel to the nail plate to create a smooth, adhesive foundation for the nail design. Ensure the application is even and covers the entire nail surface, capping the free edge to prevent lifting.
Tip: Check for any gaps or flooding near the cuticles before curing to ensure a clean result. - 2Apply sticky base layer
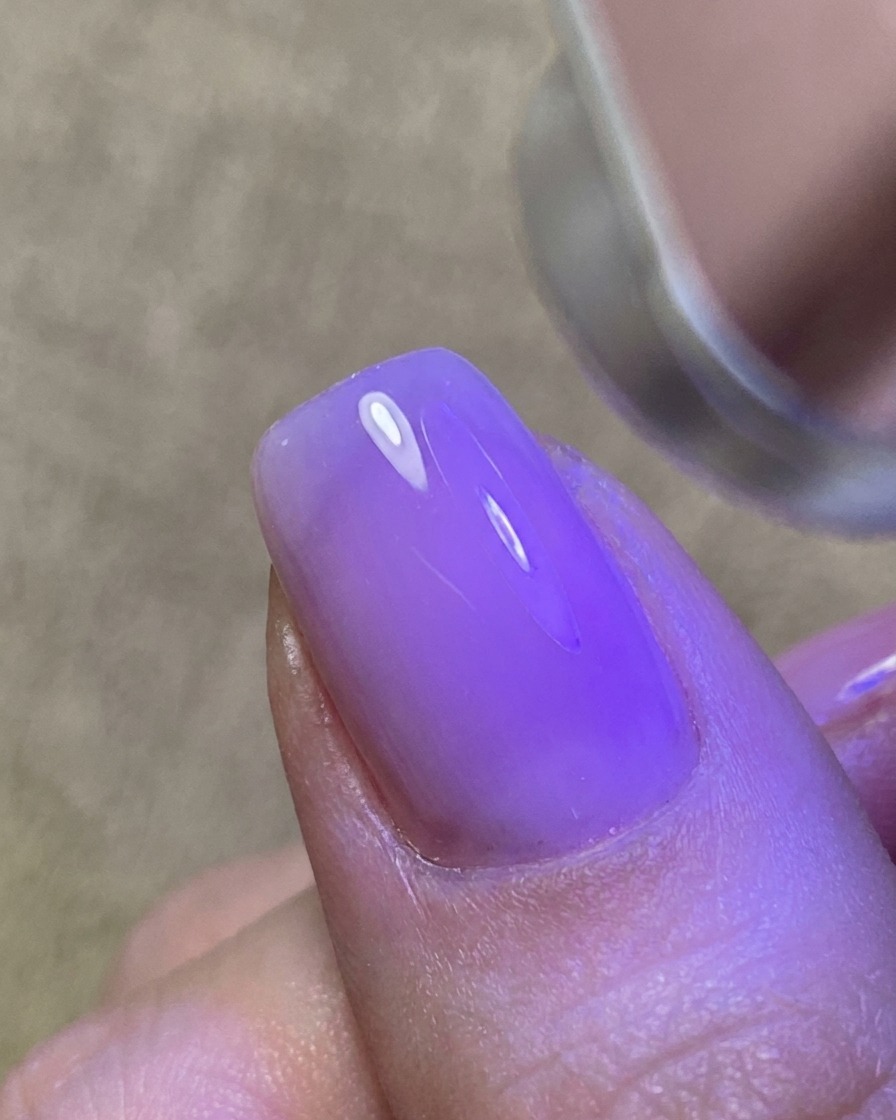
Apply a thin layer of gel specifically designed to act as a sticky base for powder adhesion. This layer provides the necessary tackiness for the subsequent design elements to grip effectively.
Tip: Keep this layer thin; too much product can cause the powder to move or clump. - 3Dab red ink powder at the base
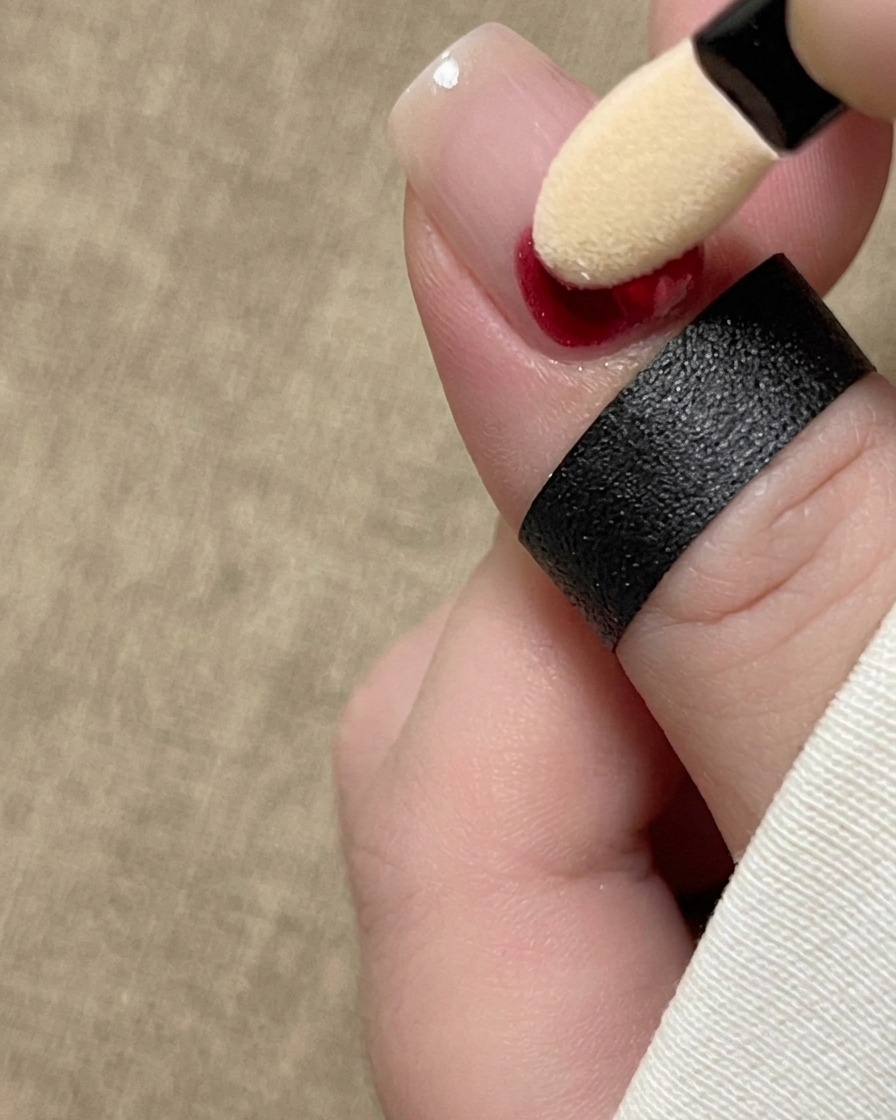
Take a sponge applicator and pick up a small amount of red ink powder. Dab the powder gently onto the base area of the nail near the cuticle to establish the gradients focal point. Keep the application concentrated and controlled.
Tip: Tap off excess powder from the applicator before touching the nail to prevent heavy, blotchy patches. - 4Blend red ink toward the tip
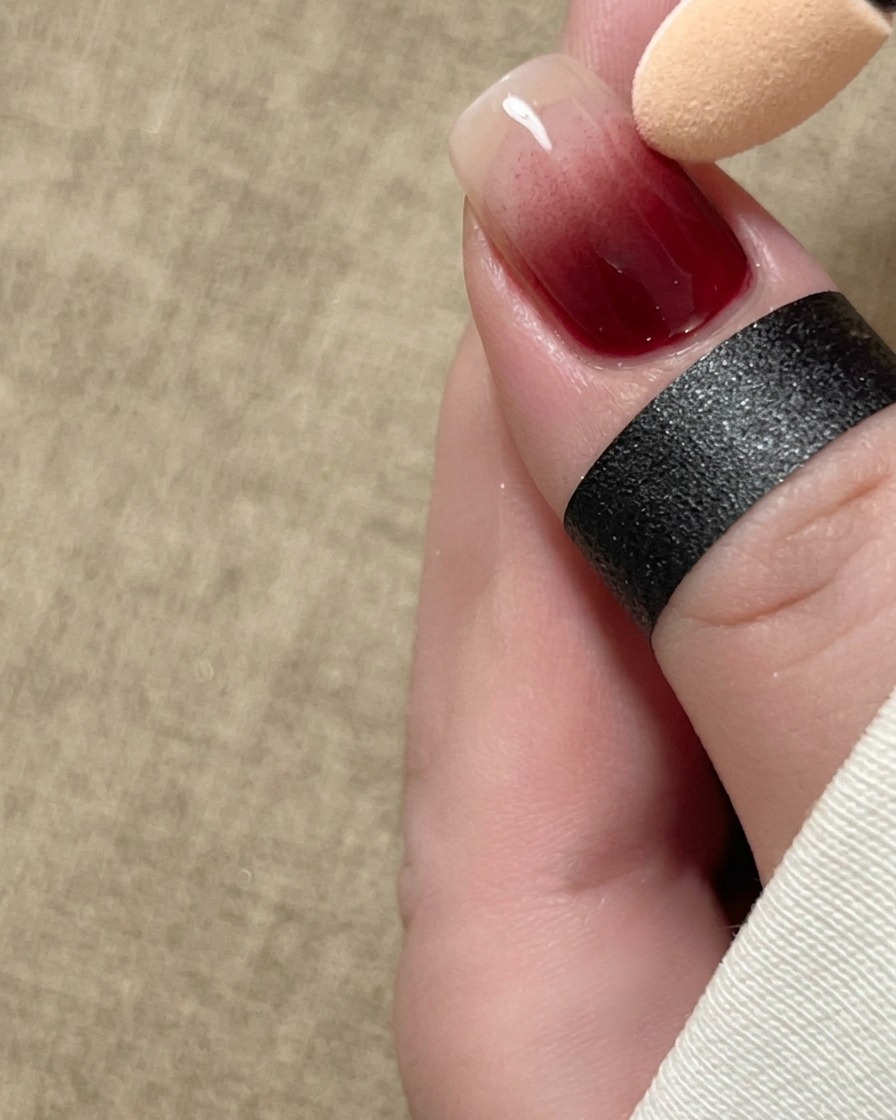
Gently fade and sweep the red ink pigment outward from the base toward the middle of the nail. Avoid covering the entire surface, leaving the upper portion clear for subsequent layers and color transitions. Maintain a soft, smoky gradient effect.
Tip: Use light, sweeping motions with the sponge to achieve a seamless, diffused fade rather than a harsh line. - 5Seal with non-dissolvable base gel
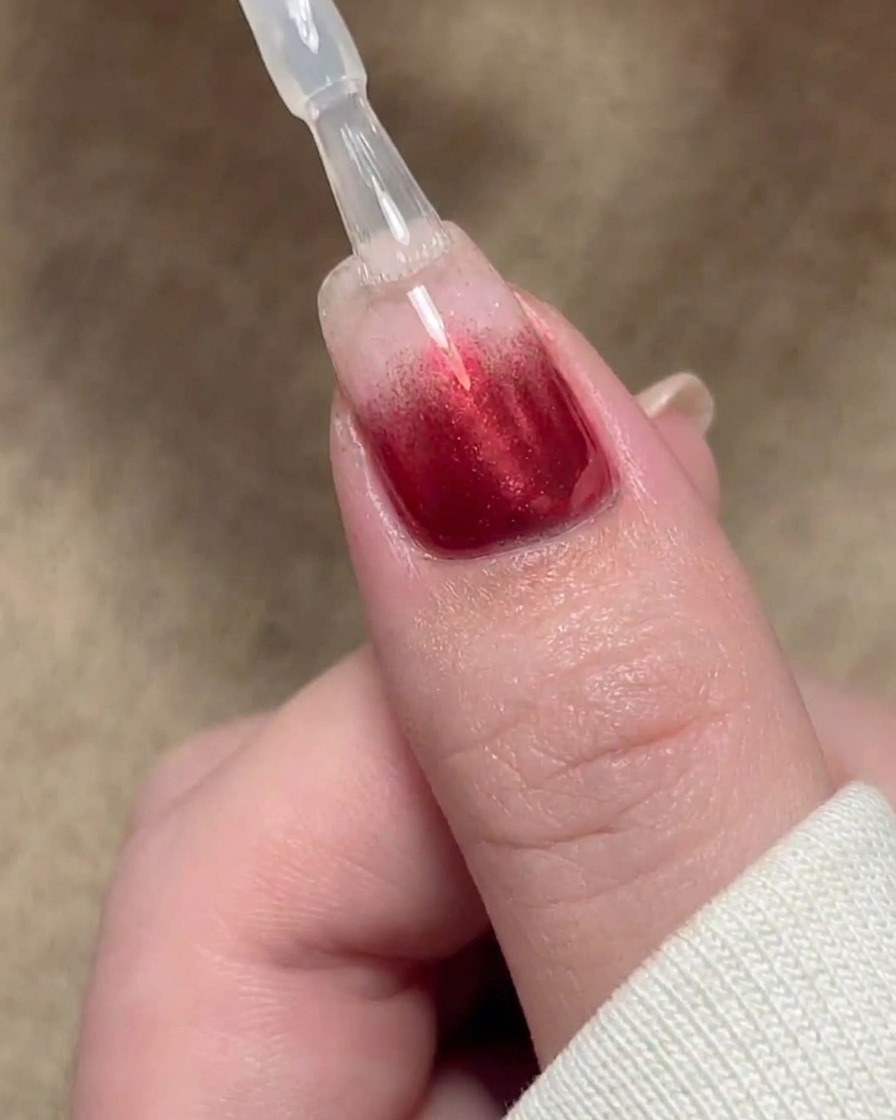
Apply a careful layer of non-dissolvable base gel directly over the blended red ink design. This locks in the pigment and prevents it from shifting or bleeding when subsequent liquid layers are added. Cover the entire colored area evenly.
Tip: Float the brush gently over the powder design so you do not smudge or displace the blended gradient underneath. - 6Cure the sealed layer
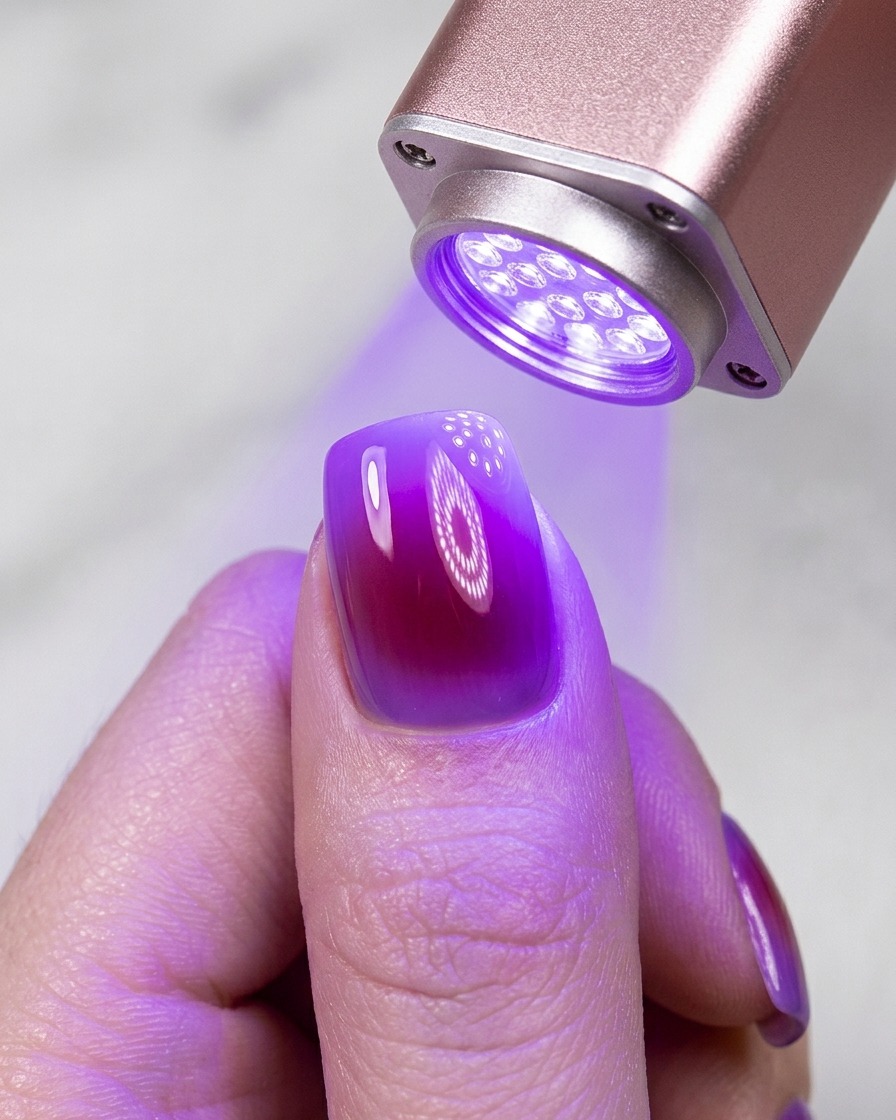
Place the finger under a UV or LED lamp to fully cure the sealing base layer. Ensure proper exposure time so the underlying design is completely locked in and secure before moving on to the next phase of the manicure.
Tip: Keep the finger steady directly under the light source to ensure even curing across the entire nail plate. - 7Apply beige cat-eye polish
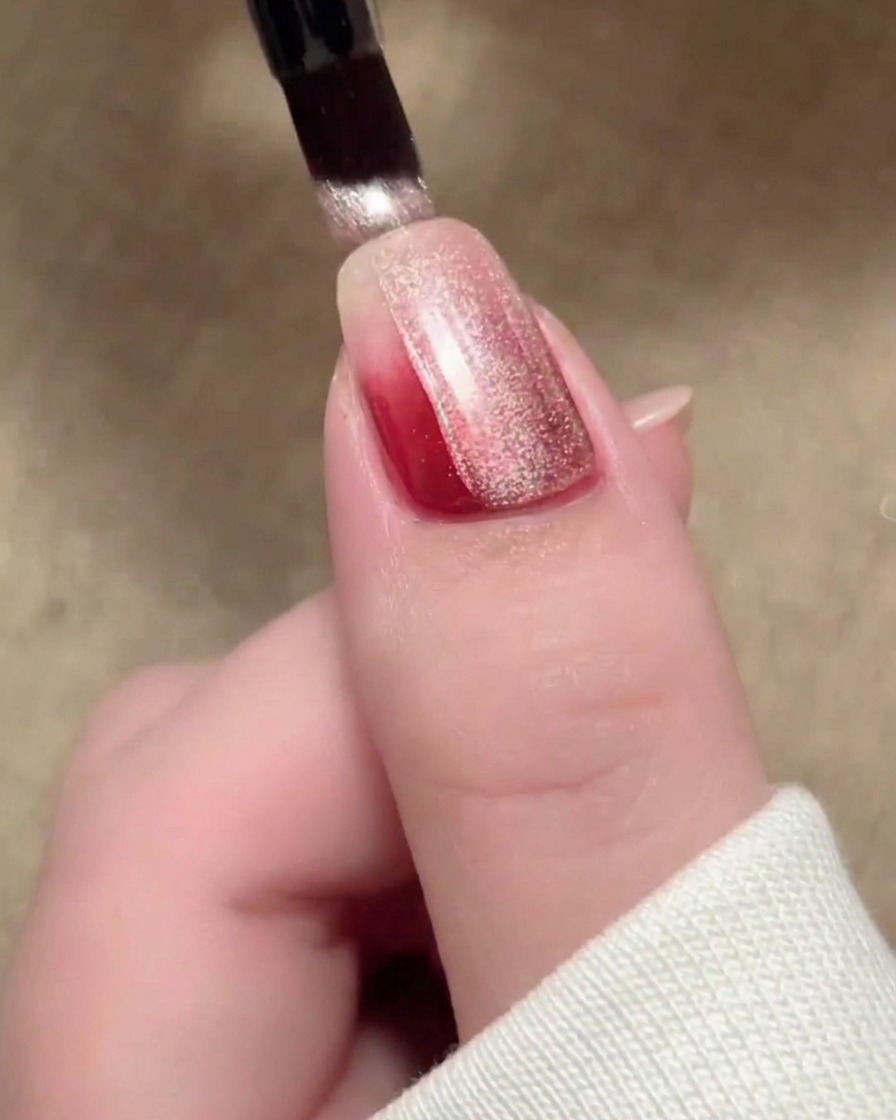
Apply an even layer of beige cat-eye magnetic polish over the prepared nail. This polish contains metallic particles that will respond to the magnet in the next step to create the desired shimmer effect.
Tip: Ensure the polish is applied smoothly to create a consistent base for the magnetic effect. - 8Create wide shimmer band
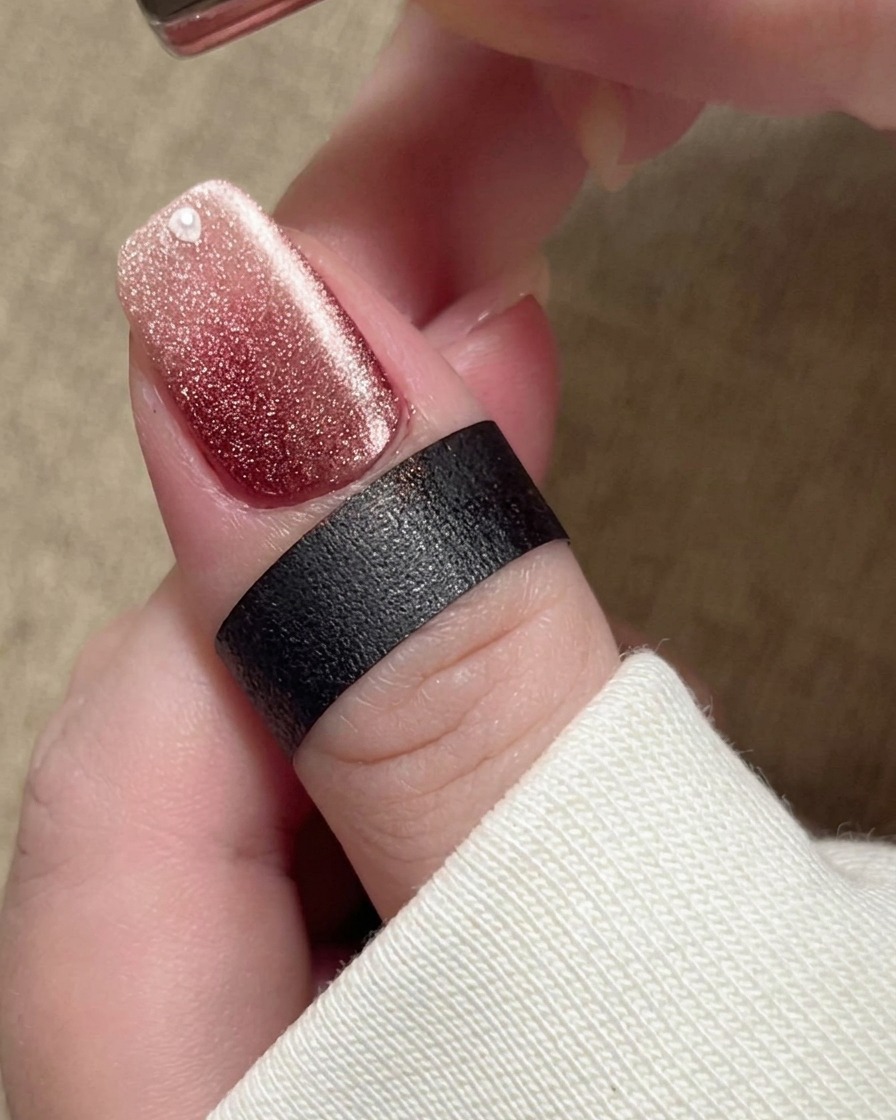
Hold the magnet close to the surface of the wet cat-eye polish. Move the magnet steadily to pull the metallic particles together, forming a wide, luminous shimmer band across the nail.
Tip: Keep the magnet at a consistent distance to ensure the shimmer band is uniform. - 9Refine magnetic gradient
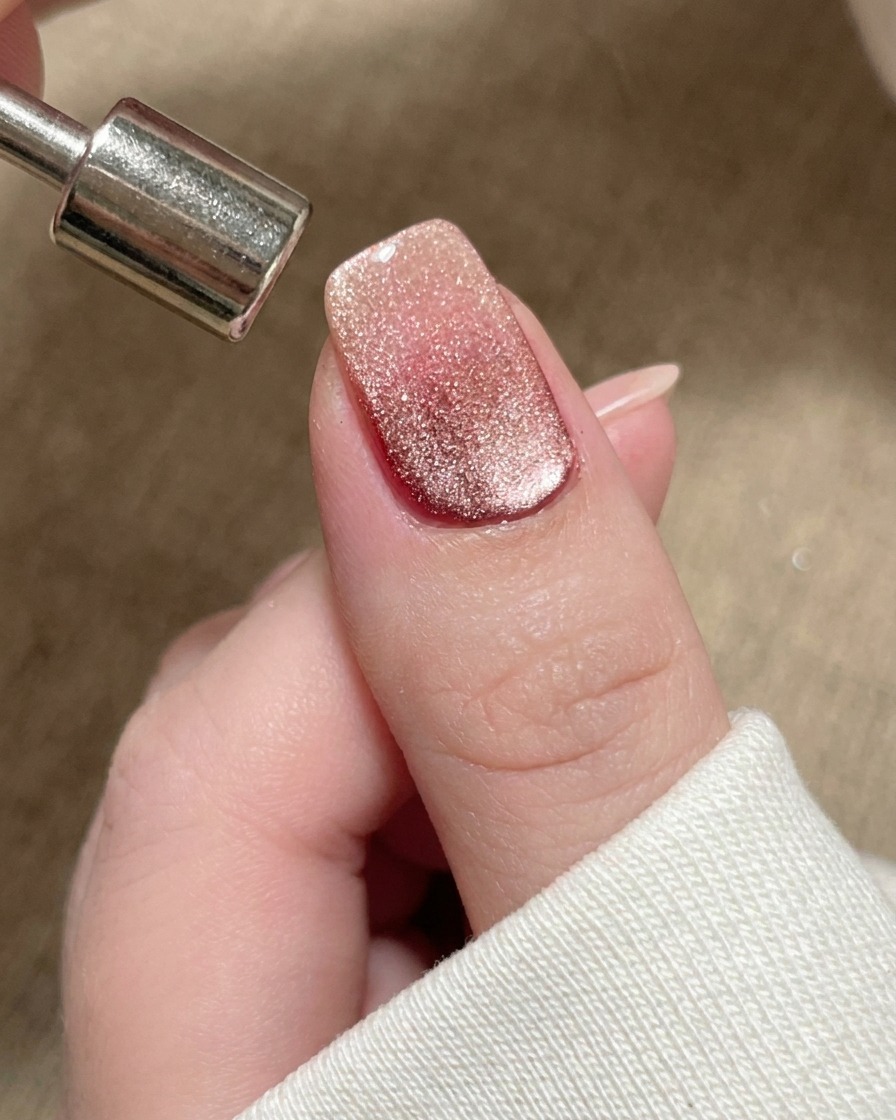
Use the magnet to carefully guide and push the magnetic particles toward the tip of the nail. This technique creates a focused gradient of intensity, concentrating the shimmer where desired.
Tip: Use light, controlled movements with the magnet to avoid disrupting the base polish. - 10Apply non-flow styling gel
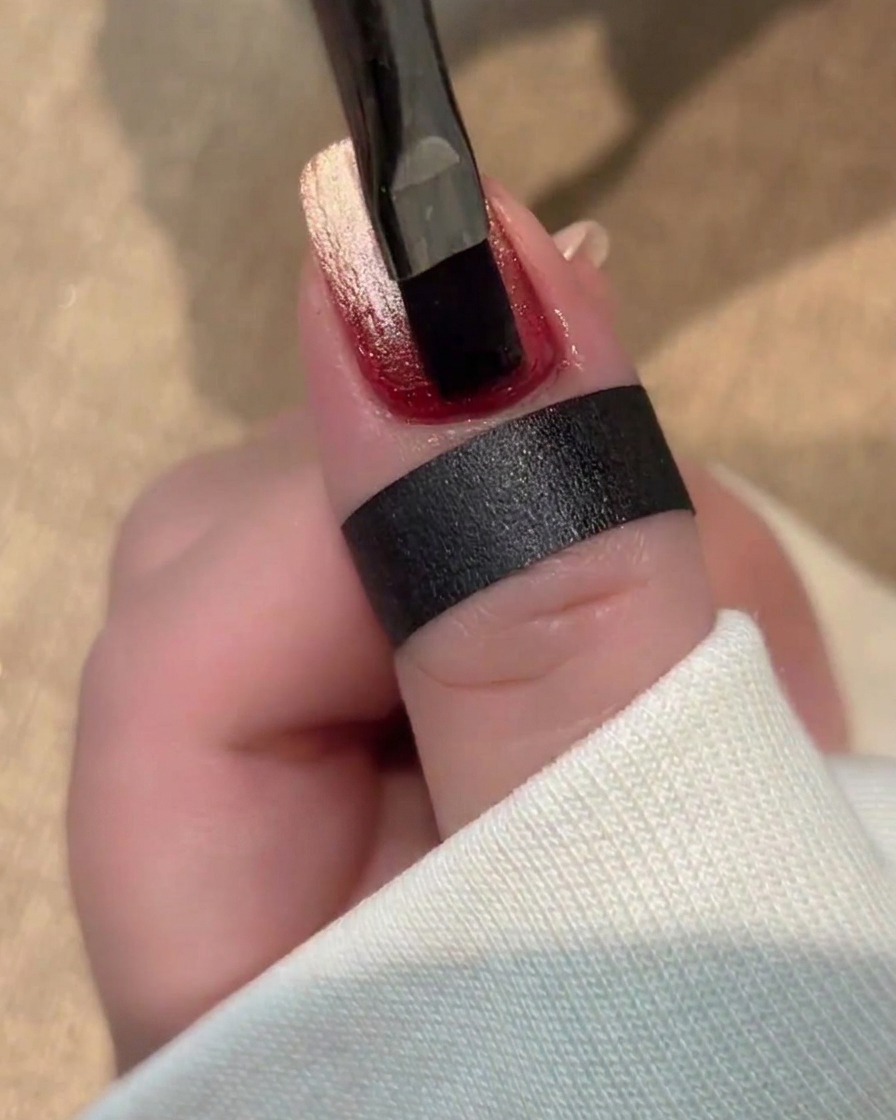
Apply a layer of thick, non-flow styling gel over the nail surface. Leave this layer uncured, as it will be used to texture the nail design in the next step.
Tip: The non-flow consistency is crucial here; it will hold the lines you create without self-leveling. - 11Create metallic texture lines
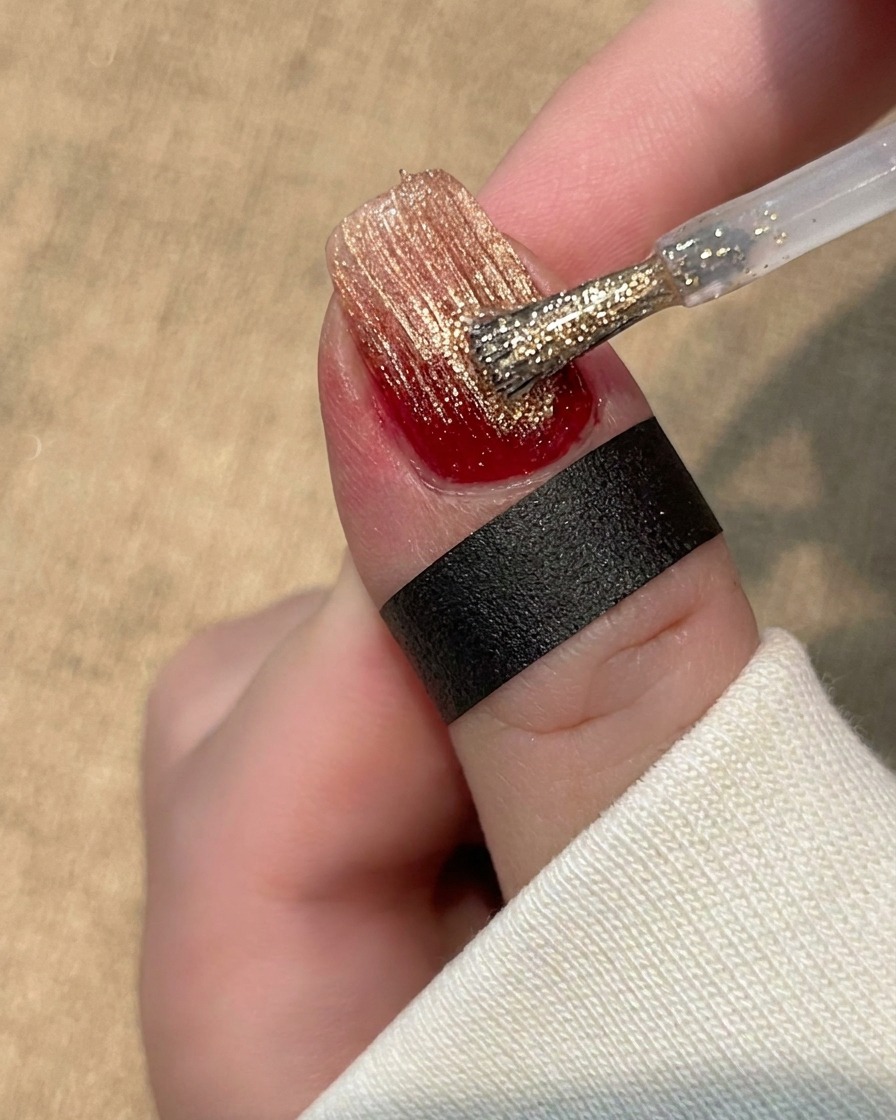
Take a stiff brush and gently pull it through the uncured styling gel, creating straight, parallel lines that run from the base toward the tip. This technique builds a rich, fibrous texture that mimics a metallic sheen over the cat-eye background.
Tip: Keep your hand steady and use light pressure so the brush grooves pull cleanly through the gel without completely scraping it away. - 12Cure the textured styling gel
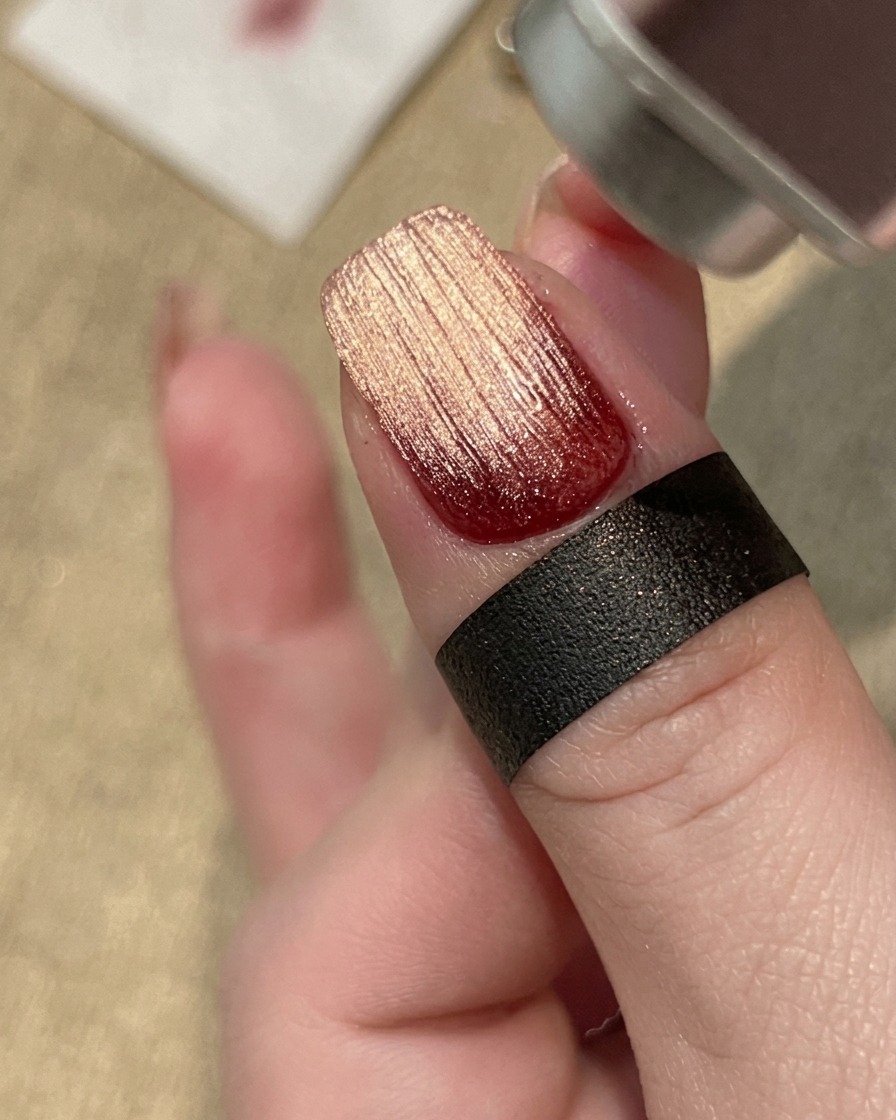
Place the hand under your UV or LED nail lamp to fully cure the structured gel layer. Curing locks in the fine parallel lines and hardens the dimensional texture so it remains intact for the final finish.
Tip: Ensure the hand is placed flat and directly under the light source to cure the textured surface evenly.