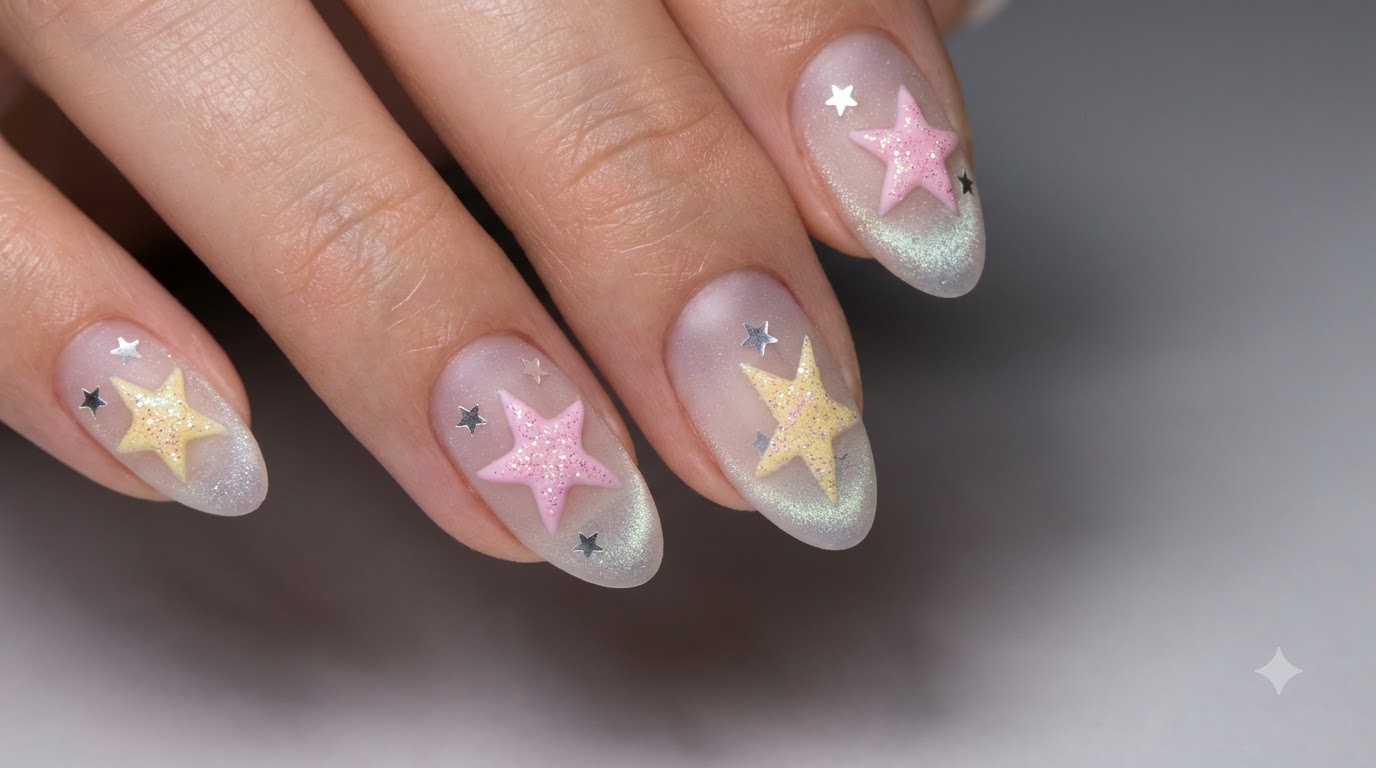
Sea Salt Frosted 3D Star Nail Art — Celestial Cat Eye Tutorial
Create enchanting celestial nails featuring a translucent cat-eye base, frosted matte finish, and sparkling 3D diamond powder stars.
Celestial nail art continues to captivate trendsetters with its dreamy, out-of-this-world aesthetic. This look combines the mesmerizing depth of a wide-band cat-eye background with touchable frosted textures and sparkling dimensional stars. Perfect for anyone looking to elevate their everyday manicure with a touch of magic.
Steps
- 1Magnetize the cat eye gel
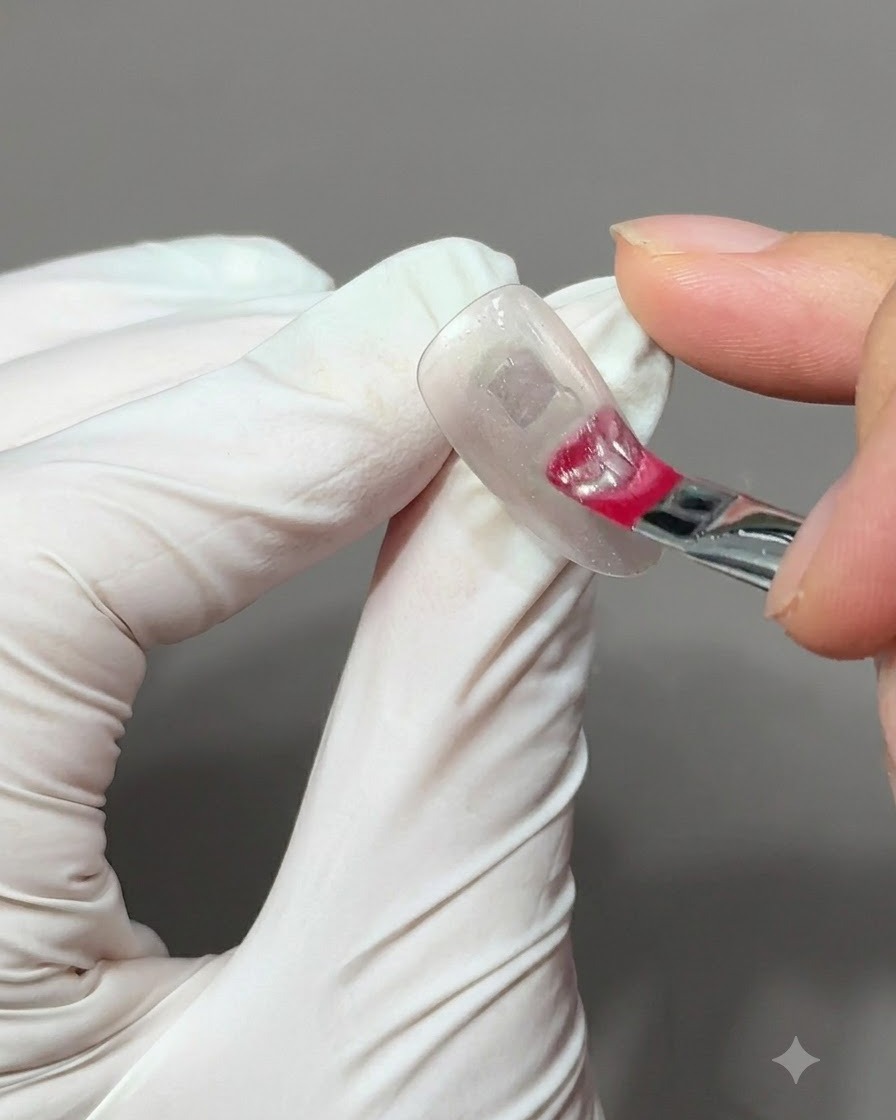
Hold a magnetic tool close to the uncured cat eye gel to pull and disperse the magnetic particles into a wide band of light. Hover the magnet at the correct distance to achieve the desired soft, glowing dimension across the translucent nail base.
Tip: Keep the magnet steady and close enough to move the particles, but take care not to touch the wet gel surface. - 2Cure and display cat eye effect
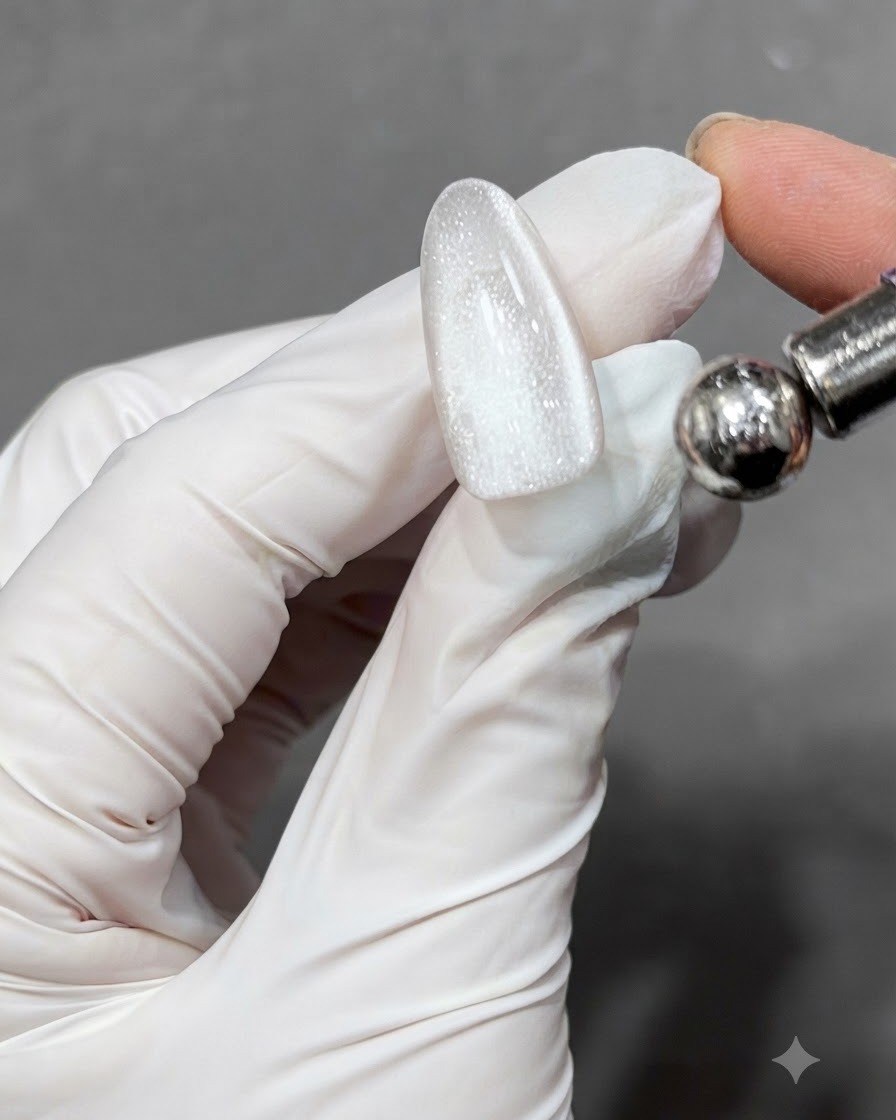
Cure the cat eye gel under the lamp to set the wide band of light in place. The cured surface reveals a soft, shimmering glow across the translucent nail base, creating a luminous backdrop for the next design steps.
Tip: Ensure a full cure under the lamp so the magnetic particles remain locked in their precise position. - 3Apply small star appliqués
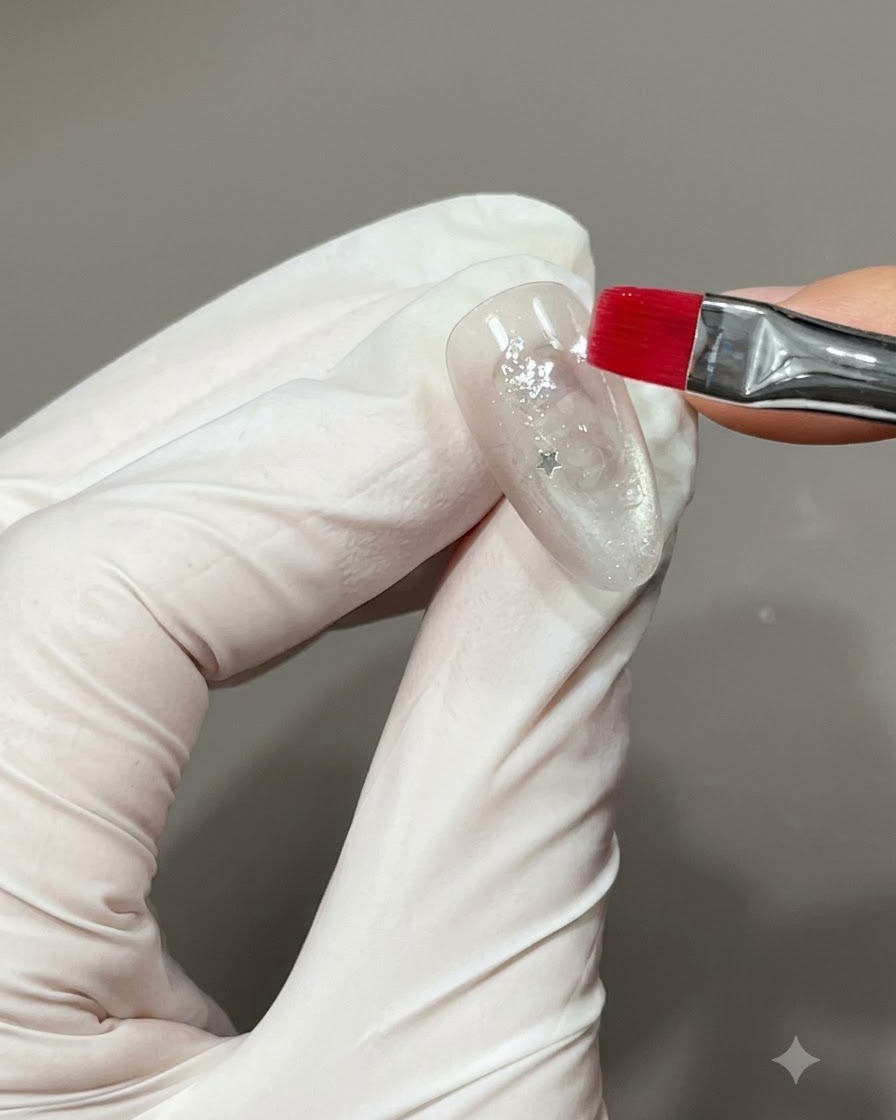
Pick up a few small metallic star appliqués and carefully place them onto the nail using a fine brush moistened with a small amount of gel. Arrange the stars thoughtfully over the cat-eye background to build the celestial design.
Tip: Use a tiny dab of base gel or clear gel to anchor each appliqué securely before curing. - 4Encapsulate the star appliqués
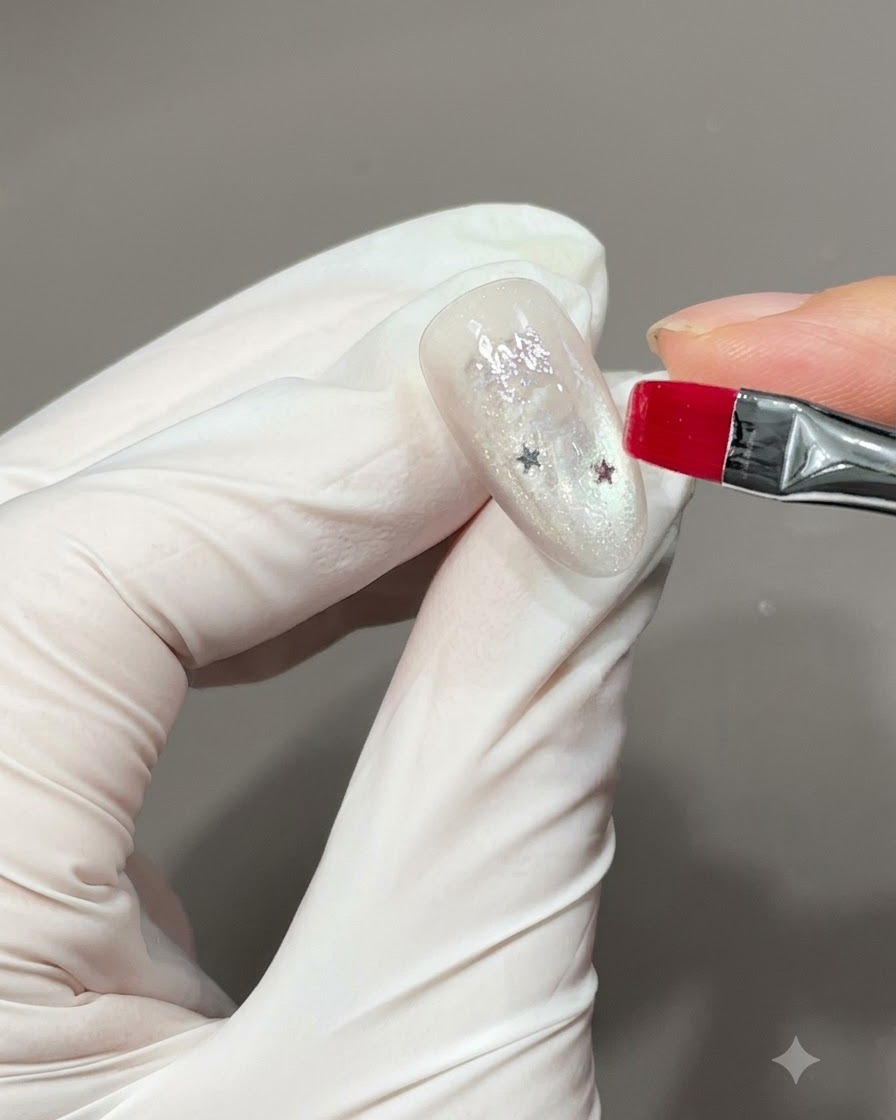
Brush a layer of clear base gel over the entire nail surface to fully encapsulate the star appliqués. This seals the decorations inside, smoothing out any bumps and protecting them from catching or peeling off.
Tip: Apply enough clear gel to completely level over the thickness of the appliqués without making the nail overly bulky. - 5Wipe the sticky inhibition layer
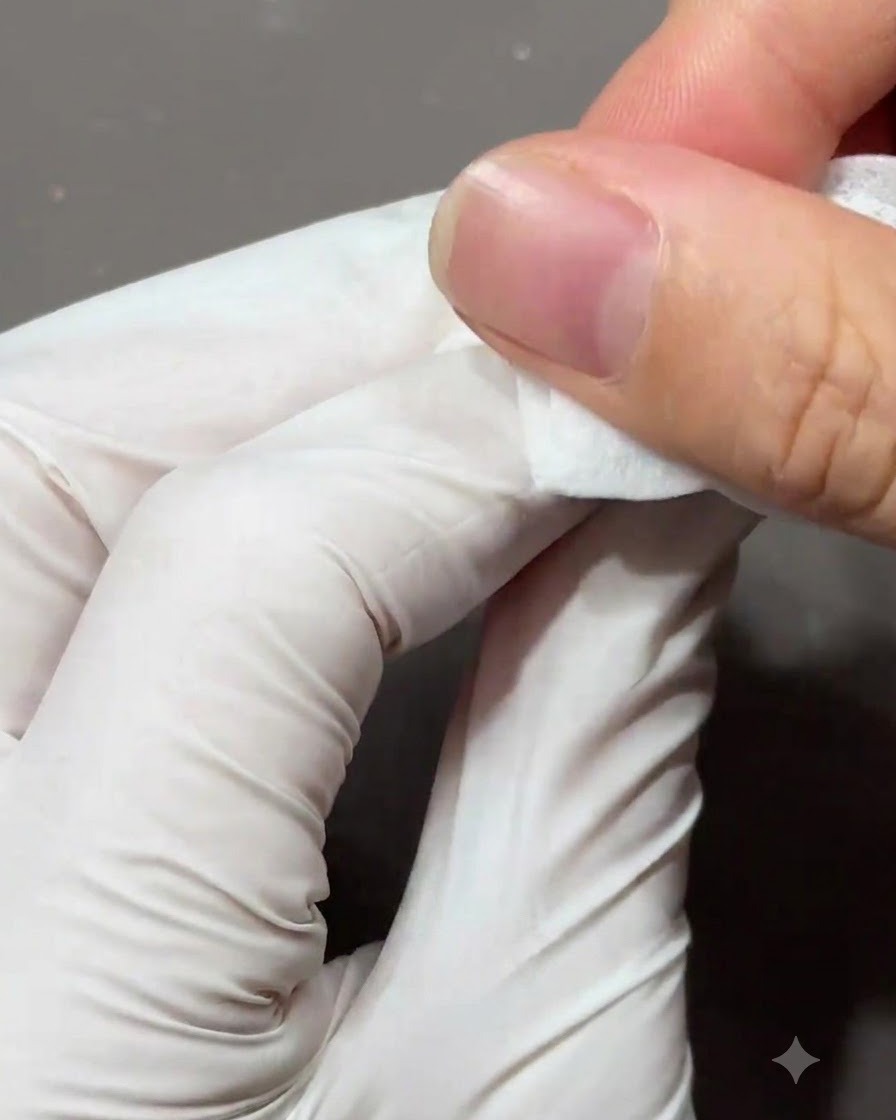
Wipe the surface of the cured nail with a lint-free cleansing wipe saturated with cleanser to remove the tacky inhibition layer. This reveals a clean, smooth surface ready for the final top coat application.
Tip: Use a fresh section of the wipe for each nail to prevent transferring residue back onto the surface. - 6Apply matte top coat
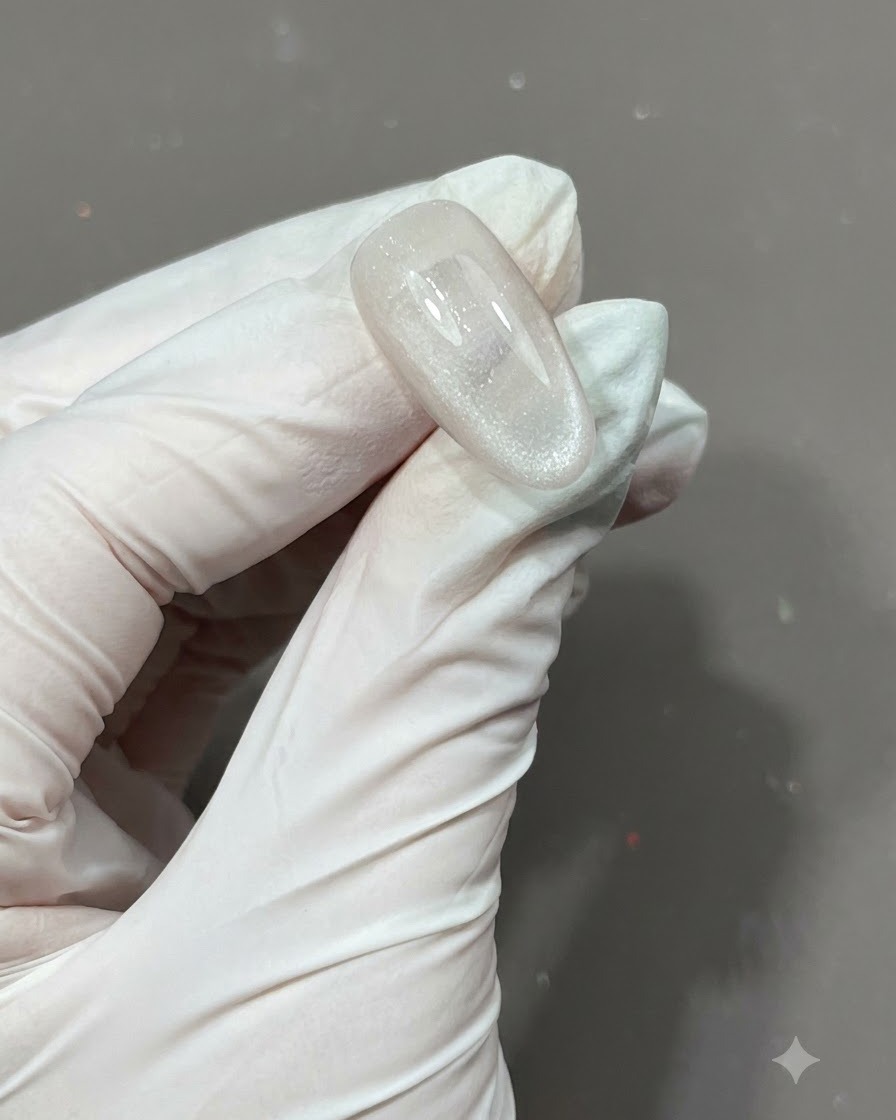
Apply an even coat of matte top coat over the entire nail surface to transform the finish. Ensure complete coverage from cuticle to free edge, capping the tip to seal the manicure before the final cure.
Tip: Apply in smooth, thin strokes to achieve an even frosted matte texture without streaks. - 7Outline star shape
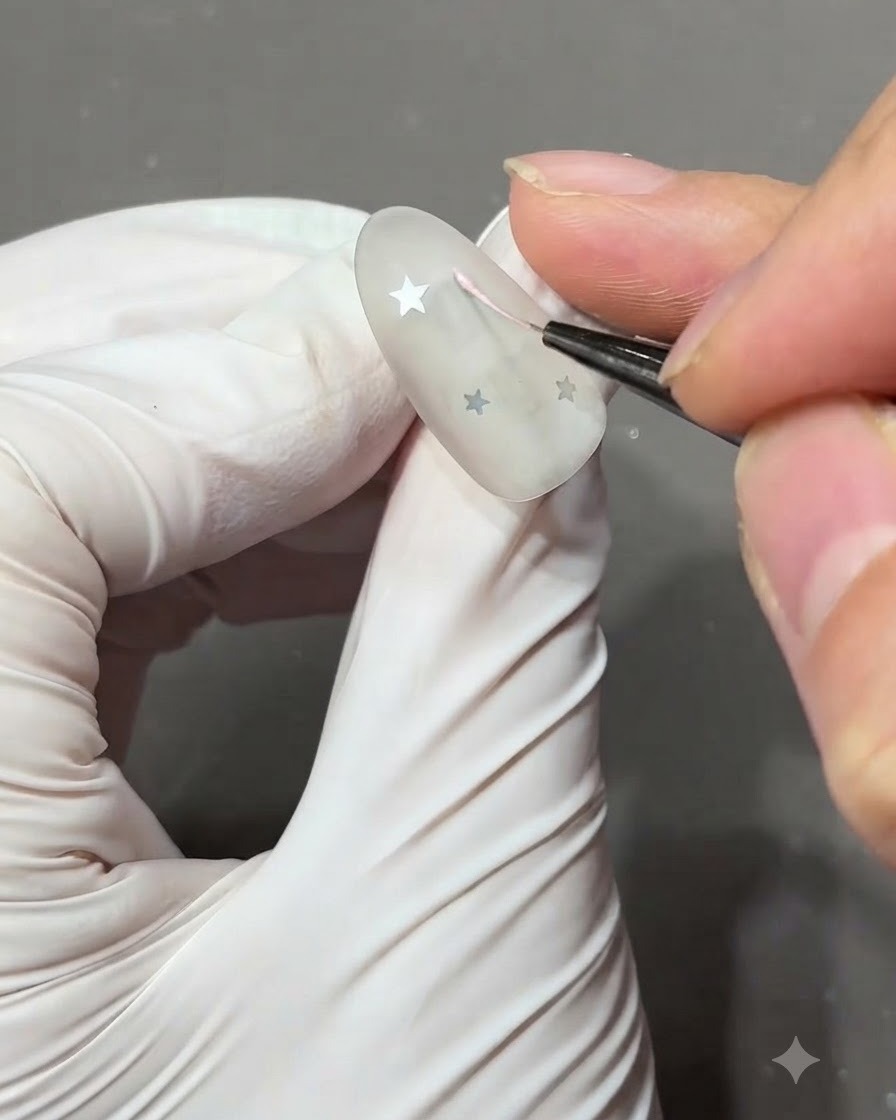
Using a fine liner brush dipped in light pink gel, carefully outline the shape of a five-pointed star on the matte nail surface. Take your time to ensure the lines are clean and well-defined before filling the interior.
Tip: Keep a light hand when outlining to maintain sharp, crisp points on the star. - 8Fill in the star design
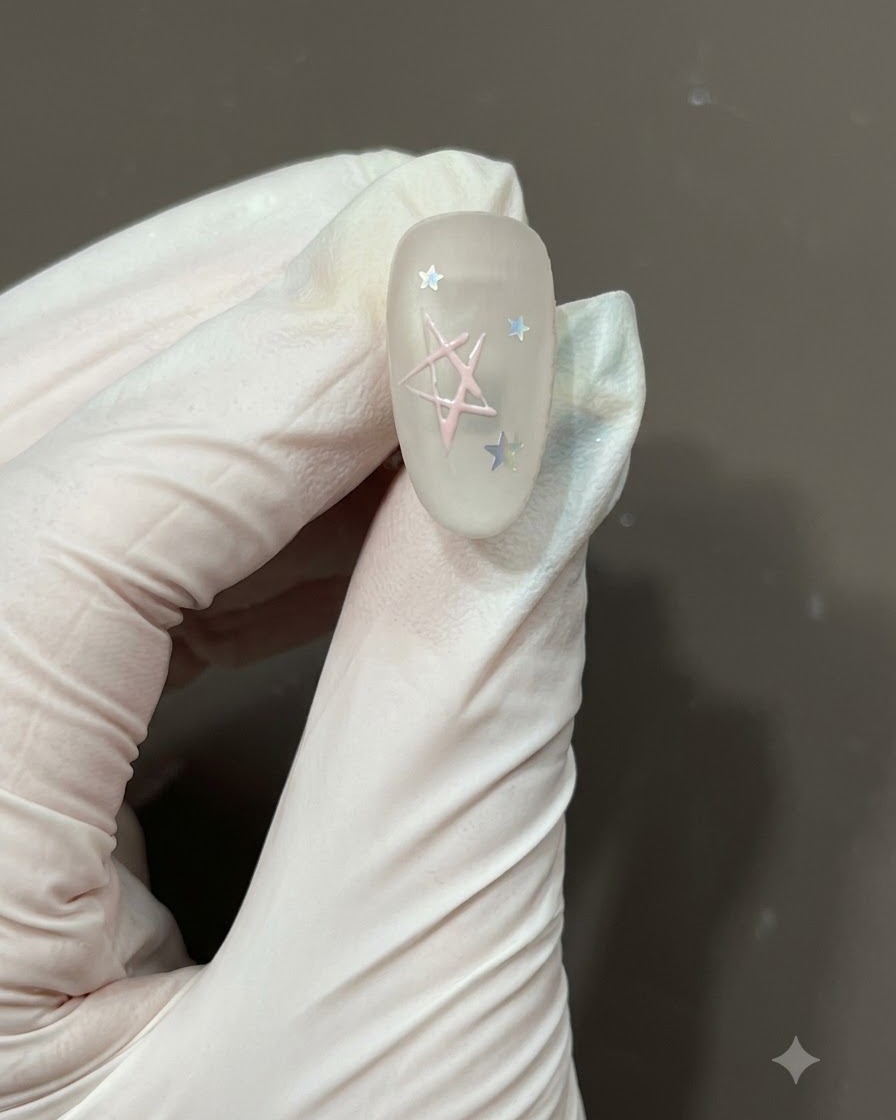
Carefully fill in the interior of the drawn star outline using a fine brush dipped in light pink gel. Ensure the color is distributed evenly within the borders without flooding the surrounding matte surface. Take your time to achieve clean, sharp edges before moving on to cure.
Tip: Use a fine liner brush to nudge the gel neatly into the corners of the star outline. - 9Draw and fill yellow star
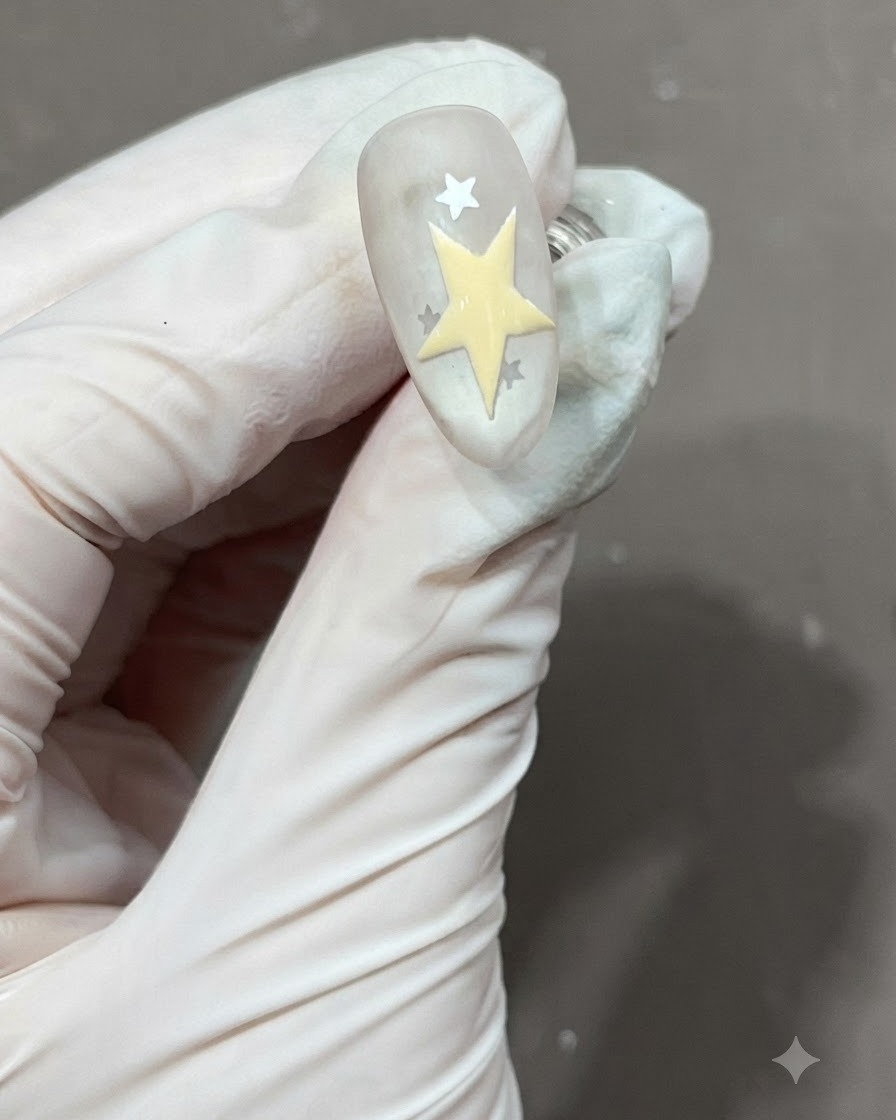
Position another five-pointed star adjacent to the first one. Use yellow gel to both outline and completely fill in the interior of this new star shape on the nail surface.
Tip: Ensure the gel is applied evenly across the star so the color is solid and opaque. - 10Sprinkle pink diamond powder
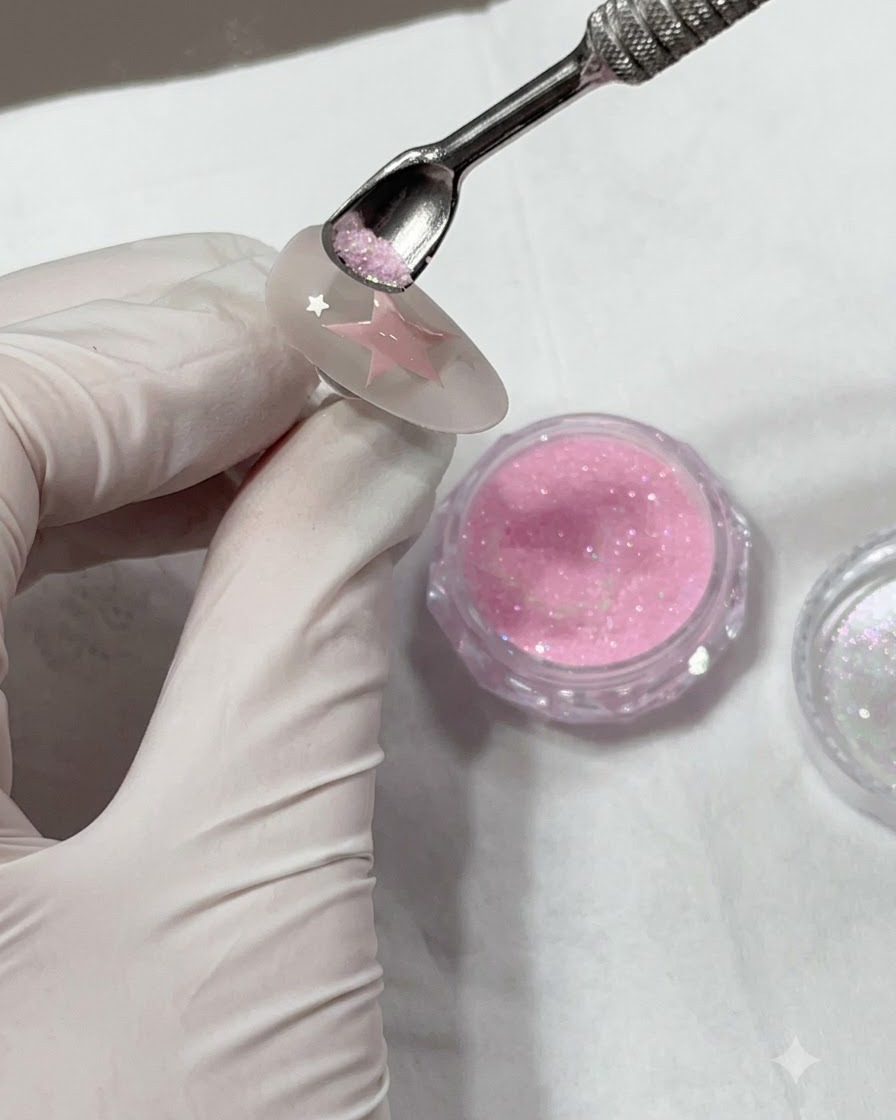
Using a metal cuticle pusher scoop, gently take a small amount of sparkling pink diamond powder and sprinkle it generously over the wet, uncured painted star designs on the nail.
Tip: Make sure the powder completely covers the uncured gel art before shaking off the excess. - 11Cure the powder design
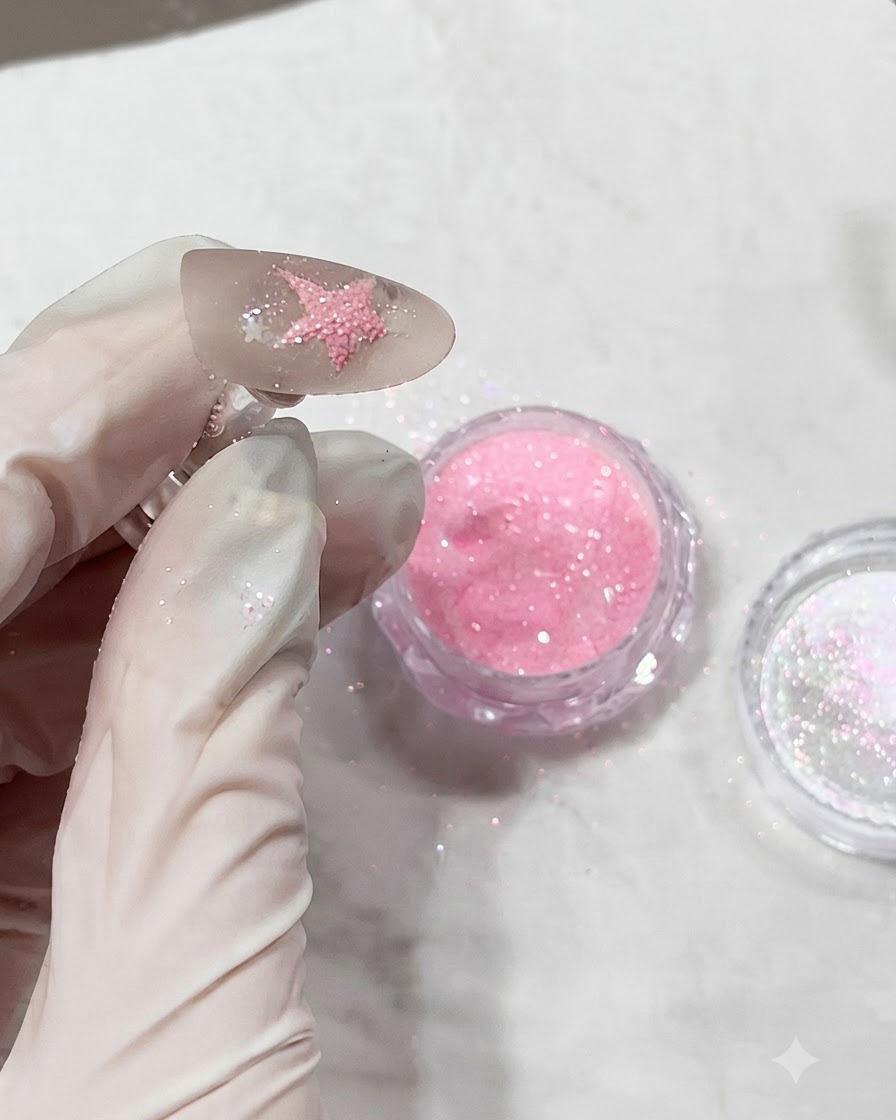
Gently shake off the loose, excess diamond powder from the nail surface. Place the nail under the UV or LED lamp to fully cure the gel and lock the textured diamond powder in place.
Tip: Tap the finger lightly to dislodge any stray glitter particles before curing. - 12Dust off excess powder
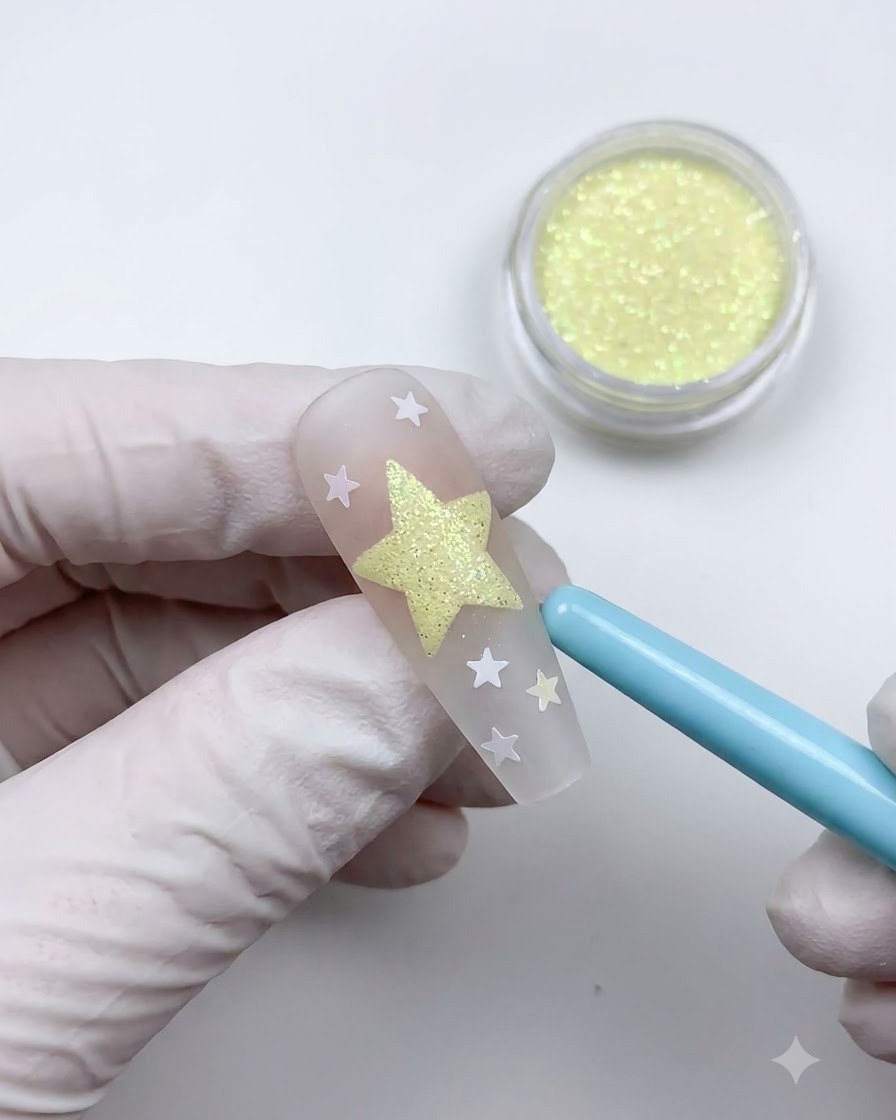
Using a soft blue dusting brush, gently sweep away any remaining floating powder from the nail surface. This reveals the finished, textured 3D star design with a sparkling sugar effect.
Tip: Use a soft-bristled brush to avoid disturbing the cured textured design while cleaning.