Caramel Amber Sunset Gradient Short Nails — Step-by-Step Tutorial
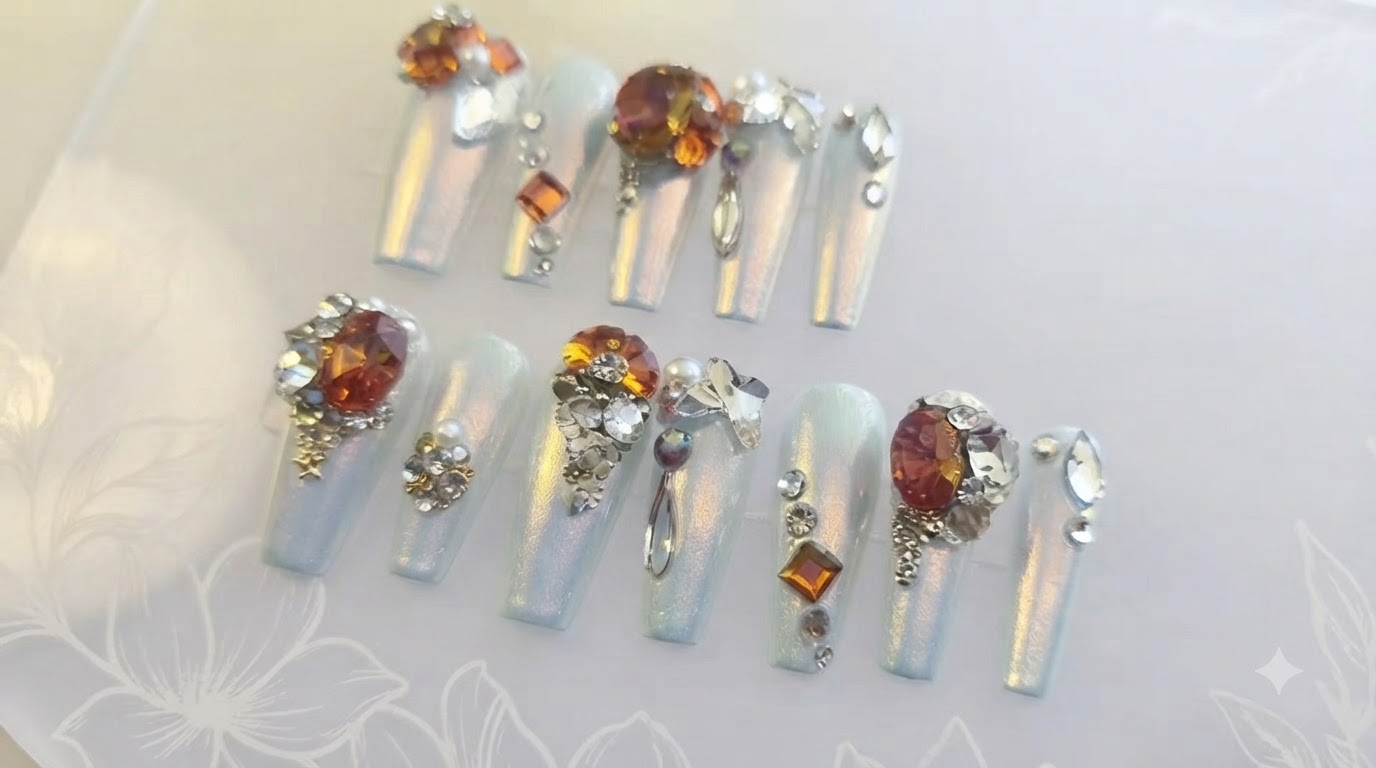
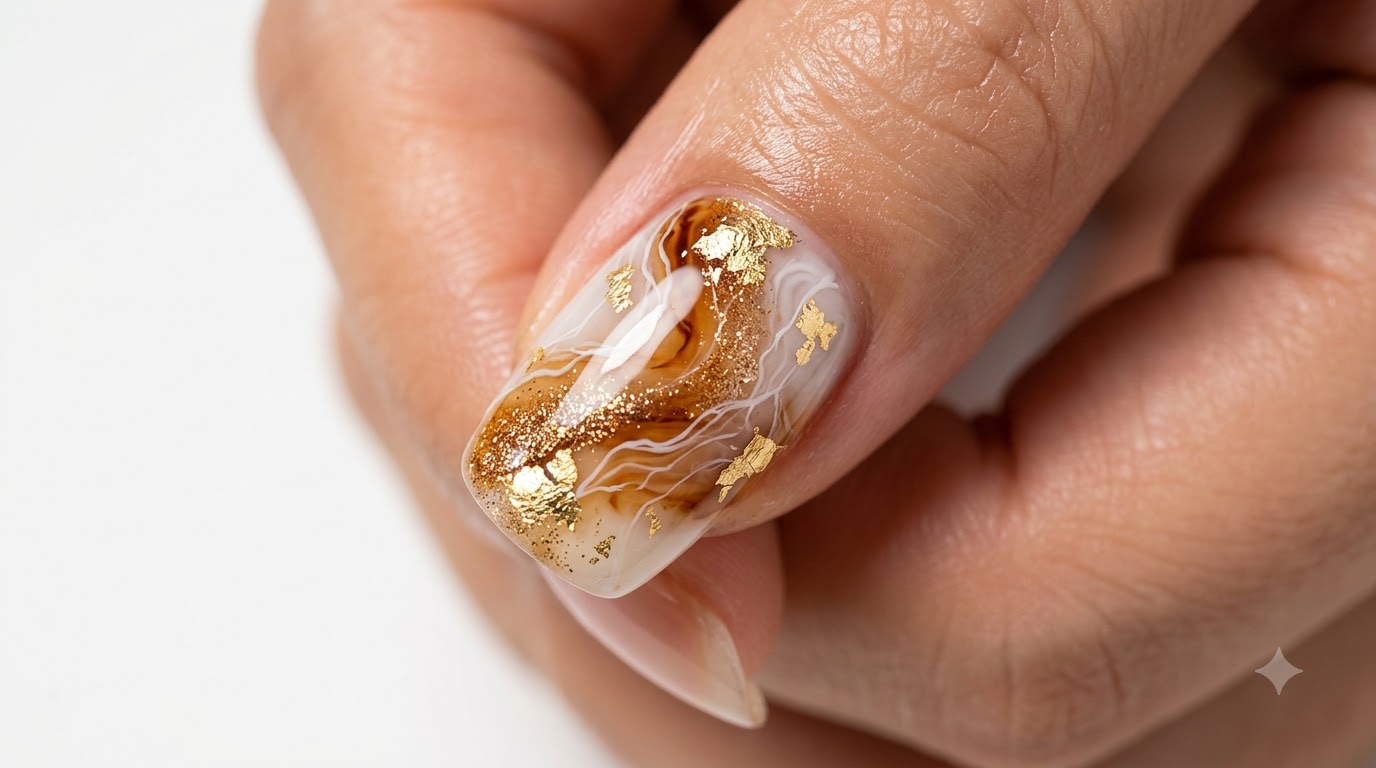
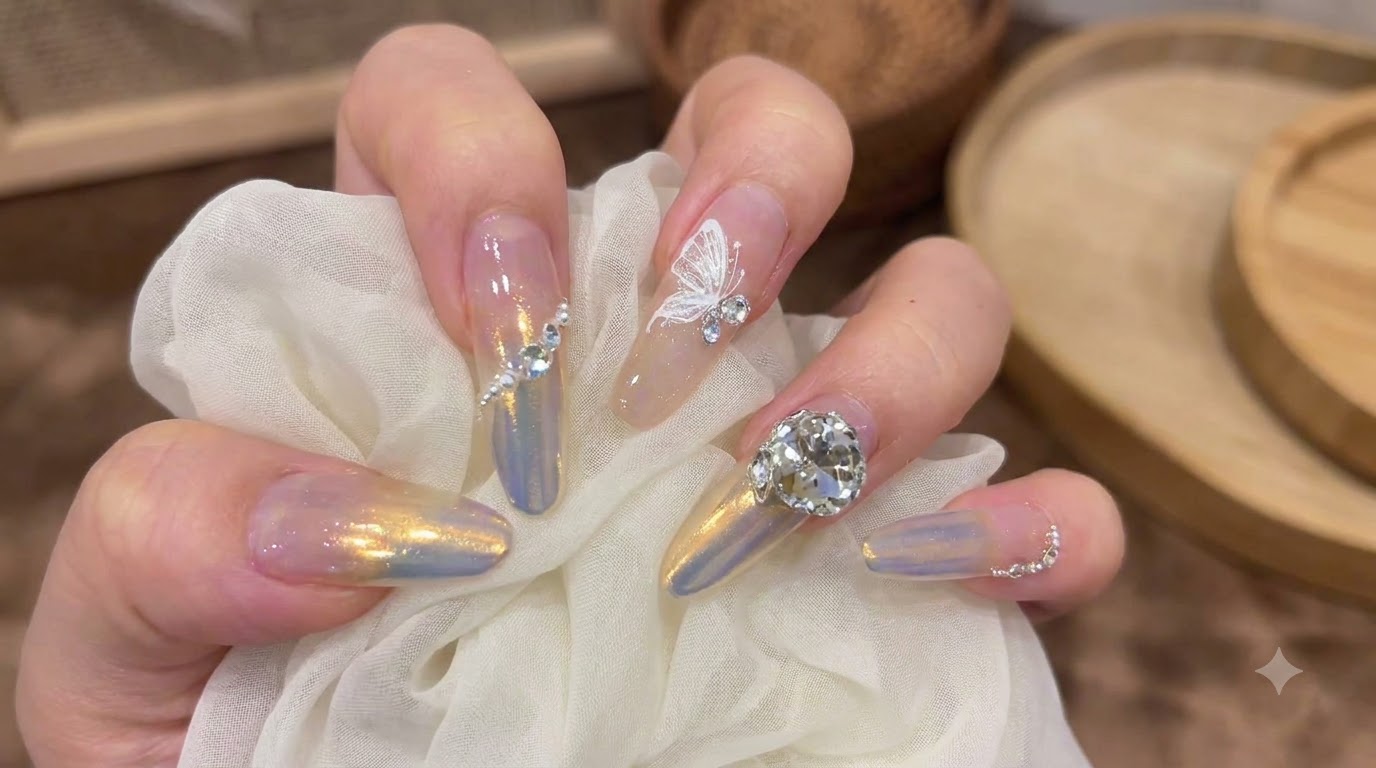
Discover a stunning caramel amber and milky white gradient nail look featuring a glossy finish and a mesmerizing magnetic cat-eye effect.
Caramel and amber tones bring a rich warmth to short nails, beautifully contrasted by translucent milky white bases and dynamic cat-eye shimmer. This tutorial guides you through the precise layering and magnetic techniques needed to achieve a salon-quality gradient finish at home.
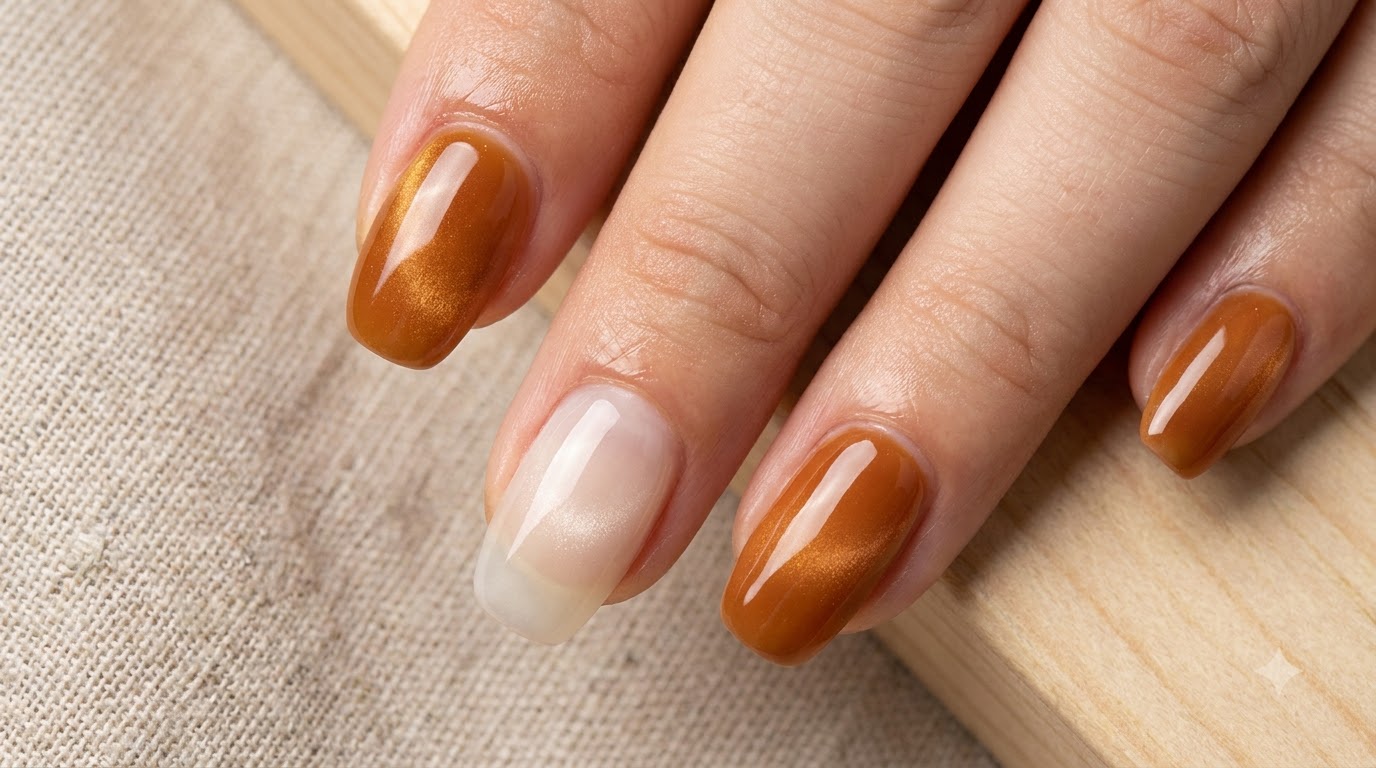
Steps
- 1Apply translucent base coat
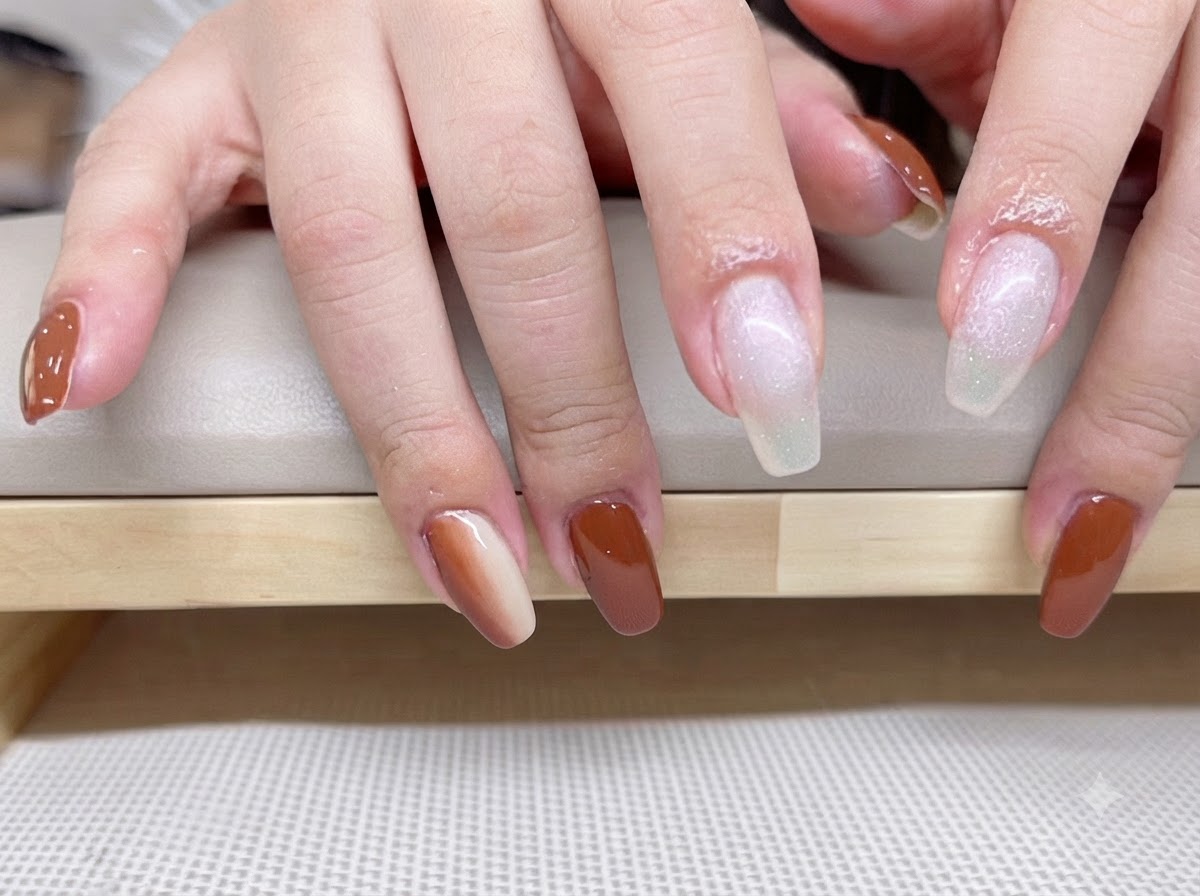
Apply a layer of milky white translucent base coat carefully onto the index and middle fingers, ensuring an even layer and glossy finish across the nail beds.
Tip: Apply in thin, controlled strokes to prevent pooling around the cuticles. - 2Apply caramel brown gel polish
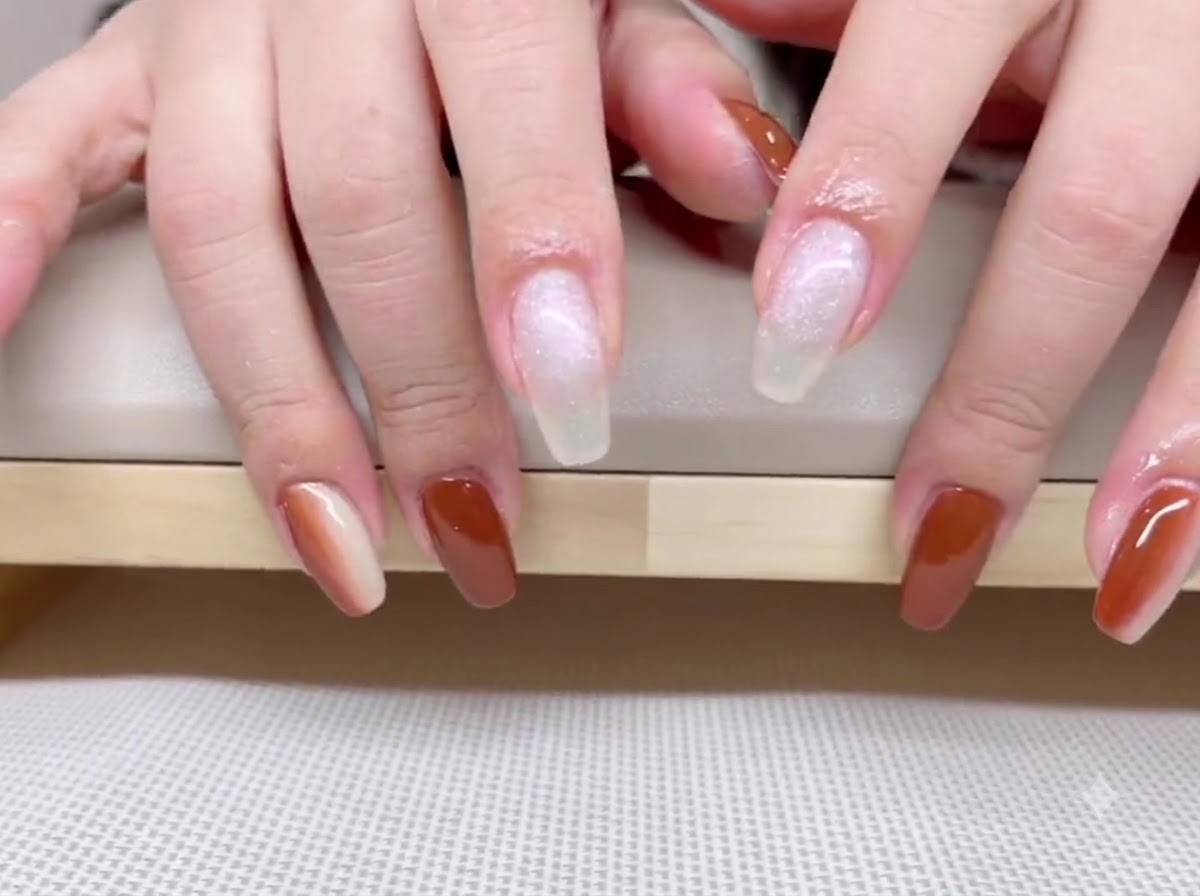
Apply rich caramel brown gel polish to the thumb, ring, and pinky fingers, making sure to coat smoothly for a high-gloss finish.
Tip: Cap the free edge with the brown gel to seal the color and prevent chipping. - 3Display gradient color transition and cat-eye shimmer
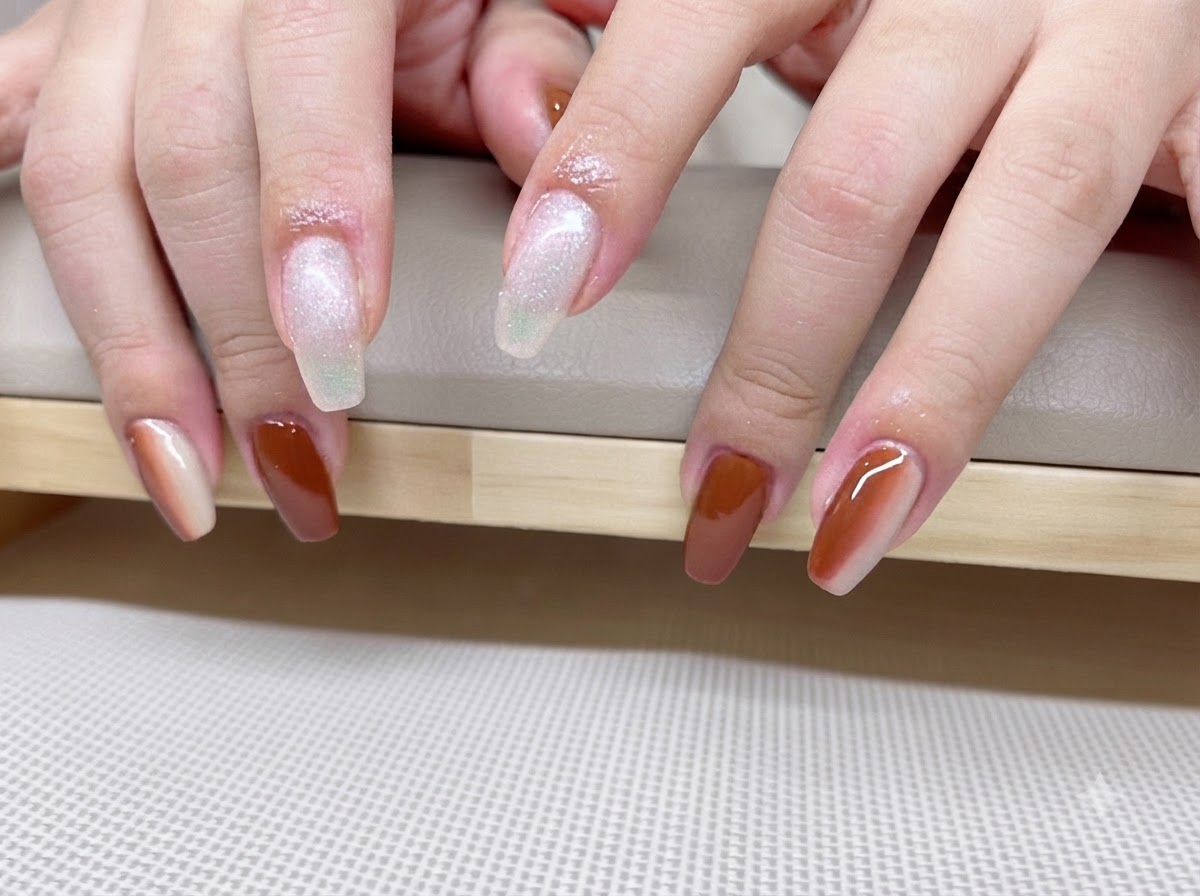
Observe the seamless blend of caramel and amber hues combined with the distinct magnetic cat-eye shimmer across the nail surfaces. This stage highlights the dimensional depth and reflective qualities achieved through careful color layering and magnet placement before final sealing.
Tip: Ensure the magnetic particles are precisely aligned and cured immediately to lock in the cat-eye reflection path. - 4Showcase milky white and caramel contrast
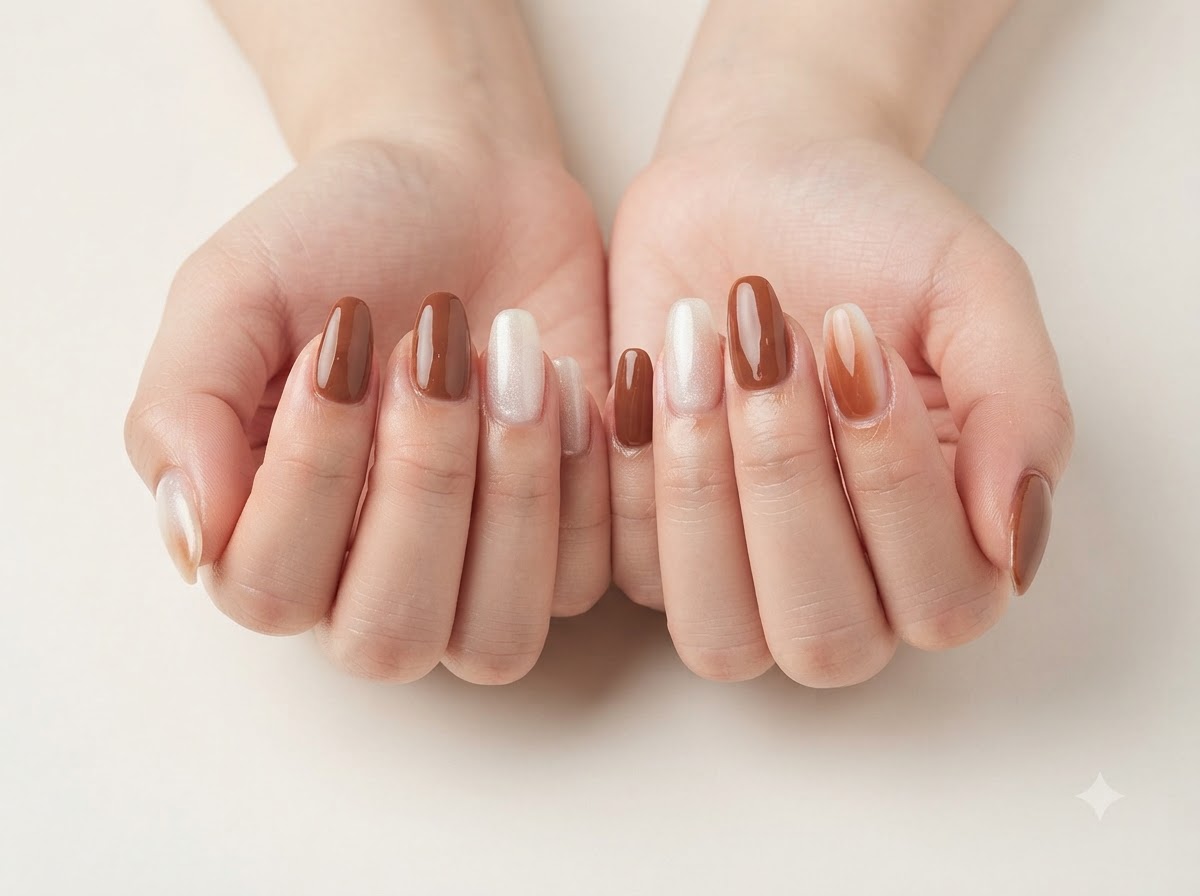
Highlight the side-by-side contrast between the translucent milky white nails featuring subtle magnetic shimmer and the solid caramel brown nails.
Tip: Ensure the lighting catches the magnetic particles to emphasize the contrast. - 5Adjust hand angle for gradient view
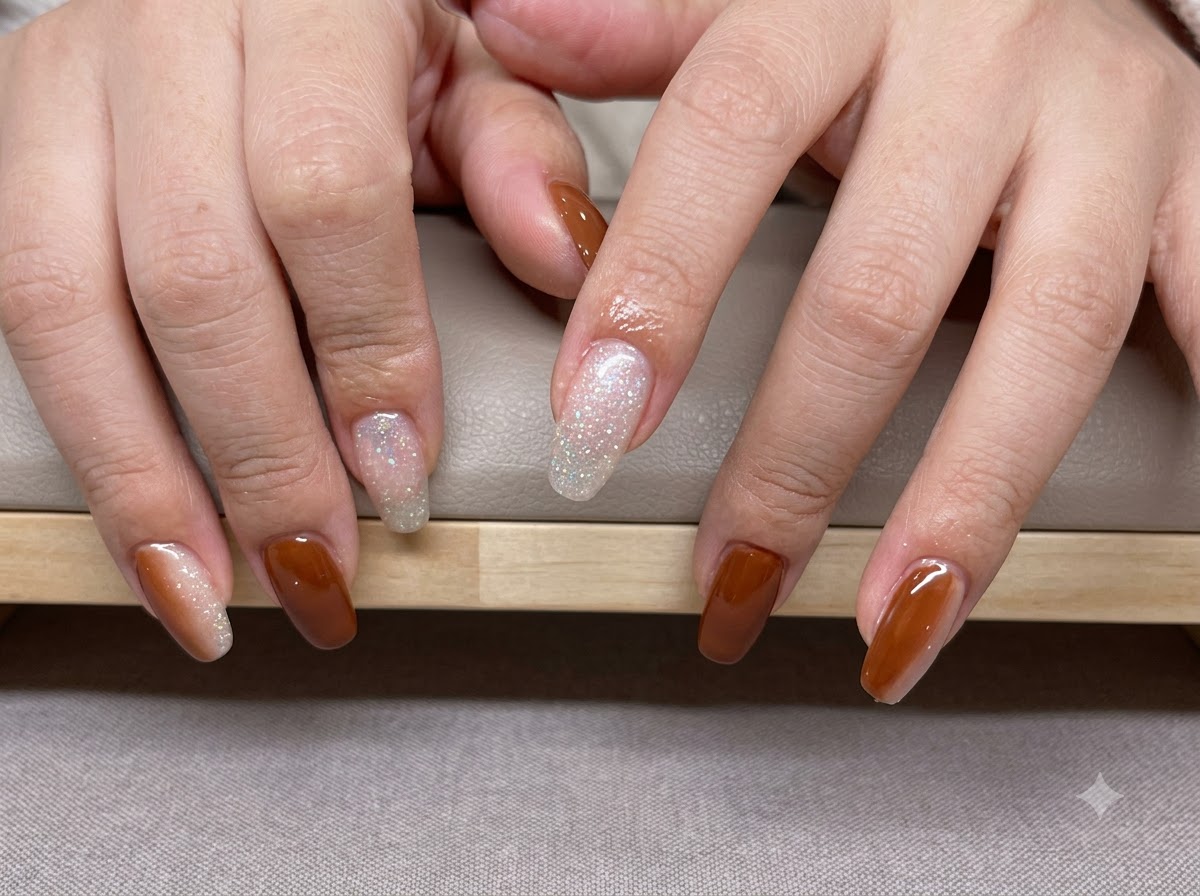
Slightly adjust the hand position to clearly display the smooth color gradient blending from dark amber down to warm caramel tips.
Tip: Keep hands steady under natural lighting to best capture the depth of the color gradient. - 6Inspect the final glossy top coat reflection
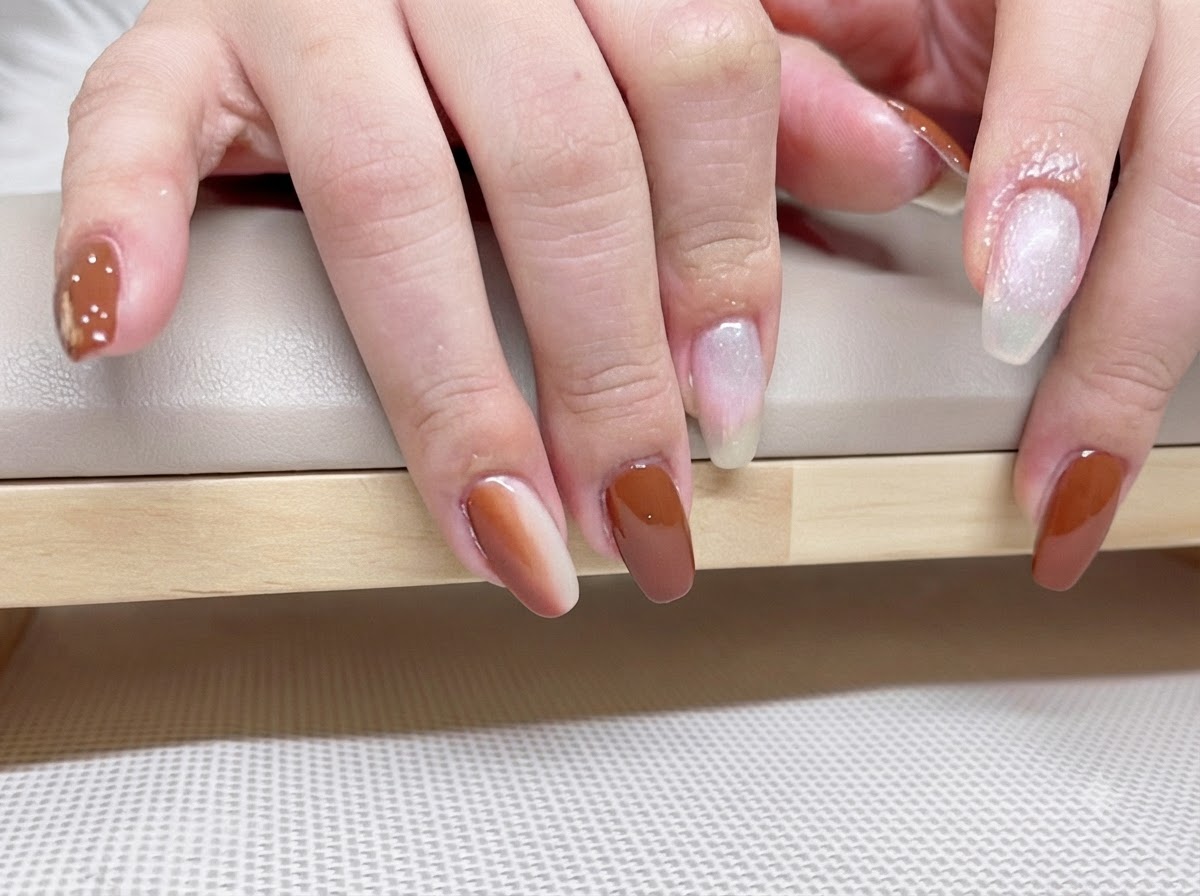
Examine the completed nail set under light to verify an even, glass-like shine across every finger. The glossy top coat seals the color layers, protects the cat-eye effect, and provides a durable, polished finish that accentuates the rich caramel and amber color gradient.
Tip: Cap the free edge securely with top coat to prevent chipping and preserve the high-gloss shine over time.