Crushed Diamond Star Cat Eye Nails — Step-by-Step Tutorial
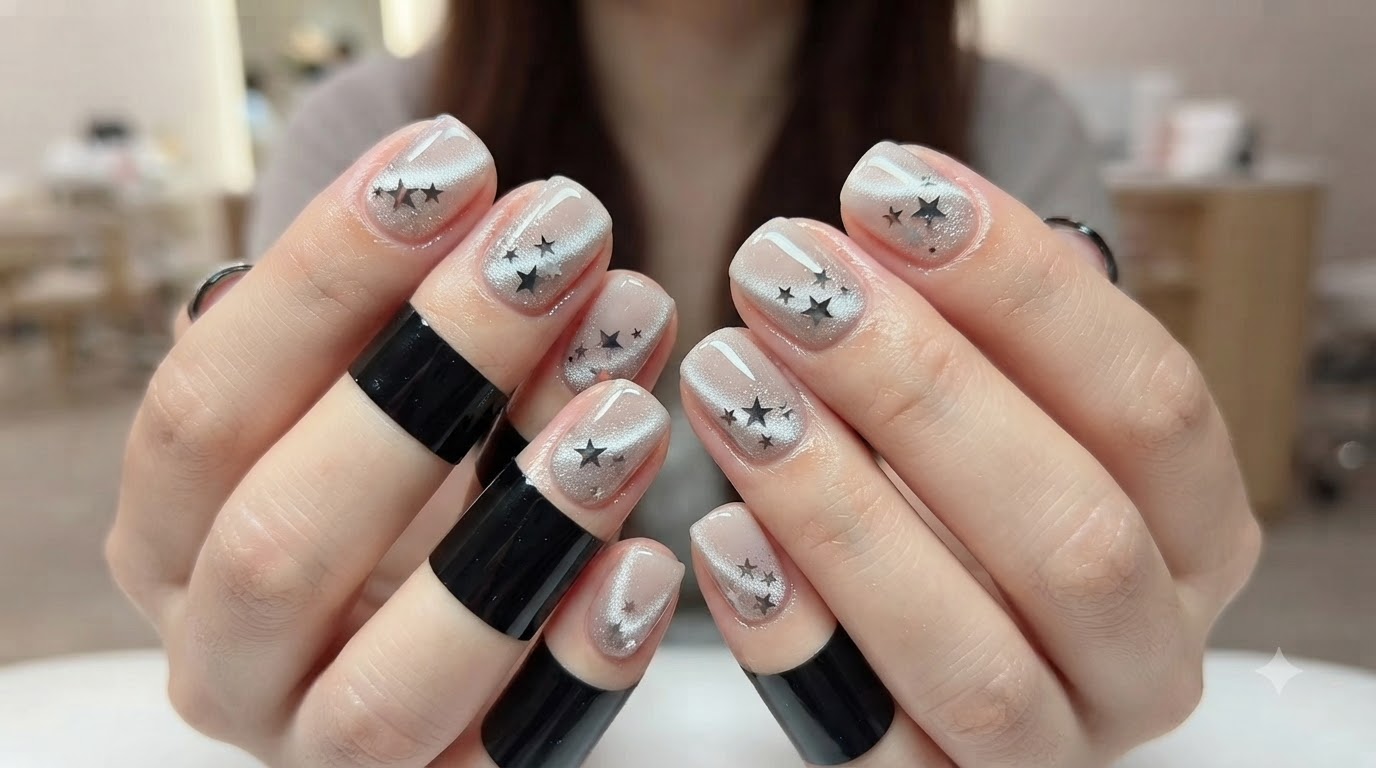
Discover how to create stunning crushed diamond star cat-eye nails with a sophisticated nude base, sparkling magnetic gradient, and charming black star embellishments.
Cat-eye manicures combined with delicate celestial details have taken the nail world by storm, offering a mesmerizing depth that shifts with the light. This tutorial guides you through professional preparation, custom glitter gradient application, and precise magnetic velvet effects to achieve salon-quality results at home.
Steps
- 1Apply gel base coat
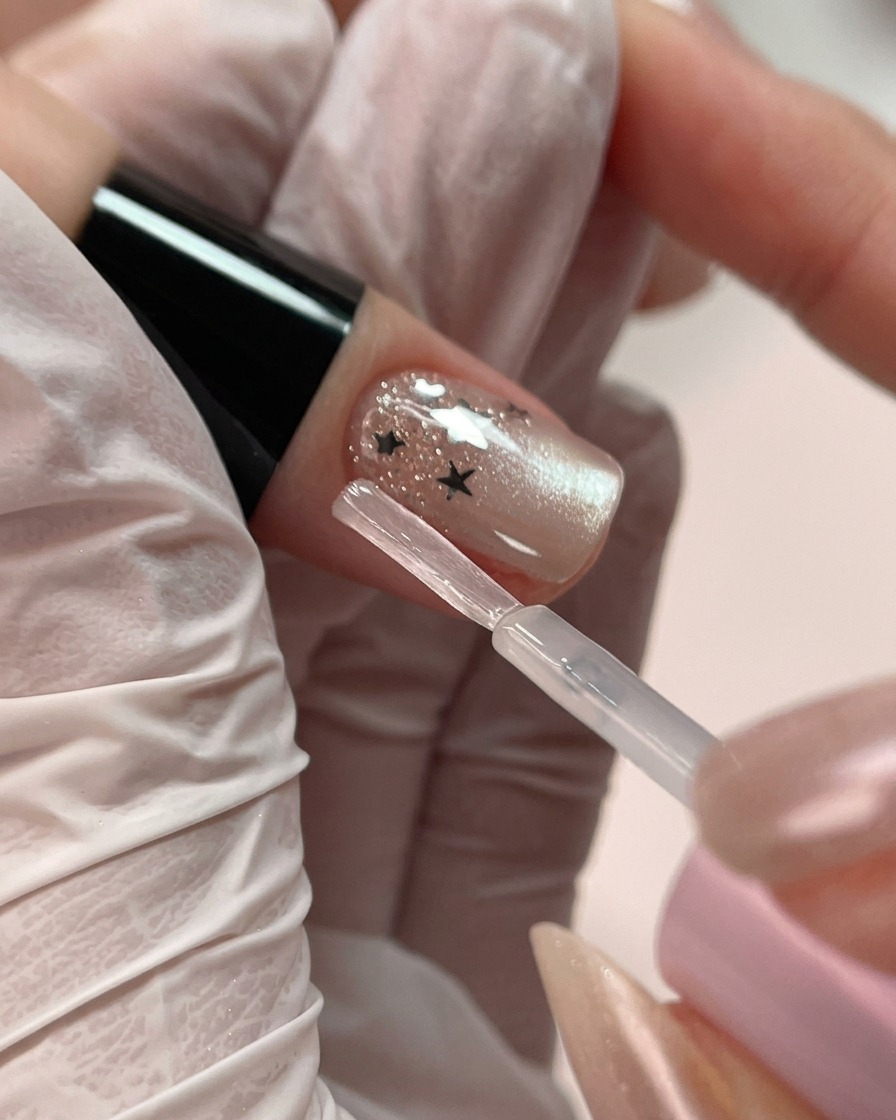
Apply a thin layer of base coat to the prepared natural nail using a small brush, ensuring even coverage across the surface. Carefully cap the free edge and avoid flooding the cuticle area. Cure under a UV or LED lamp as specified by the manufacturer.
Tip: Keep the base coat layer thin to prevent bubbling and ensure strong adhesion for subsequent gel layers. - 2Prep cuticle area with diamond bit
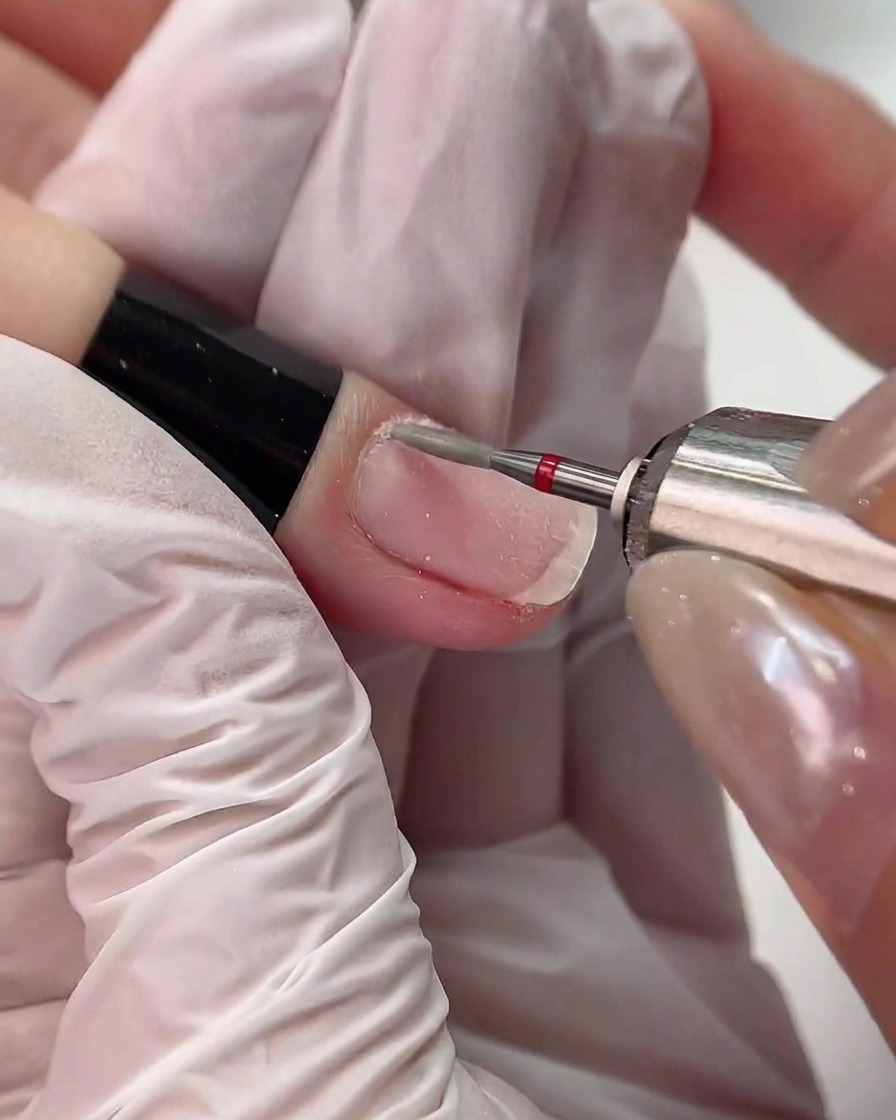
Use a diamond drill bit set at 20,000 RPM to gently exfoliate and prep the cuticle area. Maintain a light touch and keep the bit moving continuously along the nail fold to remove dead skin and prepare the plate for product application.
Tip: Hold the e-file handpiece parallel to the nail surface and use low pressure to avoid friction burns or thinning the natural nail plate. - 3Etch nail surface with sanding band
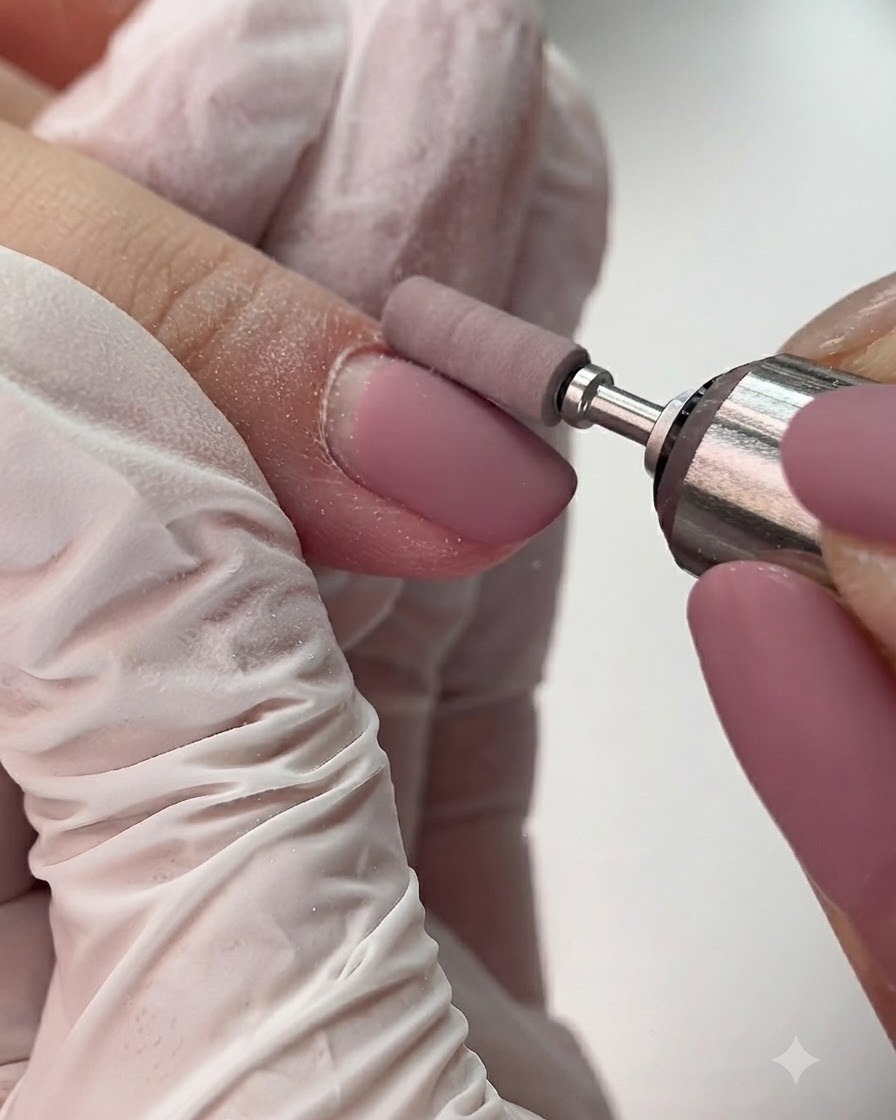
Use a sanding band drill bit operating at 3,000 RPM to gently etch the nail surface, removing shine and oils. This light buffing creates micro-scratches that improve mechanical bonding for gels or enhancements.
Tip: Use very gentle pressure at low speeds to avoid heat buildup and protect the natural nail from over-filing. - 4Refine cuticles and lateral folds
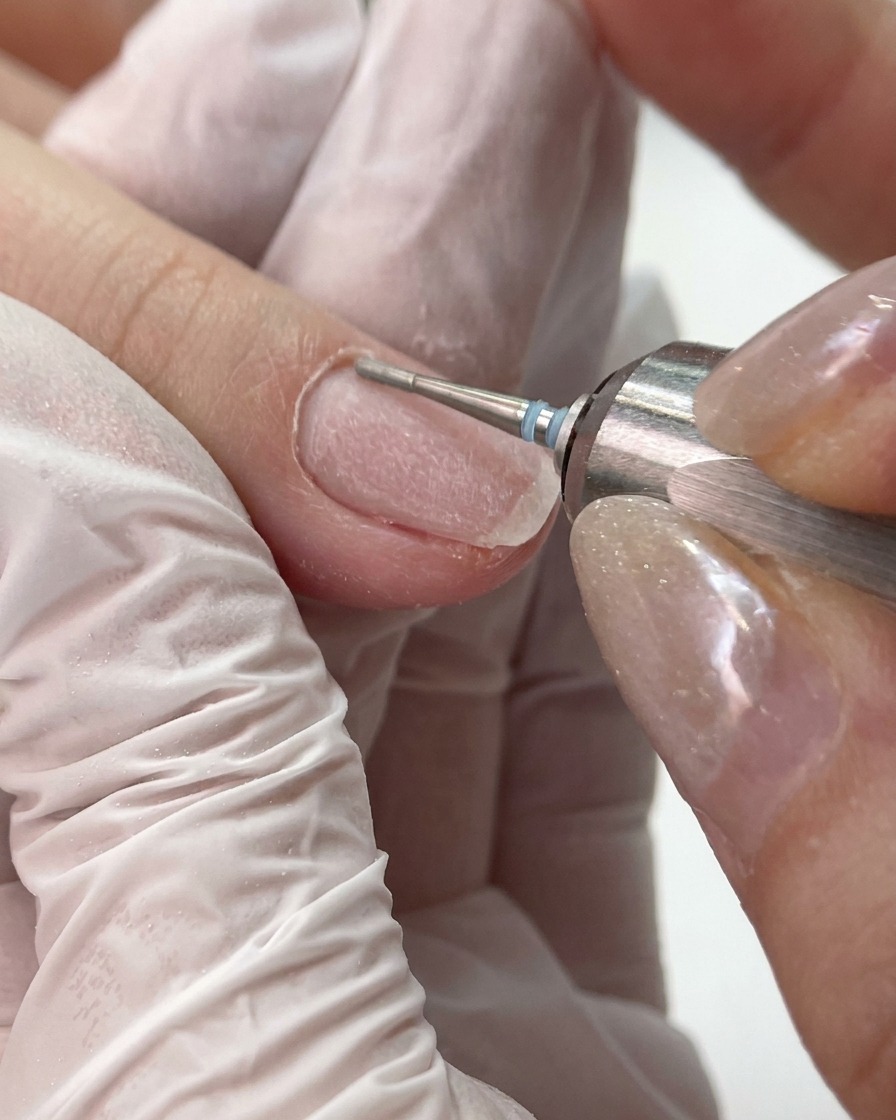
Use a small cleaning bit at 10,000 RPM to thoroughly refine the cuticle zone and clean out the lateral folds. This removes hidden pterygium and debris, ensuring a flawless and clean edge before coating.
Tip: Keep the e-file speed moderate and gently sweep the bit along the sidewalls to clean out residual skin flakes without cutting. - 5Trim excess dead cuticle skin
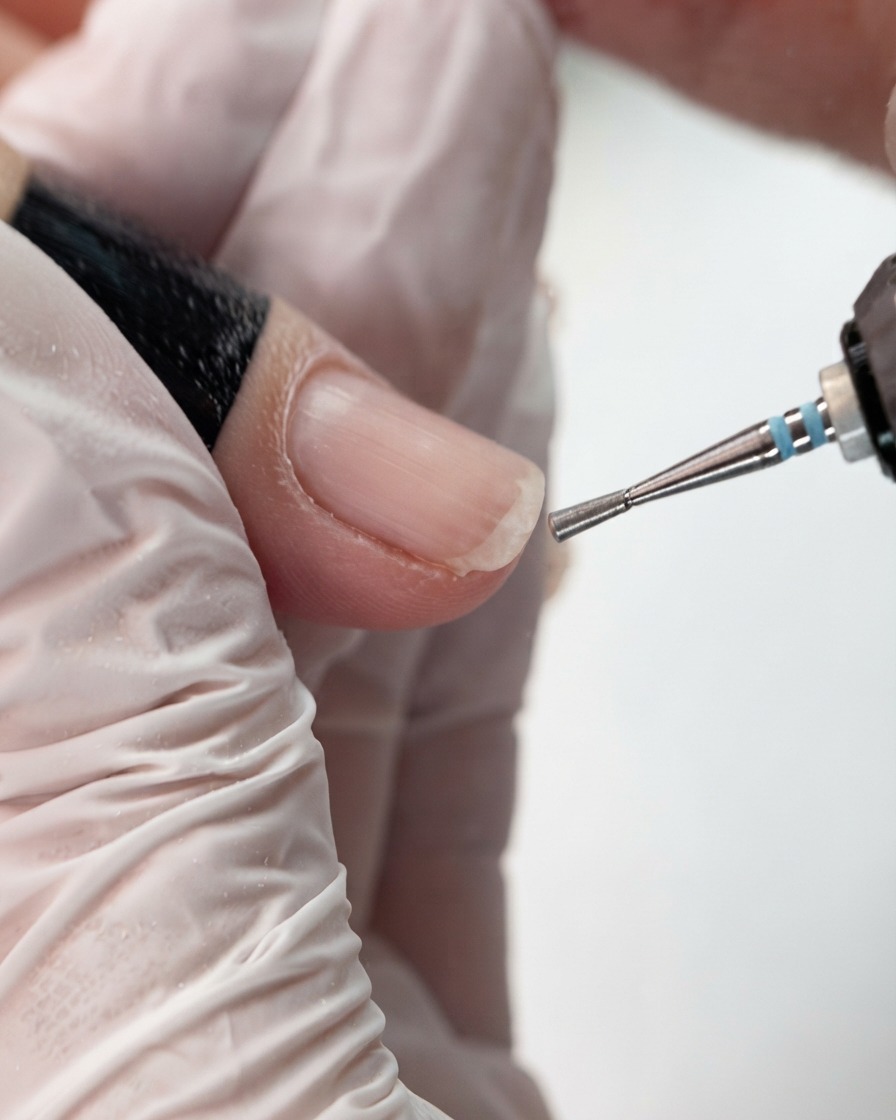
Use cuticle nippers to carefully trim away any loosened excess dead skin around the nail plate and sidewalls. Snip cleanly without pulling to prevent tearing or irritation of the living tissue.
Tip: Sanitize nippers before use and only cut detached dead tissue, leaving the living eponychium intact to protect against infection. - 6Final cleanup with flame bit
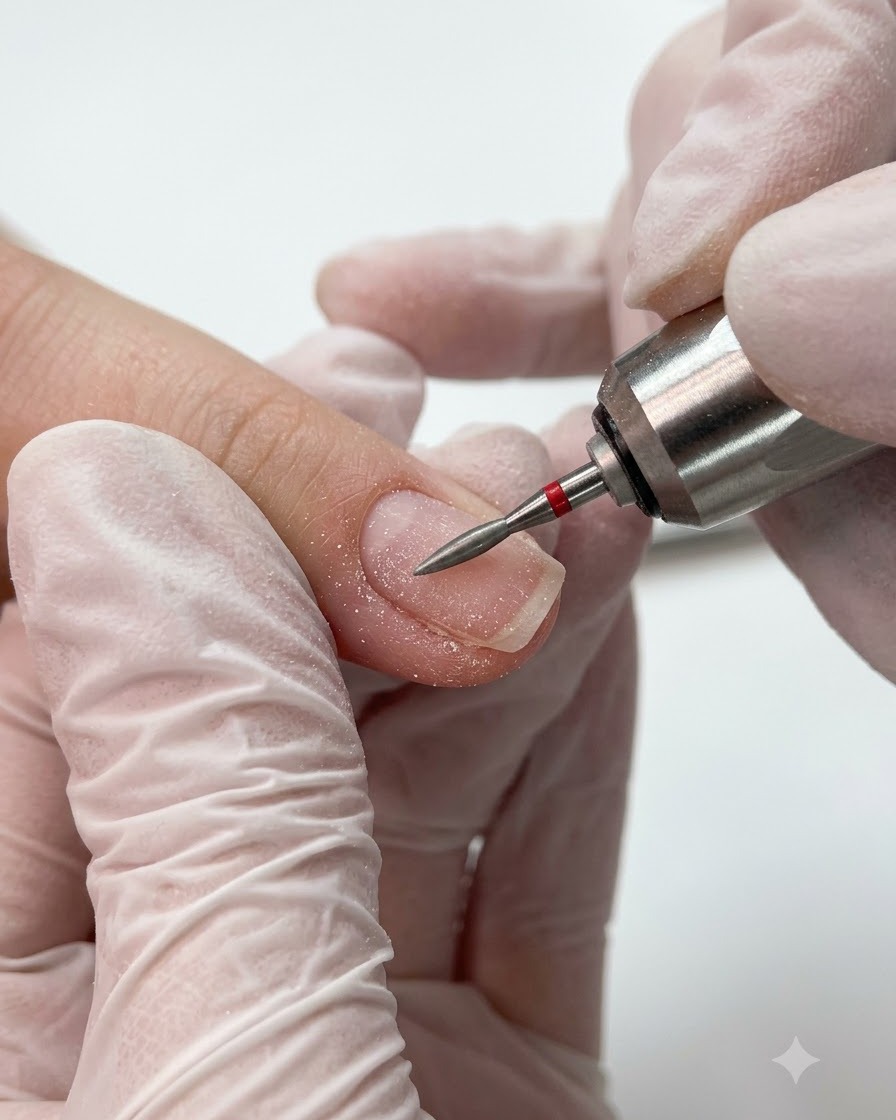
Use a small flame bit at 25,000 RPM for a final wet-processing cleanup around the cuticle and nail grooves. This smooths the skin texture and clears away any remaining microscopic imperfections.
Tip: Ensure the nail area is lightly moistened or dusted for clear visibility during high-speed flame bit detailing. - 7Apply and cure base gel
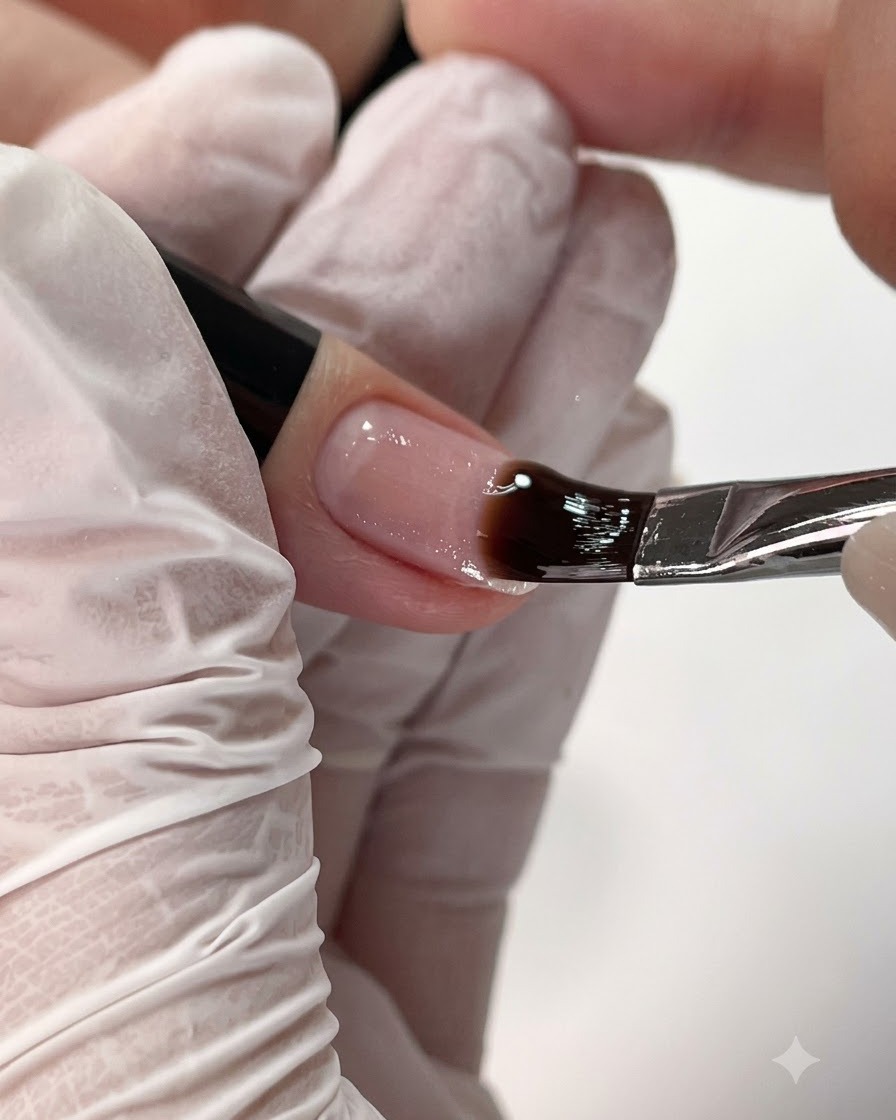
Apply a thin layer of base gel evenly across the prepped nail plate, ensuring the edges are neatly coated without touching the surrounding skin. Place the hand under a UV or LED lamp to cure the product completely, creating a strong adhesive foundation for the subsequent nail art layers.
Tip: Keep the base gel layer thin and even to prevent shrinking or wrinkling during the curing process. - 8Apply crushed diamond gel gradient
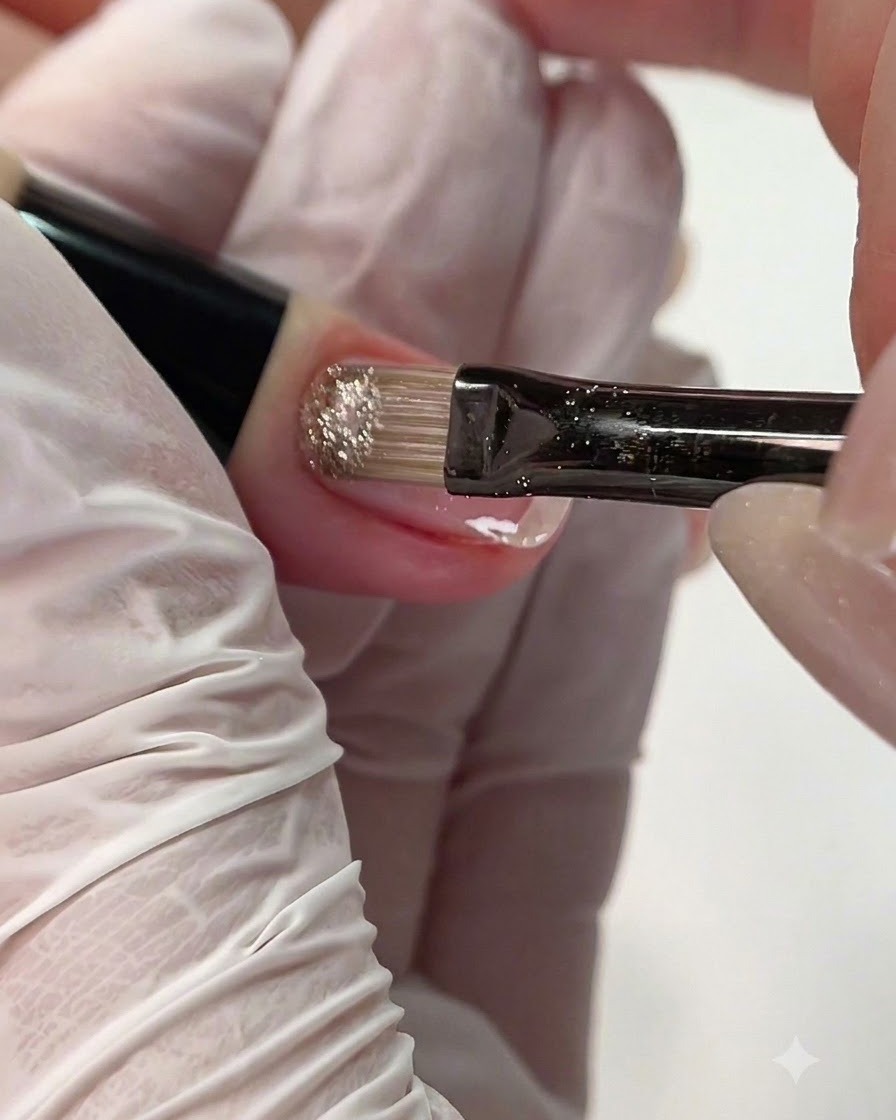
Take a small amount of crushed diamond gel and apply it directly to the posterior edge of the nail near the cuticle area. Gently blend the product outward toward the center of the nail to create a luminous, sparkling gradient effect.
Tip: Use a light tapping motion with the brush to disperse the glitter particles evenly without creating harsh lines. - 9Apply builder gel for structure
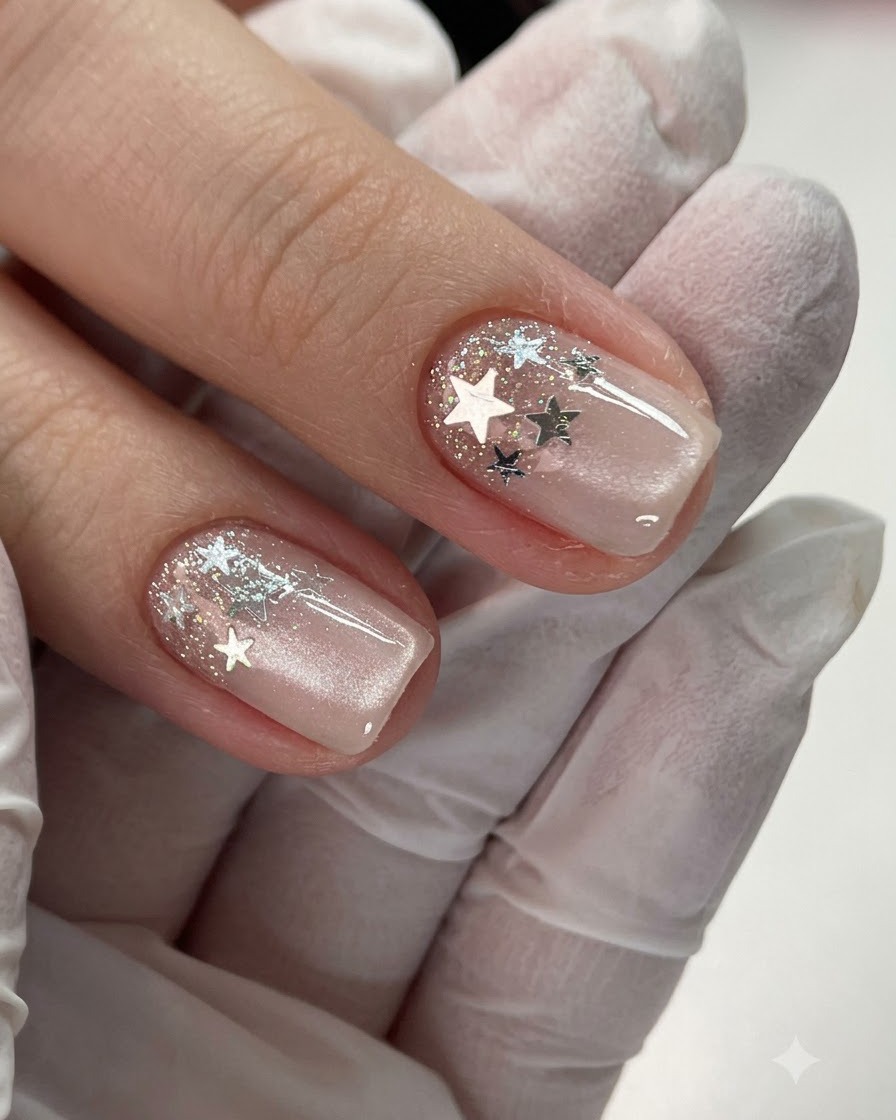
Apply a thin layer of builder gel across the nail plate to provide structural strength and reinforcement. Ensure an even distribution from cuticle to free edge, creating a slight apex for durability, then cure under the lamp.
Tip: Keep the layer controlled and avoid flooding the sidewalls to maintain a clean shape. - 10Place and guide builder gel
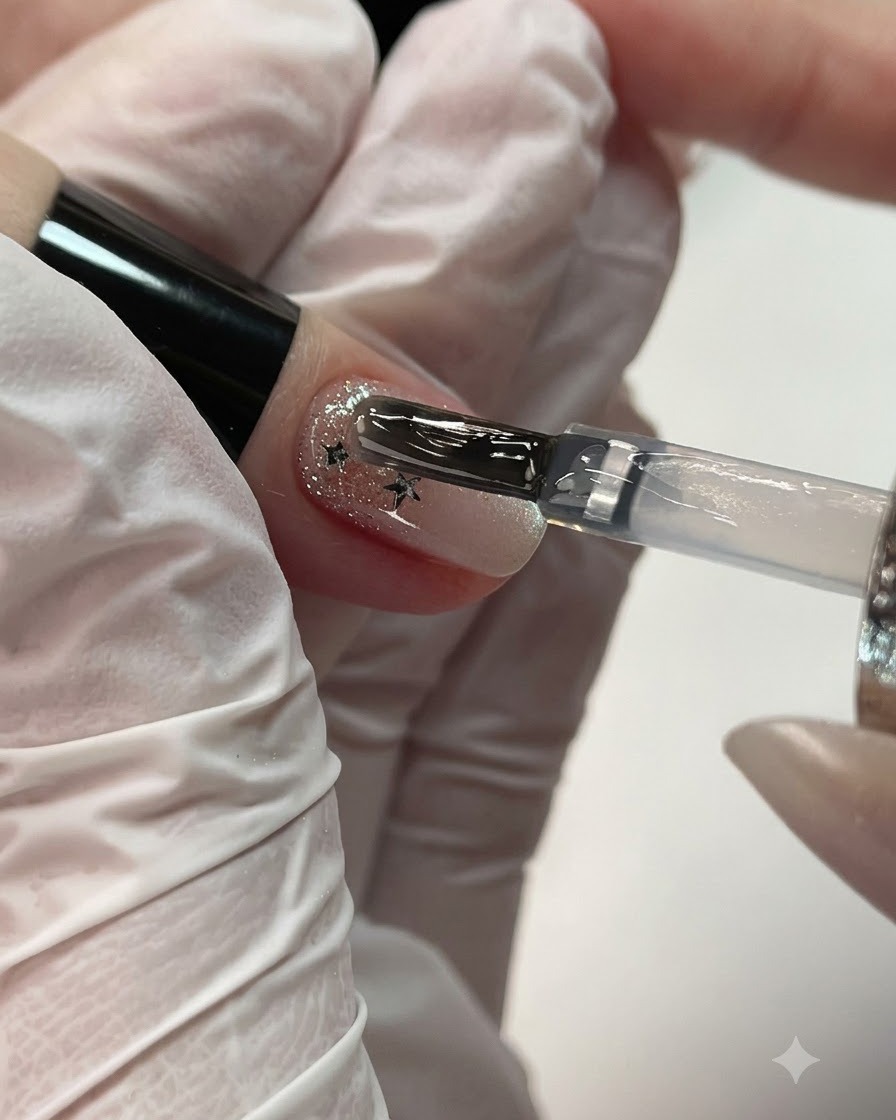
Pick up a controlled bead of builder gel using the brush and place it gently near the cuticle area. Carefully guide the gel down toward the free edge of the nail, distributing it smoothly to build proper apex structure and strength.
Tip: Avoid applying too much pressure with the brush; let the gel self-level for a smooth, even surface. - 11Smooth builder gel with liner brush
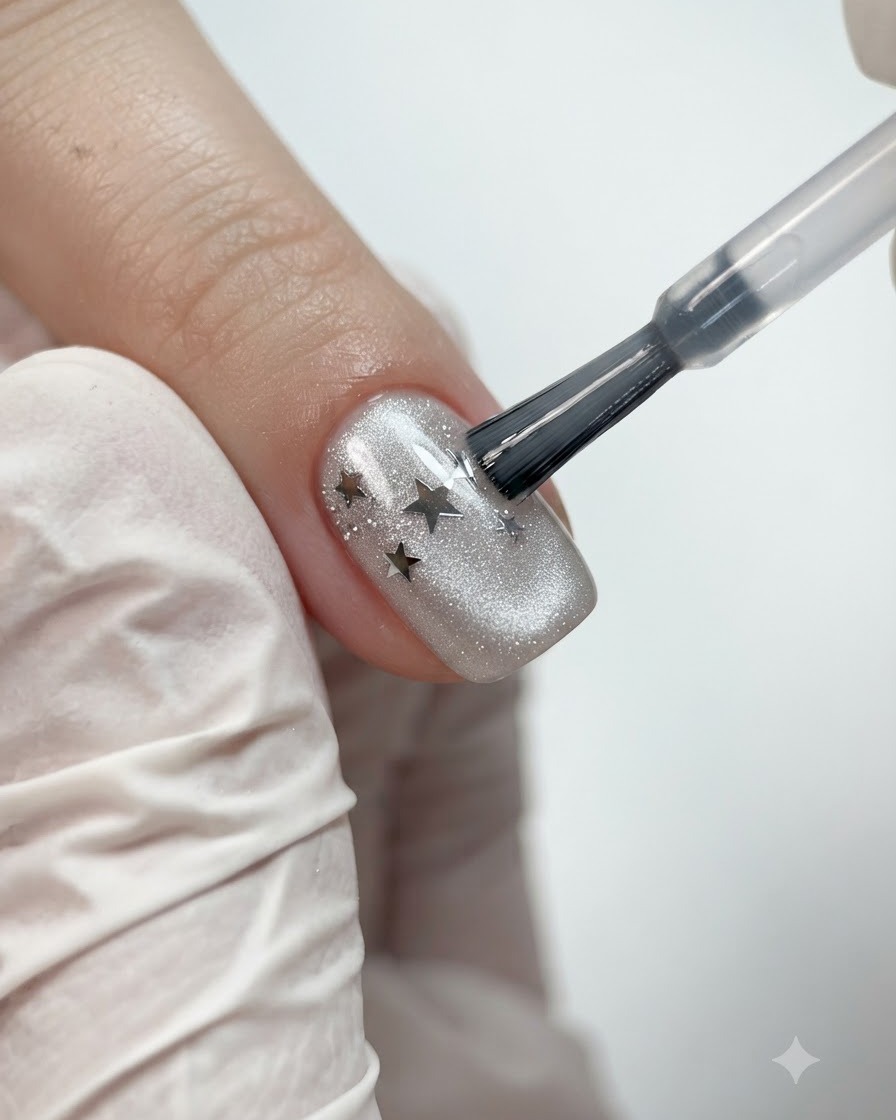
Take a fine liner brush to precisely adjust, refine, and smooth out any uneven areas in the builder gel placement. Ensure the apex is well-positioned and the product flows cleanly toward the edges before curing.
Tip: Work quickly and gently with the fine liner brush to perfect the gel contours before it begins to level out too much. - 12Smooth gel around cuticle area
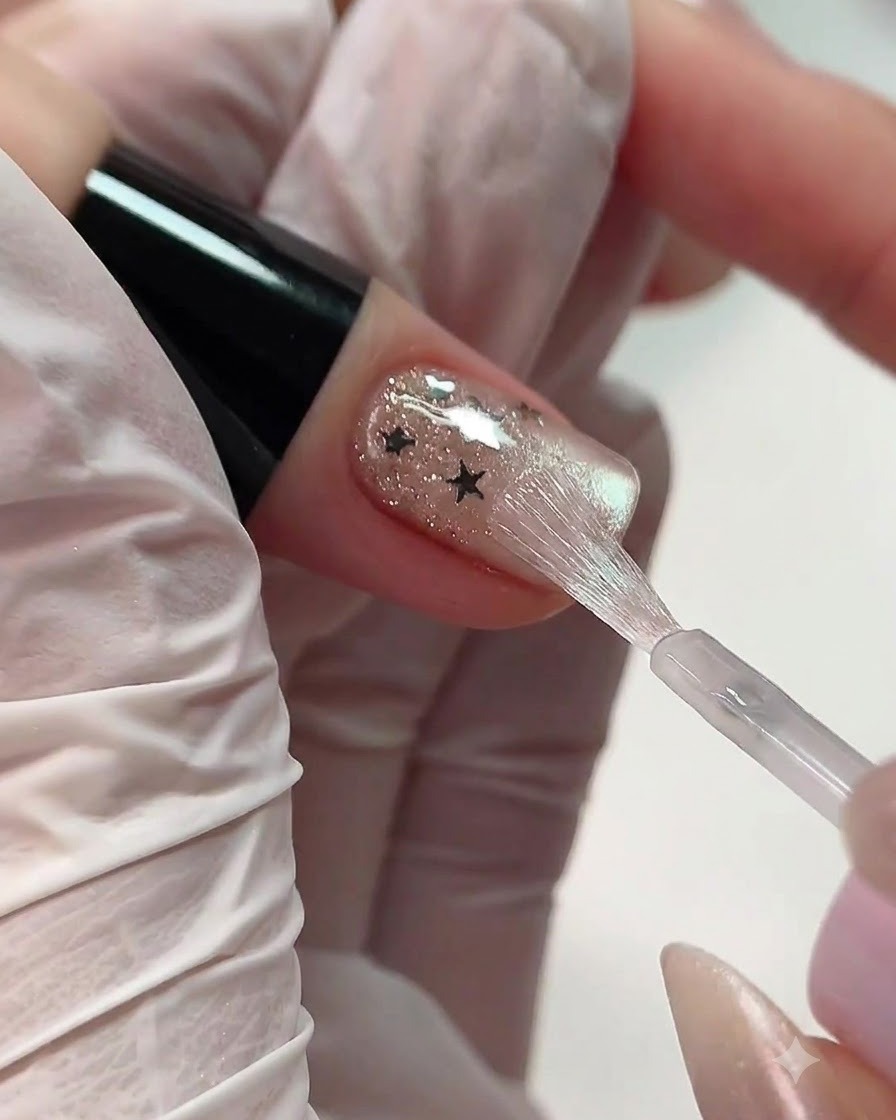
Take a small sponge pad or specialized tool to gently pat and smooth the gel surface, ensuring seamless coverage and adhesion around the delicate cuticle zone. This eliminates any ridges and creates a flawless transition.
Tip: Use very light, tapping motions with the sponge pad to avoid wiping away too much product. - 13Apply silver magnetic cat-eye polish
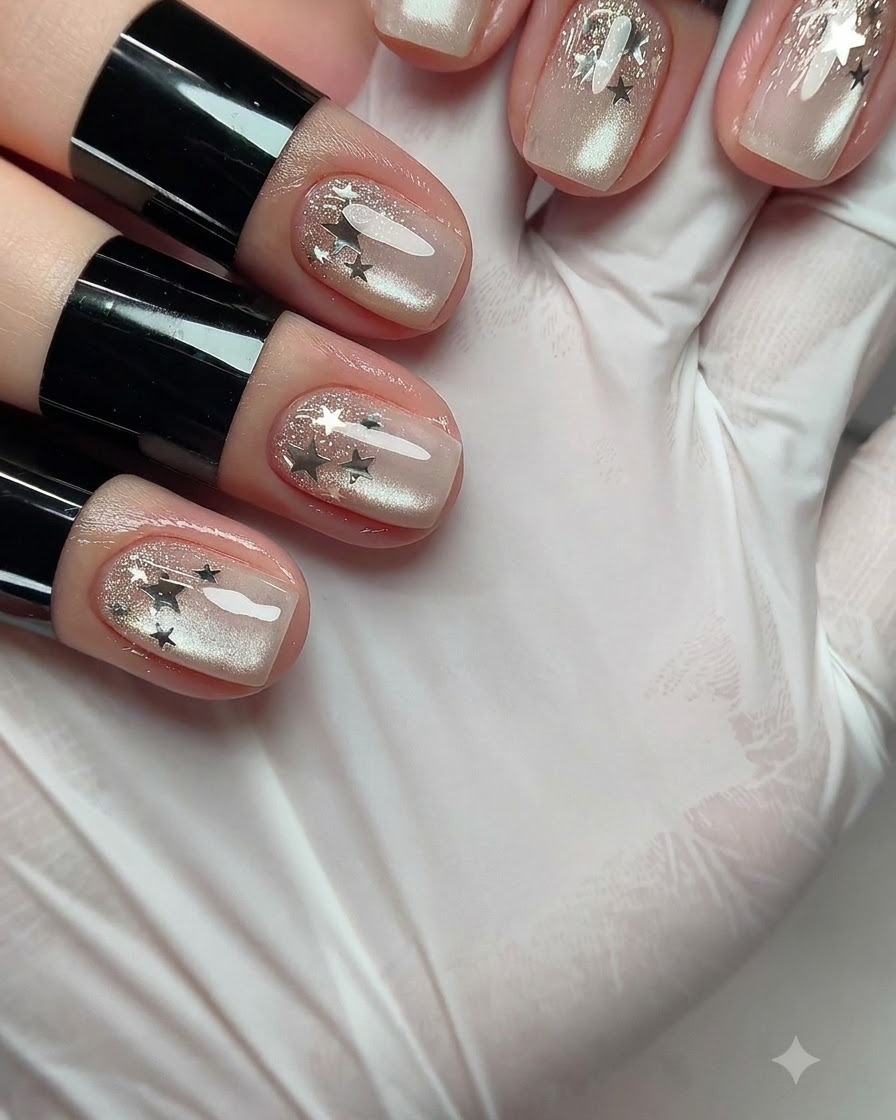
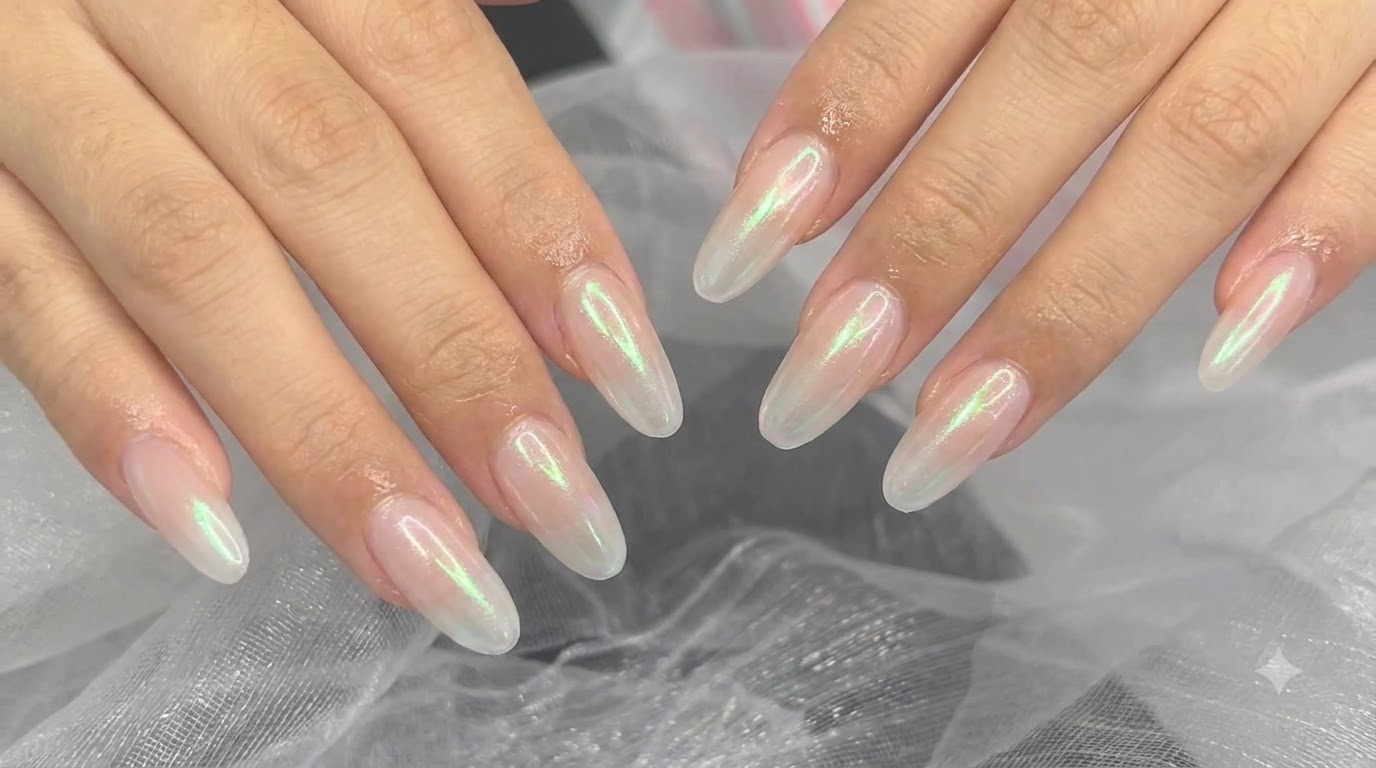
Apply a coat of silver magnetic cat-eye polish evenly over the nail surface. Before curing, hover a magnetic tool close to the surface to shift the metallic particles into a glowing cat-eye effect, then immediately cure under the lamp.
Tip: Hold the magnet steady and close to the nail for a few seconds to achieve a crisp, well-defined magnetic line.