Bubble Aurora Gradient Gel Nails — Complete Step-by-Step Tutorial
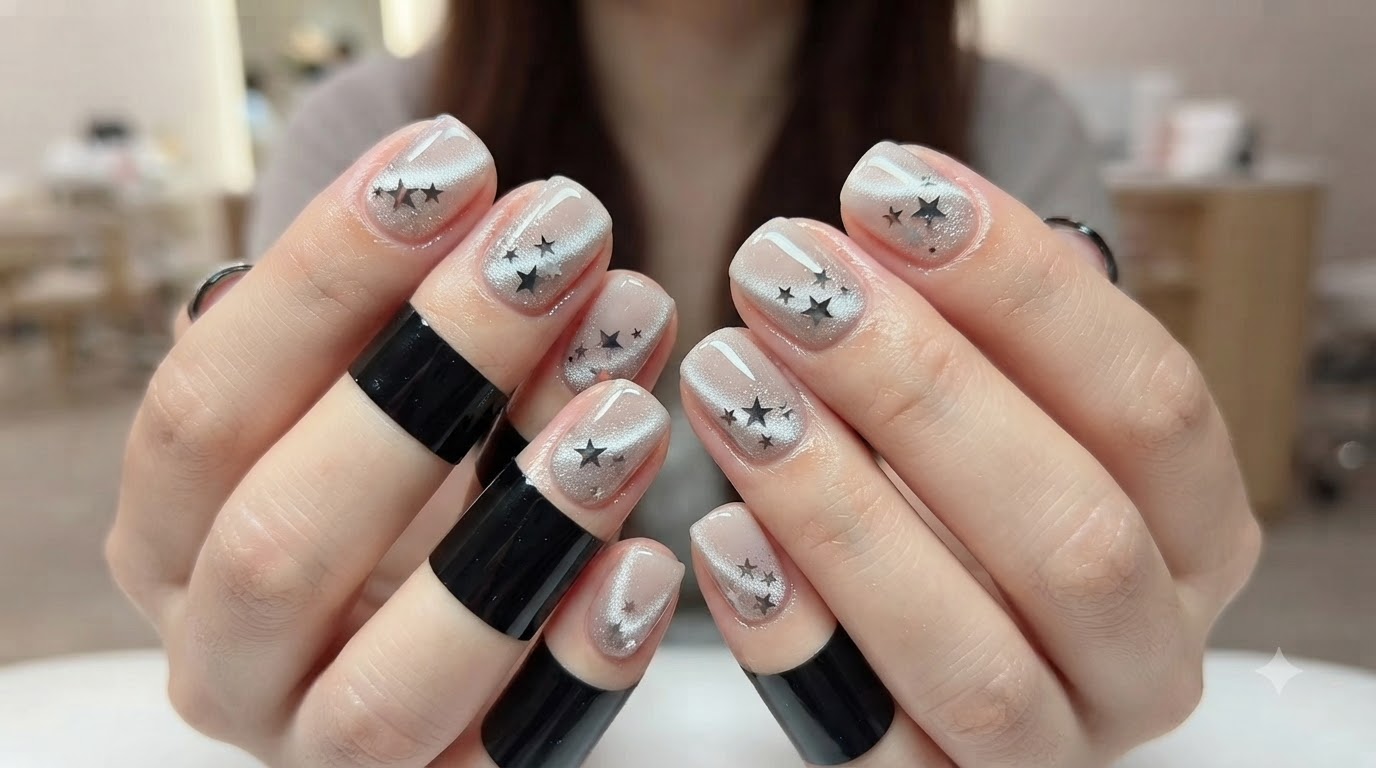
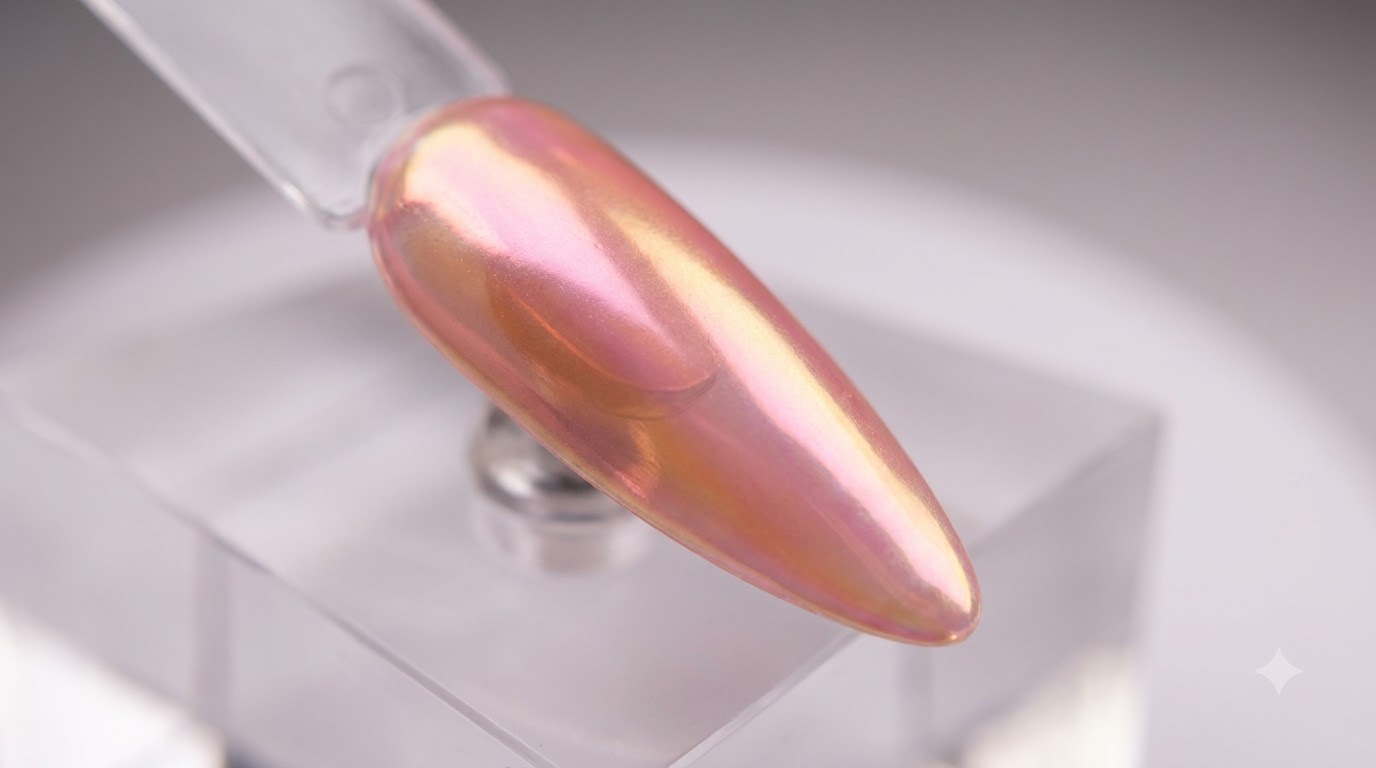
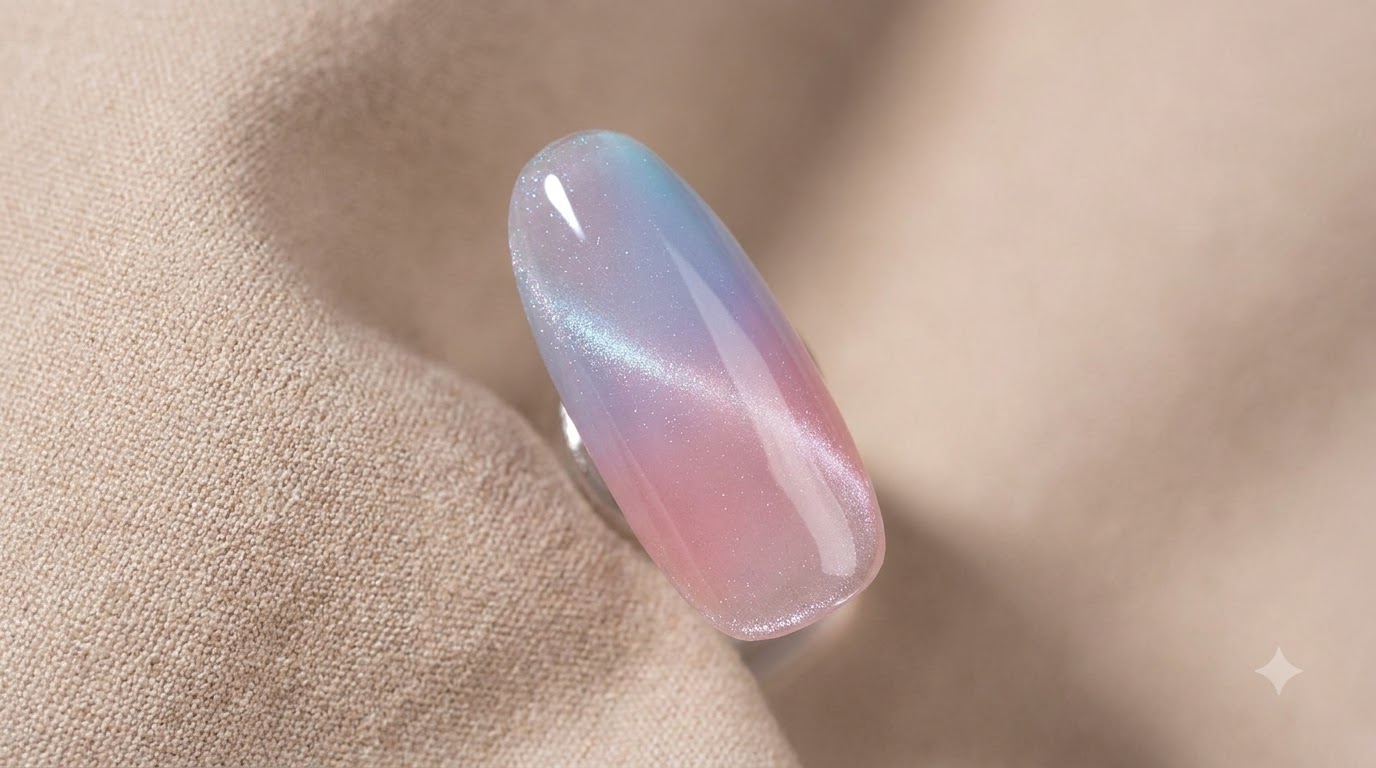
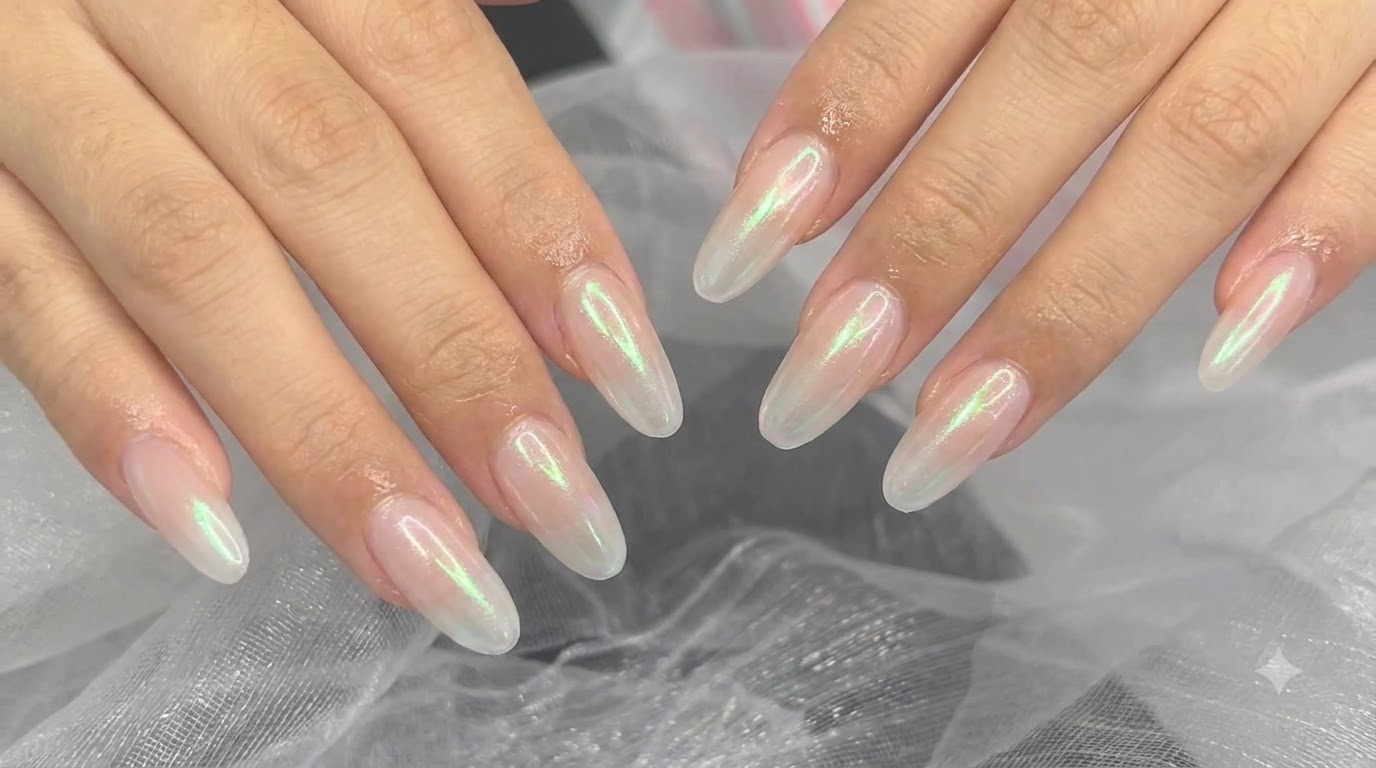
Create stunning bubble aurora gradient gel nails featuring a pearlescent sheer finish, side-light cat-eye effects, and sunset chrome powder.
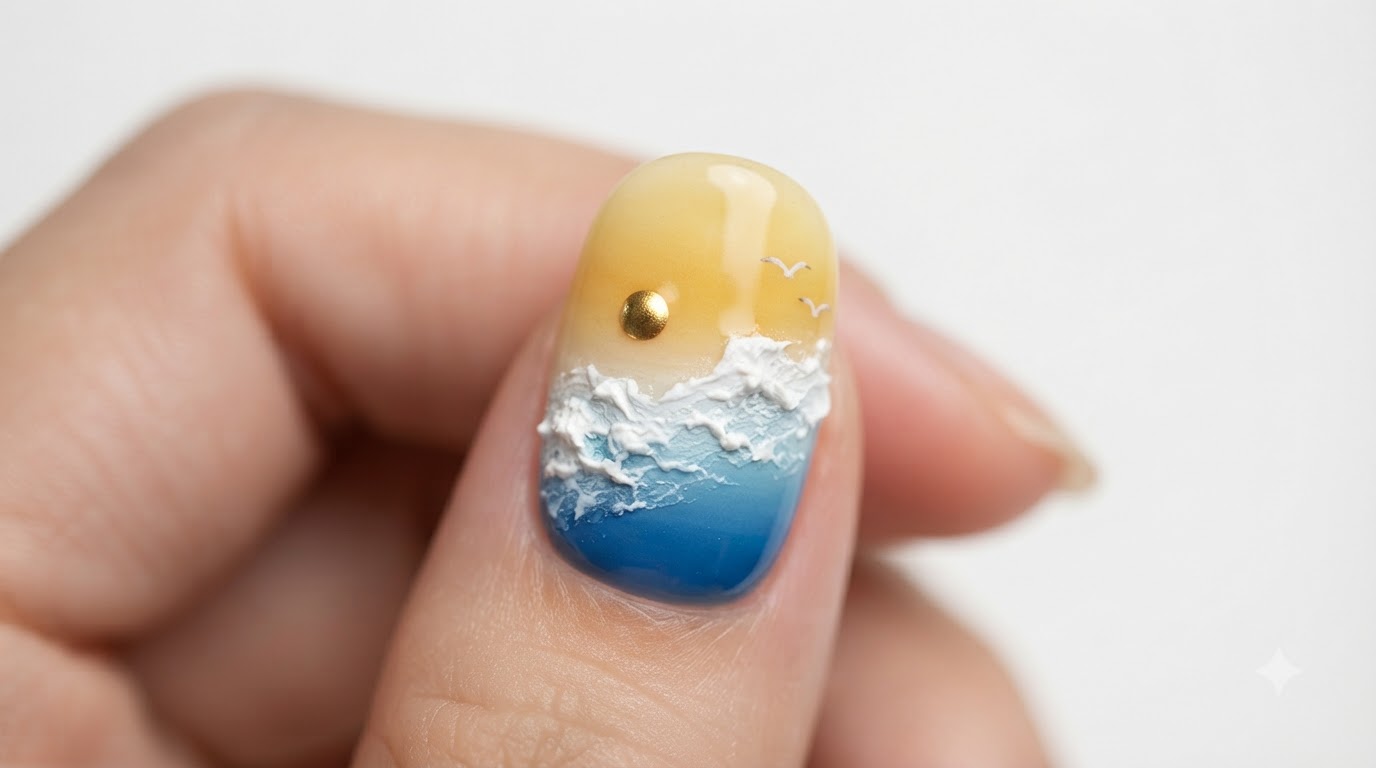
Bubble aurora gradient nails combine ethereal milky sheer tones with high-gloss chrome finishes and precise structural building techniques. This multi-dimensional look captures light beautifully from every angle, making it an exquisite choice for those who love modern holographic nail art.
Steps
- 1Etch and Smooth the Natural Nail Surface
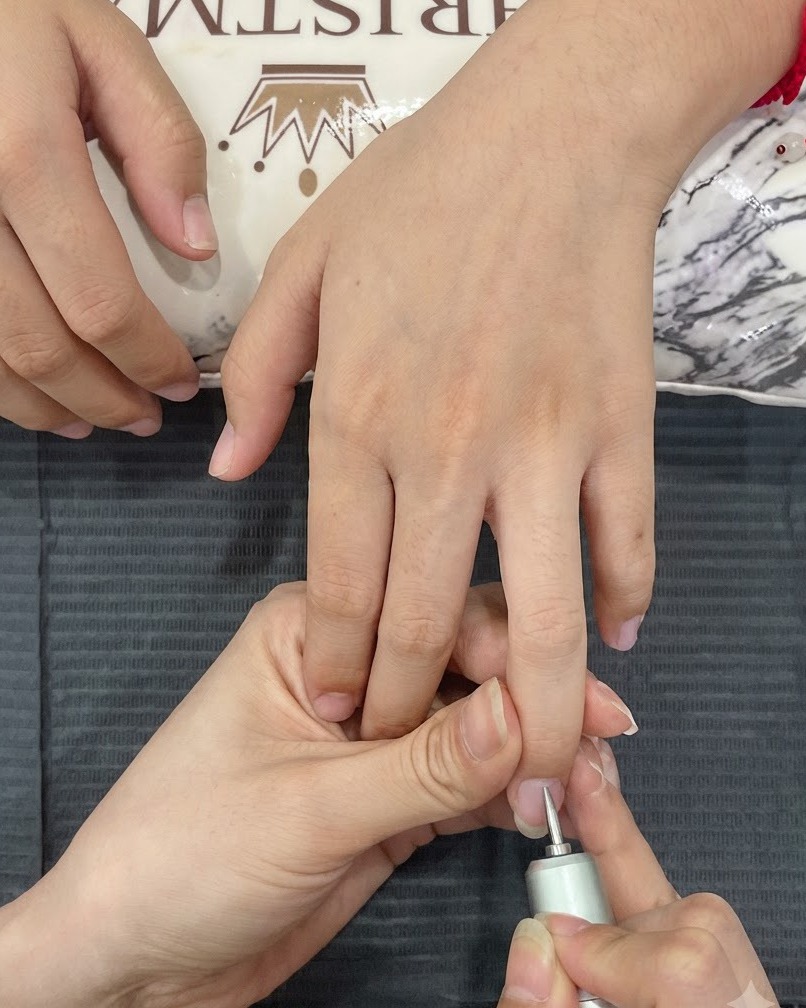
Using a cylindrical sanding head on an electric file, gently etch and smooth the surface of the natural nail plate. This removes any shine and creates micro-textures that improve adhesion for subsequent nail products.
Tip: Keep the file moving continuously and use a low RPM to avoid thinning or burning the natural nail plate. - 2Trim Dead Skin Around the Nail Fold
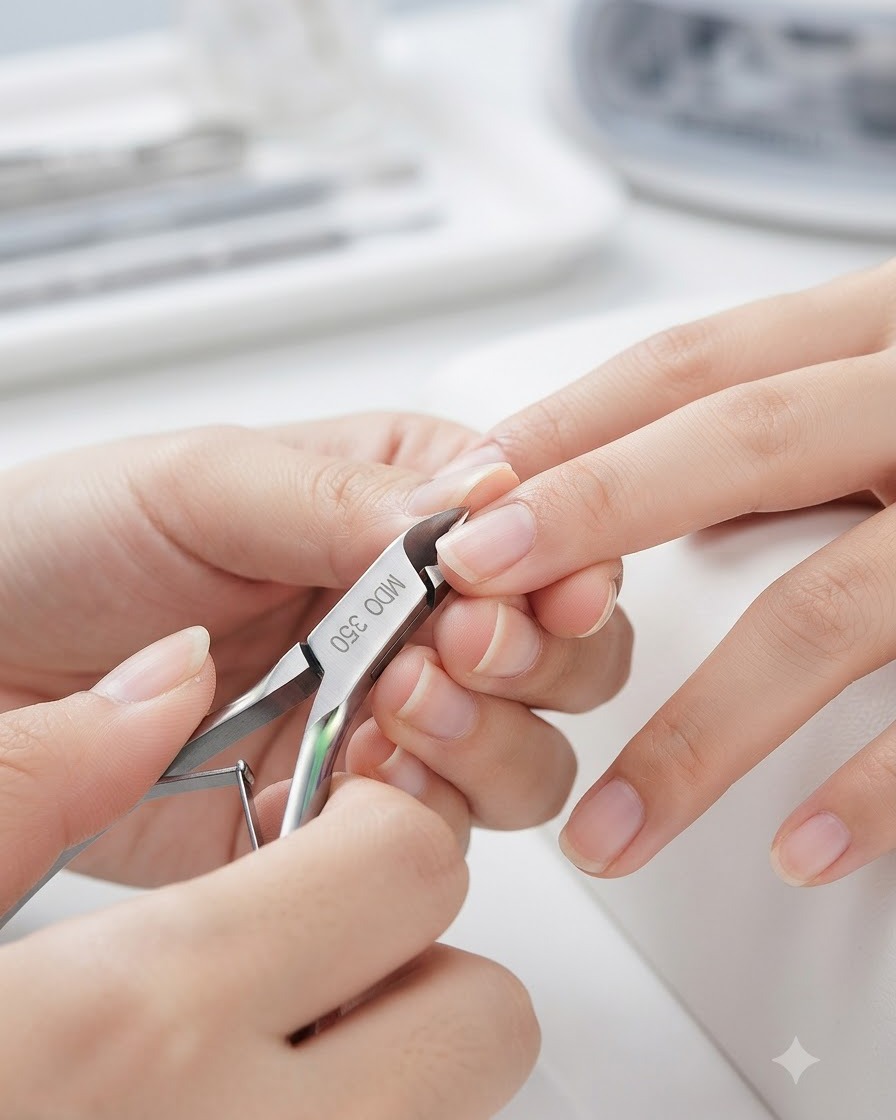
Using sharp metal cuticle nippers, carefully trim away any loosened dead skin and hangnails around the nail fold and cuticle area. Take care only to cut non-living tissue to prevent irritation or bleeding.
Tip: Sanitize your metal nippers before and after use, and angle the blades carefully to achieve a clean cut without pinching the skin. - 3Perform Wet Treatment and Refine Edges
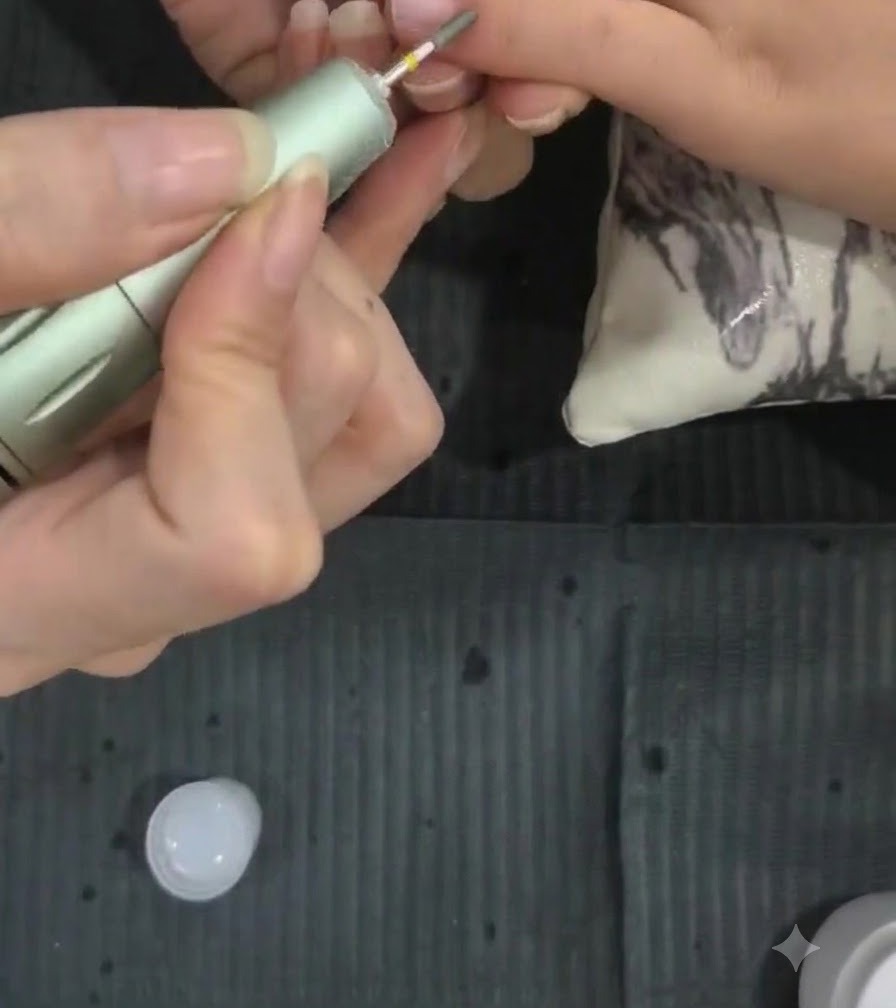
Perform wet treatment by refining and smoothing the nail sidewalls and edges using a fine ceramic grinding bit. This step cleans up any lingering rough spots and ensures the nail perimeter is completely uniform.
Tip: Keep the nail surface lubricated or damp during wet treatment to reduce friction and heat buildup. - 4Apply Glue to Nail Tip
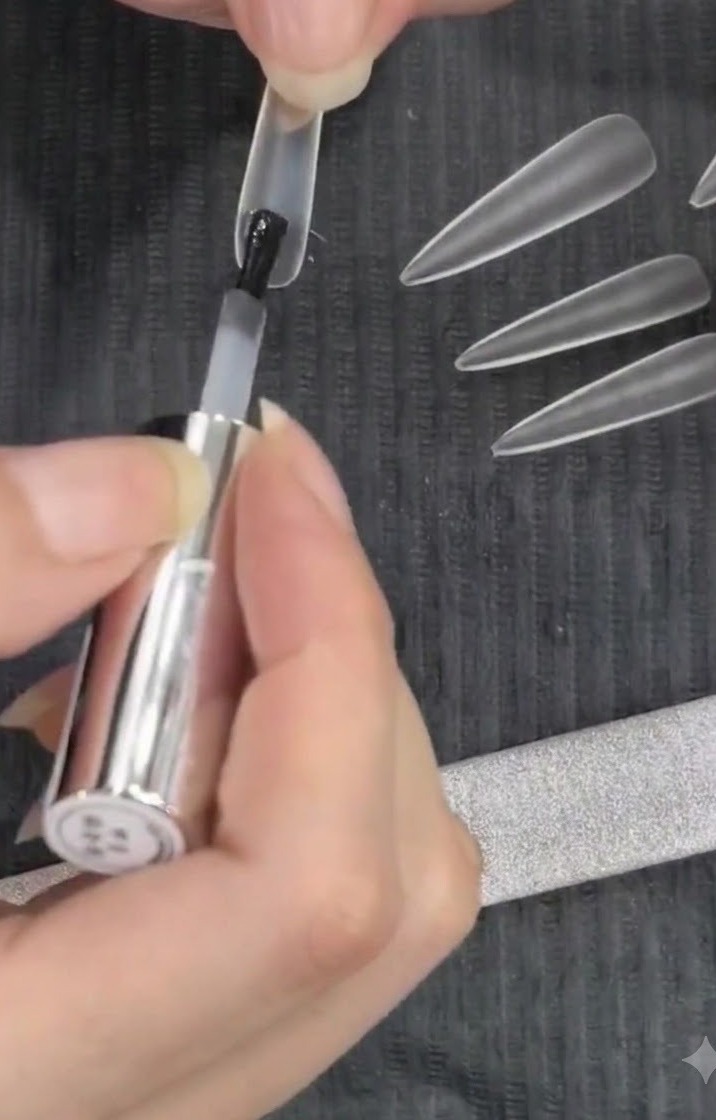
Apply brush-on nail glue evenly onto the contact area of a clear long almond half-cover nail tip. Ensure an adequate amount is applied to prevent air bubbles when attaching it to the natural nail.
Tip: Brush the glue on smoothly and avoid overloading to prevent excess glue from squeezing out onto the skin. - 5Attach Half-Cover Nail Tip
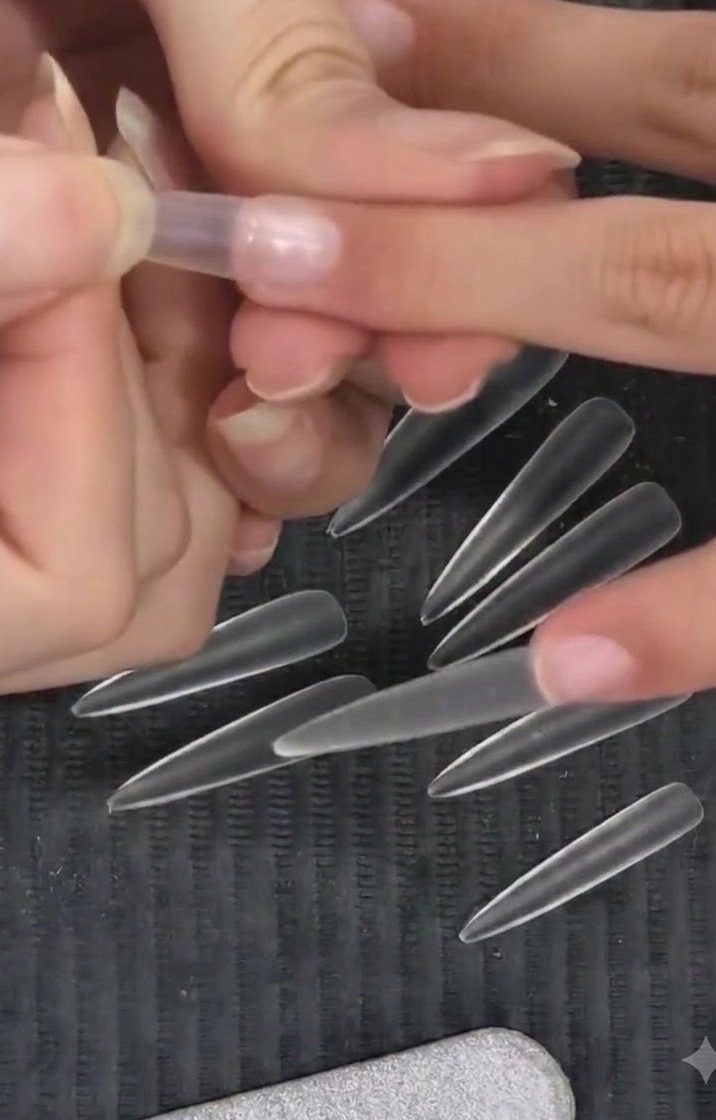
Press the half-tip onto the natural nail plate using a high-position placement method, slowly tilting it down to push out air pockets. Hold firmly until the glue sets securely.
Tip: Slide the tip down at a 45-degree angle from the cuticle to the free edge to eliminate trapped air bubbles. - 6Cure the adhesive bond
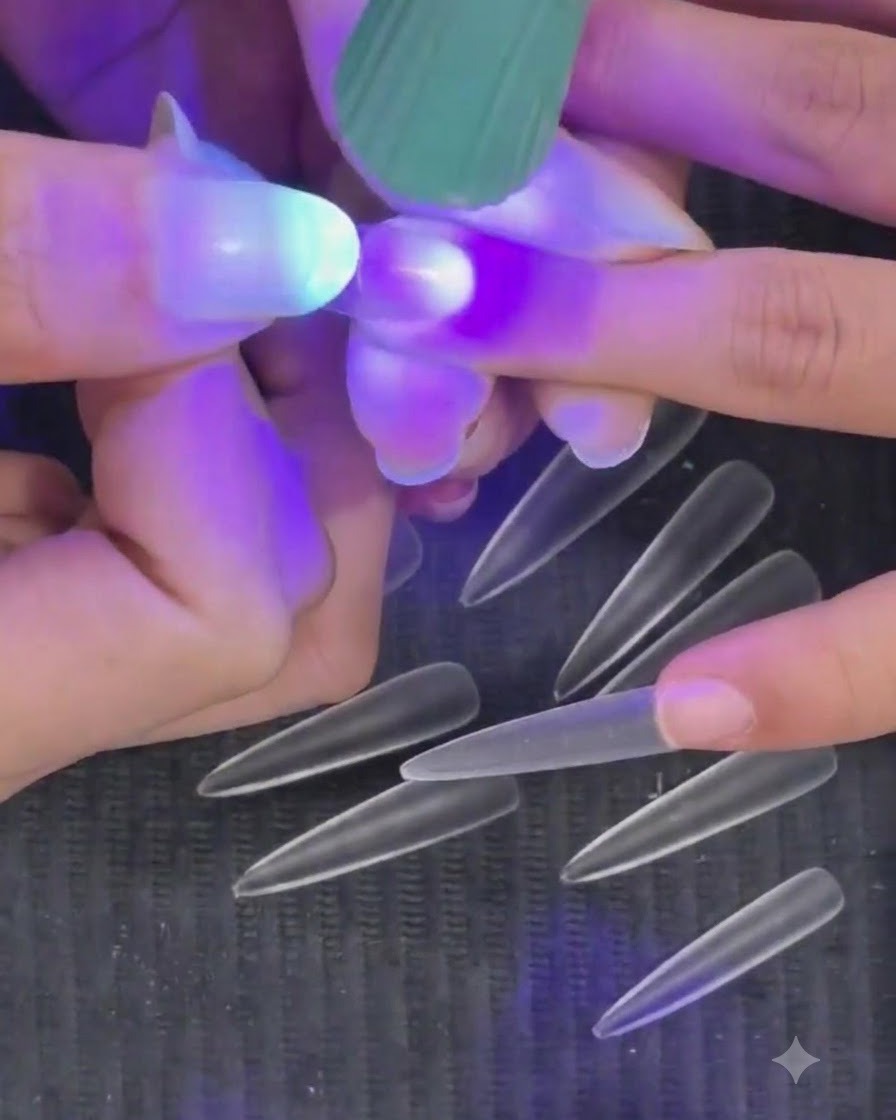
Place the newly applied nail under a portable mini UV or LED flashlight lamp to cure the adhesive bond securely. Hold the lamp steady to ensure the semi-cured nail tip sets properly in position without shifting.
Tip: A portable mini flashlight is convenient for flash-curing tips individually before doing a full-hand cure. - 7Trim the nail tips
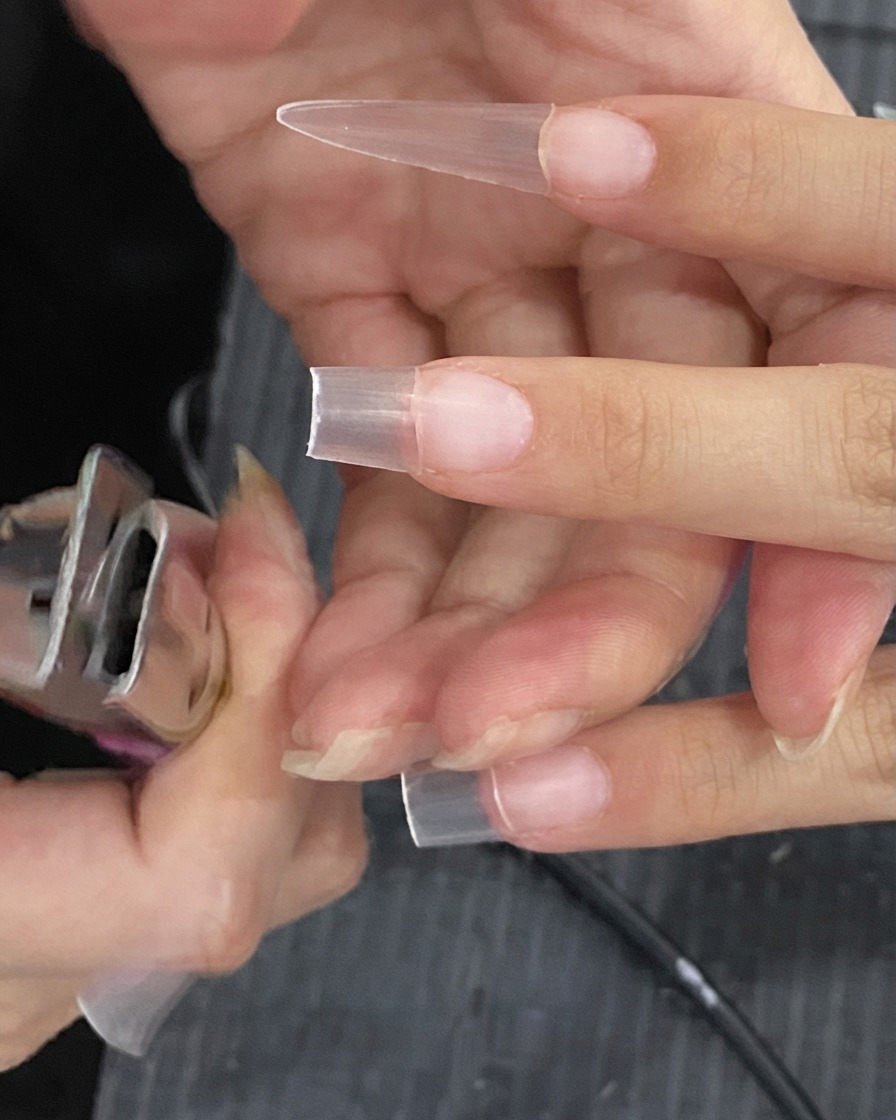
Use professional nail tip clipper shears to cut the extended artificial nail down to the clients desired length. Make clean, straight cuts across the free edge while supporting the nail firmly.
Tip: Hold your thumb underneath the nail tip while cutting to prevent the plastic shard from flying off unexpectedly. - 8File and shape the nails
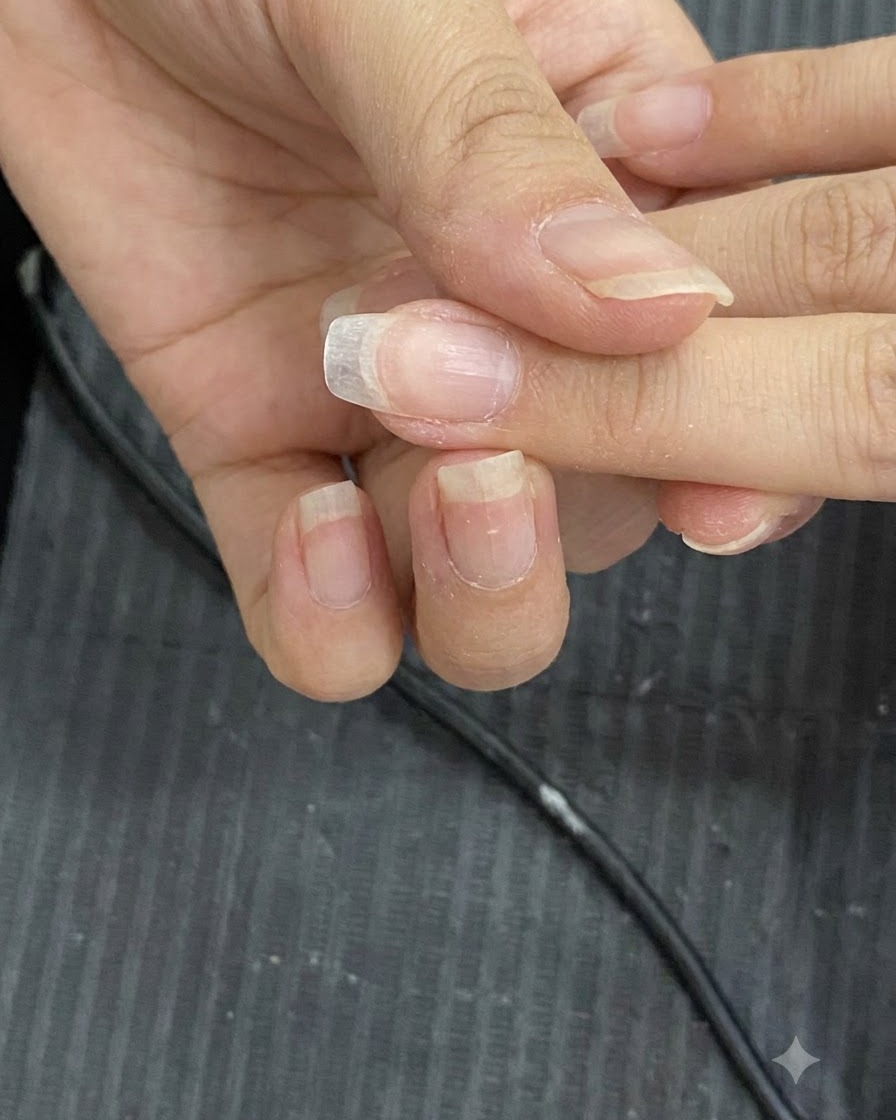
File and shape the edges and free edge of the applied nail extension using a manual hand nail file. Refine the sides and tip to match the desired final contour and create a smooth profile.
Tip: Keep the file parallel to the sidewalls when shaping to maintain clean, straight lines. - 9Apply base structure layer
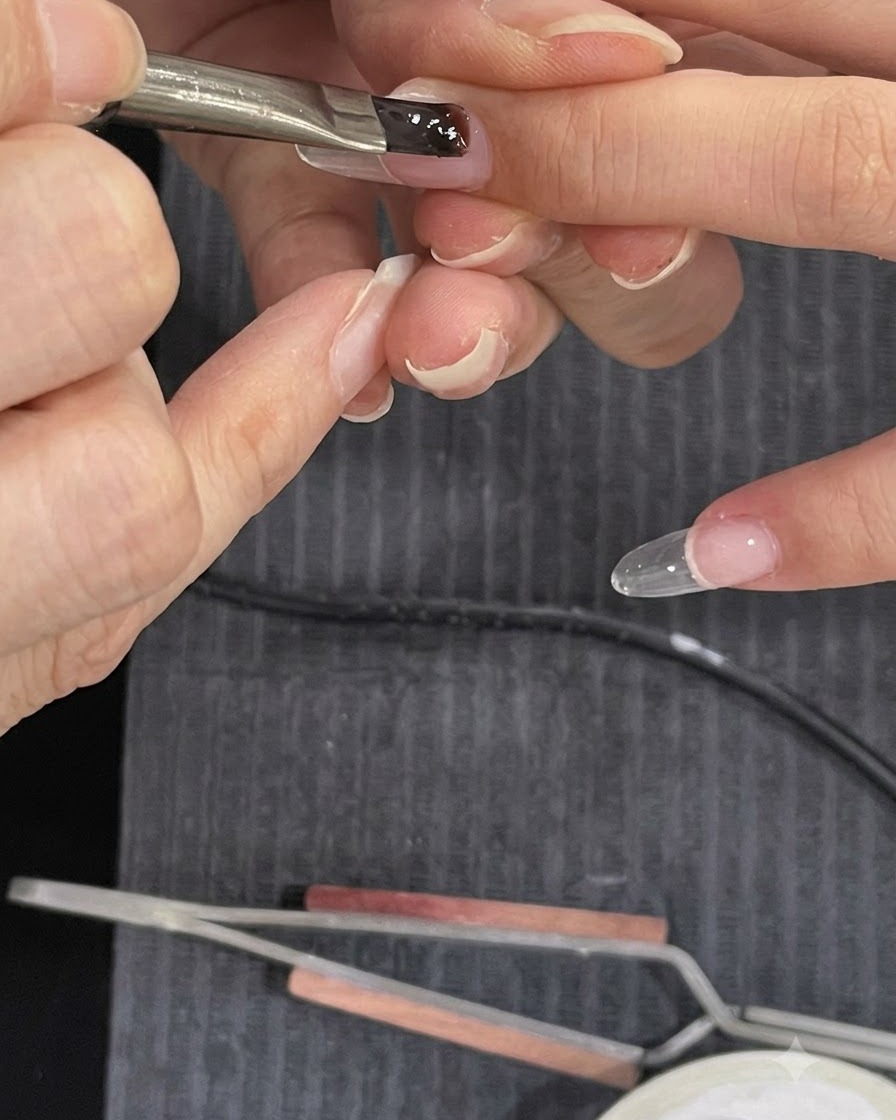
Apply a thin first layer of structure gel directly onto the prepared nail plate using a gel brush without curing it yet. This wet layer acts as a slip layer for the upcoming gel bead application.
Tip: Do not cure this first layer, as it helps the subsequent building gel bead flow and level evenly. - 10Build the nail structure
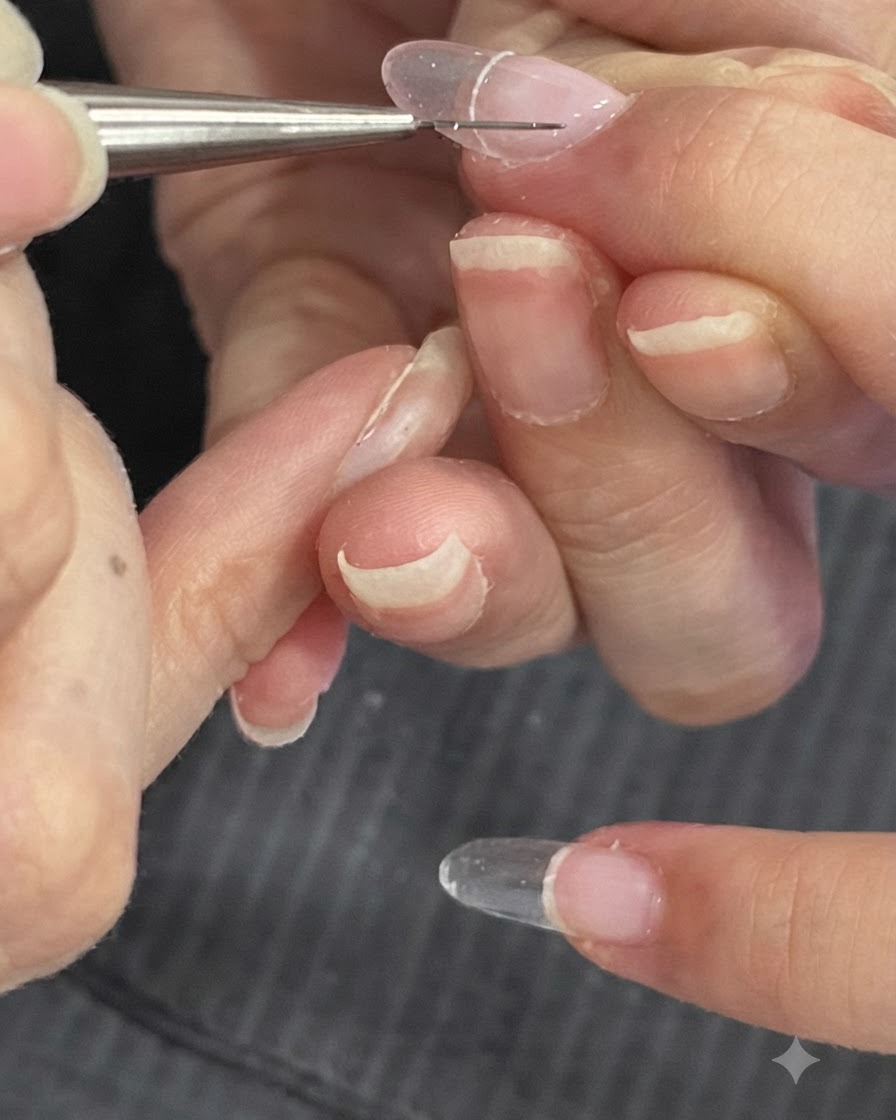
Pick up an appropriate amount of building gel bead using your brush and place it onto the nail surface to fill and level the architecture. Allow the gel to self-level over the apex area.
Tip: Use a controlled bead size to avoid flooding the cuticle or sidewalls. - 11Refine structural details
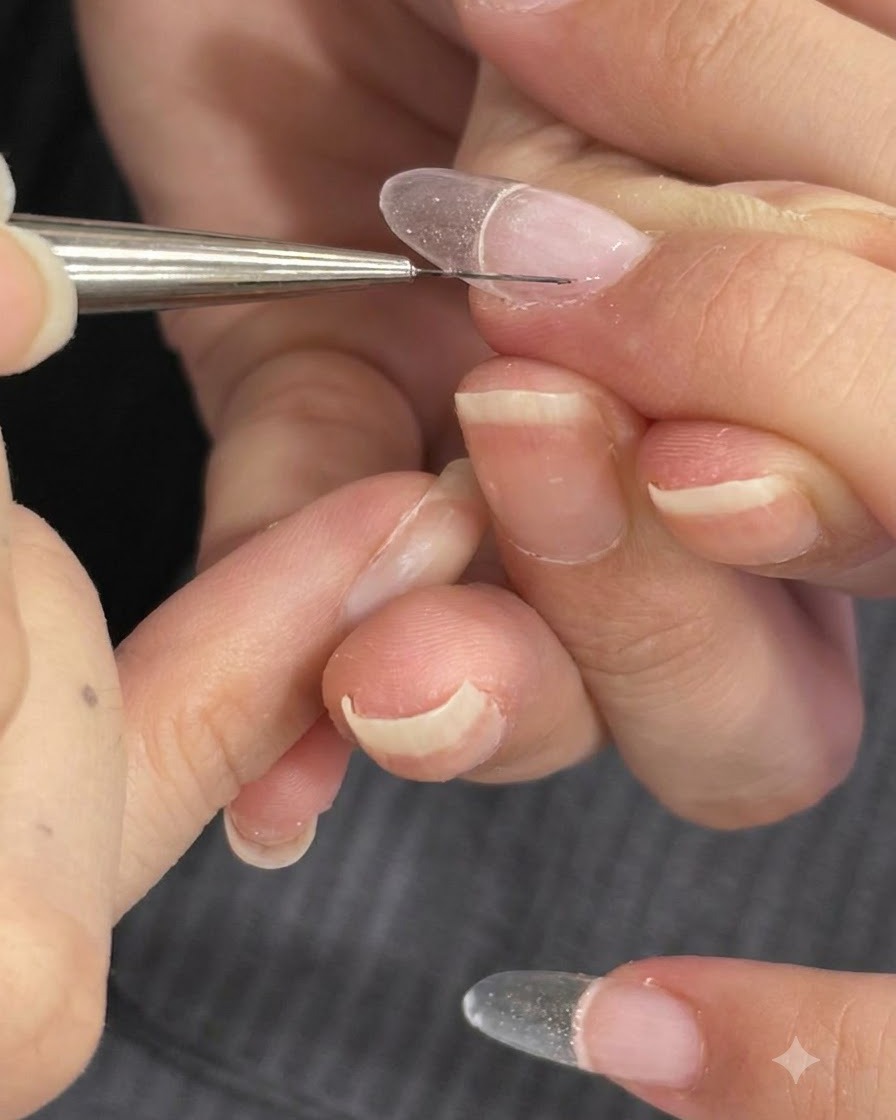
Use a fine liner brush to carefully adjust and smooth out any structural details of the building gel around the cuticles and sidewalls. Ensure a seamless transition and correct apex thickness before curing.
Tip: Lightly glide the tip of the liner brush to pull gel into corners without creating streaks. - 12Level and find the nail apex
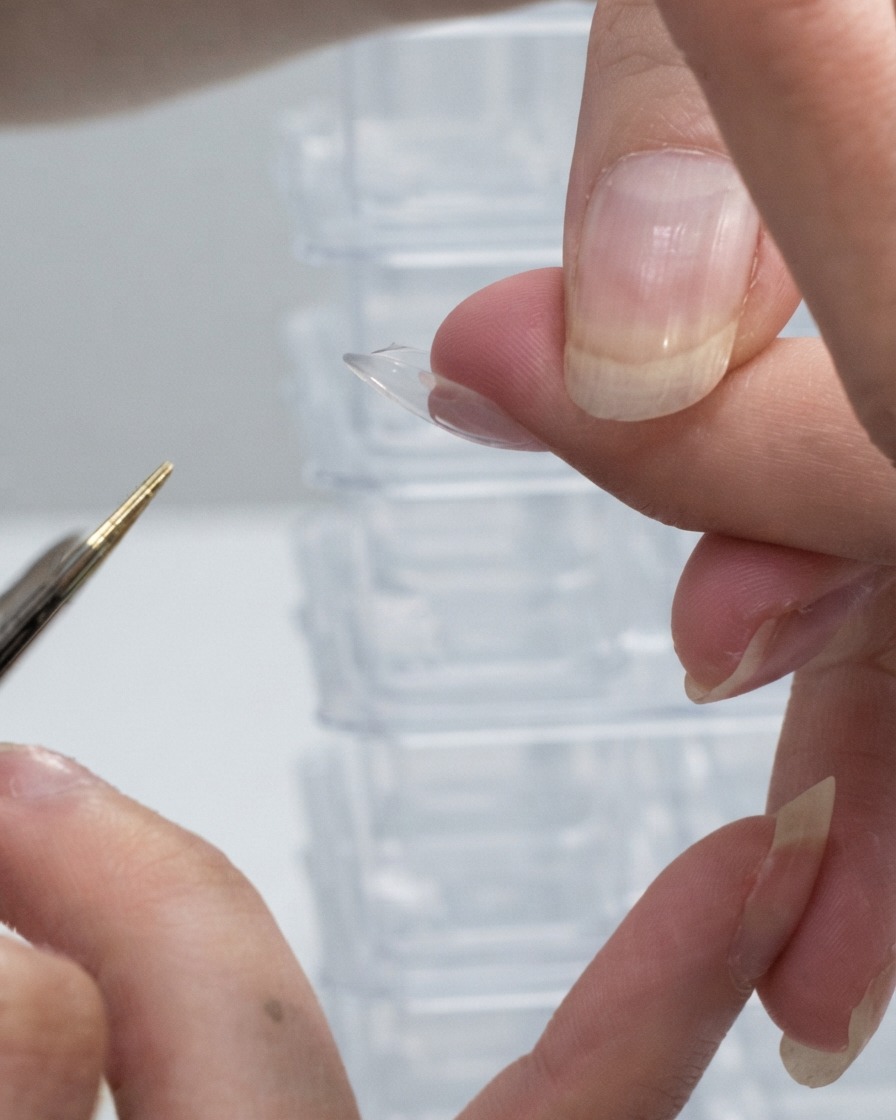
Invert the finger briefly to allow the gel to self-level and naturally form the proper apex structure for strength and a smooth contour.
Tip: Inverting the finger for just a few seconds helps gravity pull the gel into a smooth arch before curing. - 13Cure and shape structured gel
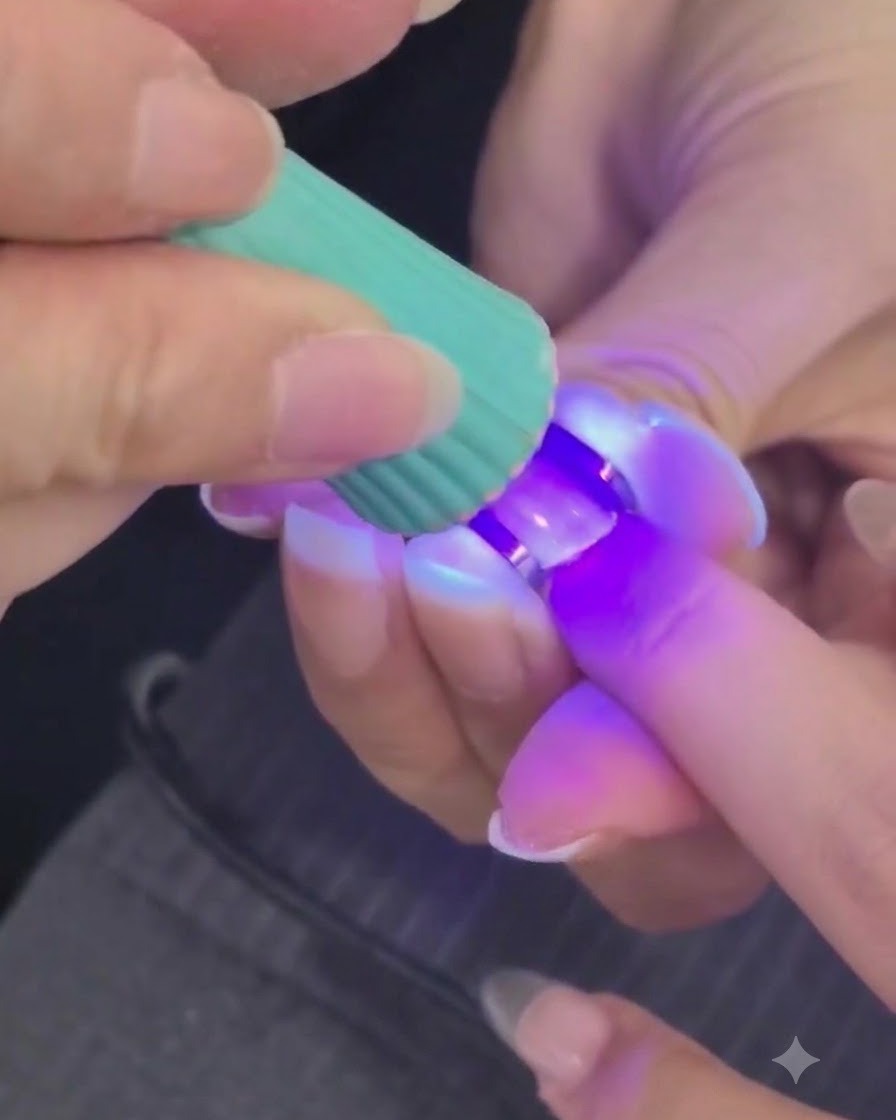
Cure the structured gel layer under the mini UV/LED lamp for 35 seconds to set the product completely, then refine the shape as needed.
Tip: Ensure the mini lamp is held steady over the nail to prevent the gel from shifting during the initial cure. - 14Wipe inhibition layer
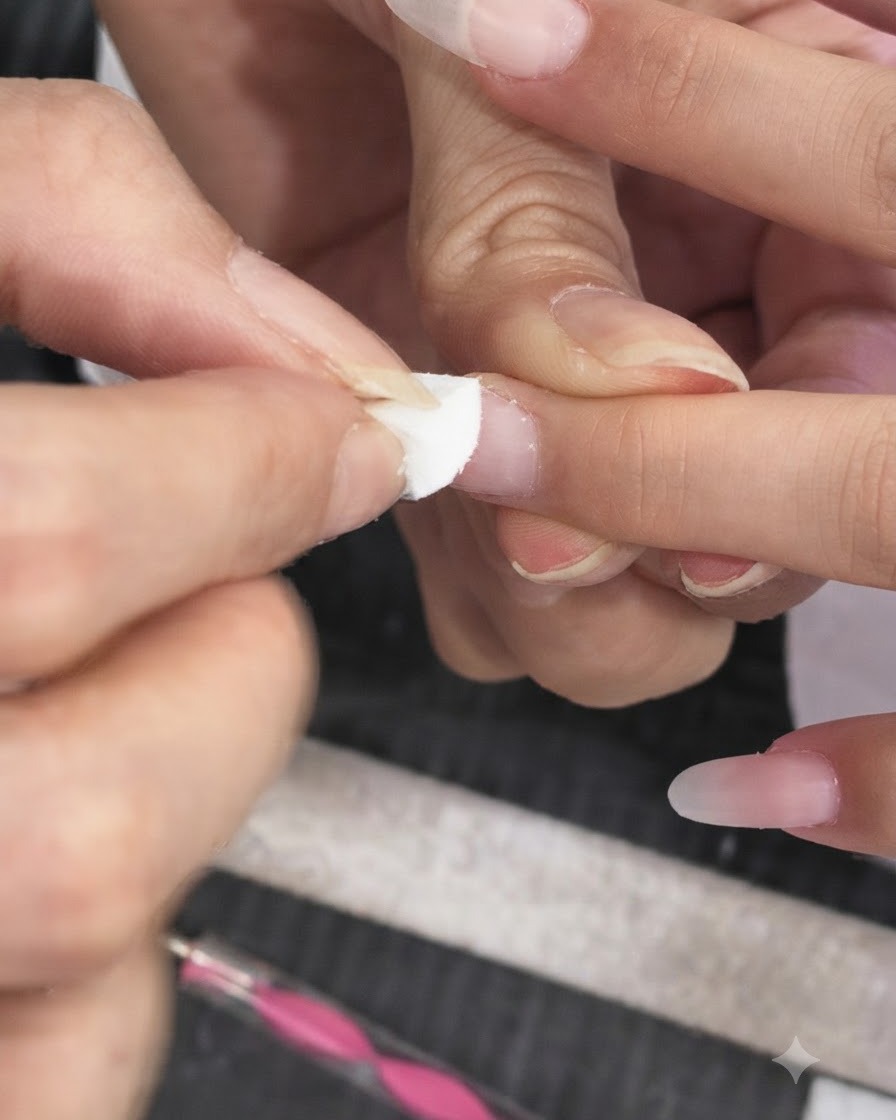
Wipe the sticky inhibition layer left on the surface of the cured gel using a cotton pad moistened with cleanser or alcohol.
Tip: Use a lint-free wipe to avoid leaving fibers stuck to the tacky gel surface. - 15Apply sheer nude color gel
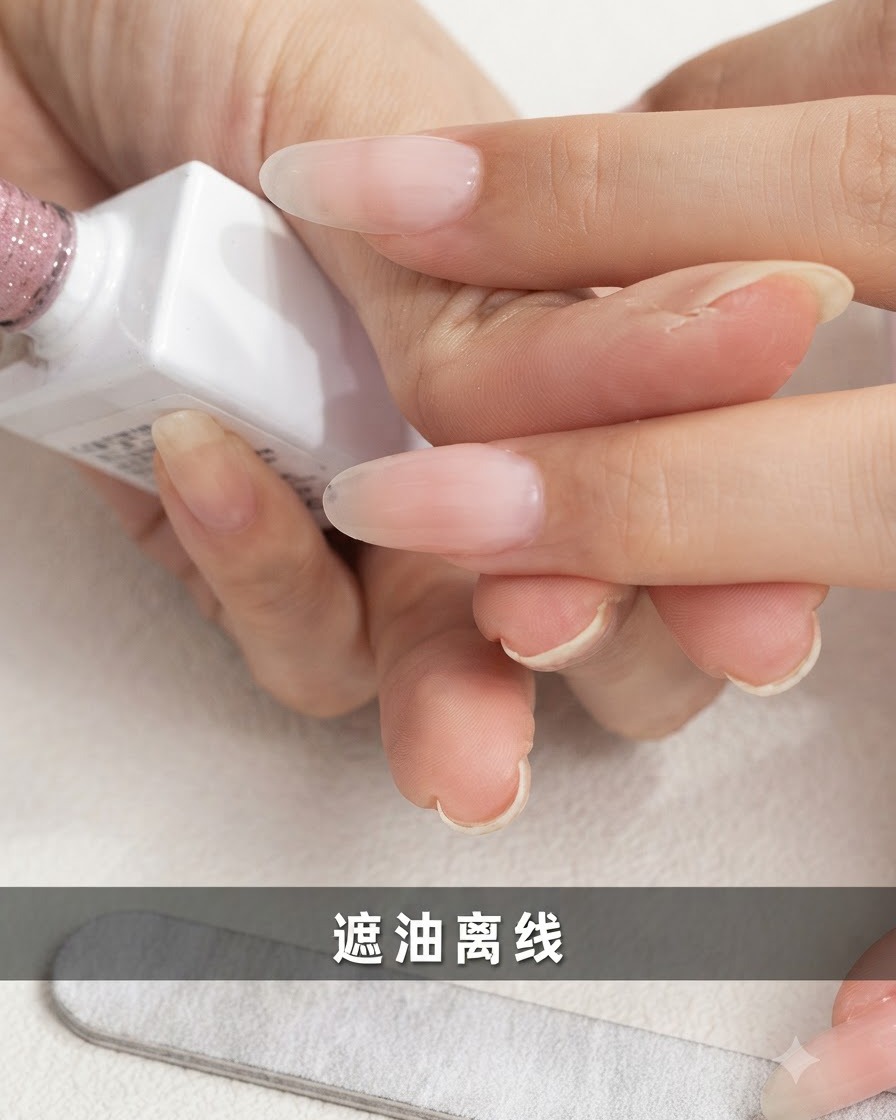
Apply a thin, even base layer of sheer nude color gel over the entire nail surface to create a clean, uniform foundation.
Tip: Keep this layer thin to ensure proper curing and prevent bulkiness near the cuticle. - 16Wipe nude color residue
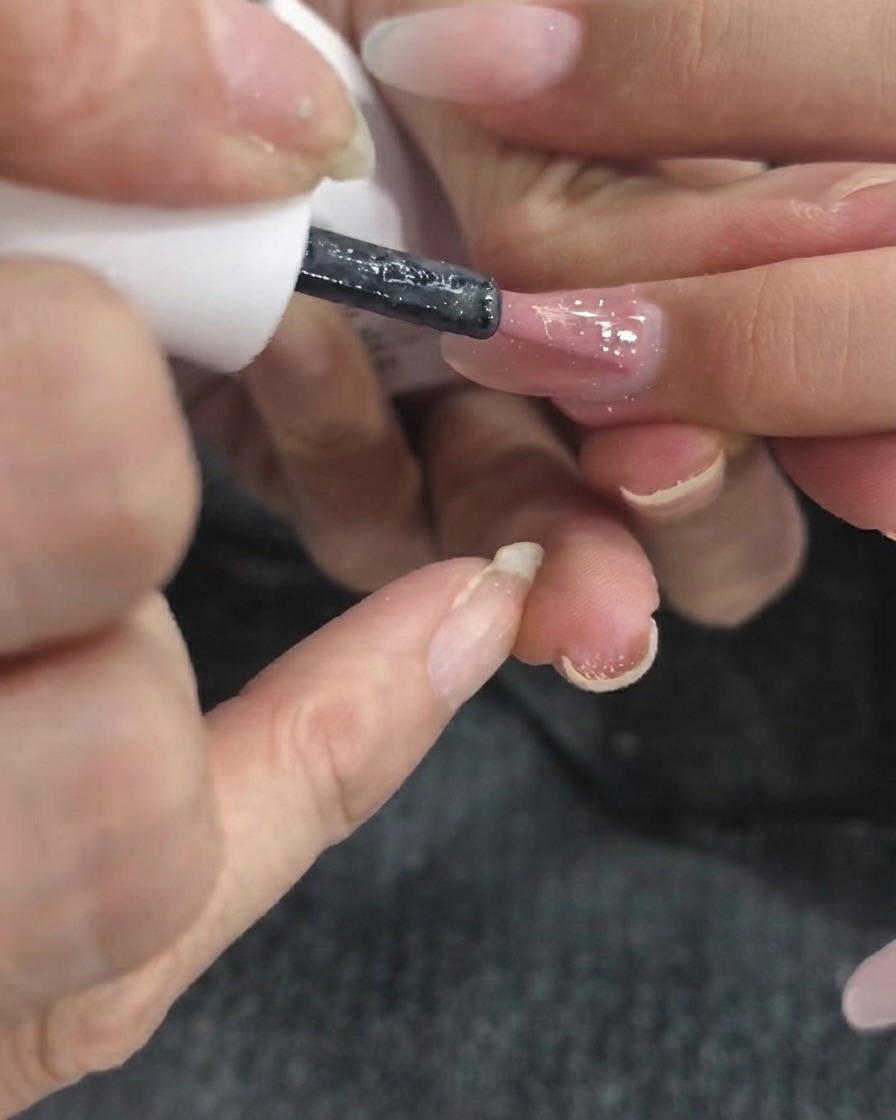
Wipe away any floating sticky gel residue remaining on the surface after applying and setting the nude color coat.
Tip: Gently cleanse the surface so subsequent layers or nail art adhere smoothly without slipping. - 17Create light green gradient tip
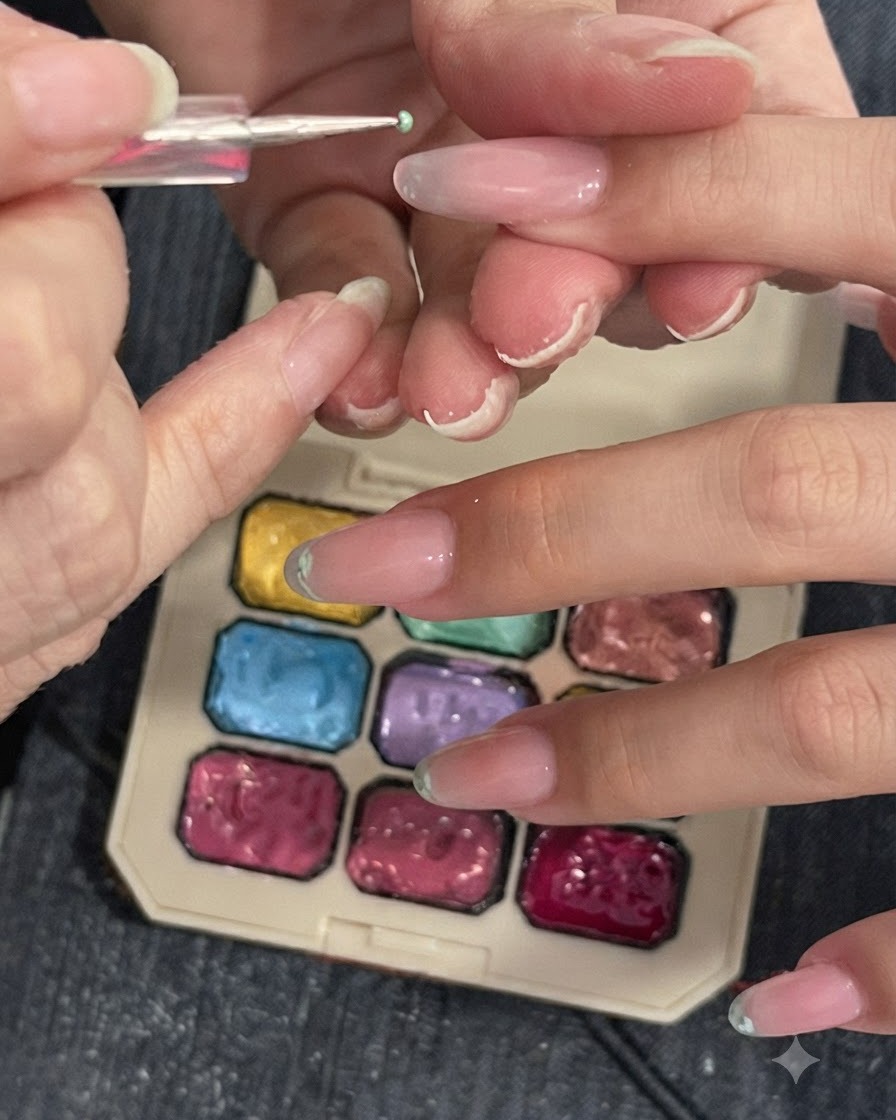
Dab a light green color pigment onto the fingertip area using a sponge or detail tool to create a soft, seamless gradient effect.
Tip: Dab lightly and build up color gradually to keep the gradient transition smooth and airy. - 18Apply milky white cat-eye gel
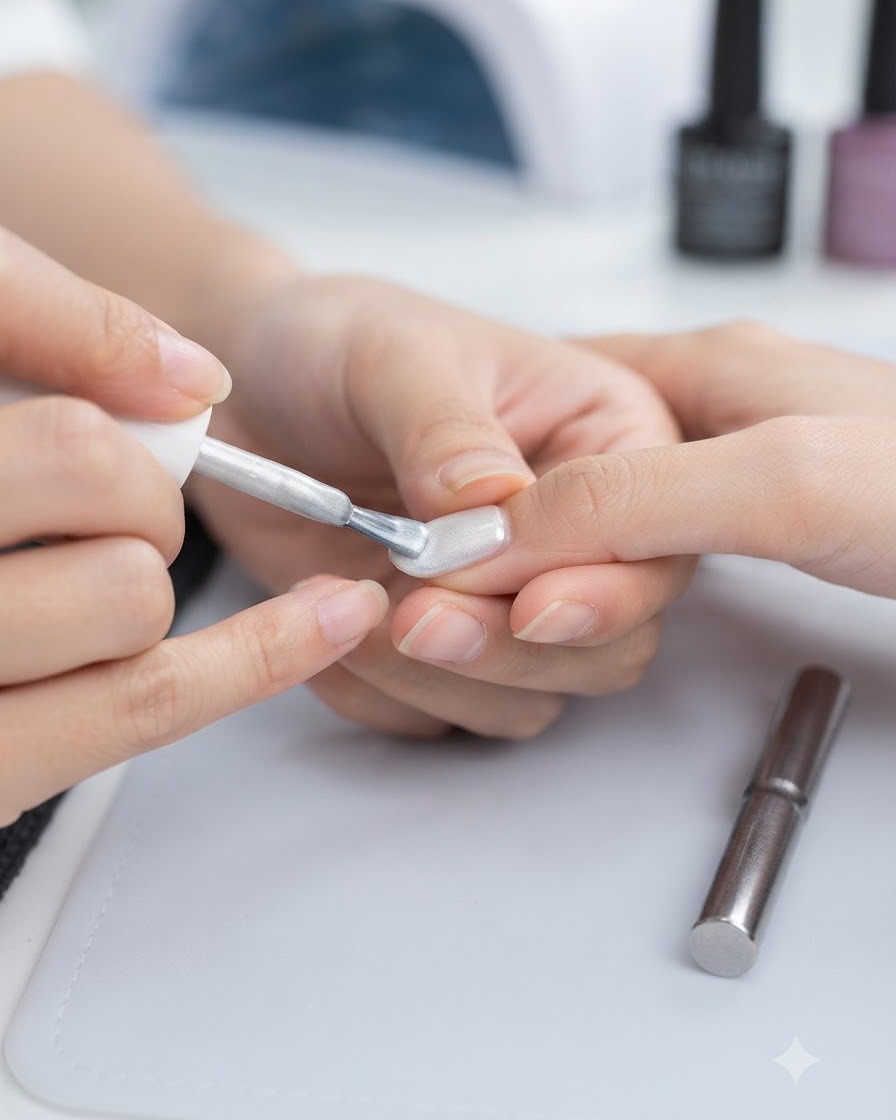
Apply a coat of translucent milky white cat-eye gel evenly over the entire nail surface, ensuring full coverage without pooling at the cuticles or edges before magnetizing.
Tip: Keep the layer even and smooth to ensure the magnetic particles move uniformly when activated. - 19Create side light cat-eye effect
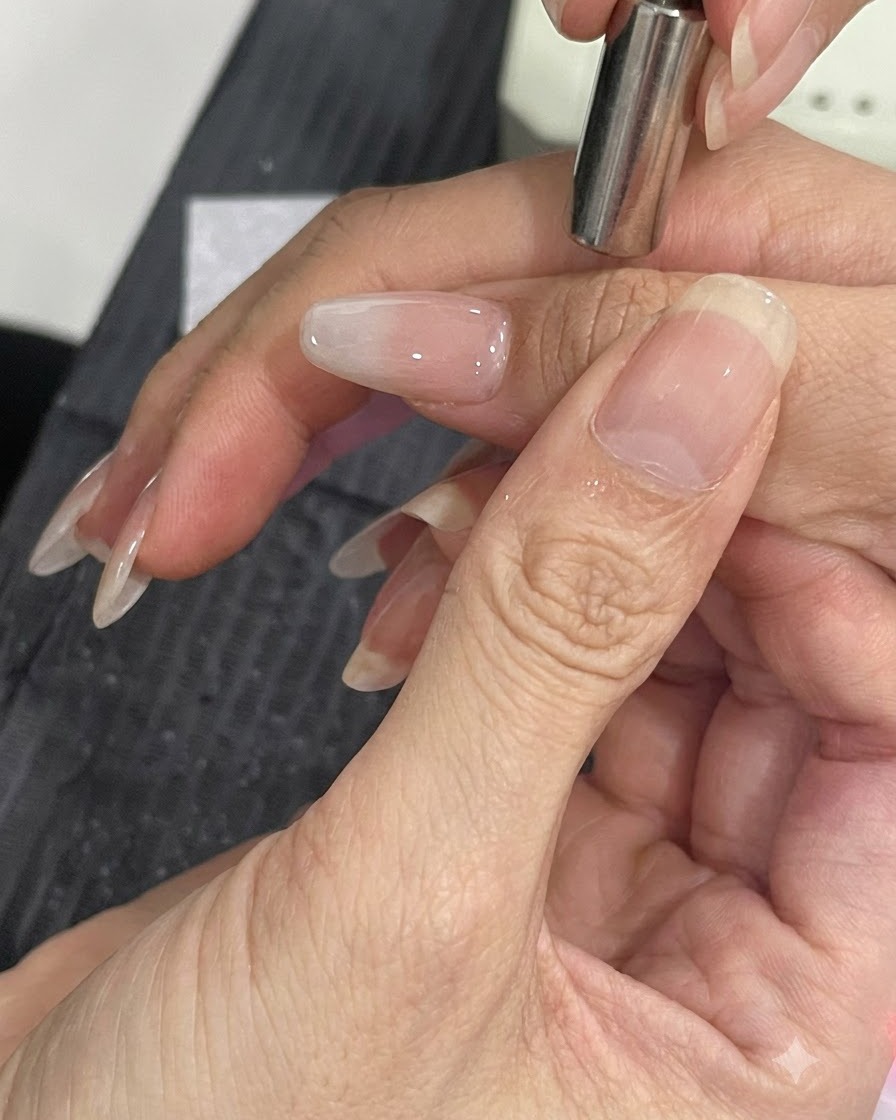
Hold a magnetic wand closely along the side of the nail to draw the metallic particles toward the edge, creating a distinct side light cat-eye luminescence before curing.
Tip: Keep the magnet steady and close to the nail without touching the wet gel surface to achieve a sharp, concentrated light line. - 20Apply non-stick powder top coat
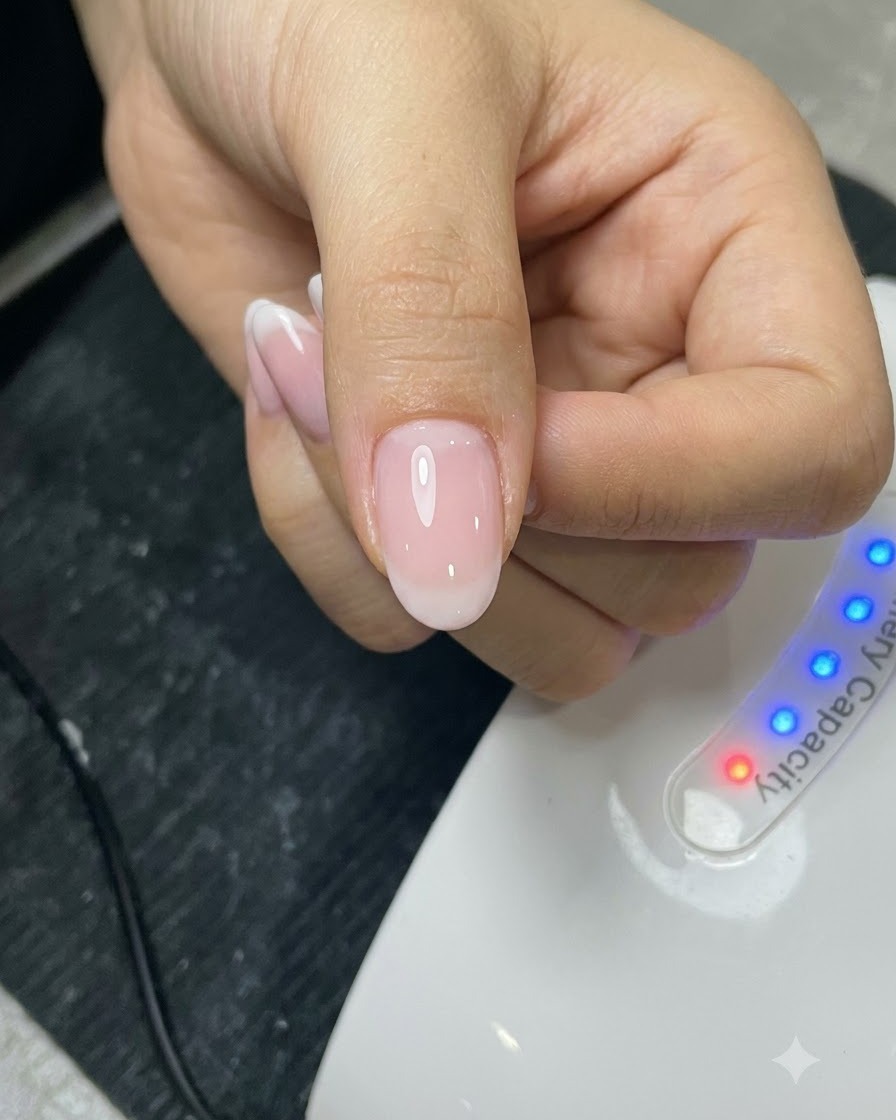
Apply a thin layer of non-stick powder top coat sealing layer over the cured nail surface to prepare it for chrome powder application.
Tip: Ensure complete coverage so that chrome powder only adheres where intended later. - 21Cure top coat
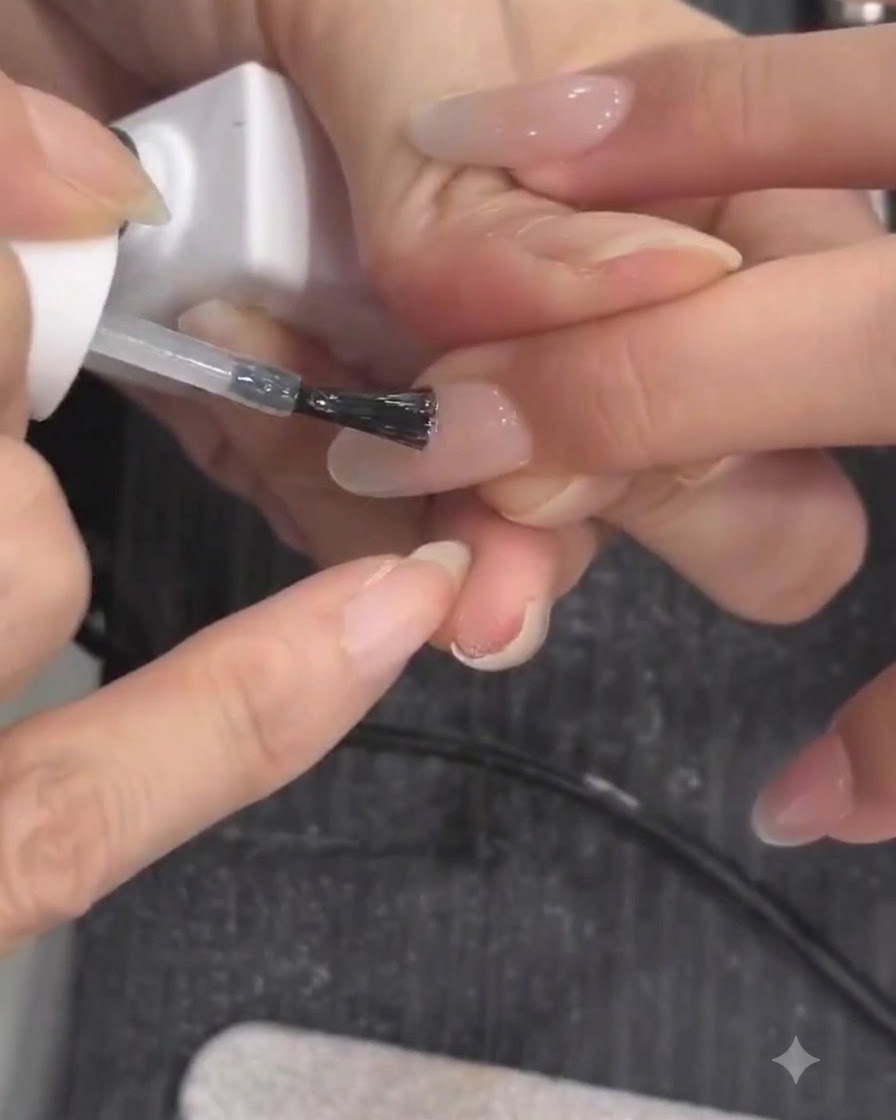
Place the hand under the UV/LED lamp and cure the top coat layer for 60 seconds to ensure a fully hardened, tacky-free or chrome-ready finish.
Tip: Verify the lamp timer is set correctly for 60 seconds to achieve proper polymerization. - 22Apply sunset aurora powder gradient
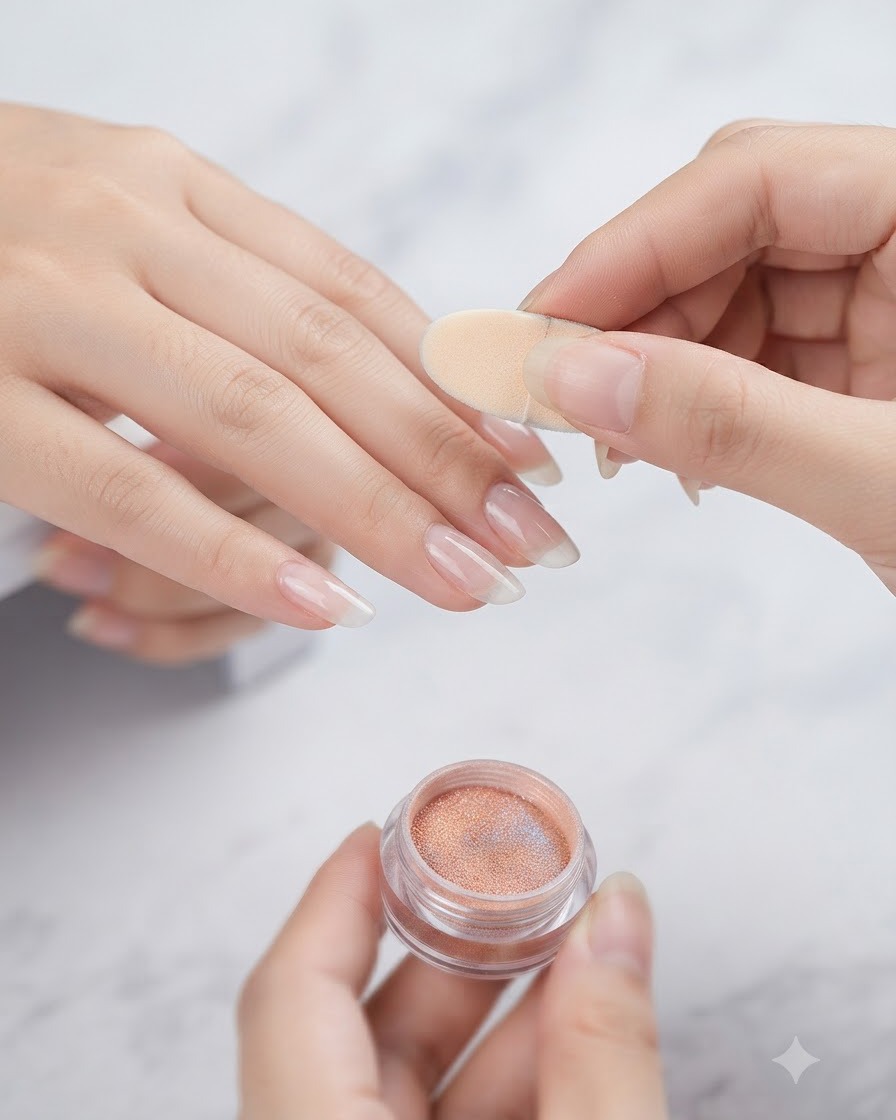
Pick up sunset aurora chrome powder using an applicator sponge and gently rub it onto the fingertip area to create an iridescent gradient effect.
Tip: Tap off excess powder from the sponge applicator before rubbing to control the intensity of the gradient. - 23Sweep away floating powder
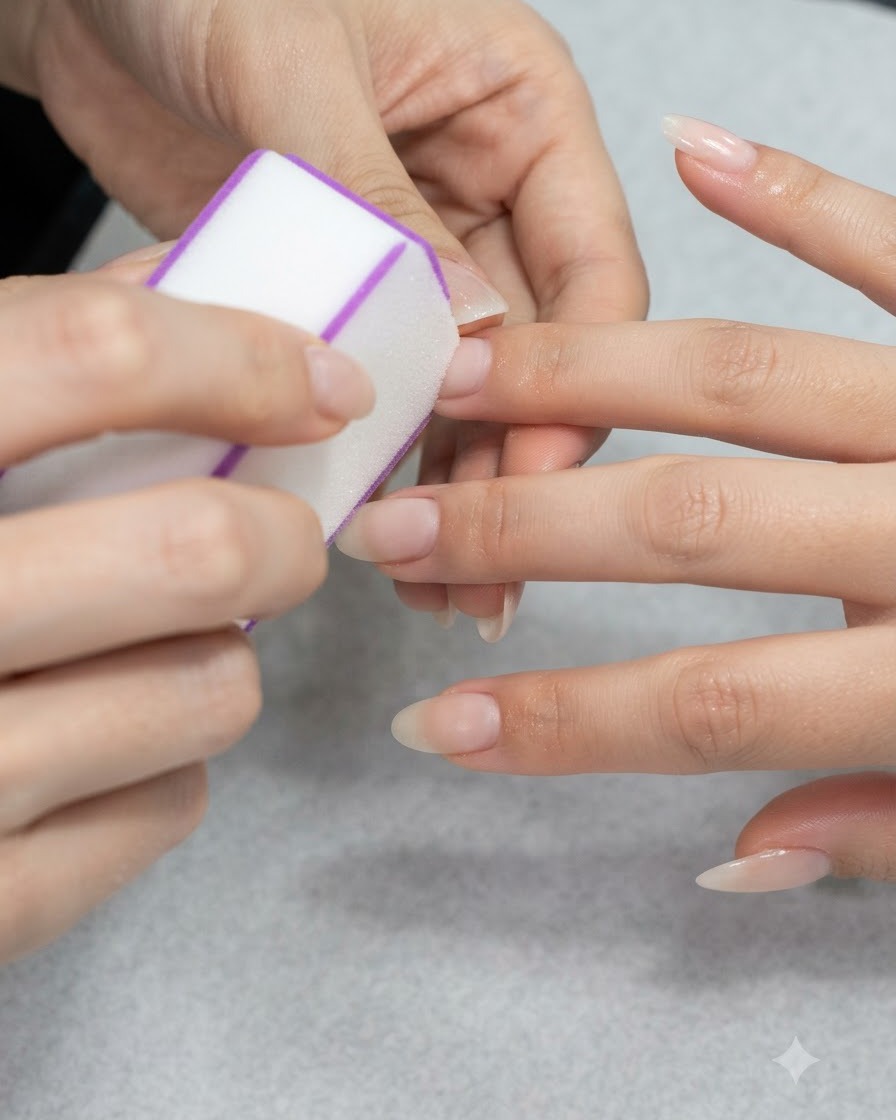
Gently use a soft dust brush to sweep away any excess floating chrome powder from the three sides of the nail. Ensuring the surface is clean of loose particles is essential before applying the reinforcing gel and final top coat layers.
Tip: Be gentle with the brush to avoid disturbing the gradient pigment on the fingertip. - 24Apply reinforcing gel
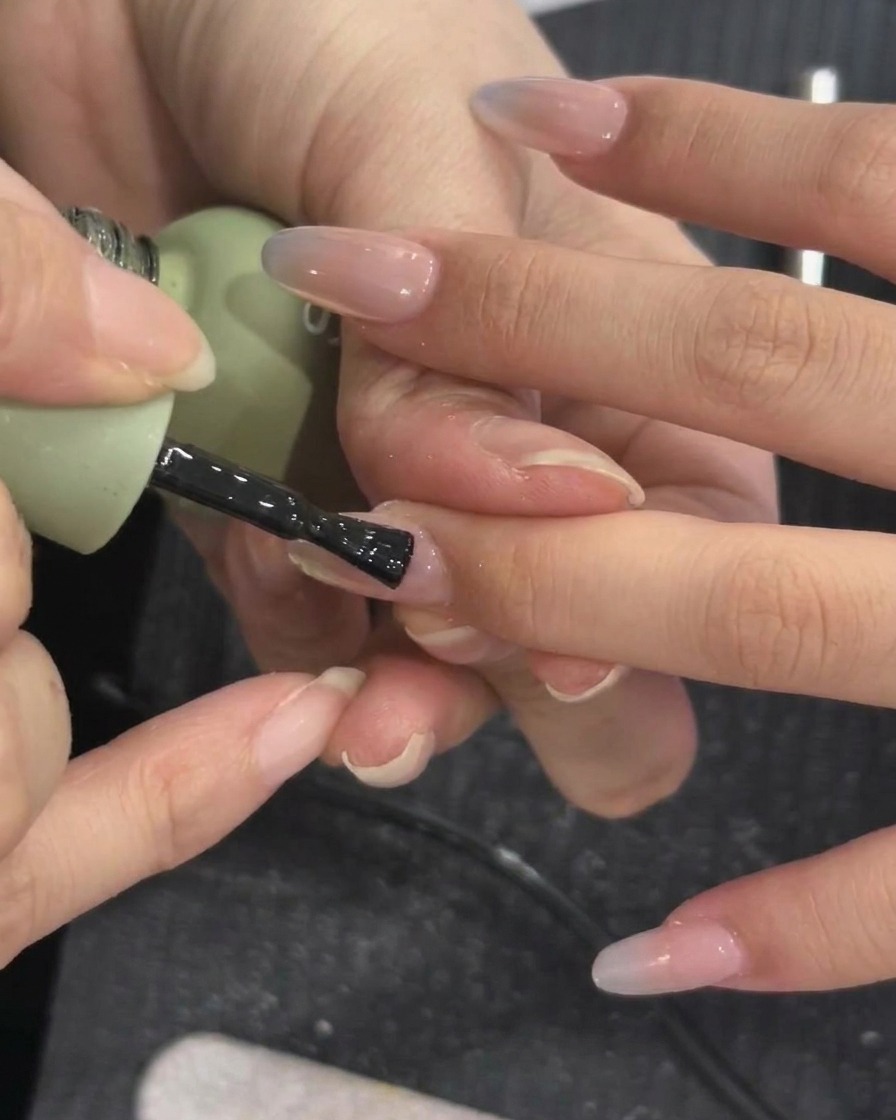
Apply a reinforcing clear building gel layer over the nail to encapsulate and seal the powder securely. This step adds structural strength and prevents chipping or peeling of the chrome and design effects.
Tip: Make sure to cap the free edge completely with the reinforcing gel for maximum durability. - 25Cure and apply top coat
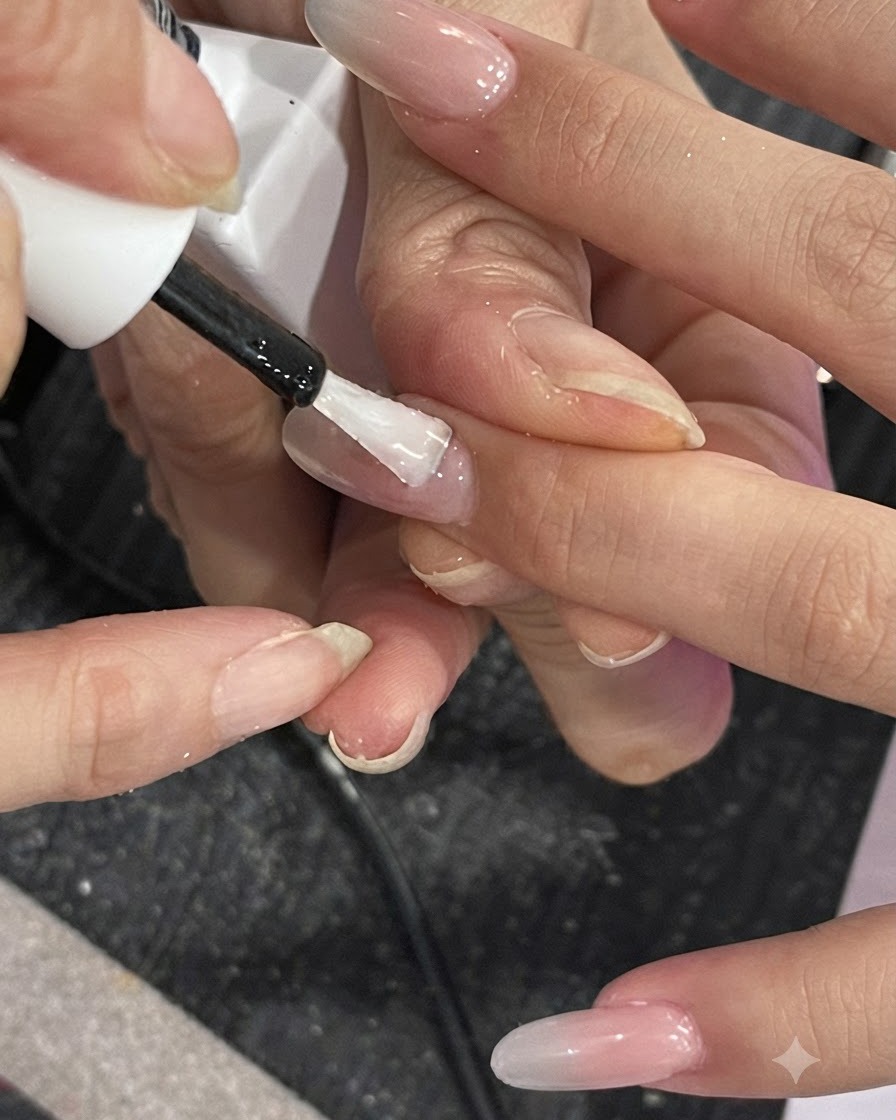
Cure the reinforcing gel under the UV or LED lamp, then apply the final glossy top coat layer to give the manicure a brilliant shine and long-lasting protection.
Tip: Ensure smooth and even coverage with the top coat for a flawless, glass-like reflection. - 26Cure and refine edges
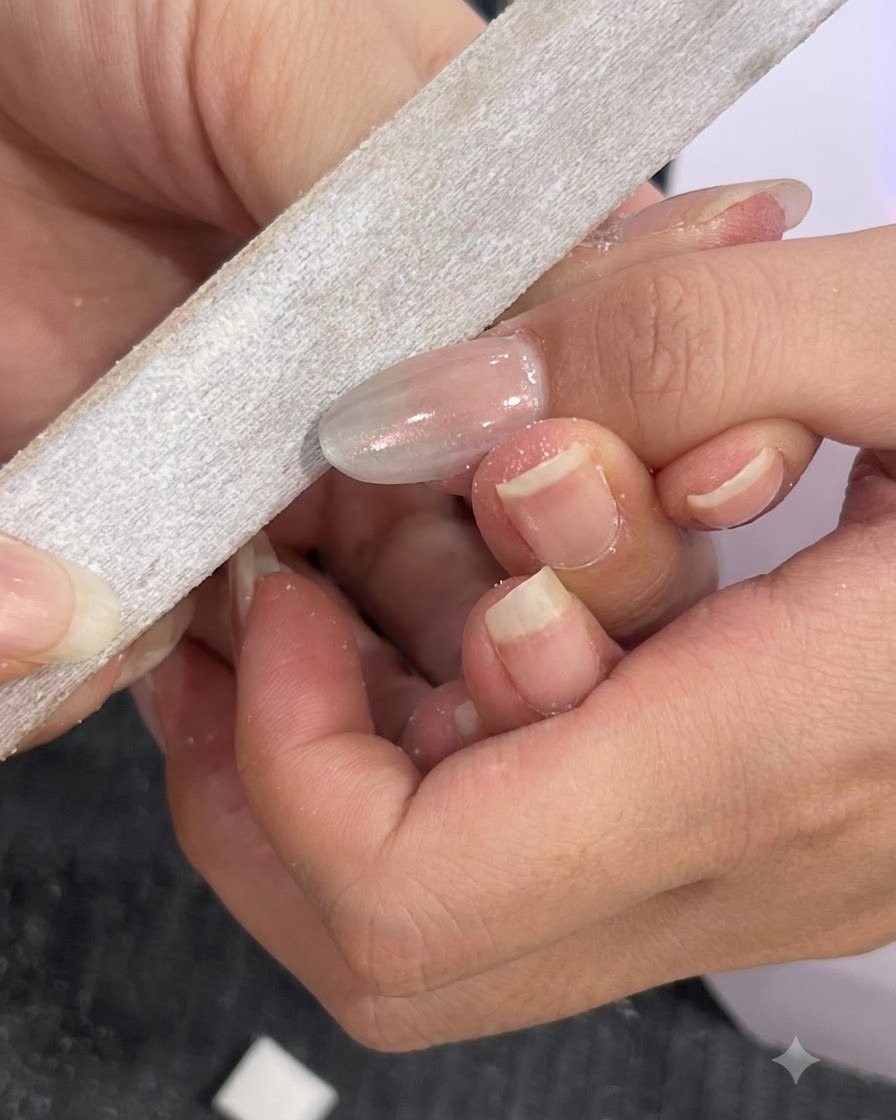
Cure the top coat under the lamp, then use a hand file to gently refine and clean up the nail edges. This removes any uneven product buildup around the sides and perfects the final silhouette.
Tip: File lightly along the sidewalls to avoid scratching the high-gloss top coat surface. - 27Apply cuticle oil
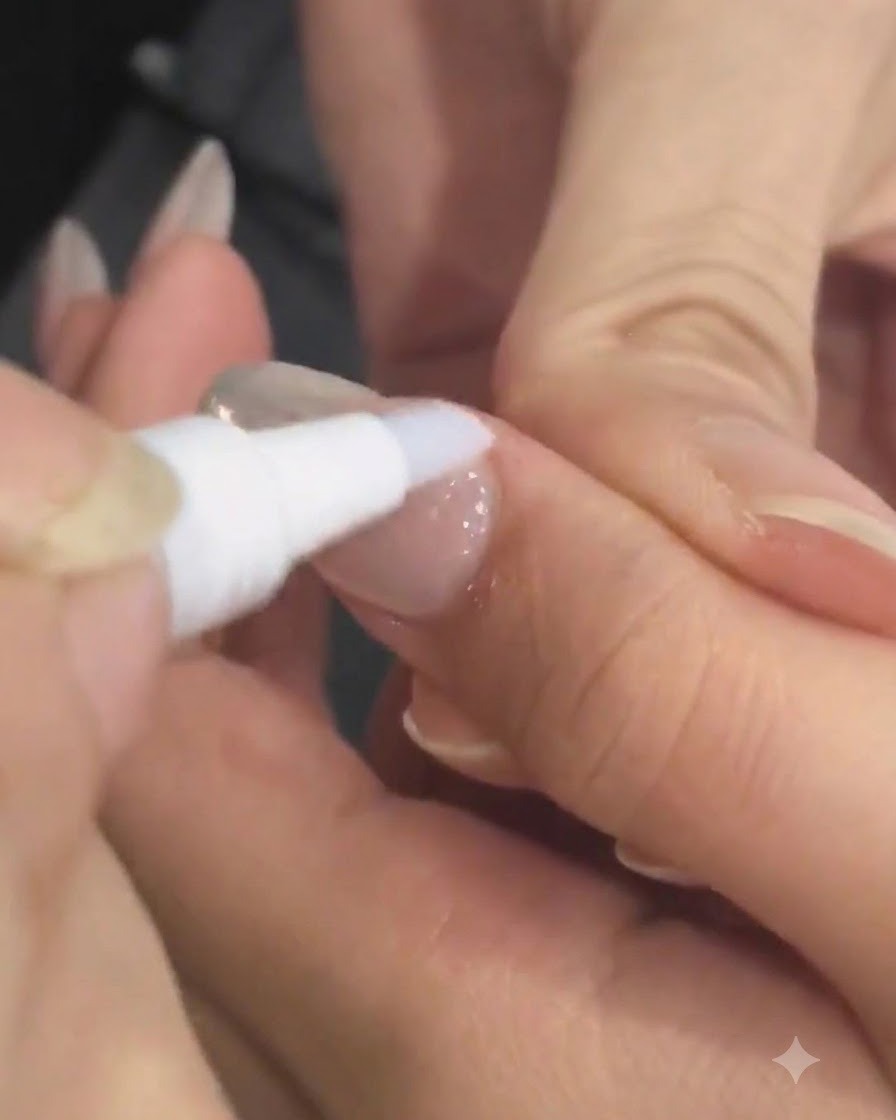
Apply nourishing cuticle oil around the nail fold and massage lightly to finish the service. This restores moisture to the skin around the nails after filing and chemical treatments, leaving the hands looking healthy and well-groomed.
Tip: Massage the oil gently into the skin to stimulate blood circulation and enhance absorption.