Seaside Sunset Gradient Nail Art — Step-by-Step Ocean Waves Tutorial
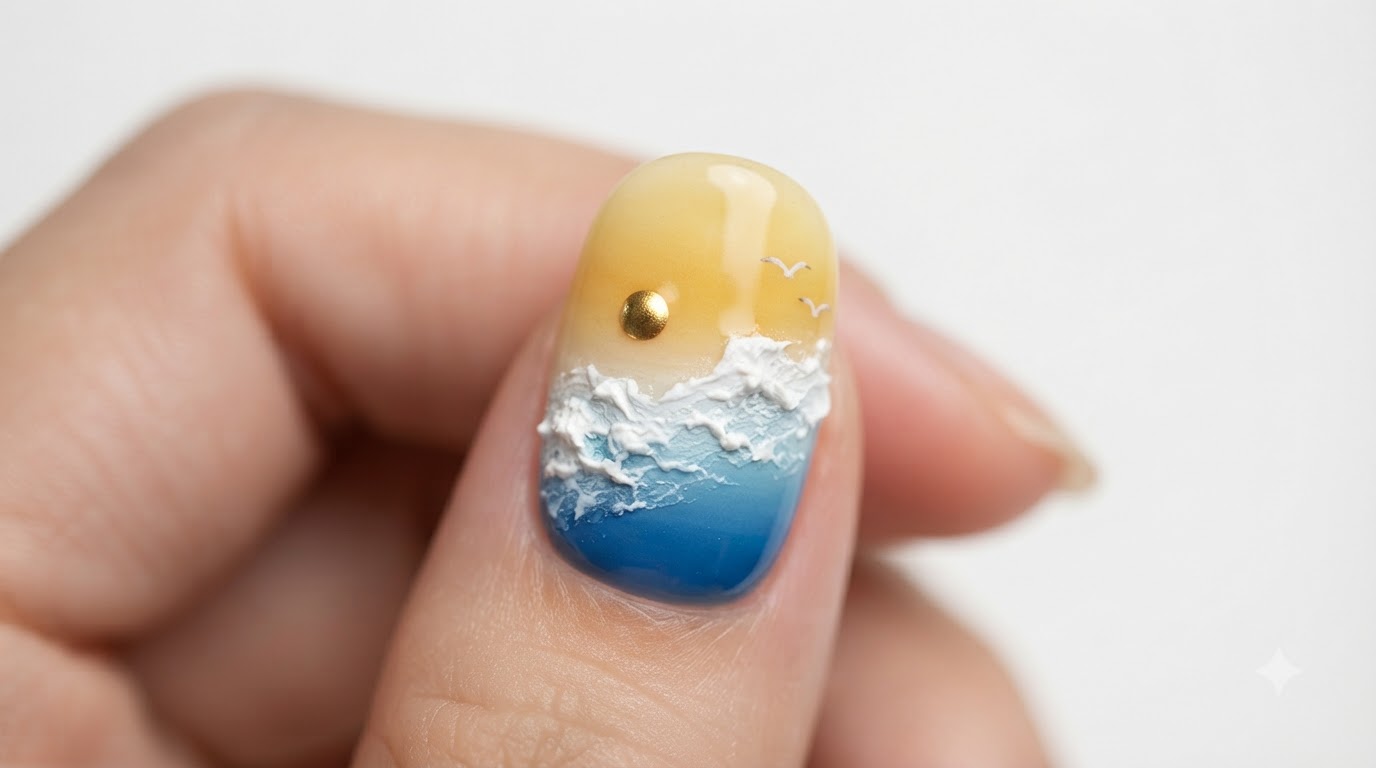
Capture a stunning beach sunset on your nails with this detailed gradient tutorial featuring 3D ocean waves, a golden sun, and painted seagulls.
Bring the serene beauty of a coastal getaway right to your fingertips with this breathtaking seaside sunset gradient nail art look. Combining a warm, multi-tonal yellow and orange sky with a cool blue ocean base, this design comes alive through intricate 3D sculpting gel waves and delicate hand-painted details like a golden cat-eye sun and soaring seagulls. It is an extraordinary wearable masterpiece that turns every nail into a miniature canvas.
Steps
- 1Apply first coat of milky white gel polish
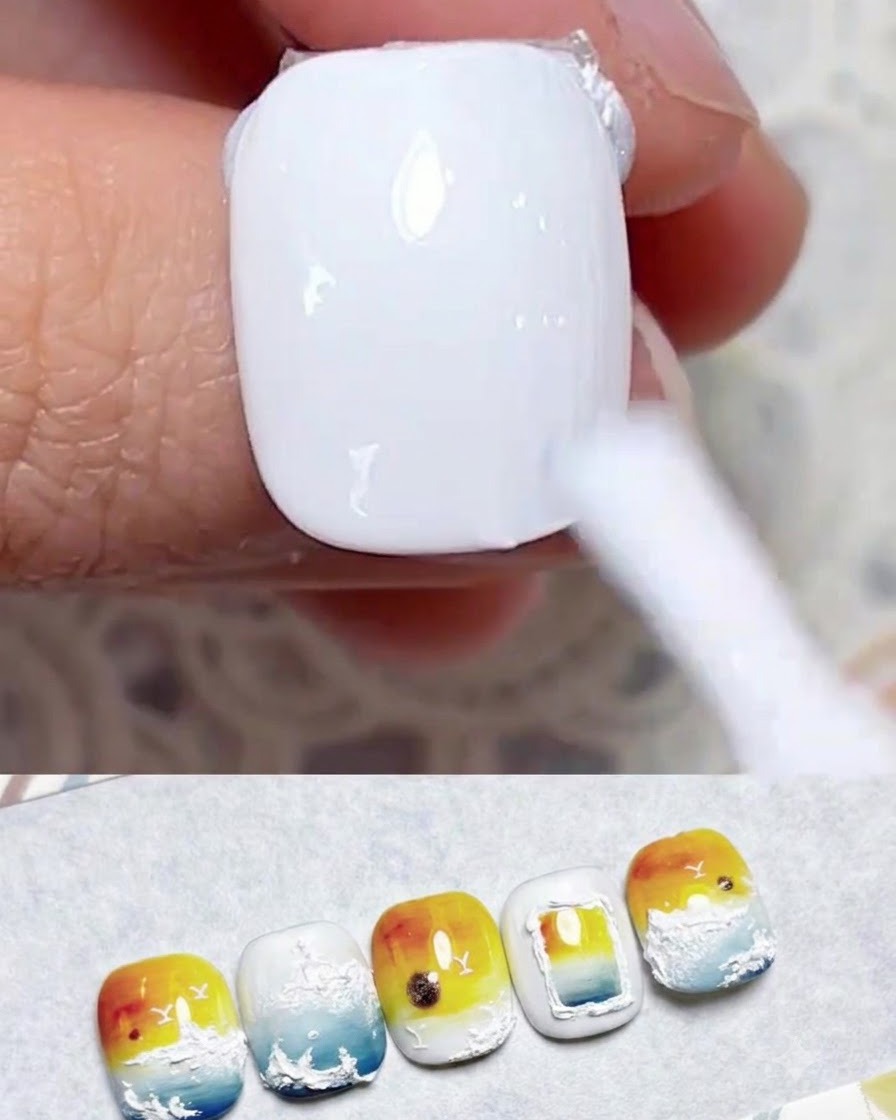
Apply the first coat of milky white gel polish evenly across the entire nail plate, ensuring smooth coverage from cuticle to free edge. Cure under a UV or LED lamp as recommended by the gel polish manufacturer to set the base layer before proceeding to the gradient artwork.
Tip: Keep the first coat thin to prevent wrinkling or uneven curing under the lamp. - 2Apply second coat of milky white gel polish
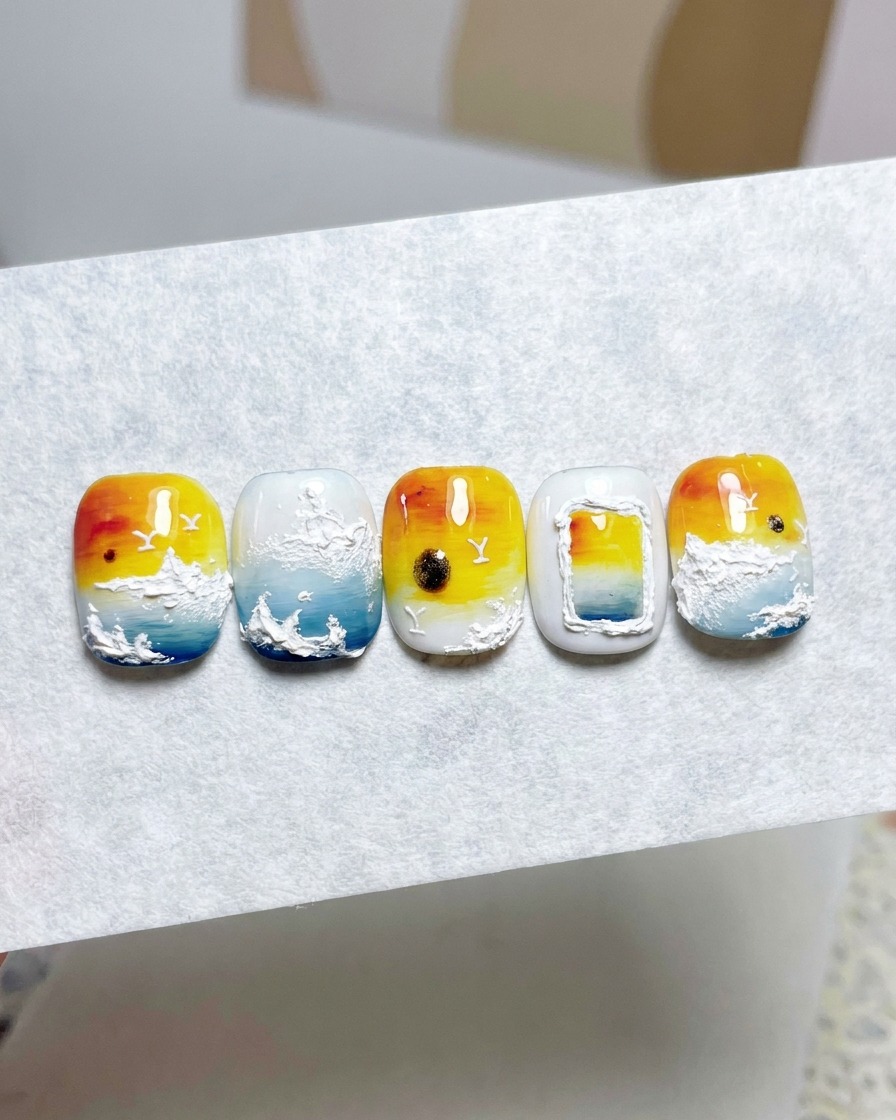
Apply a second coat of milky white gel polish to ensure complete opacity and a uniform background color. Cure thoroughly under the UV or LED lamp to build a solid foundation for the sunset and ocean design.
Tip: Check for streakiness or thin spots before curing the second coat. - 3Wipe the sticky inhibition layer
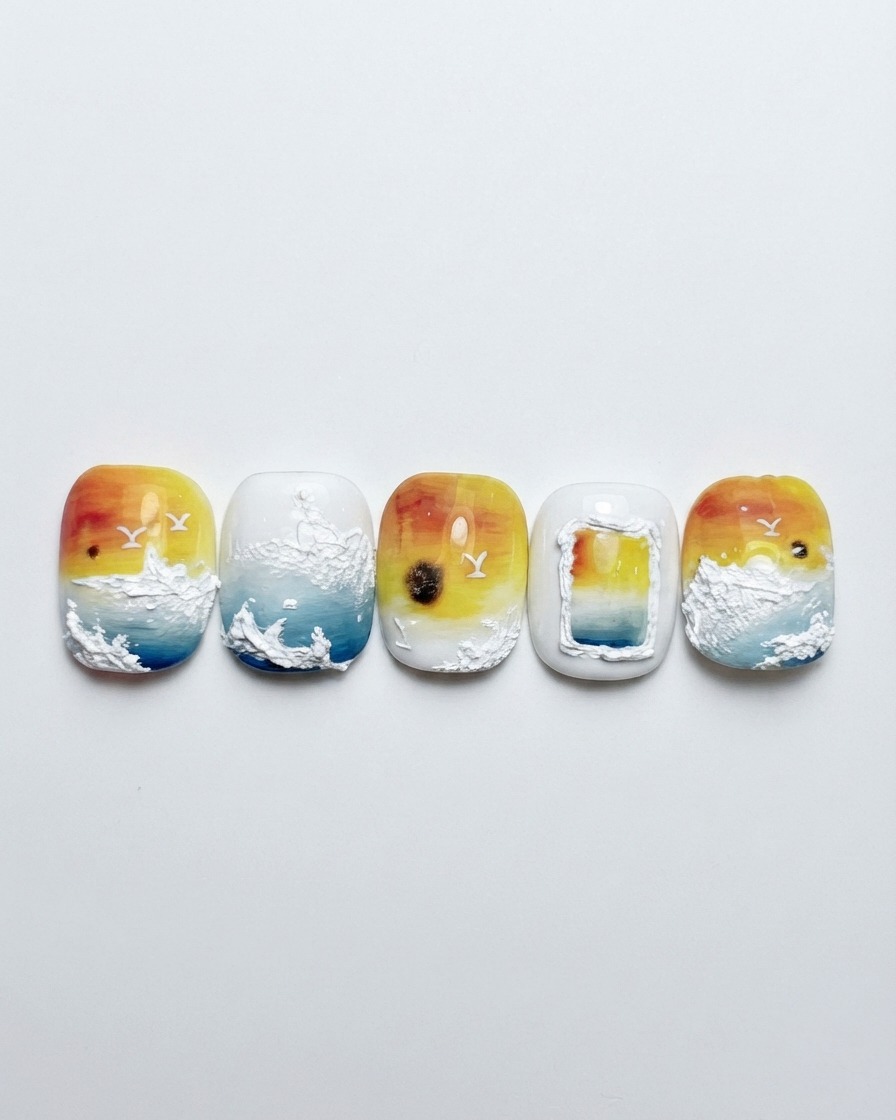
Using a lint-free cleaning pad moistened with cleanser, gently wipe away the sticky inhibition layer from the cured gel surface. This creates a clean, matte surface that prevents subsequent gel layers from pooling or sliding incorrectly.
Tip: Ensure the surface is completely dry and lint-free before starting the nail art application. - 4Apply palest yellow gel to the top
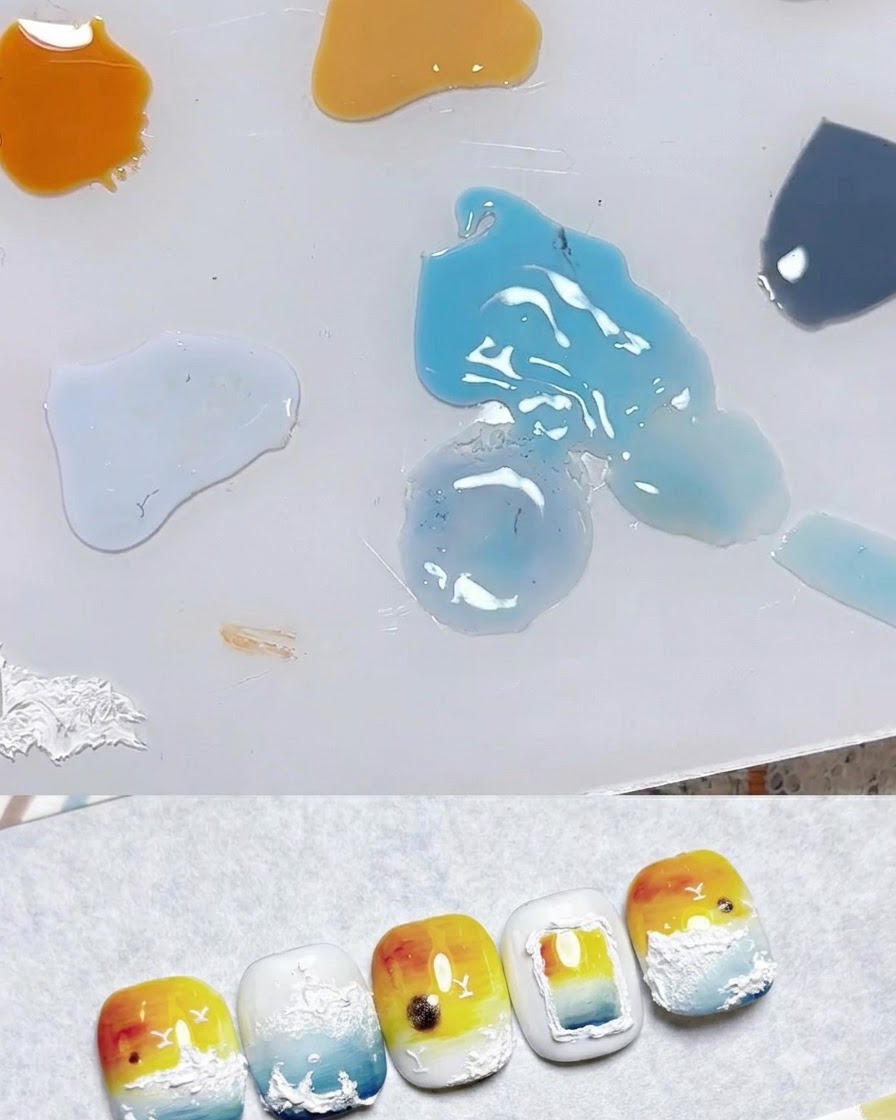
Dispense and prepare your gradient colors on a palette: pale yellow, golden yellow, golden orange, light blue, and deep blue. Apply a layer of the palest yellow gel to the upper portion of the nail to begin building the sunset sky effect.
Tip: Keep your color palette organized nearby for a smooth and efficient workflow. - 5Blend and texture the yellow gel
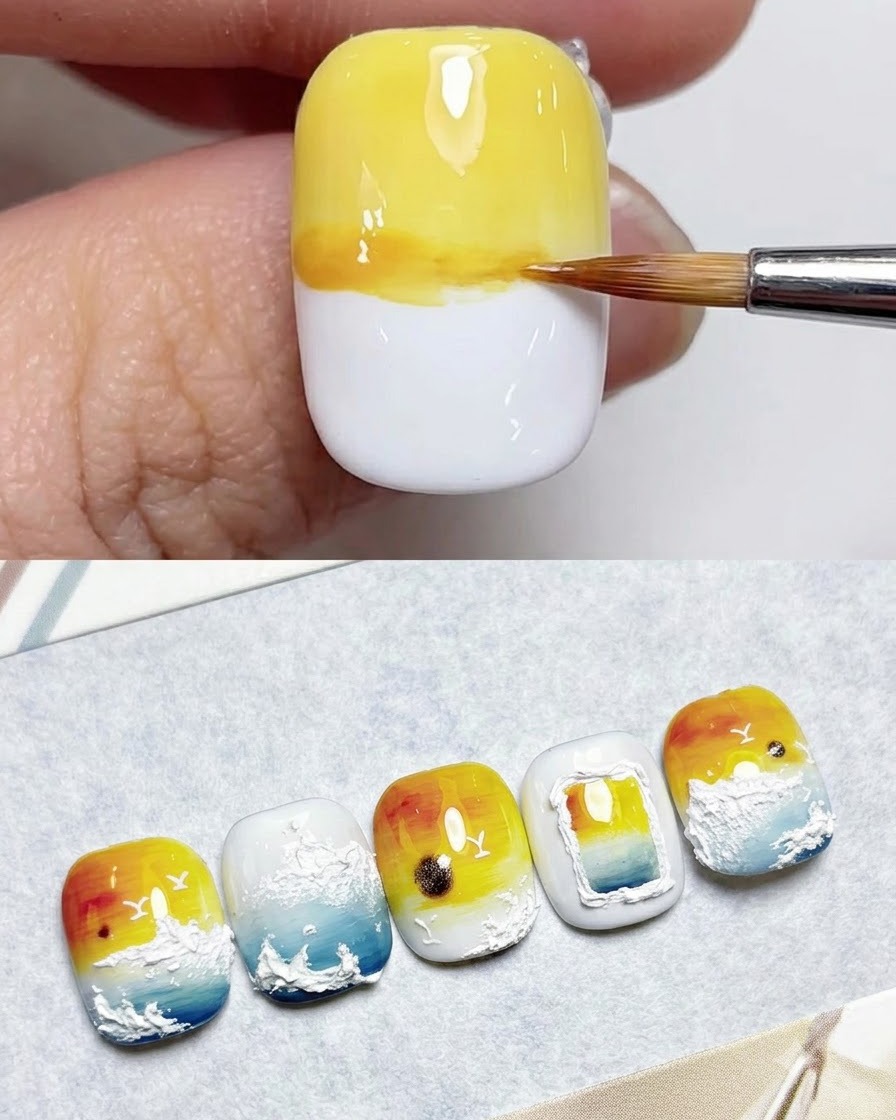
Take a sawtooth brush and gently tap or stroke the yellow gel layer to create soft texture and blend the edges seamlessly. This technique mimics the natural atmospheric appearance of a glowing sunset sky.
Tip: Use light, sweeping motions to avoid wiping away too much product. - 6Wipe the brush clean
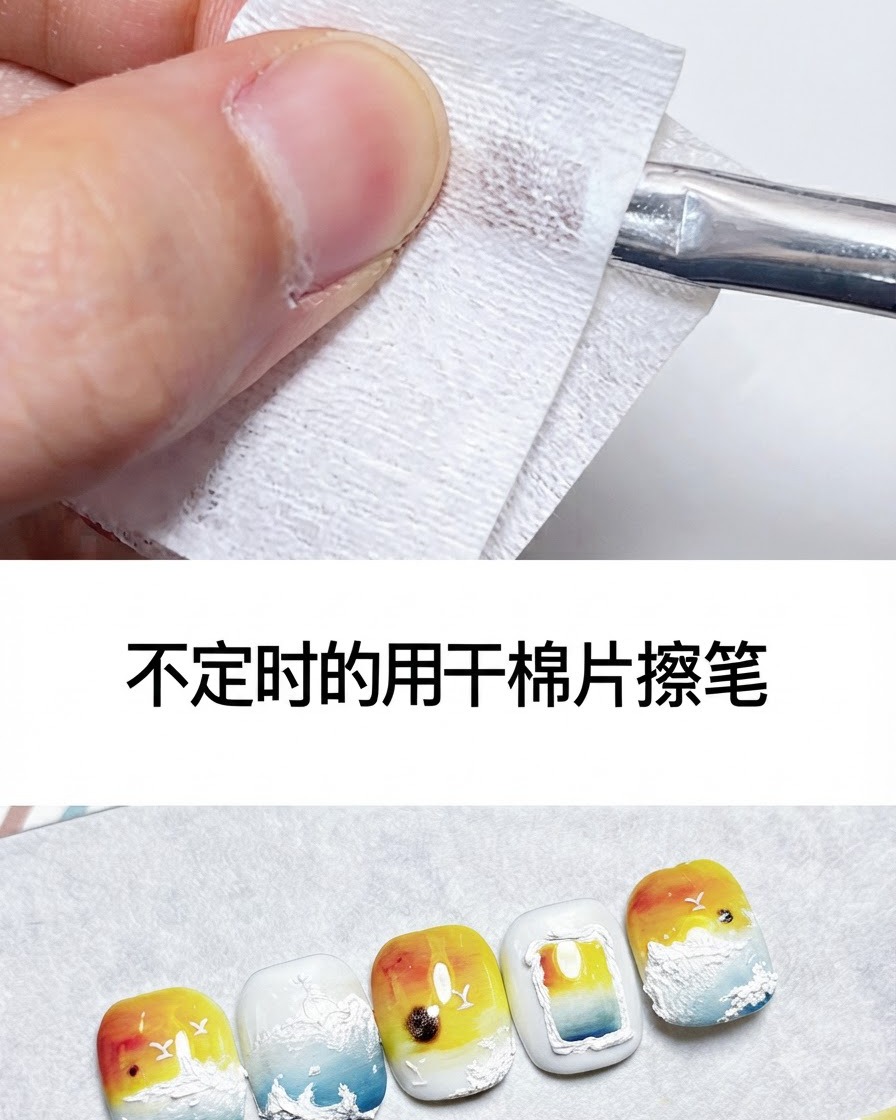
Periodically wipe the sawtooth brush with a dry cotton pad to remove excess pigment and maintain clean lines. A clean brush is essential for precise blending and layering without muddying the colors.
Tip: Wipe your brush frequently between color transitions to keep your gradients crisp and vibrant. - 7Apply golden yellow gel
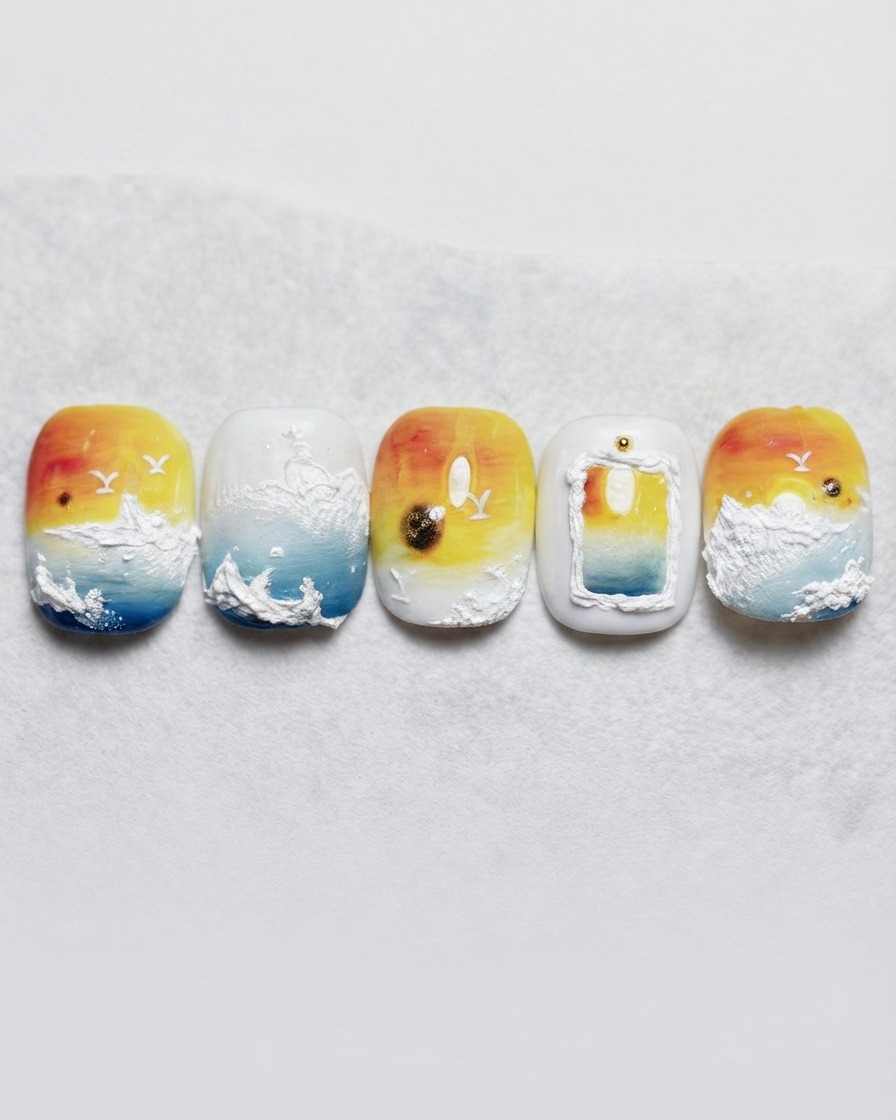
Apply a slightly darker golden yellow gel over the existing yellow area using a brush to deepen the sunset gradient.
Tip: Blend the edges softly into the previous layer to maintain a smooth transition. - 8Apply golden orange gel
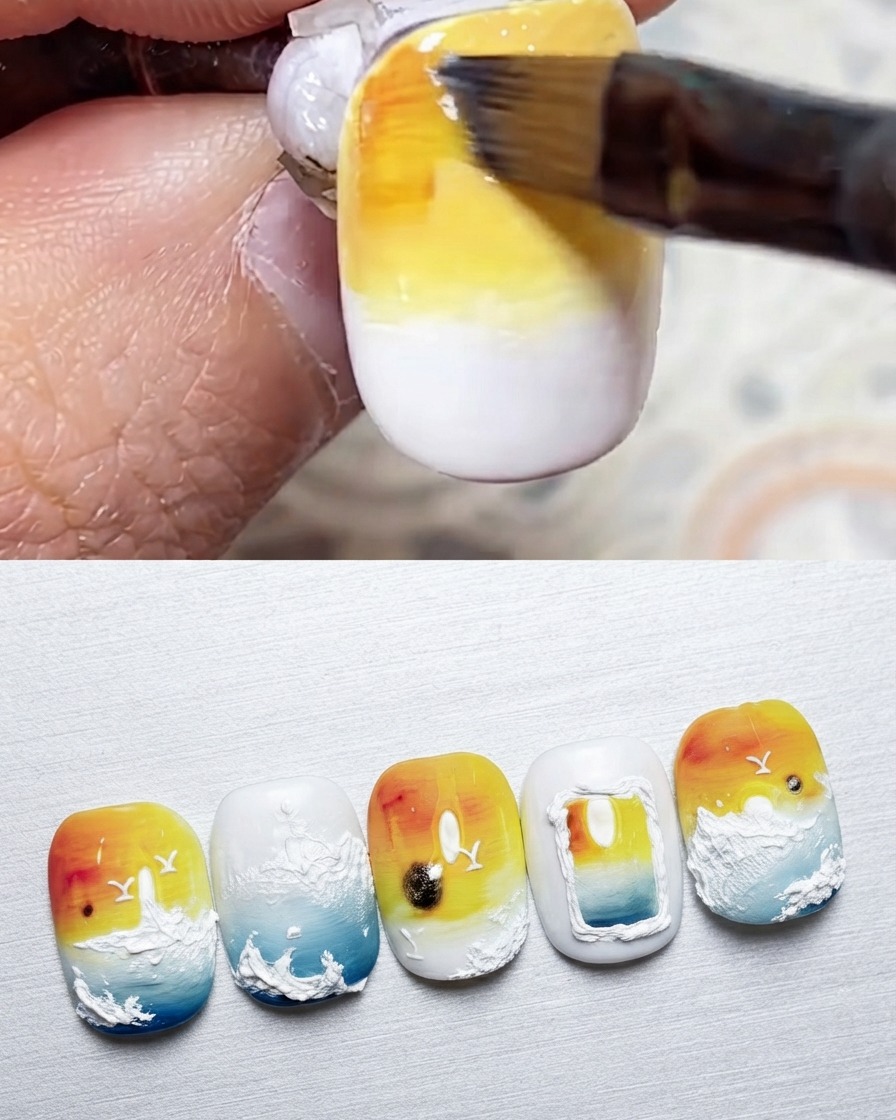
Apply a golden orange gel to the upper edge to deepen the sunset gradient effect.
Tip: Keep this layer concentrated near the top edge for contrast. - 9Apply vibrant orange color
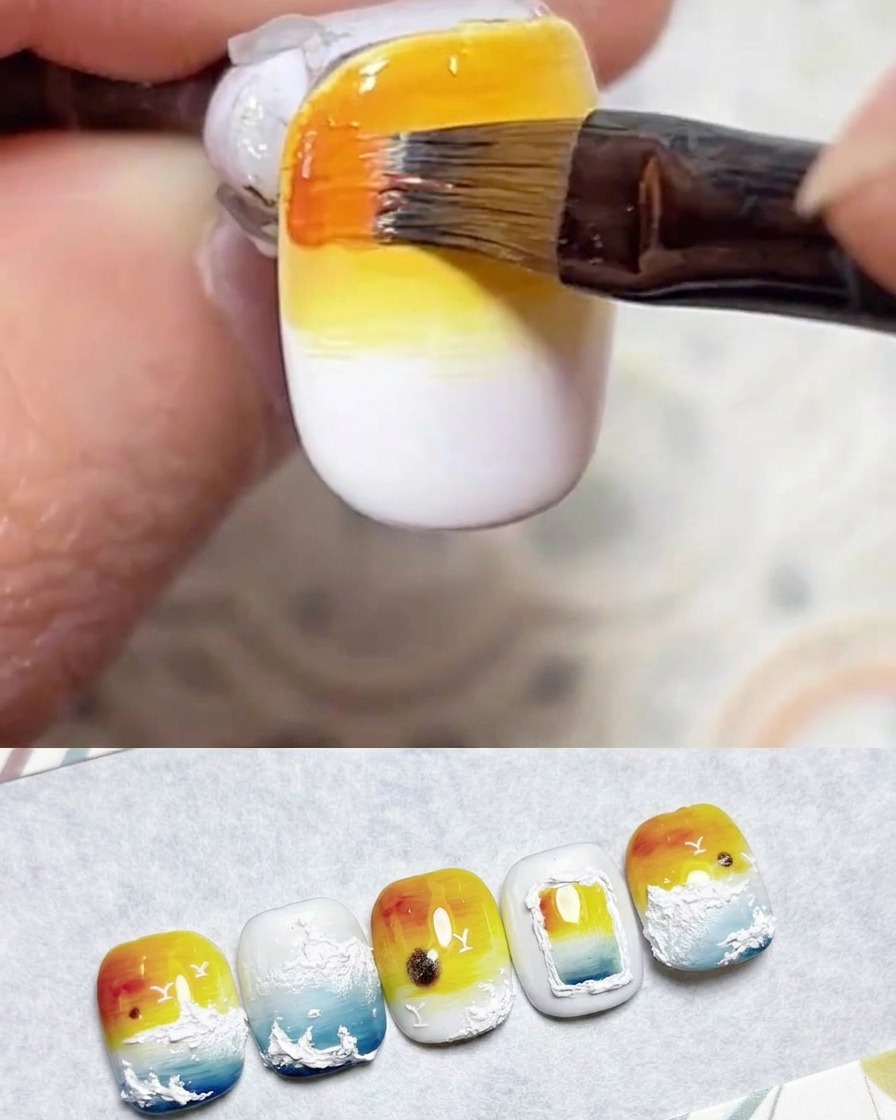
Apply a final vibrant orange color to the very top edge of the nail to complete the warm gradient.
Tip: Use a light hand to avoid overloading product at the cuticle area. - 10Apply light blue sea base
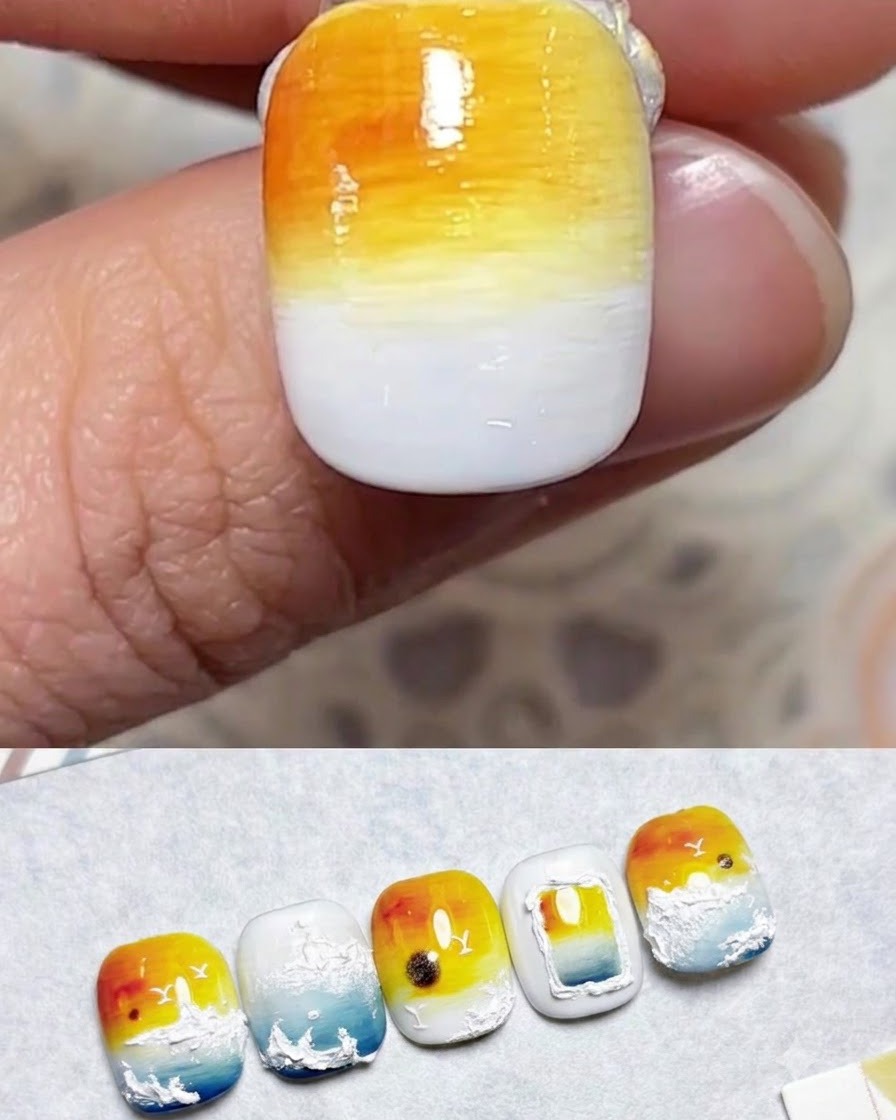
Apply a light blue gel to the bottom half of the nail to create the base color for the sea.
Tip: Ensure a clean boundary where the warm sky meets the cool ocean. - 11Apply darker blue gel
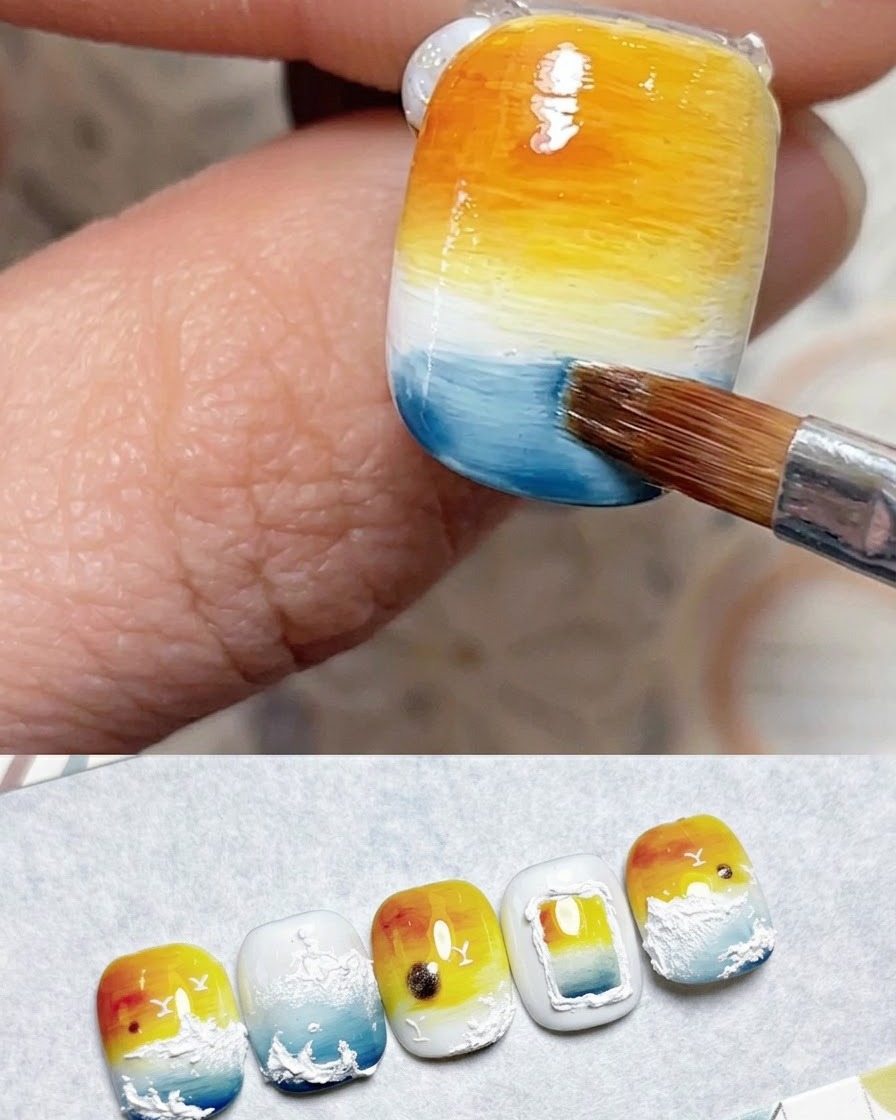
Apply a darker blue gel to the bottom edge of the nail to create depth and dimension in the water.
Tip: Focus the darker shade right along the free edge. - 12Blend blue gel layers
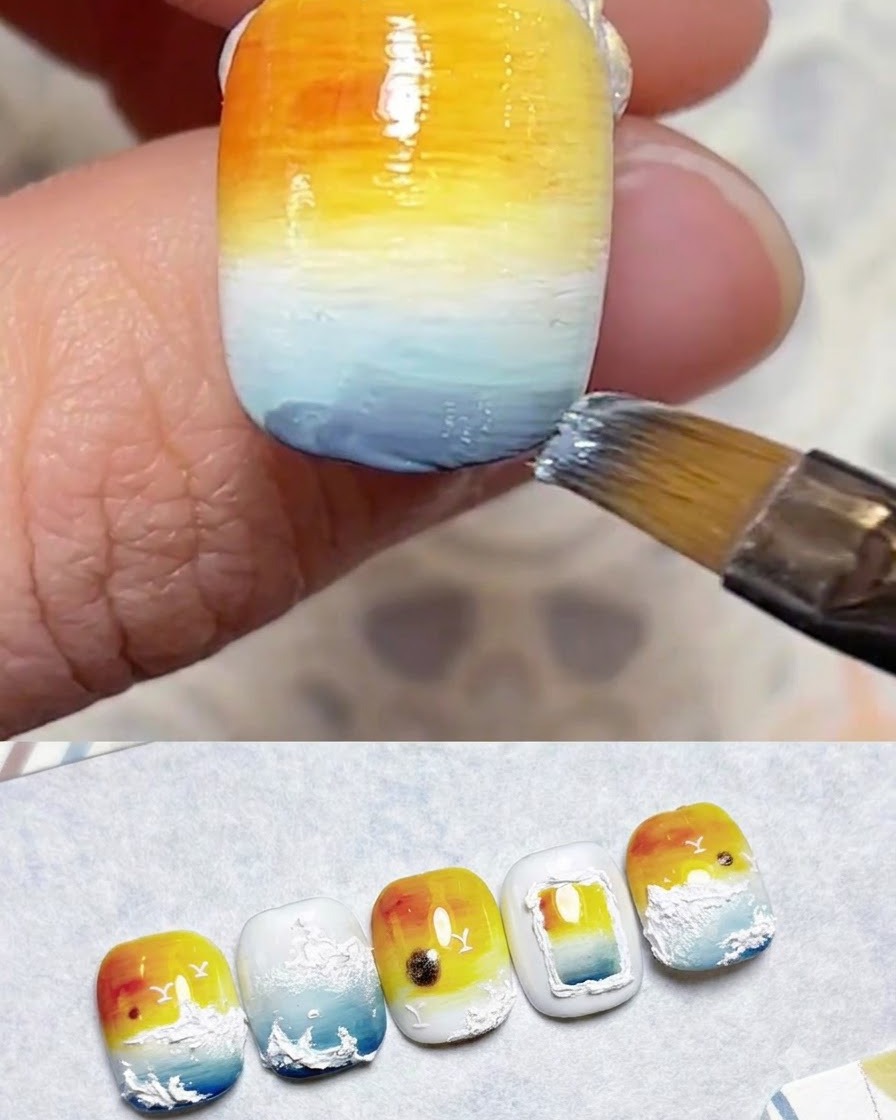
Blend the blue gel layers using a brush to achieve a smooth and natural sea gradient.
Tip: Gently sweep the brush back and forth until the transition lines disappear. - 13Place the Setting Sun Dot
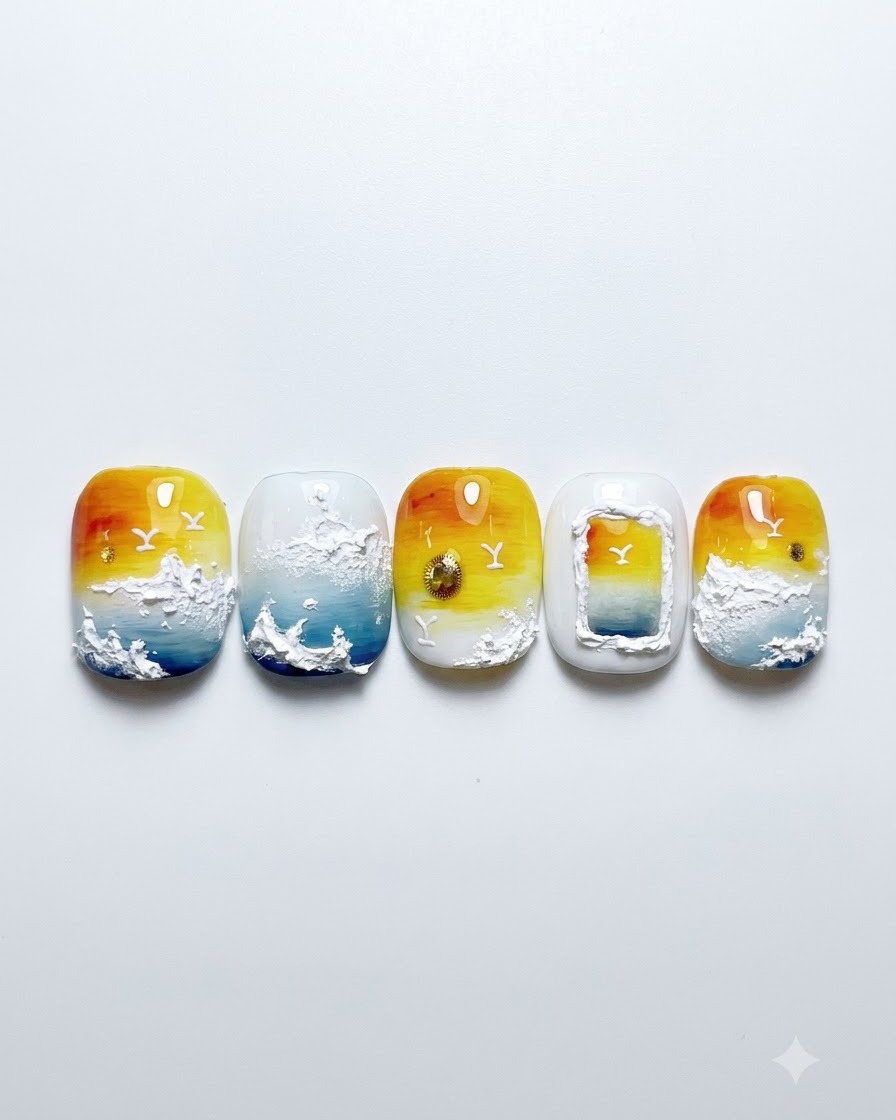
Using a dotting tool, place a small dot of gold cat-eye gel onto the gradient background to represent the setting sun. Position it carefully to complement the overall ocean and sunset composition before curing the layer.
Tip: Keep the dot small and precise so it balances well with the subsequent 3D gel waves. - 14Apply Base and Top Coat
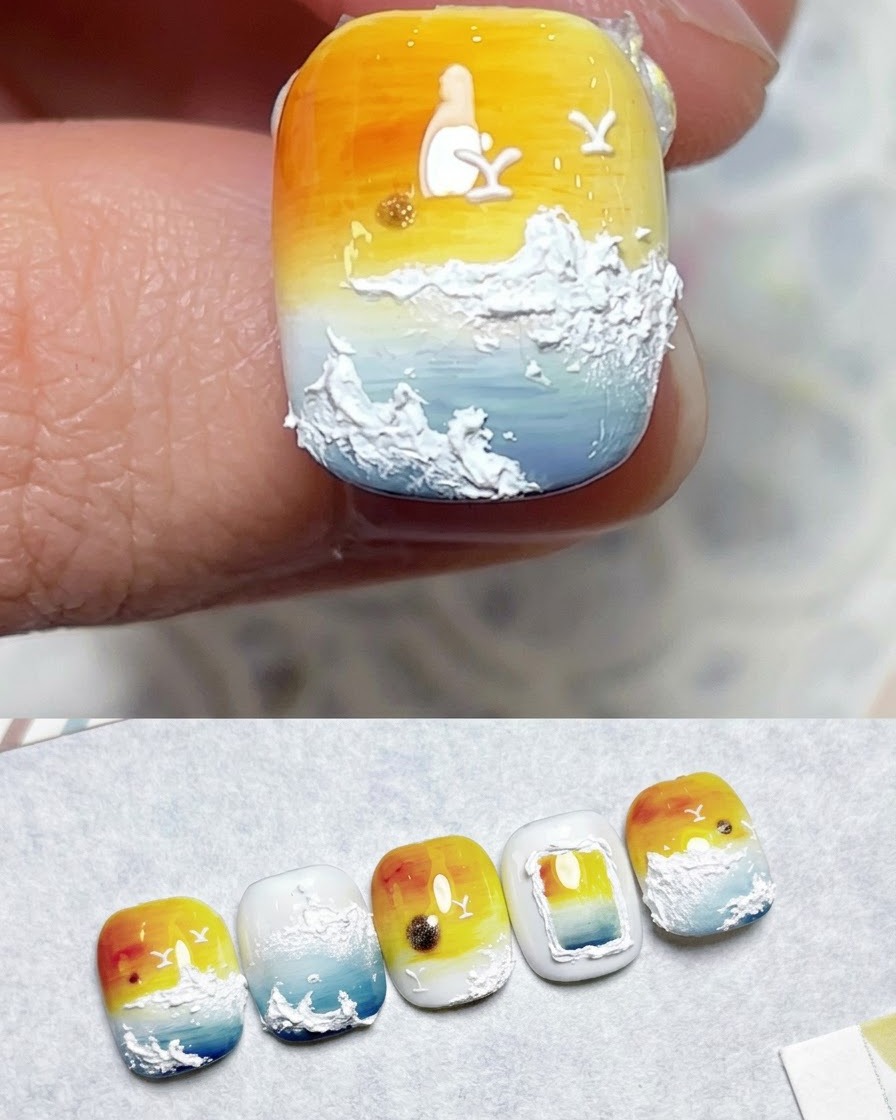
Apply a layer of base gel and top coat over the fully cured gradient base to seal the colors and provide a smooth protective layer before adding 3D nail art textures.
Tip: Ensure the coat is evenly distributed across the entire nail surface to prevent uneven reflections.