Orange Gradient Jelly Nails
Heart Charms — Step-by-Step Tutorial
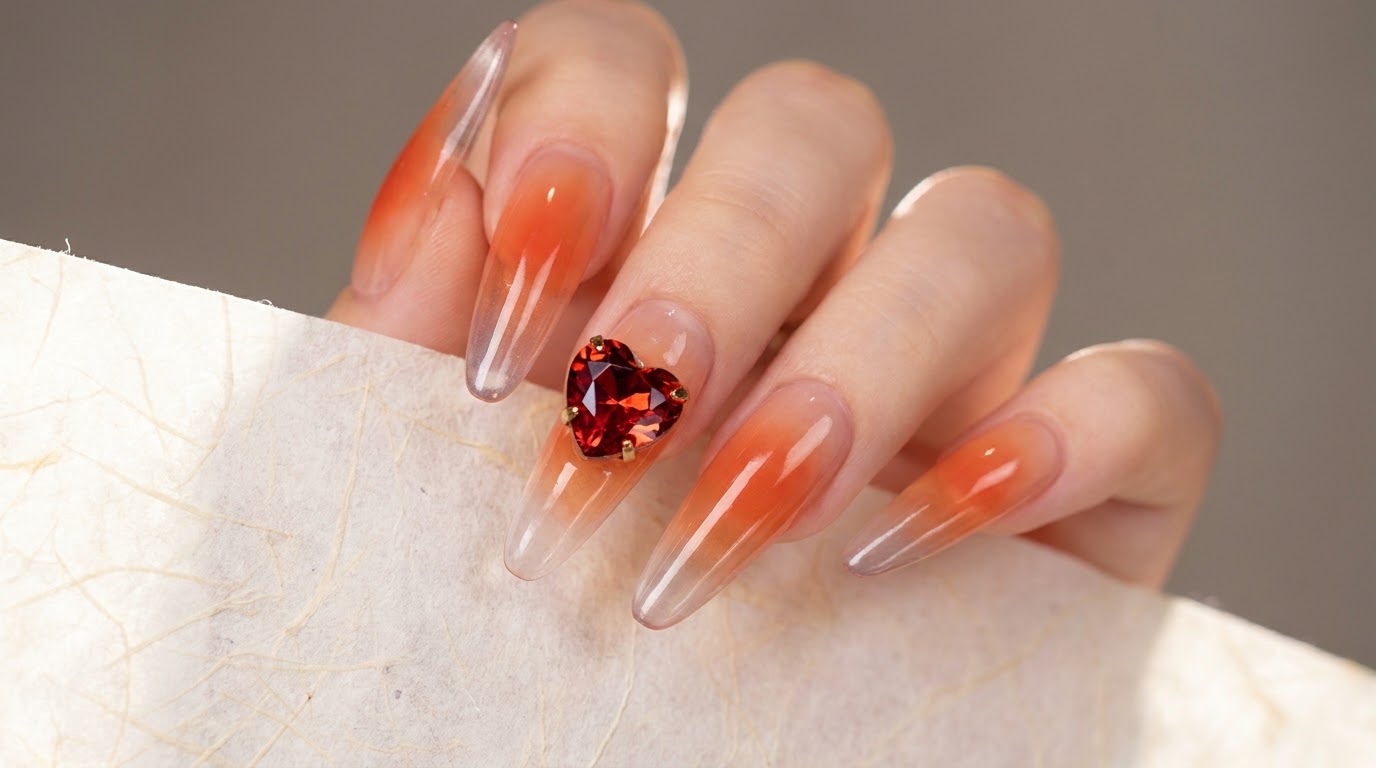
Embrace the color of summer with these stunning orange gradient jelly nails. Featuring a translucent finish and beautiful heart charms, this look is simply divine.
This icy-translucent orange gradient comes with its own soft-focus filter, offering a sheer glass-like finish that perfectly suits all skin tones. The addition of multi-faceted, heart-shaped charms elevates the design with a touch of exquisite sparkle. It is a low-key yet sparkling look, perfectly suited for both daily wear and special dates, becoming more attractive the longer you admire it.
Steps
- 1Embed Red Heart-Shaped Jewel Charm
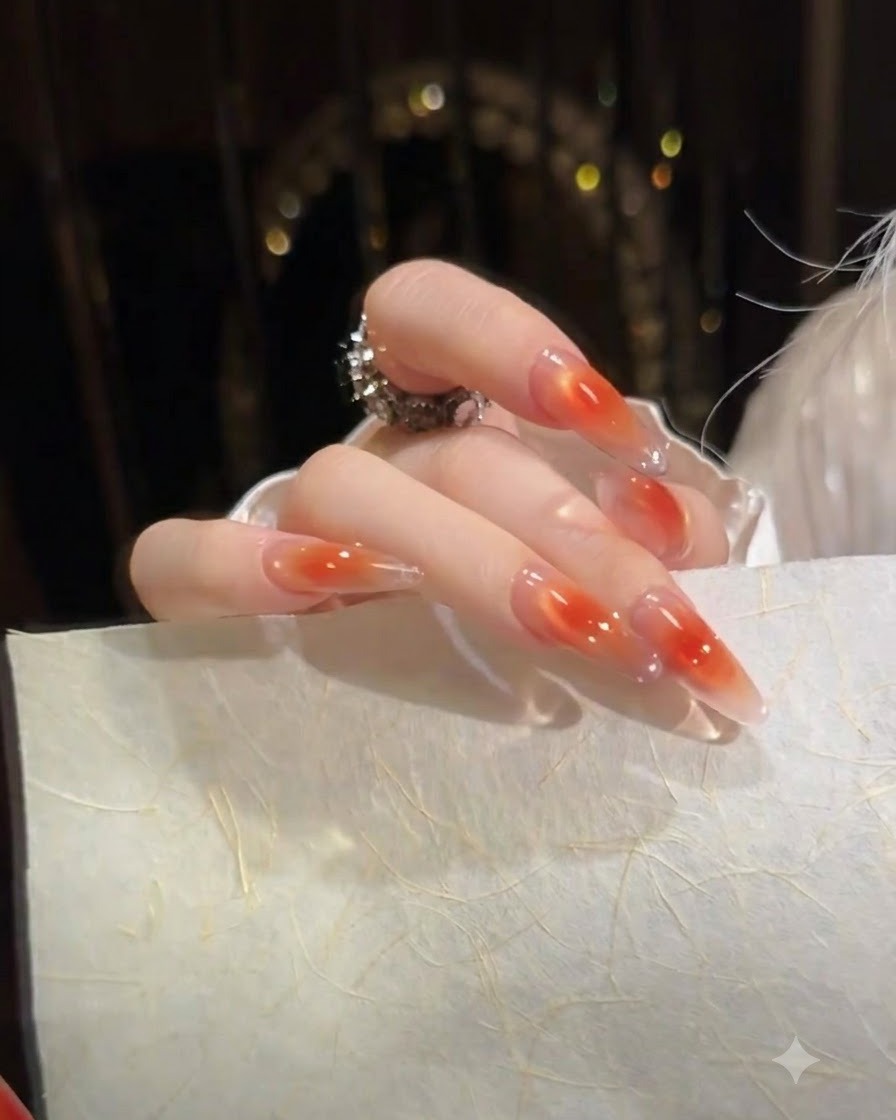
Carefully place a vibrant red heart-shaped jewel charm onto the uncured or tacky gel surface of the middle finger. Adjust its position to align perfectly with the center of the nail before curing under the lamp to lock it securely in place.
Tip: Use a specialized rhinestone glue or thick builder gel underneath the charm to ensure it stays anchored firmly without shifting during the curing process. - 2Create Translucent Orange Gradient
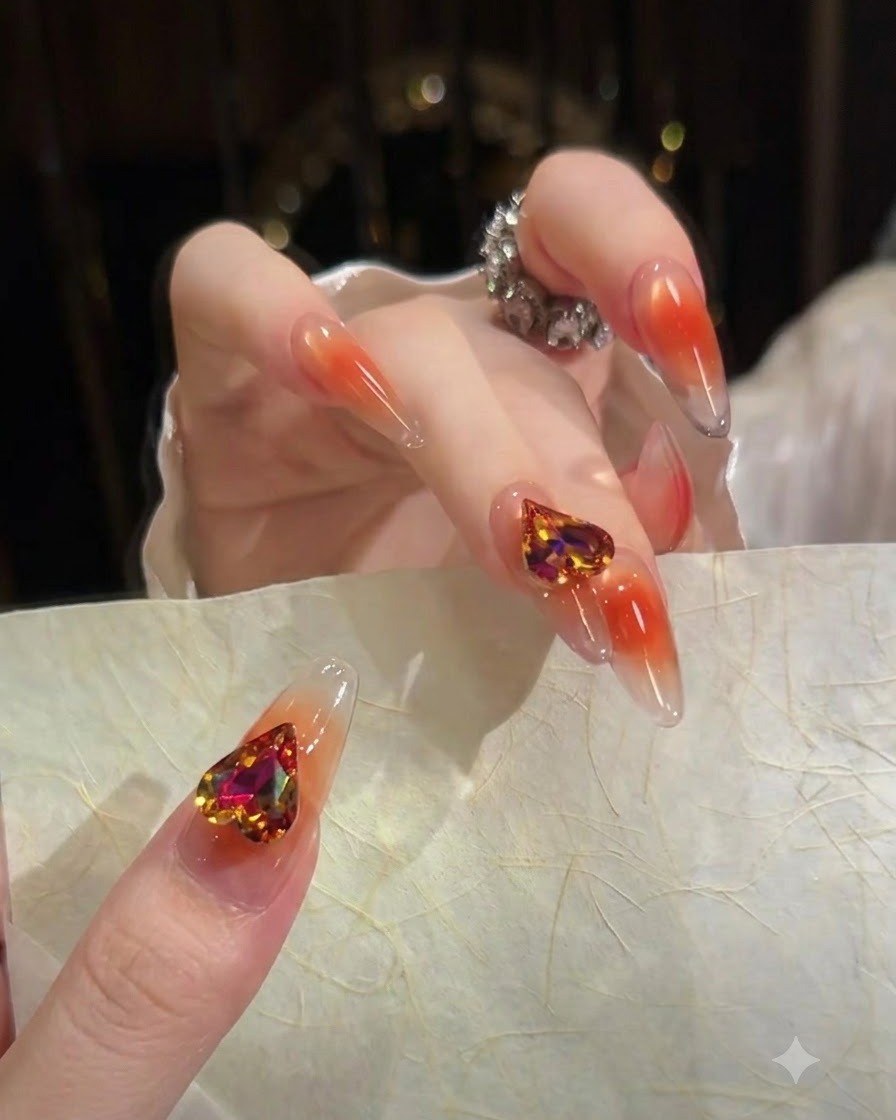
Apply a clear gel base near the cuticle area and gently blend it outward into an icy-translucent orange shade toward the nail tip. This soft-focus ombre effect creates a lightweight, jelly-like dimension that suits all skin tones naturally.
Tip: Gently dab or sponge the orange color toward the center to achieve a seamless, natural transition without harsh lines. - 3Apply High-Gloss Top Coat
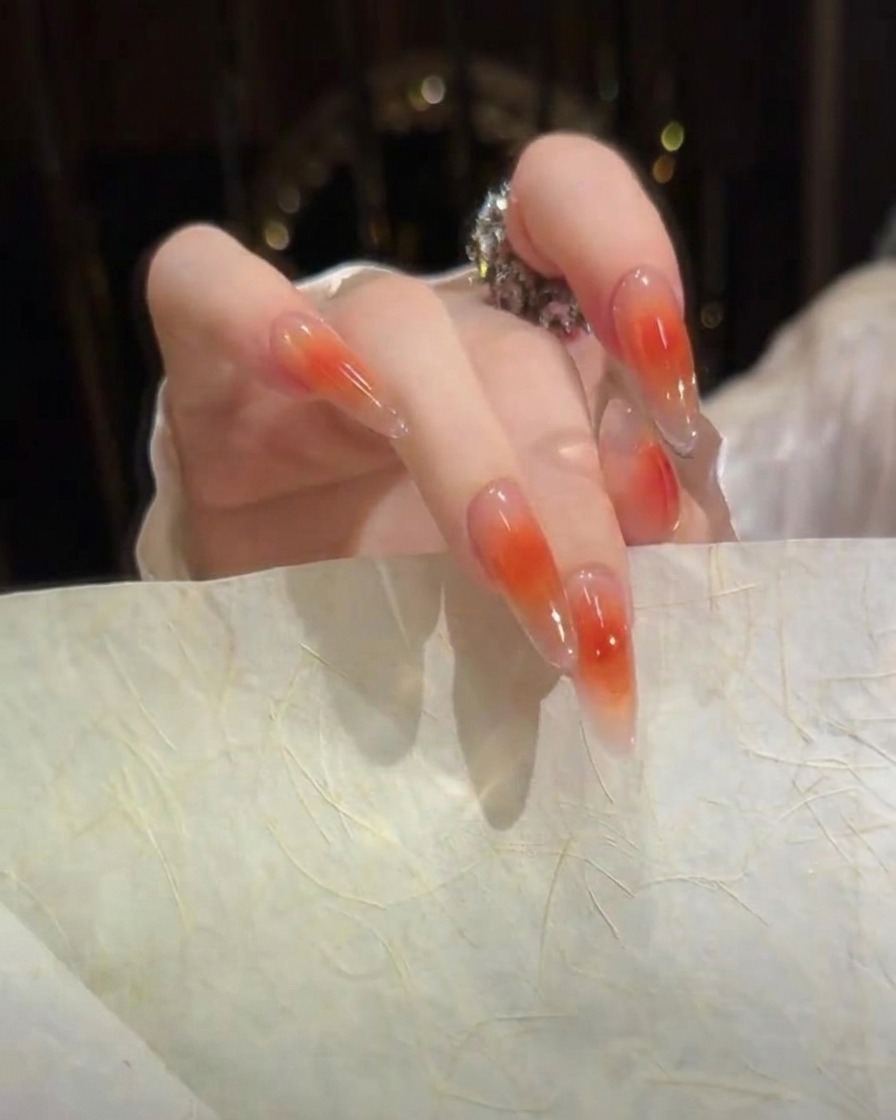
Apply a generous layer of high-gloss top coat over the entire nail surface, ensuring the structure remains smooth and plump. Seal the free edge completely to protect the gradient design and give the nails an ultra-shiny glass-like finish.
Tip: Check the side profile before curing to make sure the apex is even and the surface reflects light without any bumps or dips. - 4Refine Jelly Gradient Consistency on Thumb
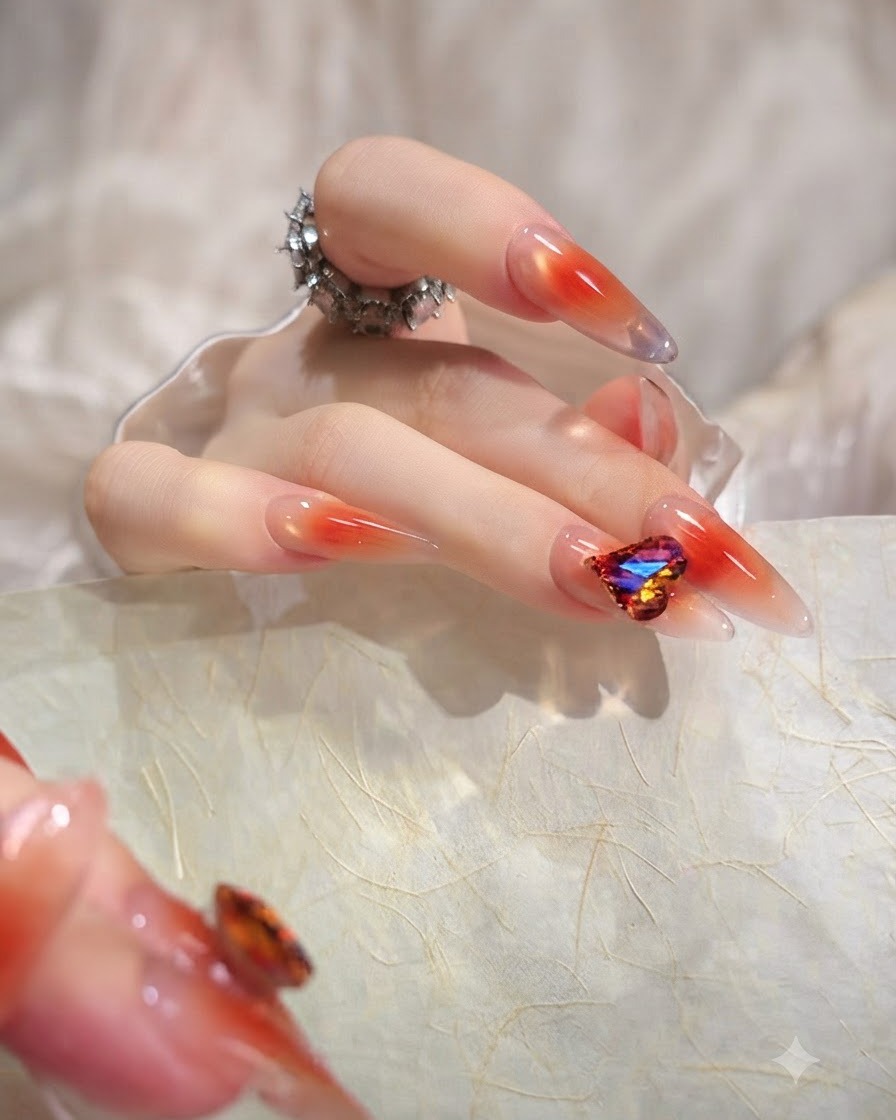
Inspect the thumbnail to verify the consistency and translucency of the orange jelly gradient. Build up the color intensity gradually near the free edge while keeping the cuticle area clean and sheer for a balanced look.
Tip: Layering sheer jelly gels twice gives a richer depth of color while maintaining that signature soft-focus transparency. - 5Secure Jewel Charm on Thumb
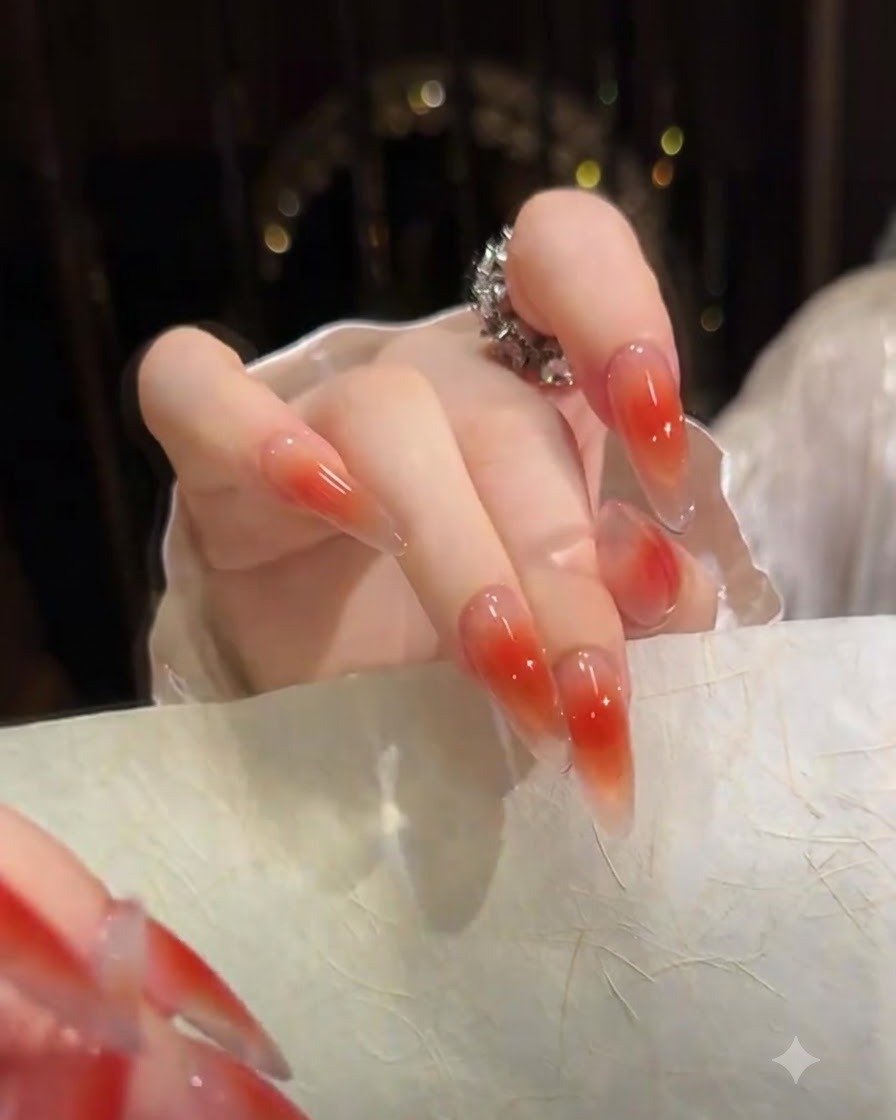
Examine the jewel charm positioned on the thumb to confirm it sits securely embedded within the gel structure. Seal around the base of the charm with top coat to prevent snagging while leaving the multi-faceted stone exposed to catch the light.
Tip: Avoid covering the top facets of the rhinestone with top coat, as this will dull its sparkle and brilliance.