Sea Salt Peach Kitty Nail Art — Step-by-Step Press-On Tutorial
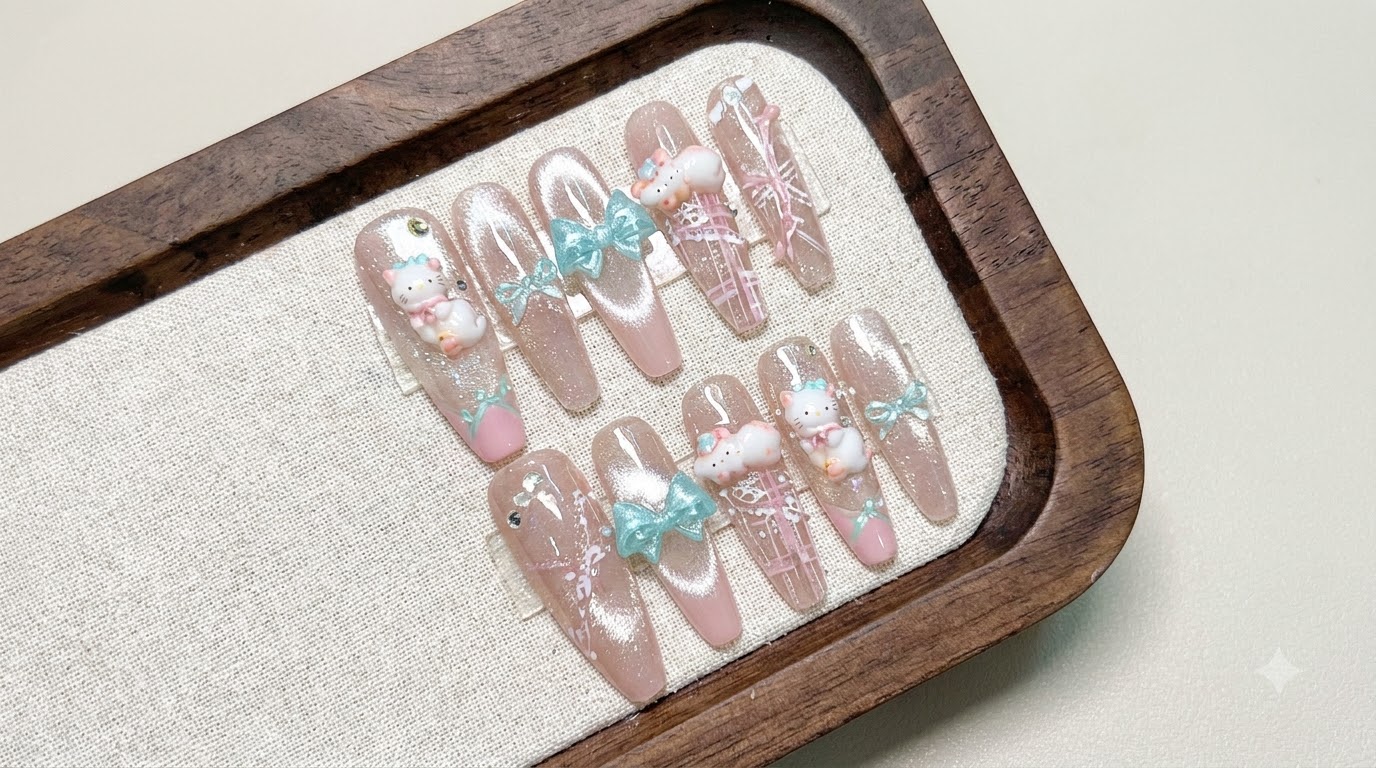
Create an adorable peach and cat-themed press-on nail set featuring glowing cat eye shimmer, delicate plaid stamping, French tips, and 3D charms.
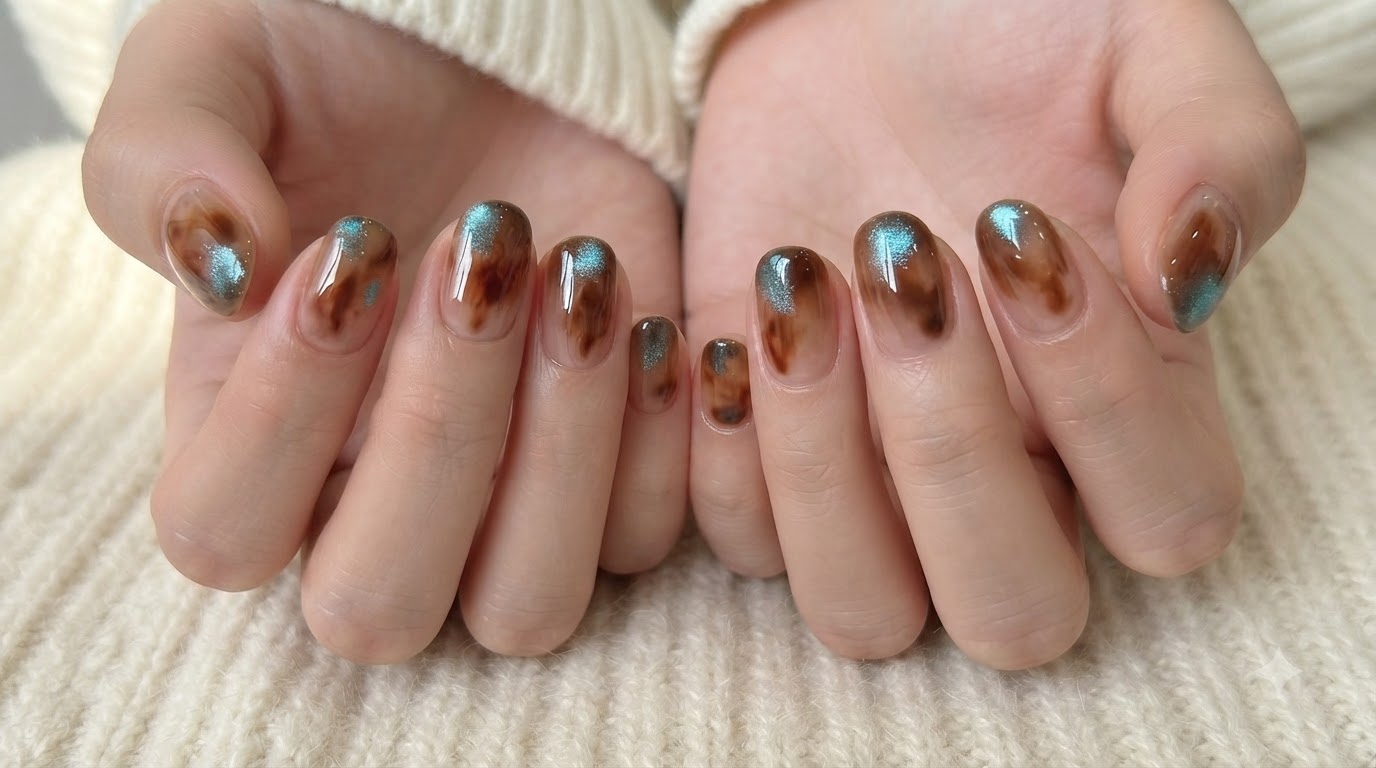
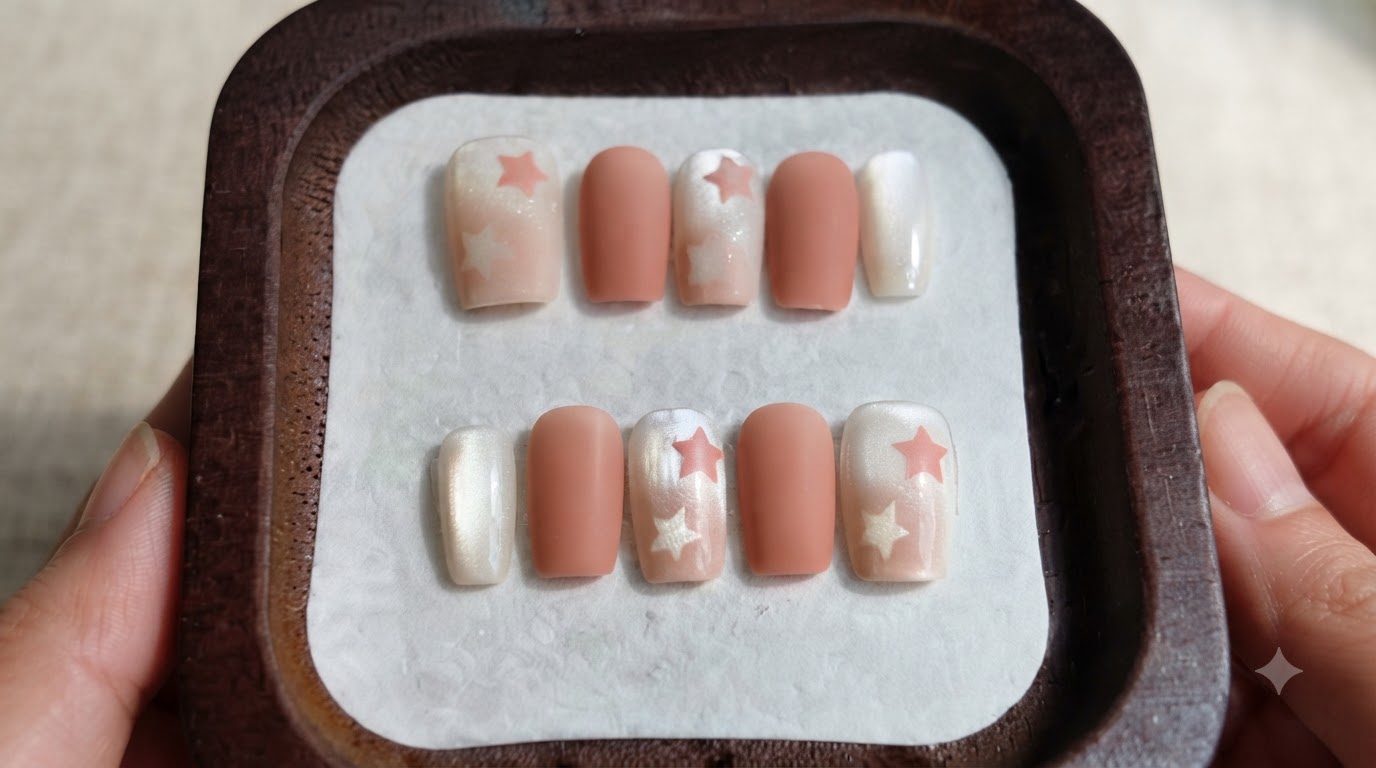
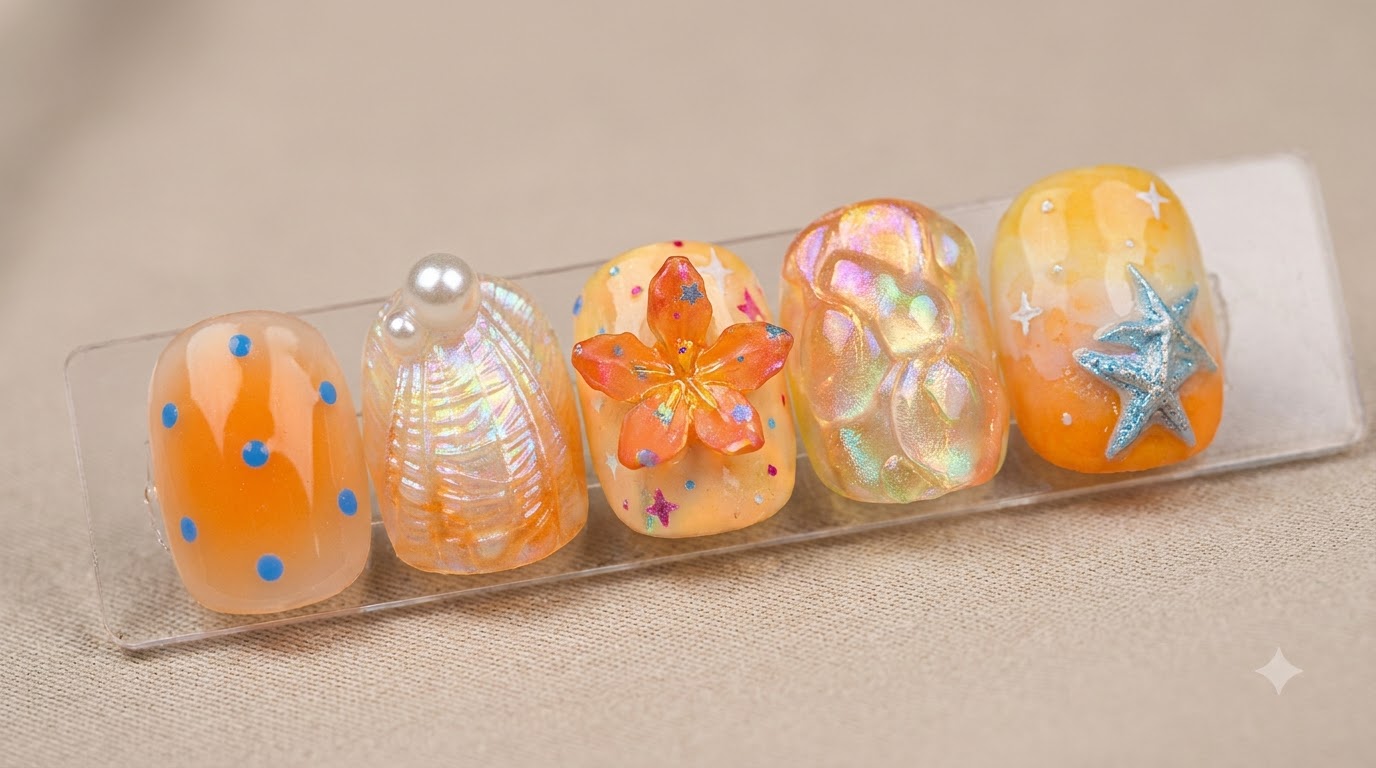
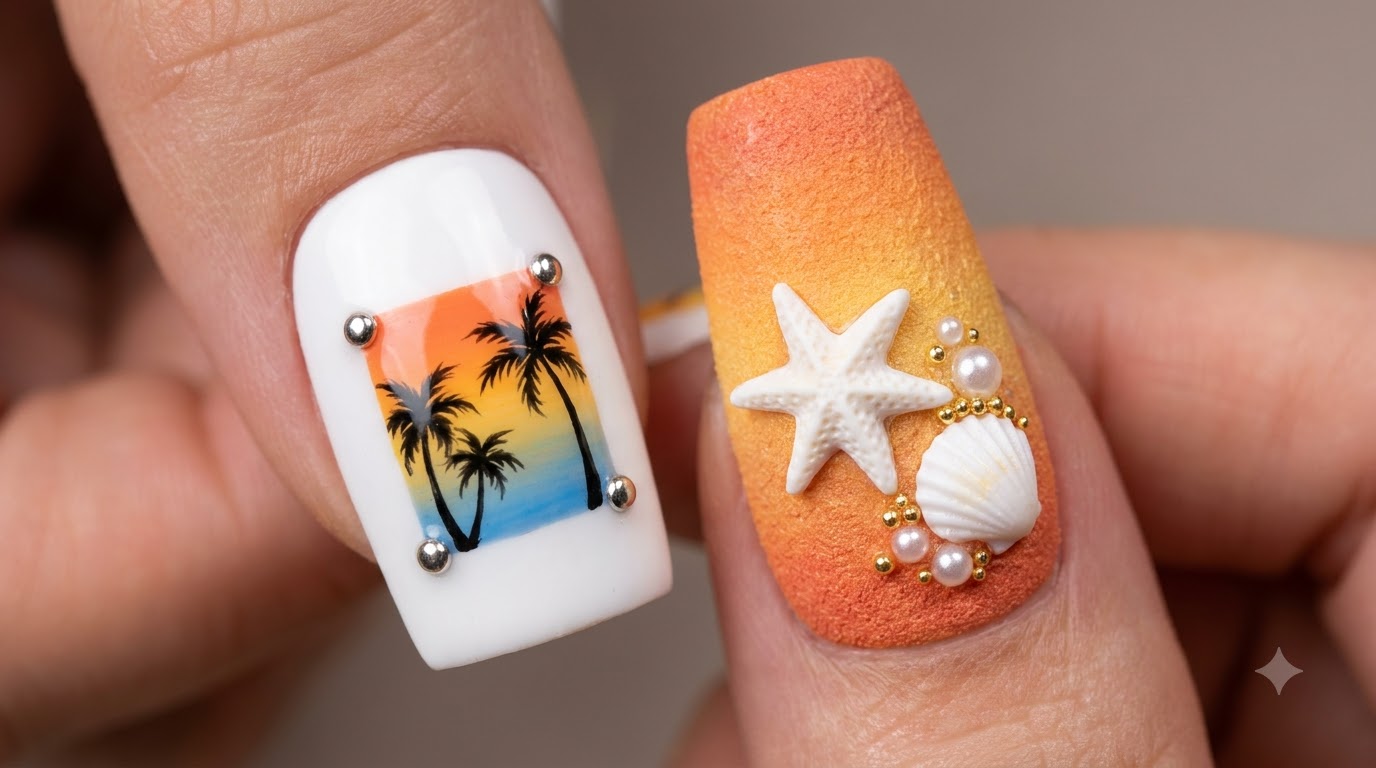
Charm and playfulness define this delightful Sea Salt Peach Kitty nail art look. Combining a soft nude and pink color palette with magnetic cat eye reflections, classic stamping patterns, and cute 3D charms, this style brings a whimsical touch to your fingertips.
Steps
- 1Clean the nail surface
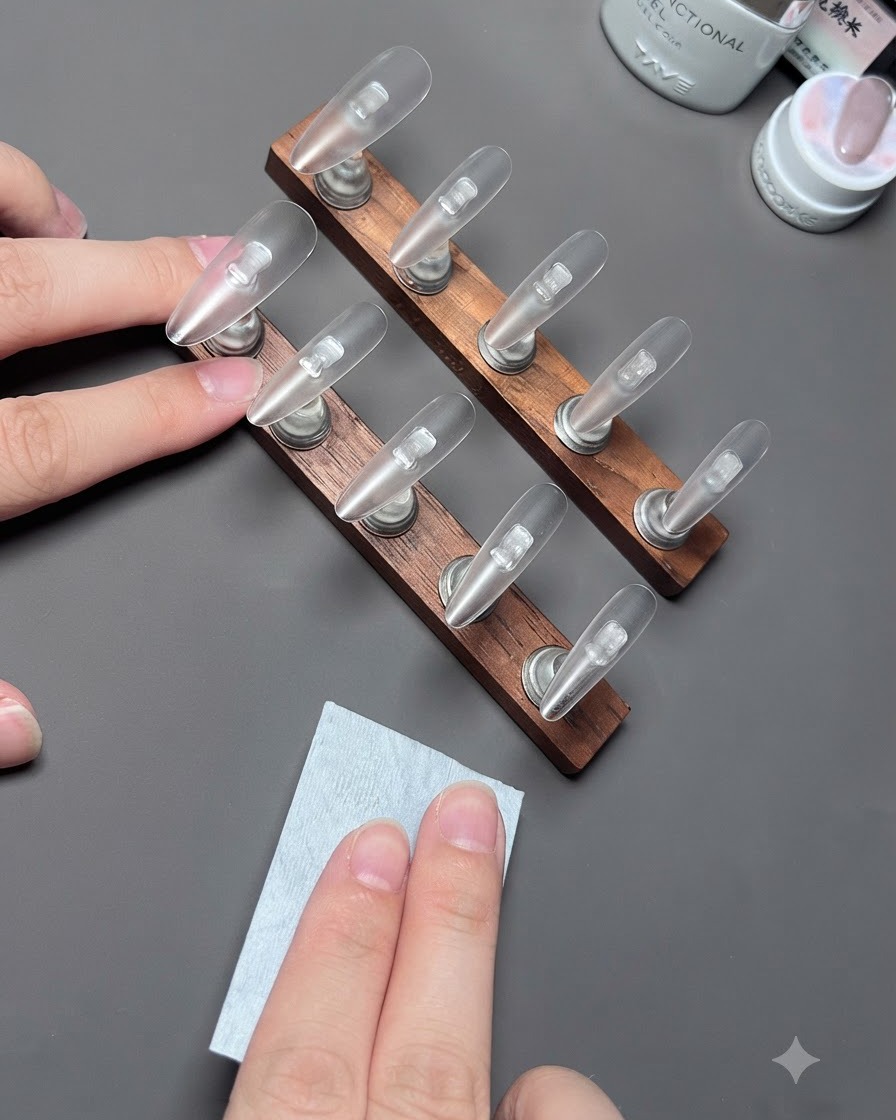
Before starting the application process, ensure the nail surface is thoroughly cleaned to remove any dust, oils, or residue. Wipe down each clear press-on nail mounted on the wooden display stand using a lint-free wipe dampened with cleanser. A clean surface promotes better adhesion and a smooth finish for subsequent gel layers.
Tip: Make sure the nails are completely dry and free of lint before applying any product. - 2Apply sheer nude gel to thumb
Take the sheer nude gel polish and carefully apply it to the bottom half of the thumb nail. This serves as the foundation for creating a soft gradient effect. Keep the application neat and controlled near the cuticle area to ensure a clean transition.
Tip: Apply a thin layer to prevent pooling and ensure an even gradient blend. - 3Blend the nude gradient
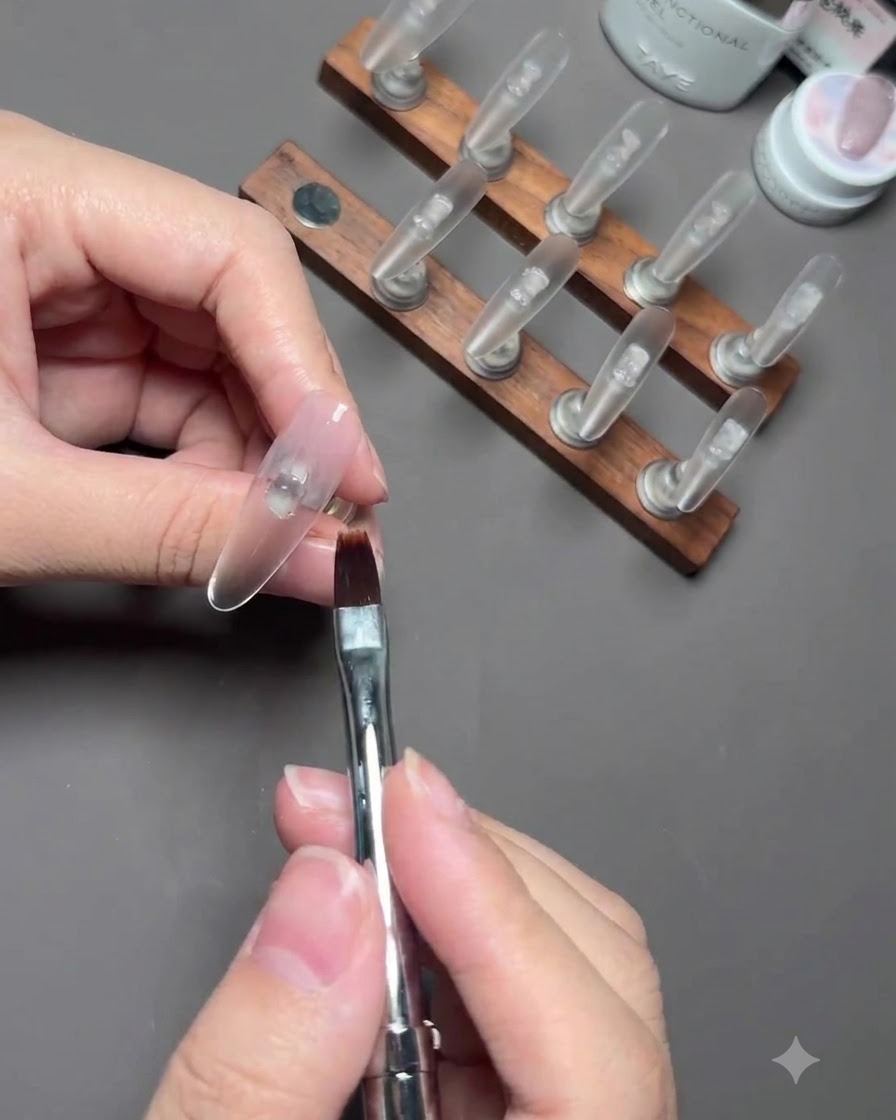
Using a clean sweeping brush, gently feather and drag the applied sheer nude color upwards toward the free edge of the nail. This creates a soft, seamless gradient effect that fades gracefully from the base. Work with light strokes to avoid harsh lines.
Tip: Keep your brush clean and barely touch the surface to achieve a smooth, airbrushed fade. - 4Cure the gradient layer
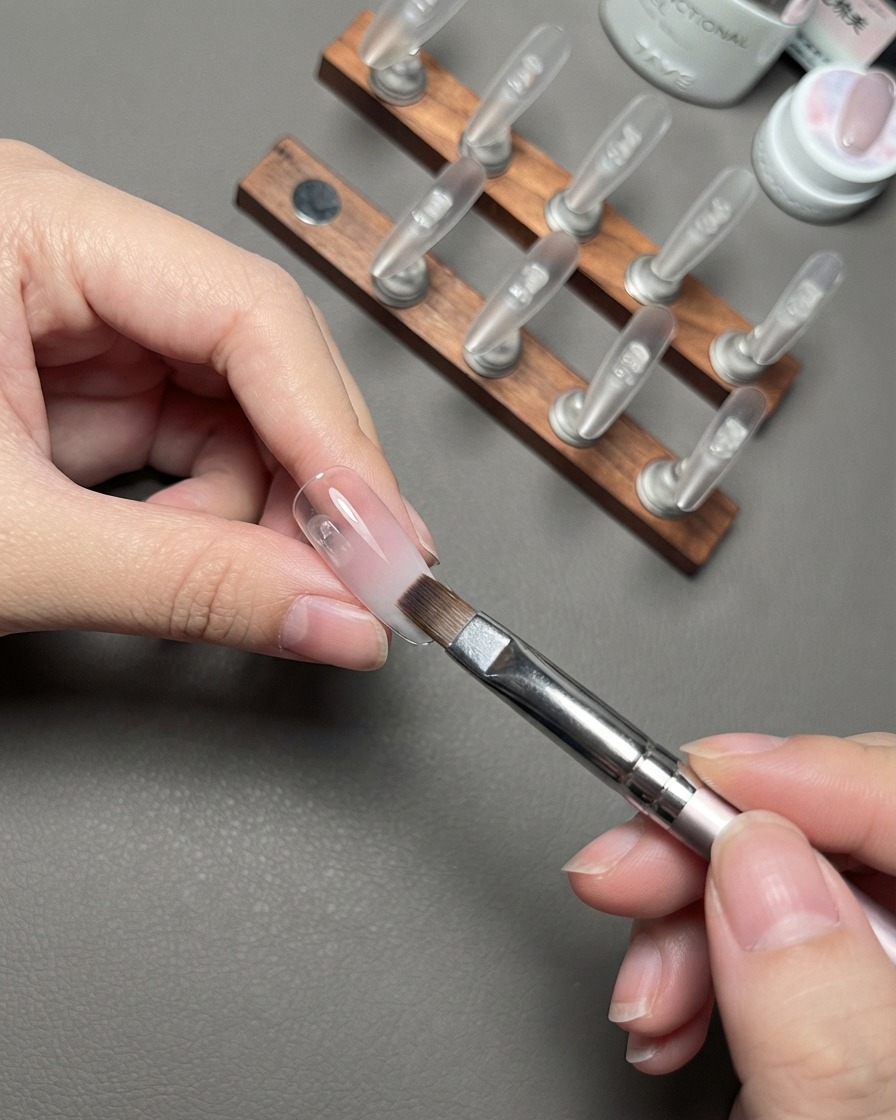
Place the styled thumb nail under a UV or LED lamp to cure the gradient layer securely. Ensure the gel is fully set before moving on to the next design step. Proper curing prevents shifting and locks in the smooth ombre transition.
Tip: Follow your gel polish manufacturers recommended curing time to ensure complete polymerization. - 5Paint index finger base color
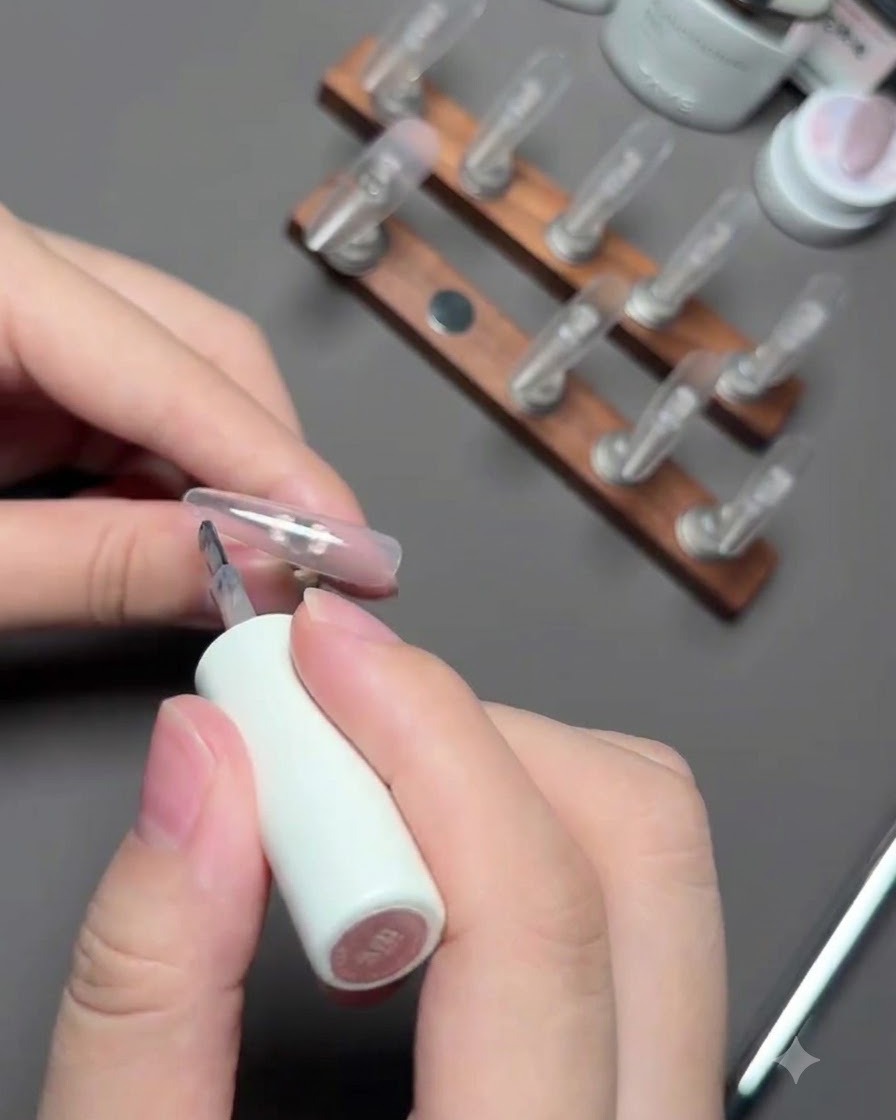
Take the nude color gel polish and paint the entire nail plate of the index finger evenly. Ensure full coverage from cuticle to free edge while keeping the layer thin to prevent wrinkling during curing. This provides a solid base for any overlay effects like cat eye gel.
Tip: Cap the free edge of the nail with color to ensure long-lasting wear and prevent edge chipping. - 6Apply nude color to ring finger
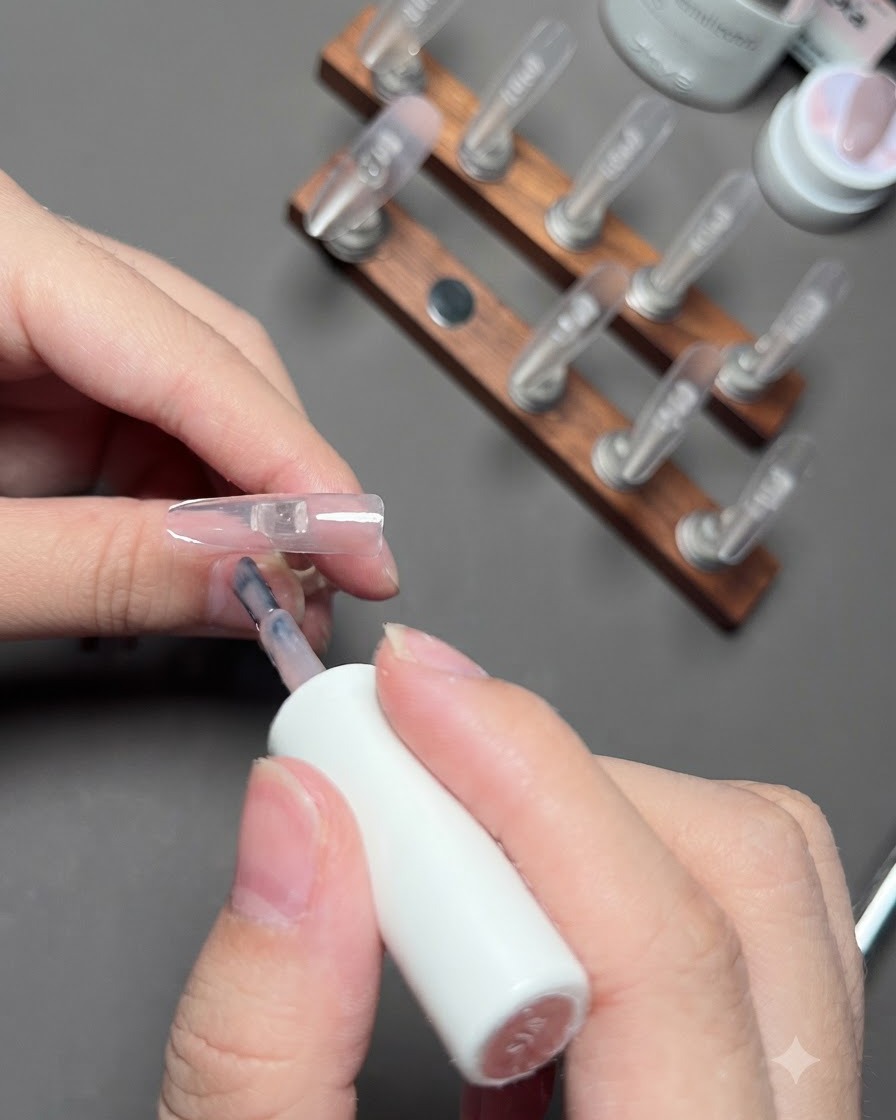
Using the same nude color gel polish, apply an even coat over the entire nail plate of the ring finger. Maintain a consistent thickness with the previous nail to keep the overall set uniform. Check for smooth coverage before curing.
Tip: Work efficiently to keep the gel level before placing it under the lamp. - 7Apply silver cat eye gel to thumb
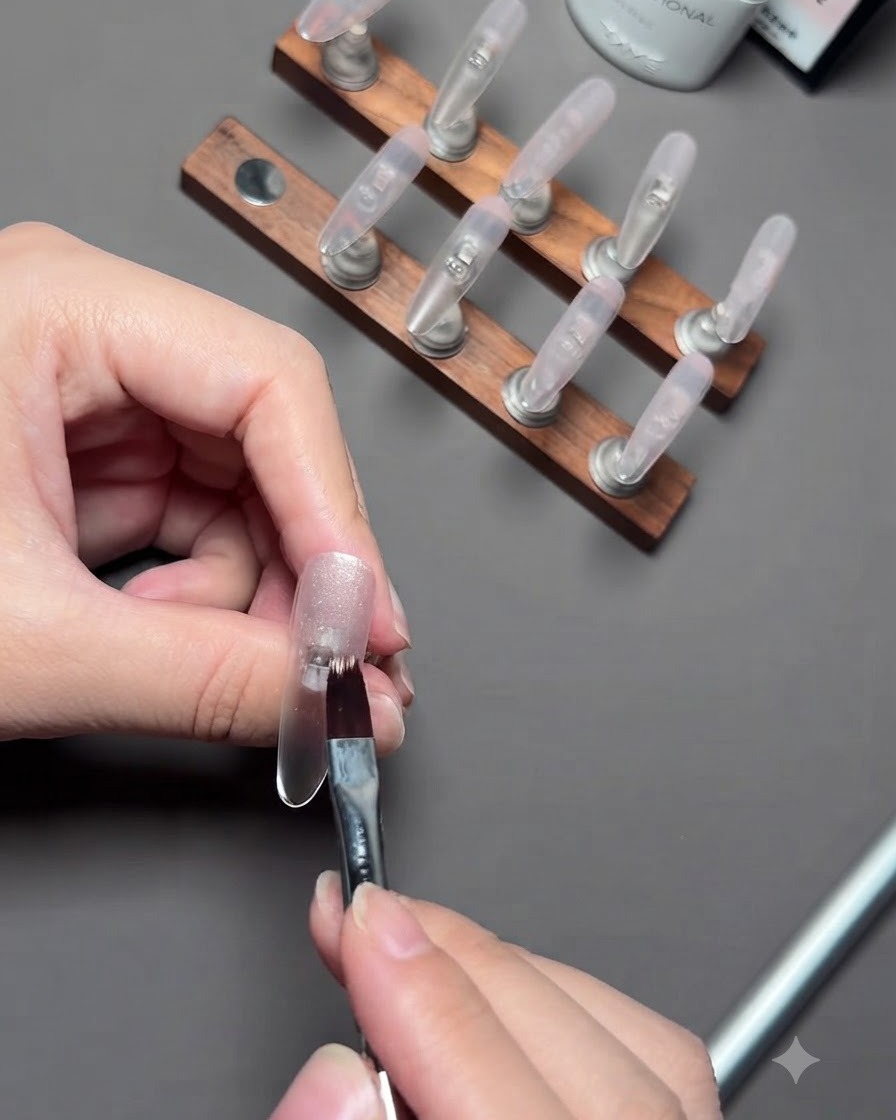
Apply a layer of silver cat eye gel over the cured nude base on the thumb. Ensure an even distribution across the nail surface before using the magnet to shape the shimmer particles.
Tip: Apply a moderate amount of cat eye gel so the magnetic particles have enough fluid medium to move freely when the magnet is applied. - 8Magnetize the thumb nail shimmer
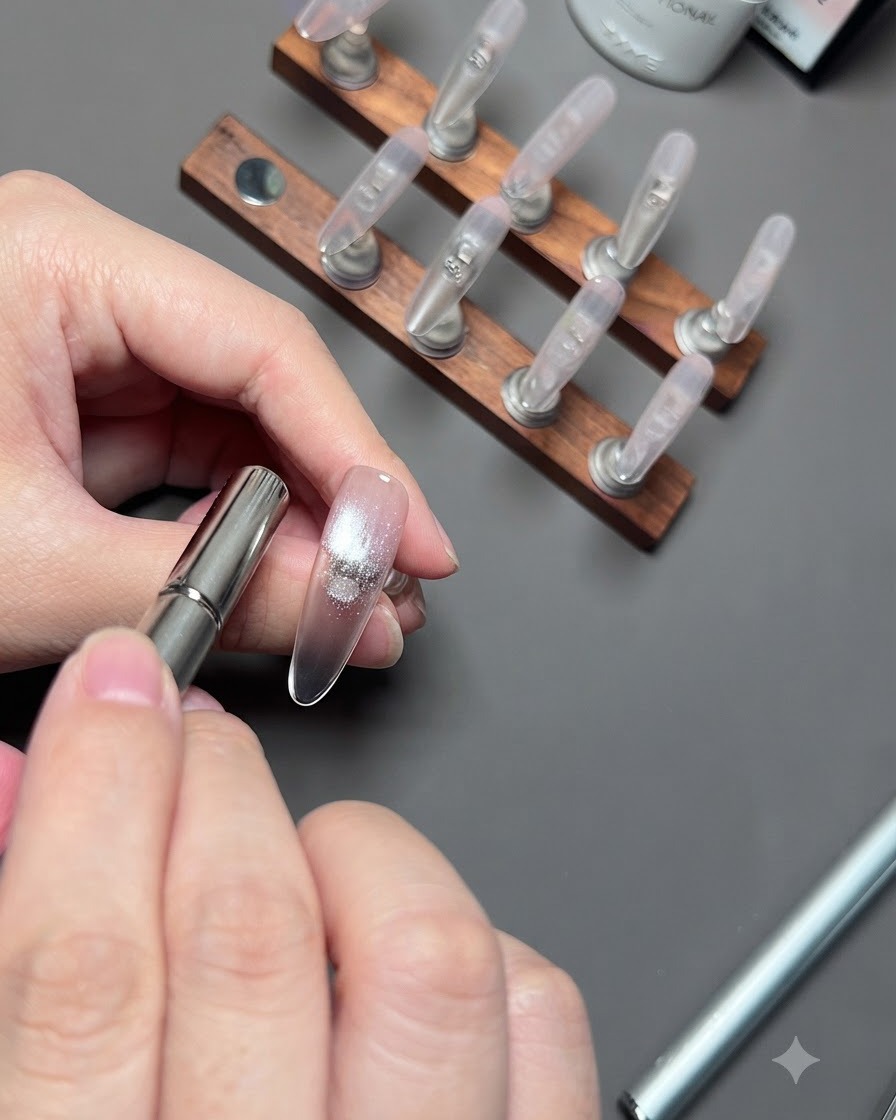
Hold a cylindrical magnetic wand above the thumb nail to pull the shimmer particles to the center. Keep the magnet steady and close enough to concentrate the light reflection into a bright central line or point.
Tip: Do not touch the wet gel surface with the magnet. Maintain a close hover to get the sharpest cat eye effect. - 9Apply cat eye gel to remaining nails
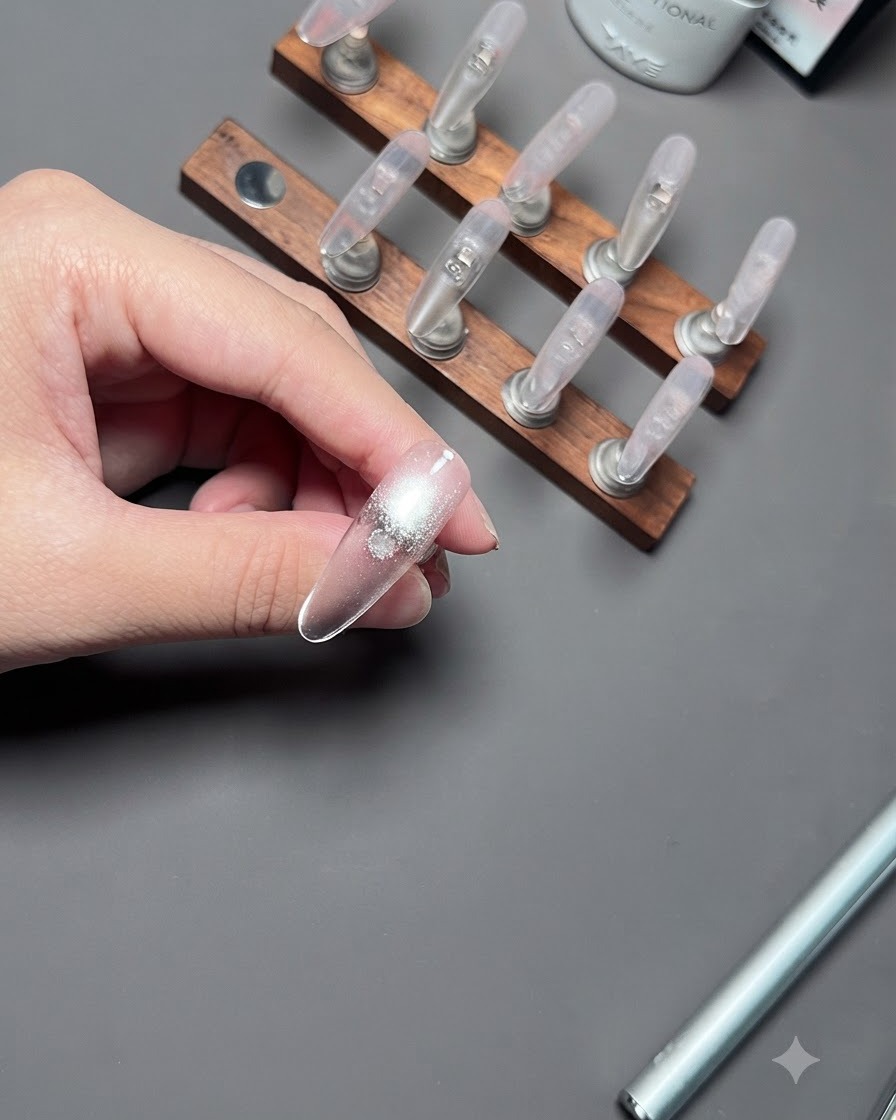
Apply cat eye gel to the remaining nails following the same technique used on the thumb. Work systematically across the rest of the fingers to prepare them for magnetic activation.
Tip: Work on a few fingers at a time if the gel self-levels too quickly or pools near the cuticles. - 10Gather shimmer on remaining nails
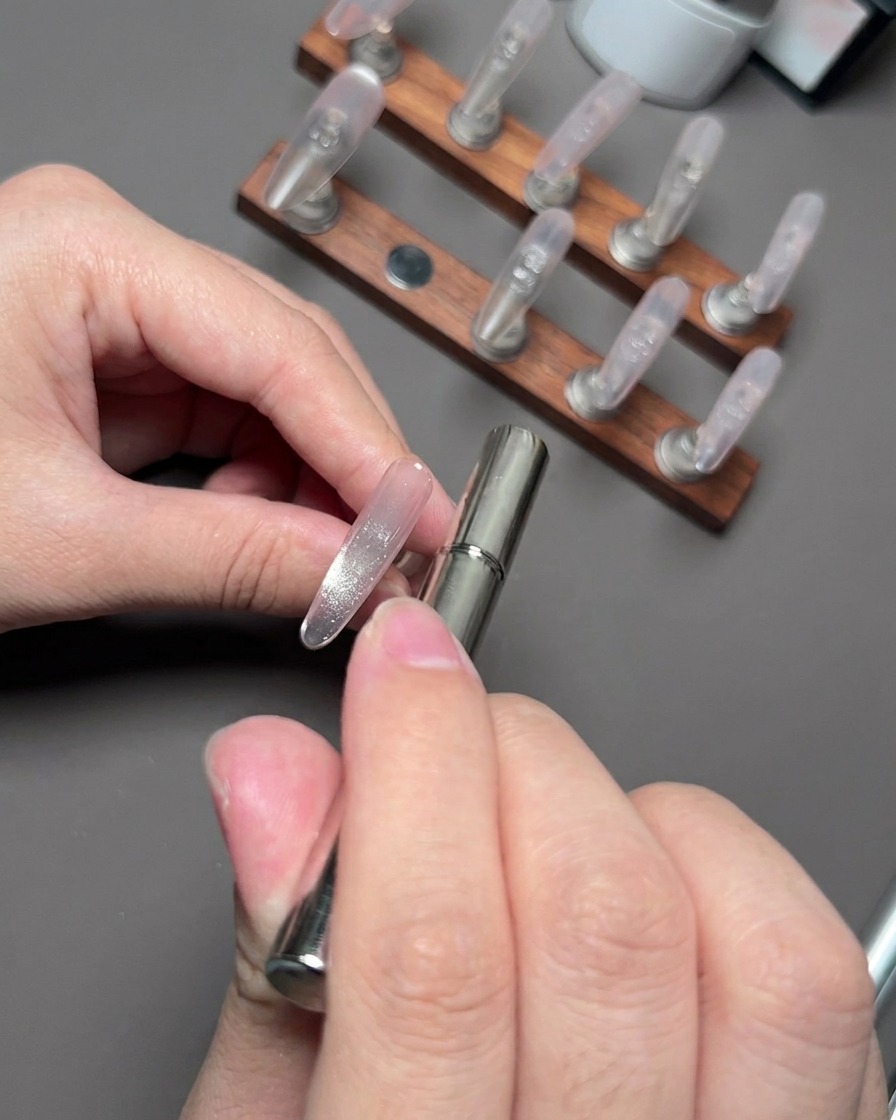
Hover the magnet in a circular motion around the edges of the other nails to concentrate the shimmer. This technique draws the magnetic particles toward specific areas to create a halo or multi-dimensional look.
Tip: Control the distance of the magnet carefully to achieve an even intensity of shimmer across all fingers. - 11Cure cat eye gel layer
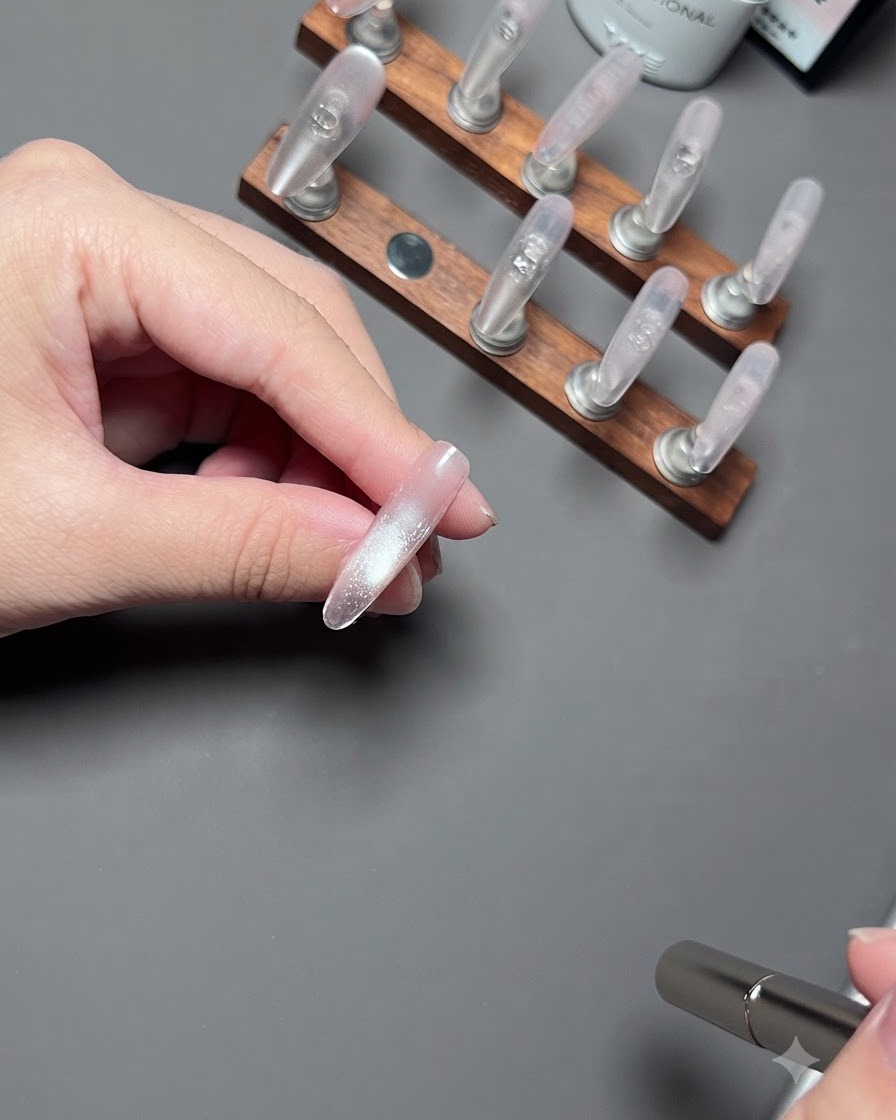
Cure the cat eye gel layer on all nails under the UV lamp. Ensure each finger receives adequate exposure to lock the magnetic design permanently in place.
Tip: Double-check the magnet effect immediately before placing the hand under the lamp to ensure the shimmer hasnt shifted. - 12Pick up white plaid stamping pattern
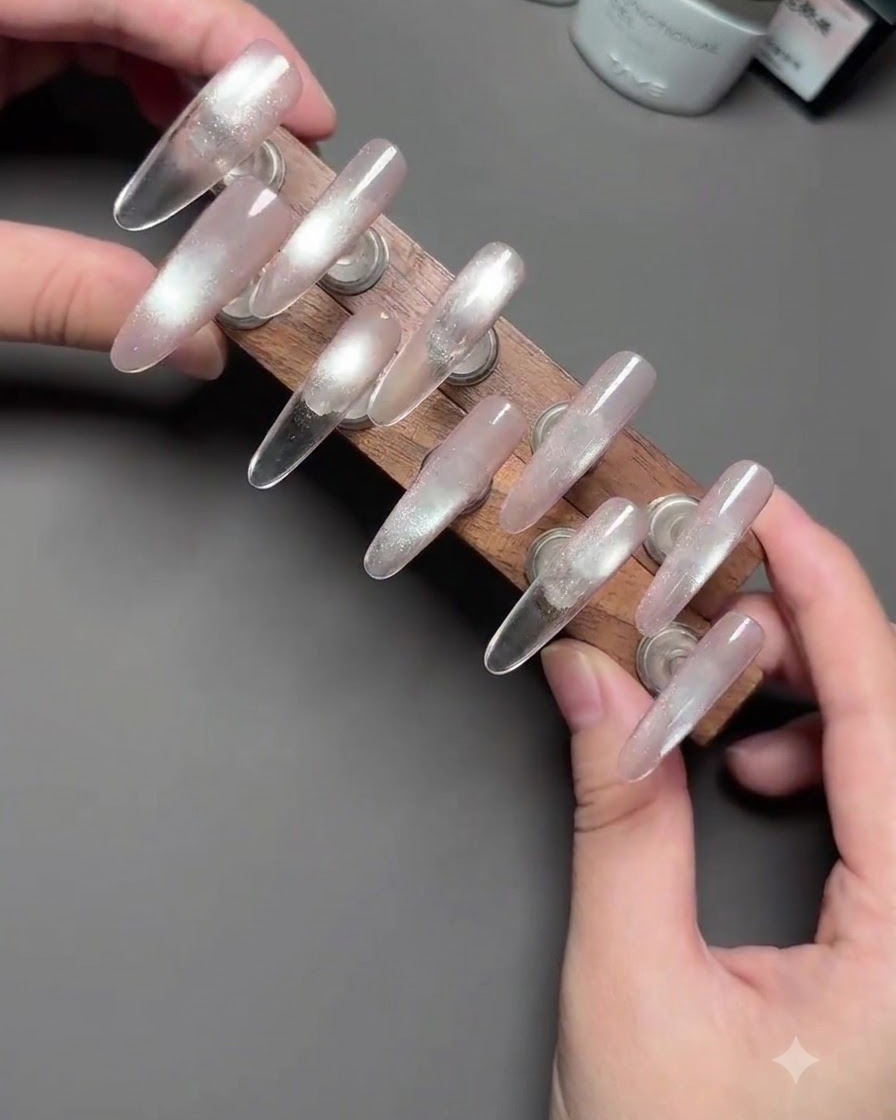
Pick up a white plaid pattern from a stamping plate using a clear silicone stamper. Press gently and evenly onto the plate to capture the complete design without smudging.
Tip: Roll the clear stamper smoothly across the plate rather than pressing straight down for a clean transfer. - 13Transfer white plaid pattern onto the thumb nail
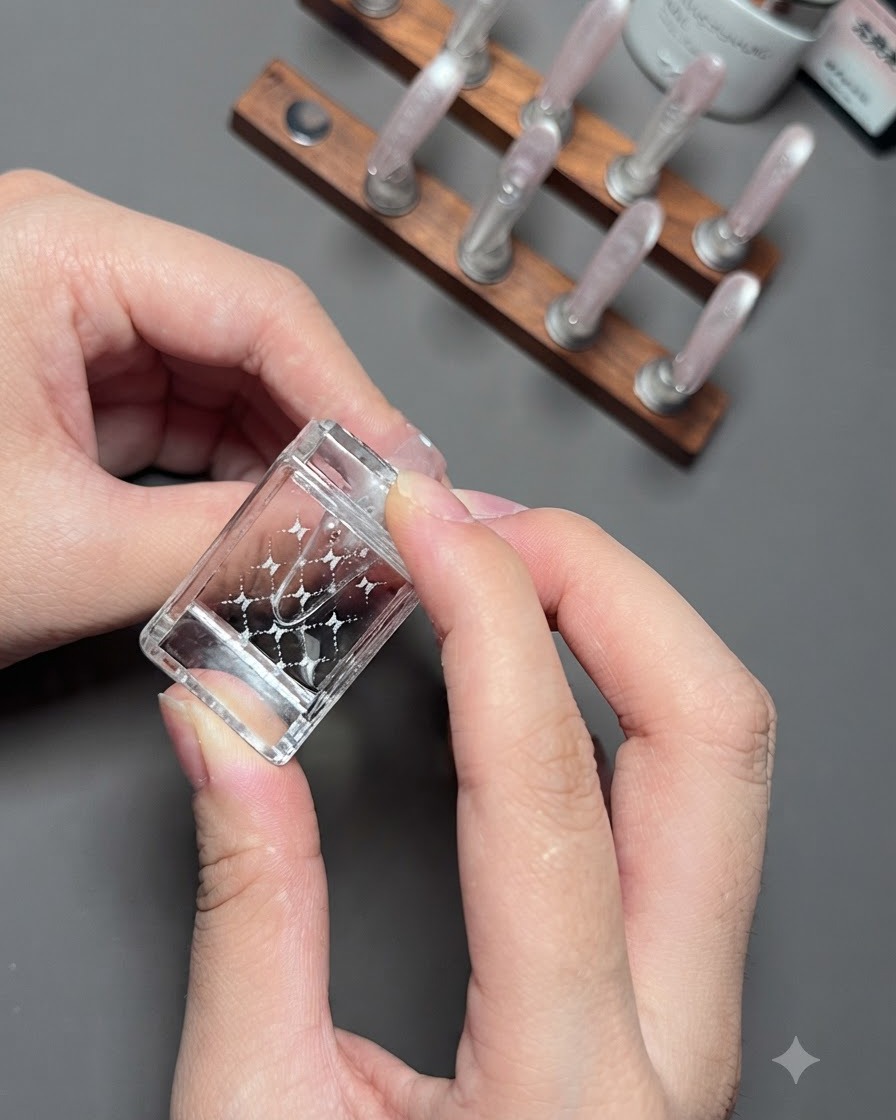
Take the clear stamper carrying the cured or tacky white plaid pattern and press it firmly onto the thumb nail to transfer the design. Align the pattern carefully over the gradient base before pressing down to ensure proper placement without smudging.
Tip: Press gently and evenly across the stamper head to ensure the entire geometric pattern transfers cleanly onto the curved nail surface. - 14Pick up white lace pattern with a clear stamper
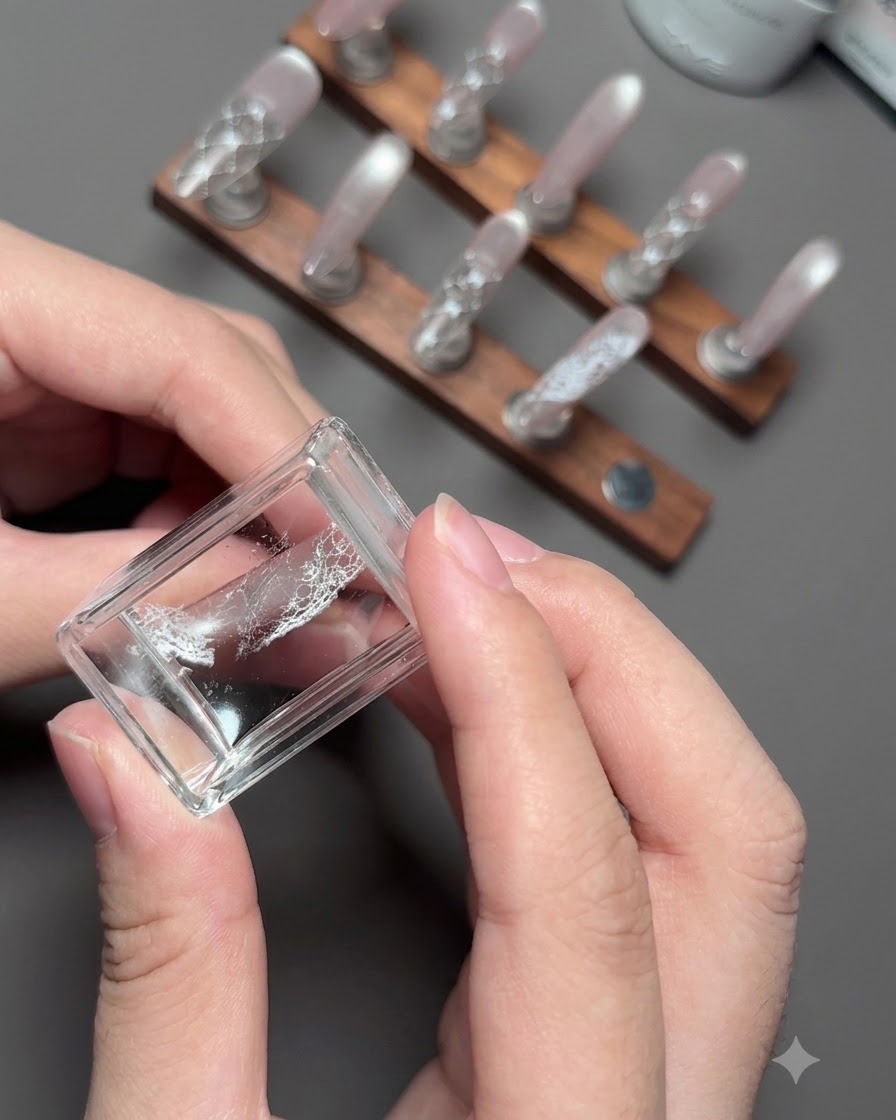
Use the clear stamping tool to pick up a delicate white lace pattern from the stamping plate. Ensure the design adheres fully to the silicone surface before applying it to the designated finger.
Tip: Roll the stamper gently across the plate rather than pressing straight down to prevent air bubbles and pick up fine lines cleanly. - 15Transfer lace design onto index and ring fingers
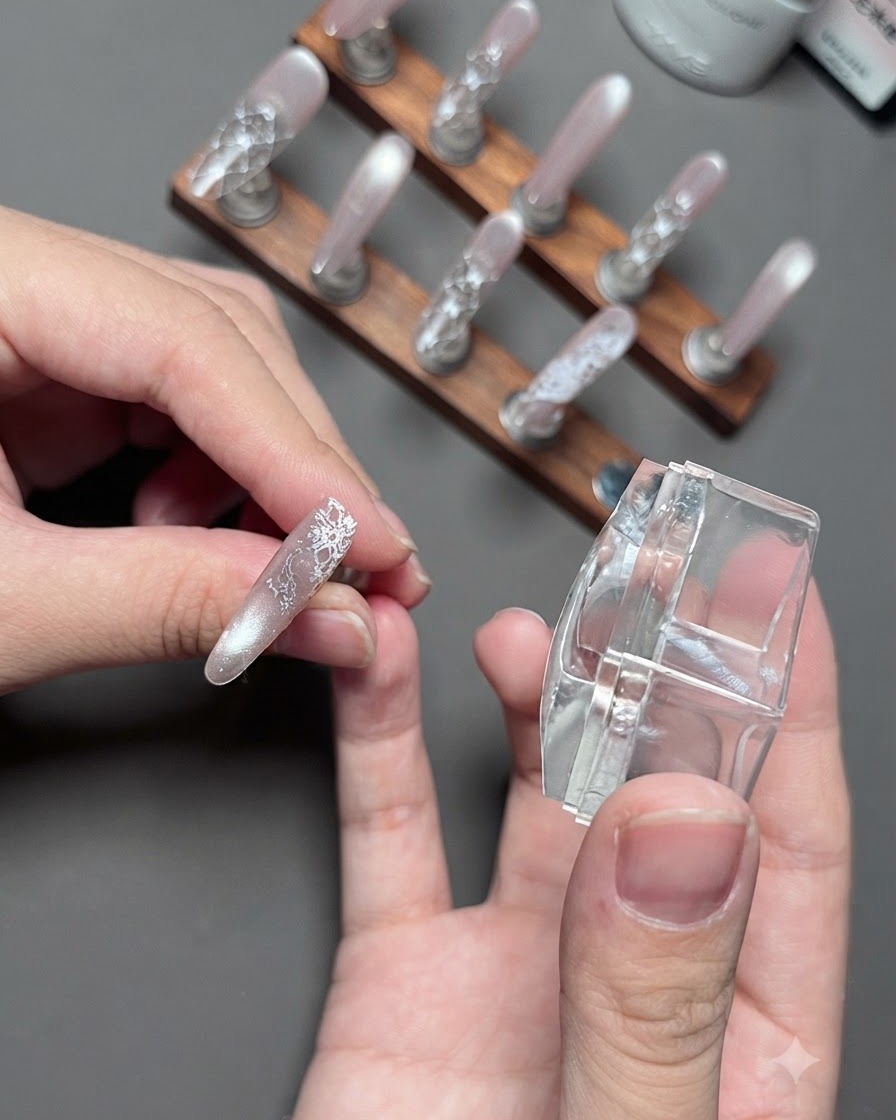
Carefully press the clear stamper onto the index and ring fingers to transfer the white lace pattern onto the cat-eye gradient base. Position the lace motif neatly to enhance the overall layered look.
Tip: Align the edge of the stamper with the cuticle or sidewall to keep the lace placement straight and symmetrical. - 16Apply French guide sticker for tip design
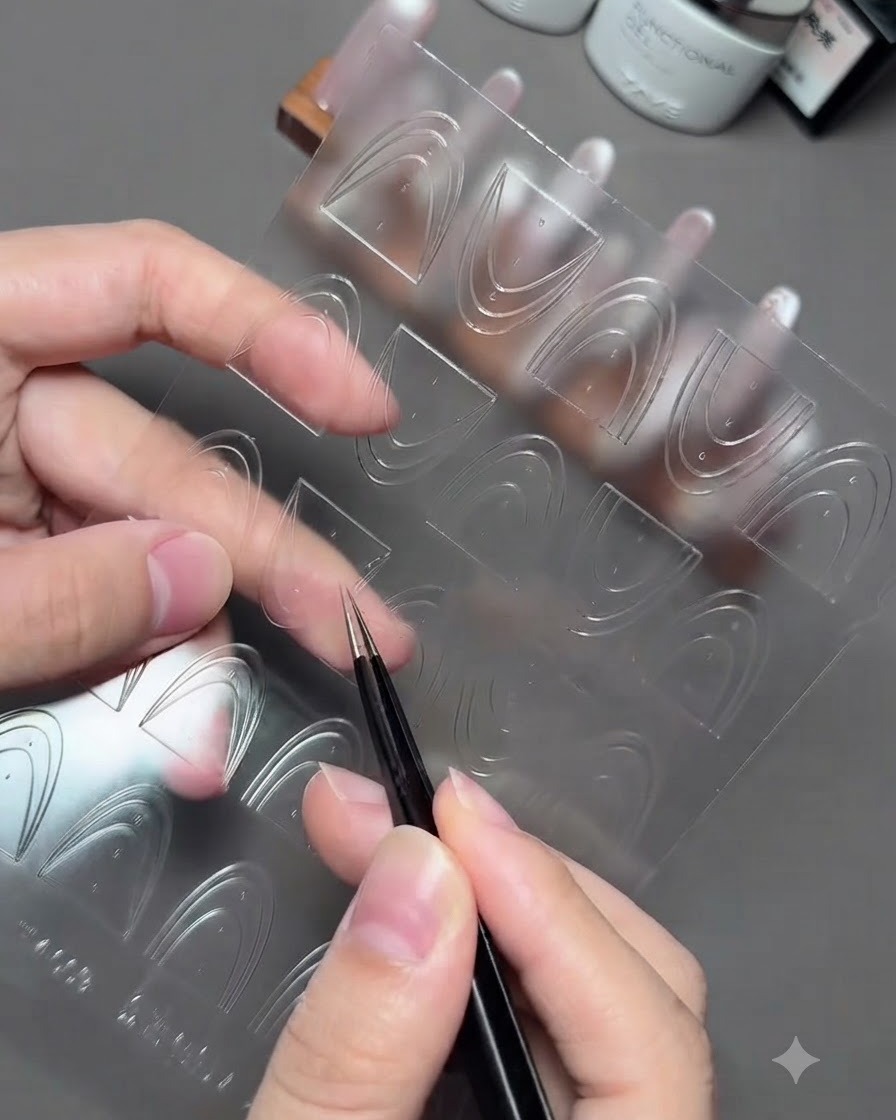
Select an appropriate curved French guide sticker from the sheet using fine tweezers. Place it horizontally across the middle of the plaid-patterned thumb nail to section off the tip area for the next color application.
Tip: Ensure the guide sticker is placed symmetrically so the resulting French tip line looks clean and balanced. - 17Press French guide sticker edges firmly
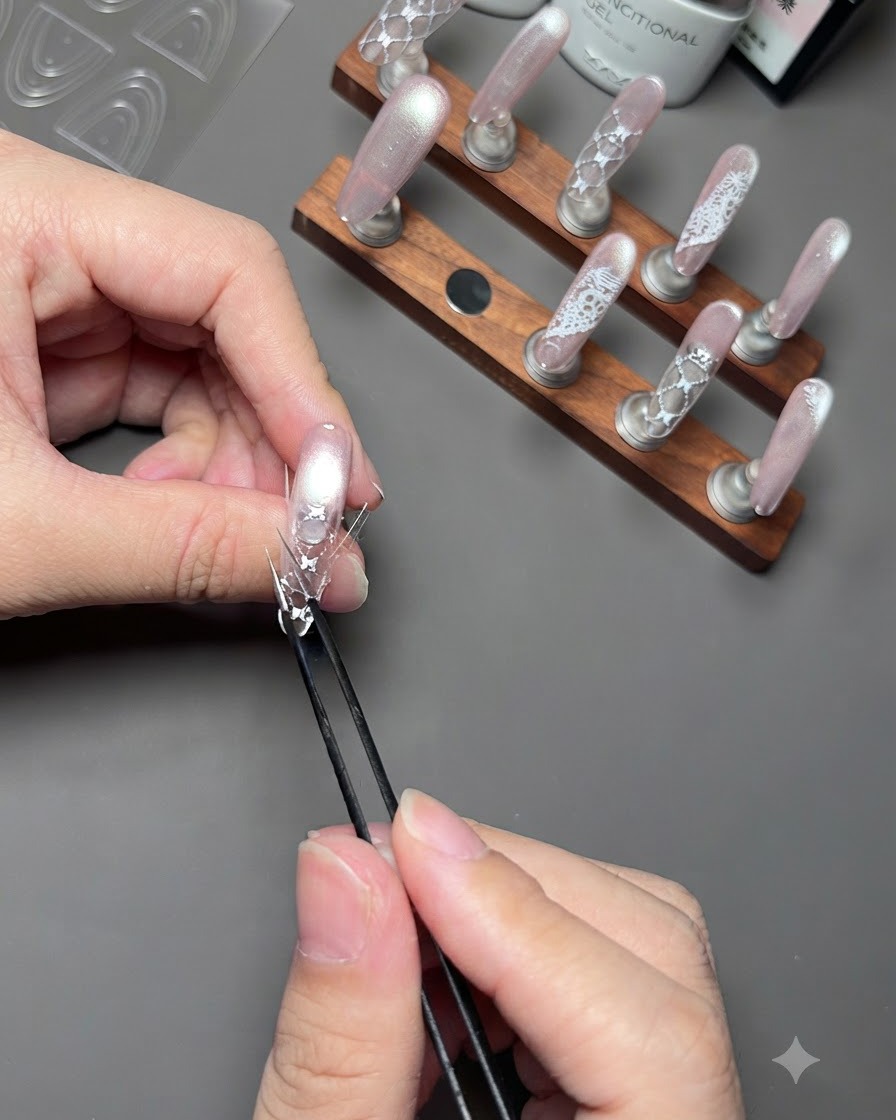
Using precision tweezers, press down along the edges of the French guide sticker on the nail surface. This ensures it sits completely flush against the nail, preventing any gel polish from bleeding underneath the guide line.
Tip: Press down firmly around the sidewalls where lifting is most common to guarantee a sharp, clean paint line. - 18Apply pink gel polish to the nail tip
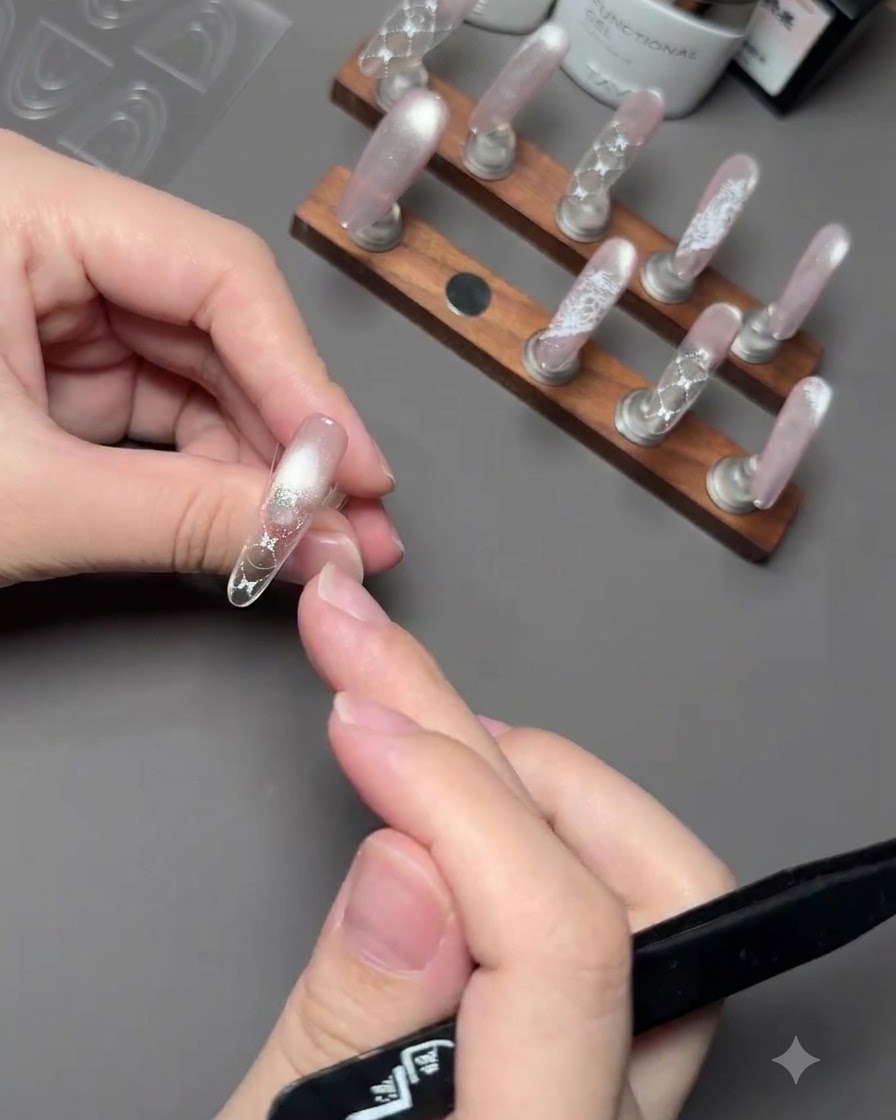
Take a fine brush and apply an opaque layer of pink gel polish directly onto the tip area of the nail above the placed guide sticker line. Keep the application smooth and even to form a defined pink French tip.
Tip: Apply thin coats of colored gel near the guide sticker to avoid creating a thick, uneven ridge when the sticker is removed. - 19Peel off the guide sticker
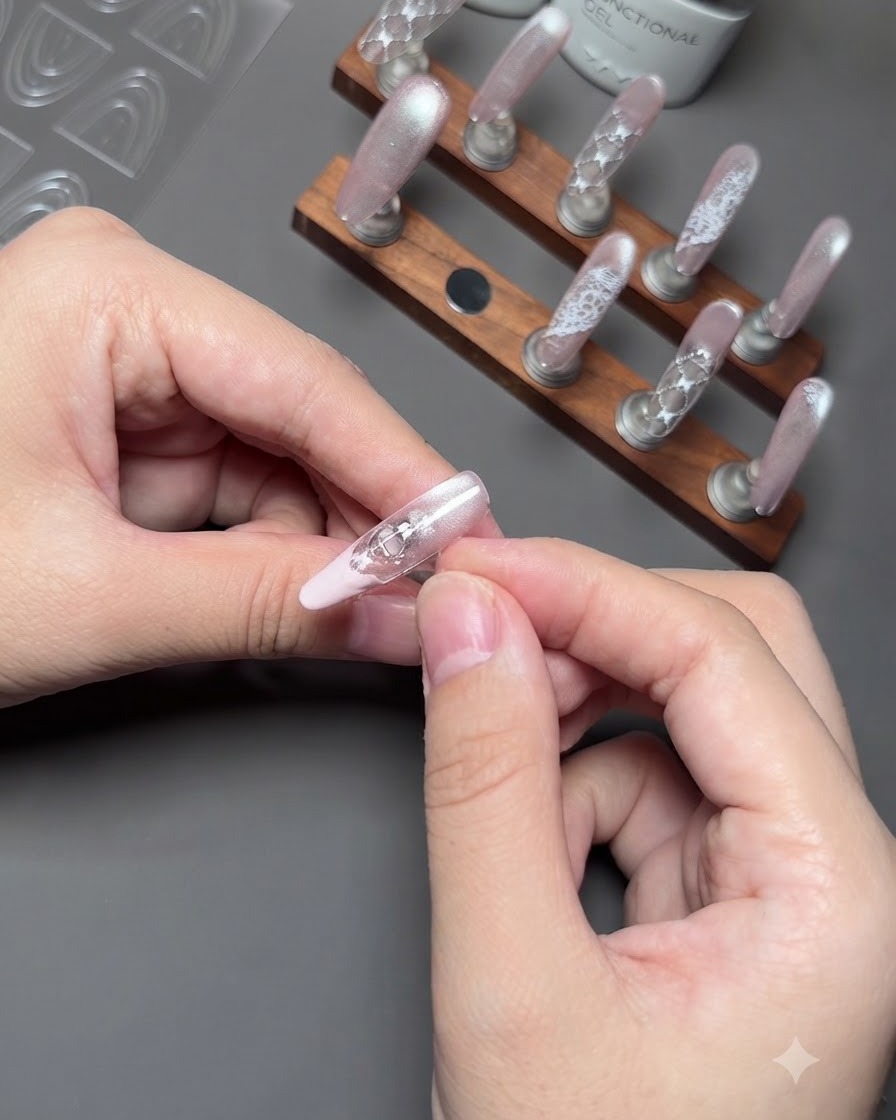
Gently and carefully peel off the French guide sticker using your fingers to reveal a clean, crisp, and precise pink French tip line.
Tip: Peel the sticker off slowly at a low angle to avoid smudging the fresh gel polish underneath. - 20Apply clear reinforcement gel
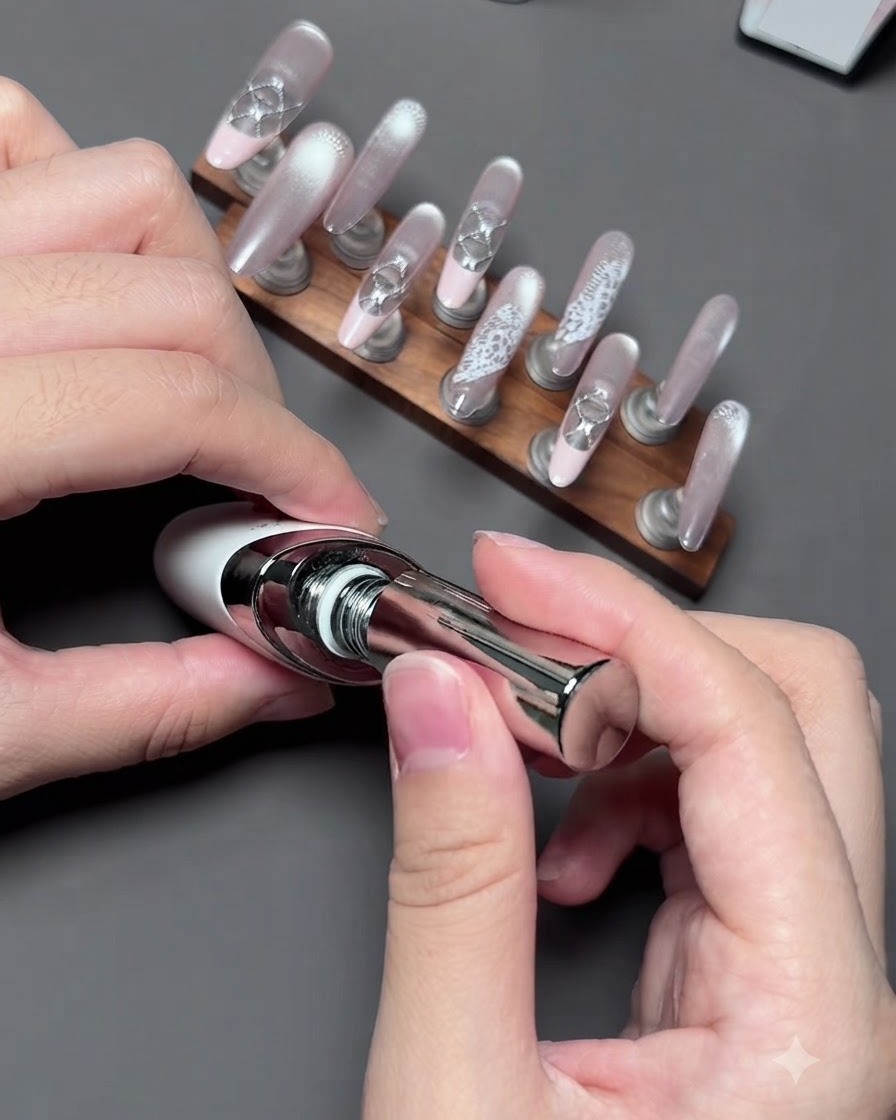
Brush a layer of clear reinforcement gel evenly over the entire surface of the nail to encapsulate and seal in the underlying designs and patterns.
Tip: Ensure the reinforcement gel covers all edges completely to protect the intricate nail art from chipping or peeling. - 21Cure the reinforcement gel
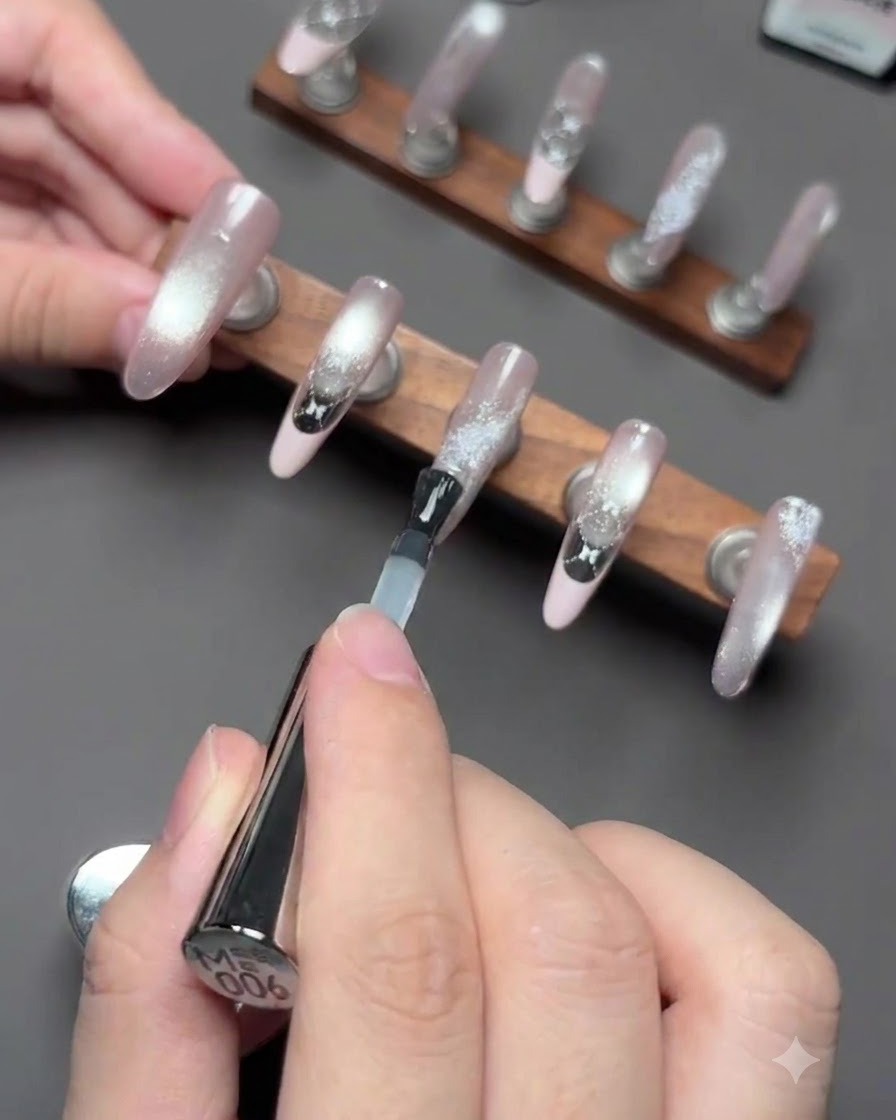
Place the nails under the UV lamp to thoroughly cure the reinforcement gel layer, hardening it into a protective shield.
Tip: Check that the lamp covers all nail angles uniformly to prevent uncured spots in the reinforcement layer. - 22Pick up 3D charms
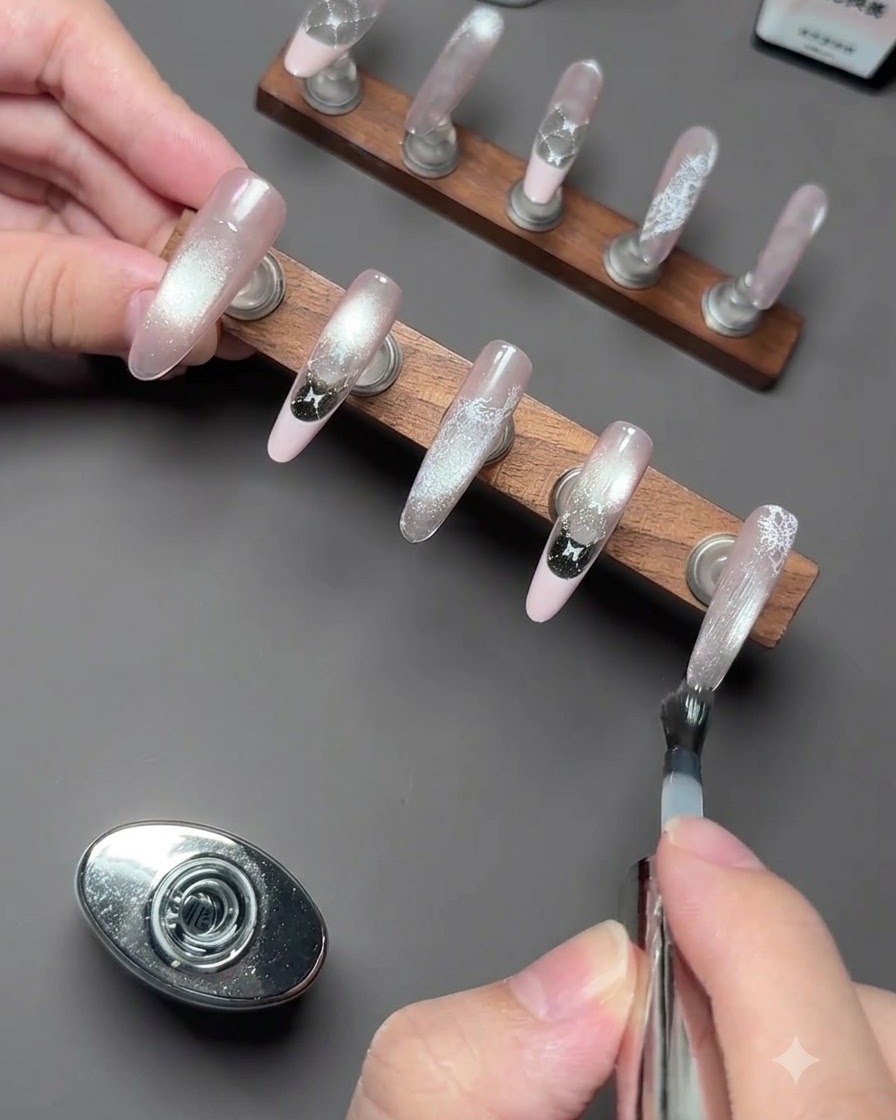
Use precision tweezers to firmly pick up pre-made 3D embellishments, such as the white kitty and light blue bow charms, preparing them for placement.
Tip: Hold the charms securely near their base with the tweezers to maintain control while moving them to the nail surface. - 23Position 3D charms
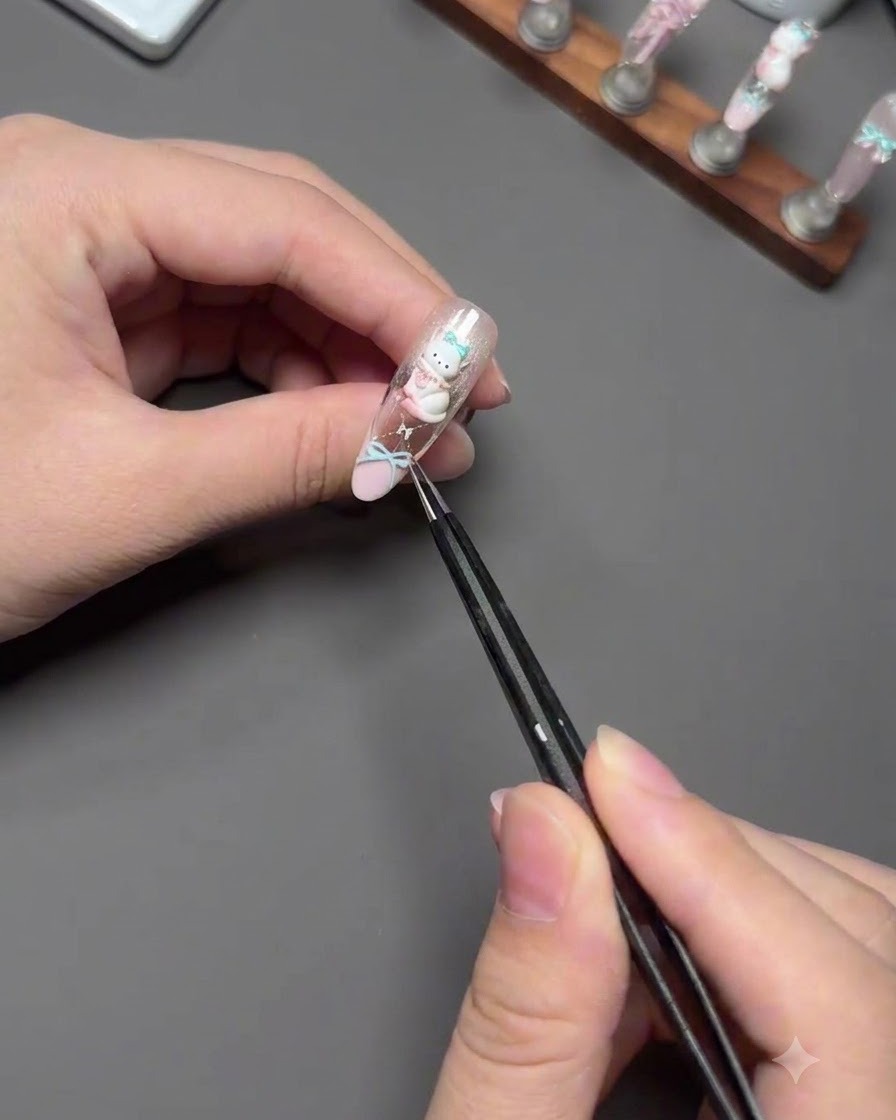
Carefully place and position the 3D charms onto the exact spots on the nails where adhesive gel has already been applied, pressing gently to secure them.
Tip: Adjust the placement quickly before the adhesive gel sets so the charms align perfectly with your design layout. - 24Cure 3D charms with handheld lamp
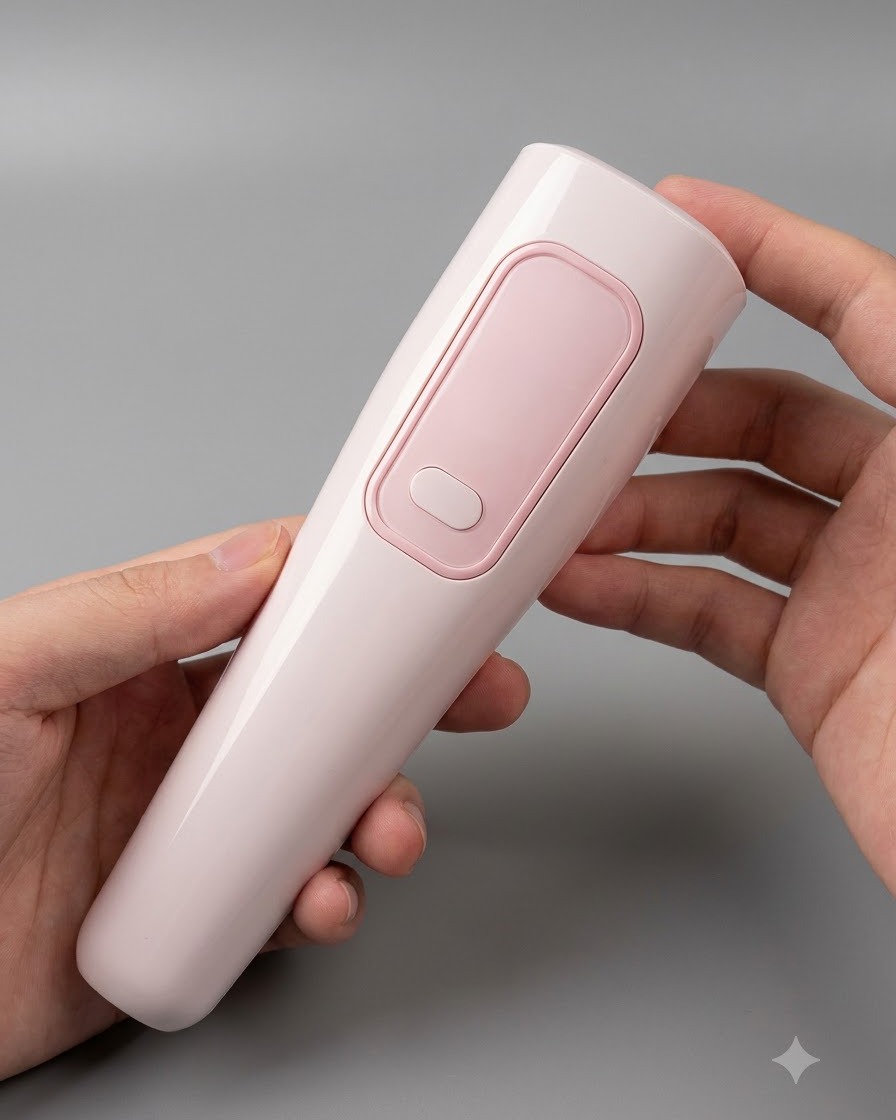
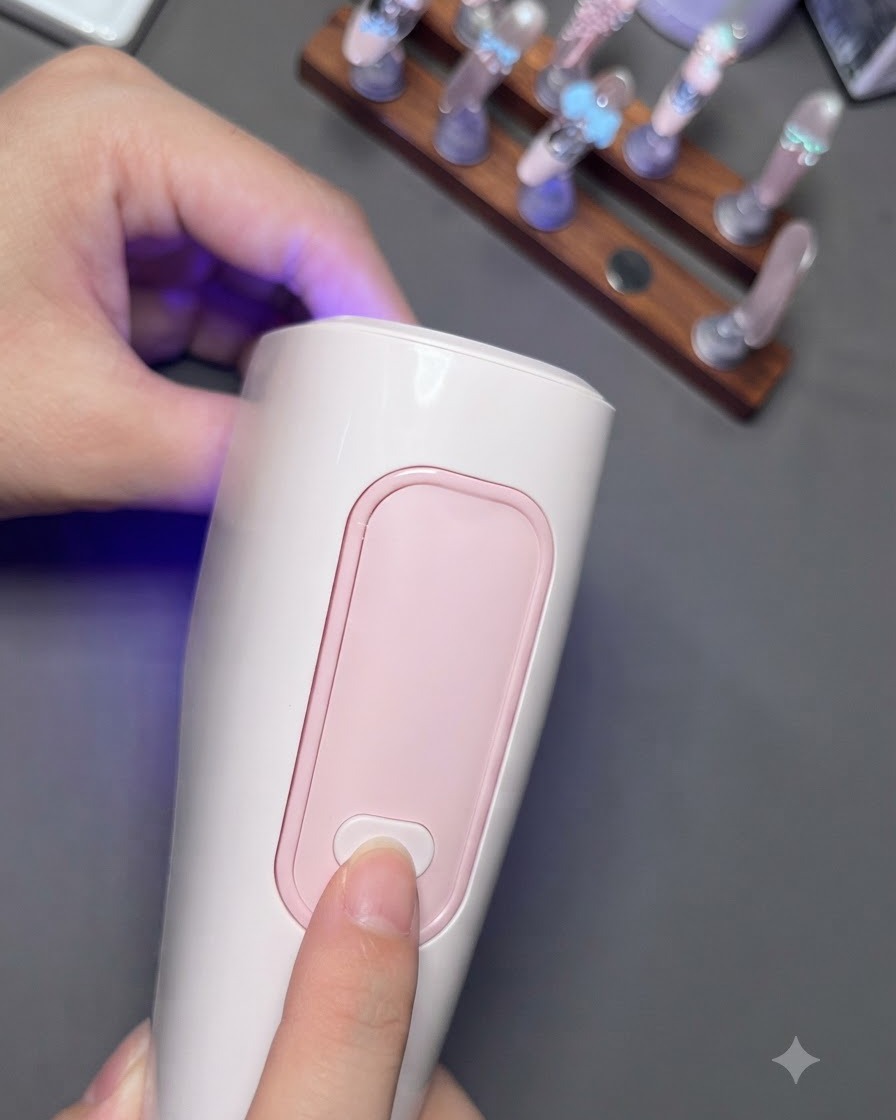
Position the large handheld UV/LED lamp directly over the nail stand to cure all the newly applied 3D charms at the same time, saving time and ensuring a secure hold.
Tip: Utilize the wide illumination range and large space of the handheld lamp to cure multiple decorated nails simultaneously without light leakage issues. - 25Apply Top Coat Over 3D Molds
Apply a clear glossy top coat layer specifically over the 3D molds to seal them and secure their placement. Brush carefully around the edges to ensure complete coverage without flooding the surrounding nail area. Once cured, you can also brush on some pearlescent smudging liquid for a magical finishing touch.
Tip: Make sure to cap the edges of the 3D molds with top coat so they do not catch on clothing or hair.