Peach Ombre
Gold Cat-Eye Gel Nails — Step-by-Step Tutorial
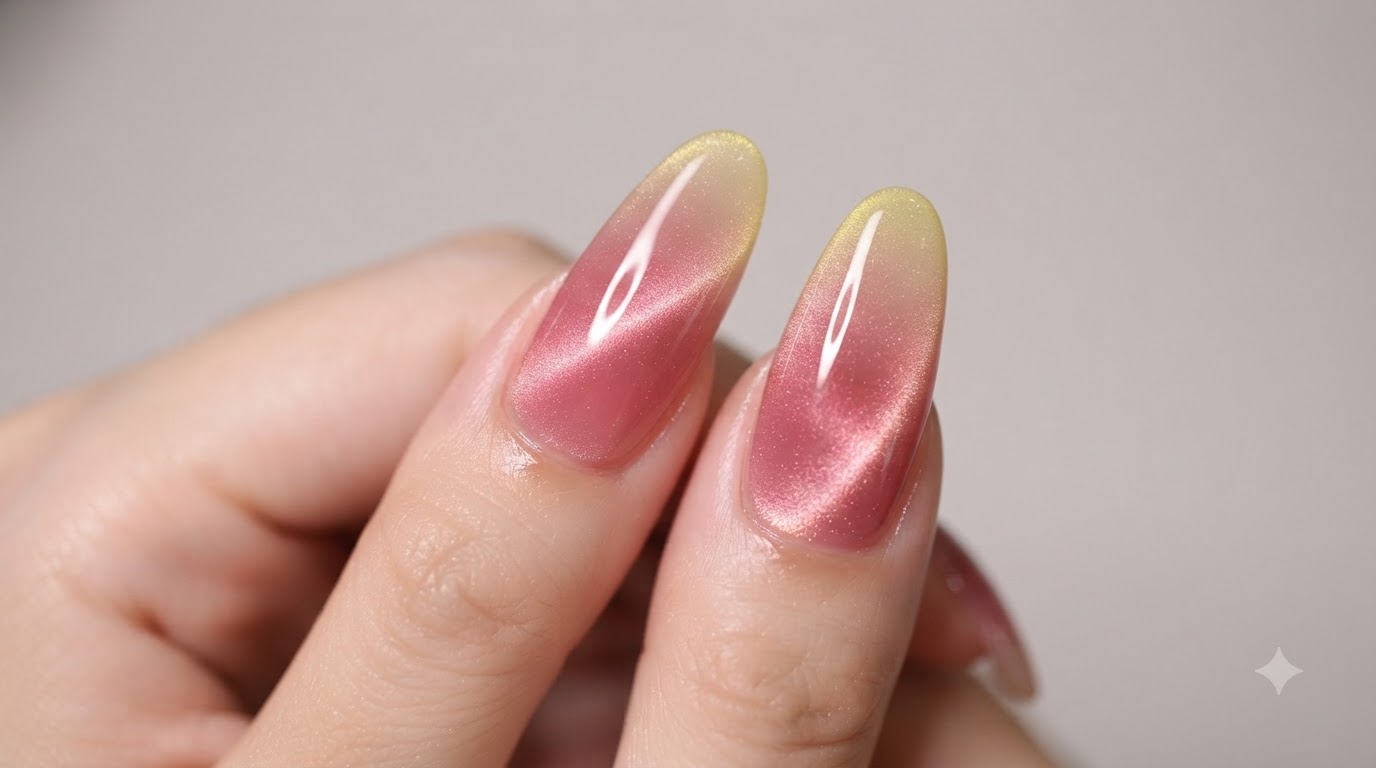
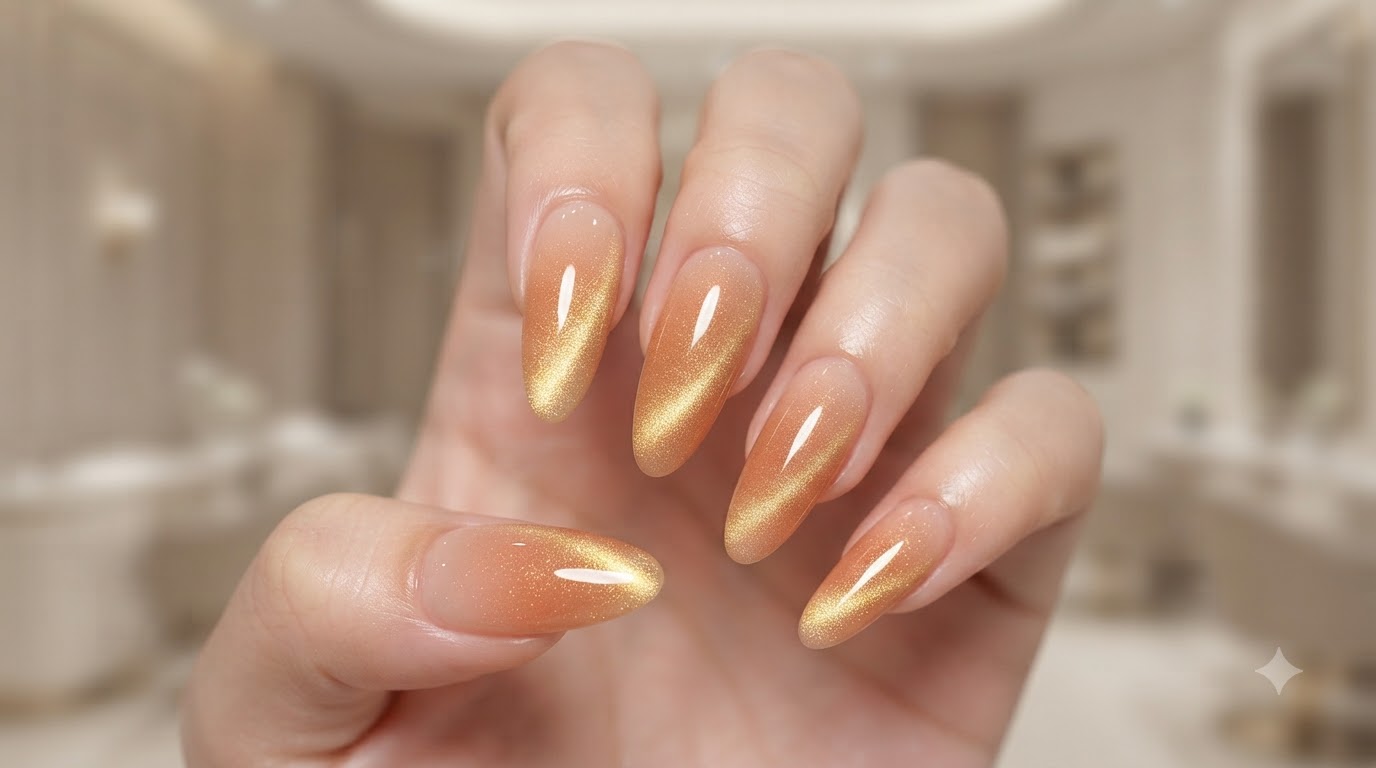
Create stunning peach ombre gel nails with a shimmering gold cat-eye glass bead effect using an easy makeup sponge and magnetic technique.
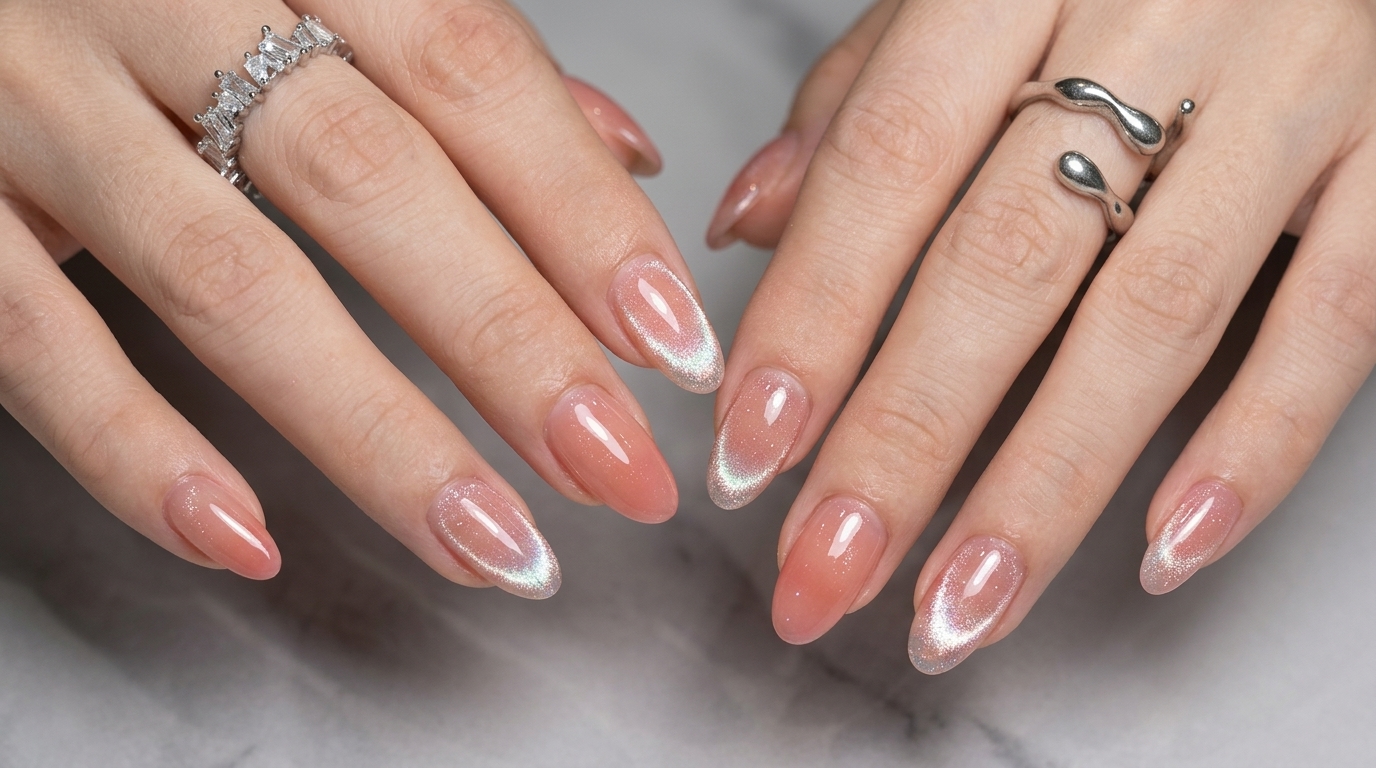
Combining a soft airbrushed peach gradient with luxurious gold cat-eye dimension creates a mesmerizing glass bead effect that catches the light from every angle. This beginner-friendly tutorial guides you through each stage, from prepping the nail extension to mastering the magnetic light reflection.
Steps
- 1Clean the nail extension
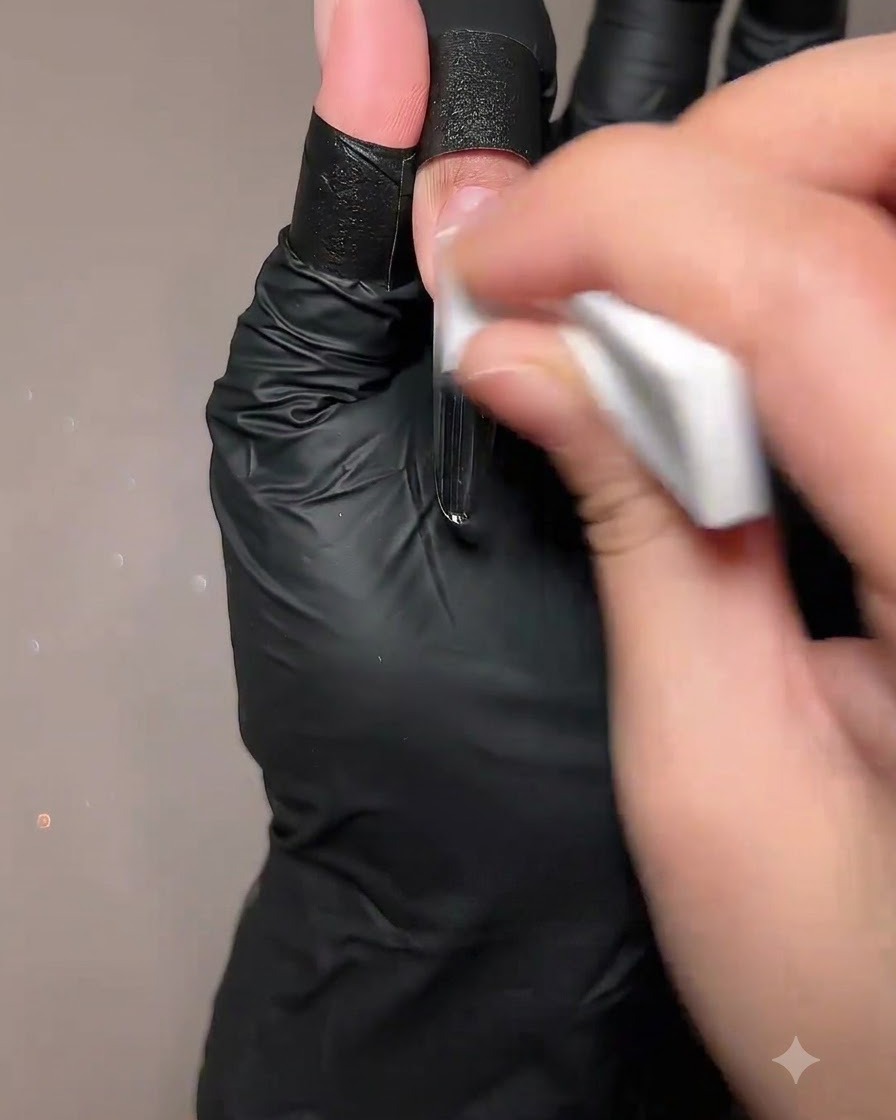
Wipe the free edge and surface of the nail extension using a cleansing wipe to ensure a completely clean base. This step removes any residual oils or dust before applying color.
Tip: Use a lint-free wipe to avoid leaving any small fibers on the nail surface. - 2Cure the cleaned nail
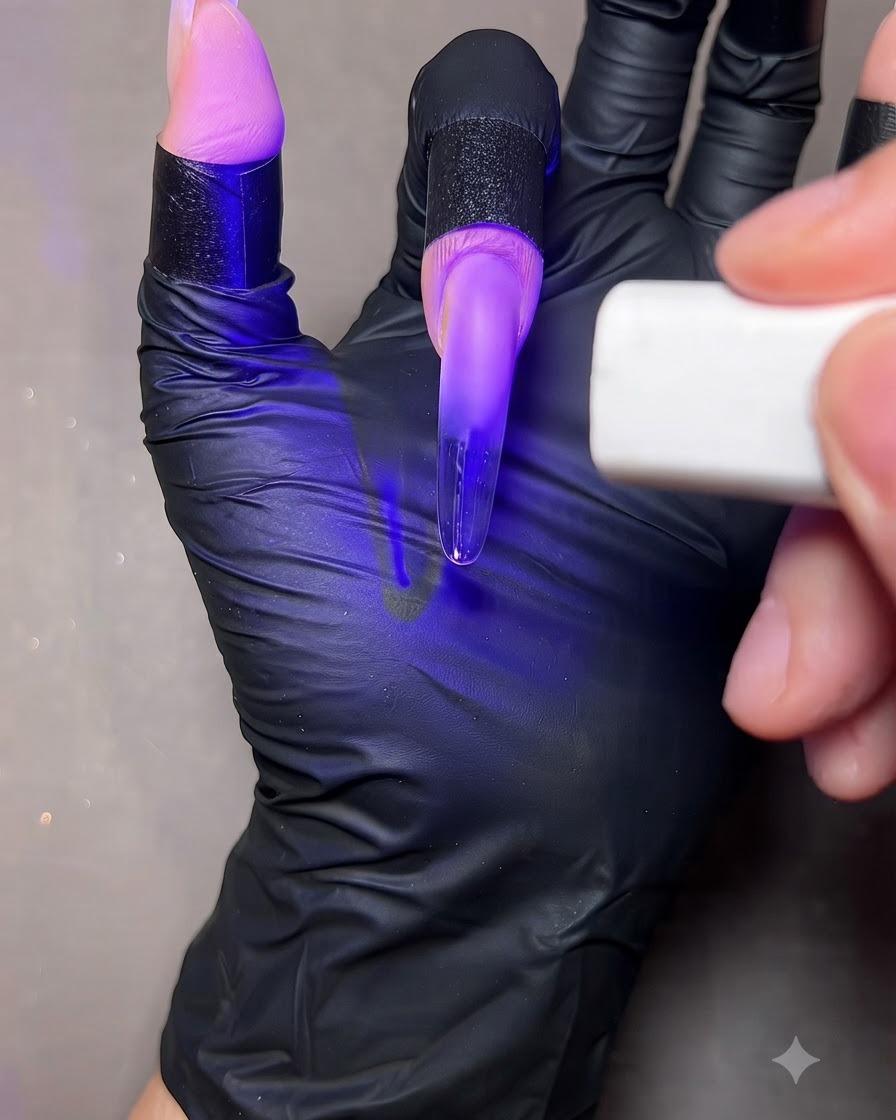
Place the prepared nail under a portable UV or LED lamp to completely dry the surface. Ensure the light hits the entire nail for an even cure.
Tip: Keep the finger perfectly still under the lamp to prevent any shadows from blocking the light. - 3Pick up the peach gel
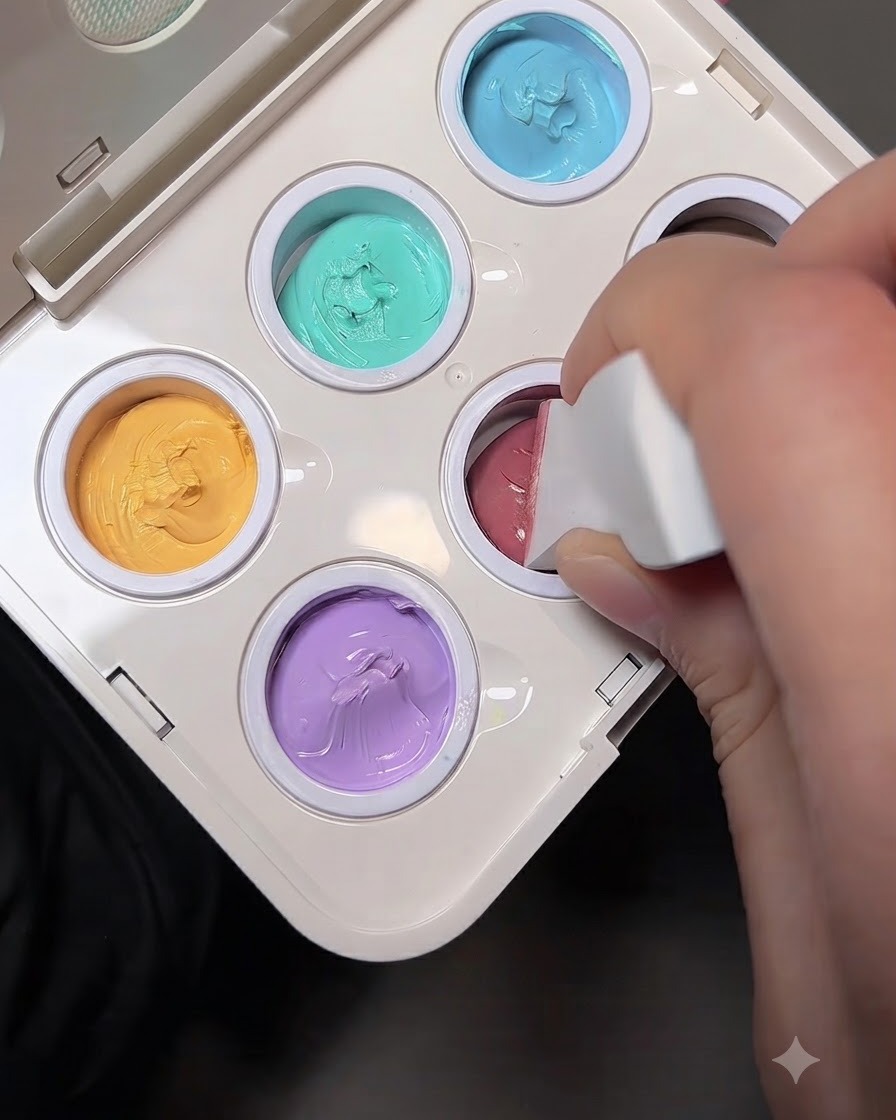
Take a clean makeup sponge and gently press it into the peach-colored gel from your palette. You only need a small amount of product to begin building the gradient effect.
Tip: Avoid fully saturating the sponge; a light tap is enough to pick up the necessary amount of gel. - 4Control the product amount
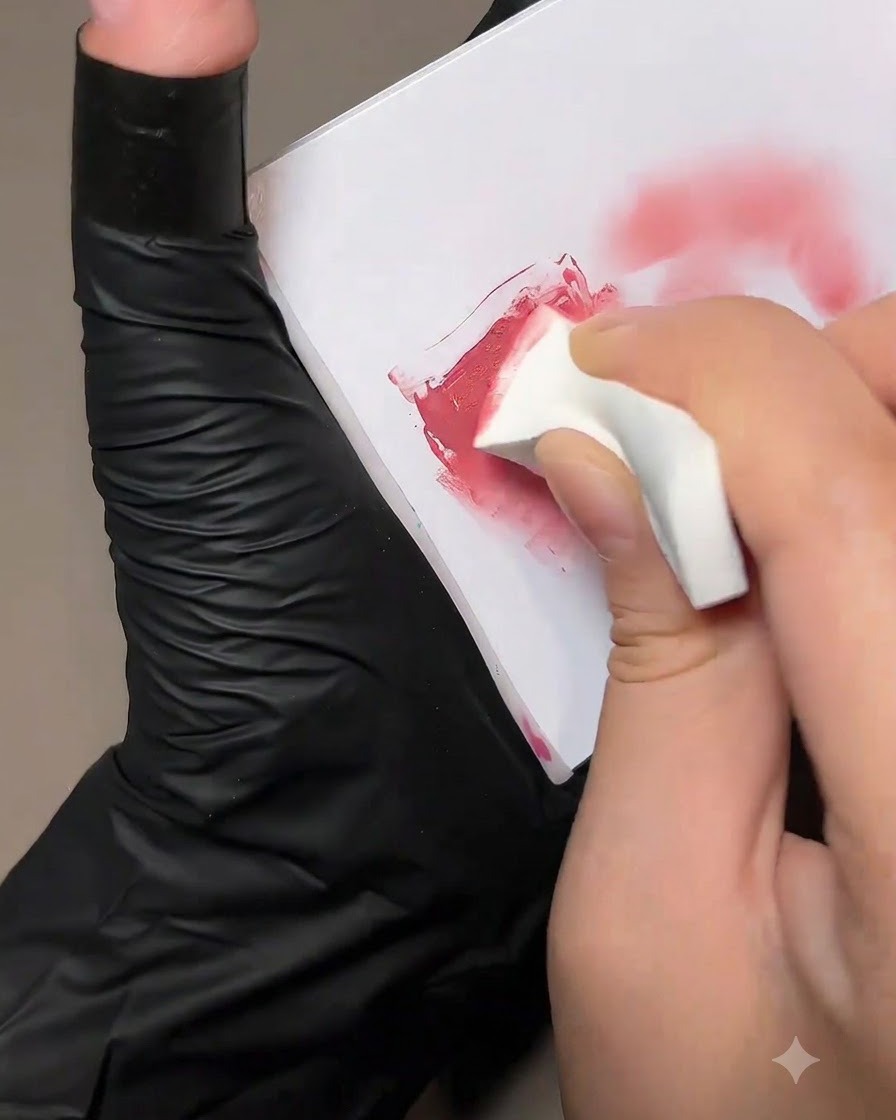
Dab the gel-loaded sponge onto a piece of mixing paper to distribute the color evenly. This helps control the amount of product and prevents a thick, blotchy application on the nail.
Tip: Tapping off the excess product ensures a smoother, more airbrushed gradient transition. - 5Apply the first peach layer
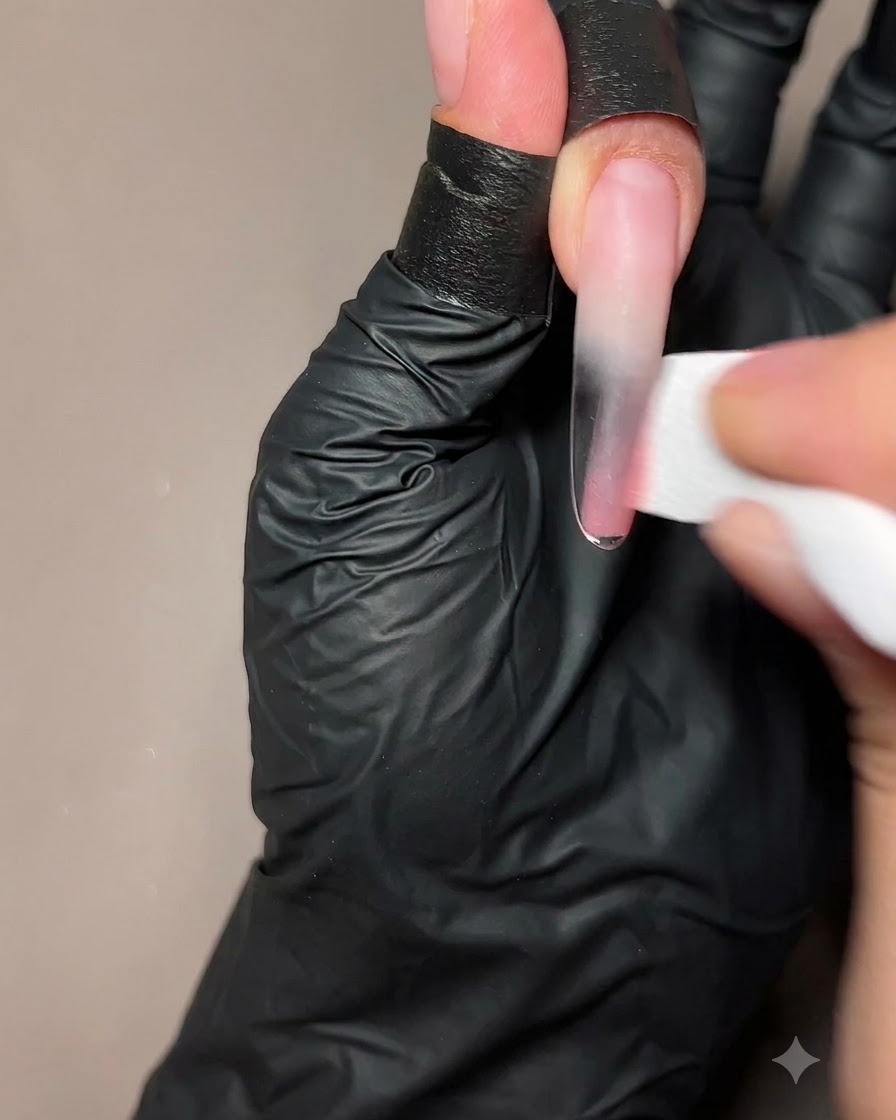
Using a light bouncing motion, gently dab the peach gel onto the bottom half of the nail plate. Work your way up slightly to create a seamless fade towards the cuticle area.
Tip: Build the color gradually with thin layers rather than applying a thick coat all at once. - 6Cure the first peach gradient layer
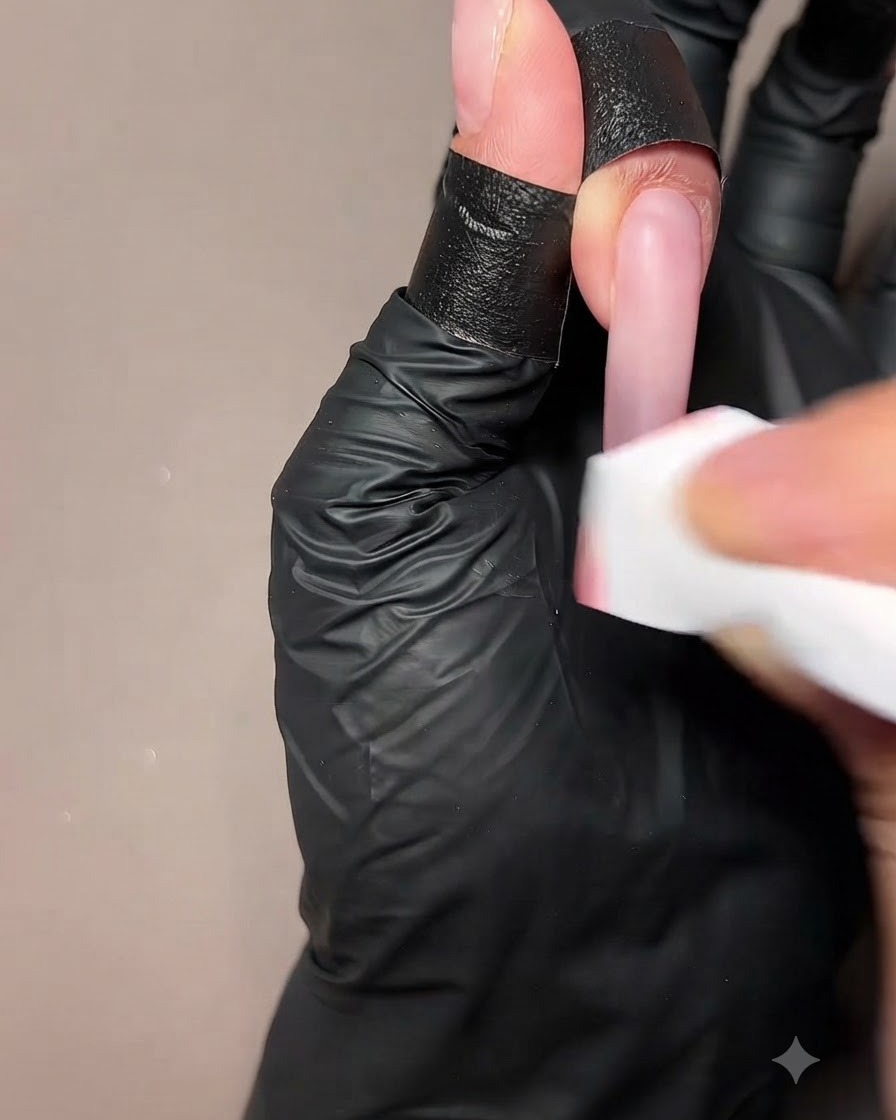
Place the hand under the UV/LED lamp to cure the first layer of peach gradient color. Ensure the hand is positioned correctly so the light covers the entire nail plate evenly, setting the sponge-dabbed color before adding subsequent layers.
Tip: Keep the fingers flat inside the lamp to prevent the gel from shifting during the curing process. - 7Apply second peach gradient layer
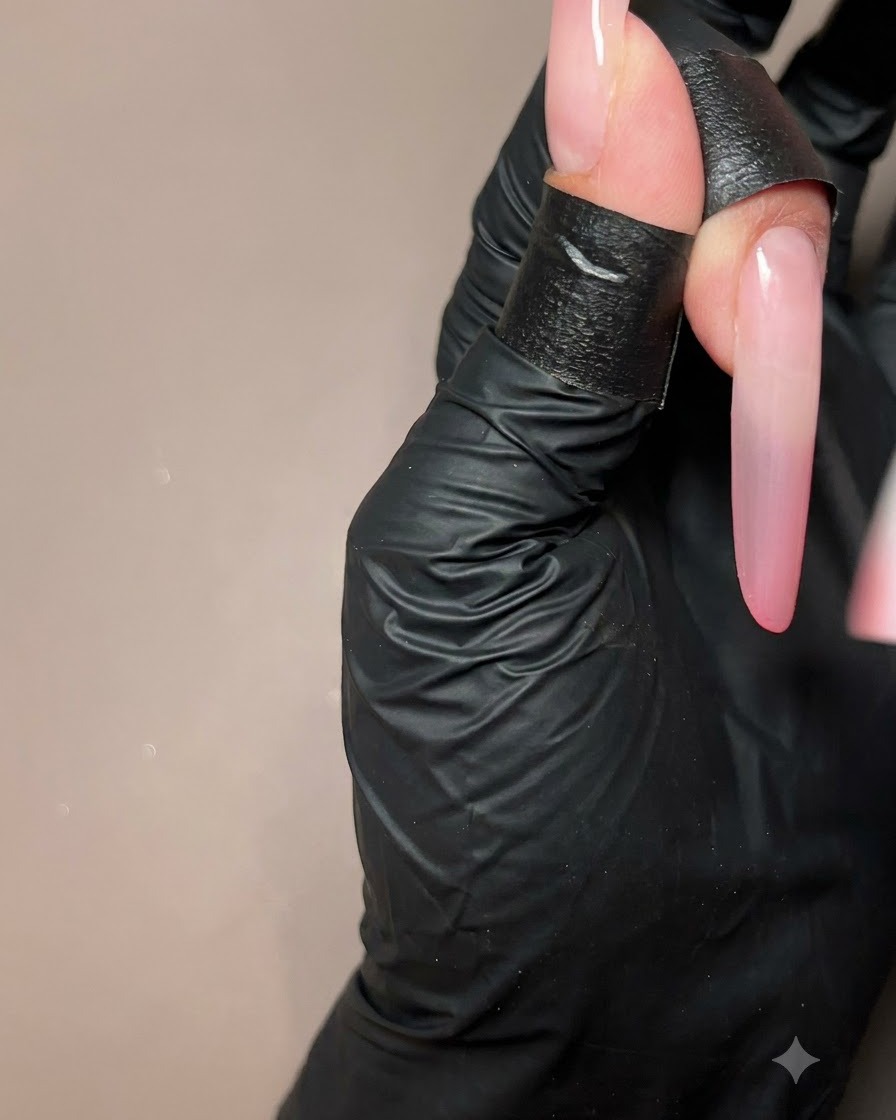
Using a makeup sponge, dab a second layer of peach gel color onto the bottom portion of the nail plate. Keep this application area slightly smaller and tighter than the first layer to create a smooth, dimensional ombre gradient effect. Cure the layer under the UV/LED lamp.
Tip: Keeping the second layer more concentrated near the lower section ensures a clean, seamless color transition. - 8Cure second peach gradient layer
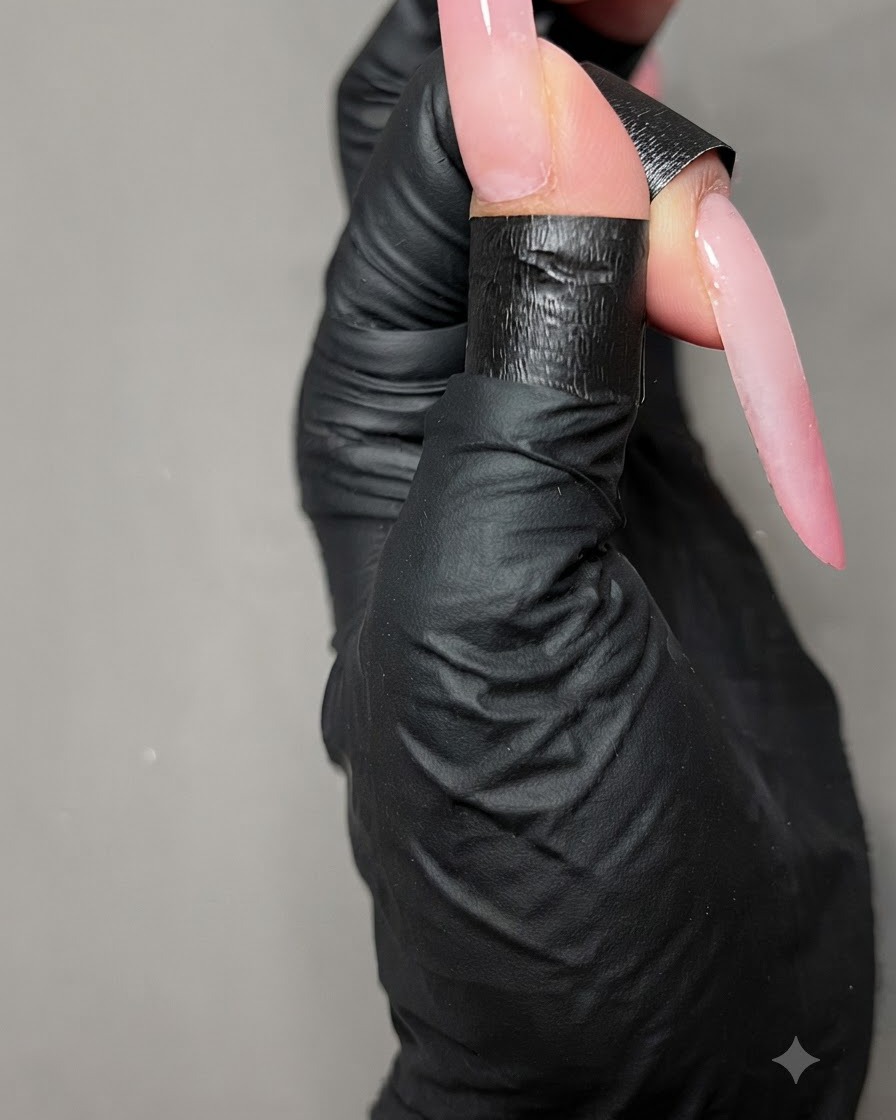
Place the hand under the UV/LED lamp to fully cure the second layer of peach gradient gel, setting the ombre color transition before moving on to the next design phase.
Tip: Ensure proper curing time to prevent wrinkling or shifting of the layered gel. - 9Apply pink base gold cat-eye gel
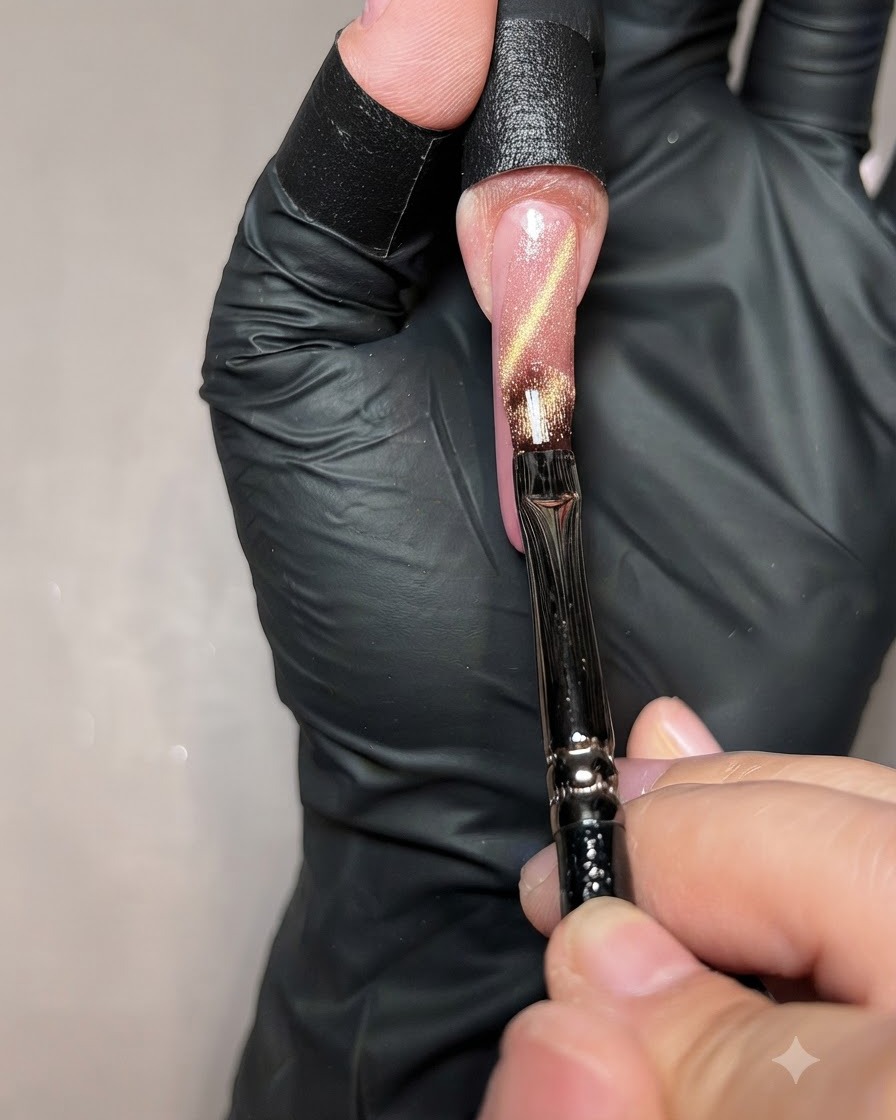
Using a fine nail art brush, apply an even layer of ultra-delicate pink base gold cat-eye gel over the entire surface of the nail plate, ensuring smooth coverage over the peach gradient base.
Tip: Apply an even coat so the magnetic pigment particles can move freely and create a uniform shimmer. - 10Create a wide light strip with a magnet
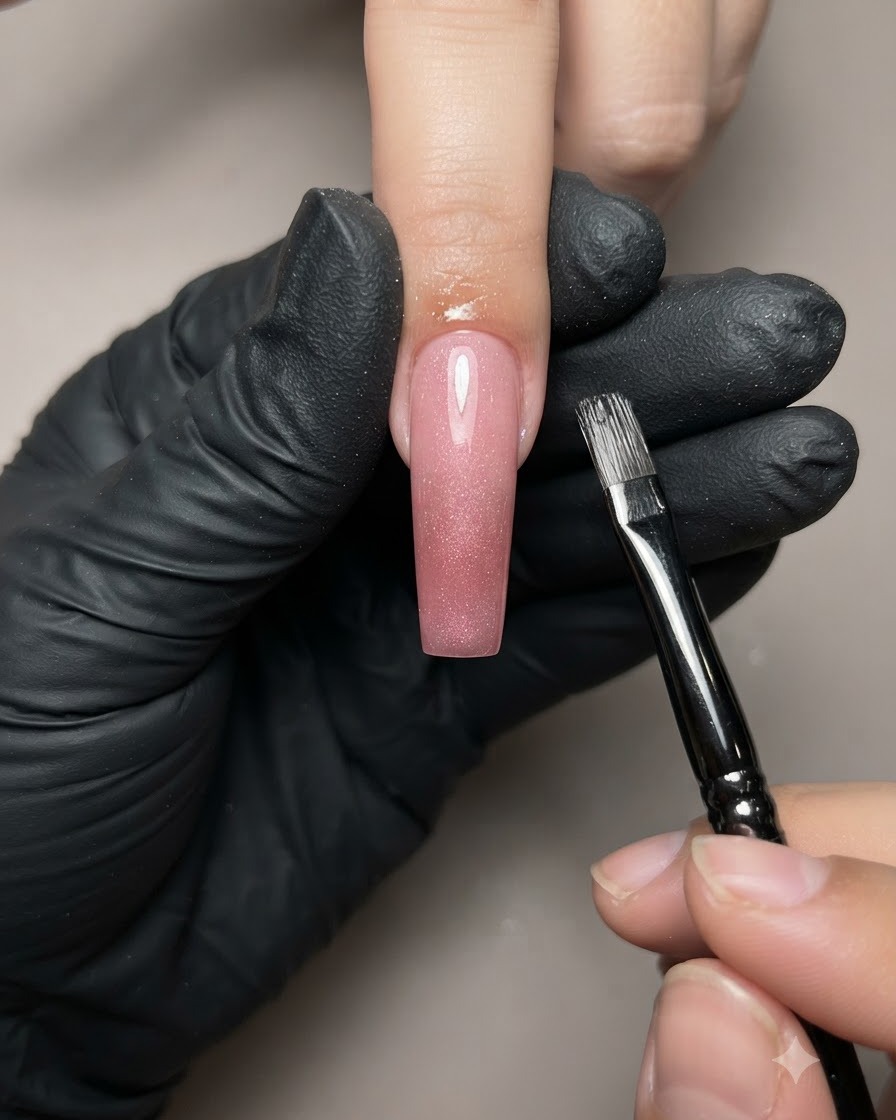
Position a magnet close to the wet cat-eye gel and slide it gently left and right. This magnetic movement pulls the magnetic particles together, drawing out a wide, luminous light strip across the nail.
Tip: Keep the magnet steady and close to the surface without touching the wet gel to achieve a clean line. - 11Form the glowing glass bead effect
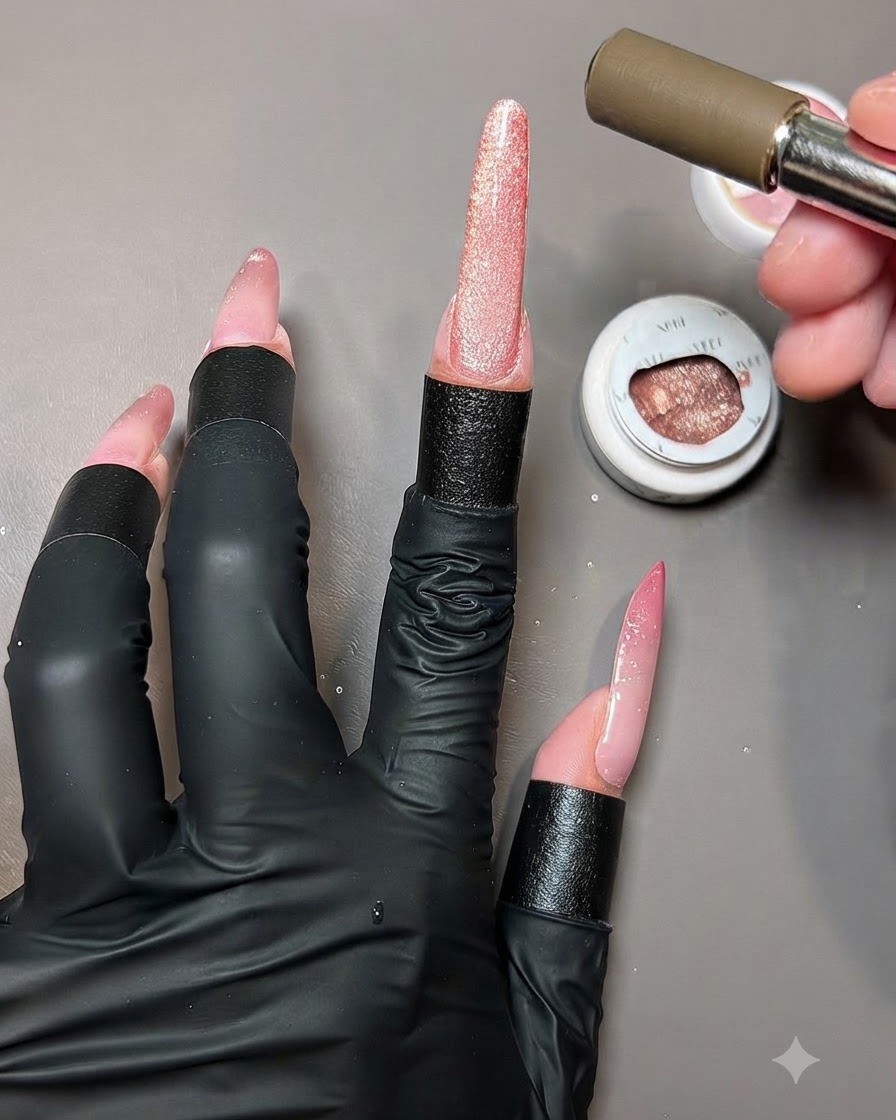
Use the magnetic tool to push the cat-eye light reflection from the fingertip inward toward the center of the nail plate, then circle around the back edge to concentrate the shimmer and create a dimensional glowing glass bead effect. Cure under the lamp.
Tip: Targeting the reflection toward the center creates a high-gloss reflective focal point reminiscent of floating glass. - 12Cure the cat-eye gel design
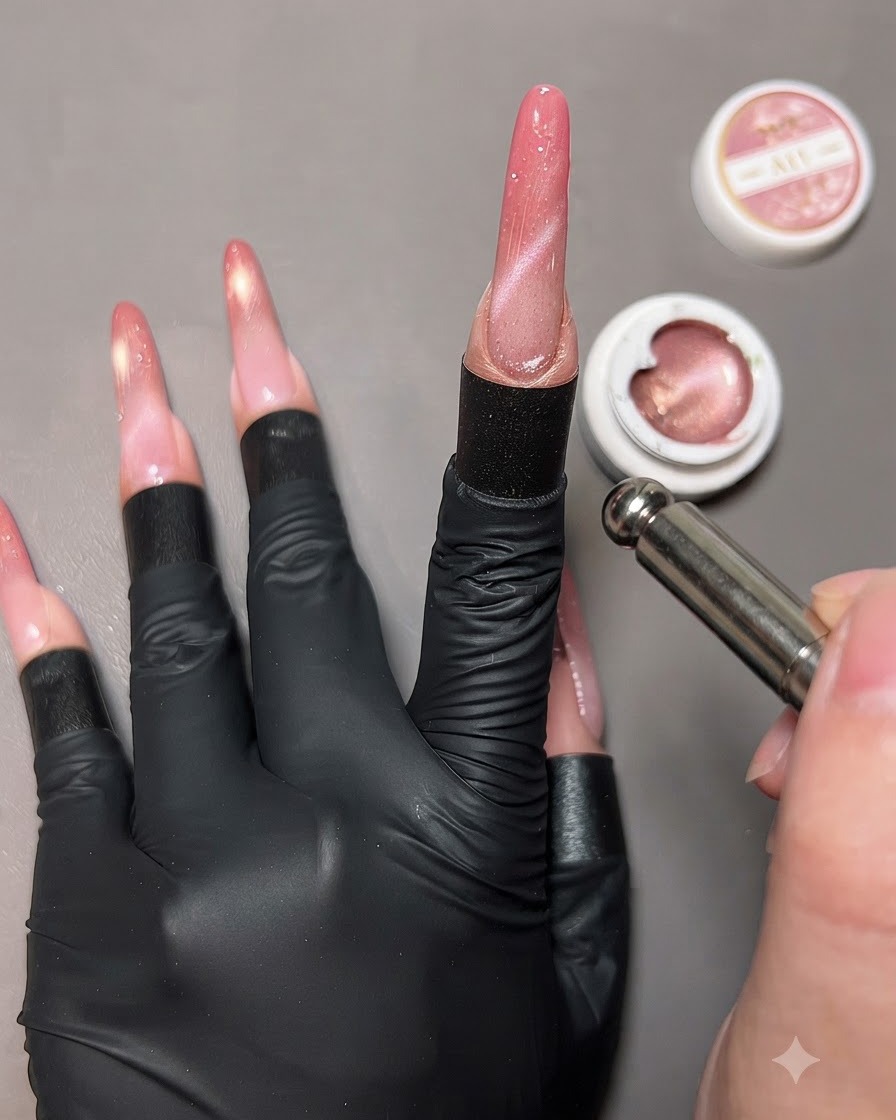
Place the hand under the UV/LED lamp to cure the newly shaped cat-eye magnetic design immediately after achieving the glowing glass bead effect. This locks the magnetic particles in place so the light strip cannot shift or dissipate.
Tip: Do not wait too long after using the magnet before curing, as magnetic cat-eye particles can begin to disperse and lose their sharp light reflection. - 13Apply top coat
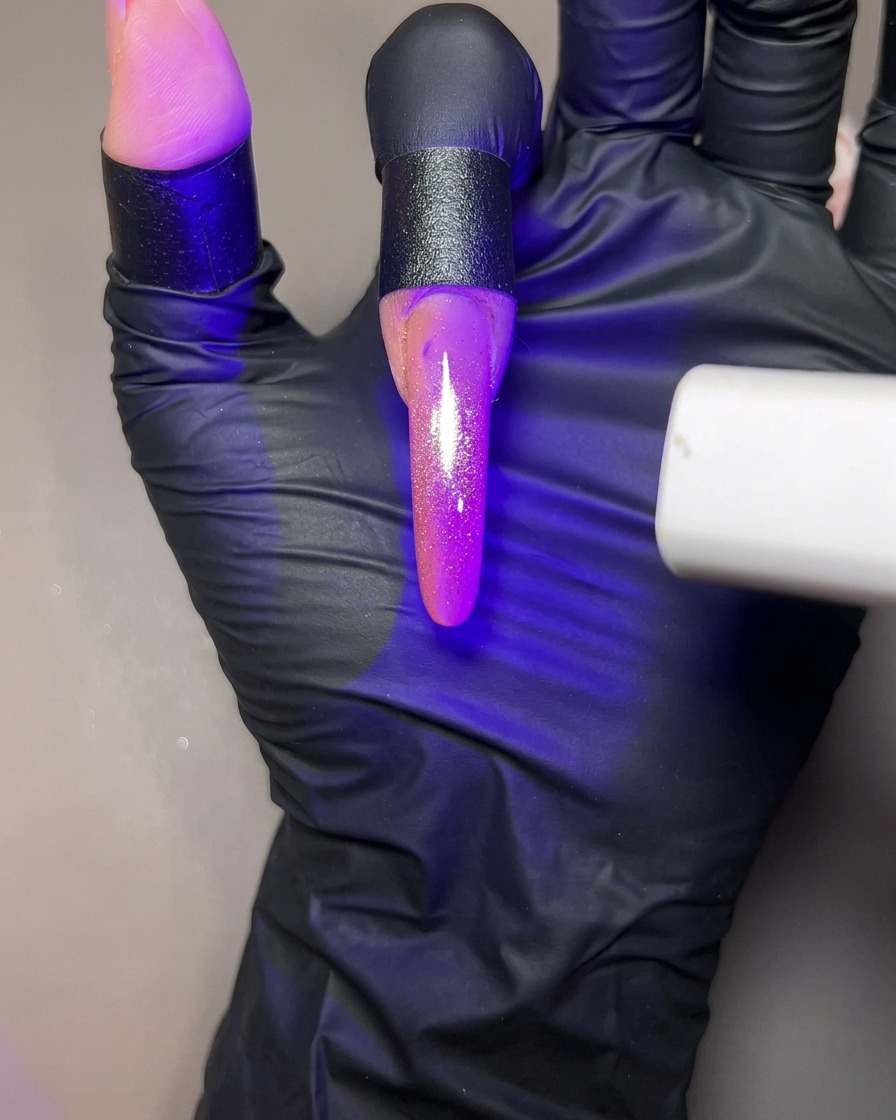
Apply a layer of clear glossy top coat over the entire nail surface to seal the design, protect the cat-eye effect, and add a brilliant shine. Ensure the free edge is fully capped to prevent chipping or peeling. Cure completely under the UV/LED lamp to finish the manicure.
Tip: Capping the free edge with top coat is crucial for extending the lifespan of your manicure and preventing premature lifting at the tips.