Chrome Aurora Gradient Nails — Step-by-Step Tutorial
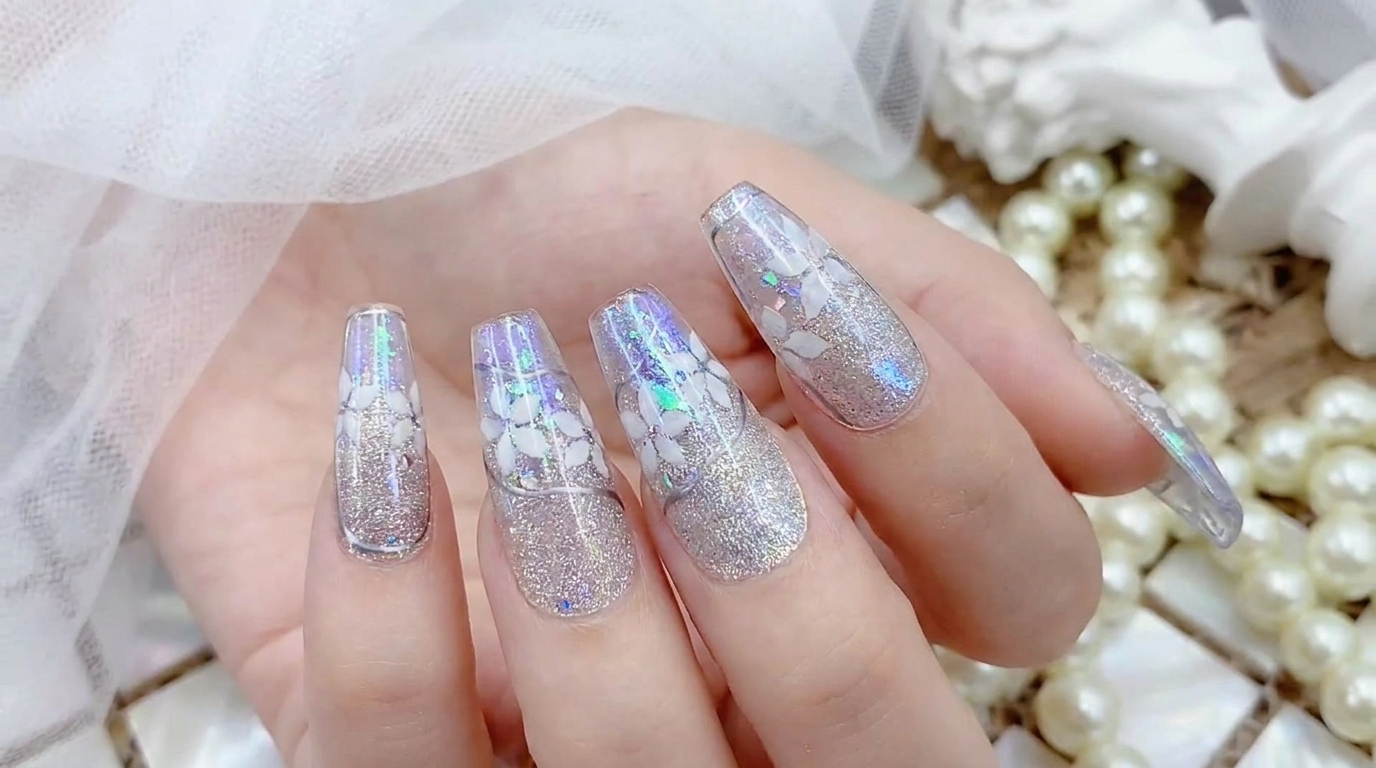
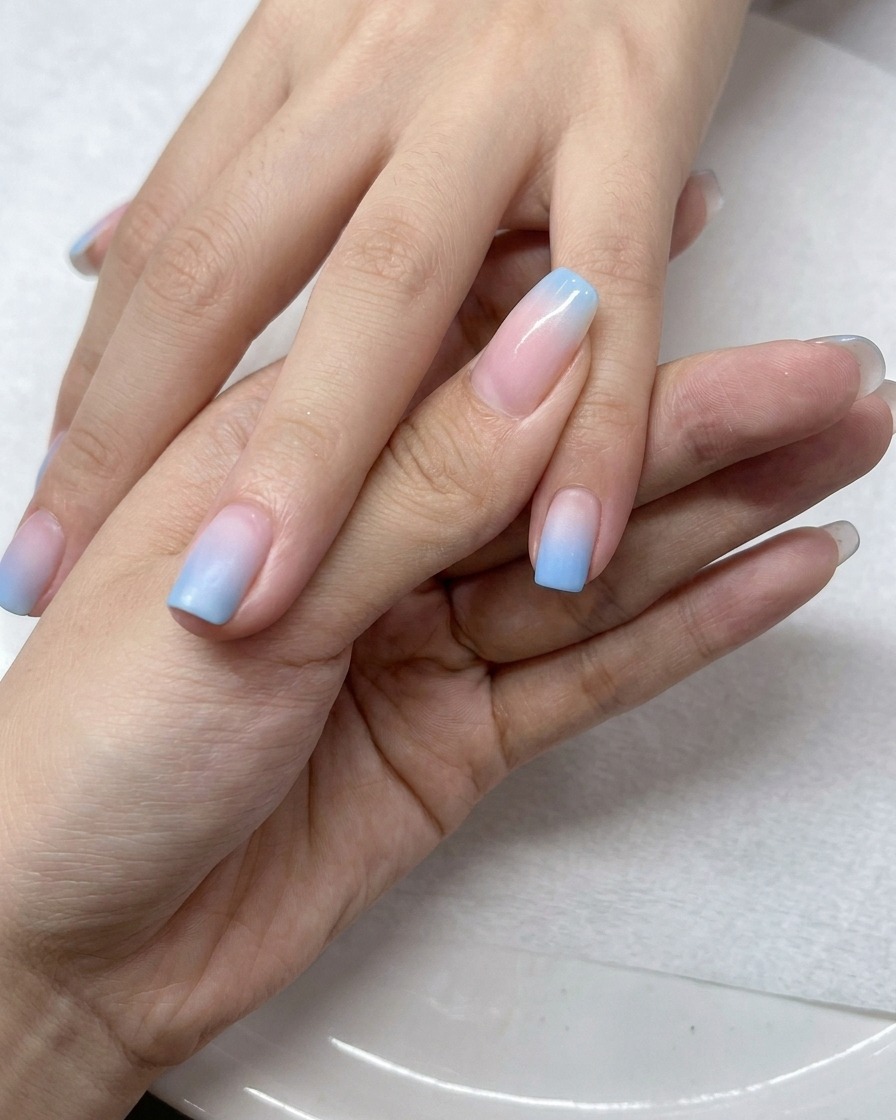
Elevate your manicure with dreamy blue-to-white gradient nails finished with a high-shine silver chrome aurora effect for a mirror-like finish.
The aurora chrome trend has taken the nail world by storm, offering a futuristic, iridescent glow that transforms any simple gradient into a high-end salon look. This design combines the softness of a custom-mixed blue ombre with the reflective intensity of silver chrome powder. Perfect for those who want a versatile, sophisticated manicure that catches the light from every angle.
Steps
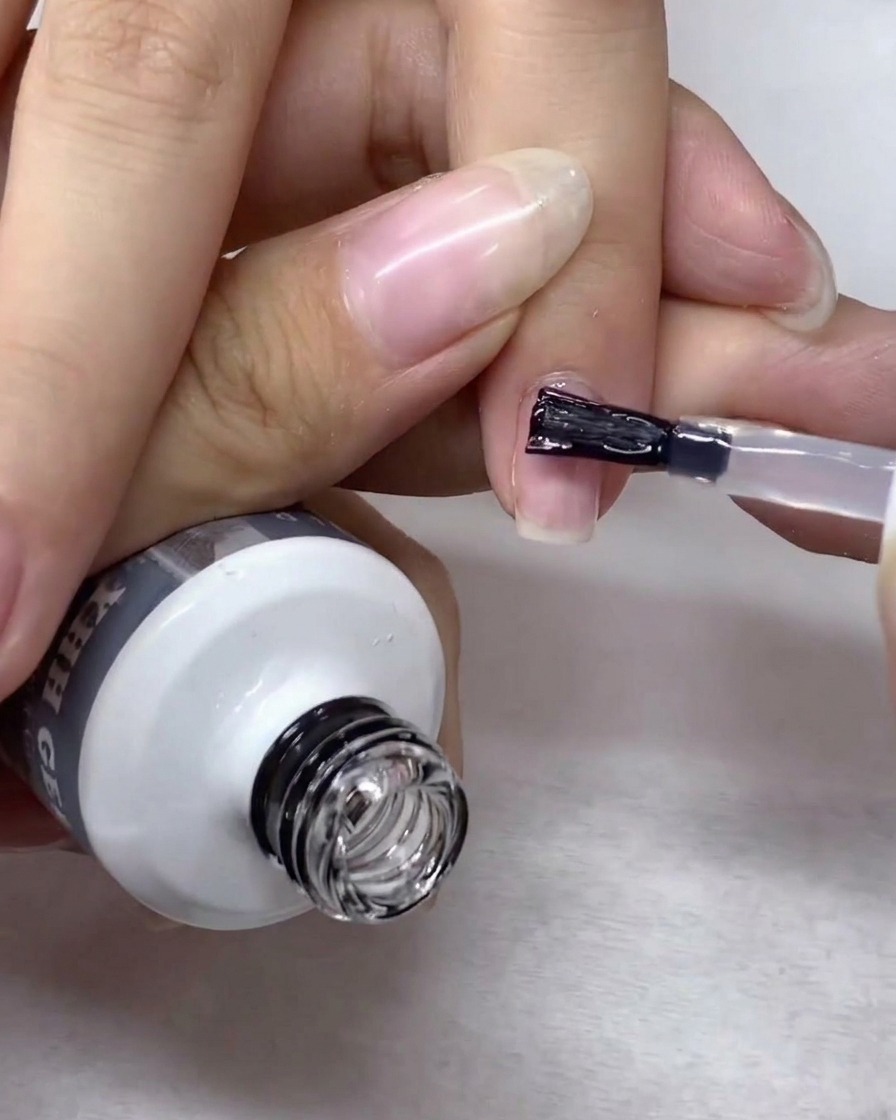
- 1Apply gel base coat
Apply a thin, even layer of gel base coat to each nail, ensuring you cover the entire nail plate while avoiding the skin. Capping the free edge helps prevent premature lifting. Cure under your UV or LED lamp according to the manufacturers instructions.
Tip: Applying a thin, uniform layer is crucial for proper adhesion and long-lasting results. - 2Apply strengthening gel
Place a small bead of strengthening gel onto the center of the nail plate. This product helps to build structure and reinforce the natural nail, creating a strong foundation for your design.
Tip: Use a controlled amount of gel to avoid flooding the cuticles; you can always add more if needed. - 3Level the gel structure
Using your brush, gently guide the strengthening gel from the center toward the cuticle and free edge. Use light, sweeping motions to level the product until the surface is smooth and uniform, then cure.
Tip: Allow the gel to self-level for a few seconds before curing to ensure a perfectly smooth surface. - 4Prep surface for color
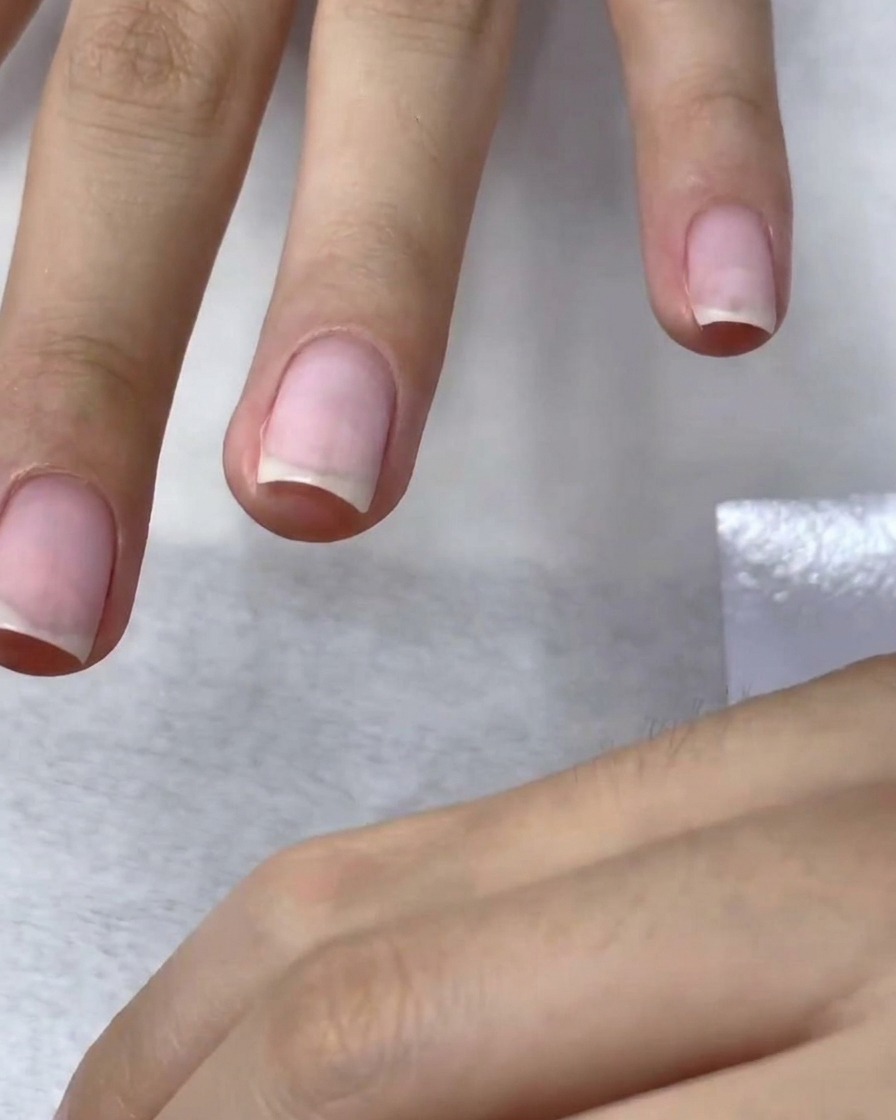
After curing the strengthening gel, use a fine-grit buffer to lightly smooth out any imperfections on the nail surface. This creates an ideal texture for the color gel to adhere to.
Tip: Use a light touch while buffing to avoid thinning the nail structure you just built. - 5Create custom color
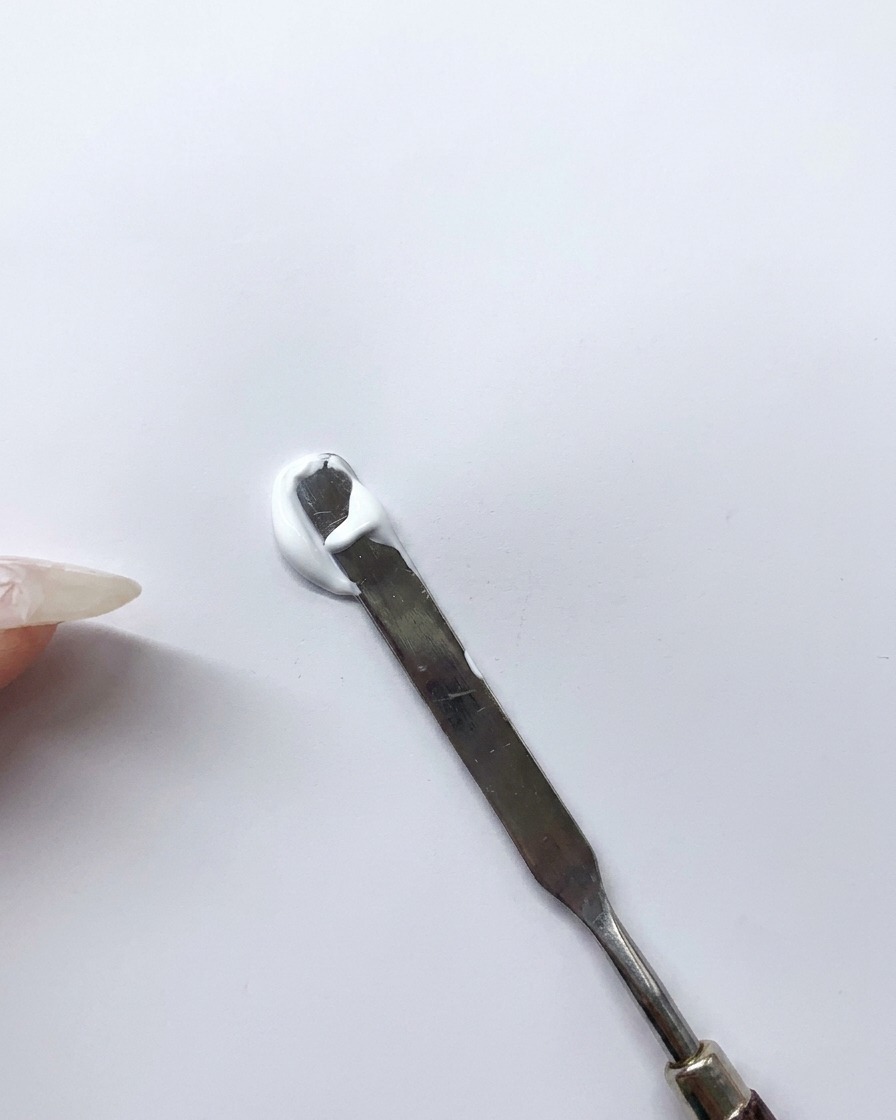
Dispense a small amount of blue gel and white gel onto a clean palette. Use a stainless steel spatula to blend the two colors together until you achieve your desired shade.
Tip: Start with more white and gradually add blue to reach your target color intensity. - 6Apply gradient color
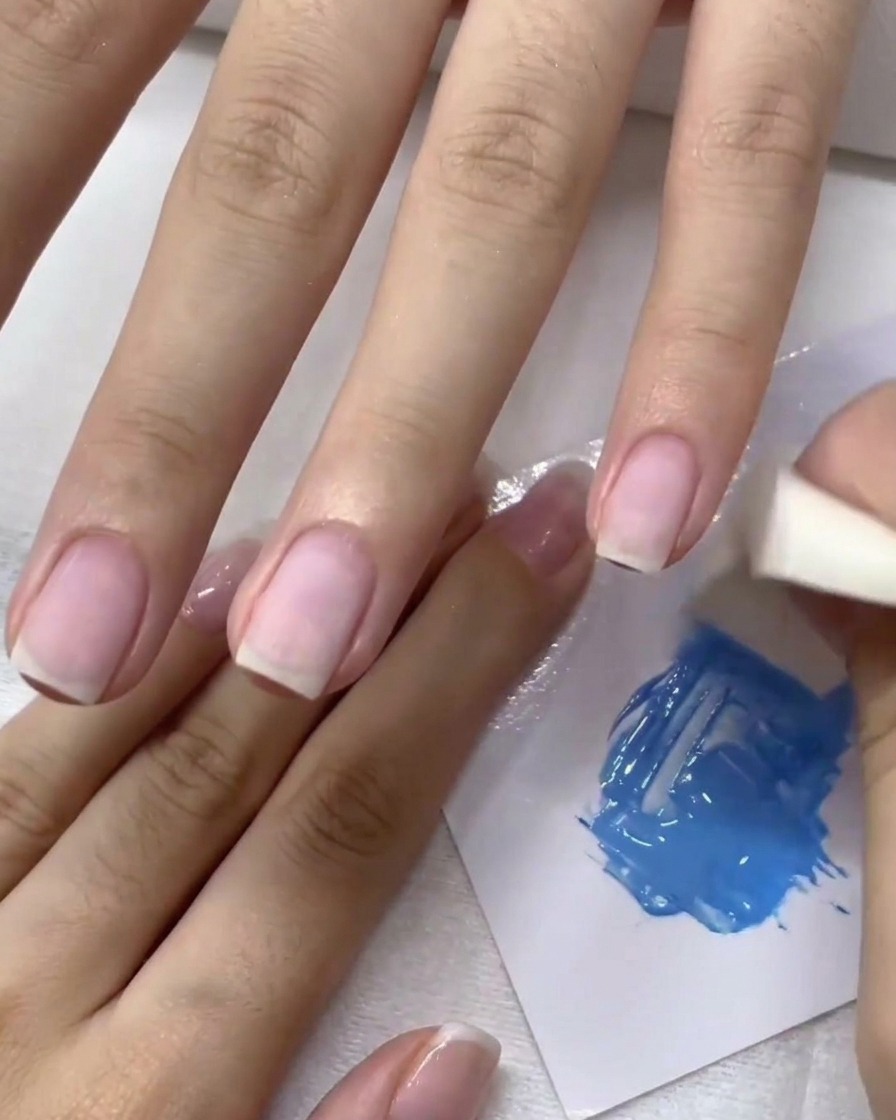
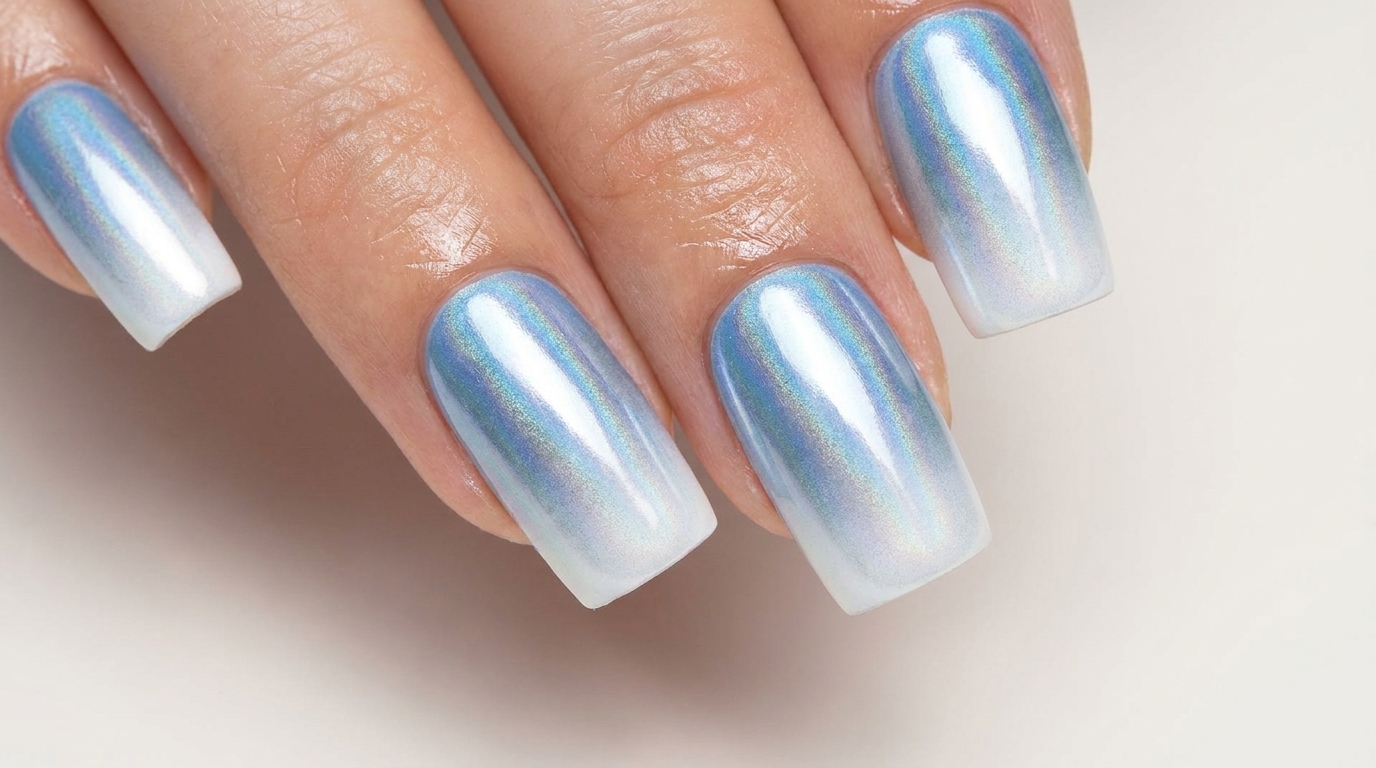
Load your makeup sponge with the custom-mixed color gel and gently dab it onto the nail. Focus on the tip, blending upward toward the base to build a soft, seamless gradient effect.
Tip: Use a light dabbing motion with the sponge to avoid texture and ensure a smooth color transition. - 7Cure the gradient color layer
Place the nails under your UV or LED lamp to cure the gradient color layer. Ensure your fingers are positioned correctly to allow the light to reach all areas of the nail surface evenly, ensuring a full cure according to your gel polish manufacturers instructions.
Tip: Keep your hand relaxed inside the lamp to avoid any shifting that might cause the gel to pool before it sets. - 8Apply top coat
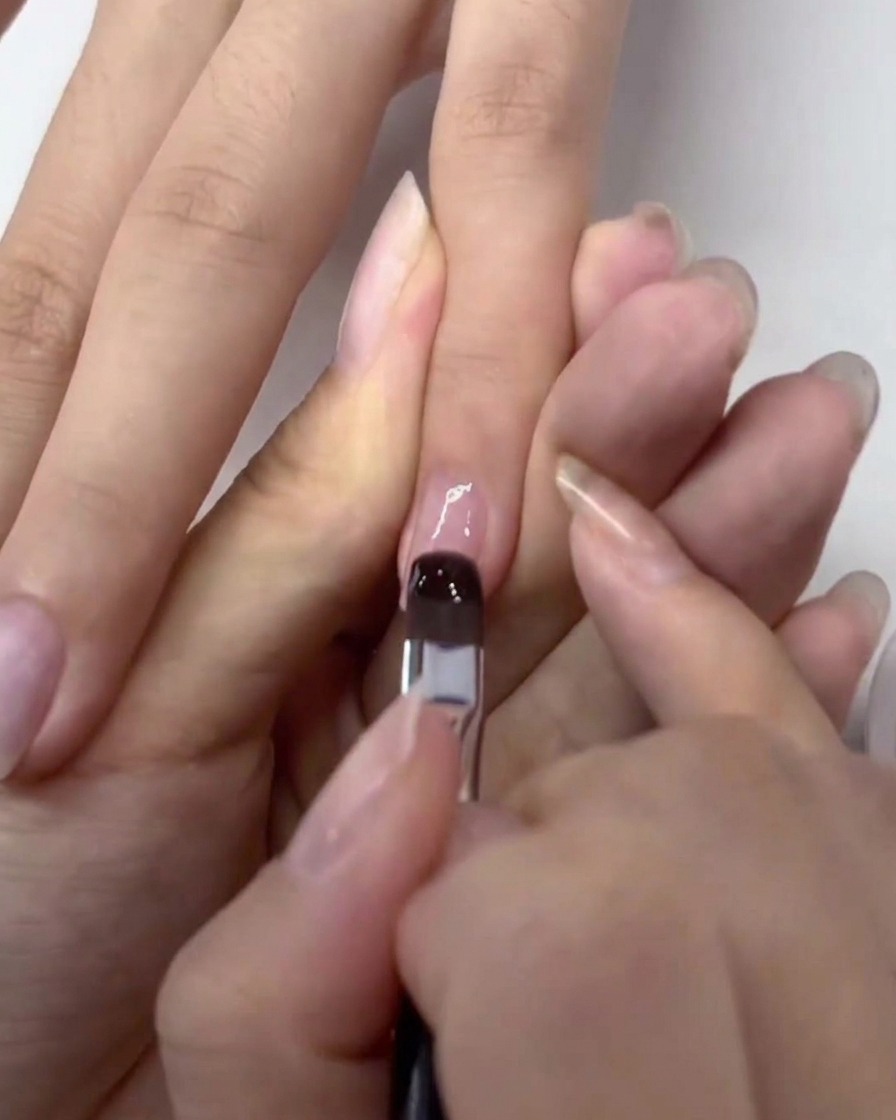
Apply a thin, even layer of clear gel top coat over the entire nail surface, covering the gradient design completely. This layer acts as a base for the upcoming chrome powder application, providing a smooth surface for a mirror-like finish.
Tip: Be sure to cap the free edge of the nail to seal the color and prevent the design from chipping. - 9Apply silver chrome powder
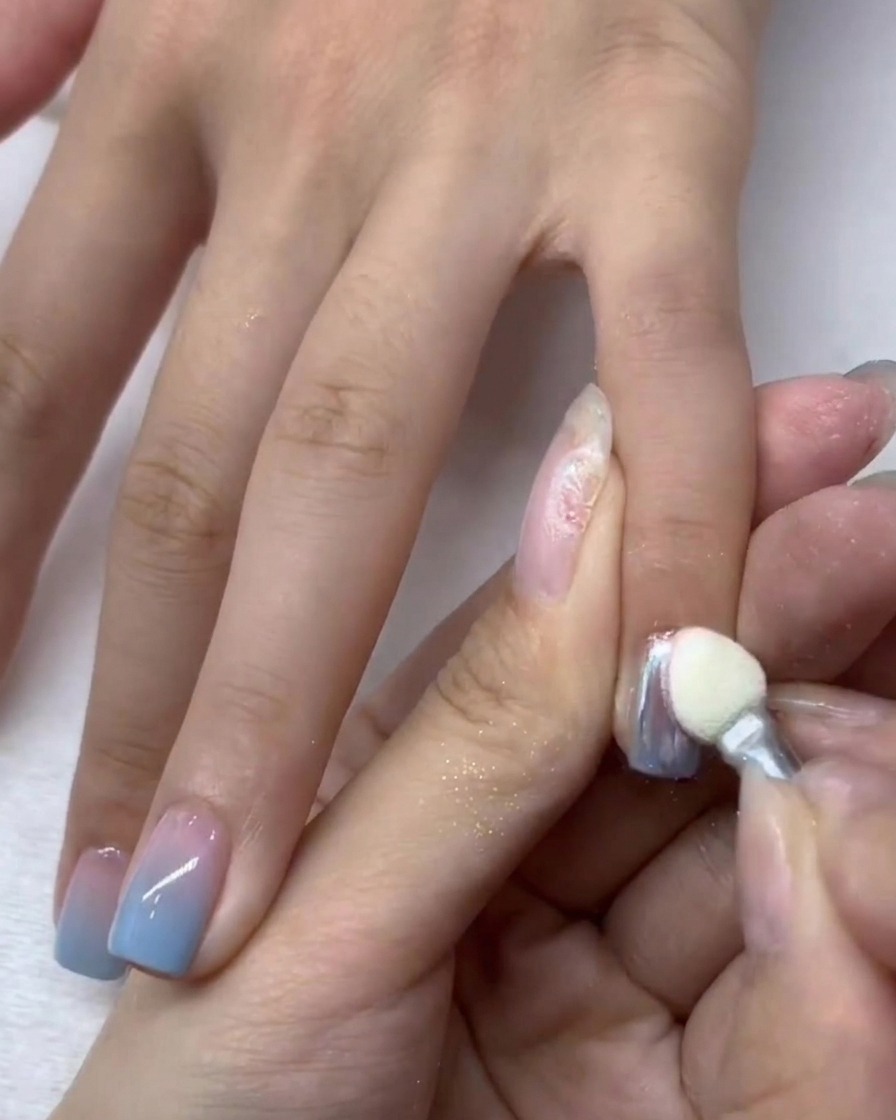
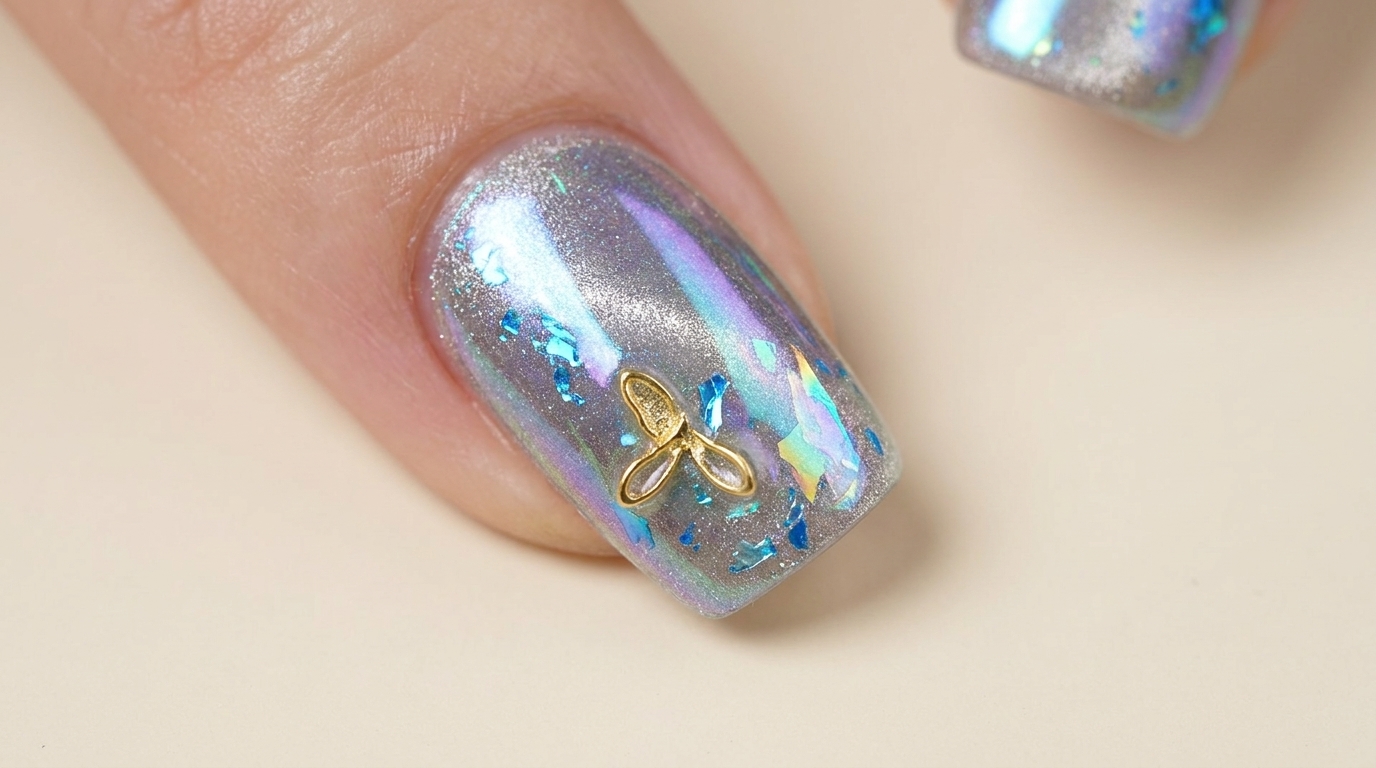
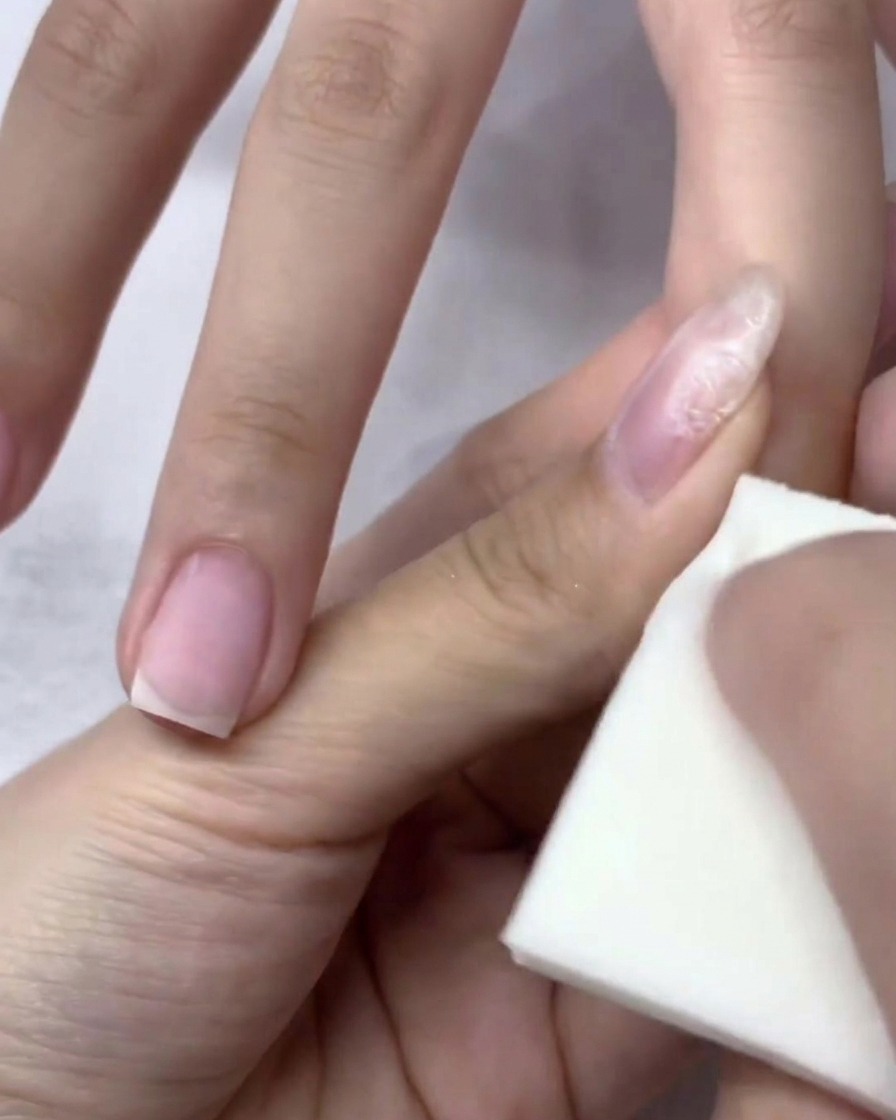
Using a sponge applicator, gently rub the silver chrome powder onto the surface of the cured top coat. Work the powder over the entire nail until a smooth, mirror-like chrome effect is achieved. Ensure all areas are covered evenly for a consistent finish.
Tip: Use a light touch when rubbing the powder to avoid streaks or uneven texture. - 10Clean excess powder
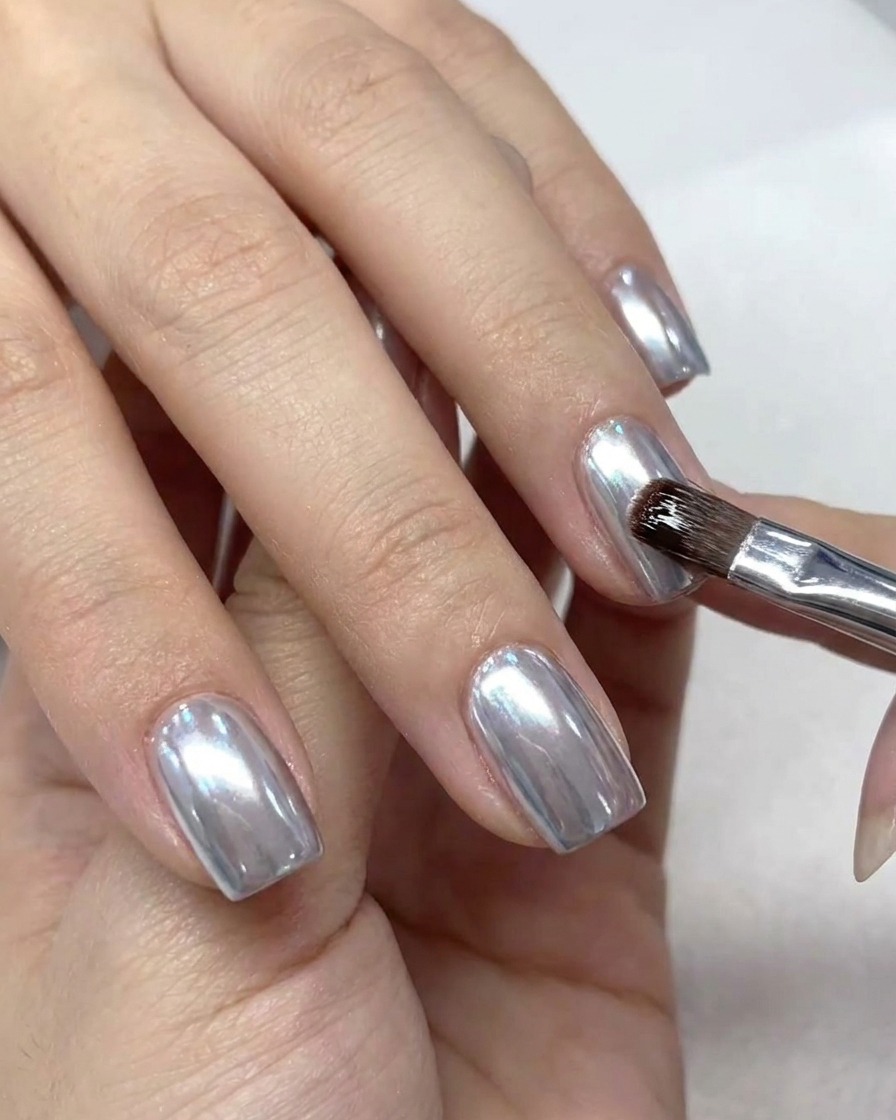
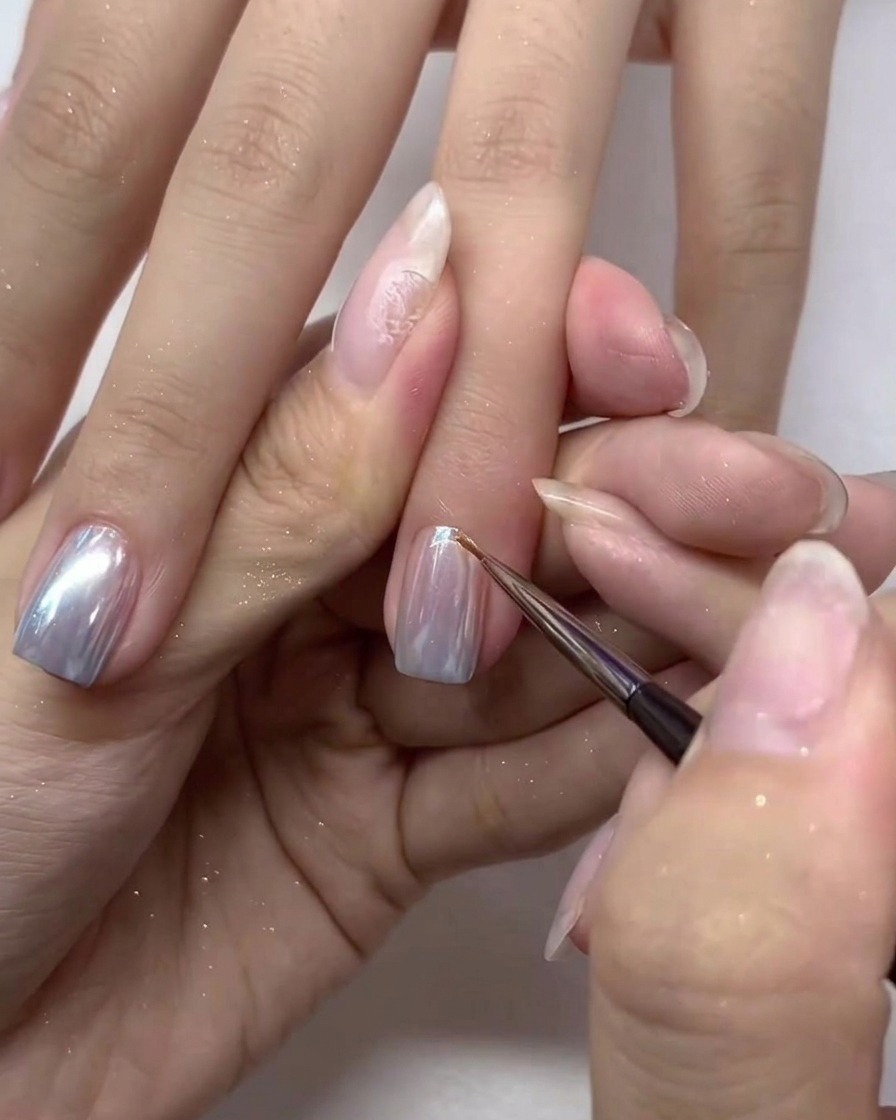
Using a small, soft brush, gently clean around the cuticle area and the edges of the nail to remove any excess chrome powder that may have settled on the skin. This ensures a crisp, clean look around the nail bed.
Tip: A clean, dry brush works best for dusting off loose powder without disturbing the mirror finish on the nail. - 11Apply sealing top coat
Apply a final layer of clear gel top coat over the chrome-finished nails to seal and protect the design. This step ensures durability and adds extra shine to the chrome finish. Ensure all edges are properly sealed.
Tip: Apply the top coat gently to avoid pulling the chrome powder and causing streaks.