Silver Aurora Floral Press-On Nails — Elegant Step-by-Step Tutorial
Create dreamy silver aurora nails with hand-painted florals. This easy-to-follow tutorial shows you how to achieve a professional salon look at home.
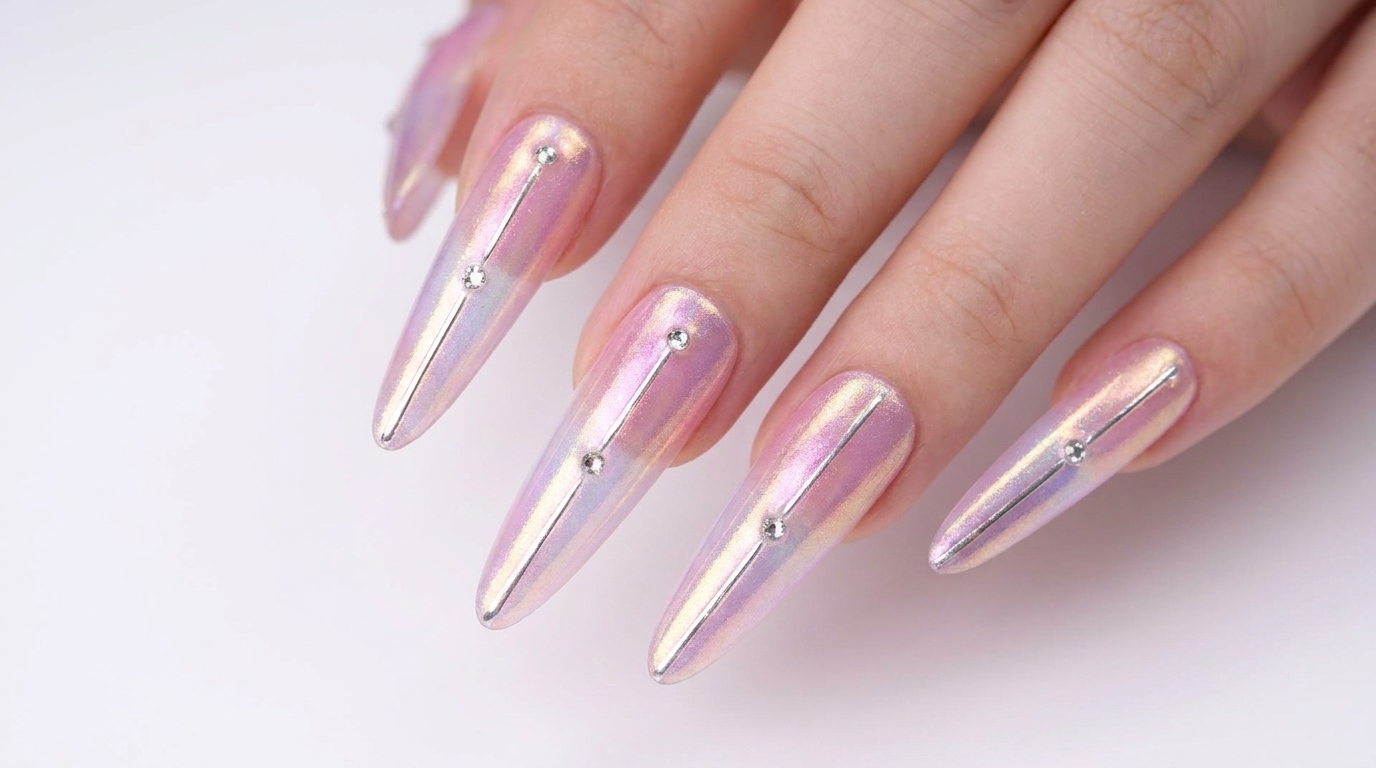
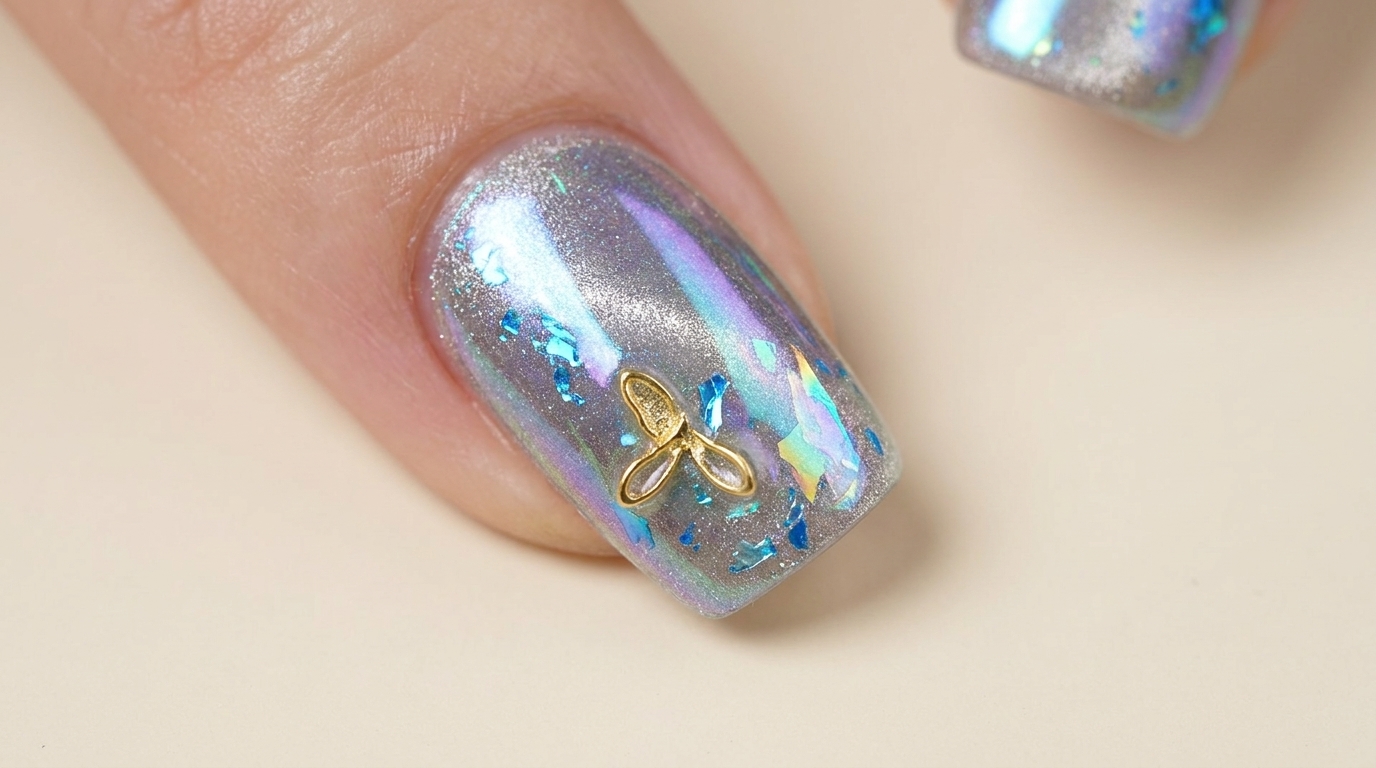
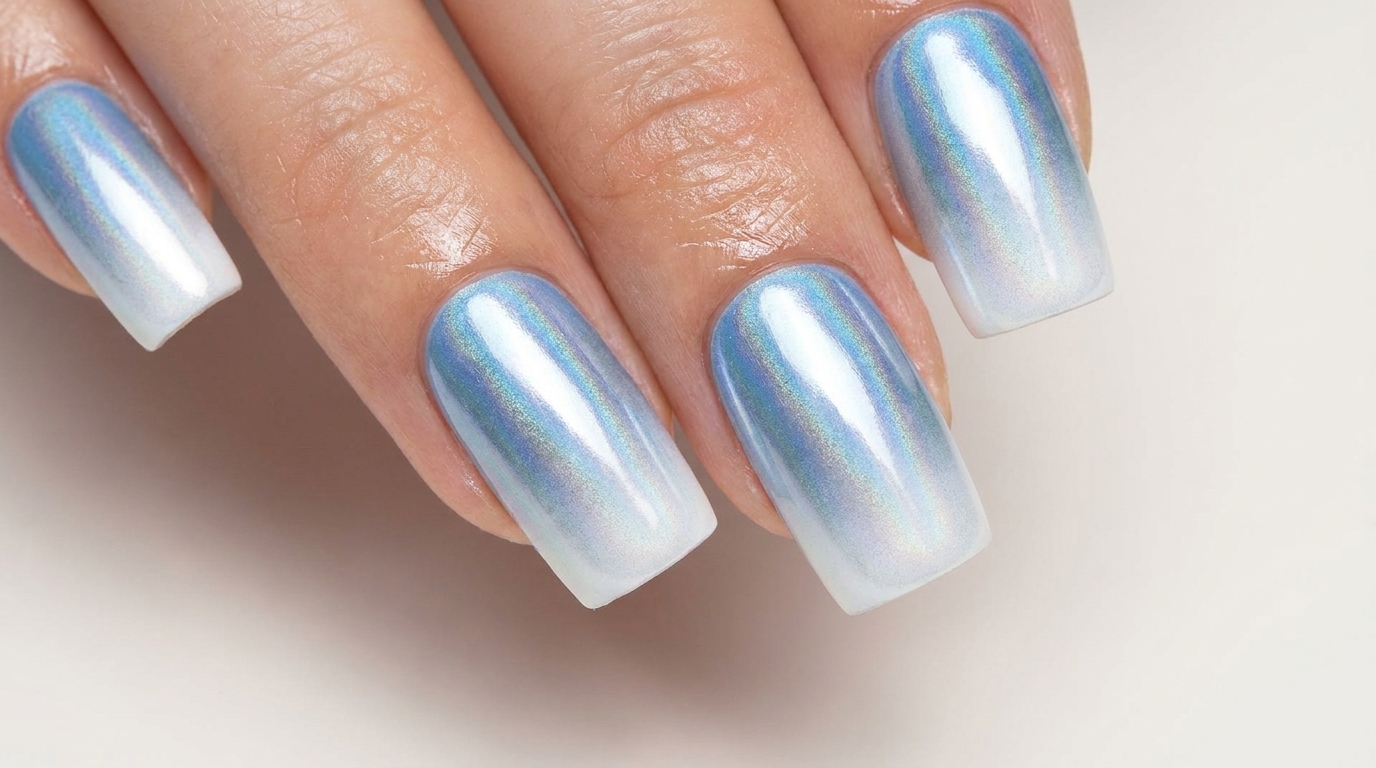
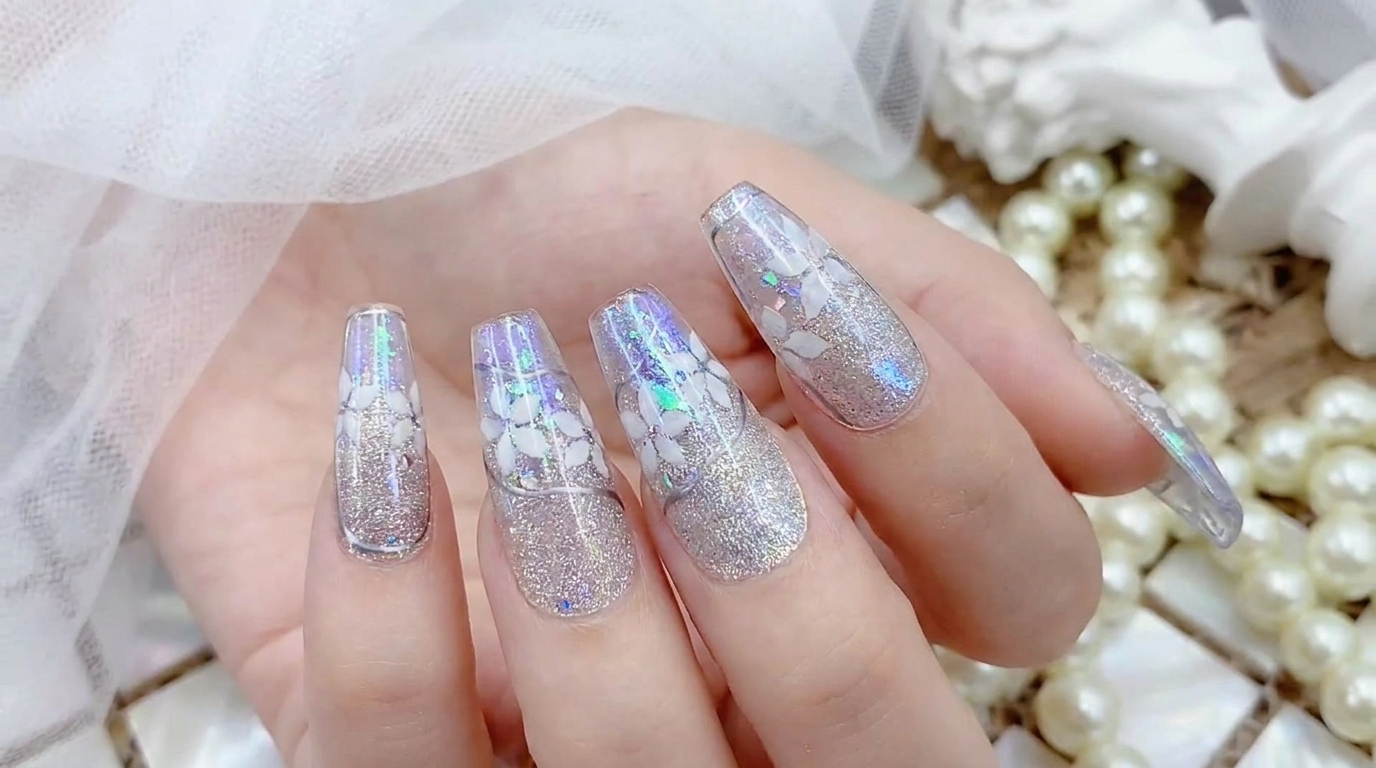
The silver aurora trend brings a touch of magical, light-reflecting elegance to your manicure. By combining magnetic cat-eye gel, shimmering opal flakes, and delicate white floral accents, this look balances metallic depth with soft, artistic detail. It is a perfect choice for those who love sophisticated, multi-dimensional nail art that catches the light from every angle.
Steps
- 1Apply milky white base coat
Start your design by applying a thin, even layer of milky white gel polish onto the press-on nail tip. Ensure smooth coverage across the entire surface for a clean, semi-opaque background that will allow the aurora effect to shine through properly. Cure as needed before moving to the next color layer.
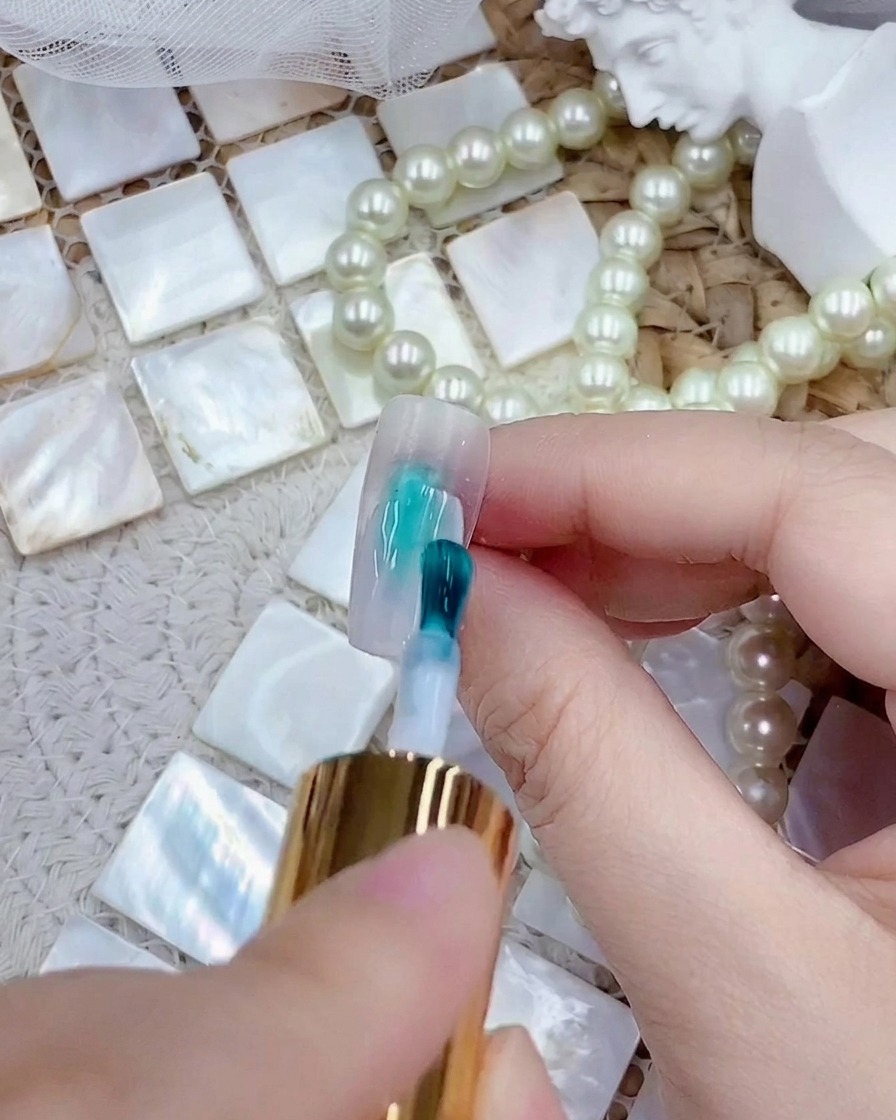
Tip: Keep the layer thin to prevent the gel from pooling at the edges of the nail tip. - 2Apply silver cat-eye gel
Apply a layer of silver cat-eye gel over your cured milky white base. The cat-eye gel will add a magnetic, shimmering dimension to the base. Before curing, you can use a magnet to manipulate the magnetic particles to create your desired shimmering effect.
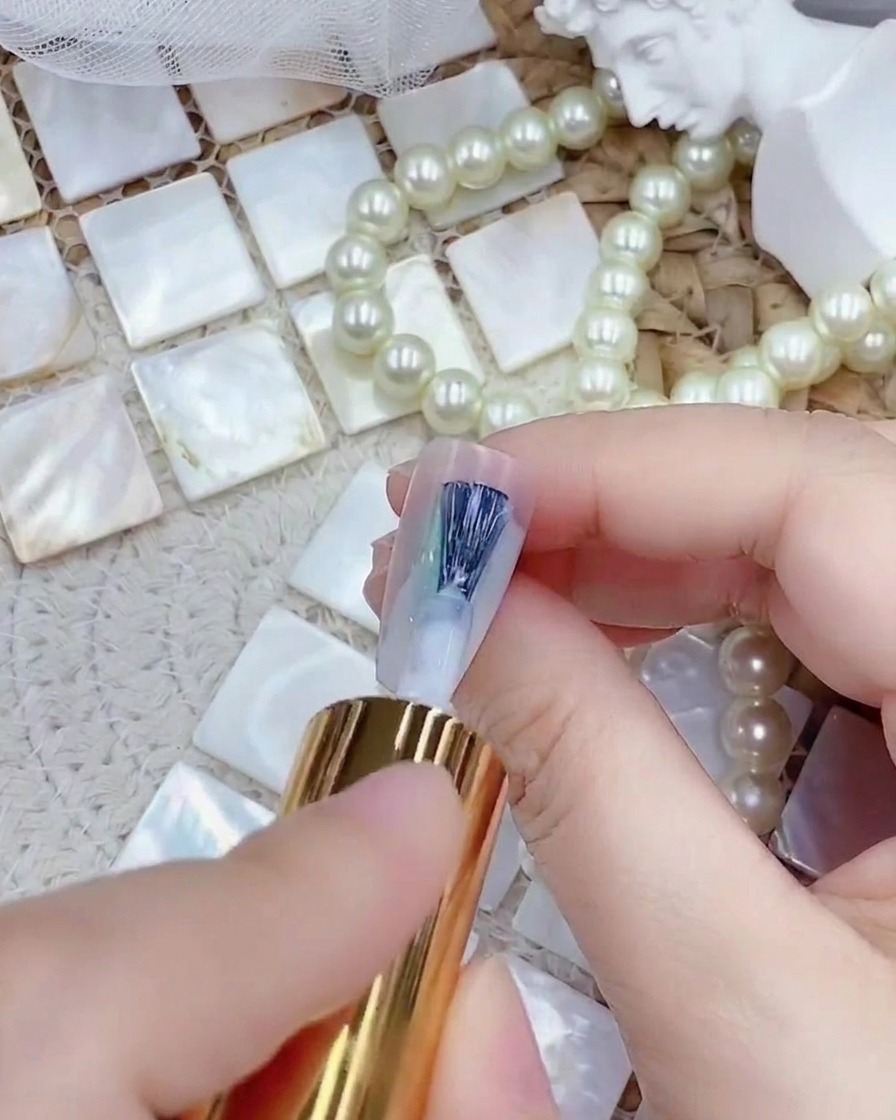
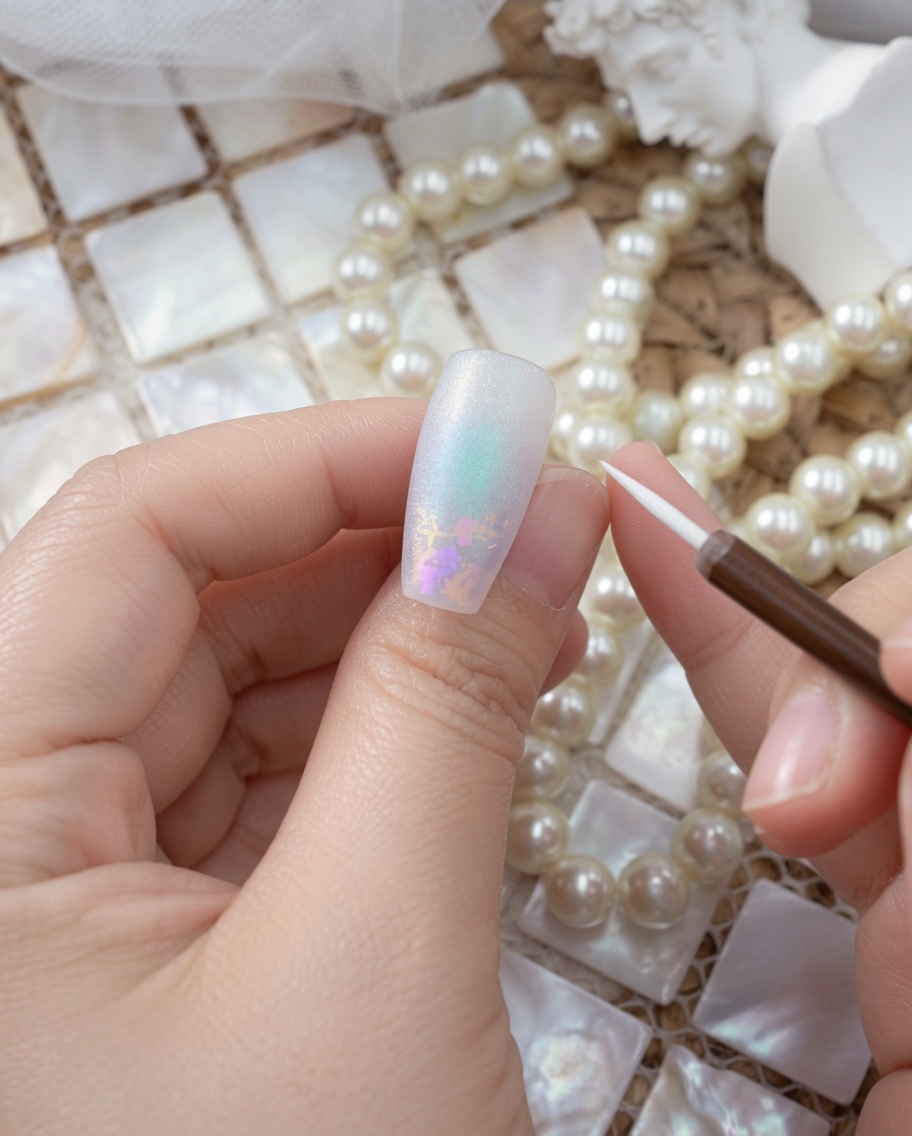
Tip: Move the magnet slowly to get a crisp, defined line or shimmer effect in the silver gel. - 3Add opal flakes
While the surface is still slightly tacky, carefully use tweezers to pick up and place small, light-reflecting opal flakes onto the nail. Arrange them to achieve the desired density of sparkle, pressing them down gently so they lie flat against the surface.
Tip: A little goes a long way; place the flakes sporadically to create a natural, multidimensional look. - 4Apply matte top coat
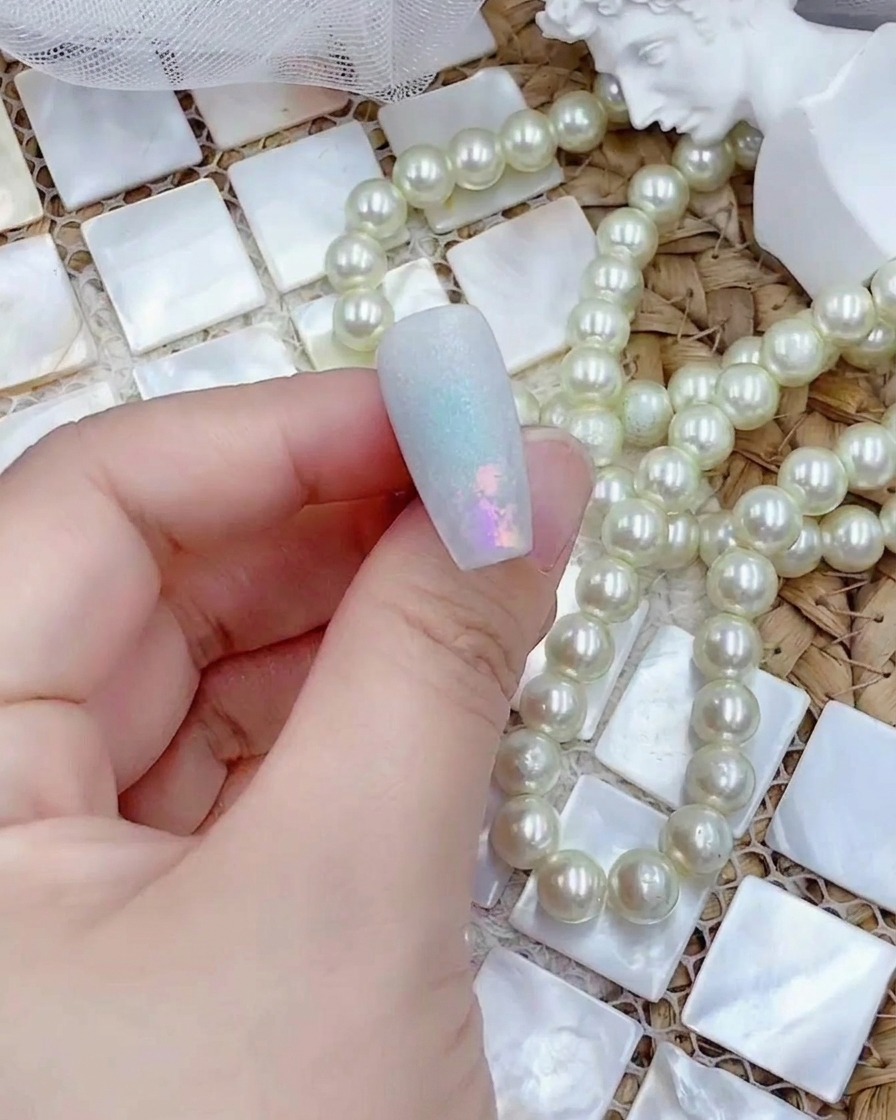
Seal your design by applying a layer of matte top coat over the entire nail surface, covering the flakes completely. Cure the nail under your UV or LED lamp according to the products instructions to achieve a smooth, velvet-like finish.
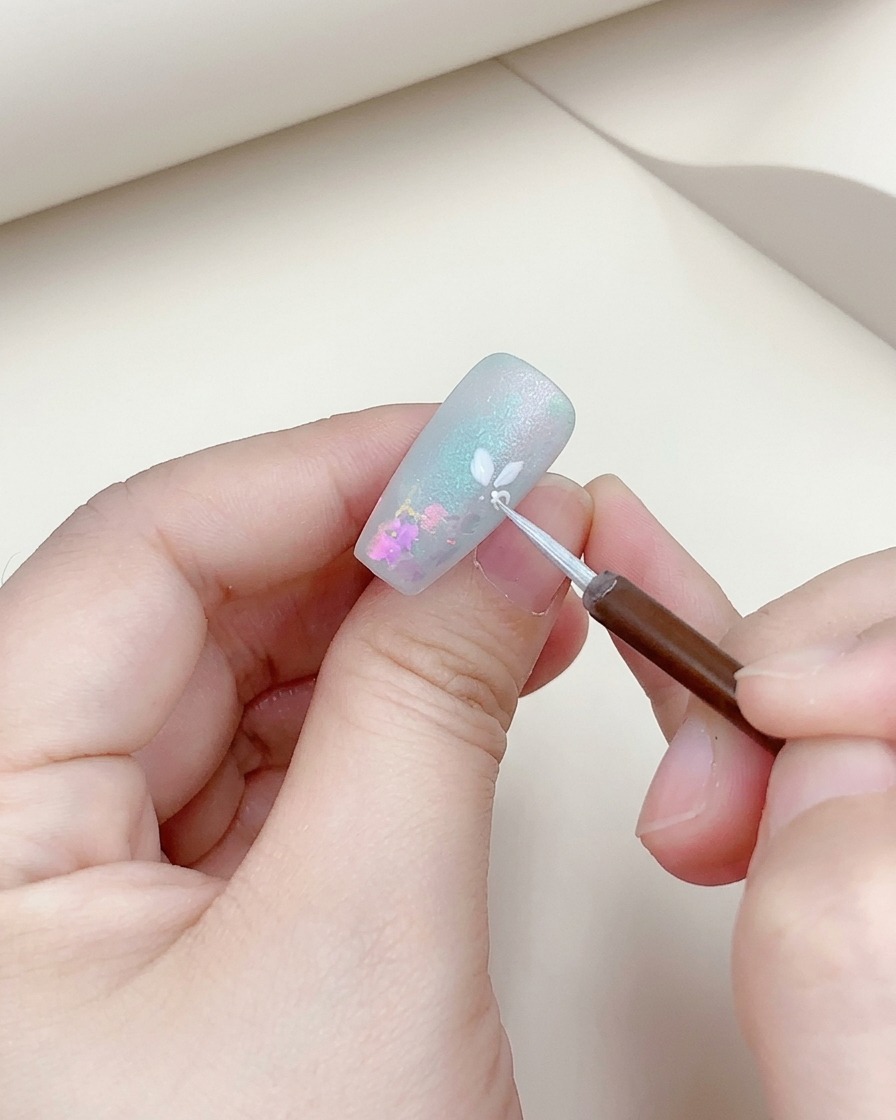
Tip: Ensure you cap the free edge with the top coat to protect the flakes and prevent premature peeling. - 5Hand-paint floral petals
Using a fine liner brush and high-pigment white gel, carefully paint delicate flower petal shapes over the matte finish. Focus on creating thin, graceful strokes to build the petals, building up the opacity as needed.
Tip: Wipe your brush frequently on a lint-free wipe to keep the tip clean for sharp, precise petal lines. - 6Outline petals with silver gel
With a clean fine liner brush, take a small amount of silver gel and lightly outline the edges of the white flower petals you just painted. This adds a sophisticated, metallic contrast to the floral art, making the design pop against the base.
Tip: Use a very light touch to keep the outlines thin and elegant rather than bulky. - 7Apply glossy top coat
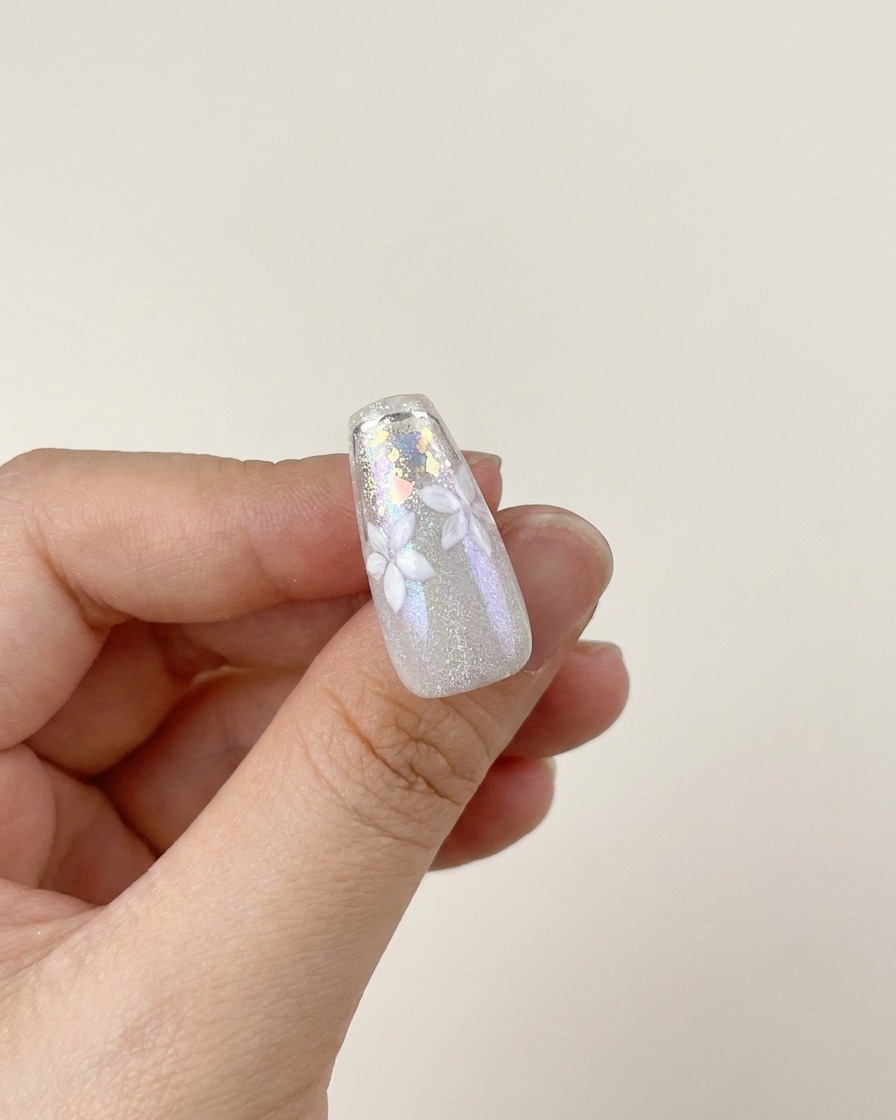
Apply a final, even layer of glossy top coat over the entire nail to seal the design and protect the hand-painted details. Ensure you cap the free edge for better durability and shine. Cure under your UV or LED lamp according to the manufacturers instructions.
Tip: A high-quality glossy top coat will enhance the iridescent effect of the aurora style and make the silver accents pop. - 8Prepare with adhesive
Peel off a jelly adhesive sticker sized for your nail and carefully apply it to the back of the press-on nail. Ensure there are no air bubbles trapped underneath to provide a secure and long-lasting hold.
Tip: If the sticker is slightly too large, trim it with small scissors before applying it to the press-on nail to avoid excess adhesive sticking to your skin.