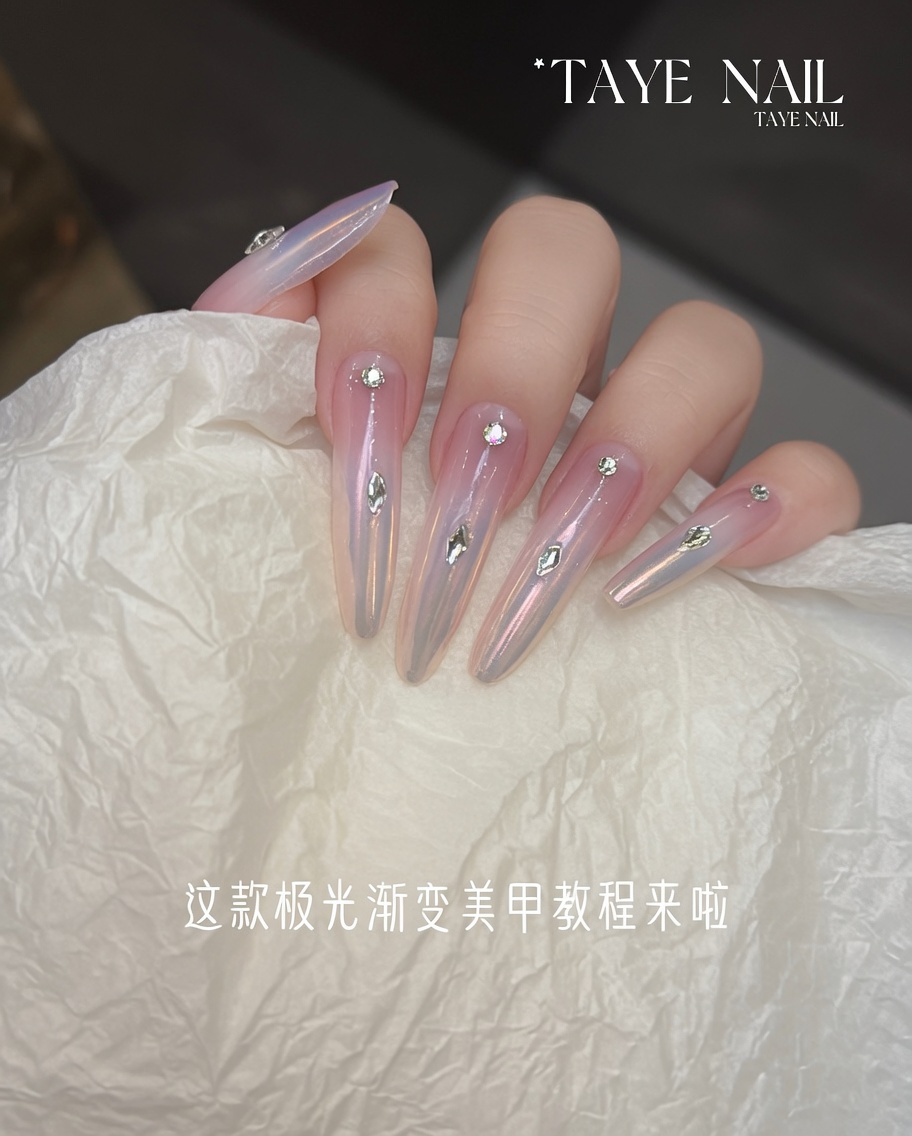
Aurora Gradient Chrome Stiletto Nails — Step-by-Step Tutorial
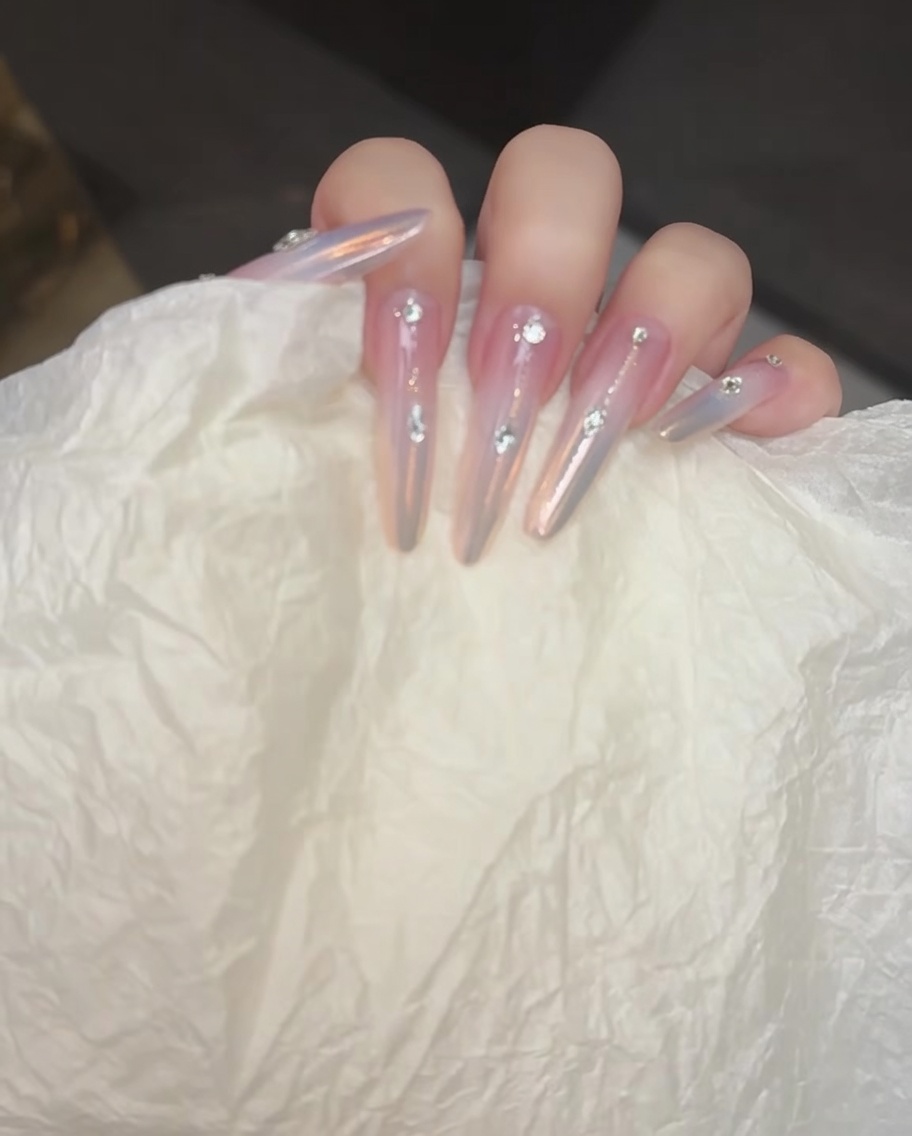
Create an ethereal aurora gradient with platinum silver accents and rhinestones. This sophisticated chrome stiletto nail tutorial brings professional salon art home.
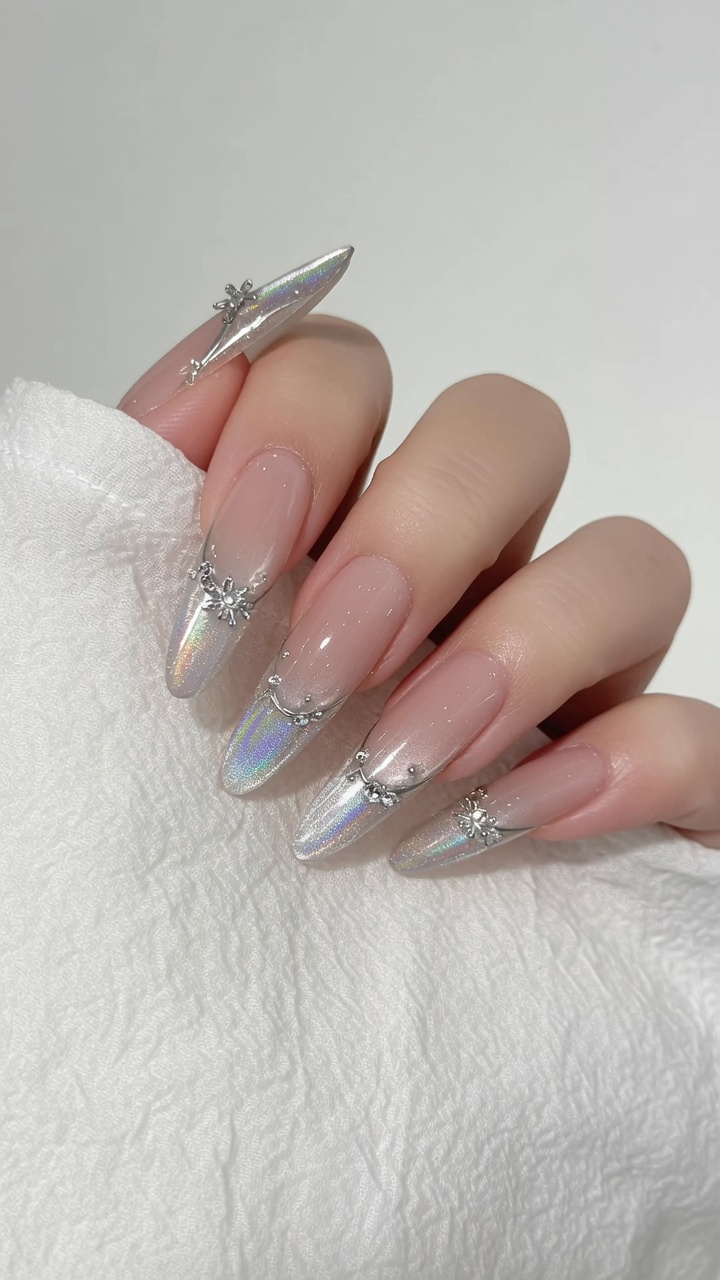
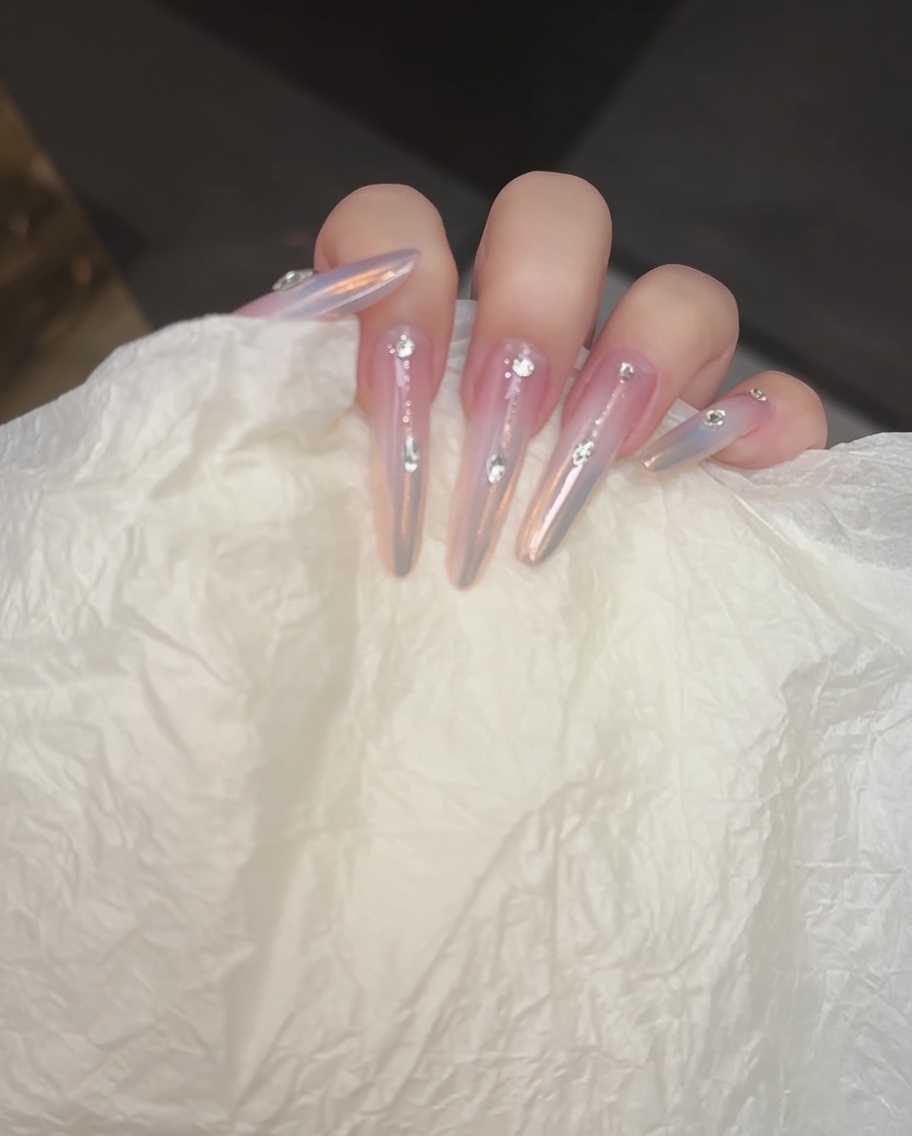
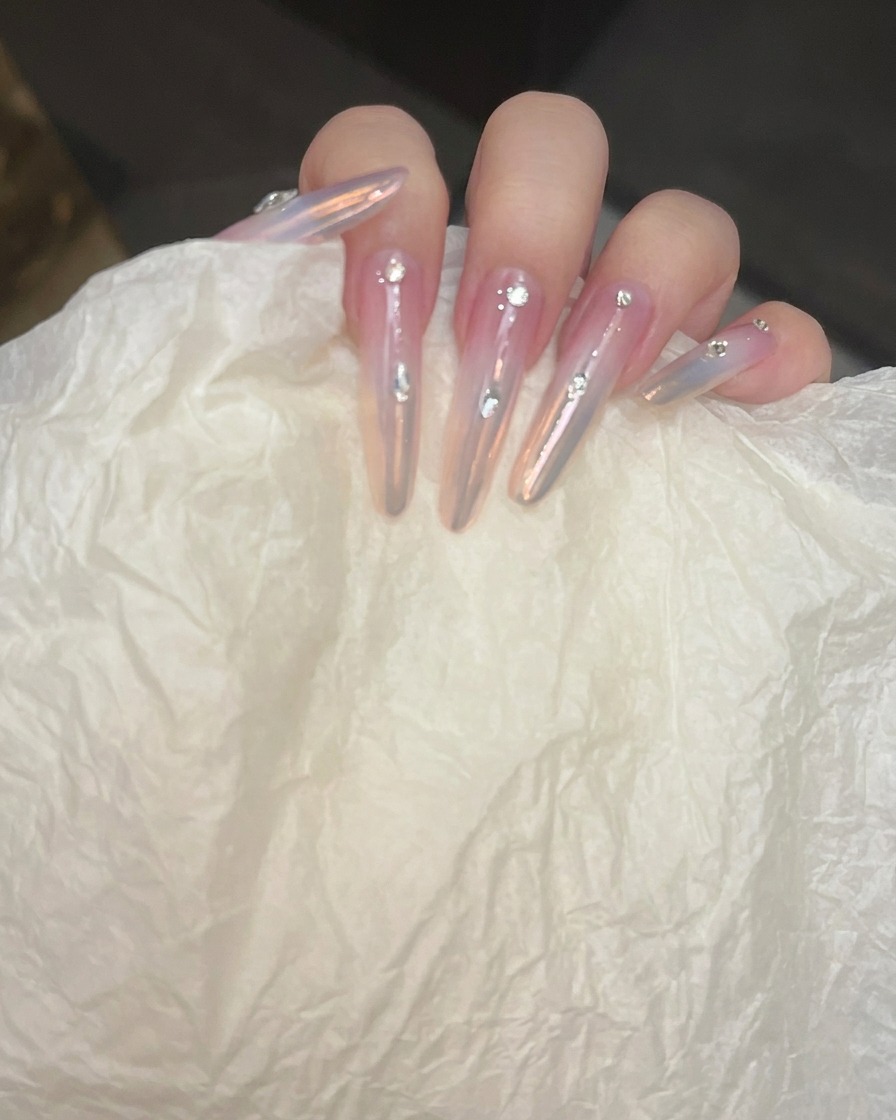
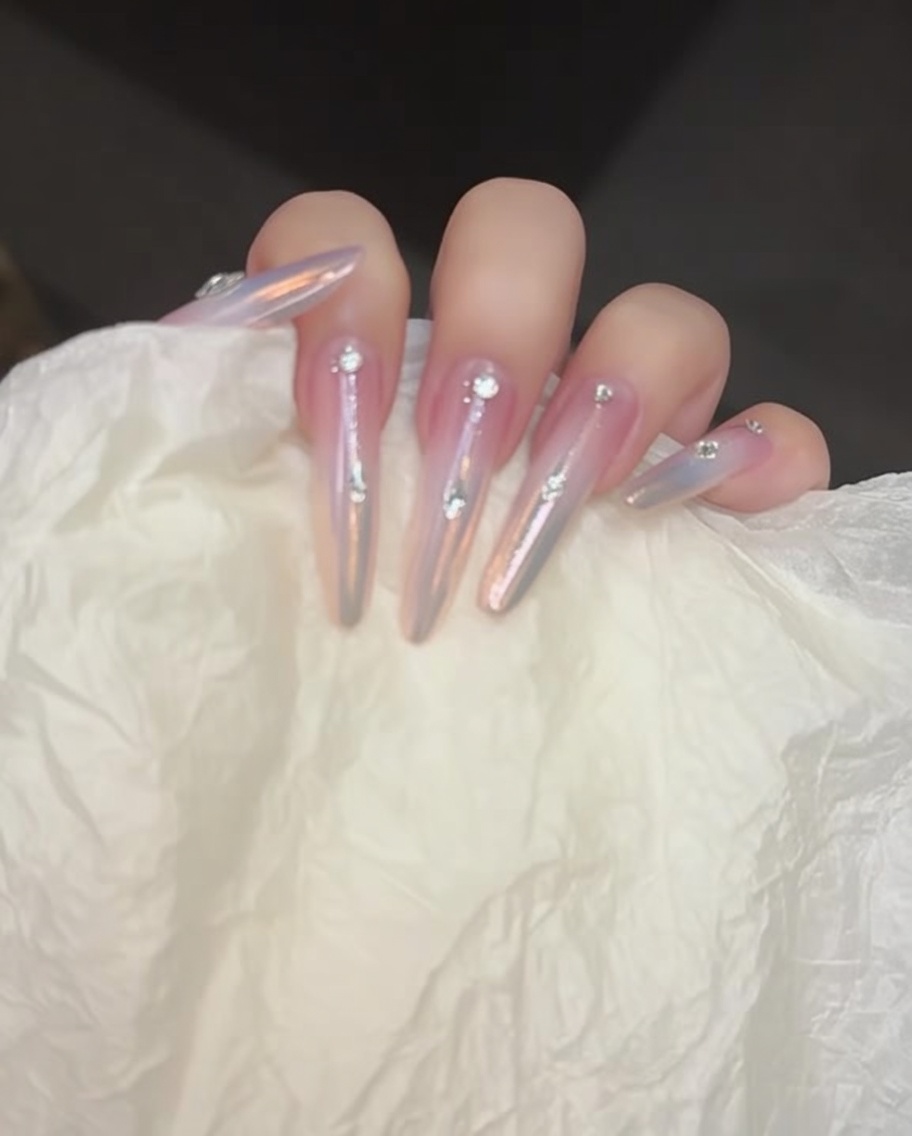
Elevate your manicure with the dreamy, iridescent look of aurora chrome. This sophisticated style combines a soft blushing gradient with precise metallic detailing and delicate rhinestone accents for a modern, ethereal aesthetic that catches the light from every angle.
Steps
- 1Apply base color

Apply your chosen base color coat evenly across the nail plate. Ensure the product is applied in thin, consistent layers to build a smooth foundation for the gradient, and cure as directed.
Tip: Keep the layers thin to ensure proper curing and a smooth finish. - 2Apply first blushing gel layer
Apply the first layer of blushing gel, focusing the product towards the center to begin establishing the gradient effect. Use a light touch to blend the edges.
Tip: Focus the product intensity in the middle of the nail to create a natural-looking gradient. - 3Apply second blushing gel layer
Apply a second layer of blushing gel over the first to increase the depth of the color. Continue to blend the edges for a seamless transition.
Tip: Build color gradually to maintain a soft and realistic gradient. - 4Perfect the gradient
Gently pat the blush gel using a sponge or brush to soften and perfect the gradient effect. This step ensures a smooth, seamless transition between the colors.
Tip: Use a light patting motion to avoid creating streaks or bubbles. - 5Apply chrome base top coat
Apply a layer of no-wipe top coat, which provides the ideal sticky surface for the aurora chrome powder to adhere to. Cure according to the product instructions.
Tip: Ensure the top coat is applied evenly to ensure the chrome powder applies smoothly. - 6Apply aurora chrome powder
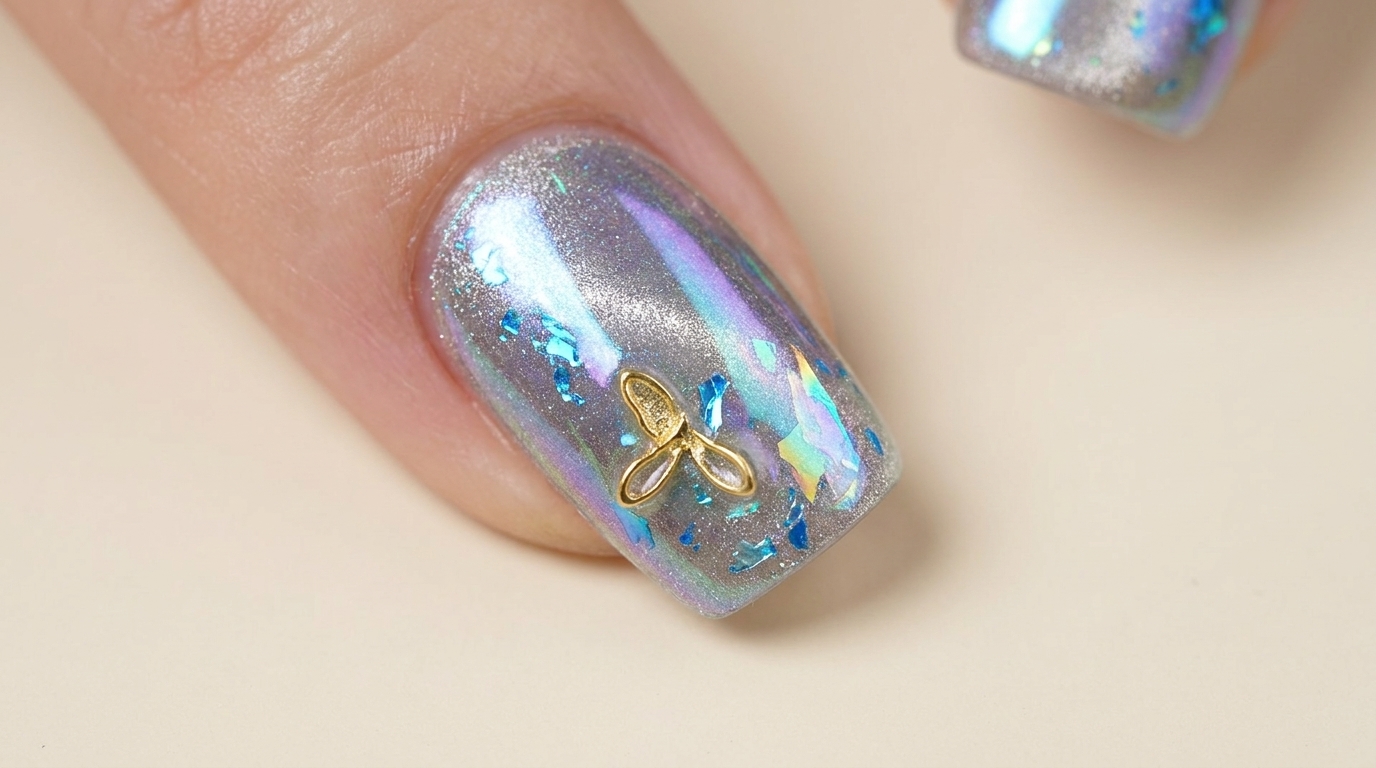
Using an applicator, gently buff the aurora chrome powder onto the tip area of the nail. Blend the powder upwards to create a soft, iridescent fade.
Tip: A little powder goes a long way; start with a small amount and build as needed. - 7Blend the aurora chrome powder
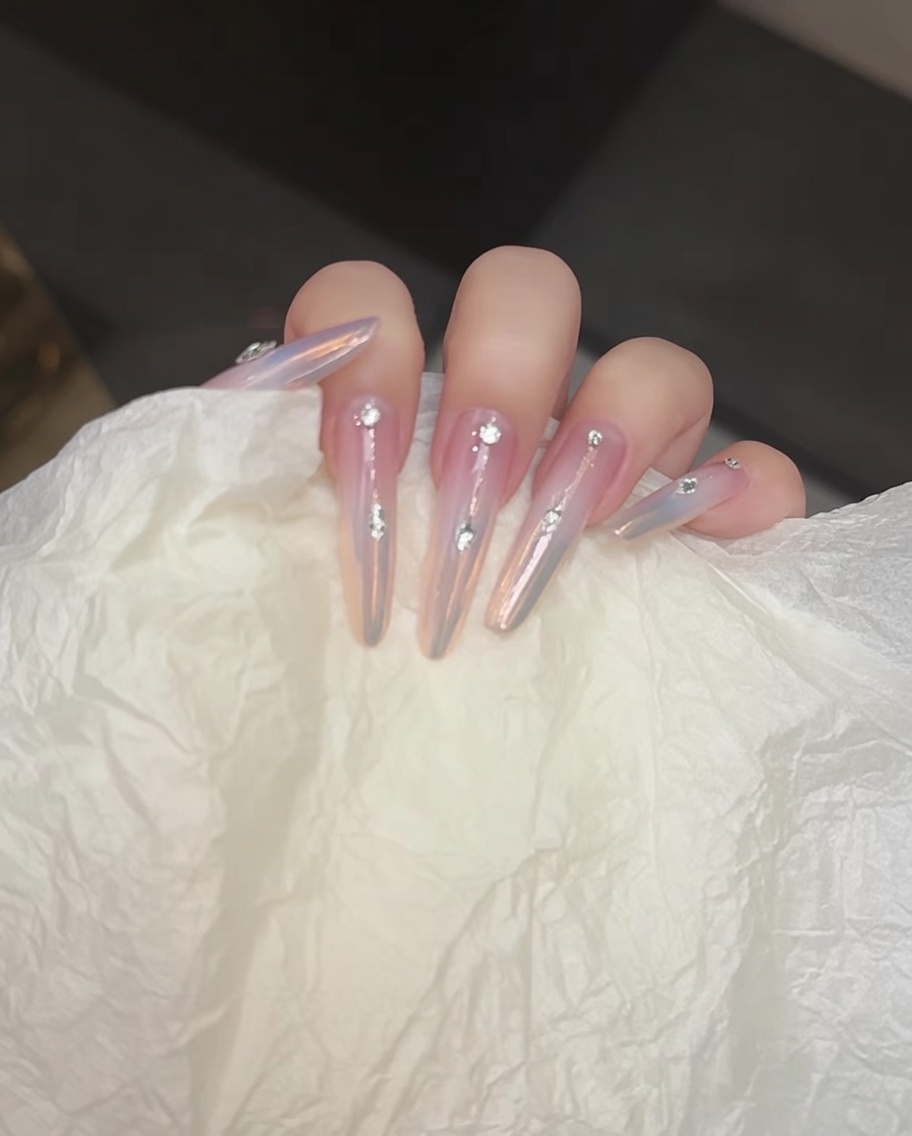
Using a soft applicator, gently blend the applied aurora chrome powder downwards from the center of the nail to create a natural, seamless transition. Ensure the powder is buffed smoothly into the top coat layer for a consistent, ethereal glow.
Tip: Use a light touch when blending to avoid removing too much product; a gentle sweeping motion works best for an even gradient. - 8Draw a metallic silver line
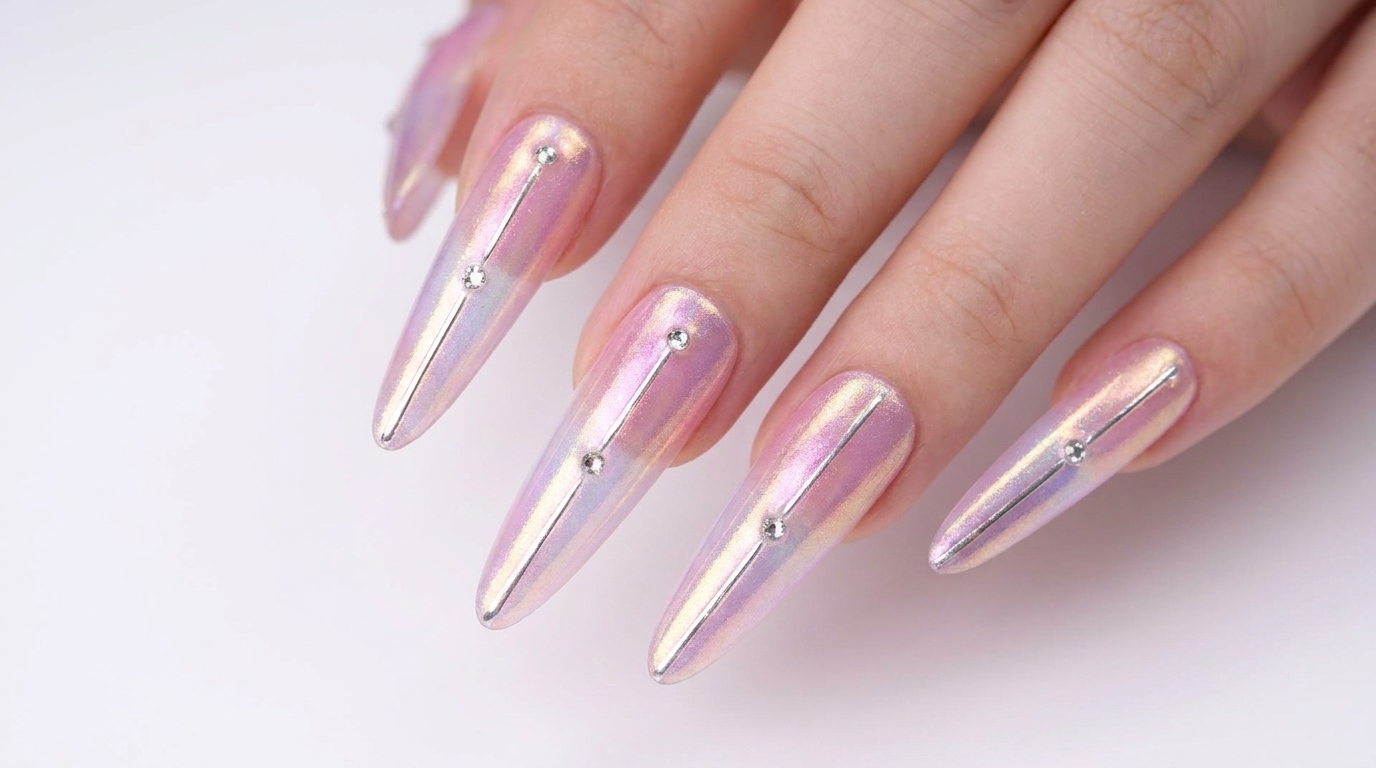
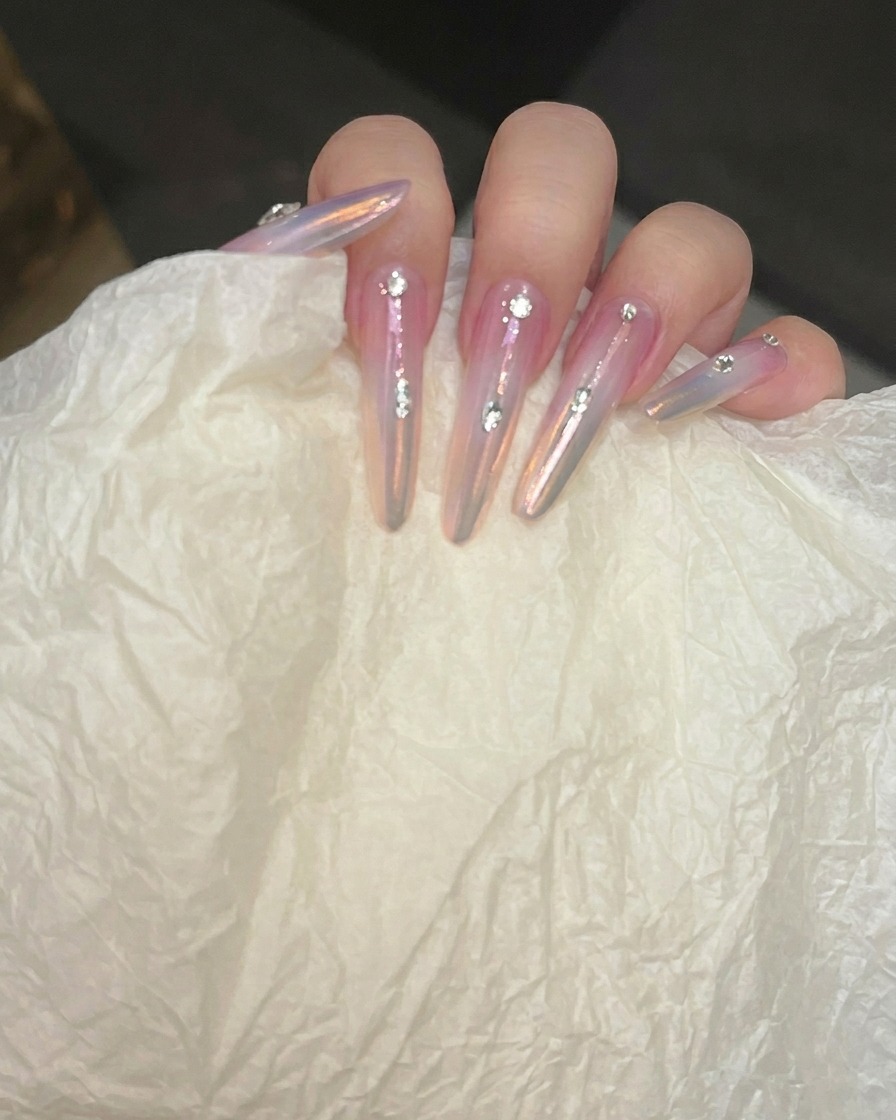
Using a thin detail liner brush, carefully draw a straight, vertical line down the center of each nail using platinum silver gel. Maintain a steady hand to keep the line precise and consistent from cuticle to free edge.
Tip: If your hand shakes, rest your pinky finger on a stable surface while painting to gain better control of the brush. - 9Refine the silver detail
Take a moment to inspect the silver line. If it appears uneven, use a clean detail brush slightly dampened with a tiny amount of base coat to gently tidy the edges, ensuring the line remains sharp and perfectly straight.
Tip: Keep the line as thin as possible to maintain a modern, sophisticated aesthetic. - 10Apply strengthening top coat
Apply a thin layer of strengthening top coat over the entire nail to protect the design and provide durability. Ensure you cap the free edge before placing the nails into your UV or LED lamp to cure for 20 seconds.
Tip: Capping the free edge is crucial to prevent the chrome and silver details from chipping prematurely. - 11Apply and secure rhinestones
Apply small, strategic dots of high-viscosity adhesive gel onto the silver line where you want the rhinestones to sit. Use a crystal picker tool to place the rhinestones onto the gel, then cure briefly to set them in place.
Tip: Dont use too much adhesive gel, as it can cause the rhinestones to slide or look bulky; a small drop is sufficient for each stone. - 12Seal the nail design

Finally, apply a thin layer of hard gel along all edges and over the rhinestones to fully encapsulate the design. This ensures the stones stay secure and the nail has a smooth, durable finish. Cure completely.
Tip: Be careful not to cover the face of the rhinestones with too much hard gel, as this can dull their sparkle.