Aurora Gradient Cat Eye Nails — Step-by-Step Tutorial
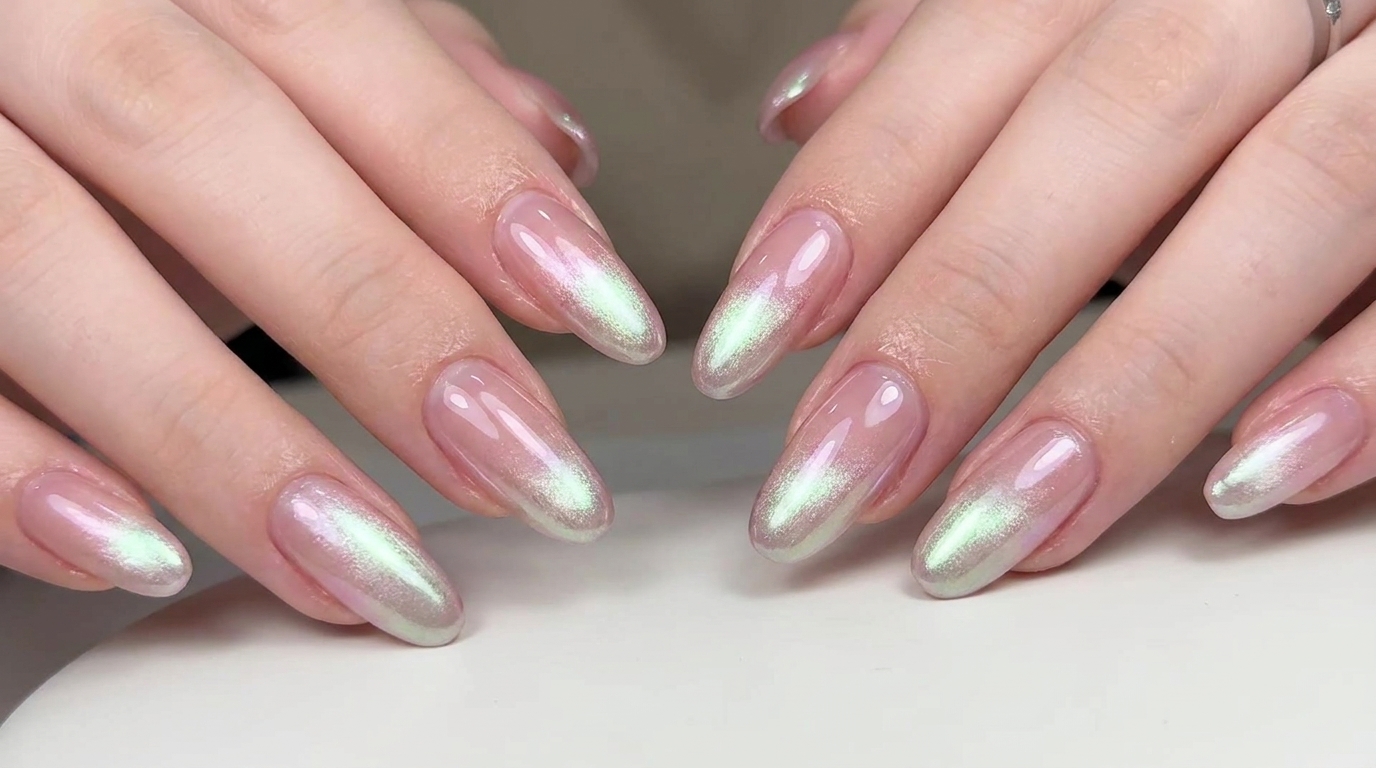
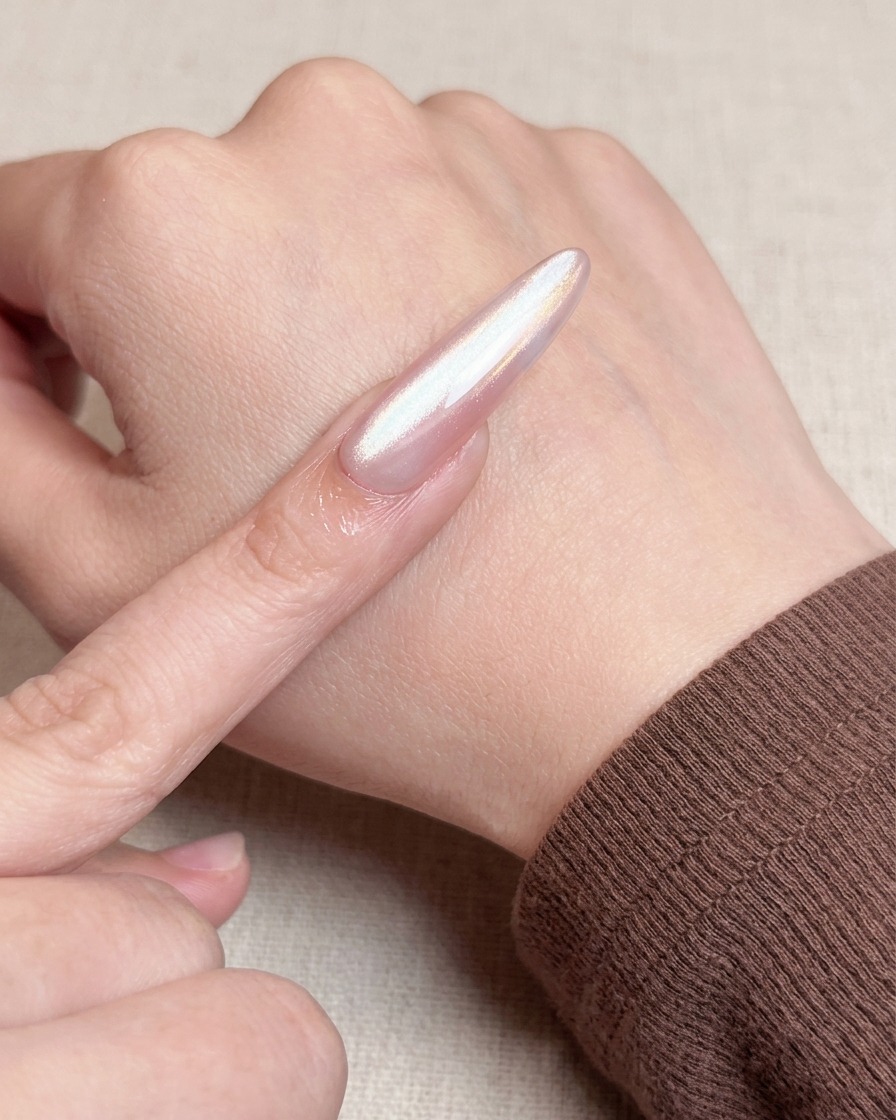
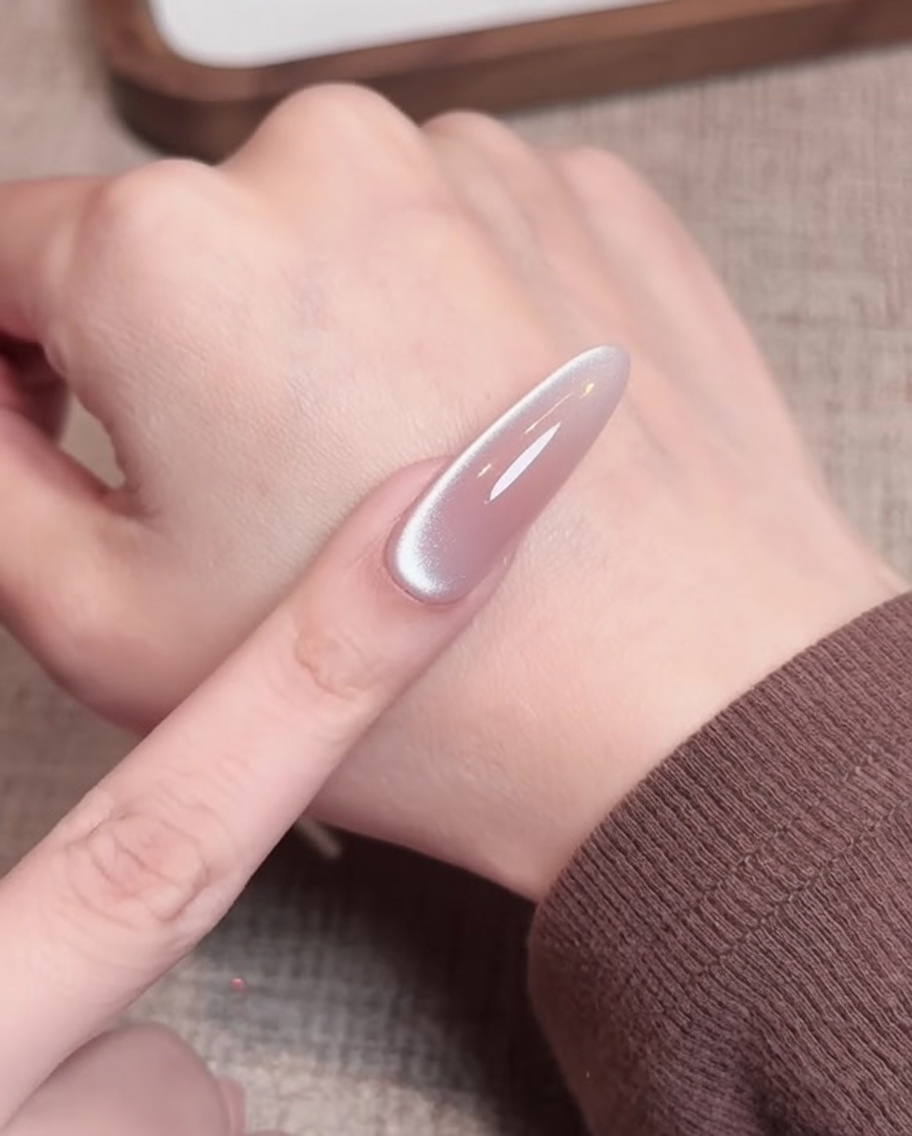
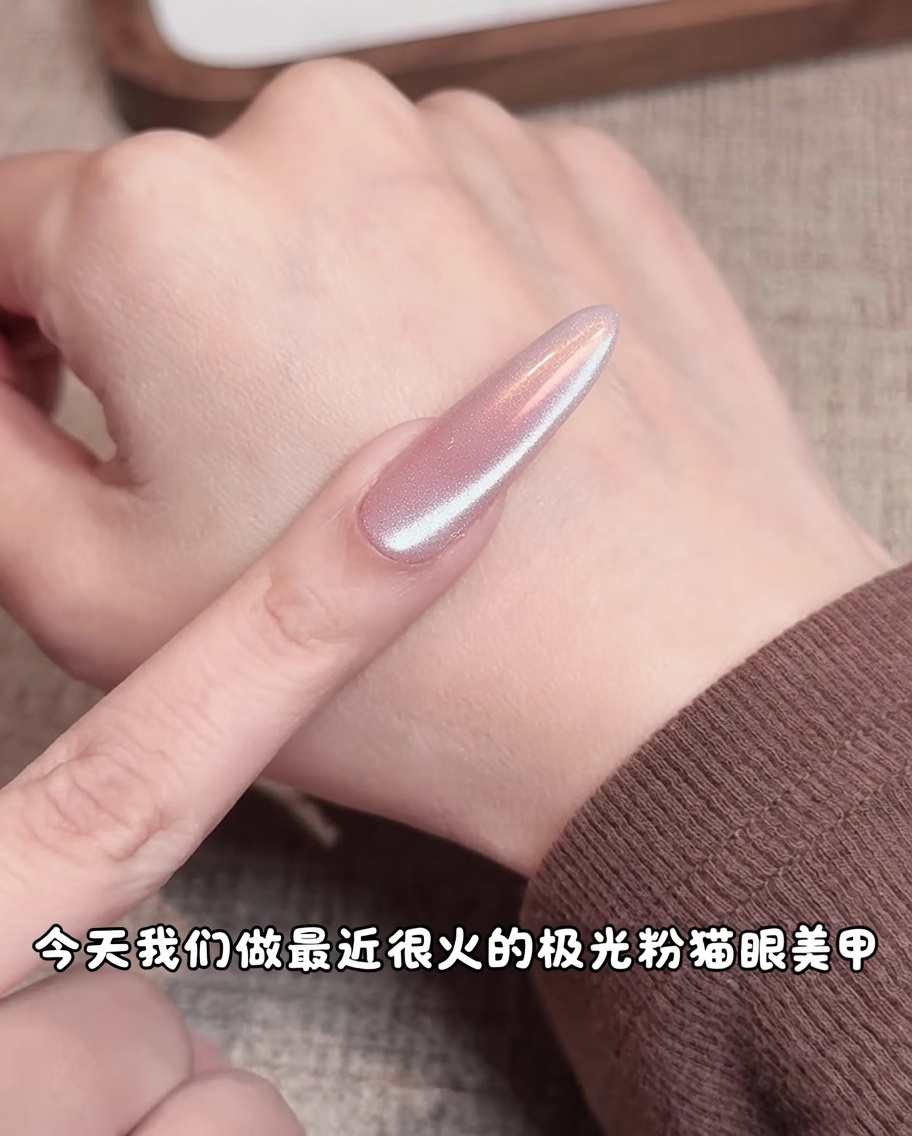
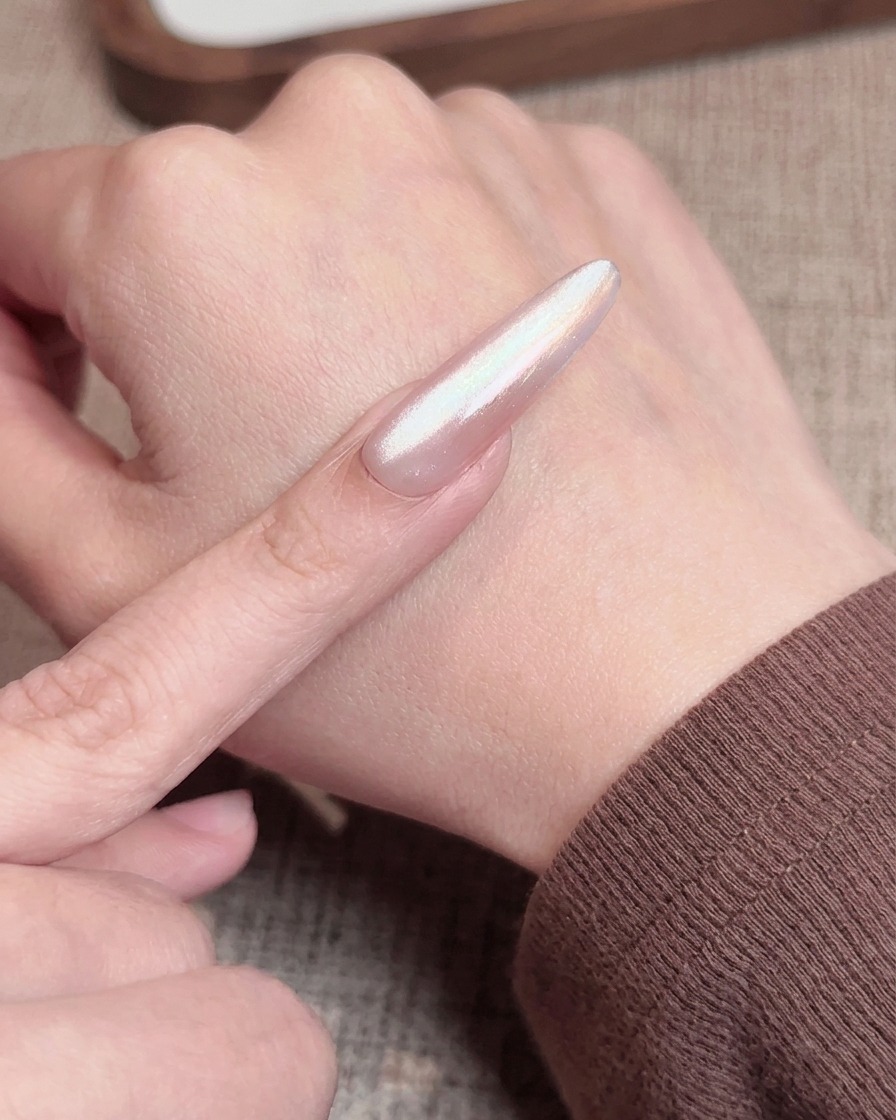
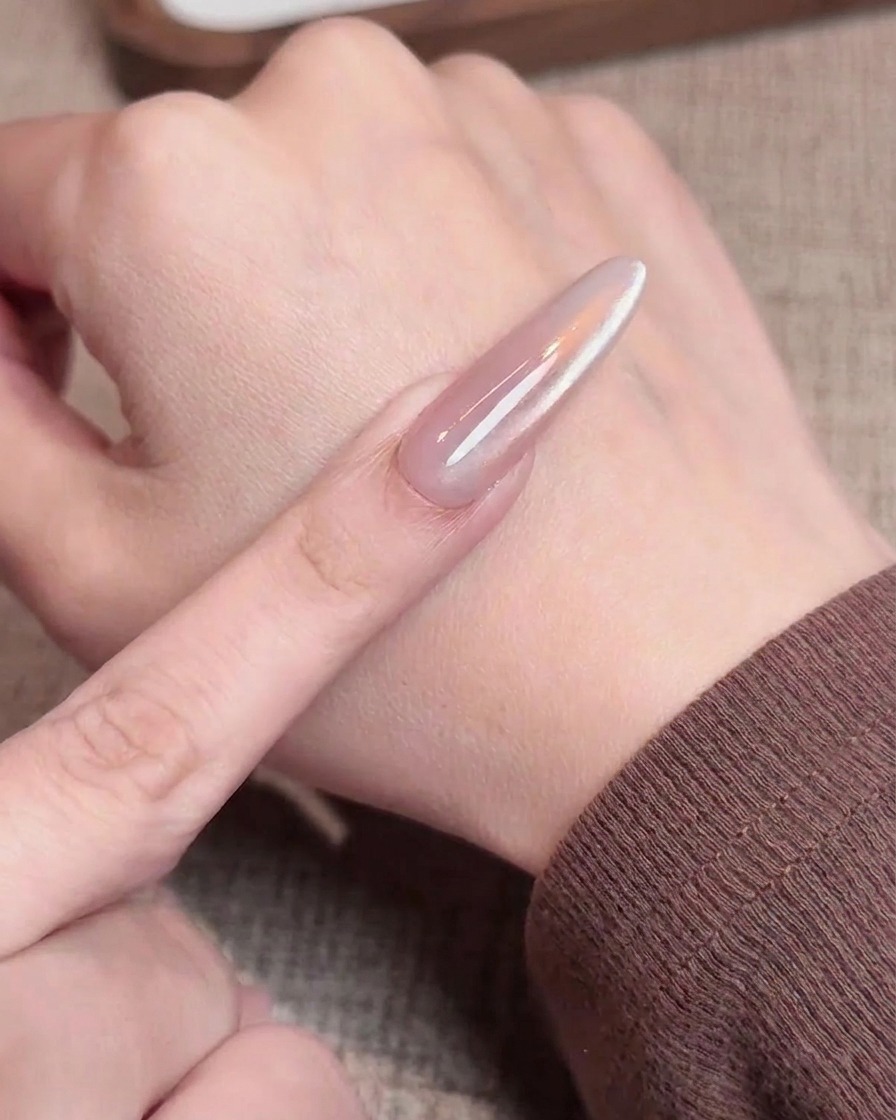
Elevate your manicure with this dreamy aurora powder and cat-eye combination. Create a soft pink gradient base with a stunning iridescent chrome finish.
The aurora powder trend combined with the depth of magnetic cat-eye gel creates a mesmerizing, ethereal look perfect for any occasion. This tutorial walks you through layering pigments and magnetic effects to achieve a seamless, high-gloss gradient finish that catches the light from every angle.

Steps
- 1Apply first base layer

Apply a thin, even layer of nude base gel to the entire nail plate, ensuring you cap the free edge for better durability. Cure under your UV/LED lamp for the recommended time to ensure it is fully set before proceeding to the next layer.
Tip: Keep your layers thin to ensure even curing and to prevent the gel from pooling at the cuticles. - 2Apply second base layer
Apply a second thin layer of the nude base gel to build up opacity and achieve a smooth, uniform color. Cure this layer thoroughly under your UV/LED lamp.
Tip: Building opacity with multiple thin coats is always better than applying one thick coat, which can cause curing issues. - 3Remove sticky layer
Use a lint-free pad soaked in cleanser or alcohol to gently wipe away the sticky inhibition layer from the cured nude base. This prepares the surface for the next step, ensuring the blush application goes on smoothly.
Tip: Use a fresh section of the lint-free pad for each nail to avoid spreading the sticky residue. - 4Apply blush gradient
Using a small makeup sponge, gently dab a small amount of pink blush gel onto the center of the nail. Repeat the dabbing motion lightly multiple times to build a soft, natural-looking gradient effect.
Tip: Build the color gradually with light dabbing motions to ensure the transition is smooth and not blotchy. - 5Apply pink top coat
Apply a layer of pink-tinted top coat over the blush gradient to set the design and add a subtle hue. Place the nail under your UV/LED lamp to cure until completely dry.
Tip: Ensure the top coat covers the entire surface to seal in the blush pigment and prevent it from smudging. - 6Apply aurora powder
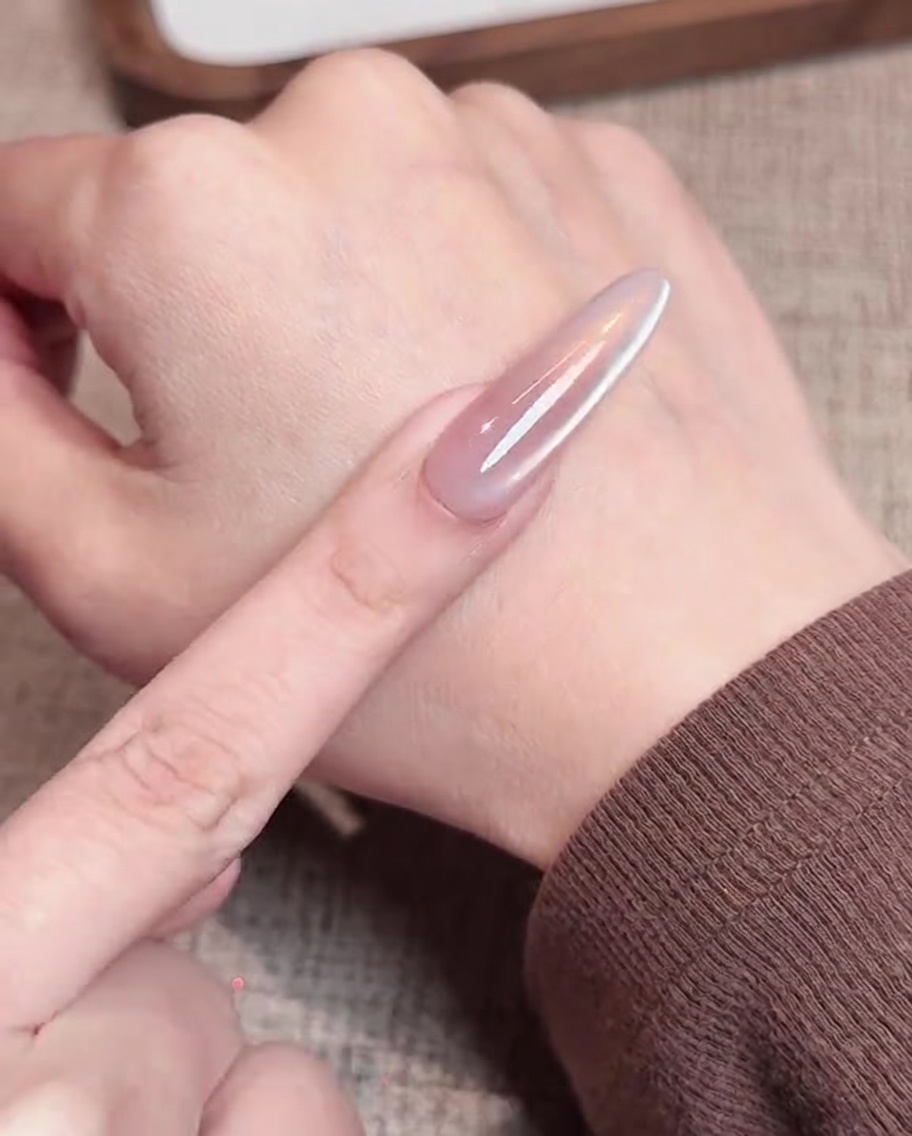
Using an eyeshadow applicator, pick up a small amount of aurora chrome powder and gently buff it onto the nail tip. Work from the tip toward the center to create a stunning, ethereal gradient effect.
Tip: A little powder goes a long way; start with a small amount and layer it to reach your desired intensity. - 7Seal the chrome edges
After applying the aurora powder gradient, use a soft buffing block to gently buff the free edge and sides of the nail. This action helps to seal the powder, preventing it from lifting or chipping prematurely before the final top coat application.
Tip: Be light-handed; you only need to remove excess powder from the very edge of the nail, not the entire surface. - 8Apply cat eye gel

Apply a thin, even layer of cat eye gel with little to no base pigment over your aurora powder gradient. Ensure the gel covers the entire nail surface evenly, providing a smooth base for the magnetic particles to react.
Tip: If the cat eye gel is too thick, the magnetic effect will be diffused; a thinner layer allows for a sharper cat eye line. - 9Create the cat eye effect
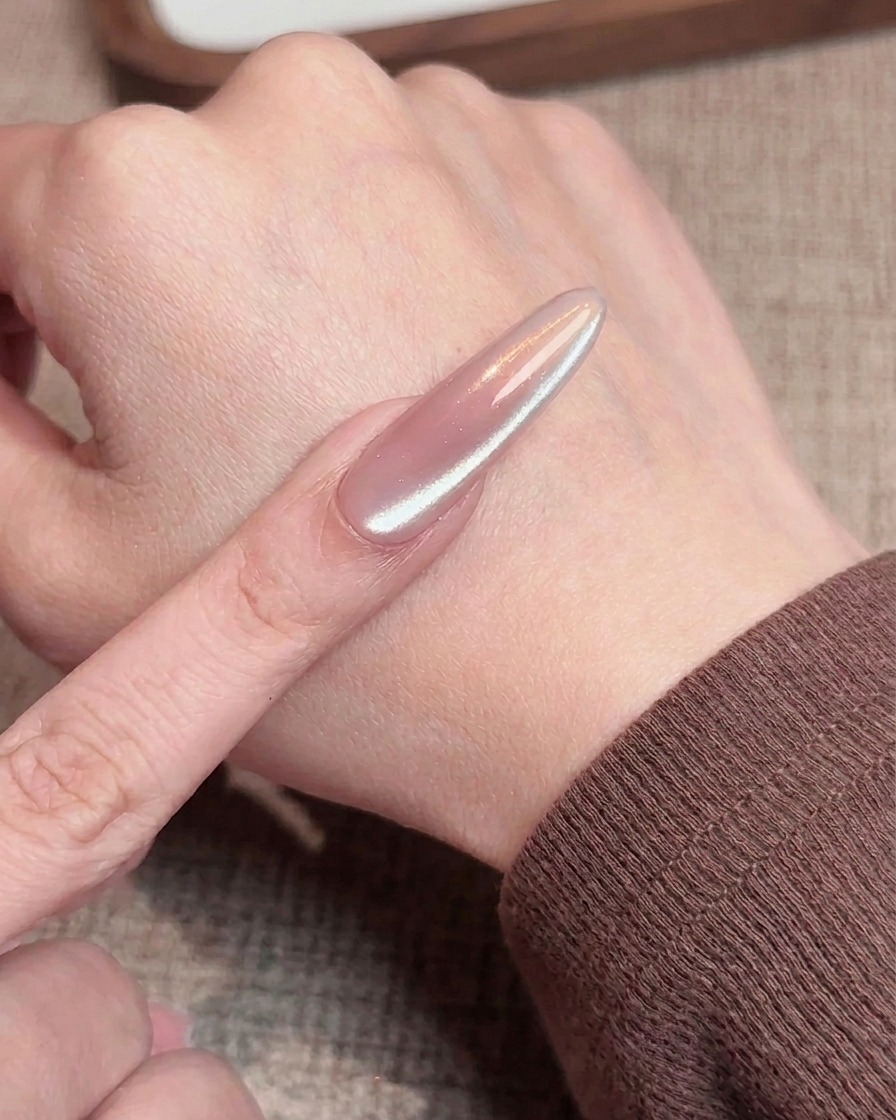
Hold your magnet tool at a 45-degree angle to the side of the nail for about 5-10 seconds. The magnetic particles within the gel will shift toward the magnet, creating a sharp, glowing side reflection. Once satisfied with the placement, cure immediately to lock the particles in place.
Tip: Hold the magnet steady and dont let it touch the wet gel, or you will create a smudge in your design.