Classic White Airbrush Ombre Nails — Professional Step-by-Step Tutorial
Achieve a flawless, salon-quality white airbrush ombre with this easy-to-follow tutorial. Perfect for elegant, long-lasting gradient nails.
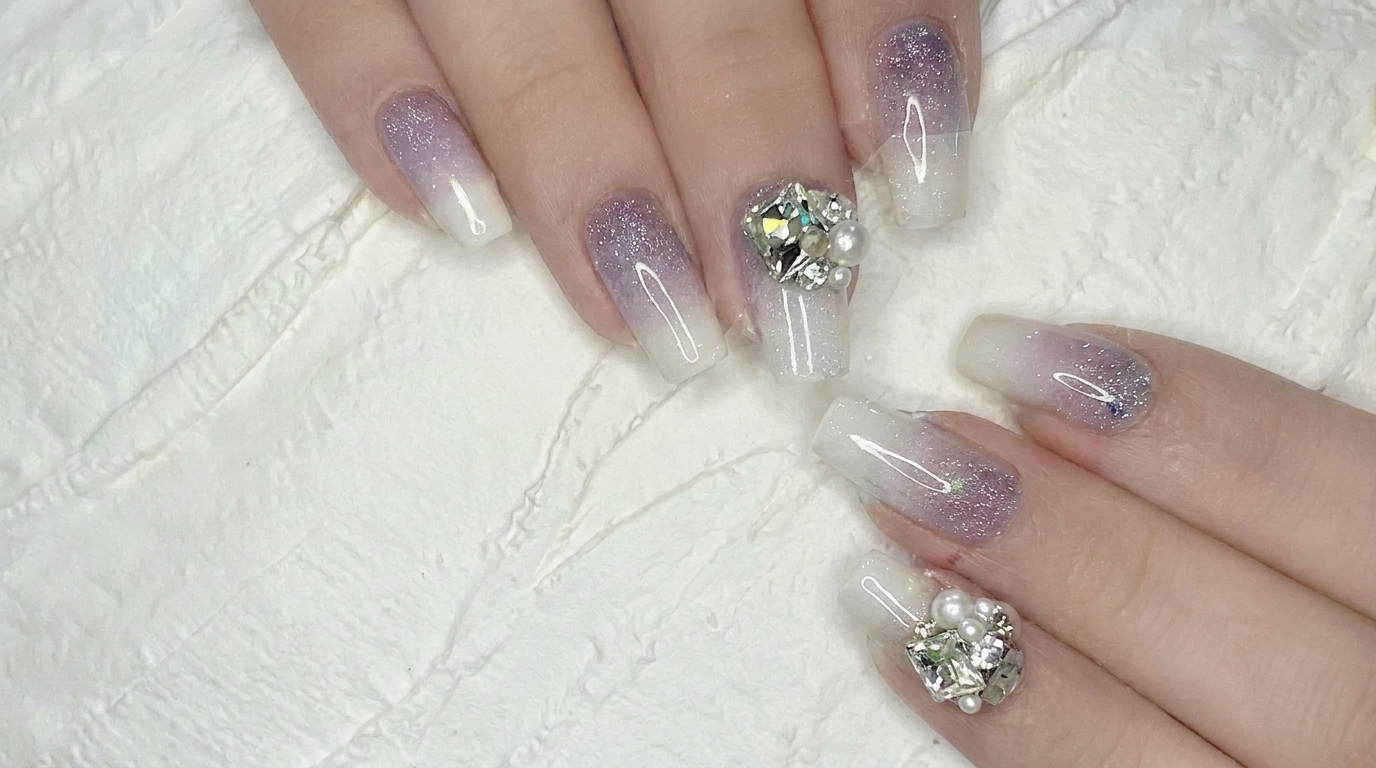
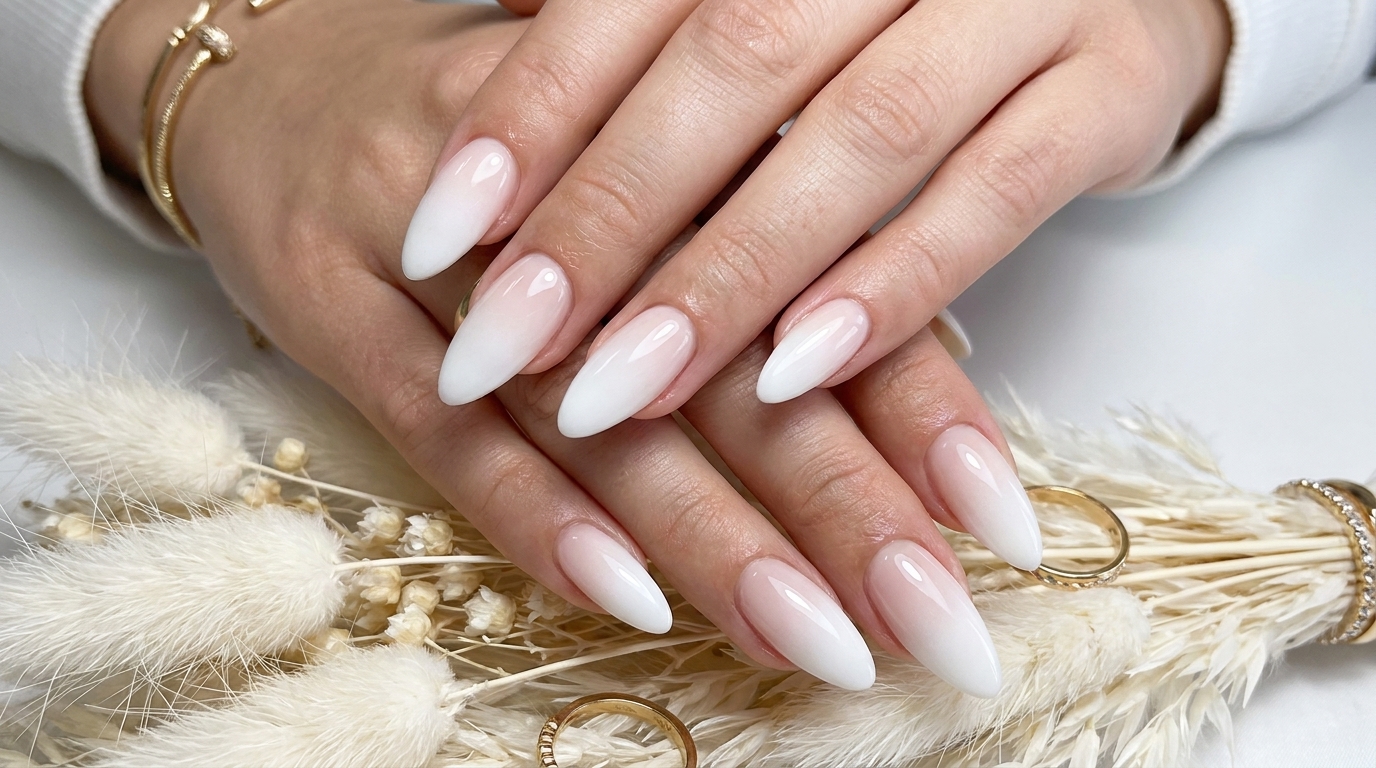
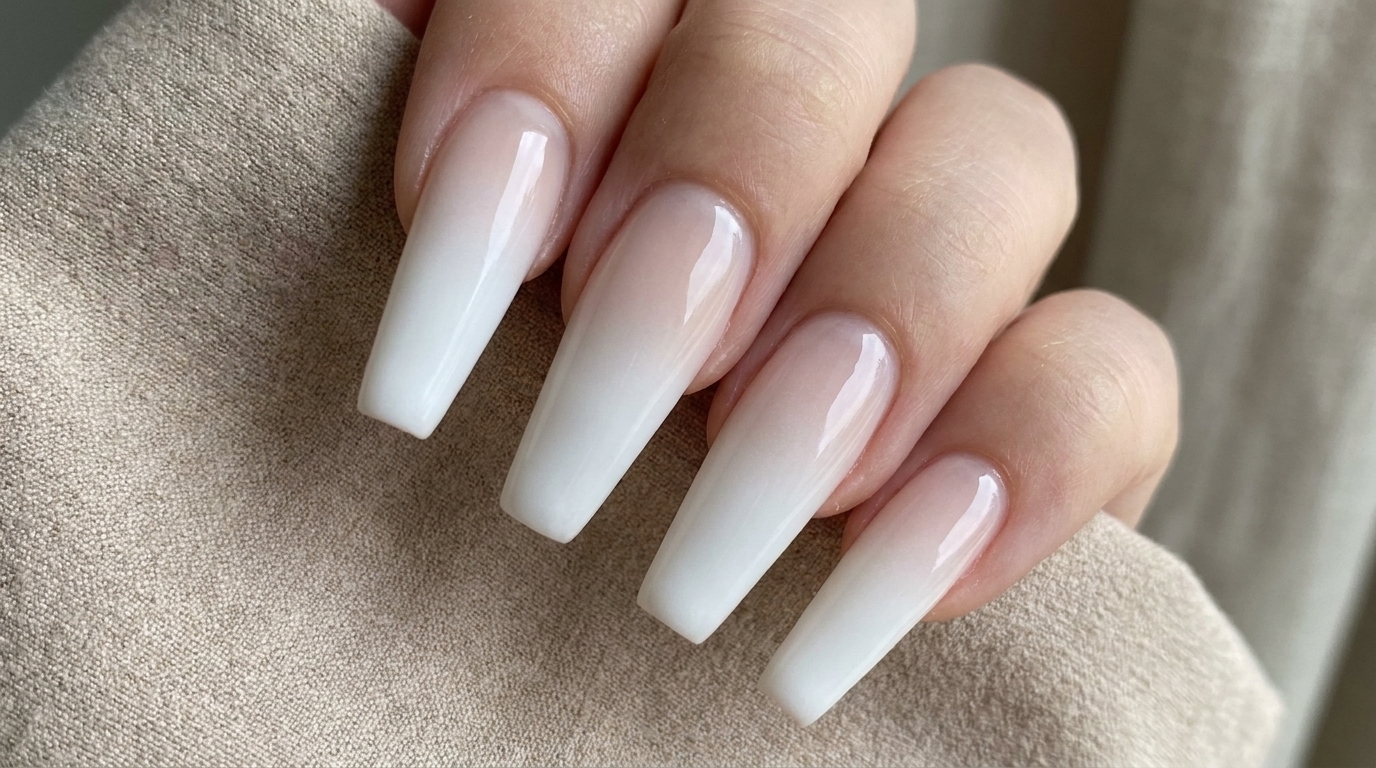
White airbrush ombre nails offer a timeless, sophisticated look that blends seamlessly into any style. This technique creates a delicate, airy gradient that is notoriously difficult to achieve with traditional polish but becomes effortless with an airbrush tool. Follow along to master the art of the perfect, streak-free transition.
Steps
- 1Prepare the airbrush tool
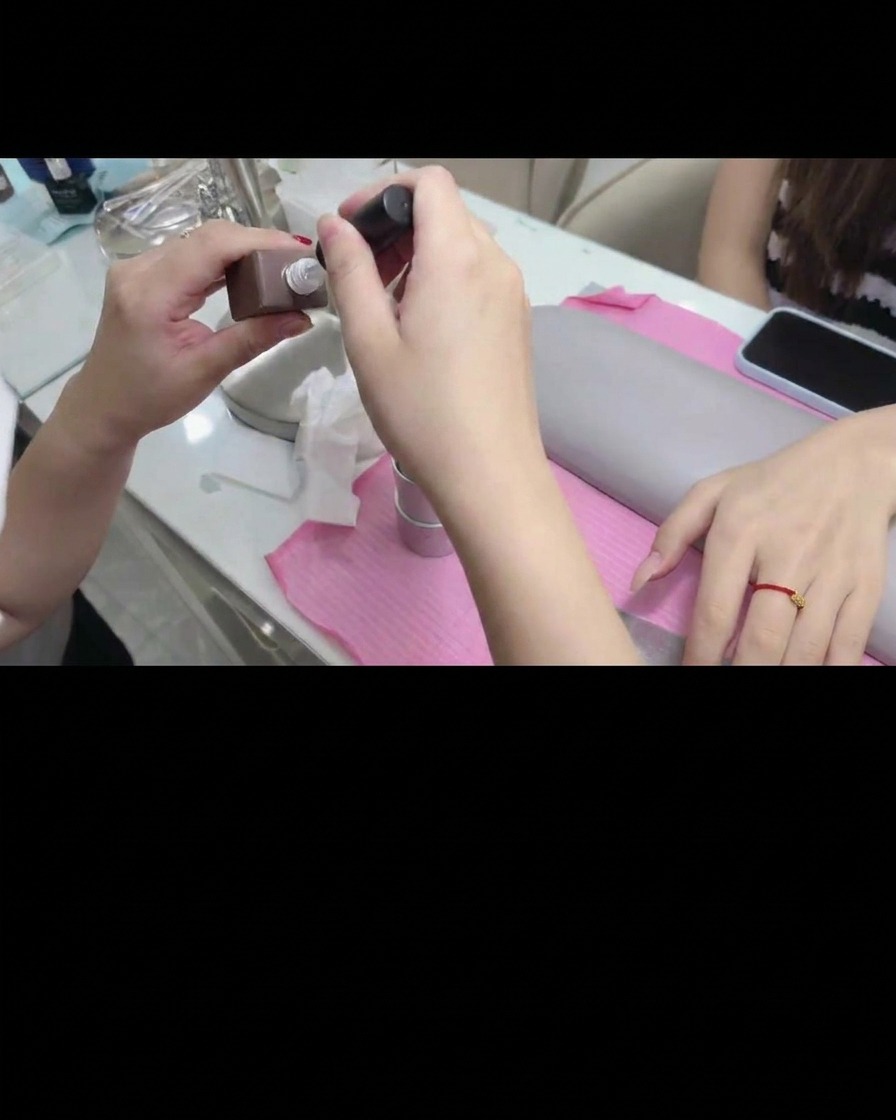
Begin by opening your airbrush color bottle and carefully pouring the white pigment into the airbrush cup. Ensure your workspace is clean and you have a lint-free cloth ready to manage any spills or to test the spray before applying it to the nail.
Tip: Check that the nozzle is clear of dried pigment before you start to ensure a smooth, fine mist application. - 2Apply the airbrush stencil

Carefully position your stencil onto the nail plate to create a crisp, defined line for the gradient. Press the edges down firmly against the nail surface to ensure the stencil is flush and prevent any pigment from bleeding underneath.
Tip: Make sure the stencil is centered to keep the ombre transition symmetrical across the nail. - 3Airbrush the white gradient
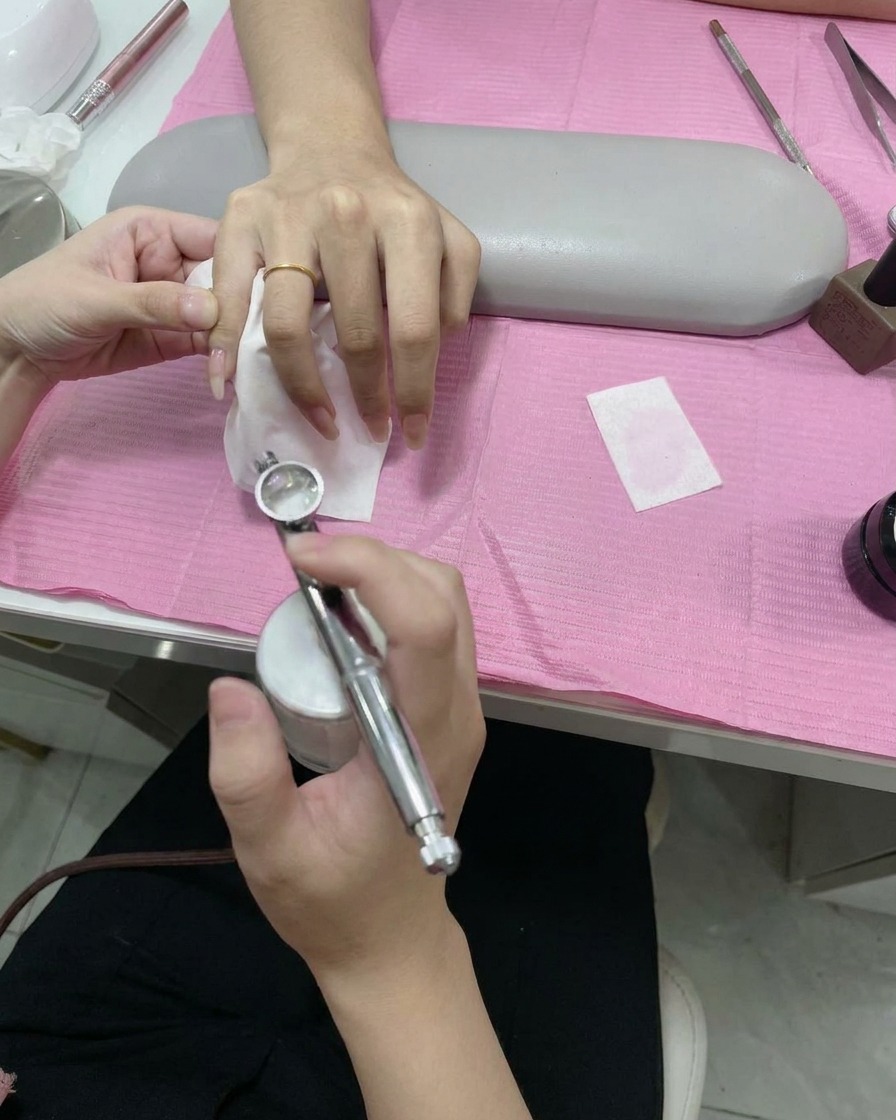
Using the airbrush tool, spray a light, even mist of white pigment onto the tip of the nail, focusing heavily on the very edge and gradually fading it out toward the middle of the nail. Keep the tool at a consistent distance to build the opacity of the white gradient smoothly.
Tip: Apply in thin, light passes rather than one heavy layer to prevent the pigment from pooling or running. - 4Remove the stencil
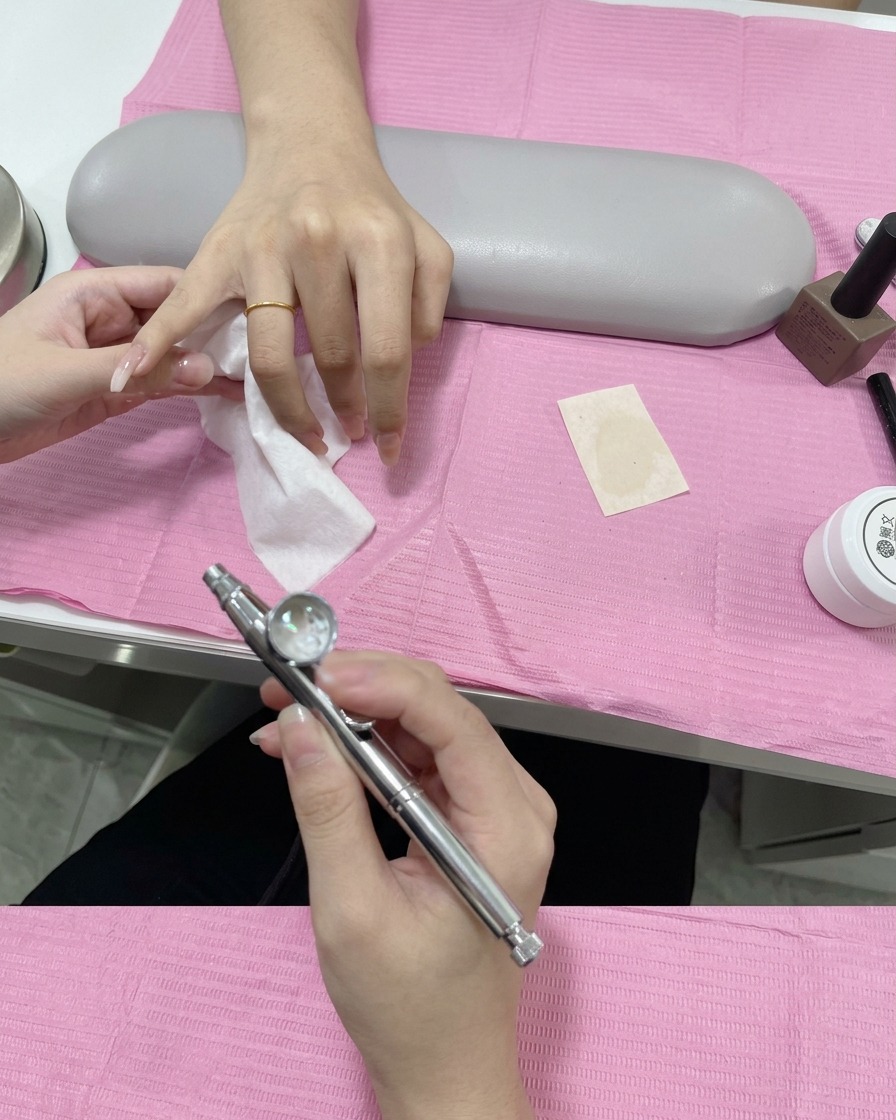
Gently peel the stencil off the nail once the airbrush pigment has slightly set. Pull it away carefully to avoid smudging the fresh white gradient, revealing the sharp, clean line created by the stencil.
Tip: Remove the stencil while the paint is still slightly damp for the cleanest edge possible. - 5Inspect the gradient
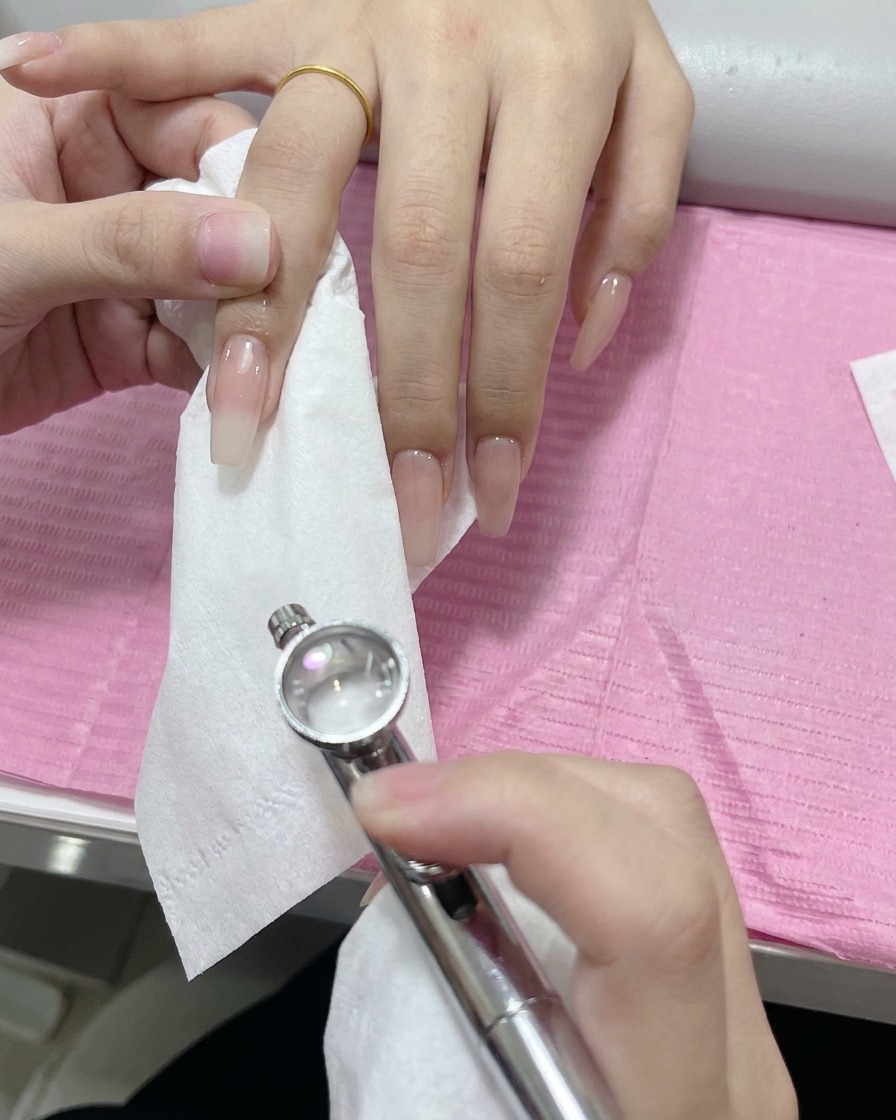
Examine the nail closely to ensure the white ombre transition is smooth and that the coverage is even. Check that the gradient fades naturally into the natural nail base, confirming there are no harsh lines or patchy spots in the pigment application.
Tip: Use good lighting to check the consistency of the fade across all nails. - 6Apply glossy top coat

Seal your finished airbrush design by applying a high-quality glossy top coat over the entire nail. Ensure you cap the free edge thoroughly to protect the airbrushed pigment and provide a smooth, long-lasting shine.
Tip: Apply the top coat with light, floating strokes to avoid dragging the pigments and ruining your gradient design.