Airbrush Ombre Gel Nails — Elegant Gradient Tutorial
Create a flawless, smooth gradient with our airbrush ombre gel nail tutorial. Perfect for achieving a delicate, high-end look at home.
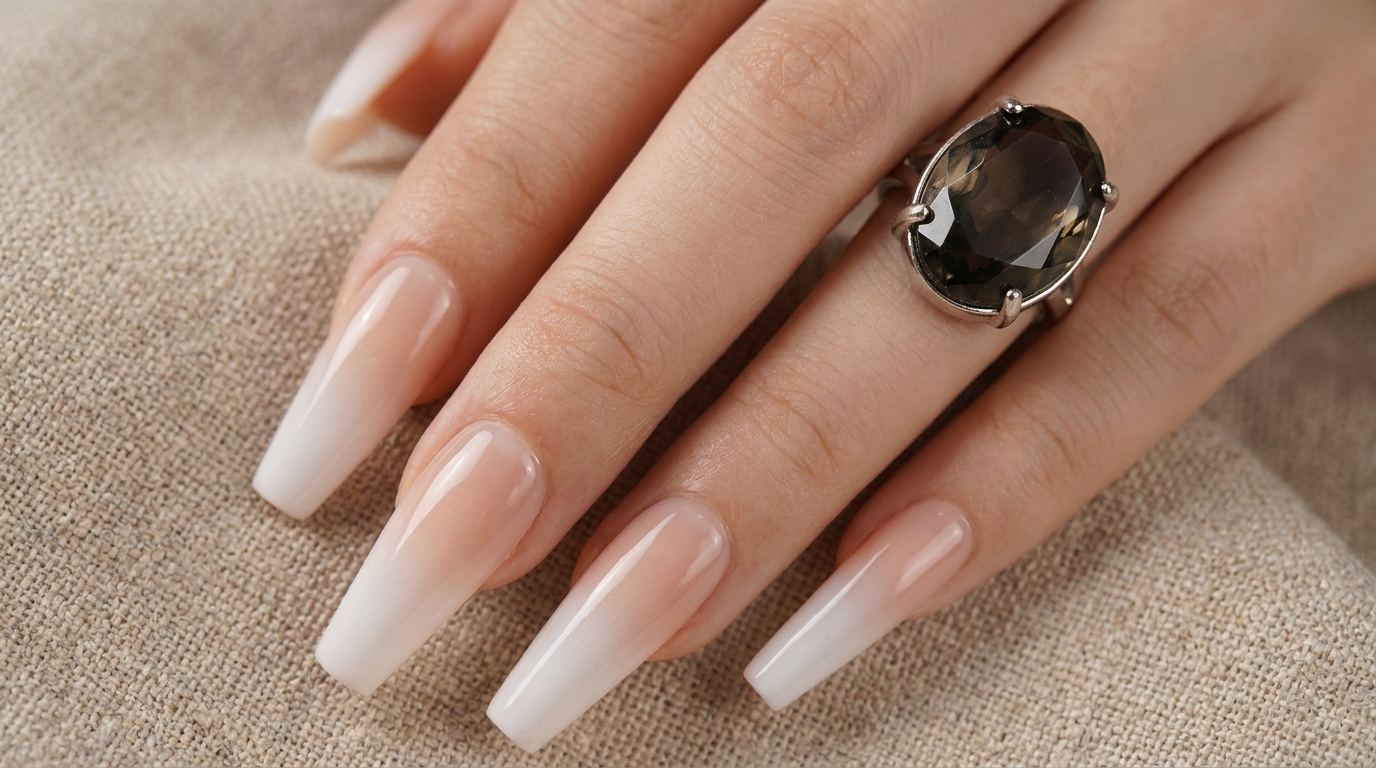
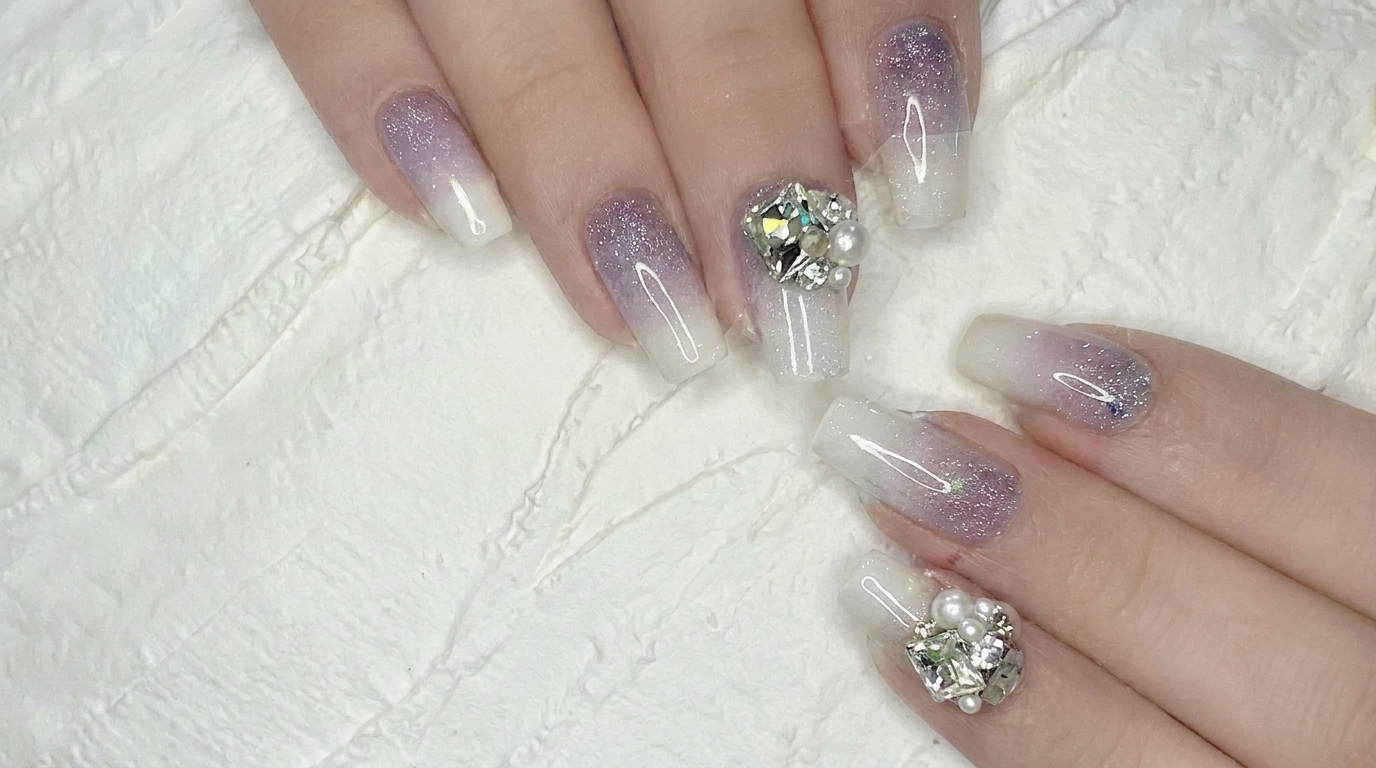
The ombre look remains a timeless favorite for those seeking a sophisticated and subtle nail style. Using an airbrush technique allows for a perfectly diffused transition that is difficult to achieve with traditional sponging. This process creates a refined, professional finish that elevates any manicure.
Steps
- 1Apply gel base coat
Apply a thin, even layer of gel base coat to each nail, ensuring you cap the free edge to prevent lifting. Work carefully to avoid getting gel on the skin around the cuticle area. Cure under a UV or LED lamp for the time specified by your gel product manufacturer.
Tip: Applying a thin, uniform base coat is essential for smooth color application and long-lasting adherence. - 2Smooth the base layer
Gently ensure the base coat is leveled across the nail surface before curing. Use the brush to lightly distribute the gel if there are any uneven spots, creating a perfectly smooth foundation for the subsequent gradient steps.
Tip: If the base coat pools at the cuticles, wipe it away with a clean brush before curing to avoid lifting. - 3Prepare the airbrush
Load the airbrush reservoir with your chosen gradient color and perform a quick test spray on a lint-free wipe or paper towel to ensure the mist is fine and consistent. Check that the pressure settings are adjusted for delicate nail work.
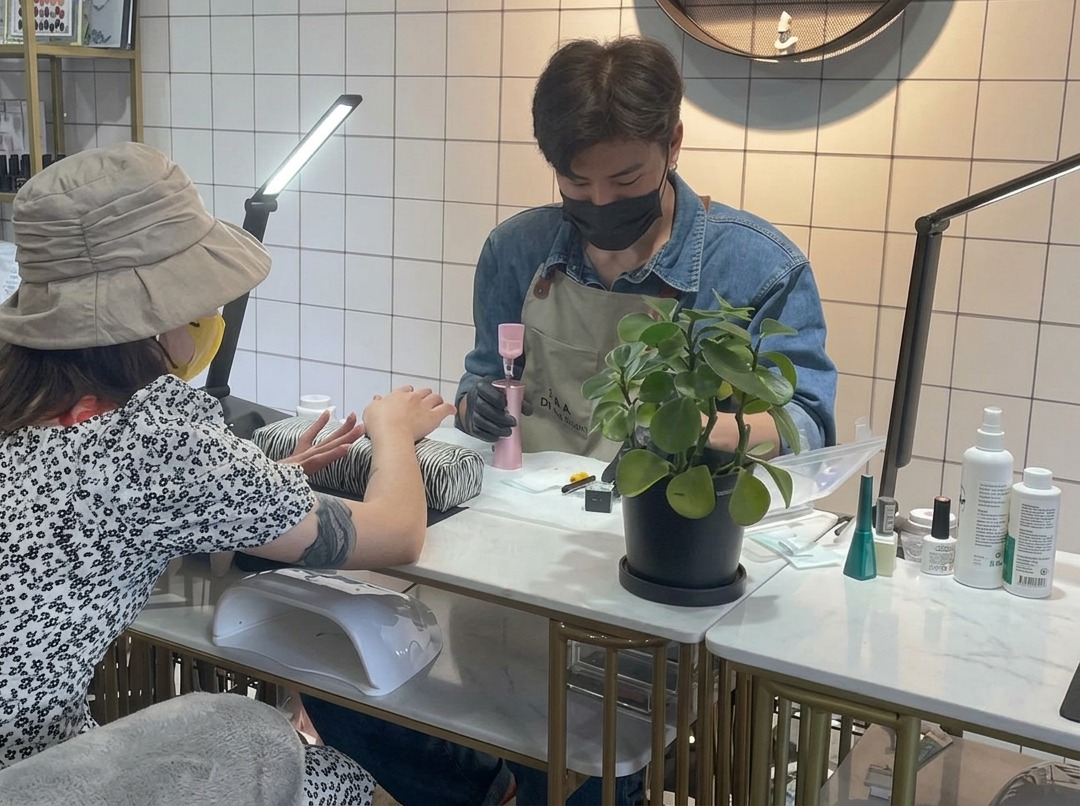
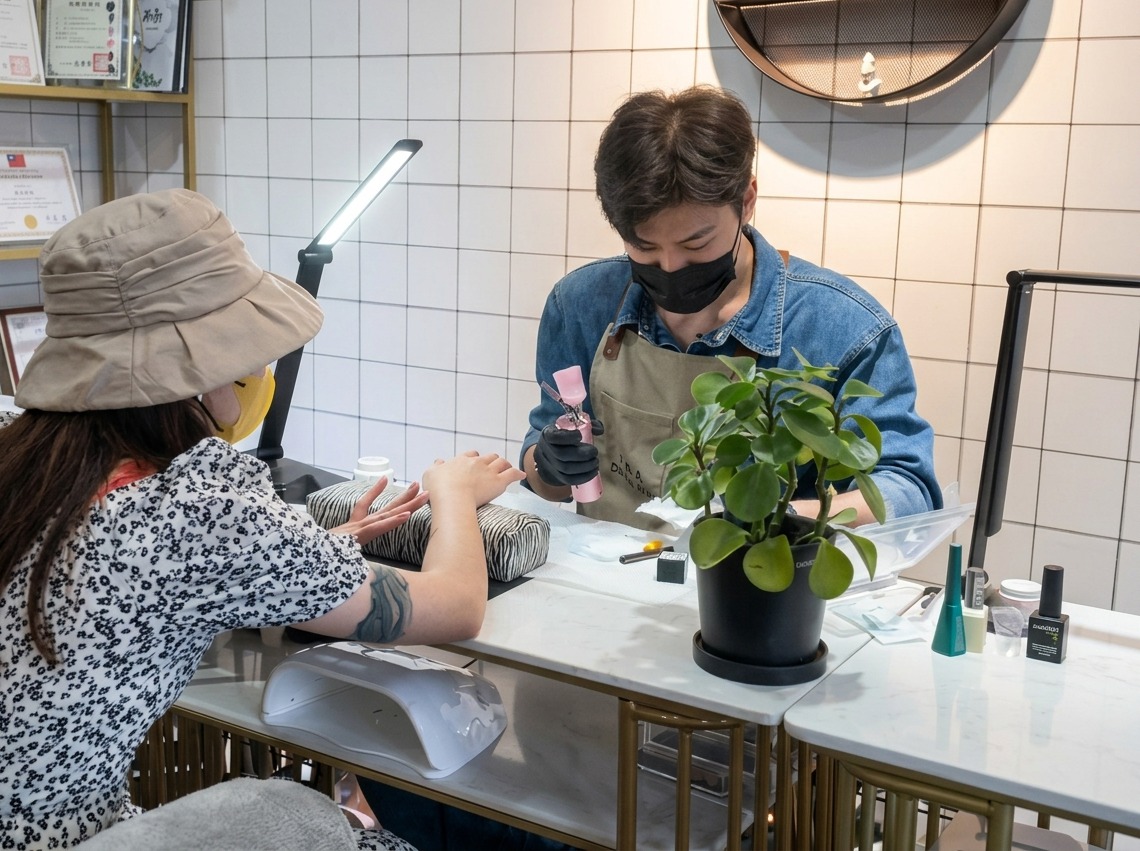
Tip: Always test your airbrush flow on a spare surface before aiming at the clients nail to avoid blotchy application. - 4Position for airbrushing
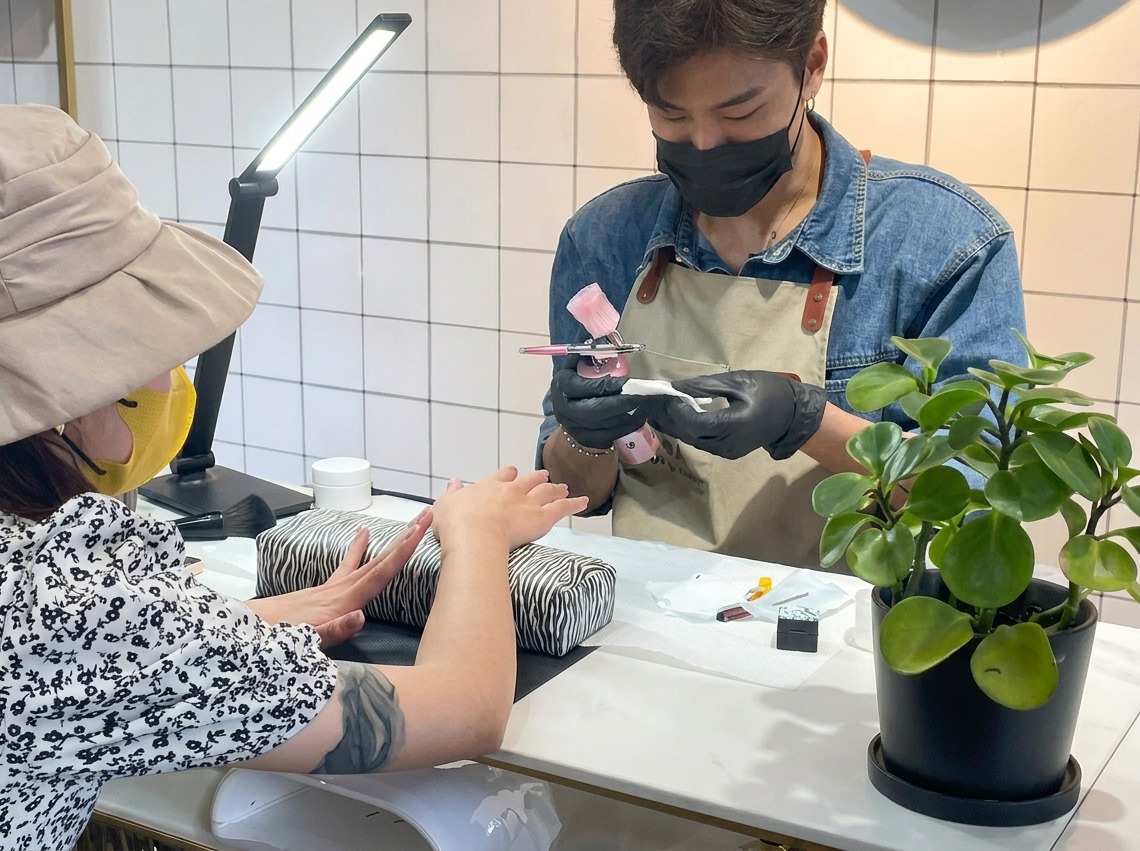
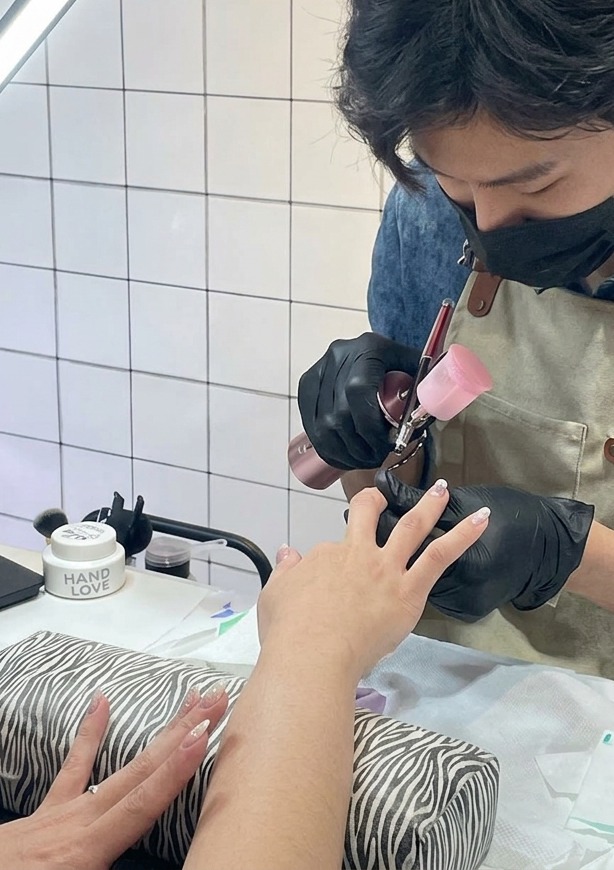
Hold the airbrush tool at a steady, consistent distance from the nail surface, usually a few inches away. This setup allows for a controlled, diffused application of color, which is key for a seamless gradient effect.
Tip: Maintain a steady hand and a constant distance to achieve an even, professional-looking gradient mist. - 5Apply gradient color
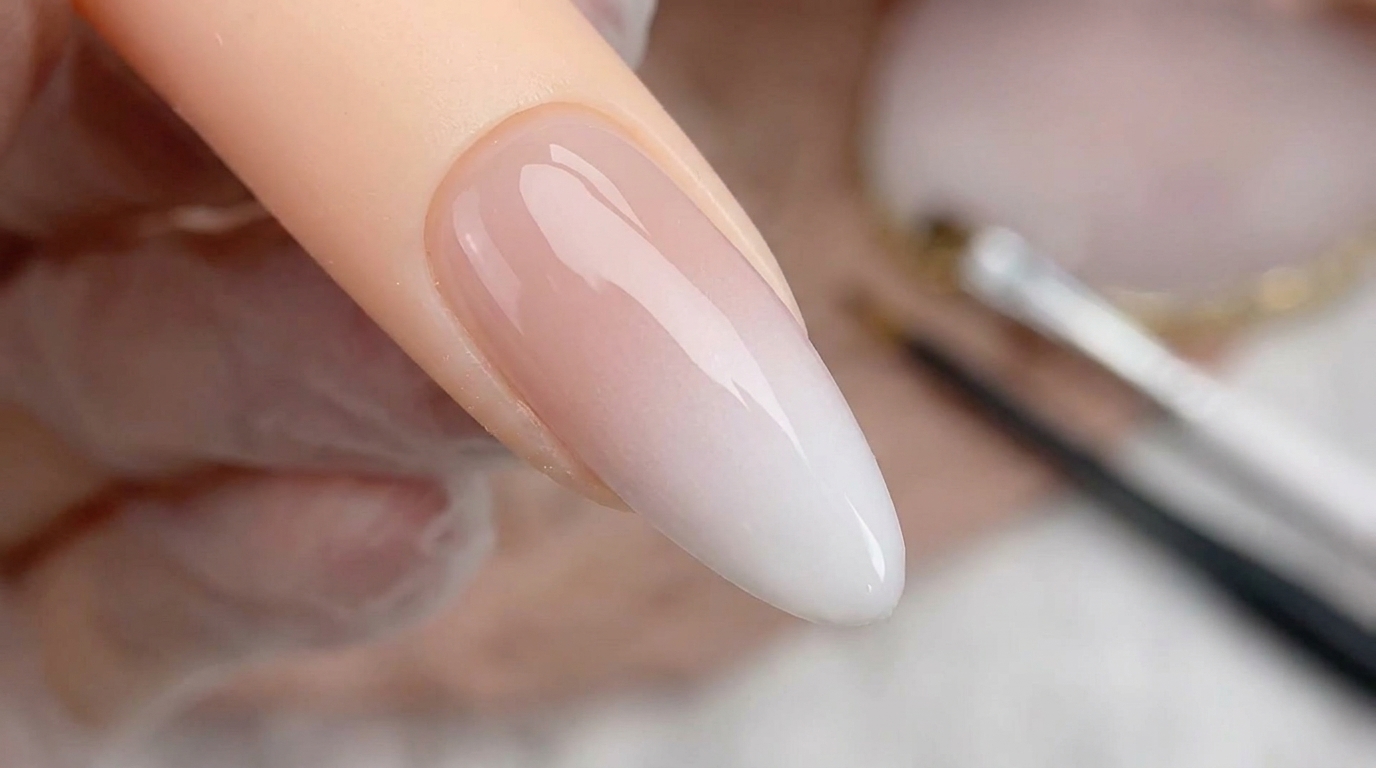
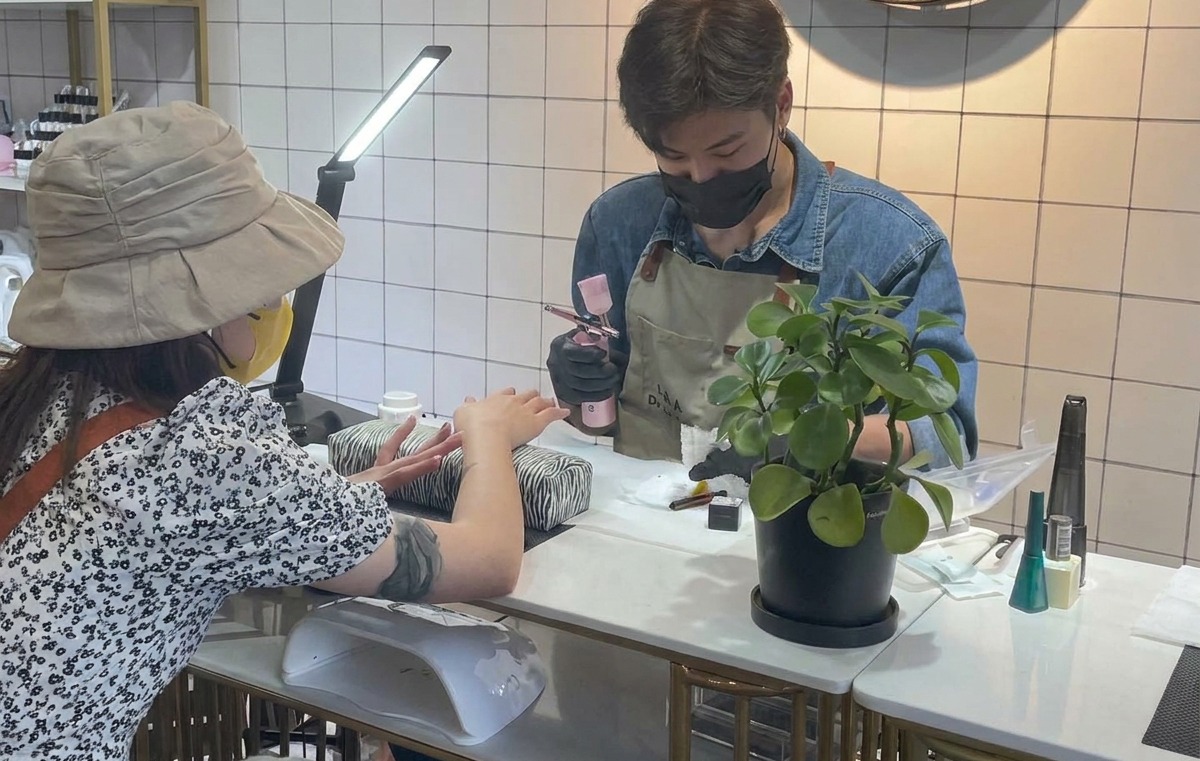
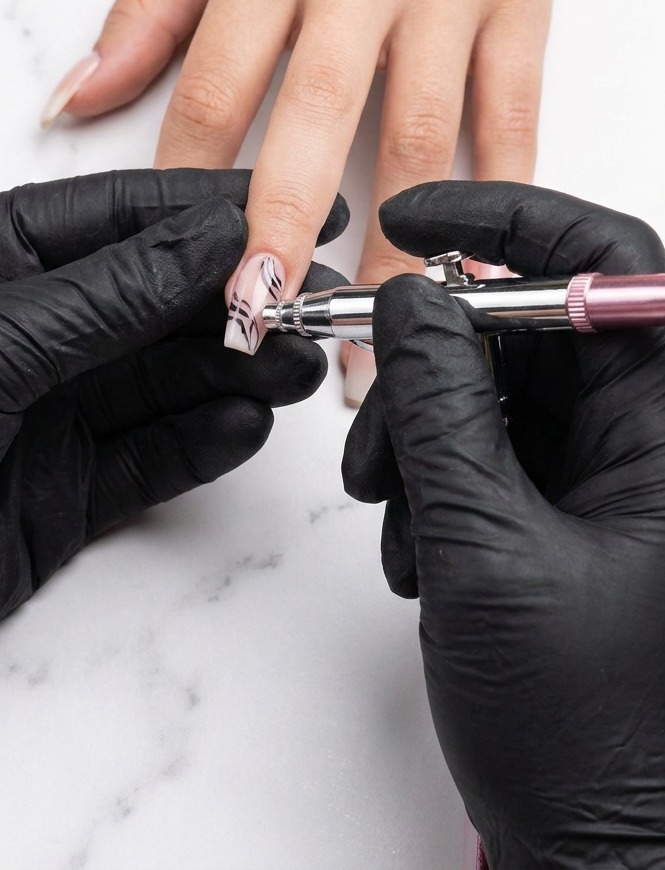
Gently depress the trigger to release a fine mist of purple color onto the tip of the nail. Use light, pulsing motions to build the color intensity, concentrating the pigment at the tip and fading it out toward the center of the nail.
Tip: Multiple light passes are better than one heavy coat to ensure the gradient looks soft and professional. - 6Refine the gradient
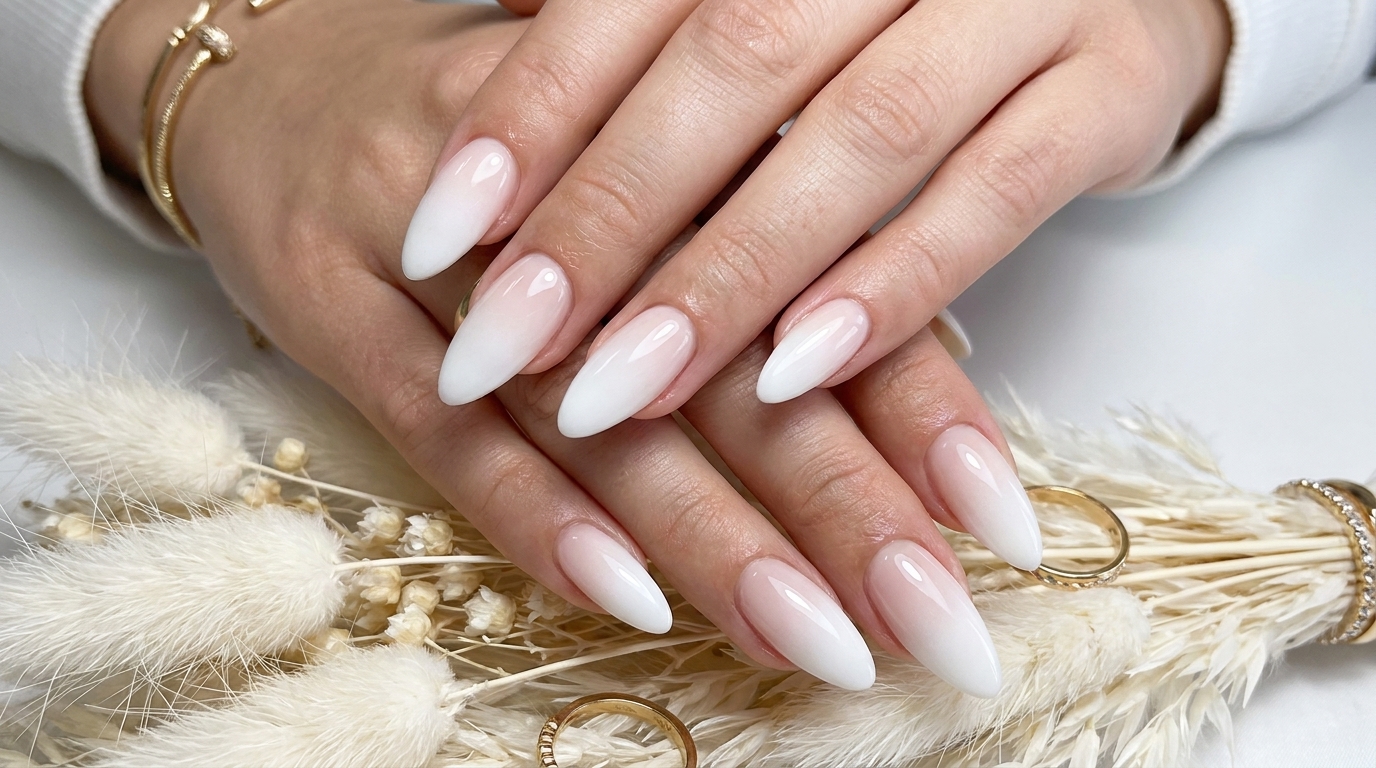
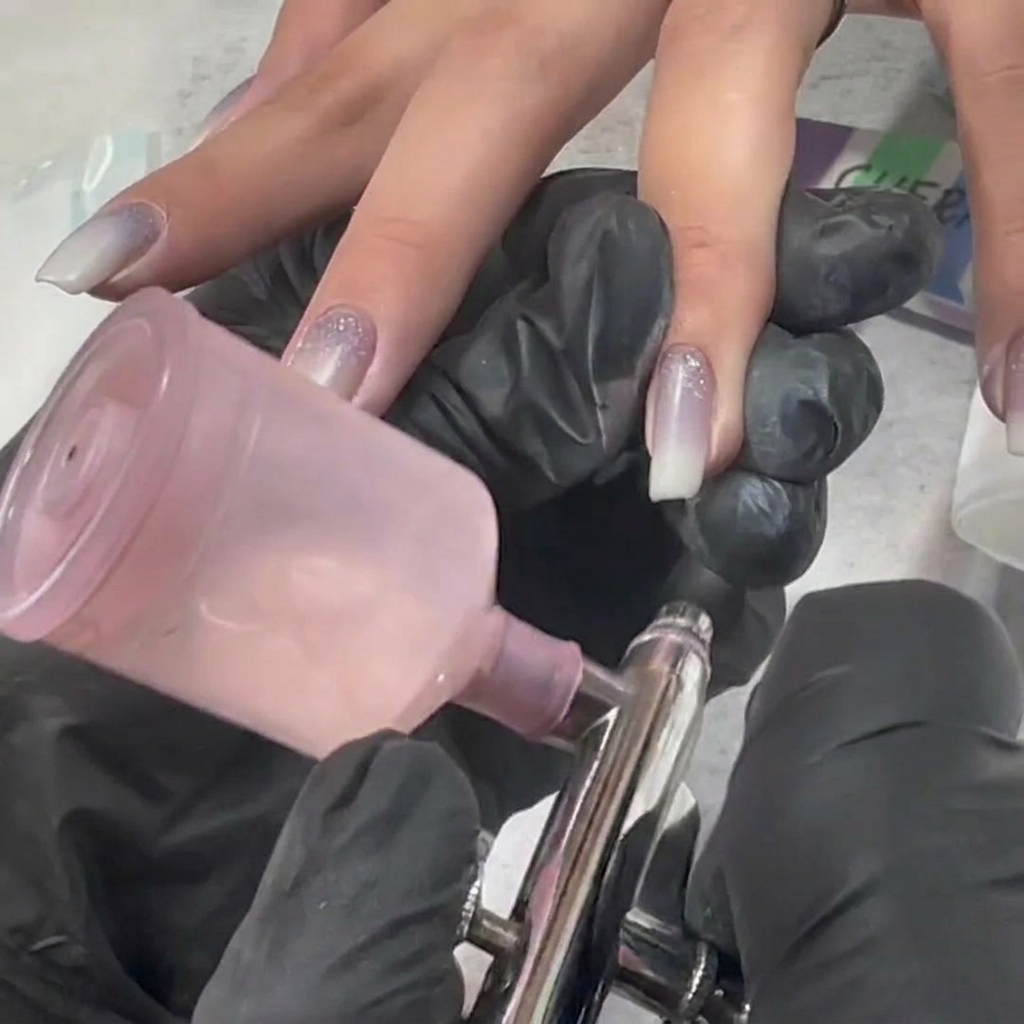
Continue applying color in light layers, carefully monitoring the saturation levels. Use controlled movements to ensure the purple pigment transitions smoothly and remains concentrated at the free edge of the nail.
Tip: Keep the airbrush moving constantly to prevent the pigment from building up in one spot and creating harsh lines. - 7Apply top coat
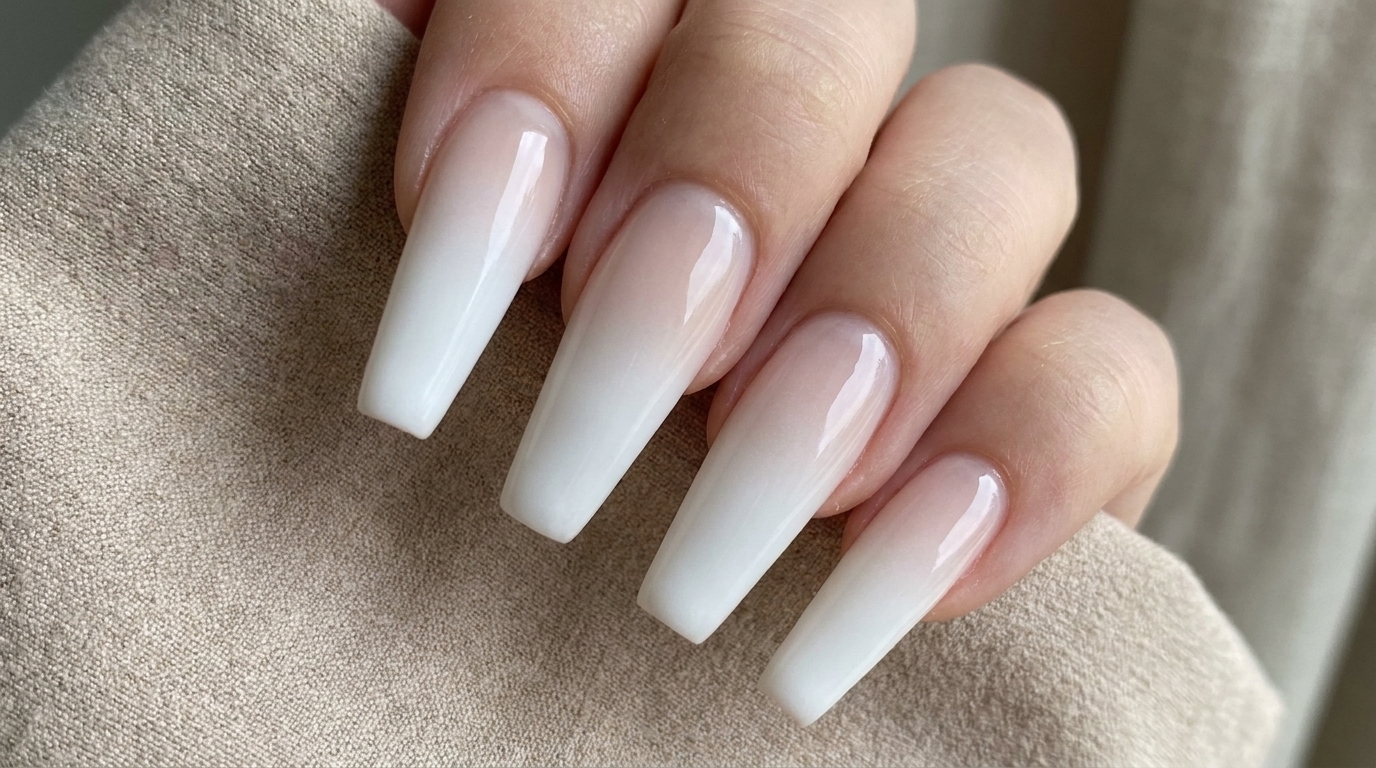
Apply a thin, even layer of top coat over the entire nail to seal the airbrushed gradient and add a high-gloss finish. Be sure to cap the free edge to protect the design from chipping. Cure under a UV or LED lamp for the duration recommended by the product manufacturer.
Tip: Applying a smooth top coat layer is crucial to blend any slight texture from the airbrushing and to lock in the gradient effect.