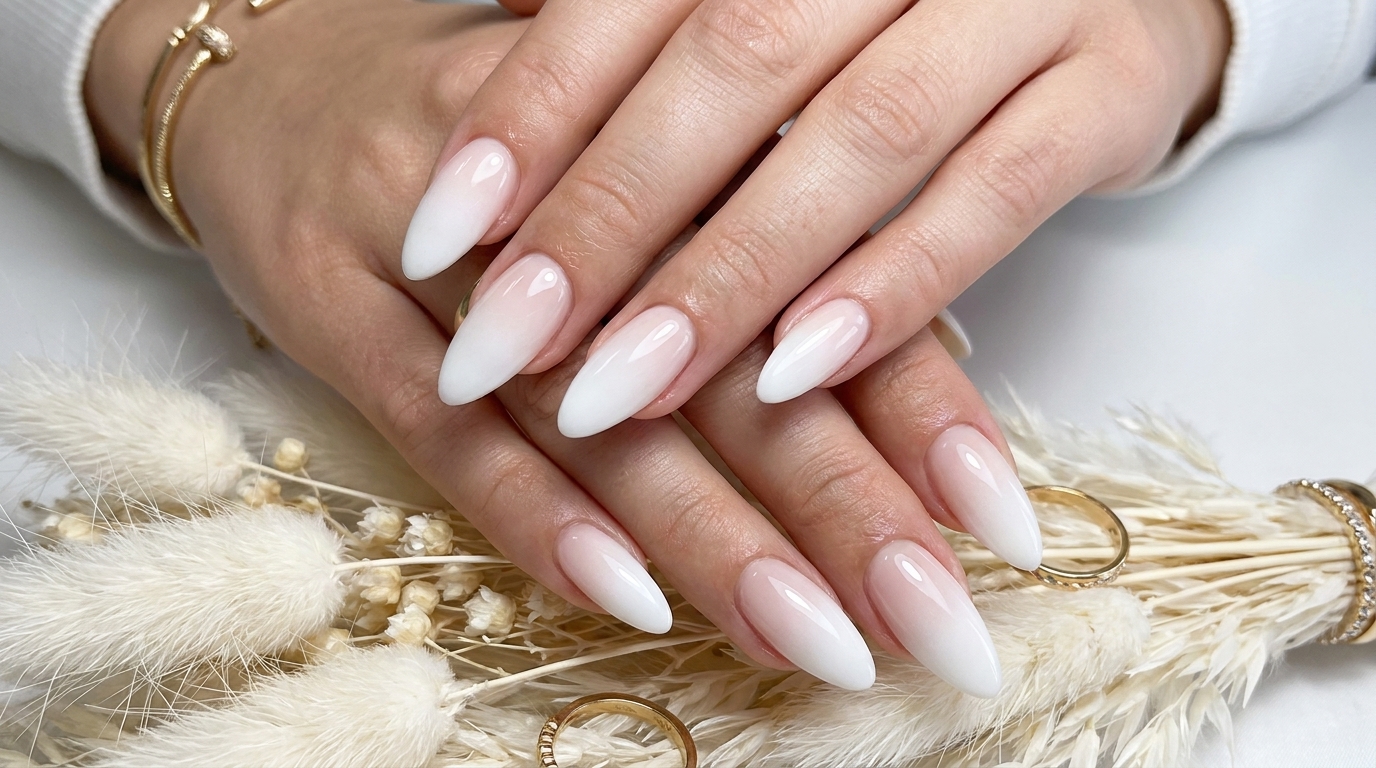
Professional White Airbrush Ombre Nails — Step-by-Step Tutorial
Achieve a flawless, salon-quality white gradient on your nails using the airbrush technique. This guide simplifies the process for a seamless finish.
The airbrush technique has revolutionized the way we create gradient nail designs, offering a smoothness and depth that traditional brushes simply cannot match. By utilizing a controlled spray, you can achieve a soft, diffused ombre that looks professional and sophisticated. This tutorial breaks down the process of mixing, spraying, and setting your white airbrush ombre to ensure you get perfect results every time.
Steps
- 1Start with a prepped base
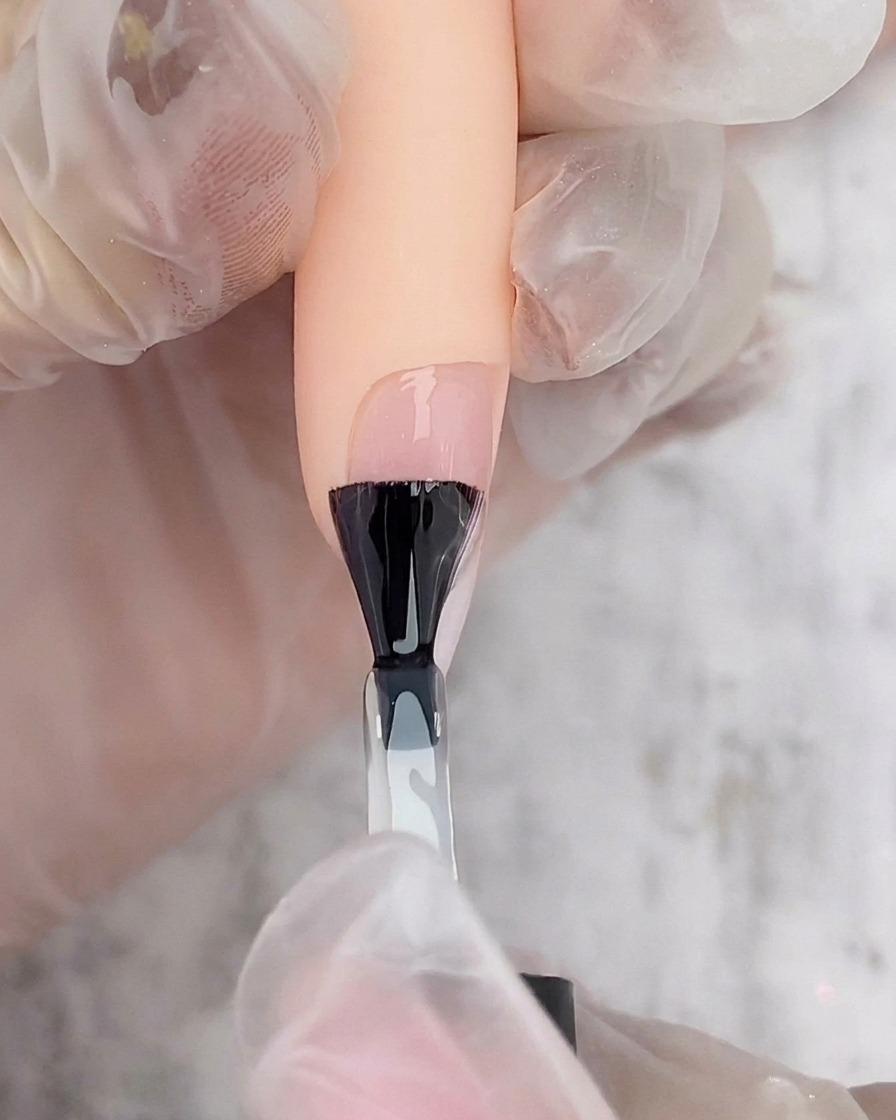
Begin with a fully prepped nail and apply your desired nude base coat. Cure it completely under your UV or LED lamp so the surface is smooth, dry, and ready for the airbrush application.
Tip: A smooth, even base coat provides the perfect canvas for a flawless and seamless airbrush gradient. - 2Prepare the airbrush cup
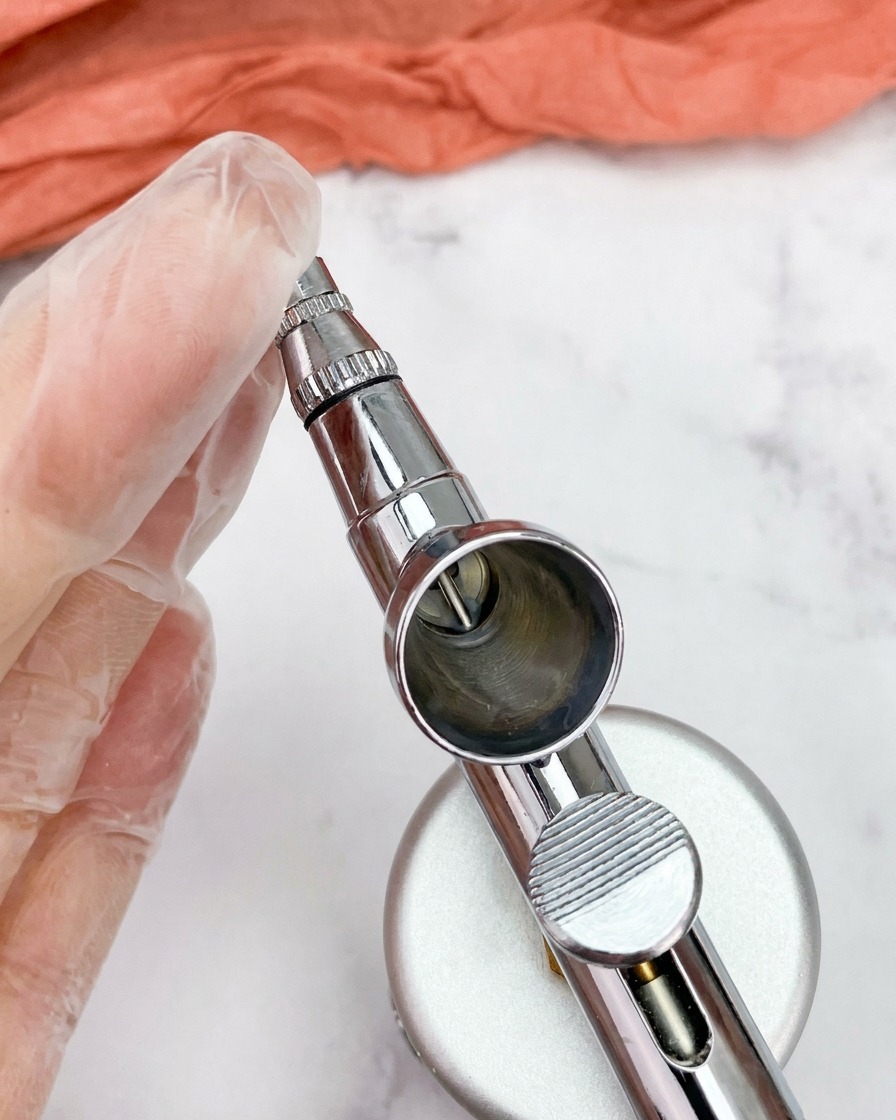
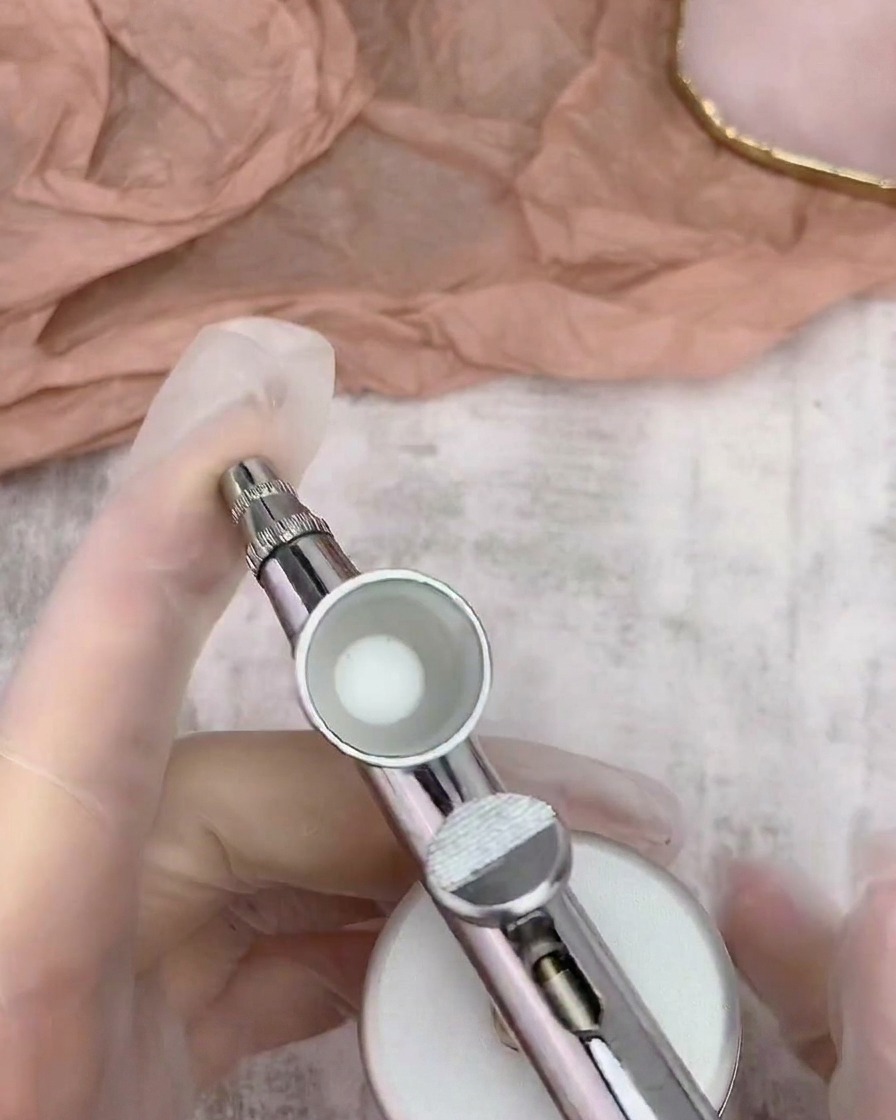
Ensure your airbrush cup is completely clean and empty before starting. You will need to add a specialized airbrush thinner to the cup to help dilute the gel polish to a sprayable consistency.
Tip: Always check that your airbrush is free of any leftover dried paint or gel to prevent sputtering. - 3Add white gel and thinner
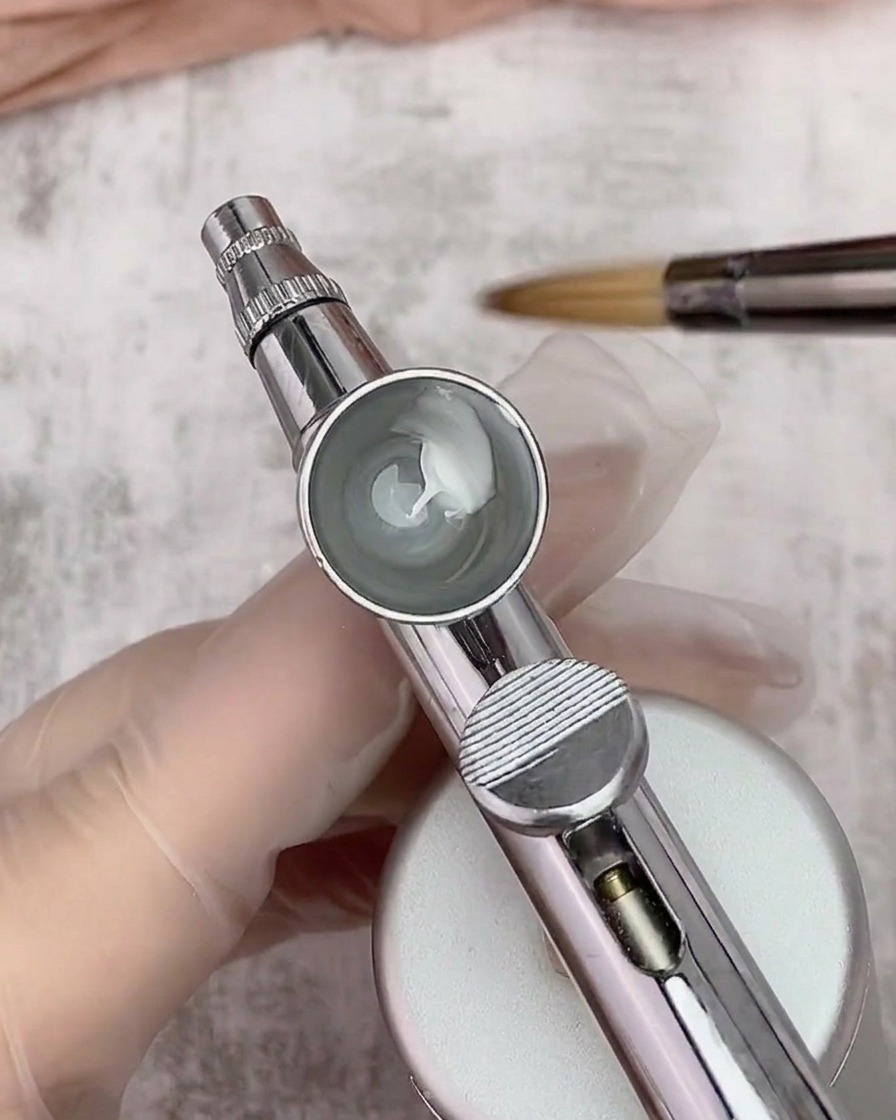
Drop a small amount of white gel polish into the airbrush cup, then add your thinner. There is no absolute ratio for this mixture; simply ensure that the consistency becomes fluid enough to spray easily through the nozzle.
Tip: Start with a smaller amount of thinner—you can always add more if the mixture remains too thick. - 4Backflow to mix
To thoroughly combine the gel polish and the thinner, perform a backflow technique. This forces air backwards into the cup, creating bubbles that mix the liquids together evenly without needing extra tools.
Tip: Make sure the mixture is completely uniform before spraying to avoid a patchy or uneven gradient. - 5Apply white airbrush gradient
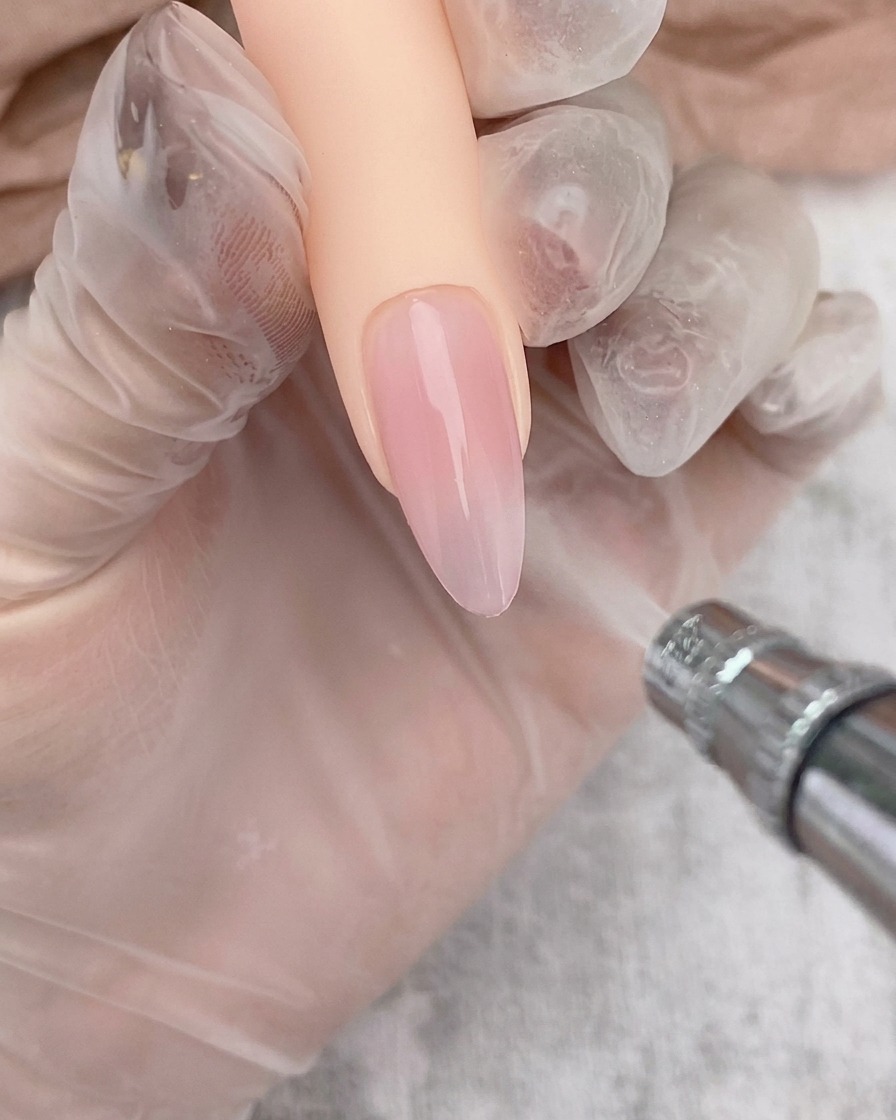
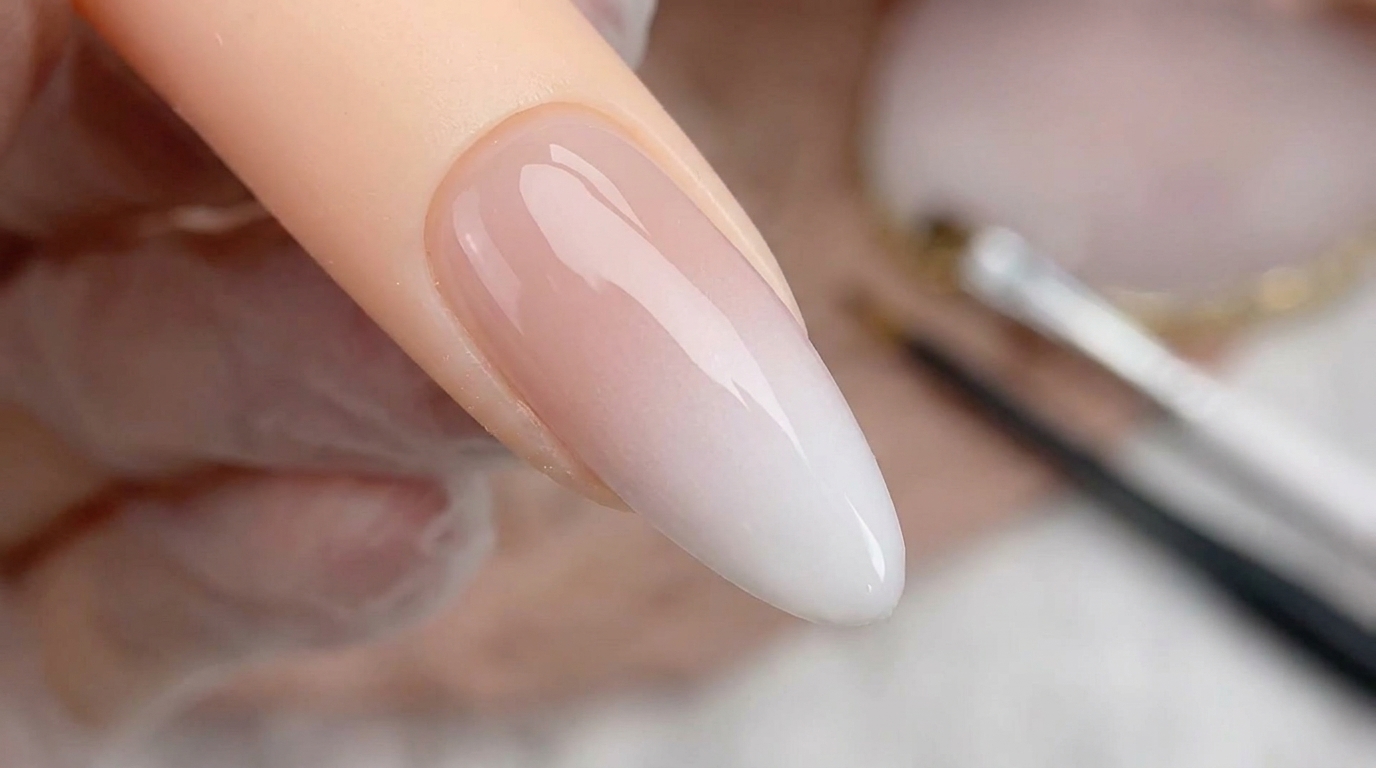
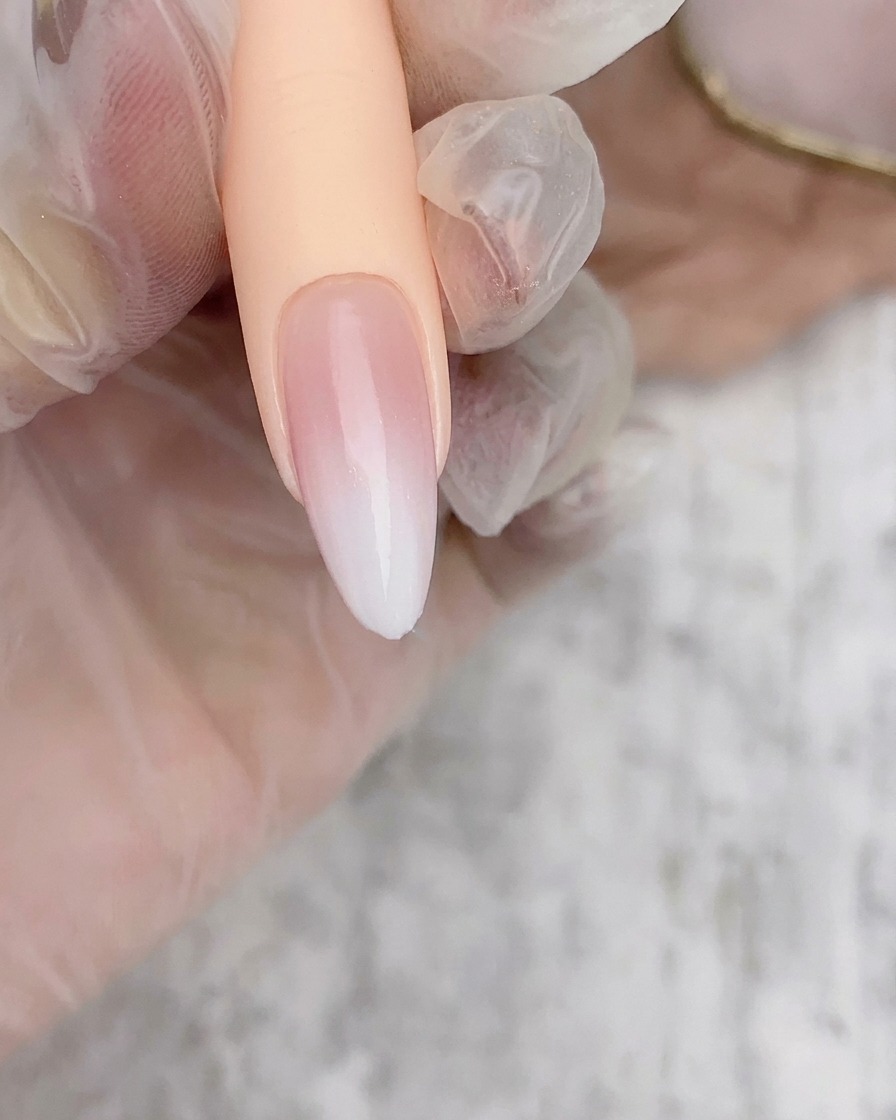
With your base coat cured, hold the airbrush one to two centimeters away from the nail surface, keeping the airbrush parallel to the nail. Gently pull the trigger to spray a soft white gradient onto the tip, using your finger to adjust the angle for better control. Cure this layer before proceeding to add depth.
Tip: Keep the trigger pull gentle to maintain a soft, diffused color application rather than a harsh line. - 6Review the first gradient layer
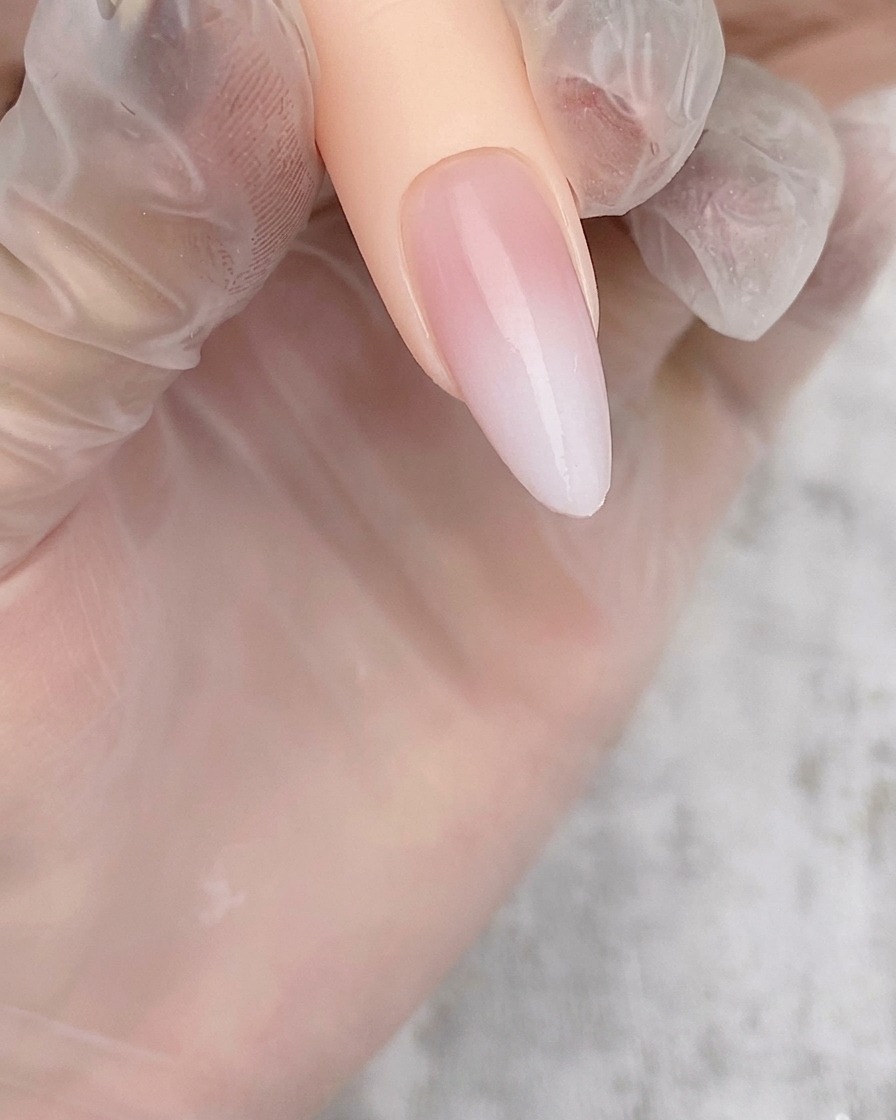
After spraying a soft, even layer of white color onto the tip of the nail, cure it fully in your lamp. This first layer sets the foundation for the gradient. If the color is too sheer, you will build up the intensity in the next pass.
Tip: Keep the airbrush moving constantly while spraying to avoid pooling or hard lines. - 7Deepen the white gradient
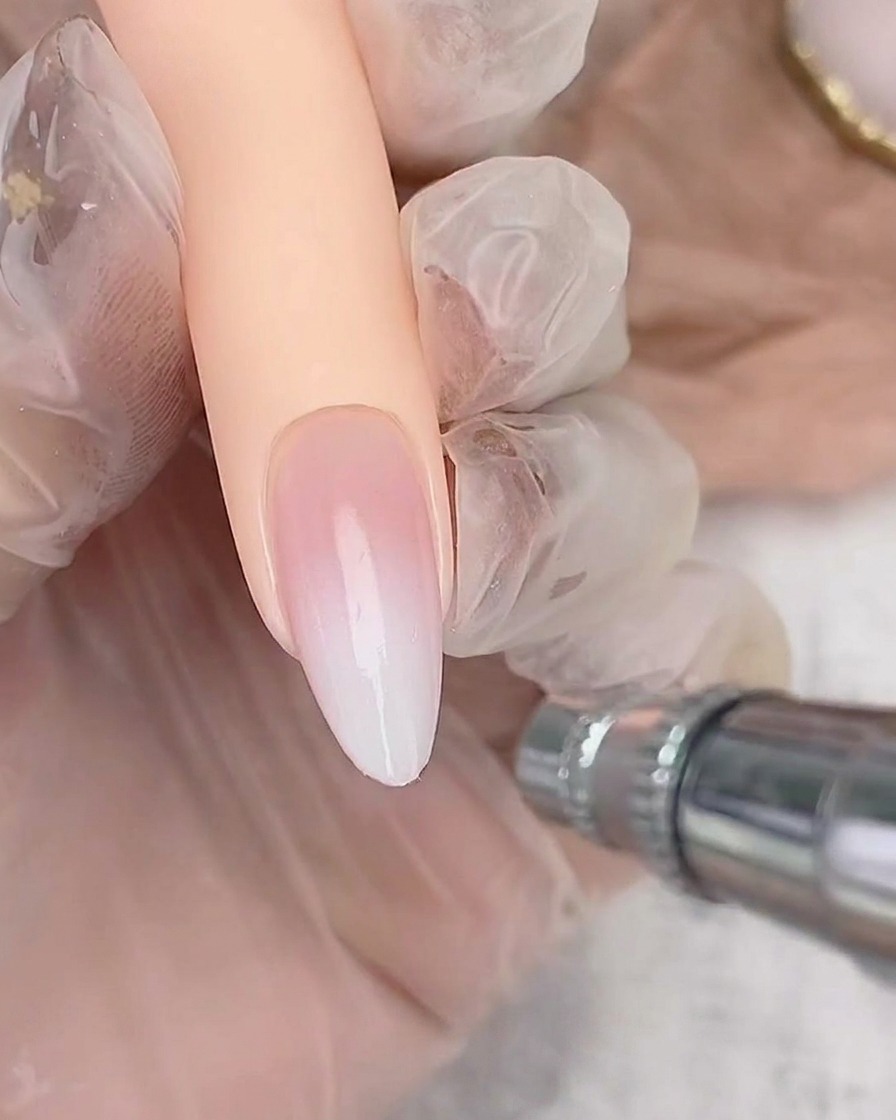
After curing the first layer, spray the tip again to add depth and deepen the white intensity. Keep the airbrush parallel to the nail and maintain a one to two centimeter distance. Gently pull the trigger to release a soft mist, building the color gradually for a seamless fade.
Tip: Use your supporting finger to adjust the angle of the nail, ensuring you get an even application across the entire tip without spraying too heavily in one spot. - 8Apply gel top coat
Once you are satisfied with the gradient effect, apply an even layer of glossy gel top coat over the entire nail. This step seals the airbrushed design, smooths out any minor texture from the spray, and gives the finished manicure a beautiful, durable shine. Cure fully in your lamp.
Tip: Float the top coat brush lightly over the surface to avoid dragging or disturbing the airbrushed layer underneath.