White Airbrush Ombre Gel Nails — Step-by-Step Tutorial
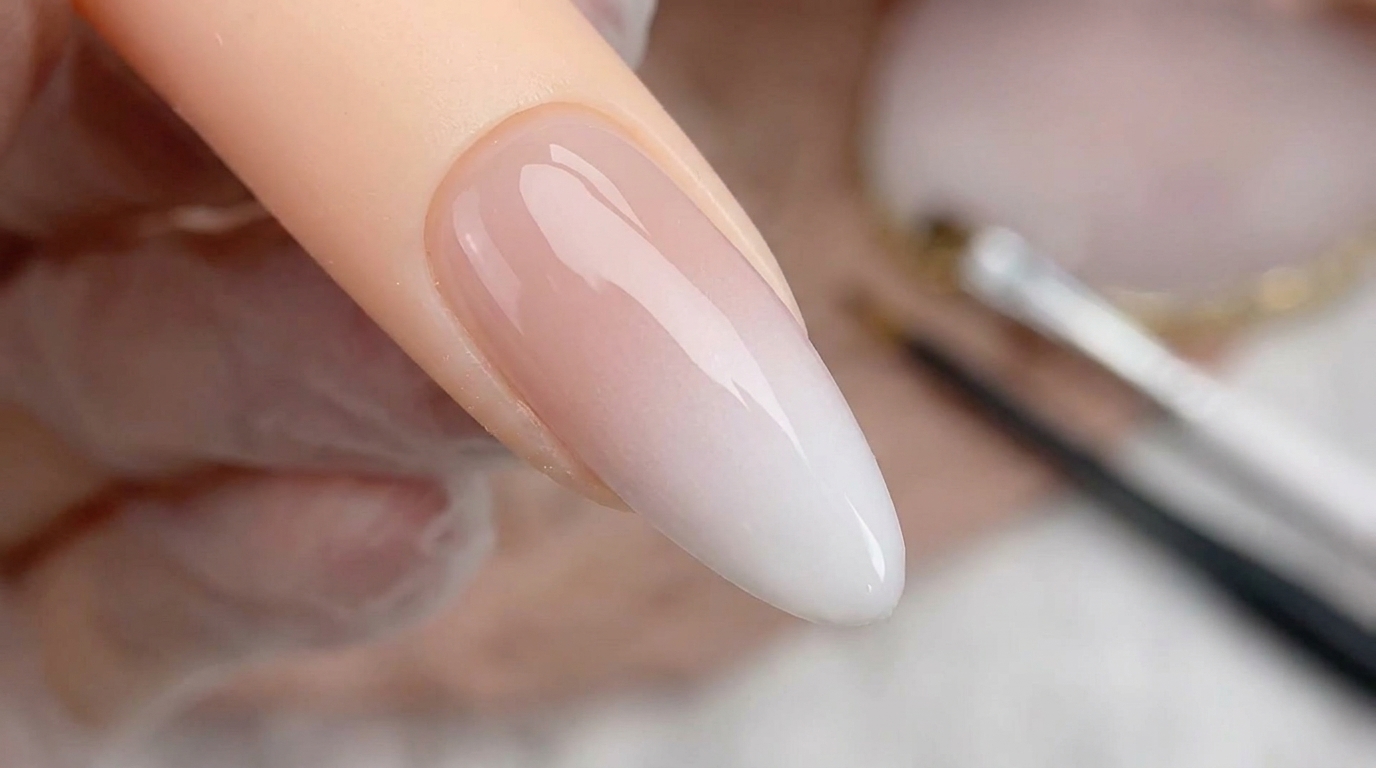
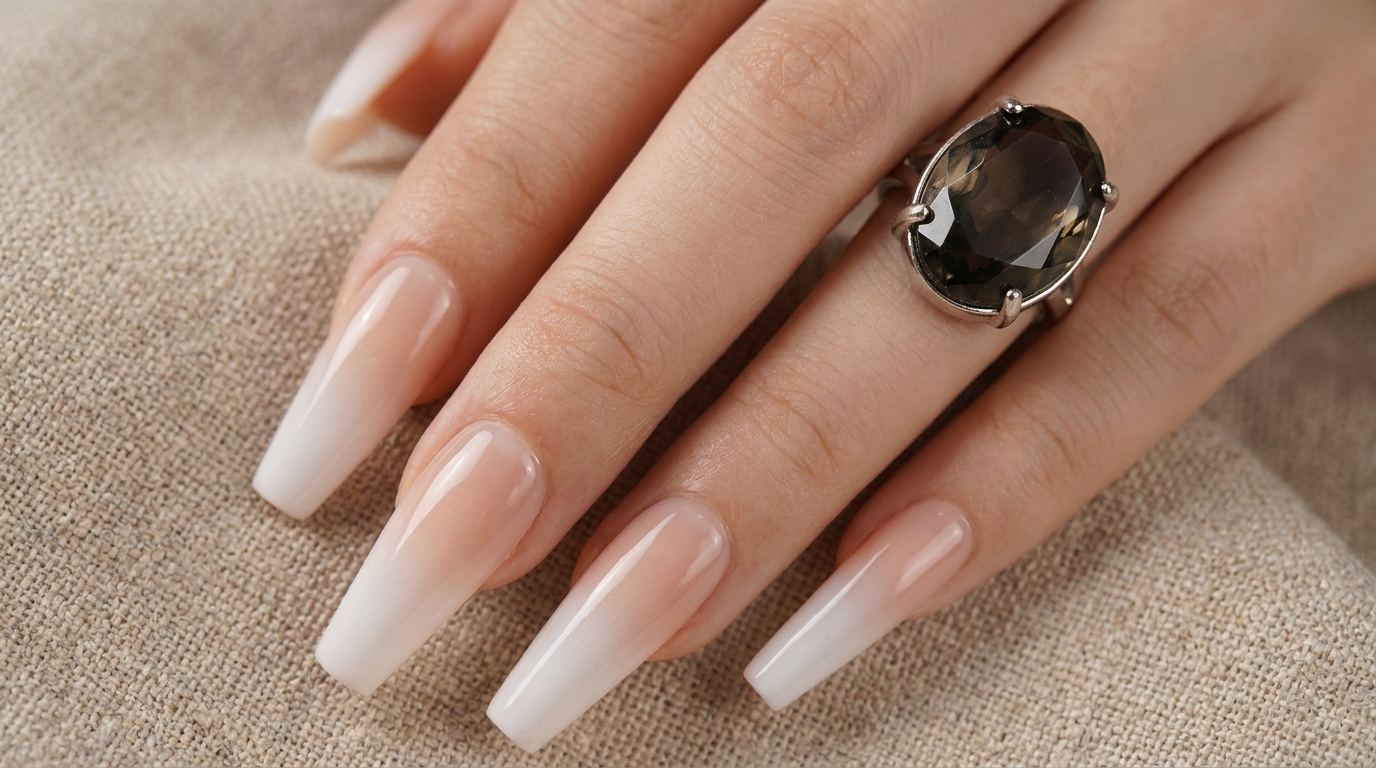
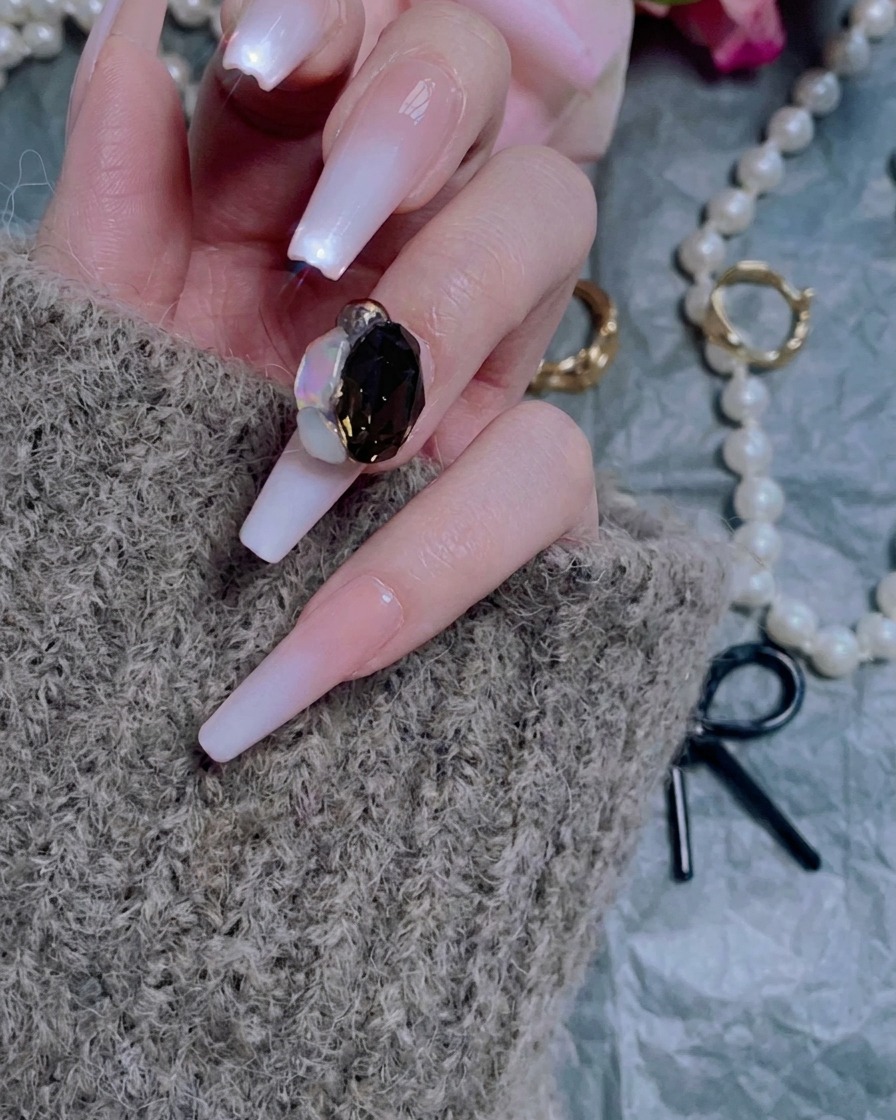
Achieve a flawless, professional white ombre gradient on long coffin nails using an airbrush tool. This elegant look features a smooth nude-to-white transition.
Airbrushed ombre nails provide a seamless gradient that is incredibly difficult to achieve with traditional sponge techniques. This method delivers a perfectly diffused fade from a natural nude base to a crisp white tip. Whether you are dressing up for a special event or just love an elegant, high-impact manicure, this airbrush technique gives you flawless salon-quality results.
Steps
- 1File and smooth nail extensions
Gently file the surface and edges of the pre-shaped nail extensions. This step ensures a uniform, smooth surface that allows for even application of base coat and color, while refining the shape to perfectly fit the nail plate.
Tip: Use a light touch to avoid thinning the extension material, focusing on smoothing the surface rather than removing bulk. - 2Apply gel base coat
Apply a thin, consistent layer of gel base coat over the nail plate. Ensure you cap the free edge of the extension to improve durability and prevent lifting during the curing process.
Tip: Keep the layer thin to prevent pooling at the cuticles, which can lead to premature lifting. - 3Prepare airbrush with white pigment
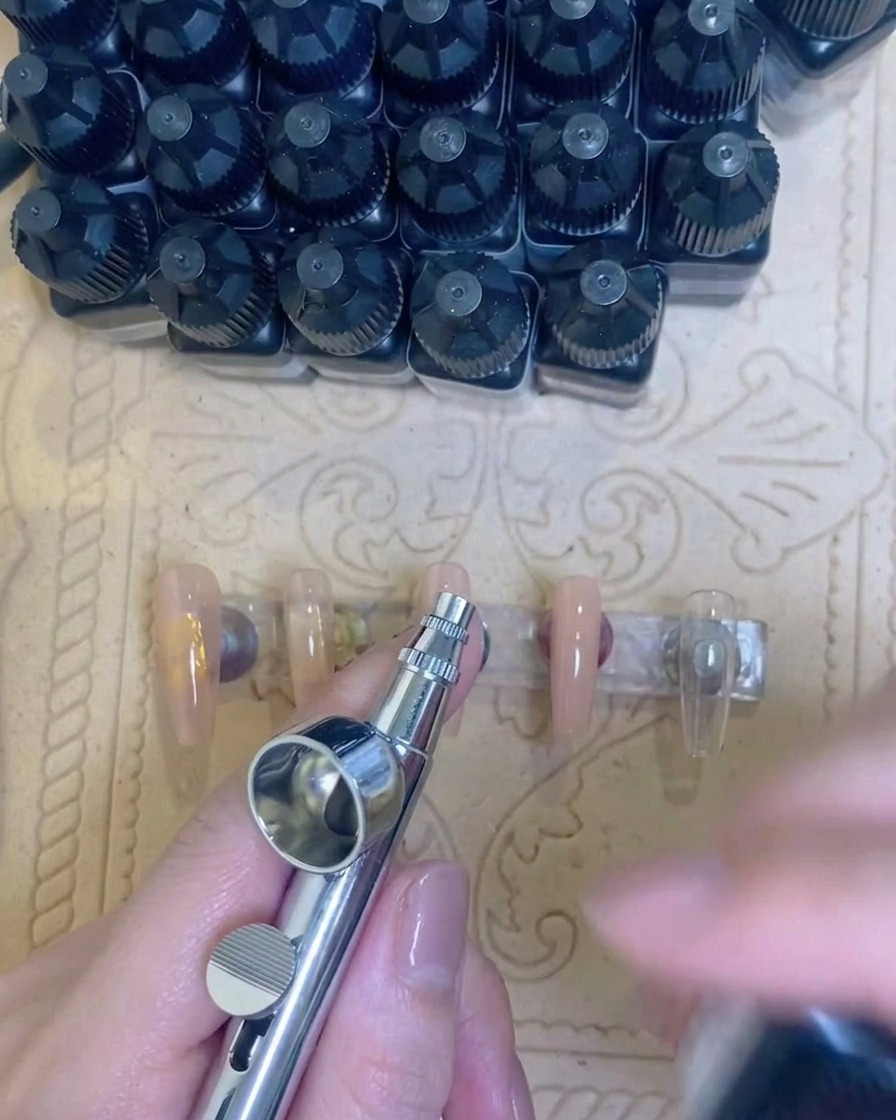
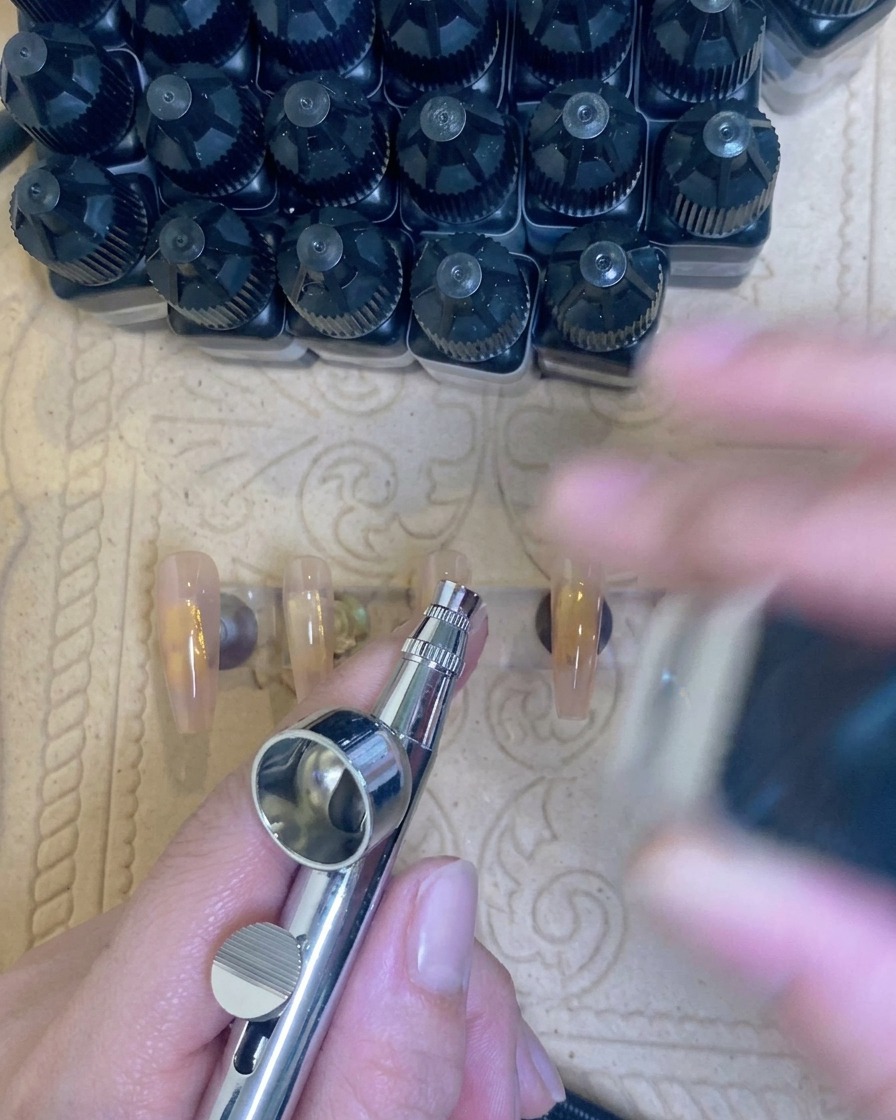
Carefully pour the white airbrush pigment into the tools reservoir. Ensure the reservoir is clean before adding the pigment to prevent clogging or color contamination.
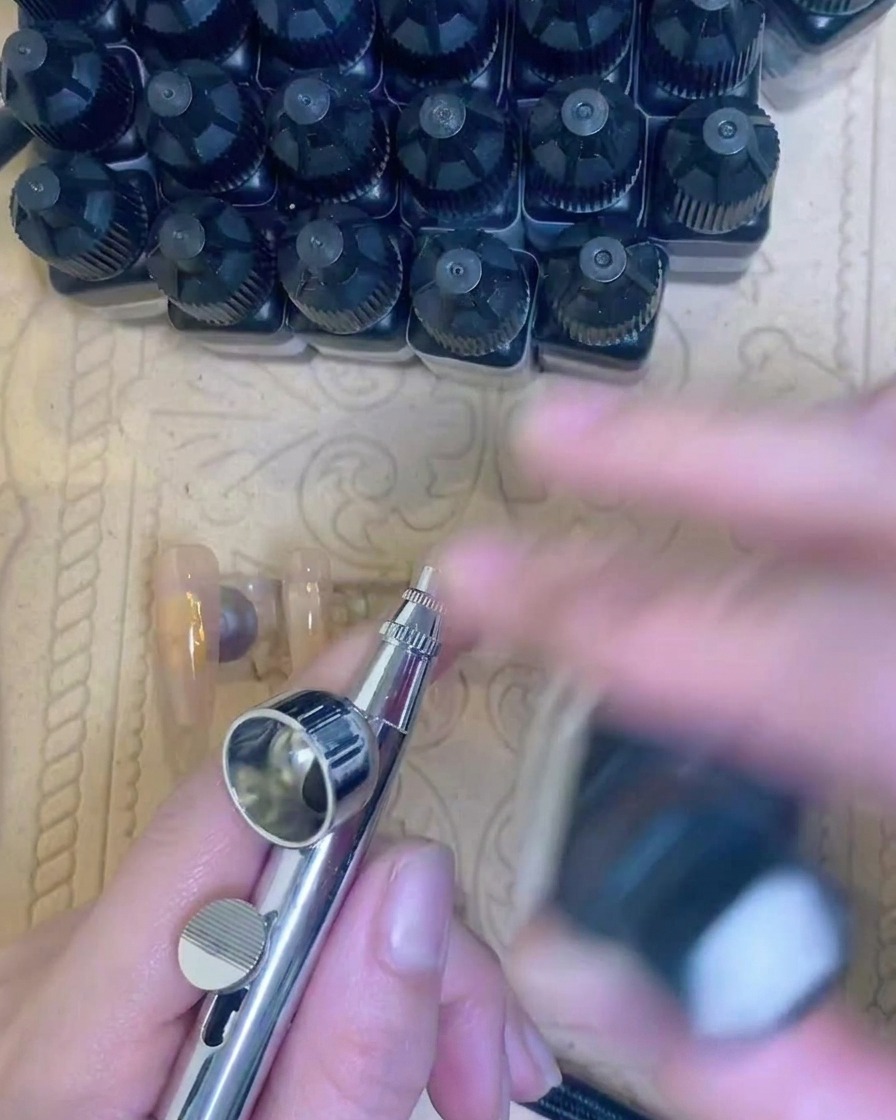
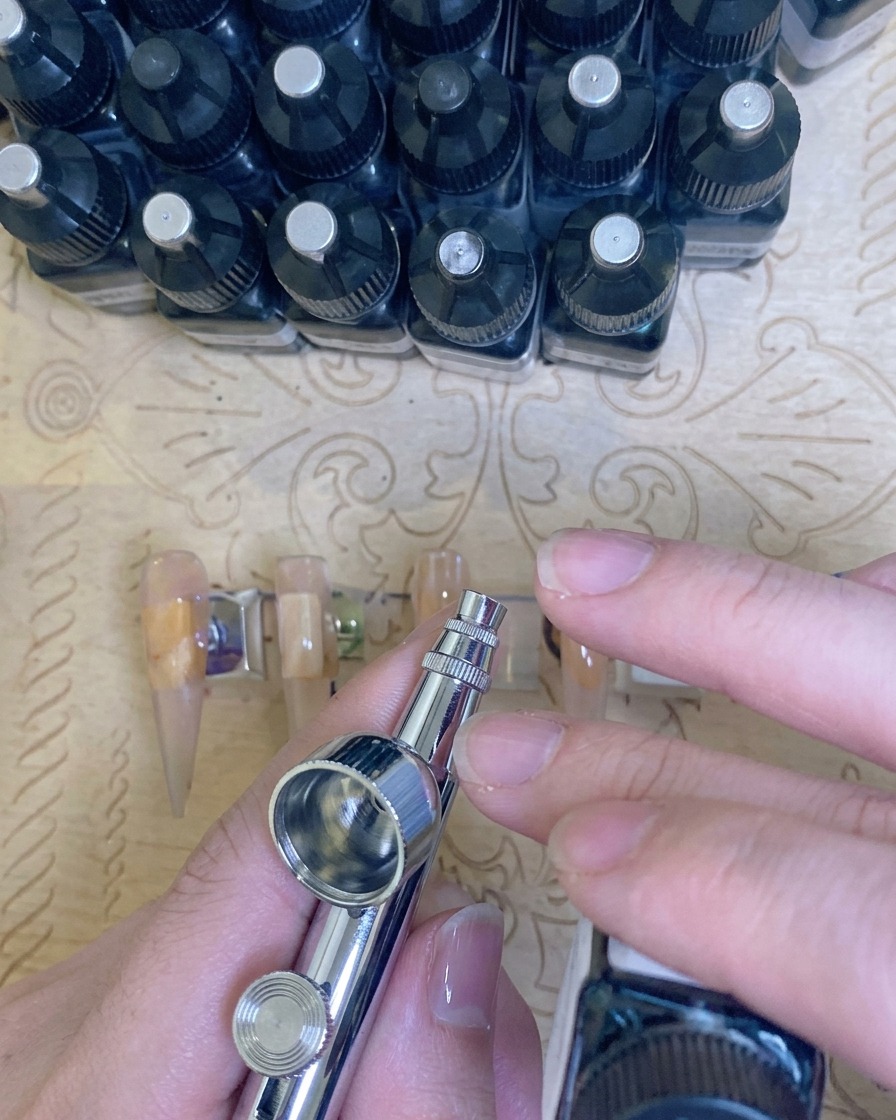
Tip: Use a dropper for precise transfer to avoid spills and ensure the correct amount of pigment is used. - 4Test airbrush flow
Before applying the pigment to the nails, spray the airbrush onto a paper towel to check the flow, pressure, and atomization. This confirms the tool is working correctly and producing the desired gradient consistency.
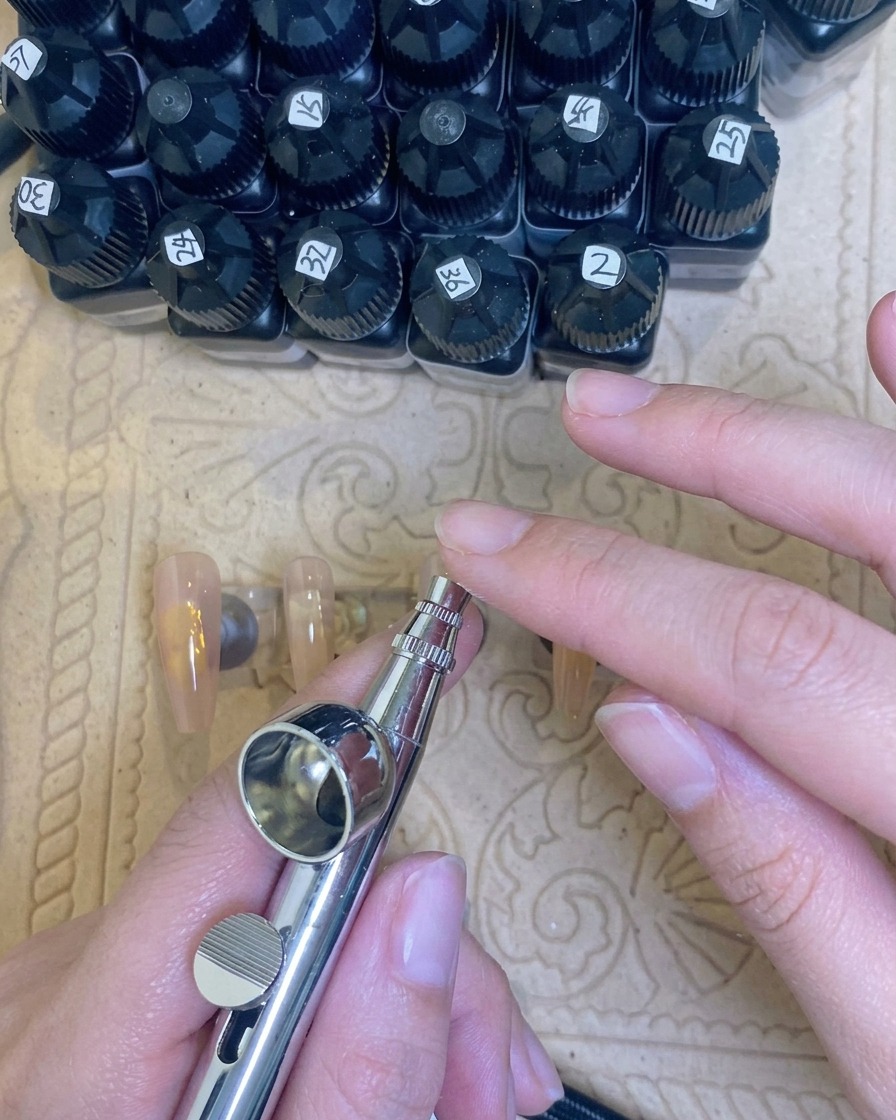
Tip: Test until the spray is even and free of splatters or uneven clumps. - 5Create white airbrush gradient
Hold the airbrush steady and spray a soft white gradient starting from the tip of the nail, fading out toward the middle. Maintain a consistent distance to achieve a smooth, seamless transition.
Tip: Use light, short bursts of air rather than one continuous stream to build the gradient intensity gradually. - 6Cure the top coat
Place your nails under the UV/LED lamp to cure the final top coat layer. Ensure your hand is positioned flat inside the lamp for even light distribution across all fingers. Follow the recommended cure time for your specific top coat to ensure a hard, durable finish.
Tip: Do not move your hand while curing to prevent smudging or uneven coverage.