Airbrush White Ombre Nails — Elegant Gradient Tutorial
Achieve a flawless white ombre gradient with this professional airbrush technique. Perfect for an elegant, salon-quality finish.
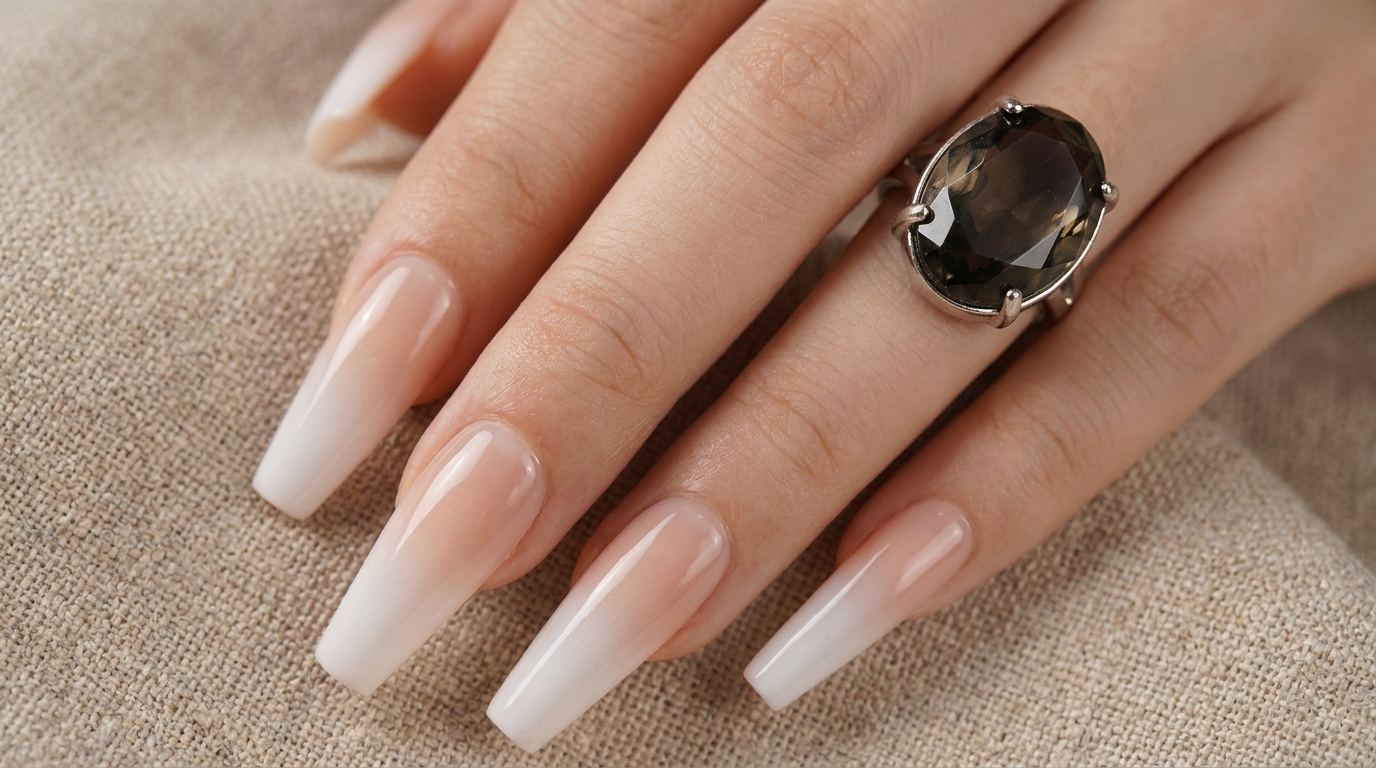
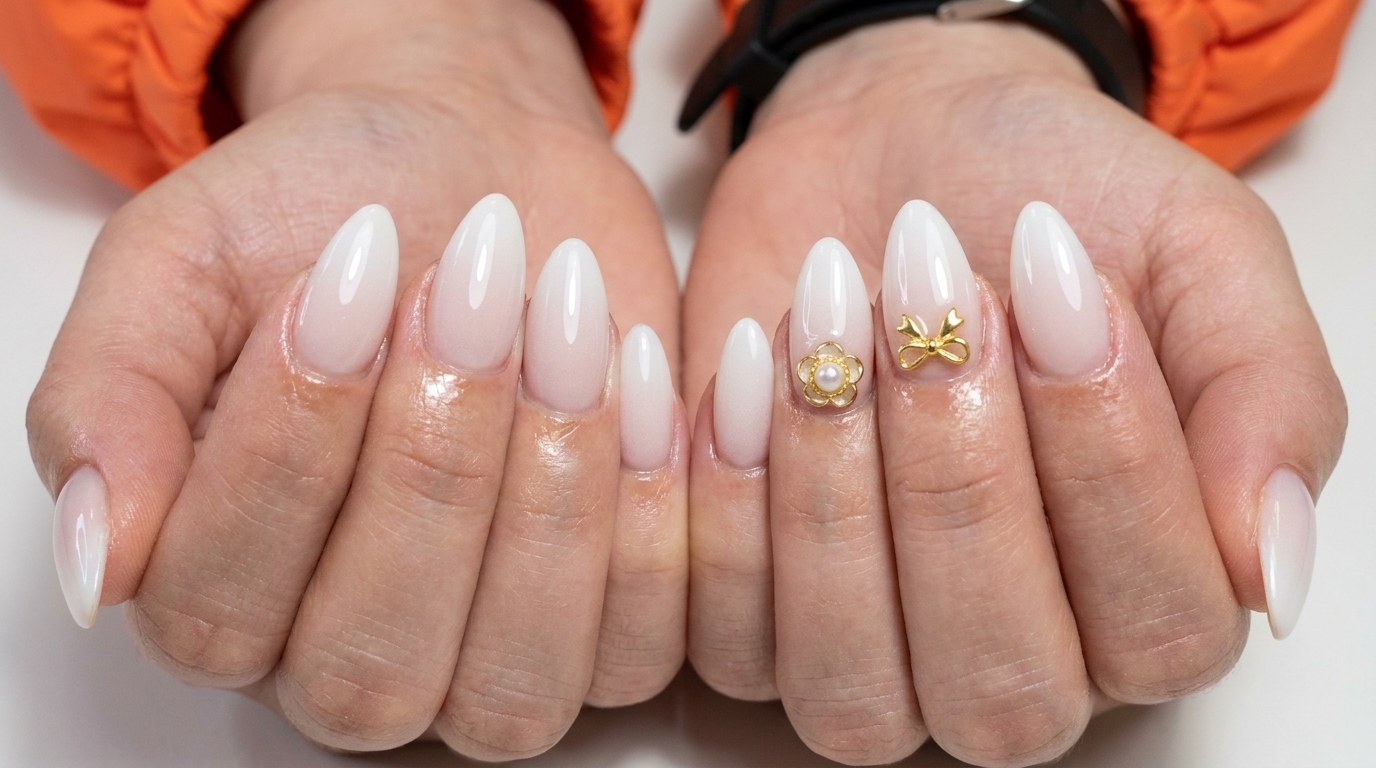
The airbrushed white ombre is a timeless, sophisticated look that offers a clean and polished aesthetic for any occasion. By using an airbrush tool, you can achieve a seamless, cloud-like gradient that is nearly impossible to replicate with traditional sponges. This tutorial breaks down the process of creating this high-end look using precise stencil placement and controlled pigment application.
Steps
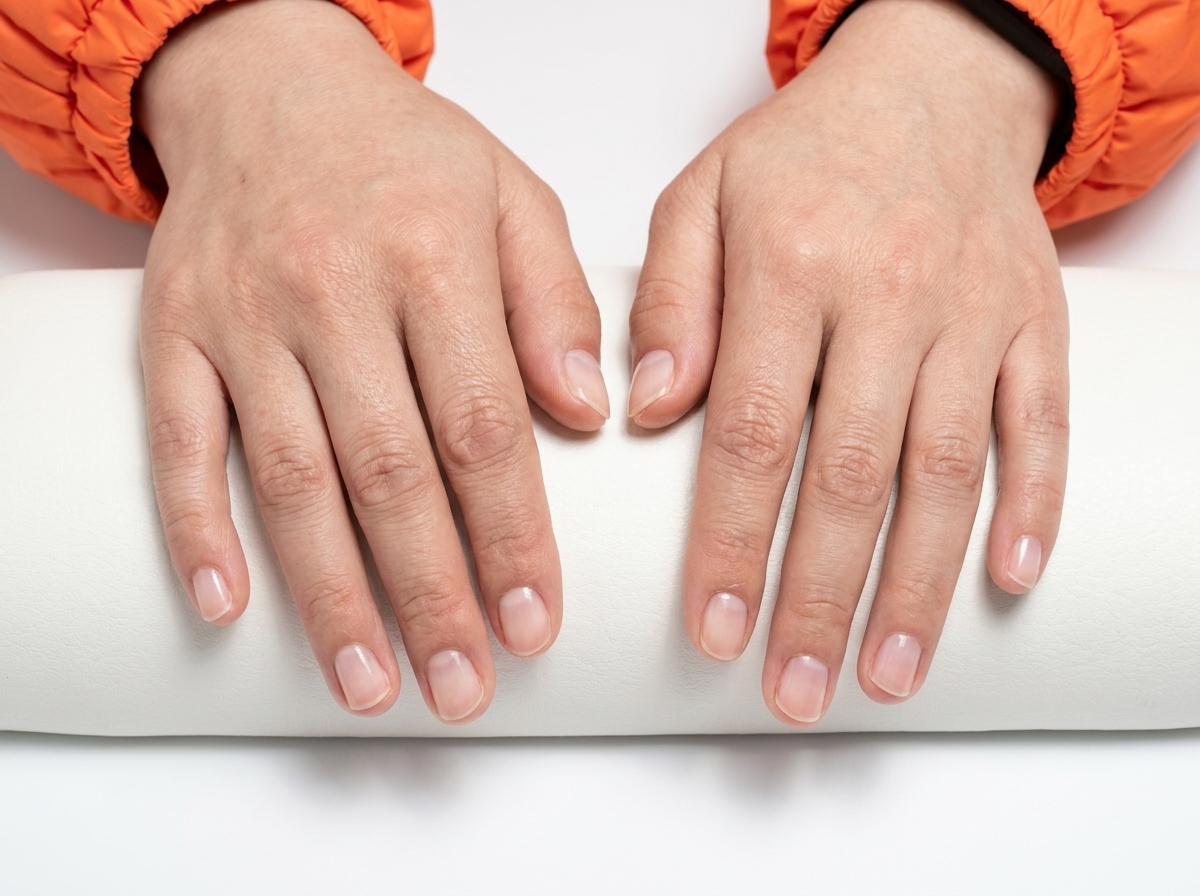
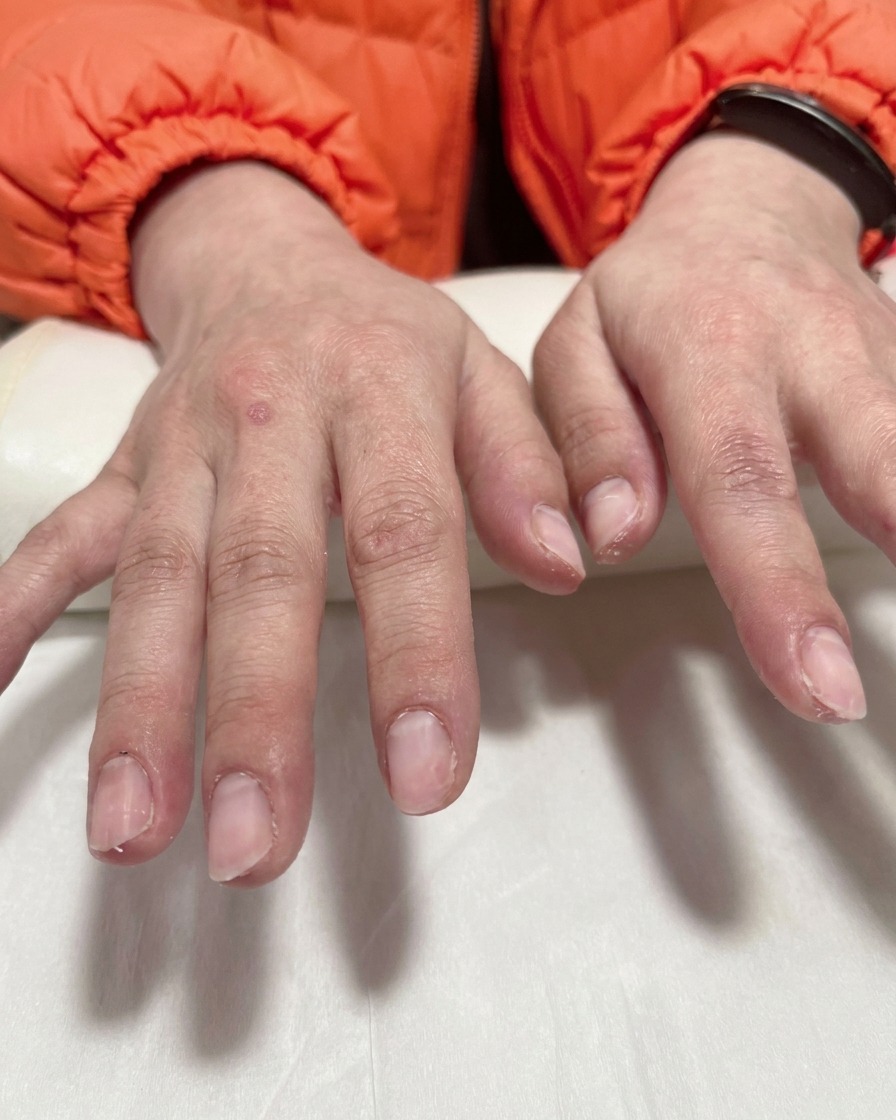
- 1Prepare your nails
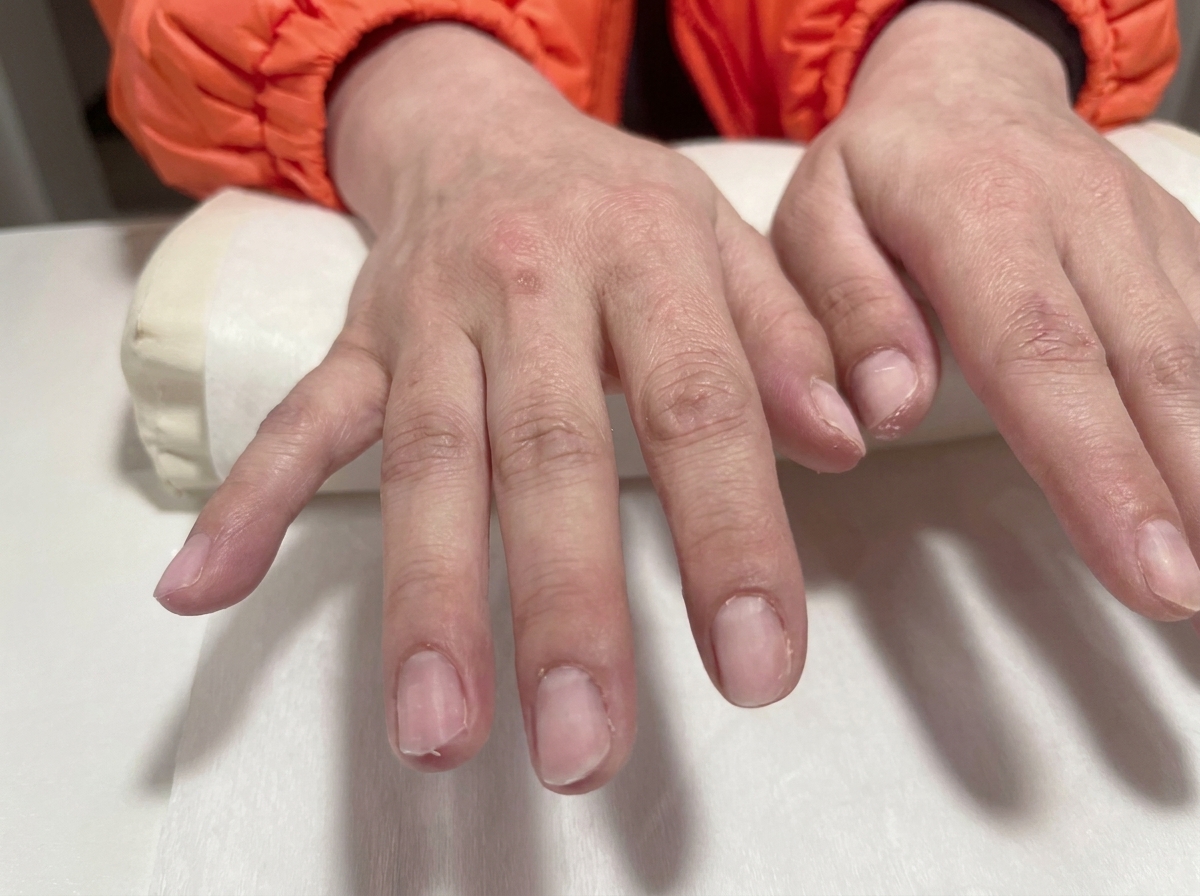
Start with clean, dry nails. Ensure the surface is free of oils or residue by wiping each nail with a lint-free cloth soaked in alcohol. This provides the best foundation for the airbrush technique and ensures even adhesion of the product.
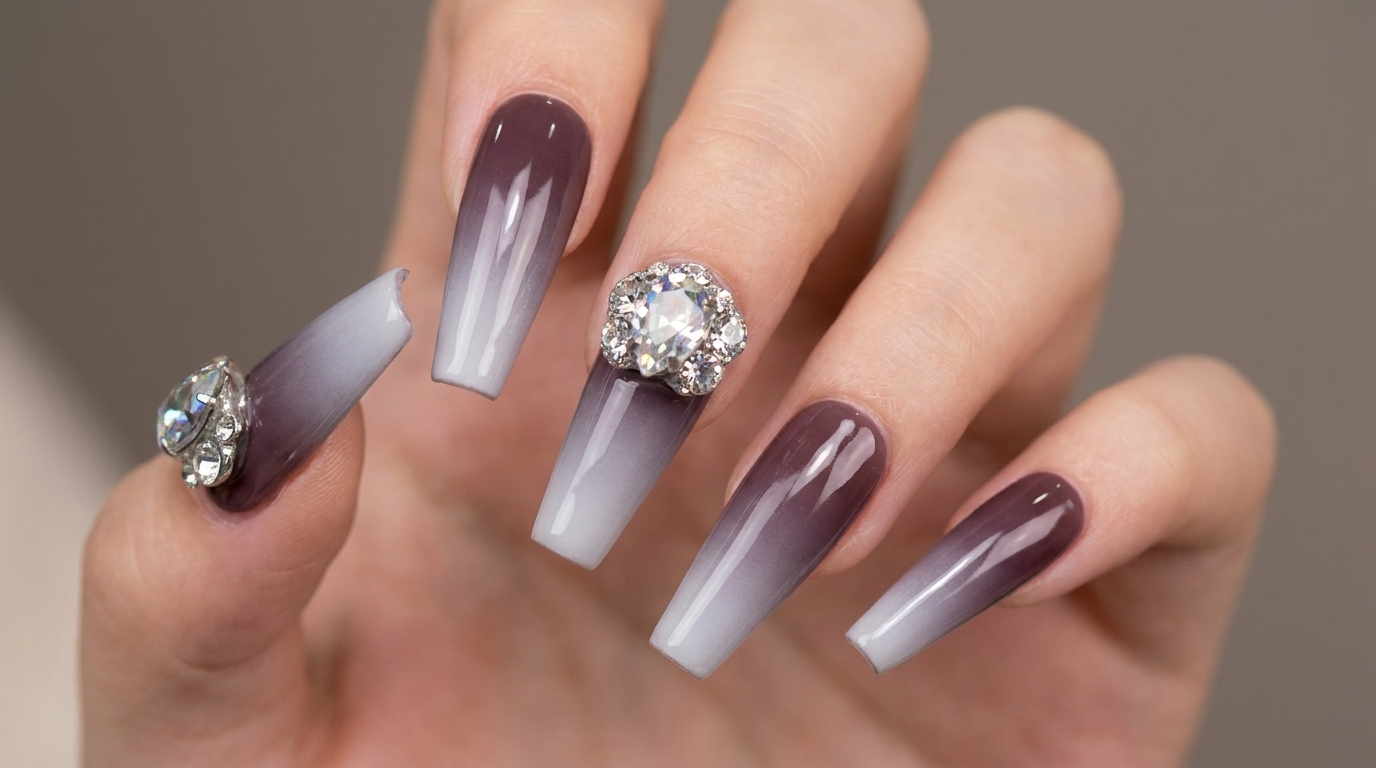
Tip: Push back cuticles gently to expand the working area of the nail plate before starting. - 2Apply ombre guide stencils
Place purple nail stencils across the free edge of each nail. Ensure they are pressed down firmly and evenly across the curve of the nail tip to create a crisp, clean line for the airbrushed ombre gradient.
Tip: Check that the stencil is level on all fingers to ensure the gradient starts at the same point on every nail. - 3Airbrush the white gradient
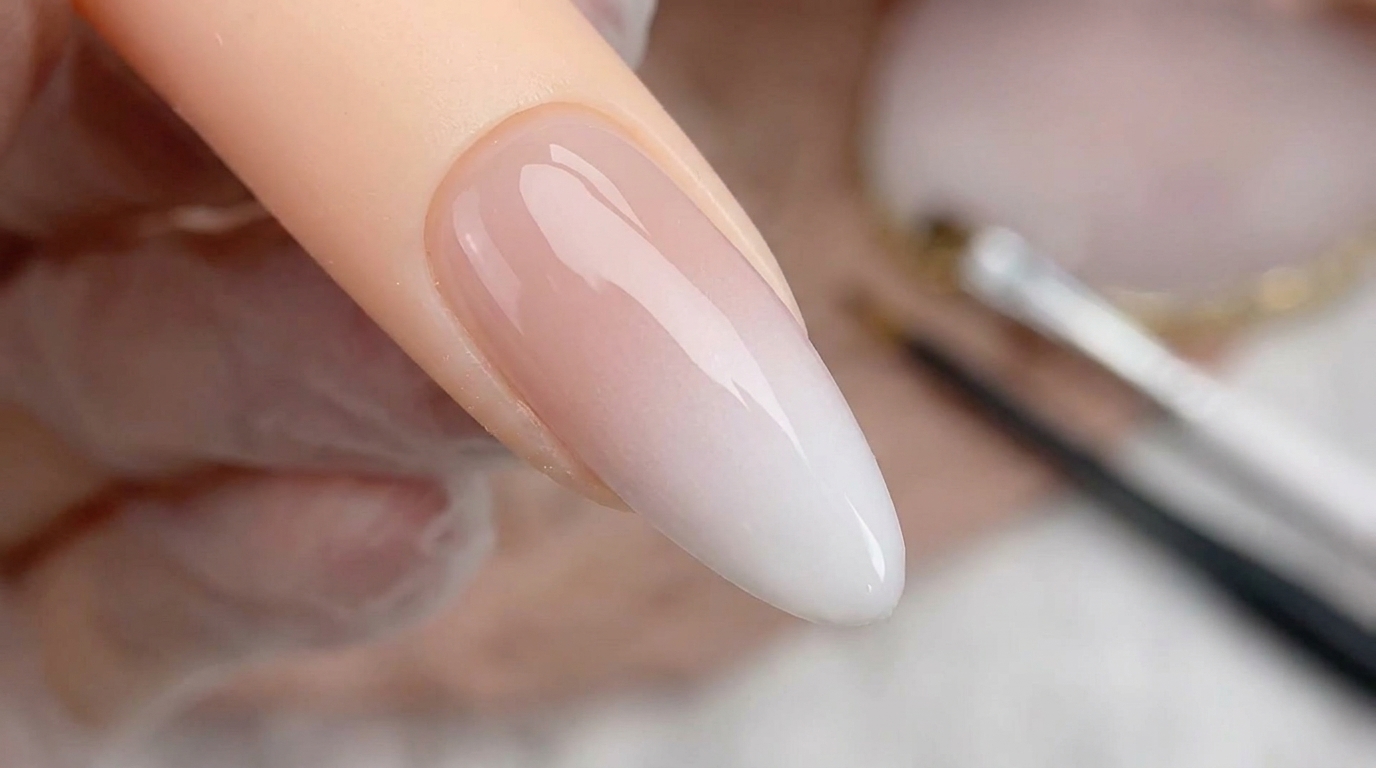
Using an airbrush tool, gently spray a thin layer of white pigment over the exposed nail tips. Focus the color intensity at the very edge, fading it slightly as it approaches the stencil line to create a smooth, seamless ombre transition.
Tip: Use light, sweeping motions with the airbrush to build up the color gradually rather than applying too much pigment at once. - 4Remove stencils
Once the white pigment has set, gently peel off the purple stencils. Lift them slowly to ensure the edge of the ombre gradient remains sharp and clean, without smudging the wet pigment.
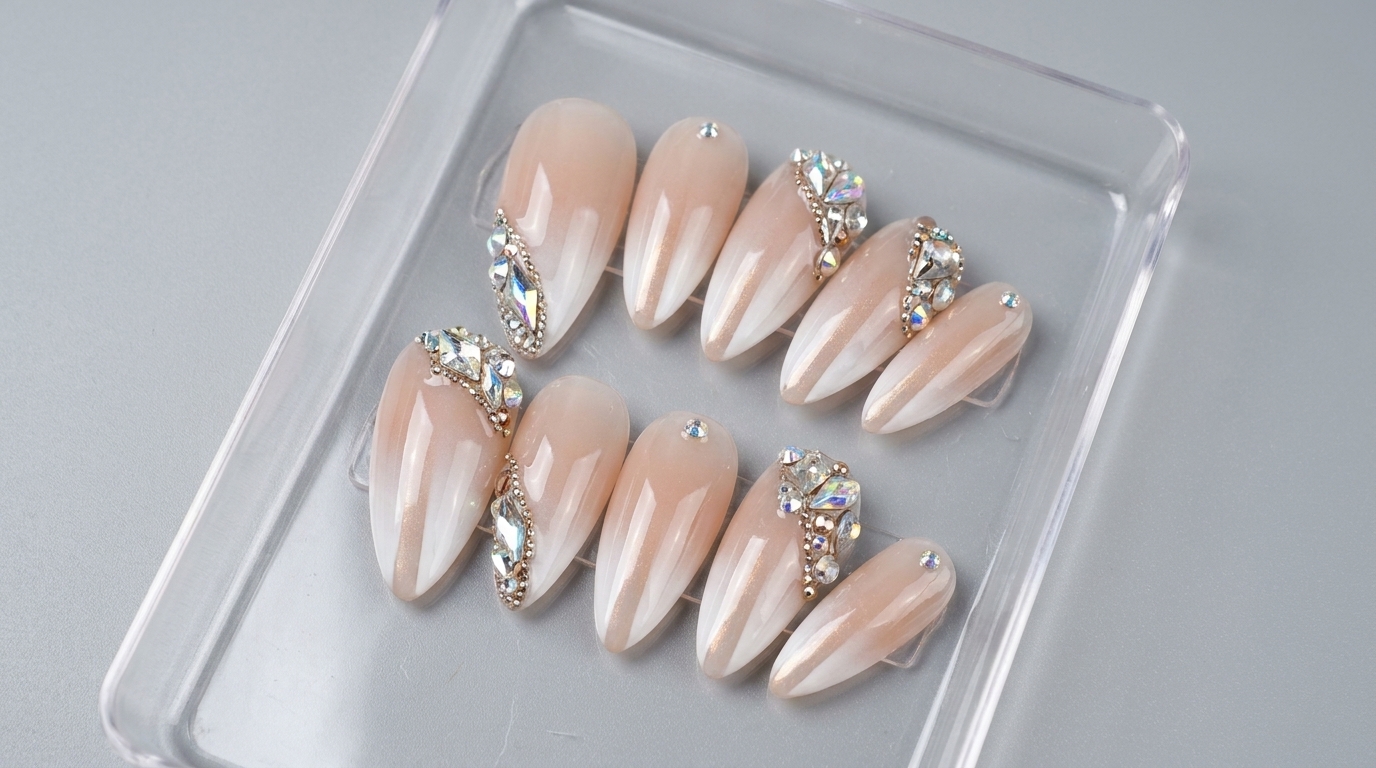
Tip: Remove the stencil while the pigment is still slightly damp to avoid peeling off dried product. - 5Add gold embellishments
Apply a small dot of clear builder gel or nail glue to the desired area on the nail. Use a fine-tipped tool to pick up and place the small gold bow and floral charms onto the nails, pressing firmly to secure them.
Tip: Place the charms on the non-ombre part of the nail to ensure the intricate details stand out against the clear base.