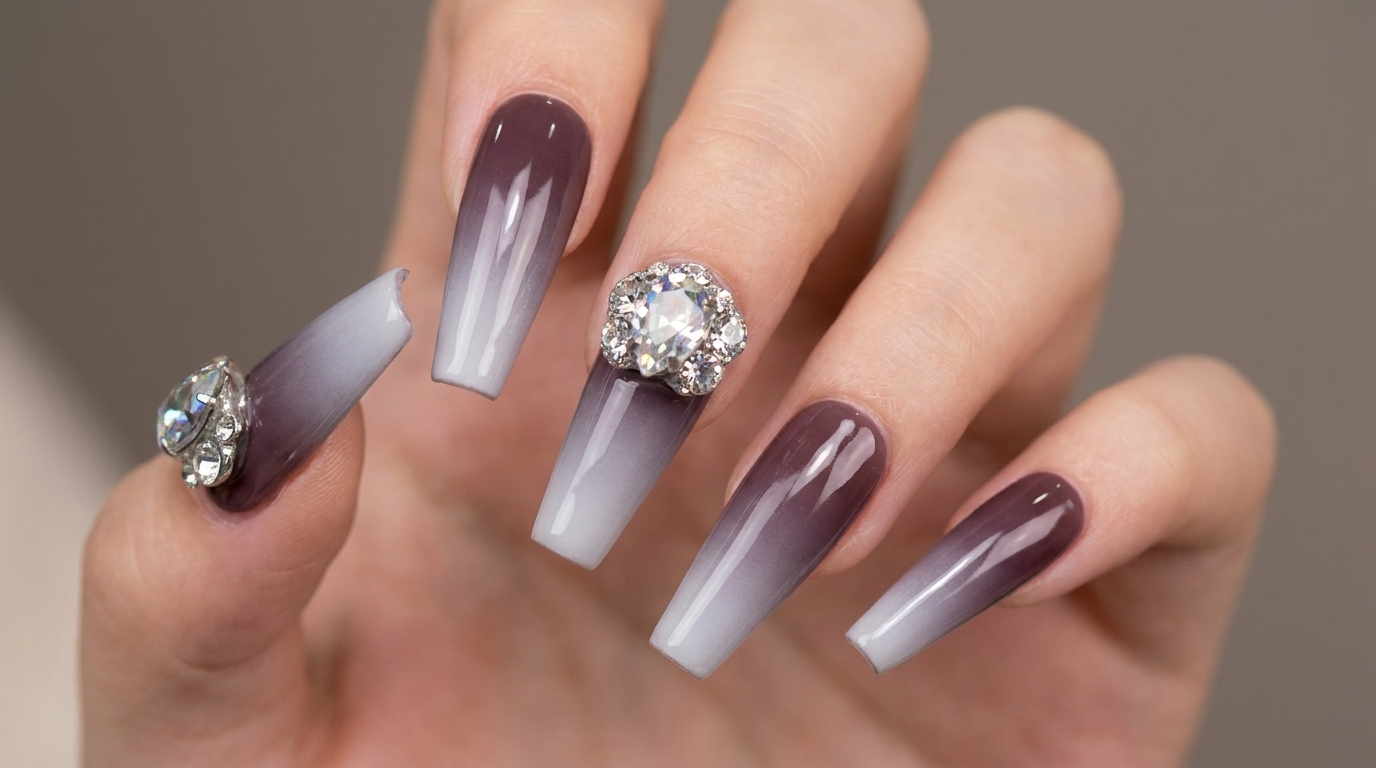
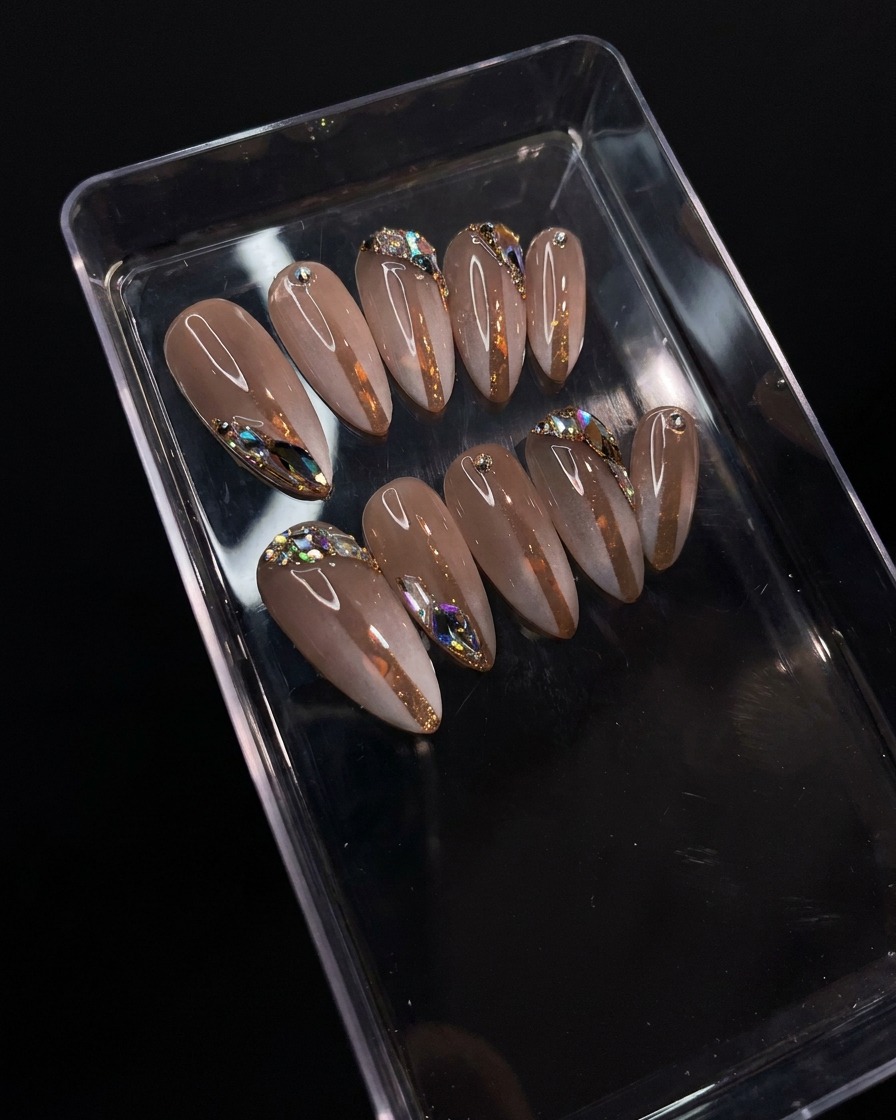
Exquisite Airbrush Gradient Nails
Rhinestone Embellishments
Achieve a salon-quality airbrush gradient look at home. This tutorial covers precise masking, spray gel application, and elegant rhinestone placement.
Airbrush gradients offer a seamless transition of color that is difficult to replicate with traditional brushes. By using a spray gel system and clever masking techniques, you can create a soft, high-end finish that looks perfectly blended. The addition of crystal embellishments elevates the design, making it a sophisticated choice for special occasions or everyday glamour.
Steps
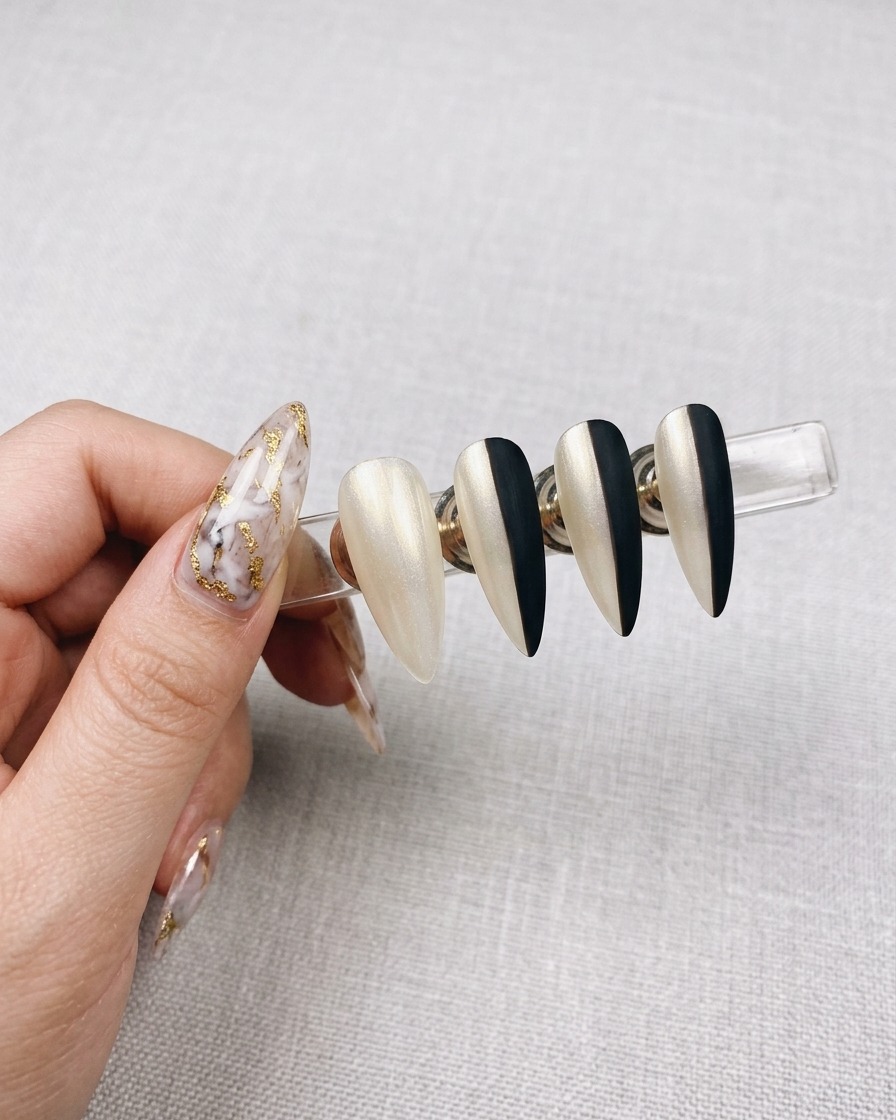
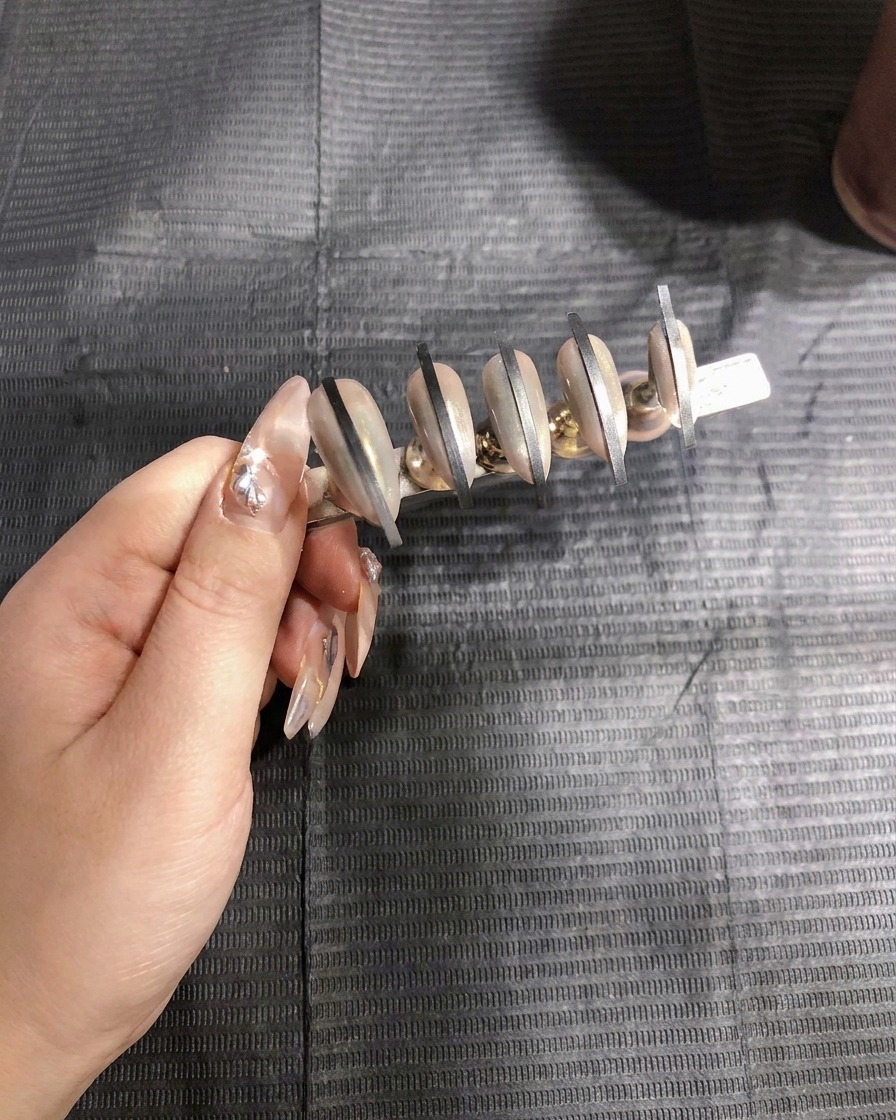
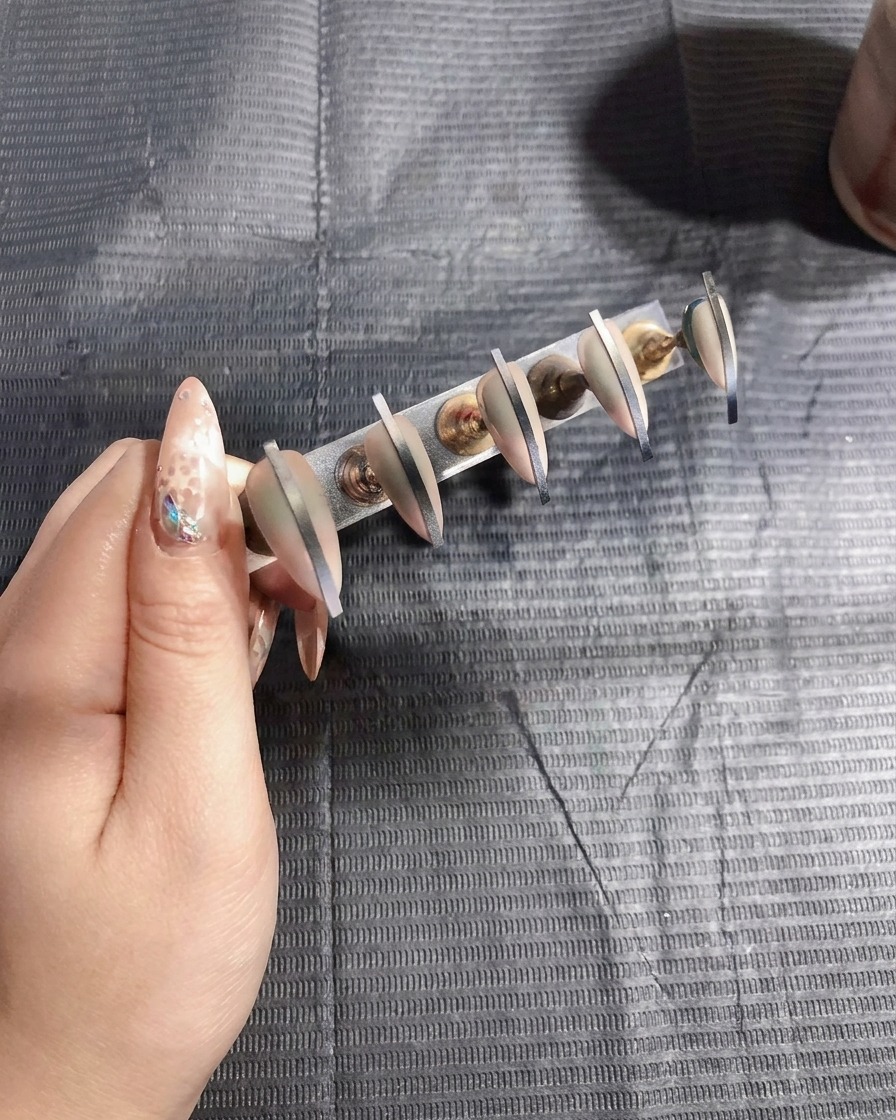
- 1Apply masking stickers
Apply the thin glue stickers vertically onto the center of each prepped nail. These will act as a mask to create the clean, uncolored line effect once the airbrushing is complete.
Tip: Ensure the stickers are pressed down firmly along the edges to prevent any spray gel from bleeding underneath. - 2Apply first coat of spray gel
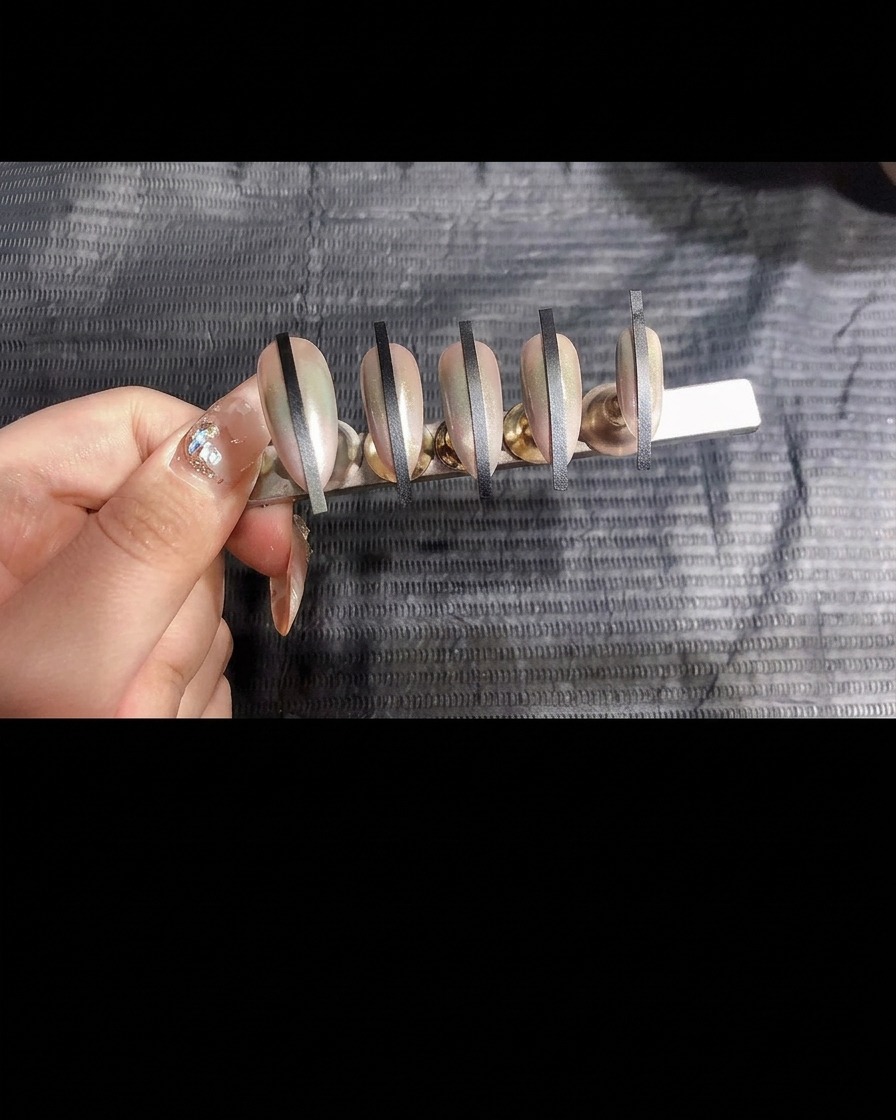
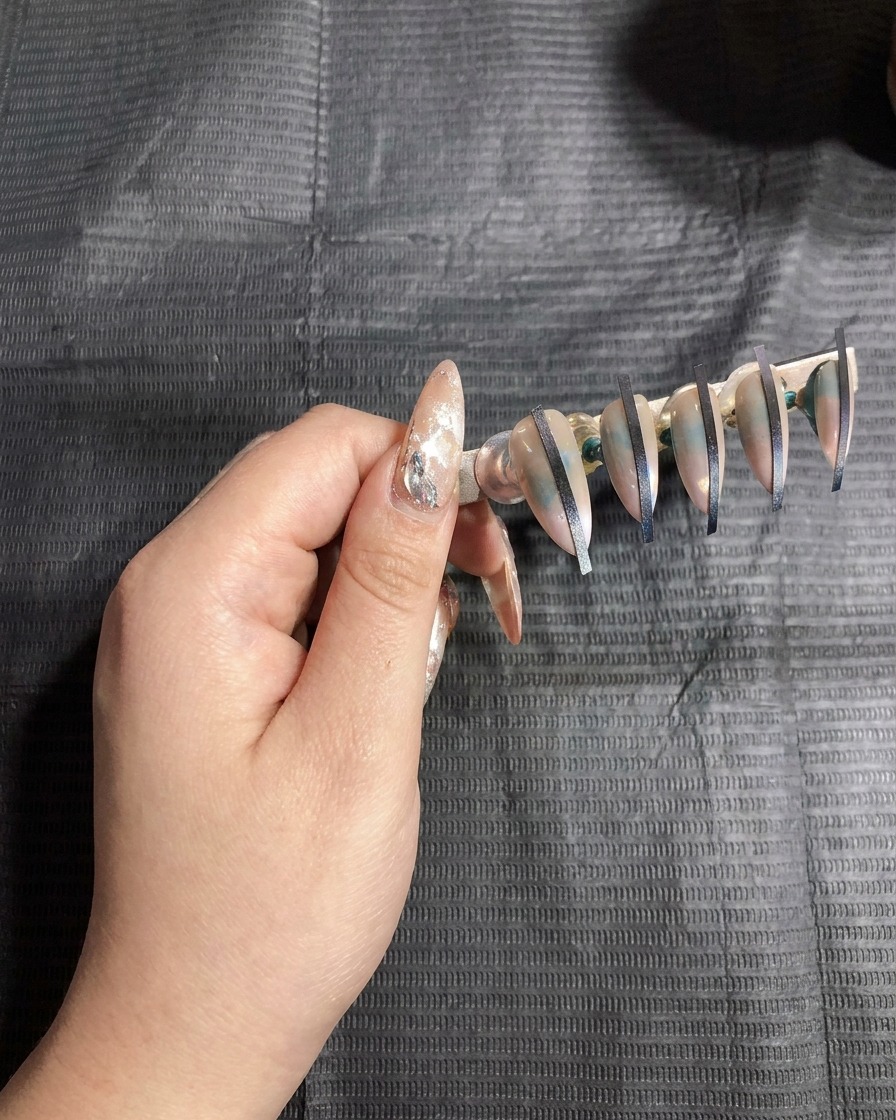
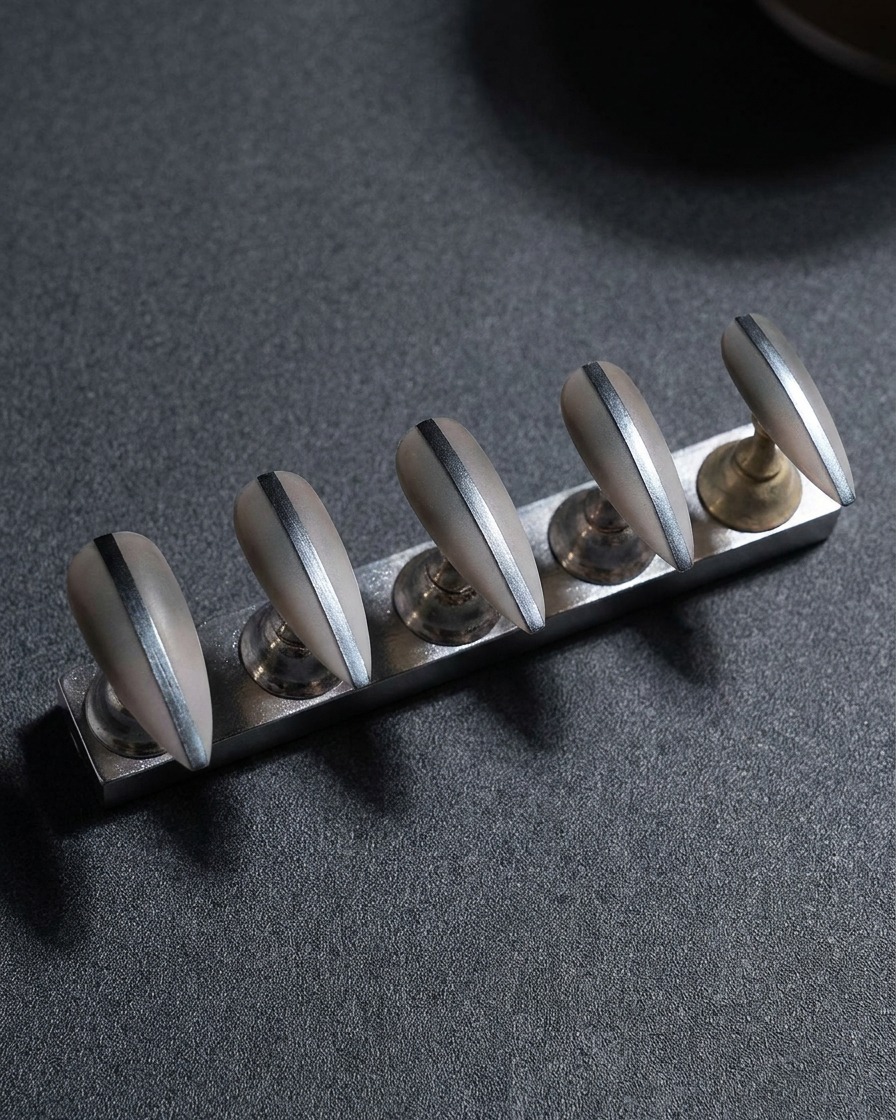
Using the airbrush gun, evenly apply the first layer of white spray gel over the nails. Focus on achieving a light, uniform coat across the entire surface.
Tip: Keep the airbrush at a consistent distance from the nail to ensure an even distribution without pooling. - 3Cure the first layer
Place the nail stand into the UV lamp and cure the first layer of spray gel completely. This ensures the base layer is set before adding further depth.
Tip: Follow the curing time recommended by the product manufacturer to ensure proper polymerization. - 4Apply second coat of spray gel
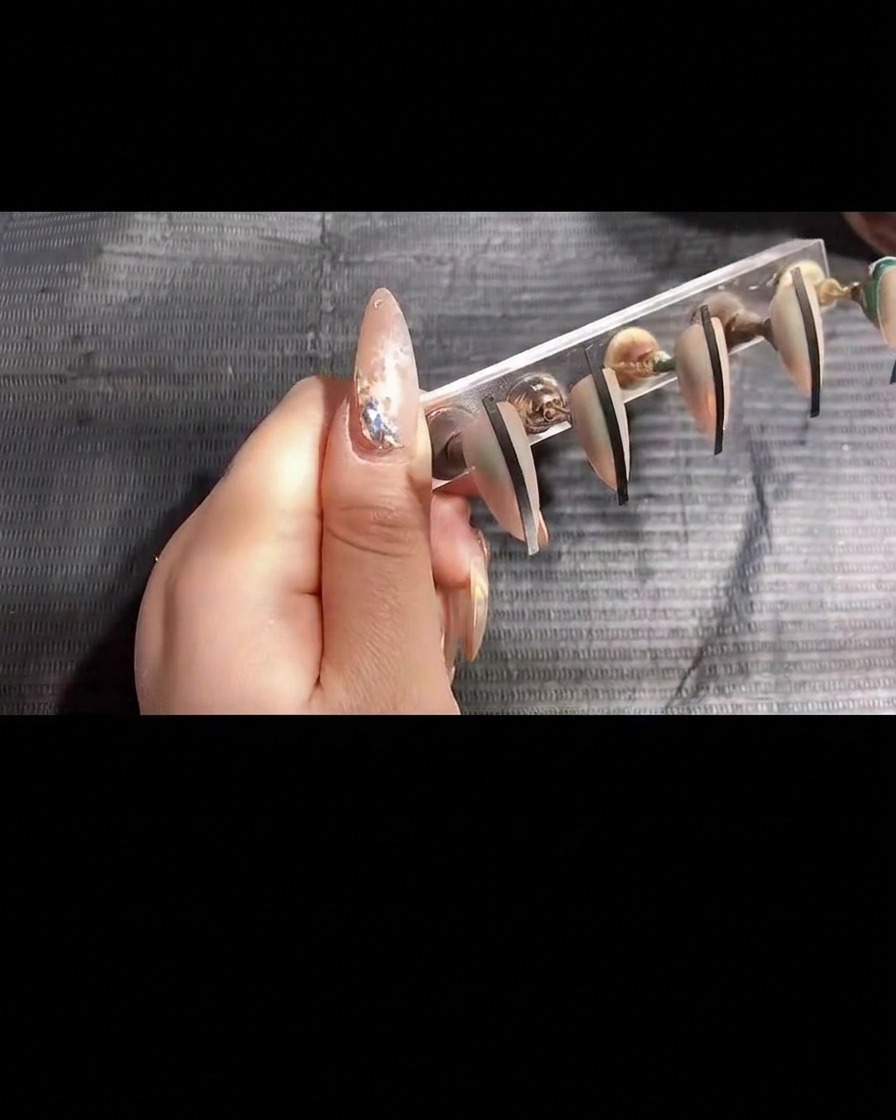
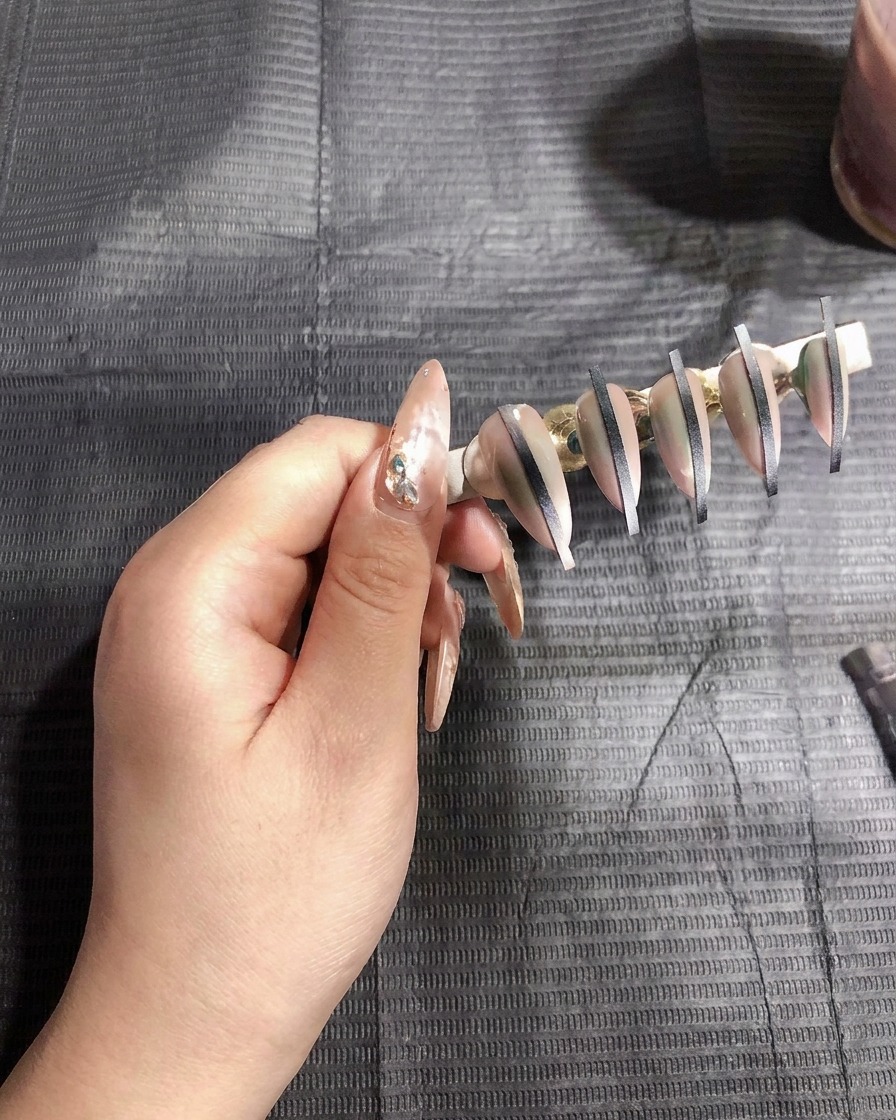
Apply a second layer of white spray gel using the airbrush gun. This pass helps build better saturation and deepens the gradient effect.
Tip: Apply this layer with the same technique as the first, maintaining a steady hand for an even finish. - 5Cure the second layer
Place the nails back into the UV lamp to cure the second layer of spray gel. This final cure ensures the color is fully set and durable.
Tip: Check that the gel is completely dry and cured across all nails before proceeding to remove the masking stickers. - 6Apply spray gel to second set
Repeat the airbrush application process on the second set of nails, applying the first layer of white spray gel.
Tip: Consistent application across different sets ensures the final look remains uniform. - 7Cure the first layer
After applying the first coat of spray gel, place the nail stand under the UV lamp. Ensure the nails are positioned directly under the light to guarantee thorough curing and a smooth, even surface for the next application.
Tip: Keep the nails steady under the lamp to prevent any accidental smudges or shifts in the uncured gel. - 8Apply second coat of spray gel
Apply the second coat of spray gel using the airbrush gun. This layer adds depth and improves the saturation of the gradient effect. Maintain a consistent distance from the nails for an even application.
Tip: Apply in thin, light passes to ensure the gel doesnt pool or drip on the nail surface. - 9Cure the second layer

Place the nails back under the UV lamp to cure the second coat of spray gel. This curing cycle ensures that the final gradient is fully set, durable, and ready for the next design steps.
Tip: Ensure the curing time follows your specific gel products instructions for maximum longevity. - 10Final gradient touch-up
Perform a final check of the gradient effect. If needed, apply a precise, light touch-up with the airbrush gun to ensure the blend between the colors is smooth and professional-looking before the final cure.
Tip: A little goes a long way—dont over-spray, as you want to maintain the soft transition of the gradient. - 11Final cure
Perform the final cure under the UV lamp to lock in the gradient and prepare the nails for the final steps, such as removing the stickers and applying the top coat.
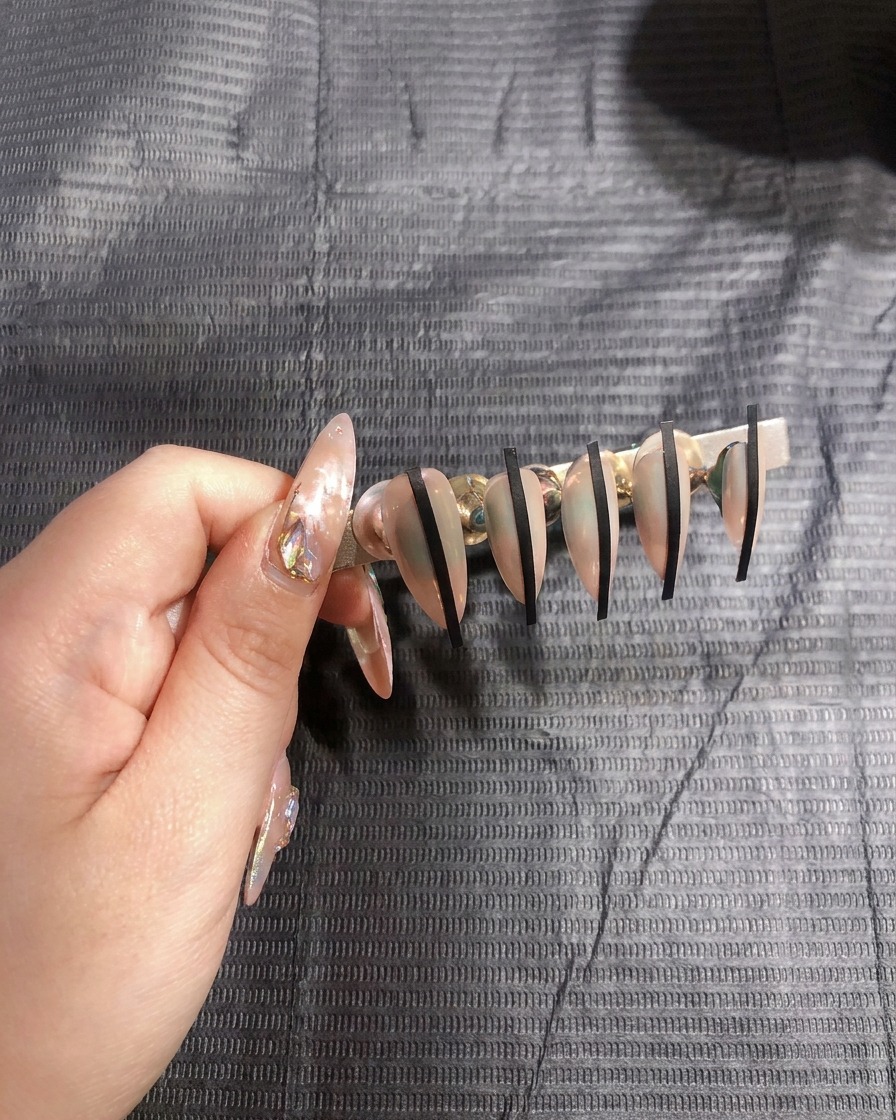
Tip: Check the nails after this final cure to ensure they are completely dry and the surface is set perfectly. - 12Remove adhesive stickers
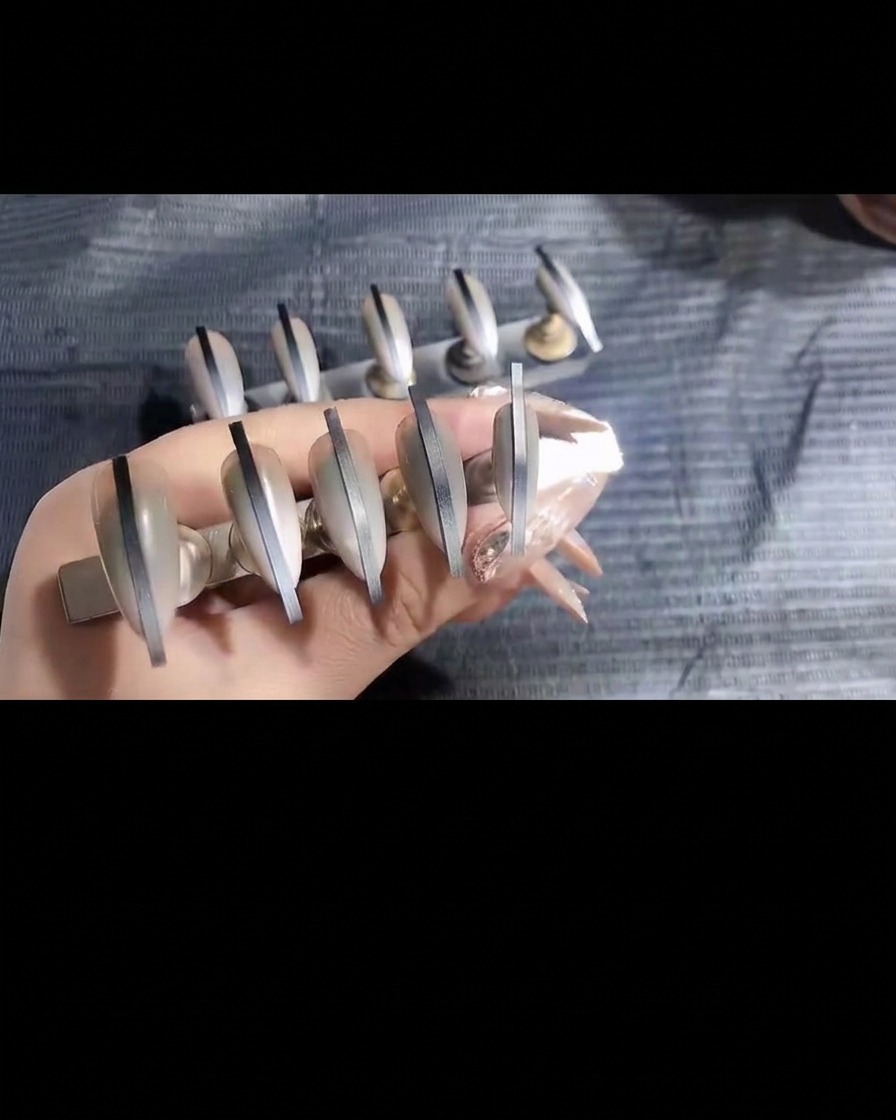
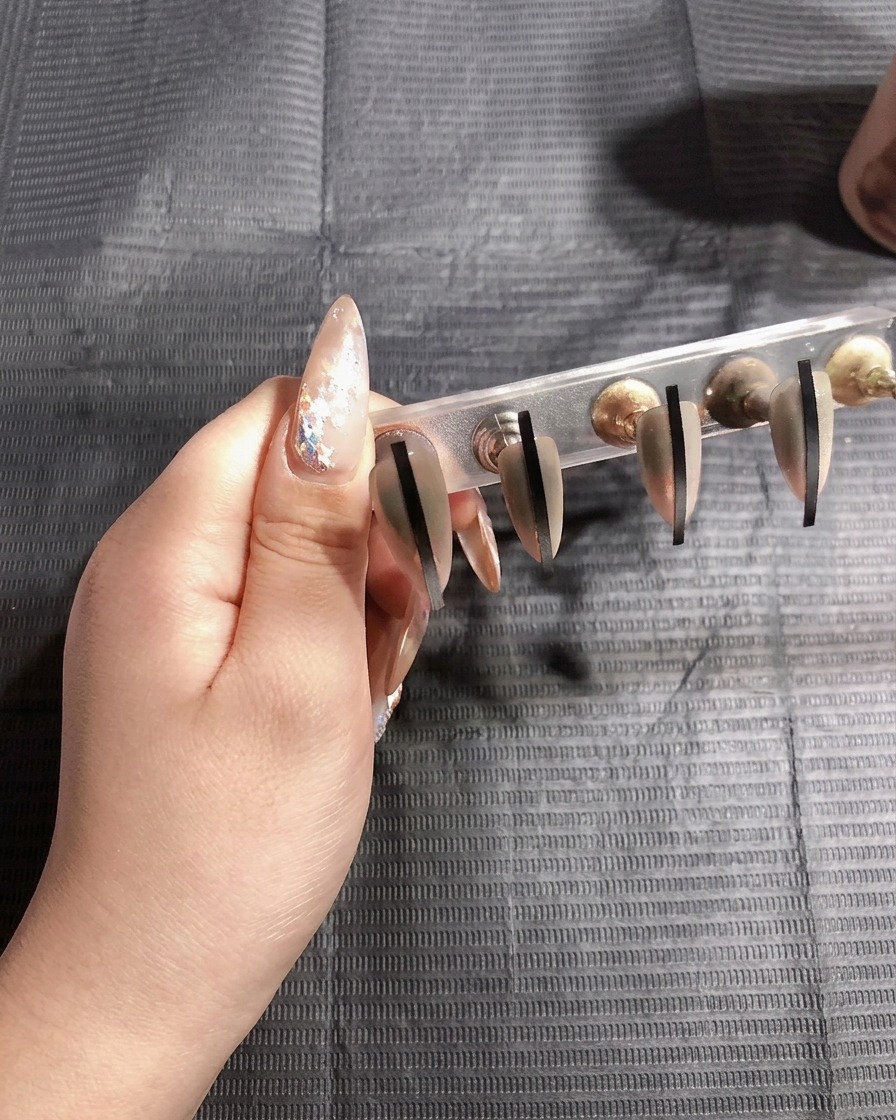
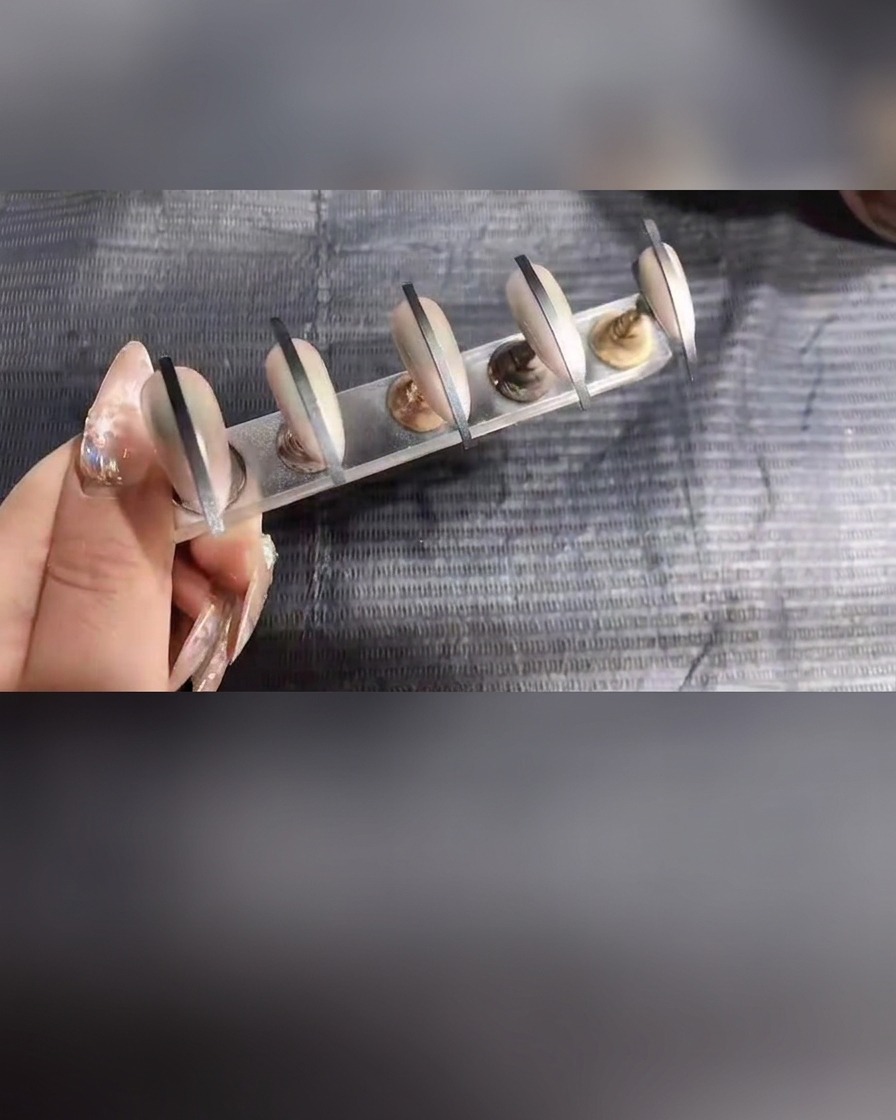
Once the gel is fully cured, carefully peel off the adhesive stickers from the nails. This will reveal the crisp, clean lines of the design underneath the airbrushed gradient.
Tip: Peel slowly at an angle to avoid pulling up any of the cured gel edges. - 13Refine the edges of the first nail set
Carefully file the edges of the first set of prepared nails to ensure a smooth, uniform shape. This step helps define the silhouette and ensures the edges are clean and ready for the next stage of the application process.
Tip: Maintain a consistent angle with your file to ensure all nails have a matching shape. - 14Remove adhesive stickers

Carefully peel away the adhesive stickers from the nails after the airbrush and curing process is complete. Gently lift the edges of the stickers to reveal the crisp, clean lines created underneath.
Tip: Peel slowly to avoid pulling or chipping the surrounding cured gel polish. - 15Refine edges of the second nail set
After removing the adhesive stickers, perform final edge refinement on the second set of nails. This ensures that any residual material is cleaned up and the shape remains sharp and professional.
Tip: Use a fine-grit buffer for final smoothing to avoid damaging the painted surface. - 16Apply top coat
Apply a generous, even layer of top coat over the entire nail surface, ensuring you cover the nail art and embellishments. Cap the free edge to seal the design and provide long-lasting shine and protection.
Tip: Apply top coat in a smooth motion to avoid streaks or bubbles on the finished design. - 17Verify top coat application
Inspect the nails to ensure the top coat has been applied thoroughly and evenly. The finish should look smooth, high-gloss, and completely seal the rhinestones and gradient design.
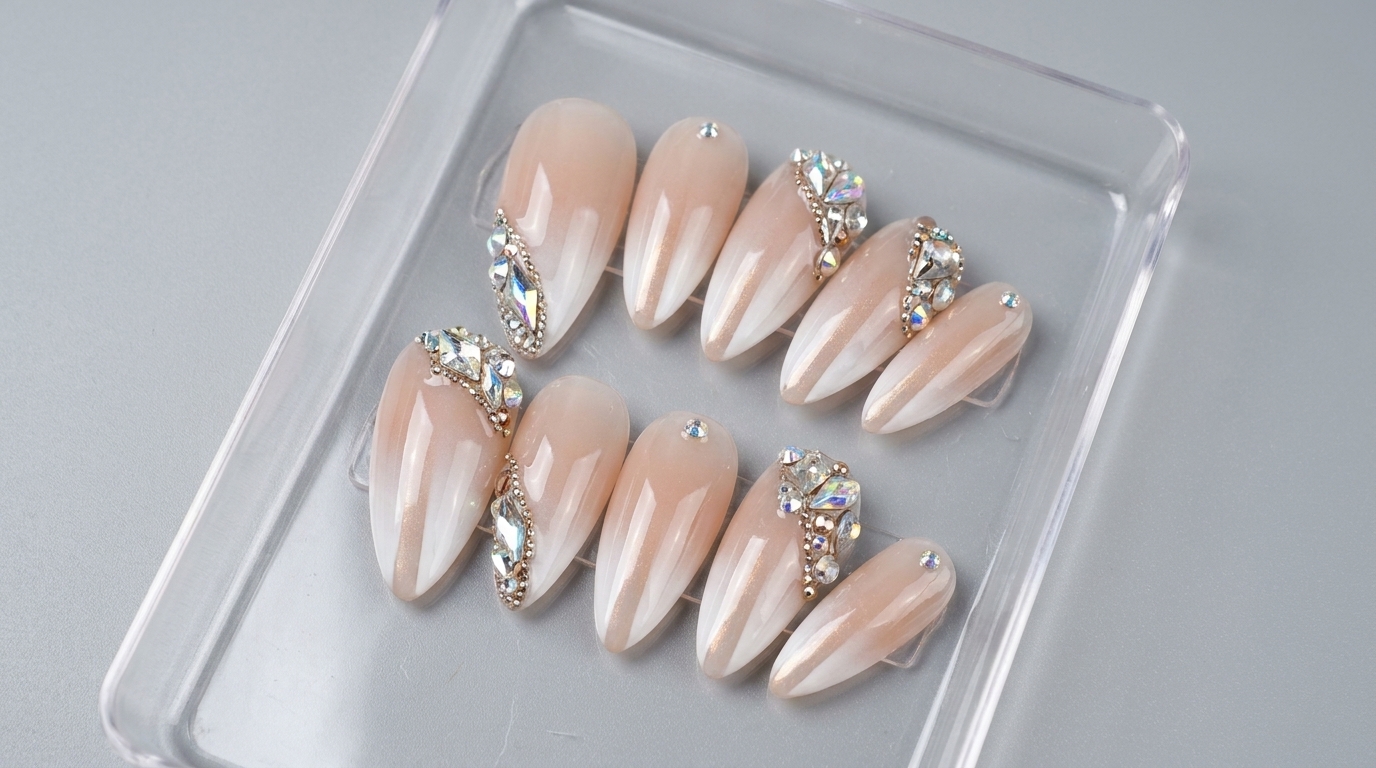
Tip: Hold the nail at an angle under a light source to check for even coverage and a smooth, reflective surface. - 18Apply rhinestones to the cuticle area
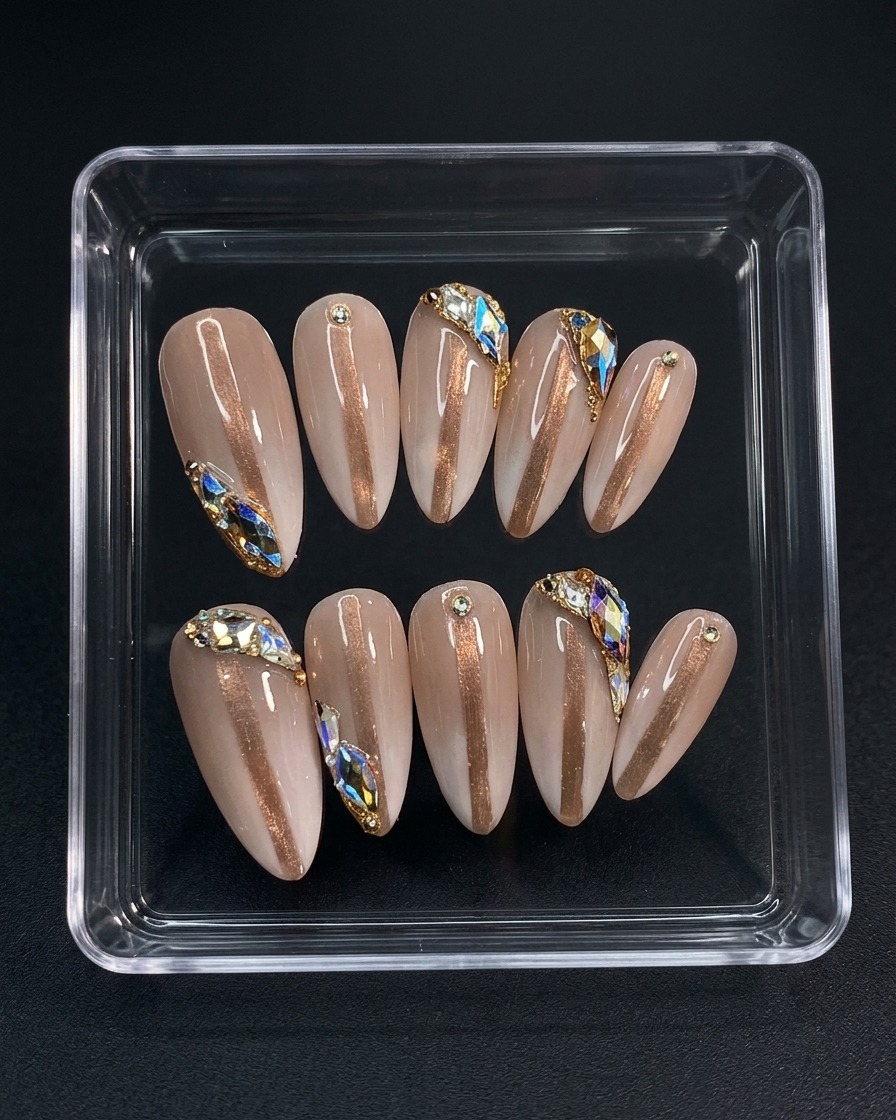
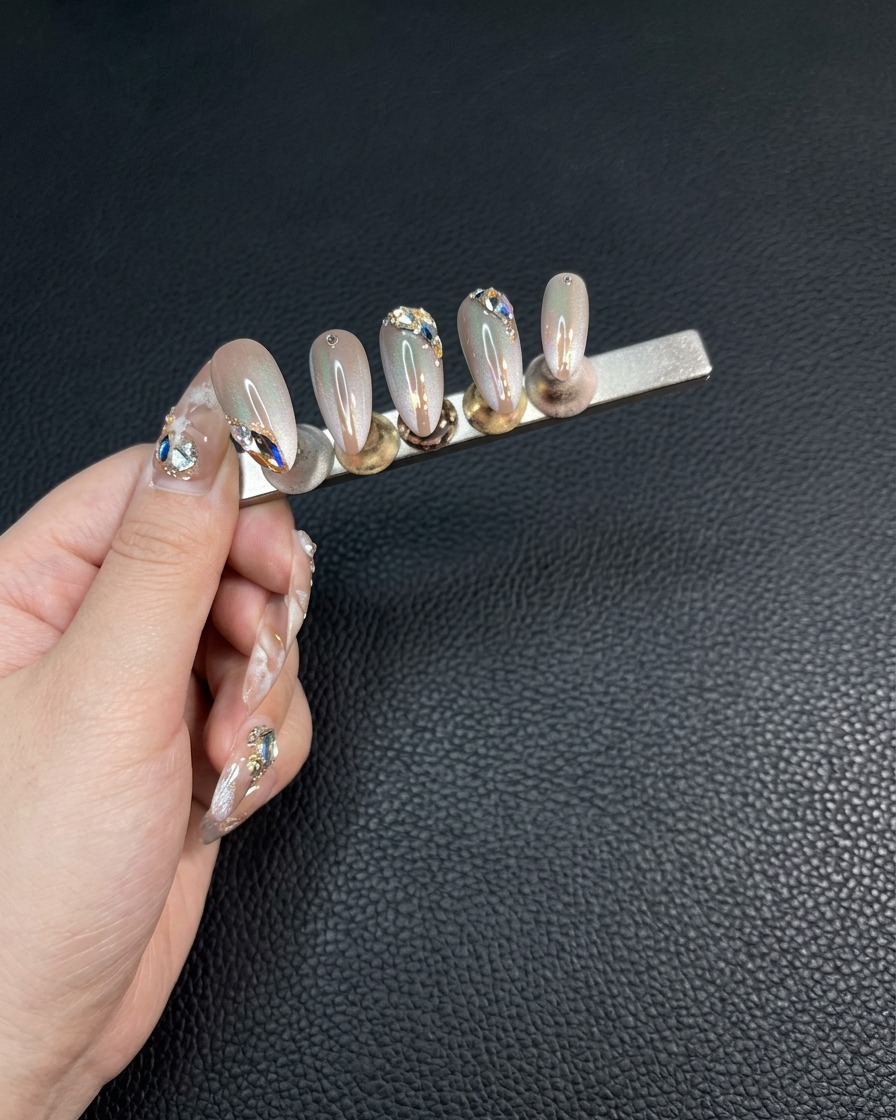
Using a pair of tweezers or a dotting tool, carefully place rhinestones along the cuticle area of the nails. Press them gently into a small bead of clear gel or top coat to secure them before curing.
Tip: Place the rhinestones systematically for a balanced, high-end look that complements the gradient design. - 19Positioning Gems
Using a fine detail brush, carefully place small gems onto the designated areas of the nail surface. Use the brush to gently nudge each gem into the perfect position before curing to ensure a precise and elegant design.
Tip: Apply a tiny dot of clear gel or glue where the gem will sit to help it stay in place while you position it.