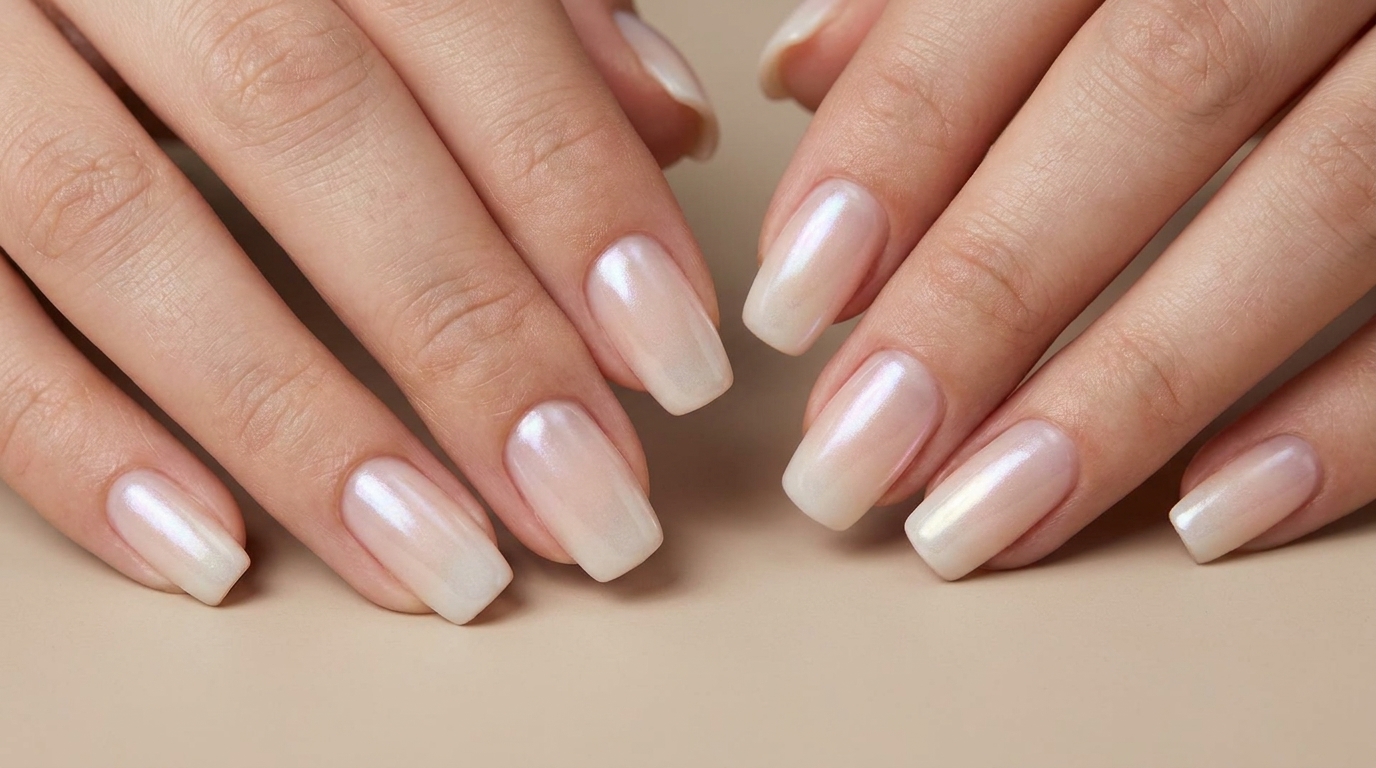
Nude and White Gel Ombre Nails — Beginner Step-by-Step Tutorial
Master a flawless nude and white ombre gel look with this simple brush blending technique. This beginner-friendly tutorial delivers a chic, glossy gradient.
Ombre nails remain a timeless salon favorite, and achieving that seamless gradient doesnt always require a sponge. This soft nude-to-white transition relies on strategic layering and light feathering with a gel brush to build opacity and blend the colors beautifully. It is an incredibly versatile design that works seamlessly on any nail shape, offering a polished, sophisticated finish that elevates your everyday style.
Steps
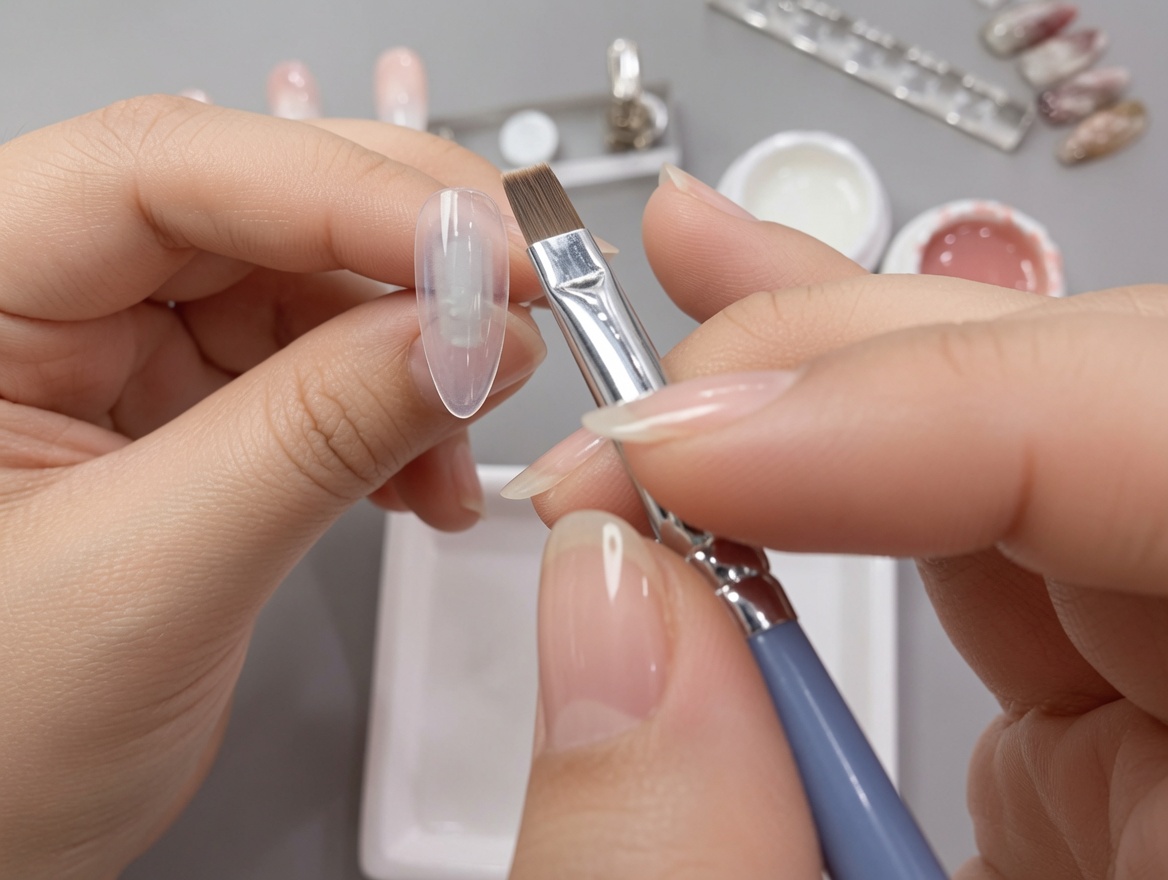
- 1Apply first white base layer
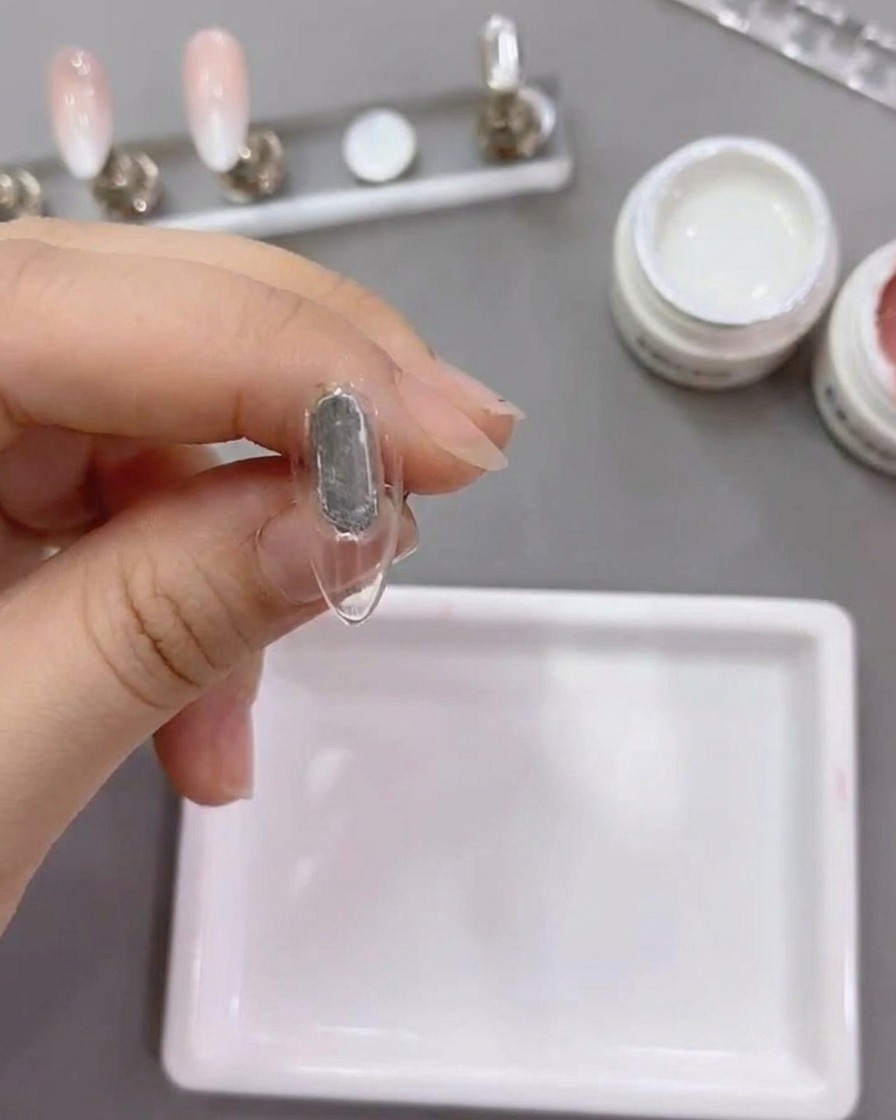
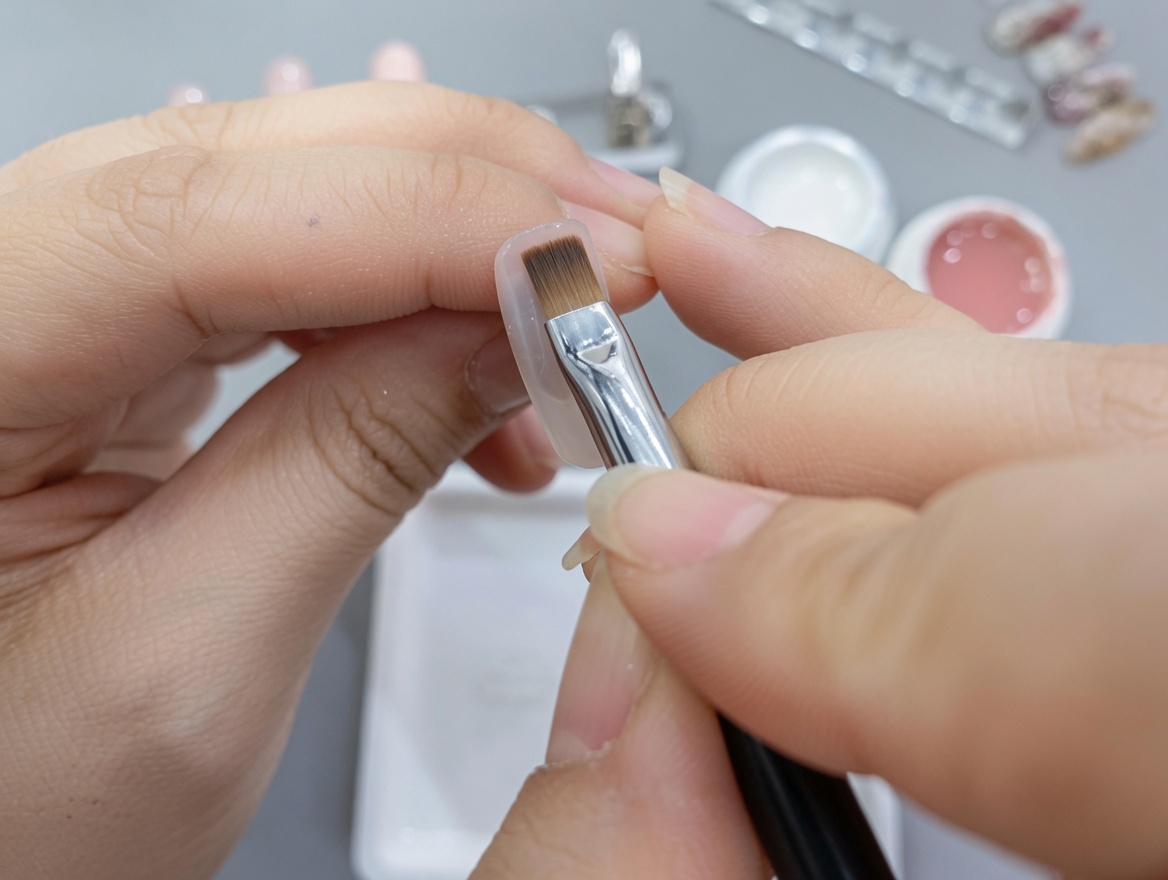
Using a flat brush, carefully apply a thin, uniform layer of white nail gel number 79 across the nail surface. Ensure the layer is smooth and avoid touching the cuticles to prevent lifting. This initial coat provides the foundation for the gradient effect.
Tip: Work in thin layers to ensure the gel cures evenly and maintains a smooth surface. - 2Cure white base layer
Place the nail under the UV/LED lamp to cure the first layer of white nail gel number 79. Ensure the nail is positioned directly under the light source for the recommended time to fully set the gel.
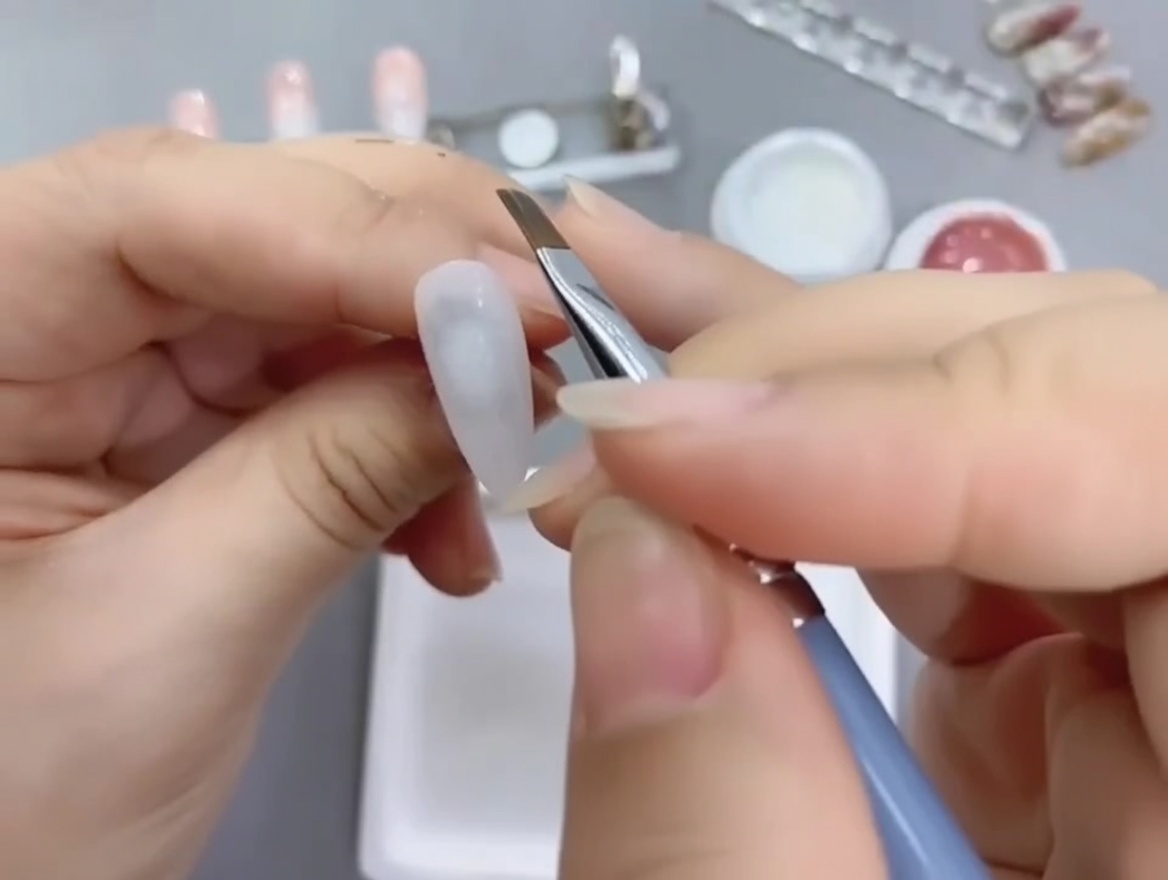
Tip: Check that the entire nail is positioned inside the lamp to avoid uneven curing. - 3Apply second layer of white base
Using a flat gel brush, apply a second thin layer of the white gel number 79 evenly across the entire nail. This additional layer builds a solid, opaque foundation to make the final gradient colors stand out brightly.
Tip: Keep your layers thin and even; applying gel too thickly can cause wrinkling or uneven curing under the lamp. - 4Cure second white base layer

After applying the second layer of white nail gel number 79, place the nail back into the lamp to cure completely. This ensures the base is opaque and properly set before beginning the gradient.
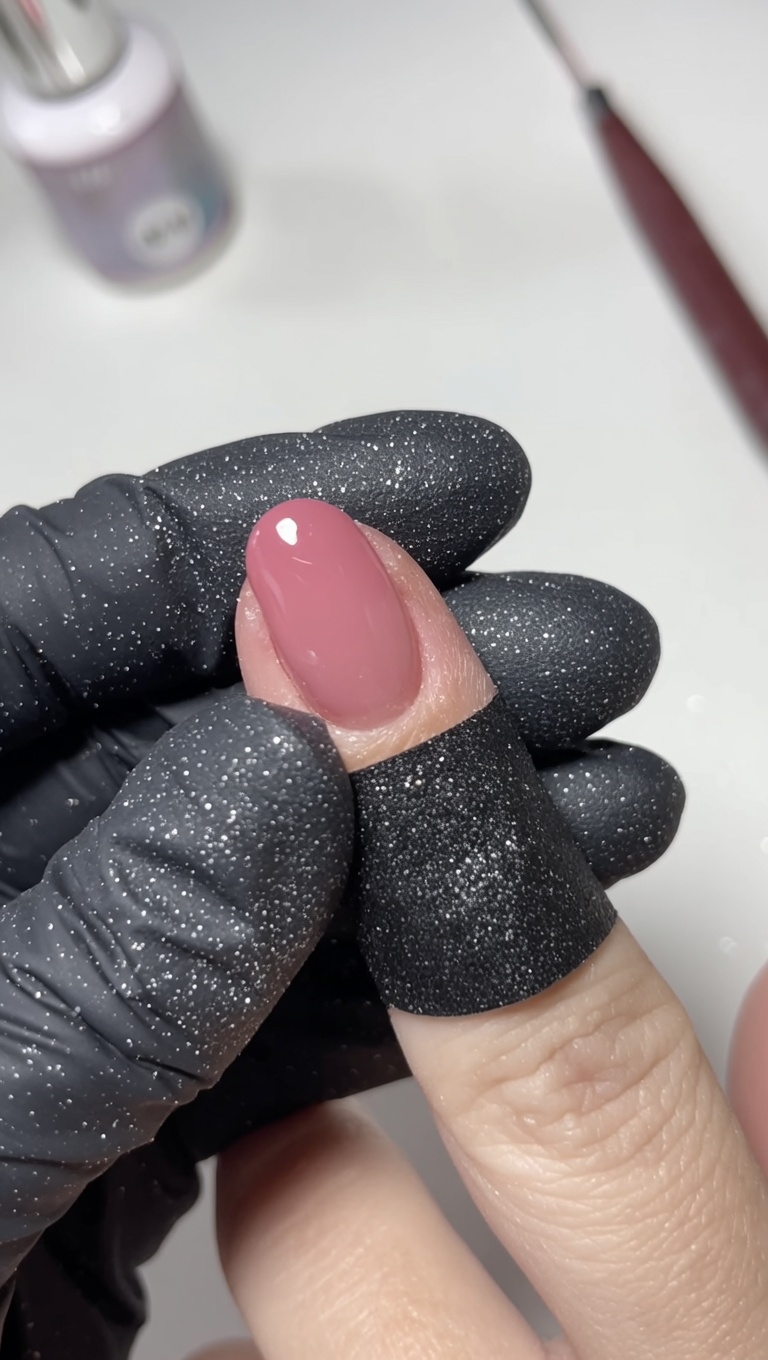
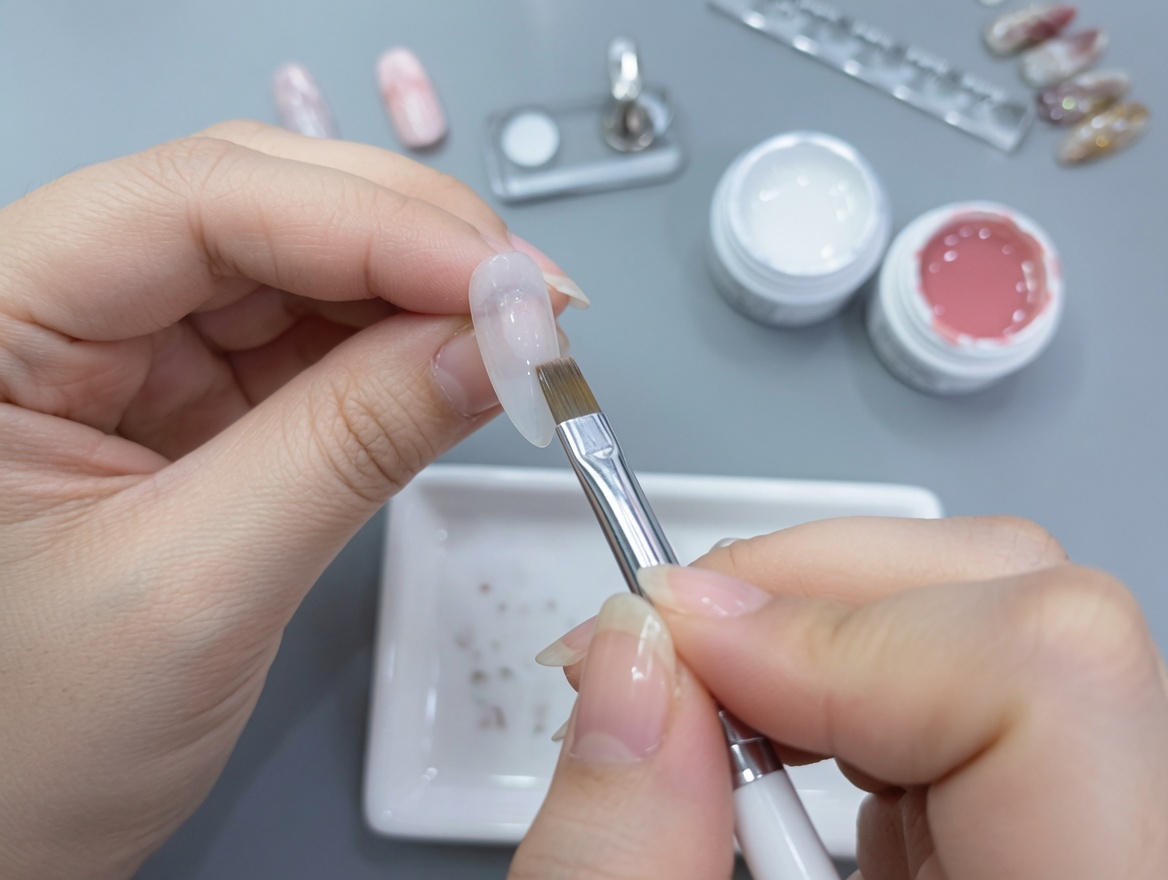
Tip: Curing time is essential for the durability of the final nail set. - 5Begin the nude gradient
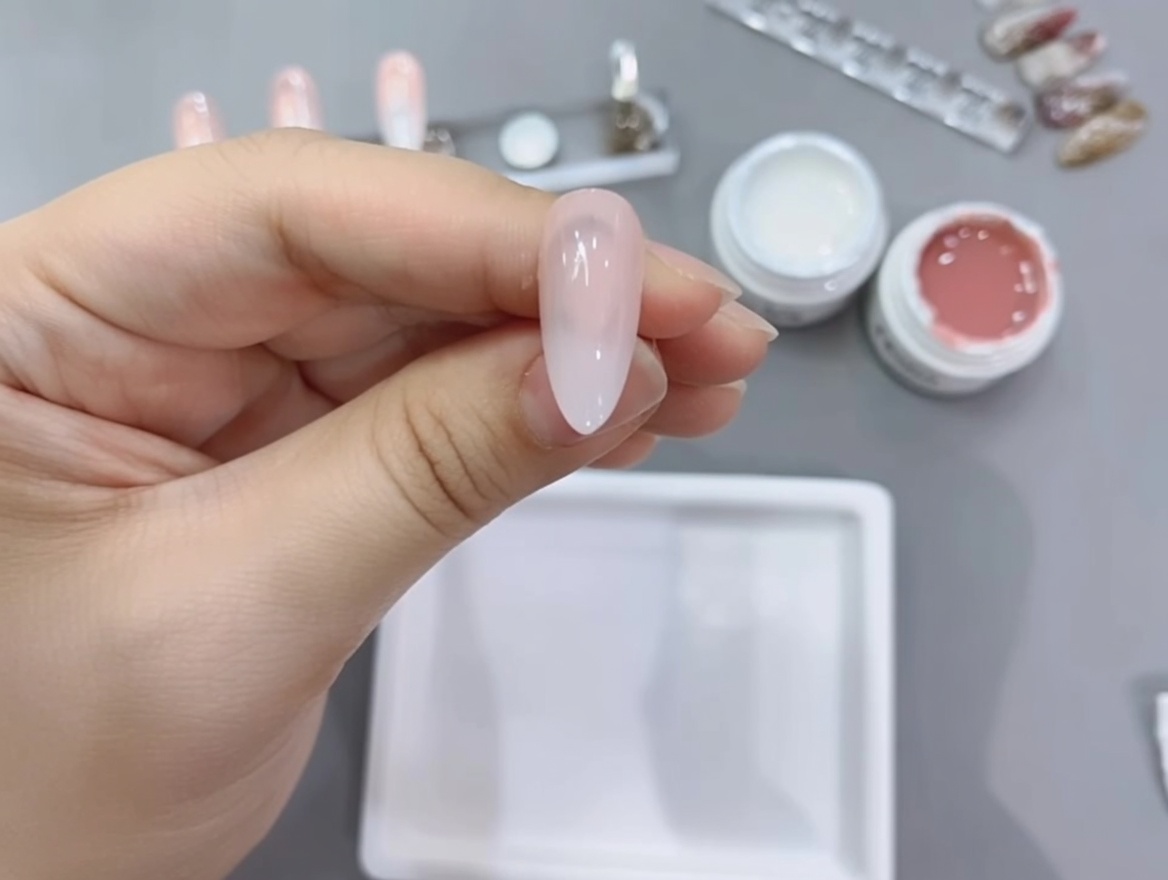
Take the nude gel number 90 and apply it starting from the cuticle, pulling the color up to cover the bottom two-thirds of the nail surface. Use the edge of your brush to lightly feather the transition where the nude meets the white base to create a soft blend.
Tip: Use a light hand when blending the edge of the color to avoid wiping away the white gel underneath. - 6Cure first nude gradient layer
Place the nail under the lamp to cure the first layer of nude gel number 90. This layer establishes the initial transition for your gradient design.
Tip: Ensure the nude gel is blended smoothly into the white base while it is still uncured to create a natural gradient. - 7Apply second nude gradient layer
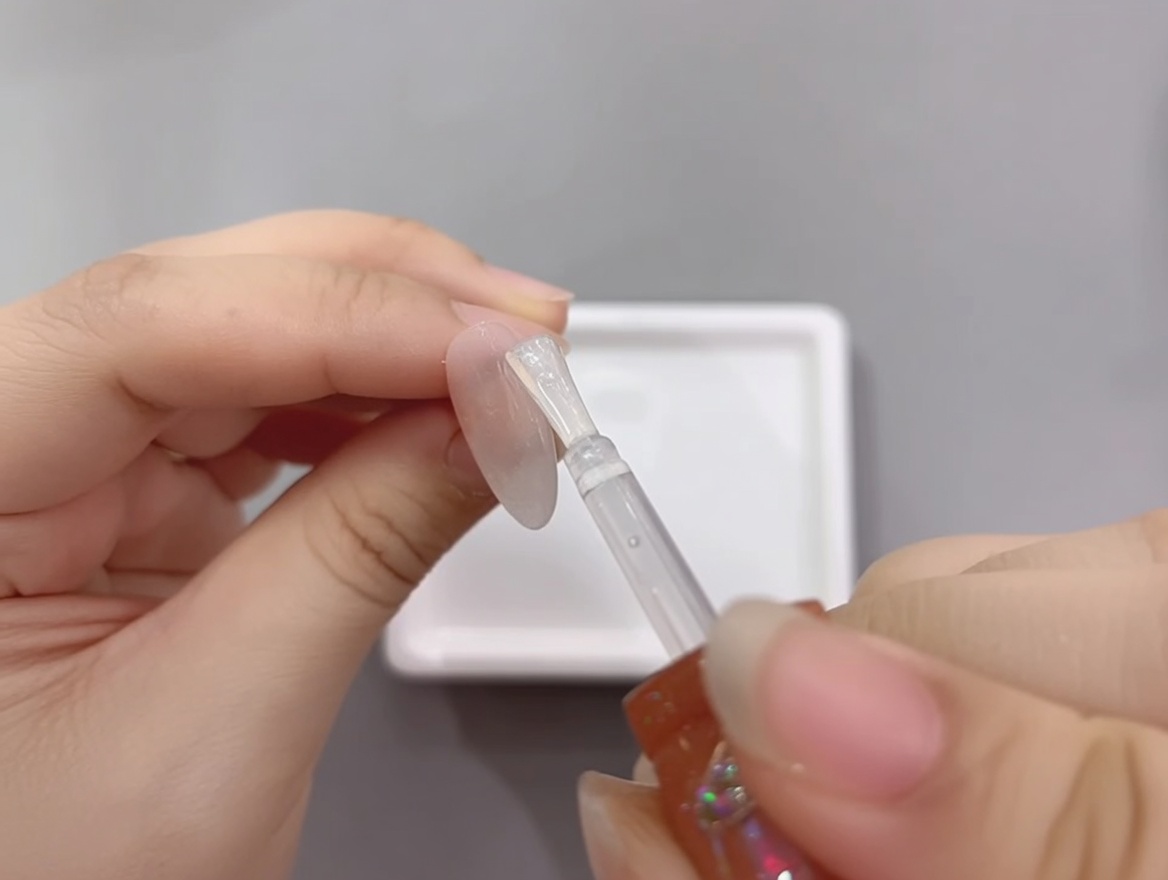
Apply a second layer of nude gel number 90 to the bottom half of the nail. Use your brush to lightly feather the edge of the nude gel towards the center to deepen the gradient effect and build intensity near the cuticle.
Tip: Focus the application on the top half to build intensity where the nude shade should be most concentrated. - 8Cure final nude gradient layer
Finish the gradient by curing the second layer of nude gel number 90 under the lamp. Ensure it is fully cured before proceeding to the top coat application.
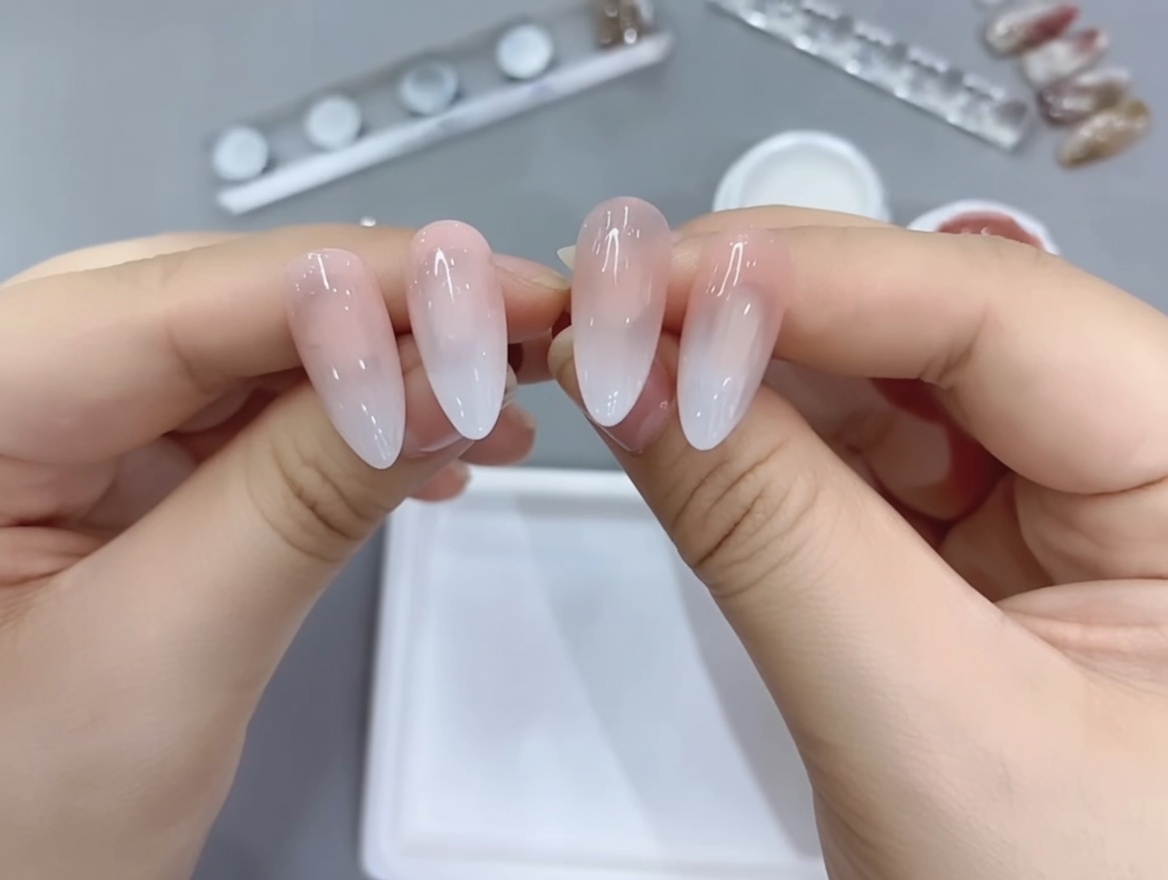
Tip: A thorough cure here prepares the nail for a smooth top coat finish. - 9Apply glossy top coat
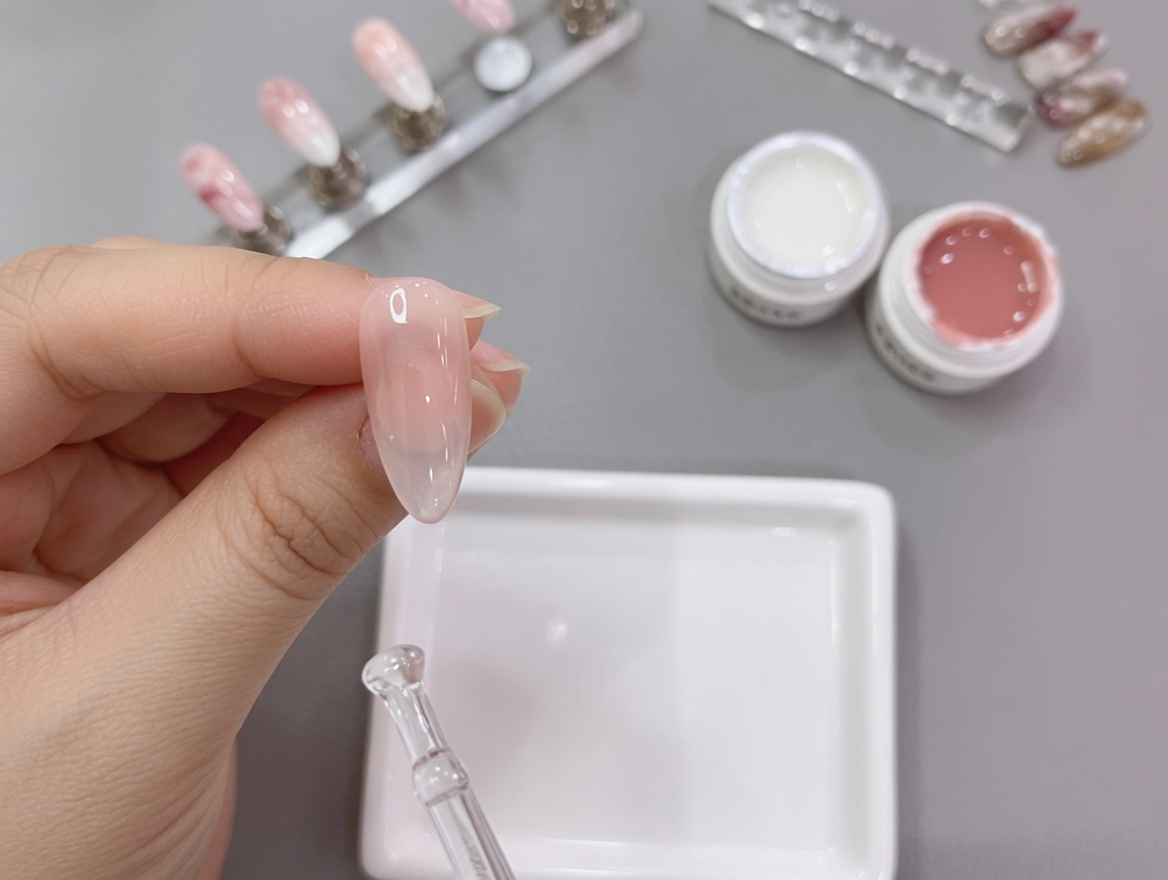
Apply an even layer of clear, glossy top coat over the entire nail surface to seal in your nude and white gradient design. Ensure you cap the free edge for maximum durability and a smooth, professional finish.
Tip: A good quality top coat not only adds shine but also protects your gradient design from chipping and scratching. - 10Cure the top coat
After applying the top coat to seal your gradient design, place your hand under the UV or LED lamp to cure it fully. Ensure your fingers are positioned correctly to allow the light to reach all parts of the nail surface evenly for a durable finish.
Tip: Do not move your hand during the curing process to avoid smudging or uneven setting of the top coat.