Nude and Pink Gel Ombre Nails — Beginner Step-by-Step Tutorial
Learn how to create a flawless nude and pink gel ombre using a simple layering technique. This elegant, minimalistic nail look is perfect for any occasion.
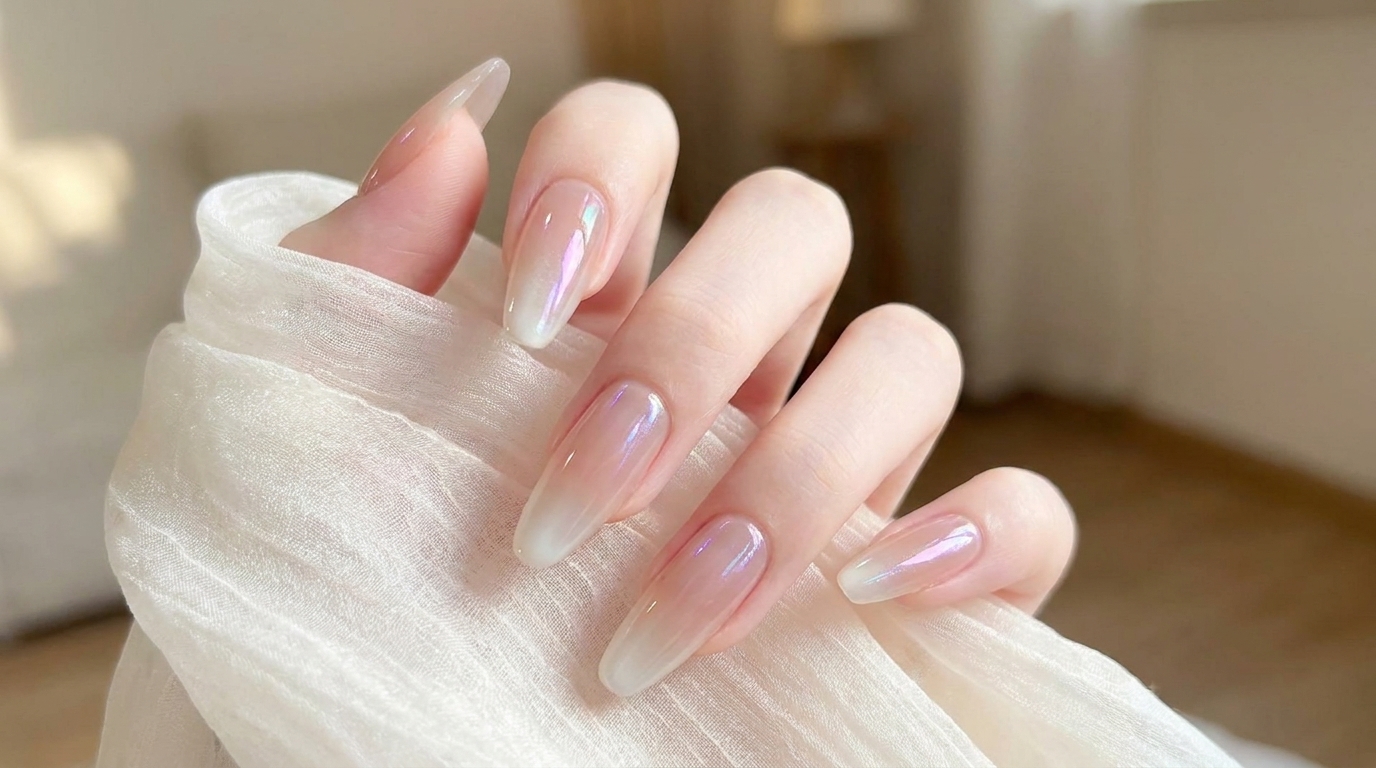
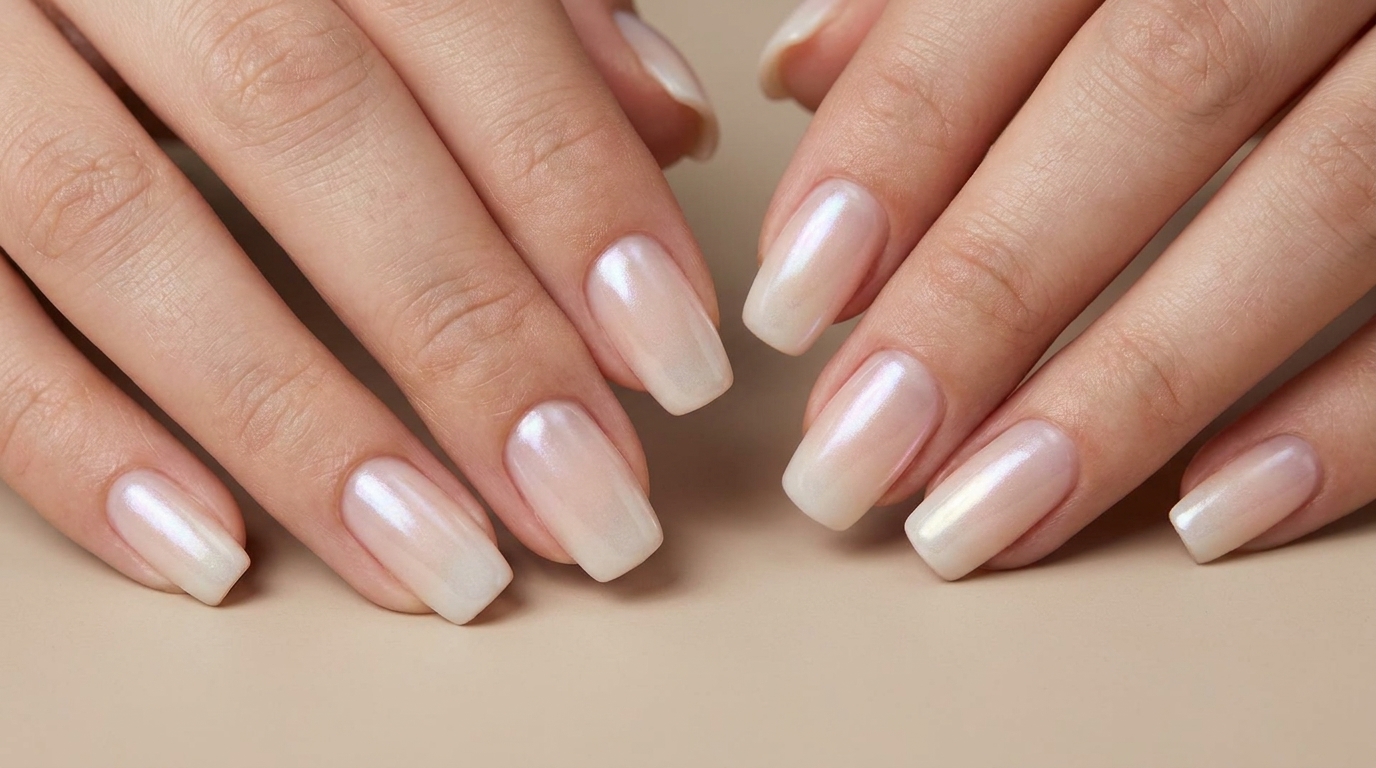
Ombre nails offer a timeless and versatile aesthetic that transitions beautifully from casual days to special events. This specific technique utilizes a matte top coat to create the perfect canvas, allowing the pink gel to blend seamlessly into the nude base. By layering the color gradually, you can achieve a soft, diffused gradient without harsh lines.
Steps
- 1Build the base structure
Apply a layer of structure gel to the prepared nail plate to build a strong foundation. Work the gel evenly across the nail, paying close attention to the side walls to ensure a smooth, level surface. Once the shape is perfected, cure it fully under your lamp.
Tip: Hold your finger upside down for a few seconds before curing to help the gel self-level and build a natural apex. - 2Level the structure gel
Using a fine detail brush, gently guide the structure gel along the sidewalls and cuticle area to create a smooth, even surface. This refines the nail architecture and prevents any bulky areas from forming before curing under the lamp.
Tip: Keep the detail brush parallel to the nail plate to smoothly glide the gel into place rather than dragging it. - 3Apply nude base color
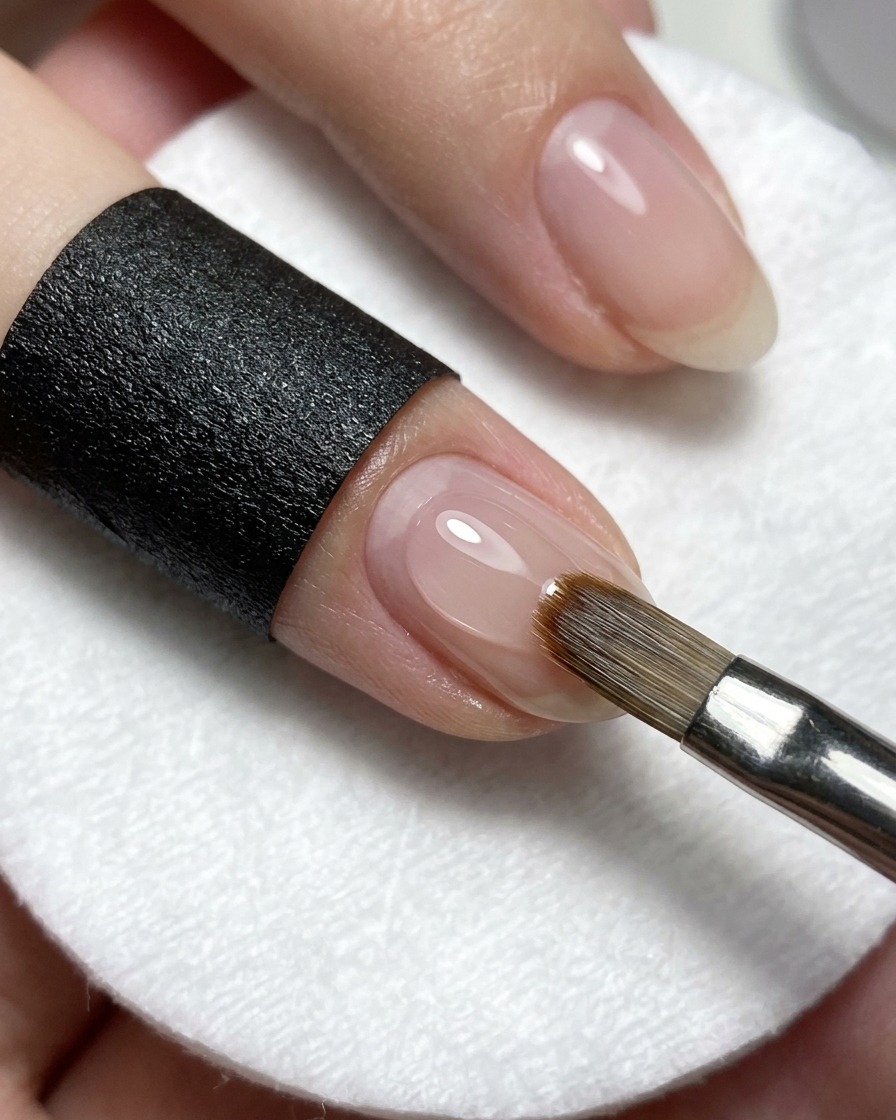
Apply a thin, even layer of the nude color gel over the structural base. Ensure the application is smooth, covering the nail surface completely while avoiding the cuticle area. Cure this layer under the LED lamp as instructed.
Tip: Keep the layer thin to prevent pooling at the side walls and ensure a smooth, professional finish. - 4Build nude opacity

Apply a second thin layer of your nude base color gel to build opacity and create a solid canvas for the ombre design. Ensure an even application from the cuticle to the free edge, and cap the tips before curing completely.
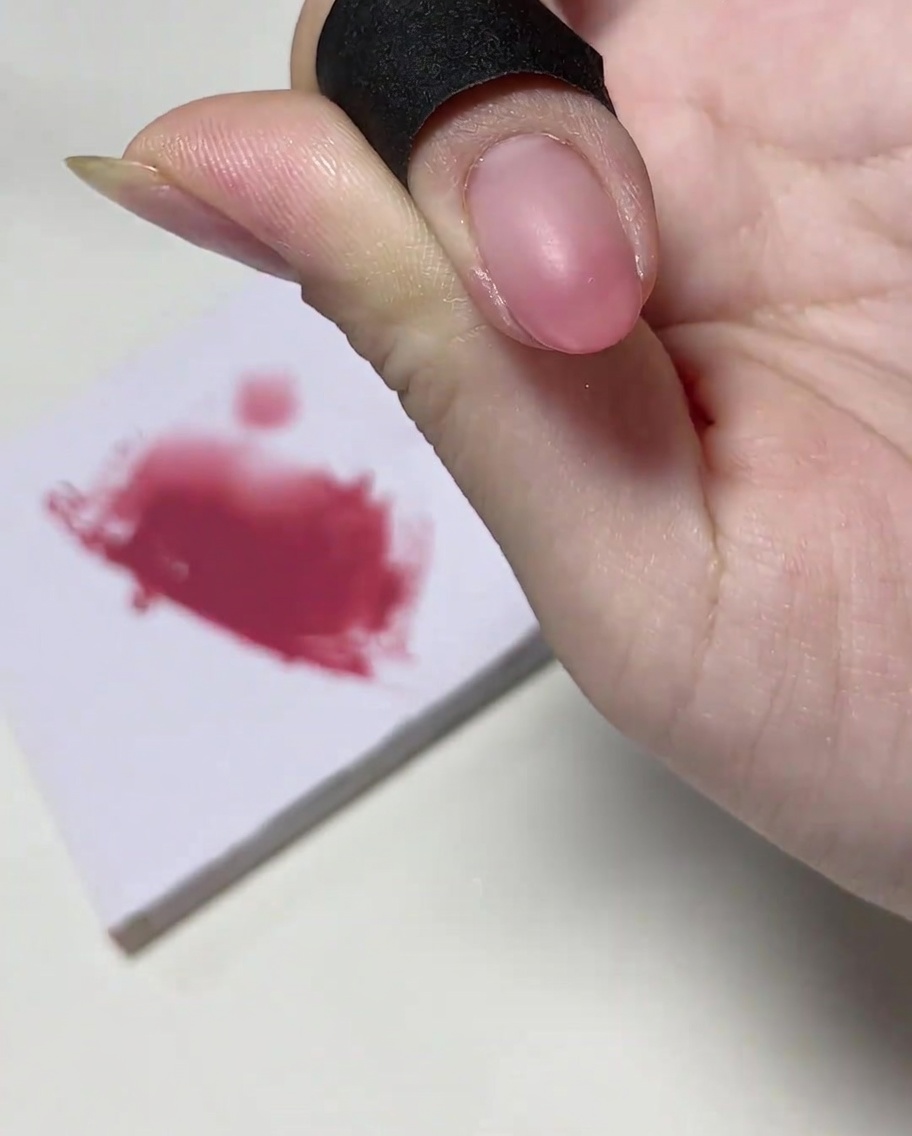
Tip: Applying two thin layers rather than one thick layer ensures an even cure and prevents the gel from wrinkling. - 5Apply matte top coat
Brush on a smooth, even layer of matte top coat over the cured nude base color. The matte finish provides a slightly textured, velvety surface that allows the pink ombre gel to blend seamlessly without slipping.
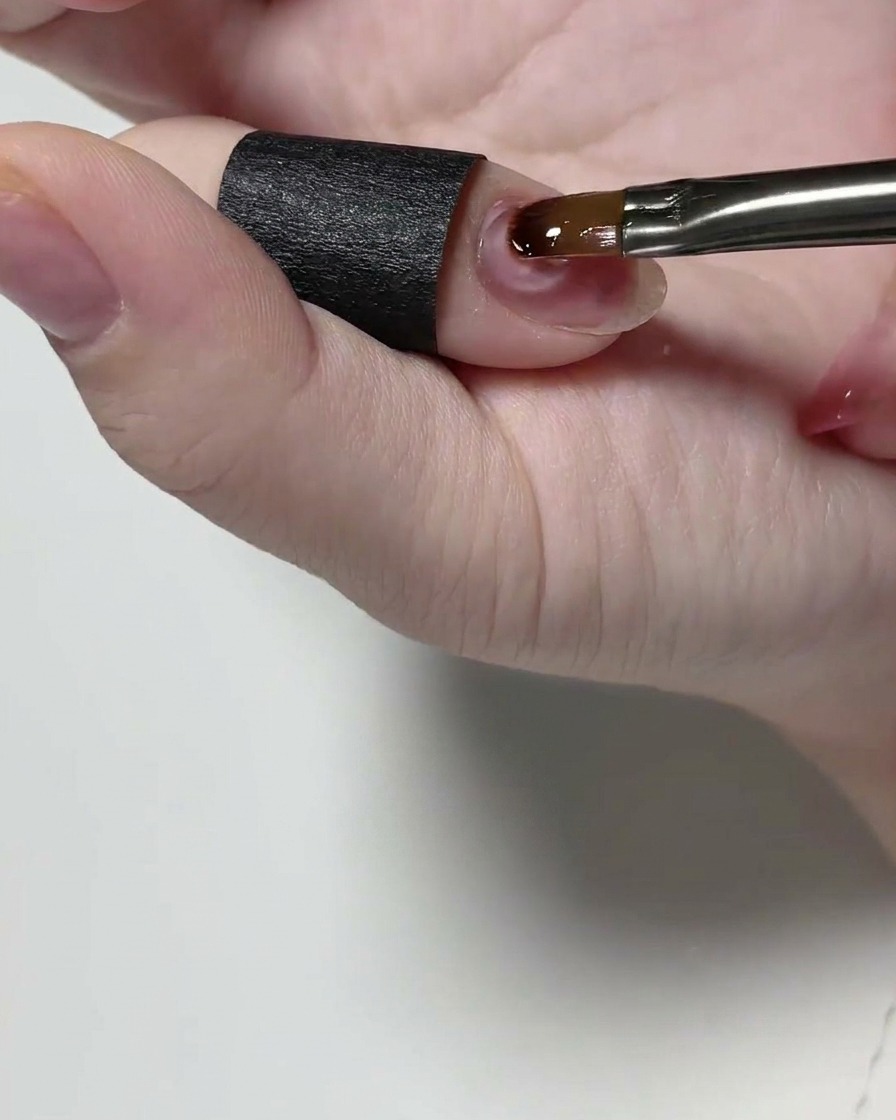
Tip: Make sure the matte top coat is completely cured before beginning the ombre step to guarantee the best grip for your gradient. - 6Start the ombre gradient
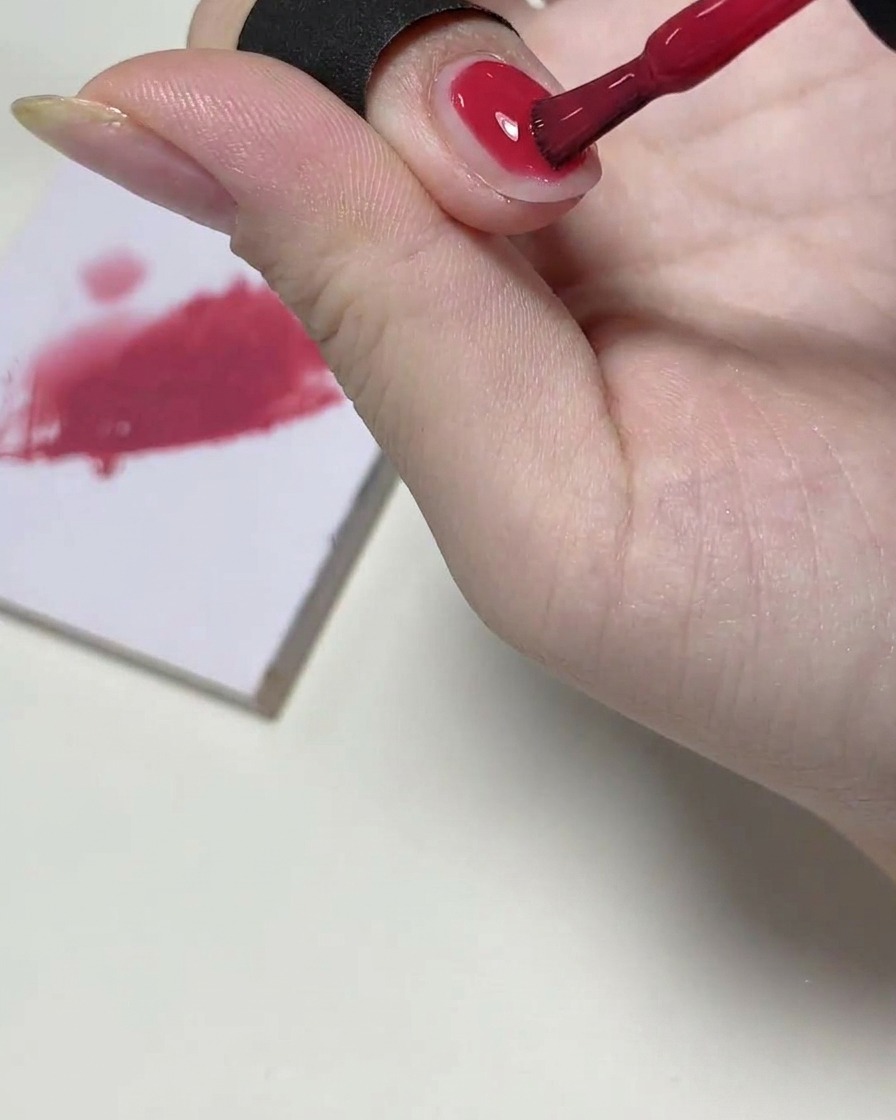
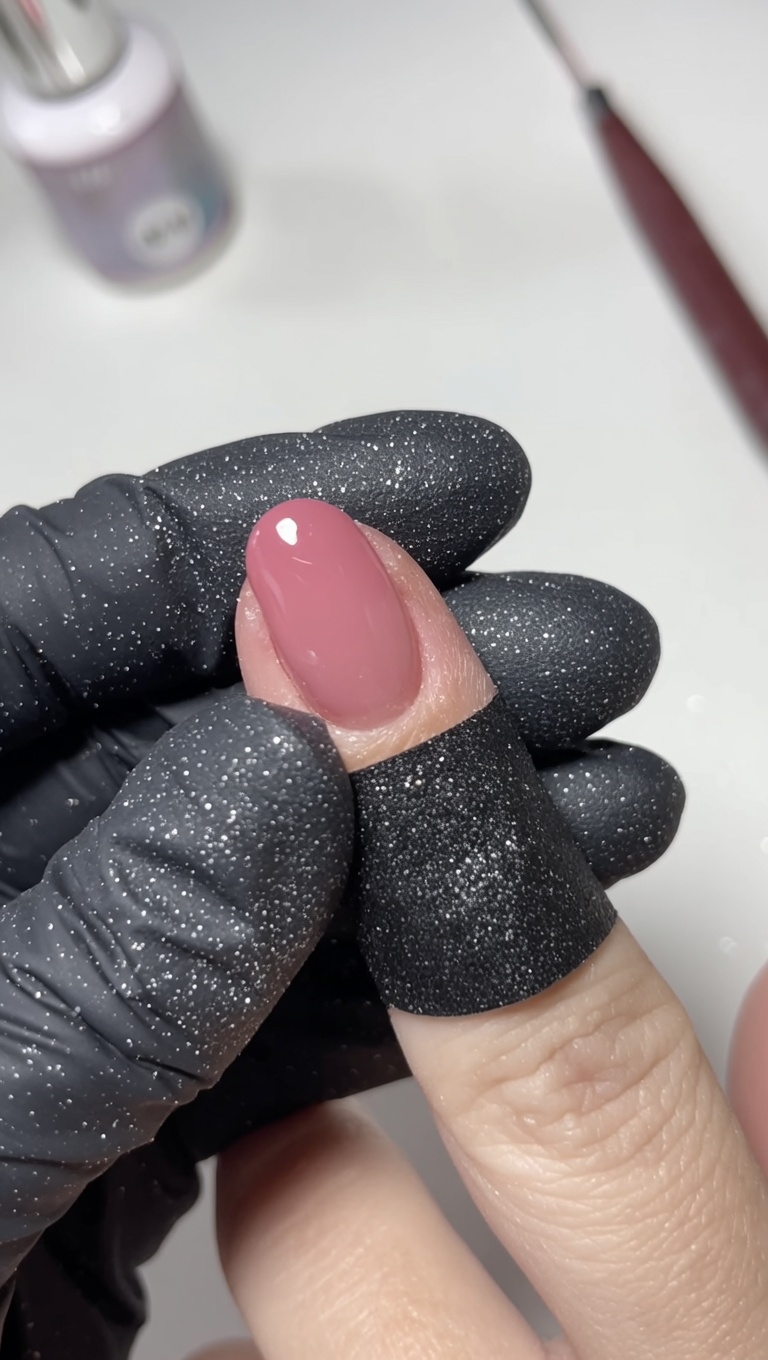
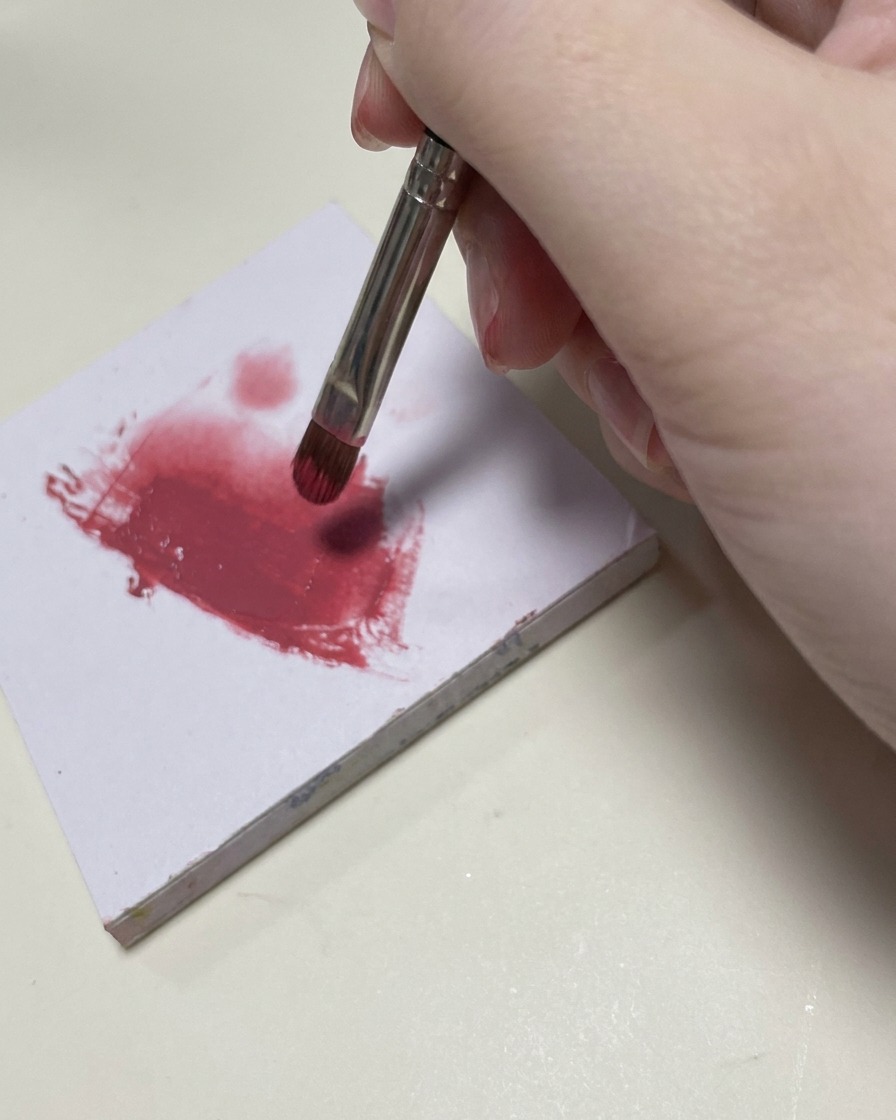
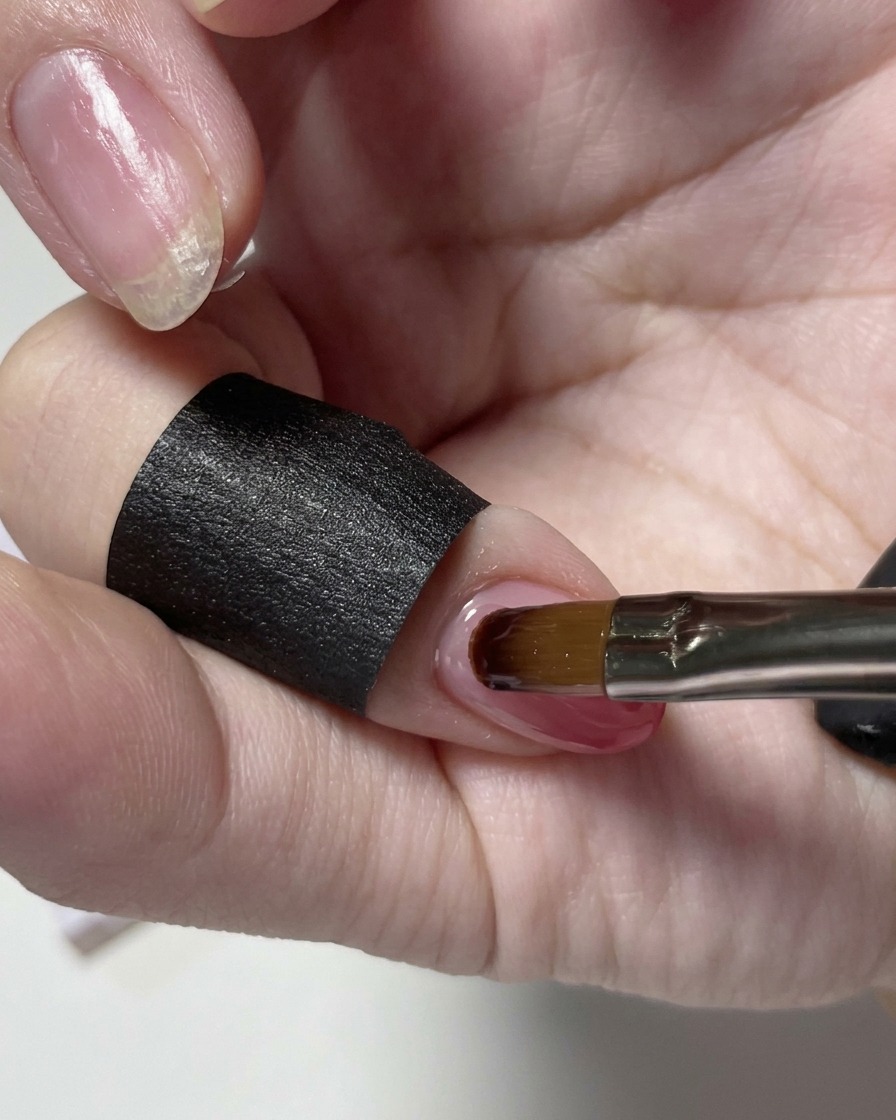
Begin creating the ombre effect by applying your first layer of pink color gel. Focus the color only on the top half of the nail. Use a gentle touch with your brush to start blending the color downwards towards the middle of the nail, creating a soft transition.
Tip: Using a small amount of product for the first layer makes it much easier to blend out harsh lines. - 7Deepen the ombre gradient
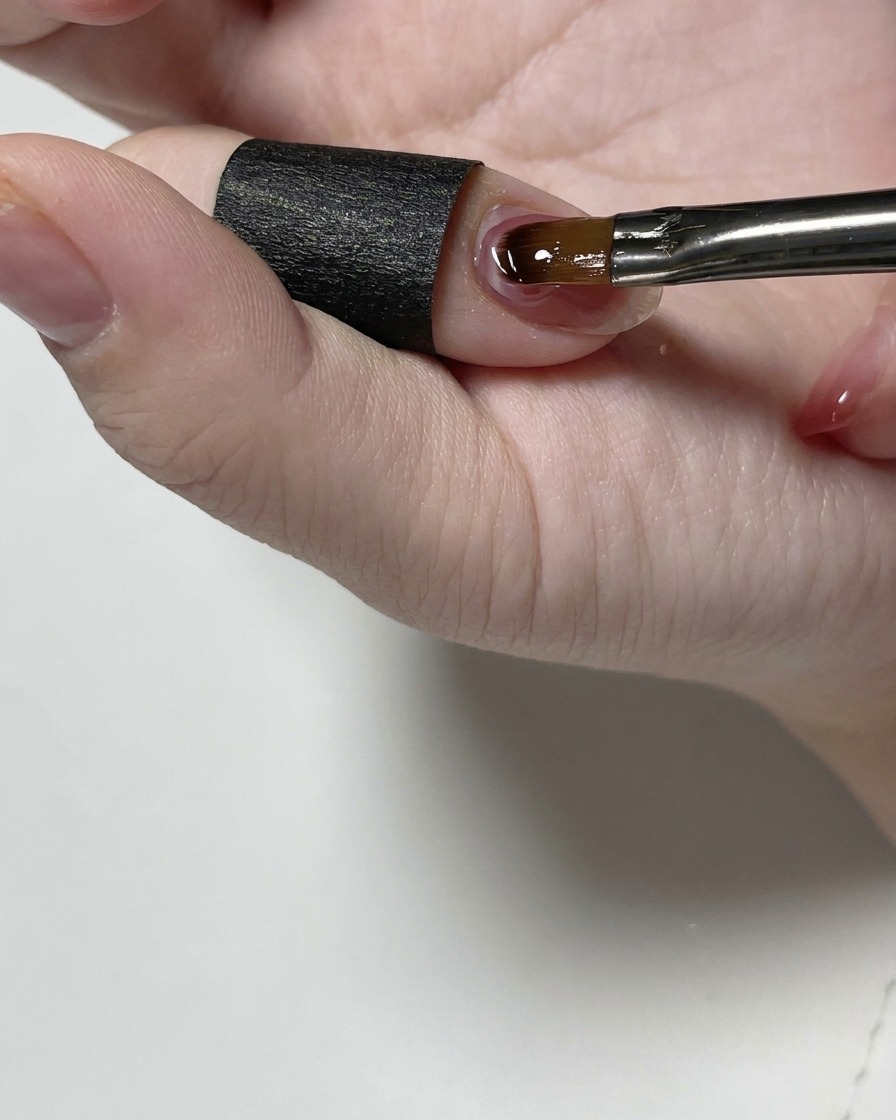
Using your pink color gel, apply a second layer starting slightly lower on the nail than the previous application. Gently blend the color upward to maintain a soft transition. Cure under the lamp to set the color intensity.
Tip: Focus on the blend at the transition point to ensure there are no harsh lines between the nude base and the pink. - 8Saturate the nail tip
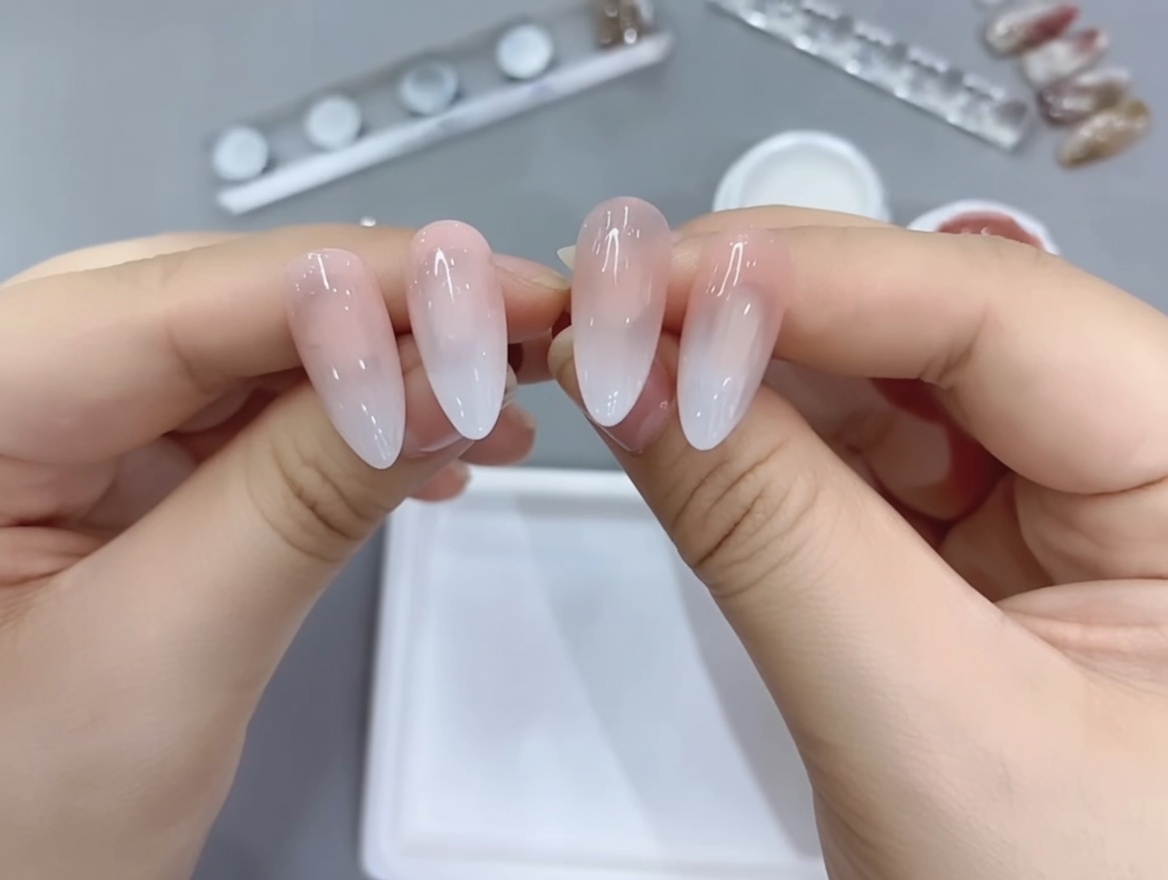
Apply the final layer of pink color gel, focusing the pigment primarily on the free edge of the nail. This creates the deepest part of the gradient. Ensure the color is blended softly back toward the middle of the nail, then cure thoroughly.
Tip: Use a light hand when blending toward the center to keep the gradient look smooth and airy. - 9Seal with a top coat
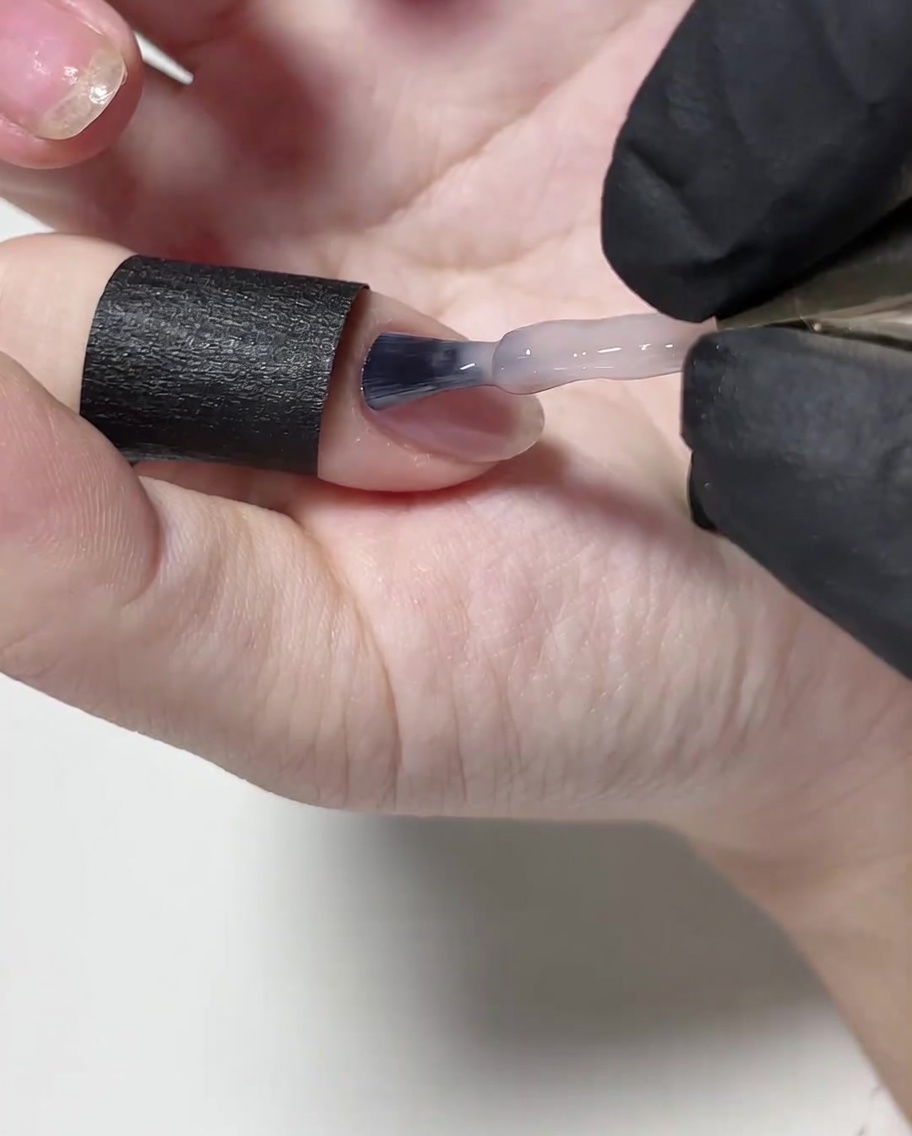
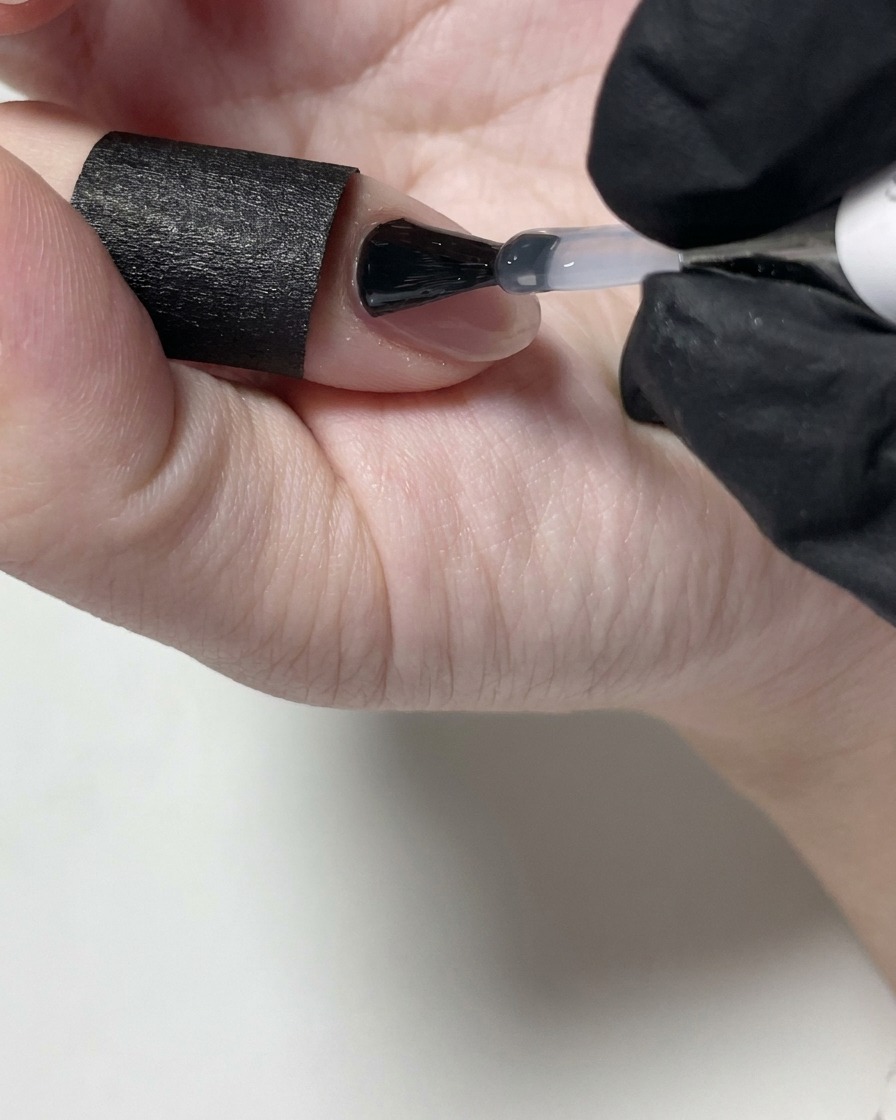
Once you are happy with your ombre gradient, apply a layer of no-wipe top coat over the entire nail. This will seal in your design, smooth out any slight unevenness from the gradient layers, and provide a high-gloss finish. Cure the nail one final time under the lamp.
Tip: Float the top coat over the nail surface gently to avoid dragging the unsealed ombre colors underneath. - 10Final cure
After applying the no-wipe top coat to seal the design, place the nails under the LED lamp for a full cure. This ensures the manicure is durable, shiny, and completely set.
Tip: Do not move your hand during this final cure to ensure the top coat finishes with a perfectly even, high-gloss surface.