Clear Nude Gradient Aurora Nails — Elegant Step-by-Step Tutorial
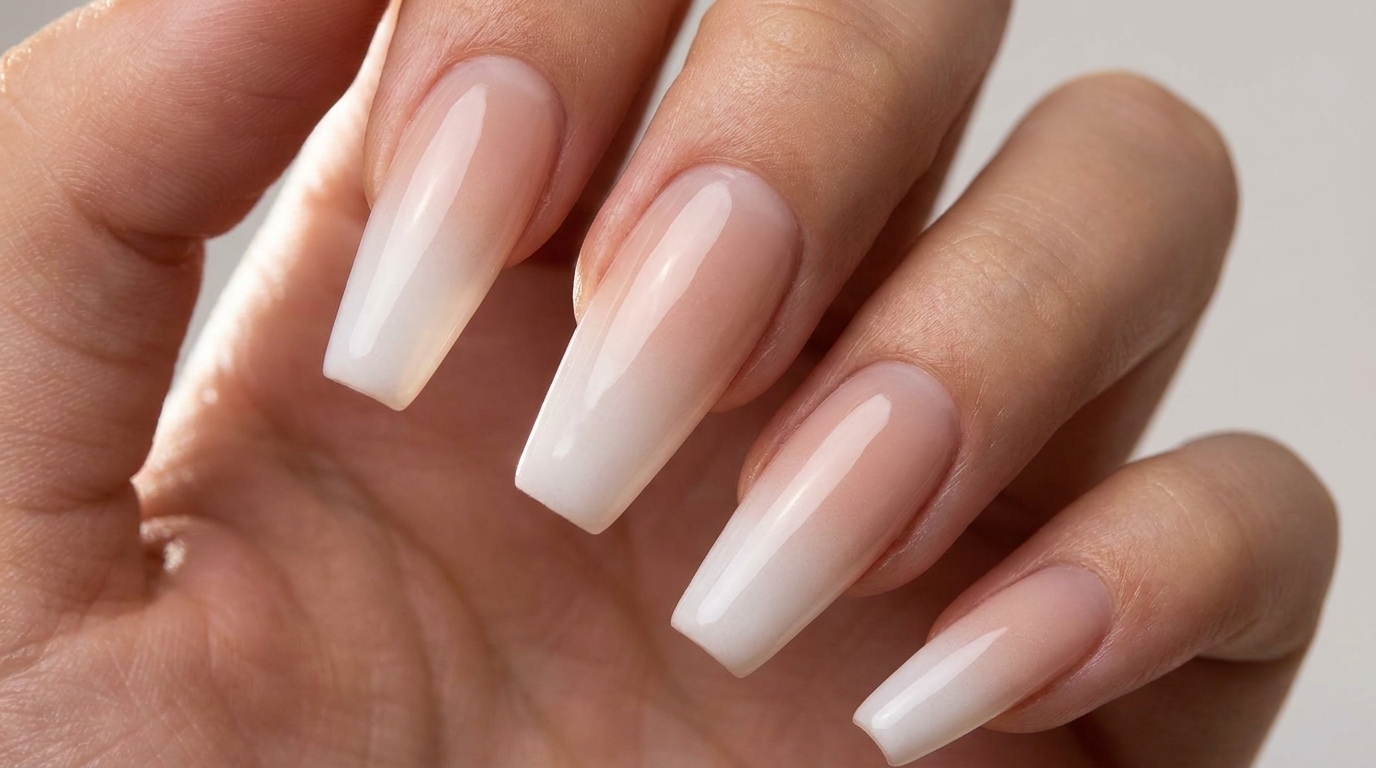
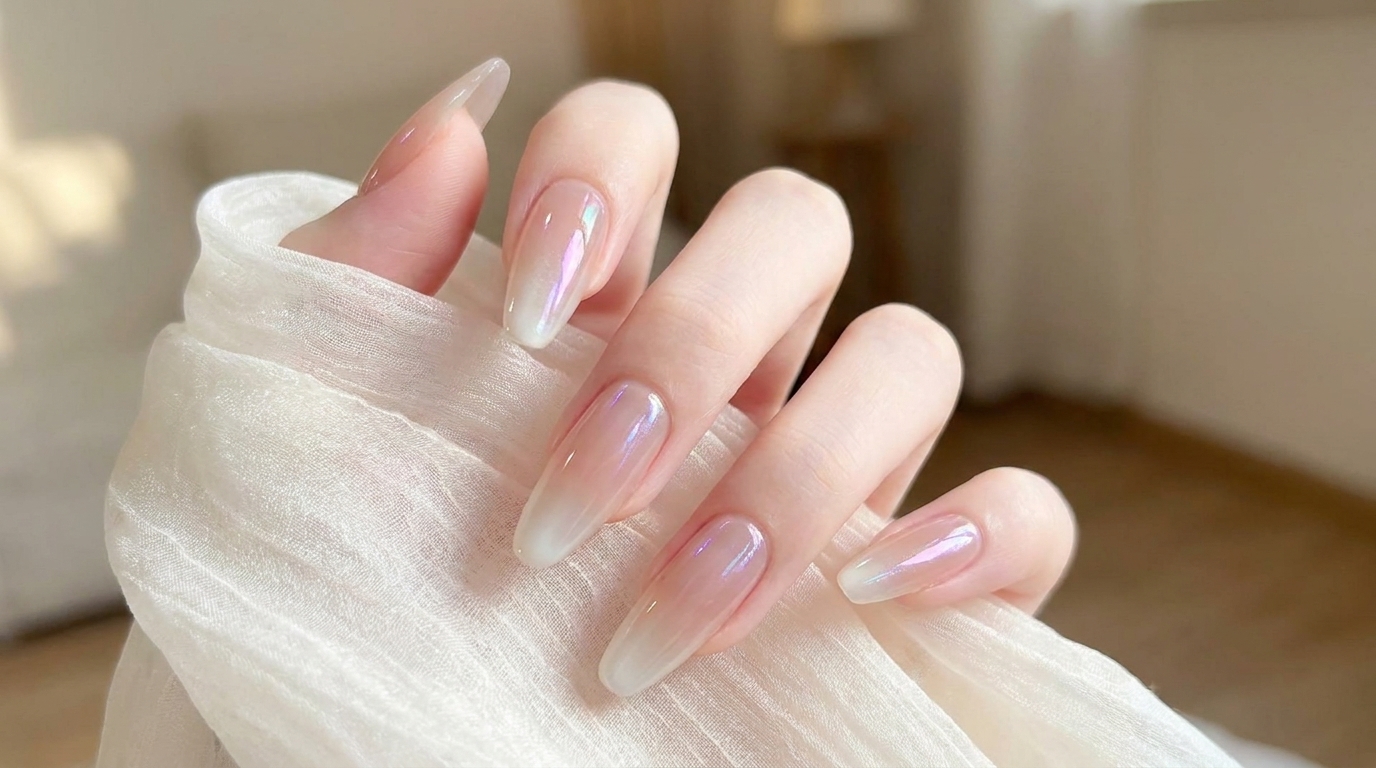
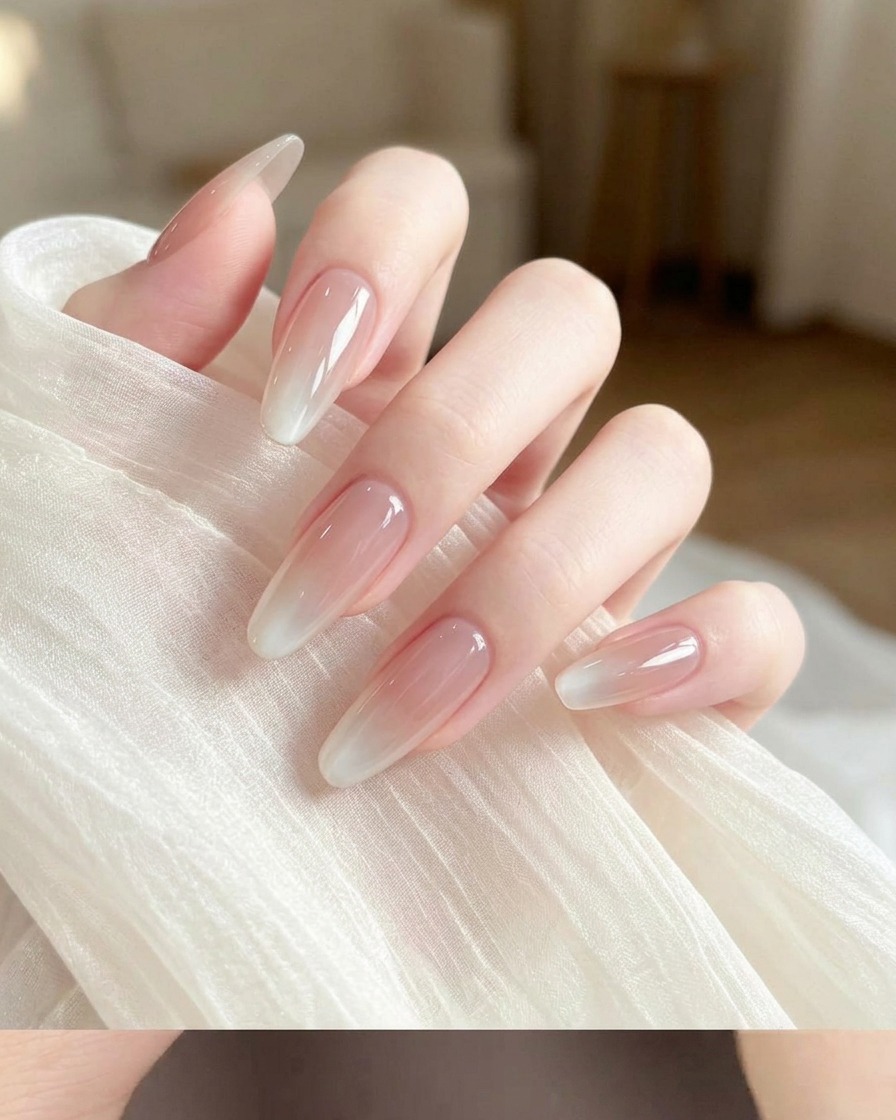
Achieve a sophisticated, ethereal look with this clear nude to milky white gradient nail tutorial, featuring a stunning, high-gloss aurora chrome finish.
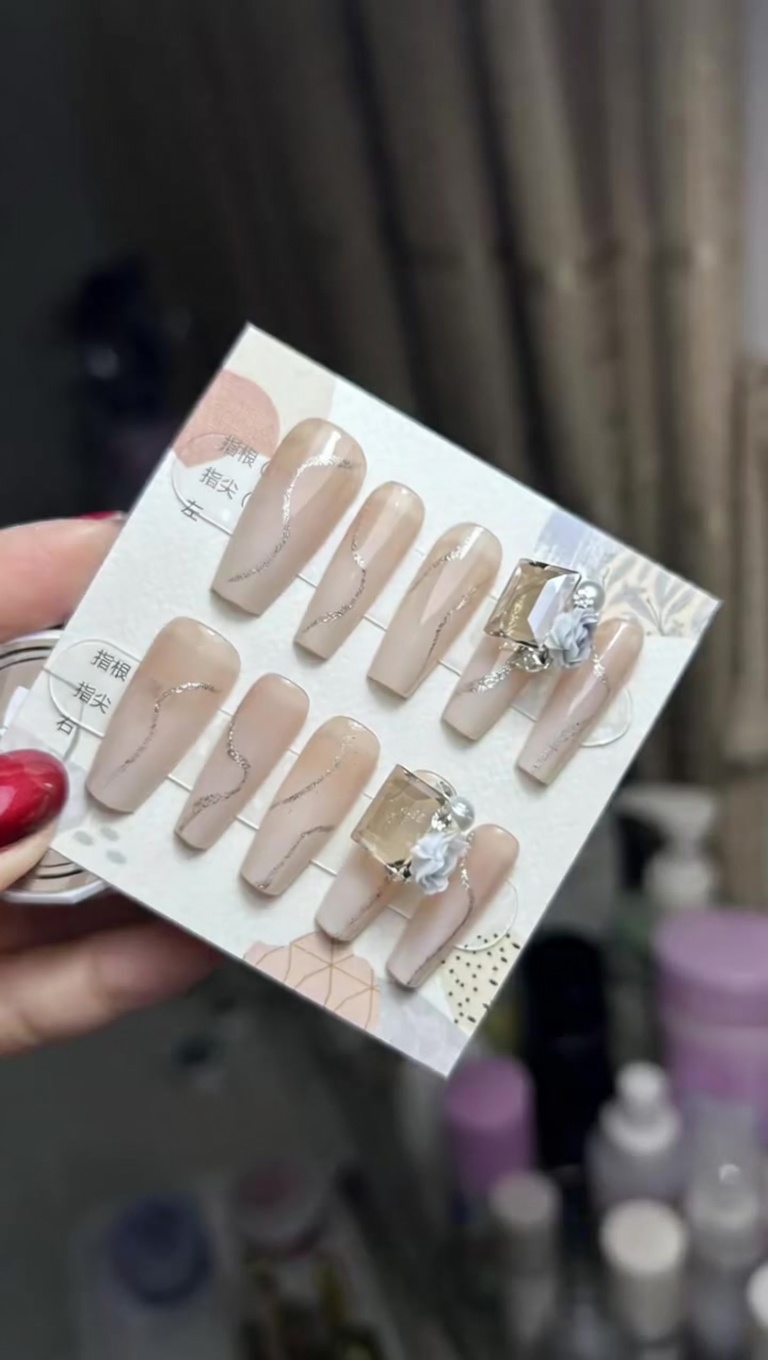
This clear nude gradient look offers a fresh, modern take on the classic ombre style by incorporating a subtle aurora chrome finish. It is a perfect choice for those who love elegant, minimalist nail designs that catch the light beautifully. With just a few simple tools and techniques, you can achieve this polished, salon-quality aesthetic right at home.
Steps
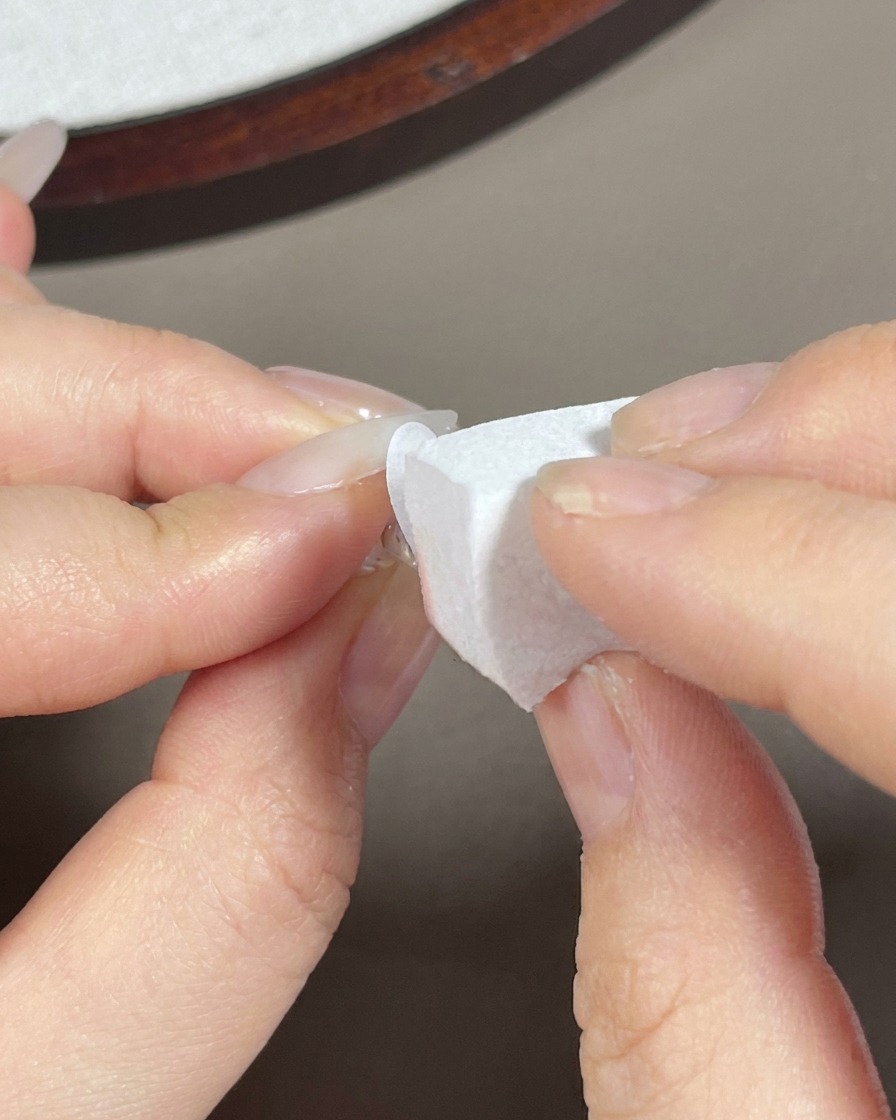
- 1Prepare white gradient sponge
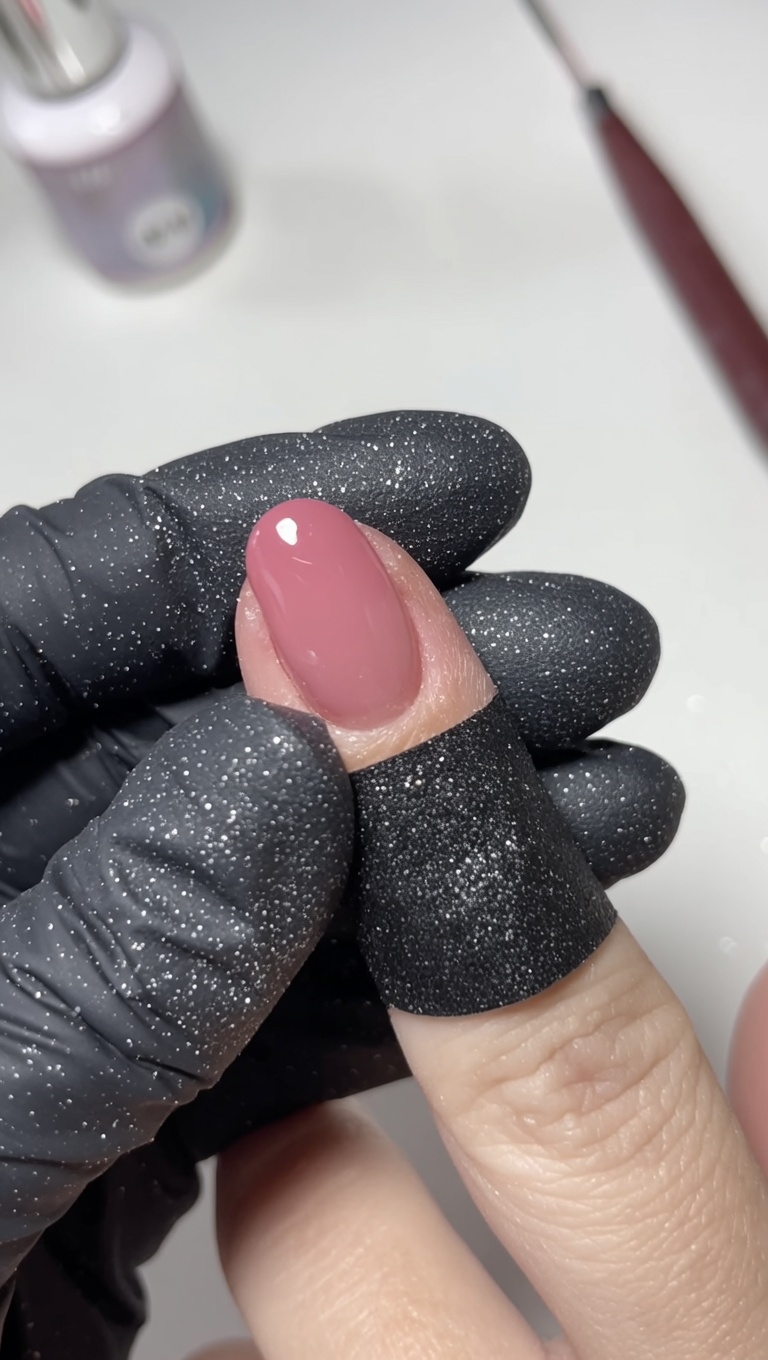
Apply a small amount of white gel polish onto the corner of a clean makeup sponge. Ensure the gel is evenly distributed on the sponge surface to create a smooth gradient effect when applied to the nail.
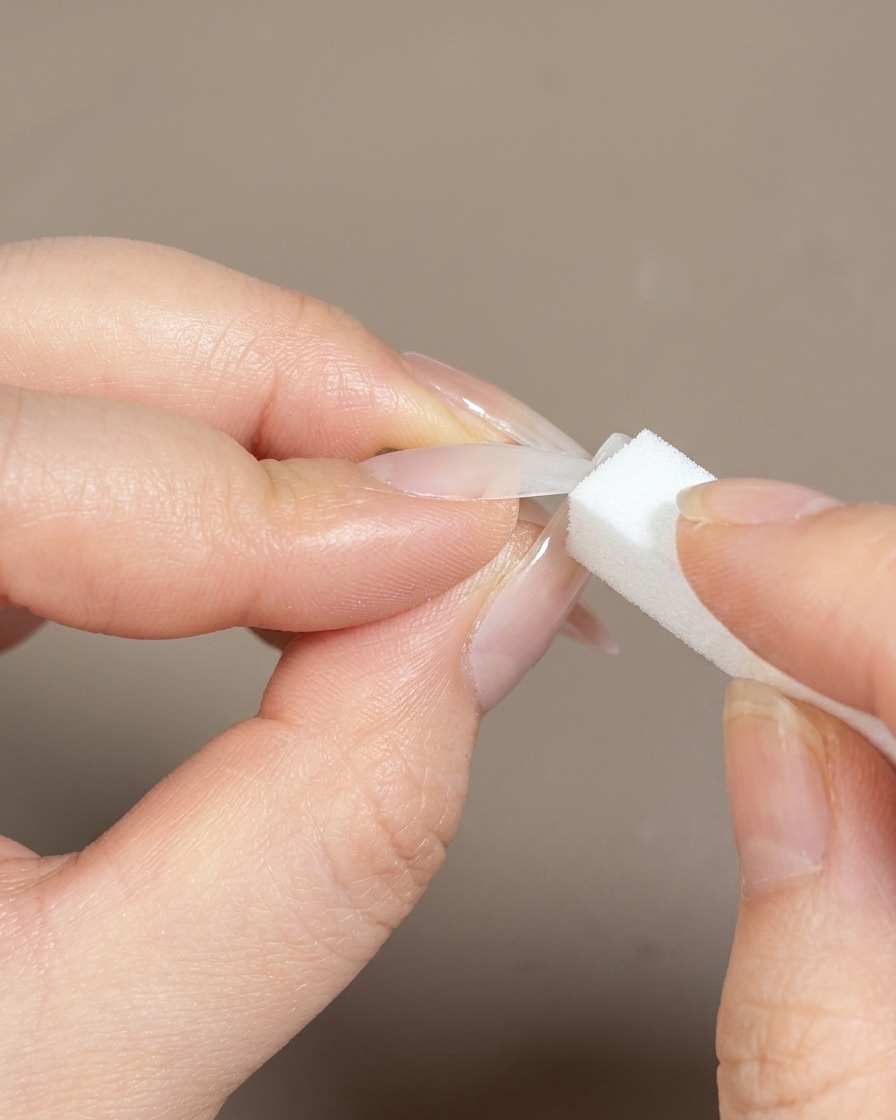
Tip: Do not overload the sponge, as this can make the gradient look patchy or uneven. - 2Apply white gradient tip
Gently dab the sponge with white gel onto the tip of the nail. Build the color up gradually by repeatedly dabbing until you achieve the desired intensity of the white tip.
Tip: Use light, quick dabbing motions to ensure the gradient looks soft and blended. - 3Prepare pink gradient tool
Load the pink-toned gel onto a dual-ended sponge brush. Prepare the brush by ensuring the gel is distributed across the sponge tip for application.
Tip: A dual-ended sponge brush allows for more precision when blending the color towards the cuticle area. - 4Blend pink gradient
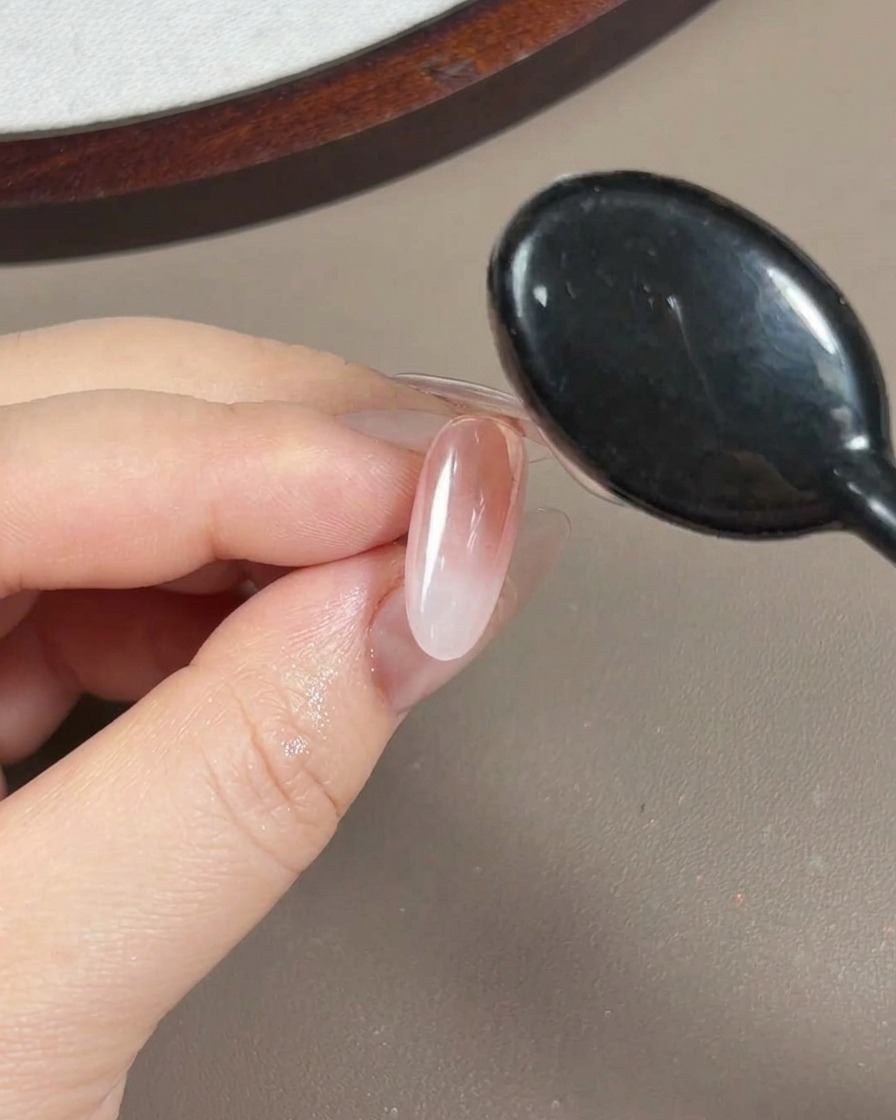
Dab the pink-toned gel onto the back half of the nail, covering the cuticle and mid-section. Gently blend the pink gel into the white tip to create a seamless, soft gradient transition.
Tip: Overlap the pink and white areas slightly while dabbing to ensure a smooth transition without harsh lines. - 5Apply sheer nude base
Apply a thin, even layer of sheer contour nude gel over the entire surface of the nail. This unifies the gradient colors and provides a polished, cohesive base.
Tip: Use a light hand to keep the layer thin, which helps maintain the clarity of the gradient underneath. - 6Apply powder-rubbing top coat
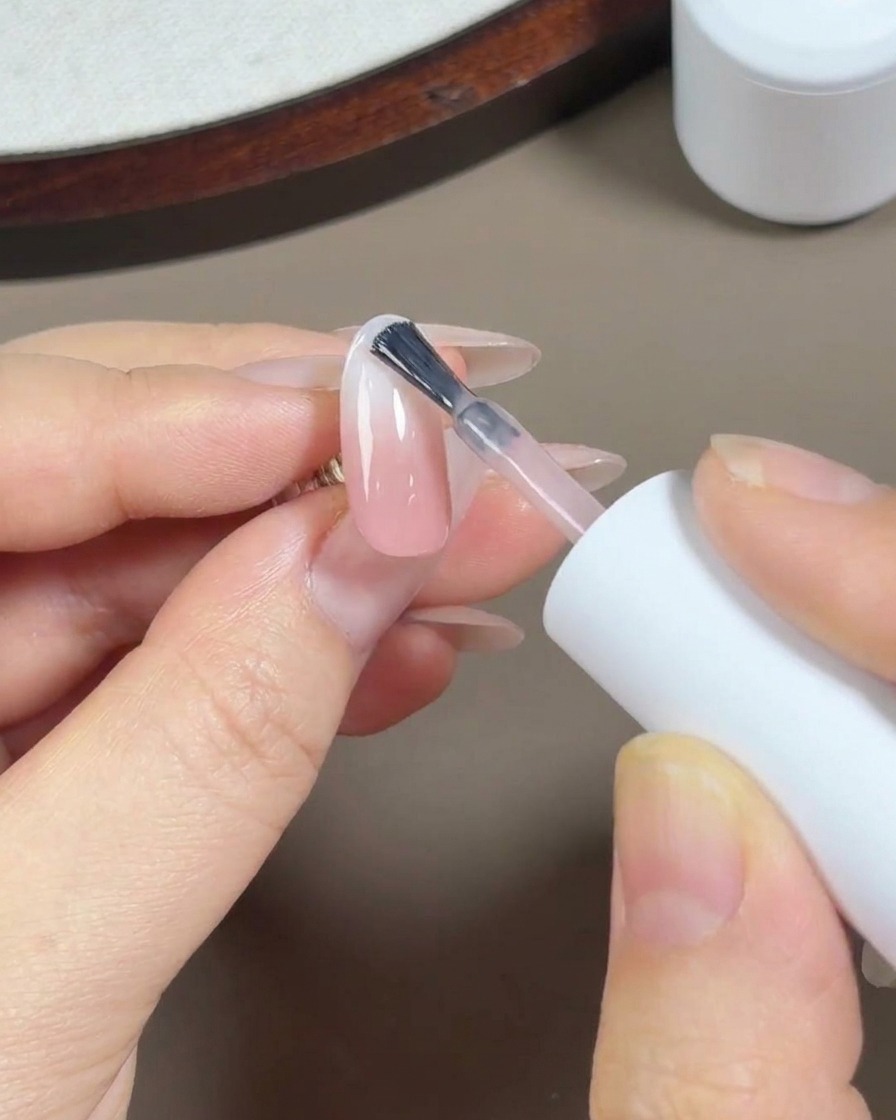
After curing the base layer, apply a layer of powder-rubbing top coat. This specialized top coat provides the smooth surface necessary for rubbing on aurora powder effectively.
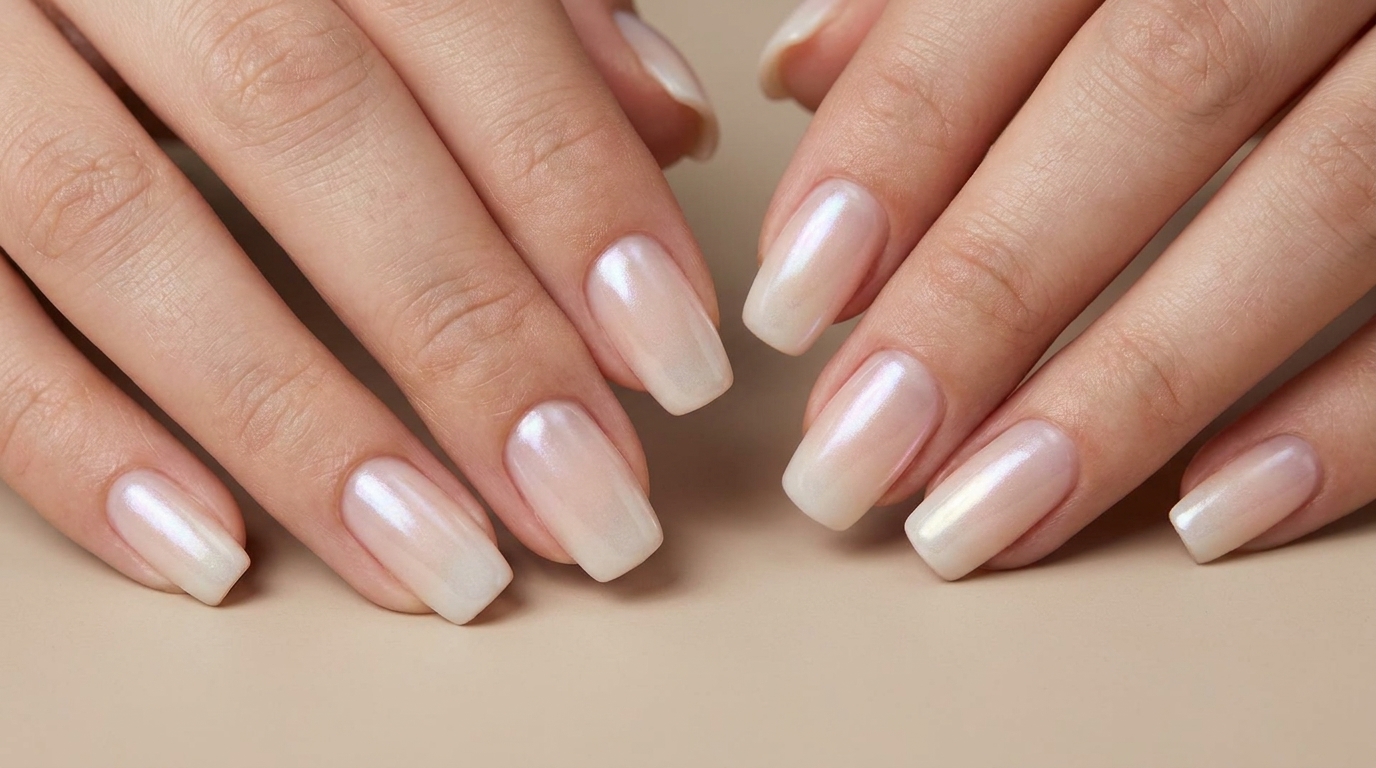
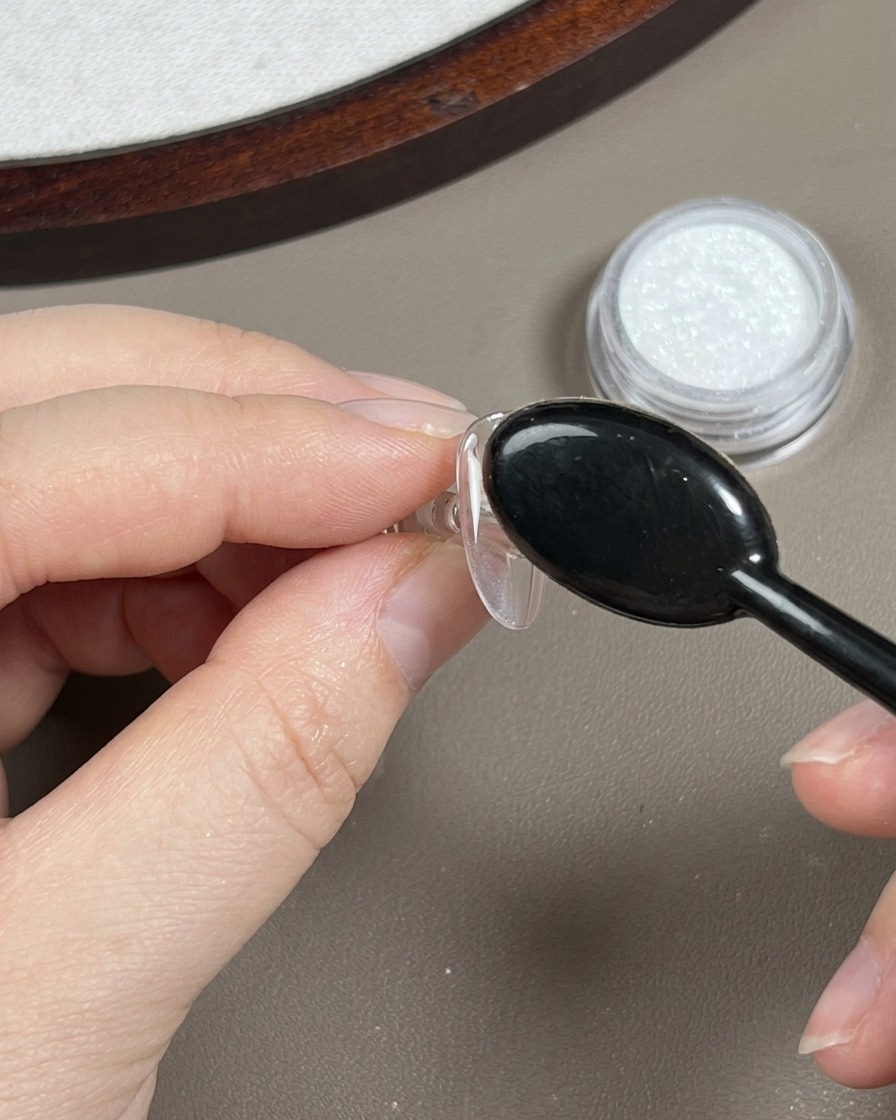
Tip: Ensure the top coat is applied smoothly, as any imperfections will be highlighted once the powder is rubbed on. - 7Apply aurora chrome powder
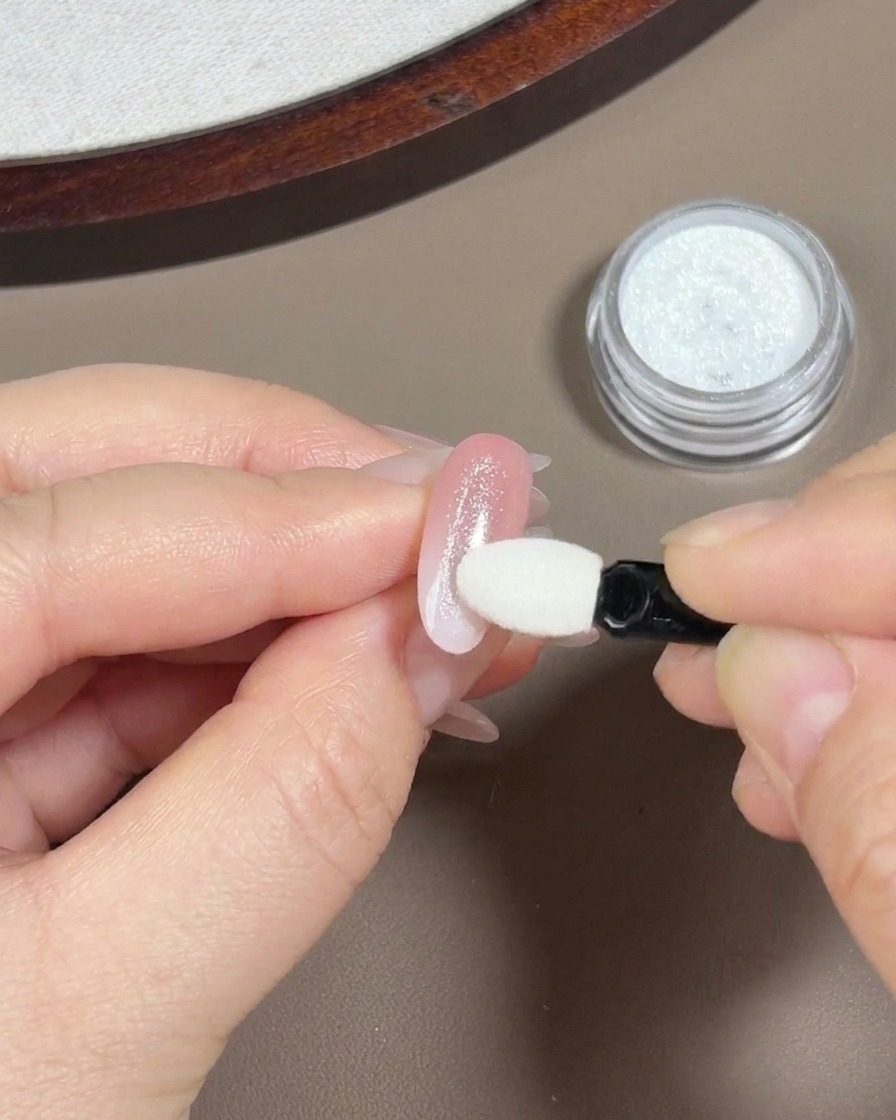
Using an eyeshadow sponge applicator, gently rub a high-transparency aurora chrome powder onto the cured nail surface.cite: 1 Ensure the powder is buffed evenly over the entire nail to achieve a smooth, highly reflective finish.cite: 1
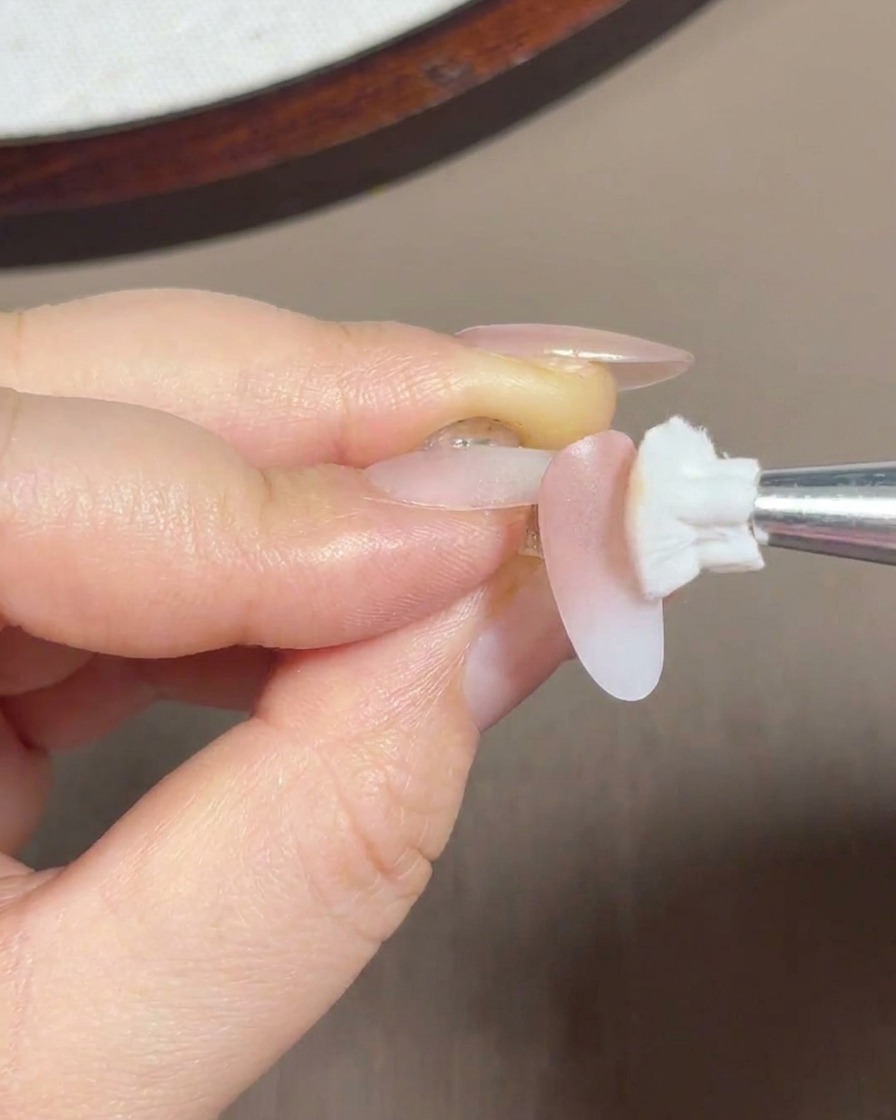
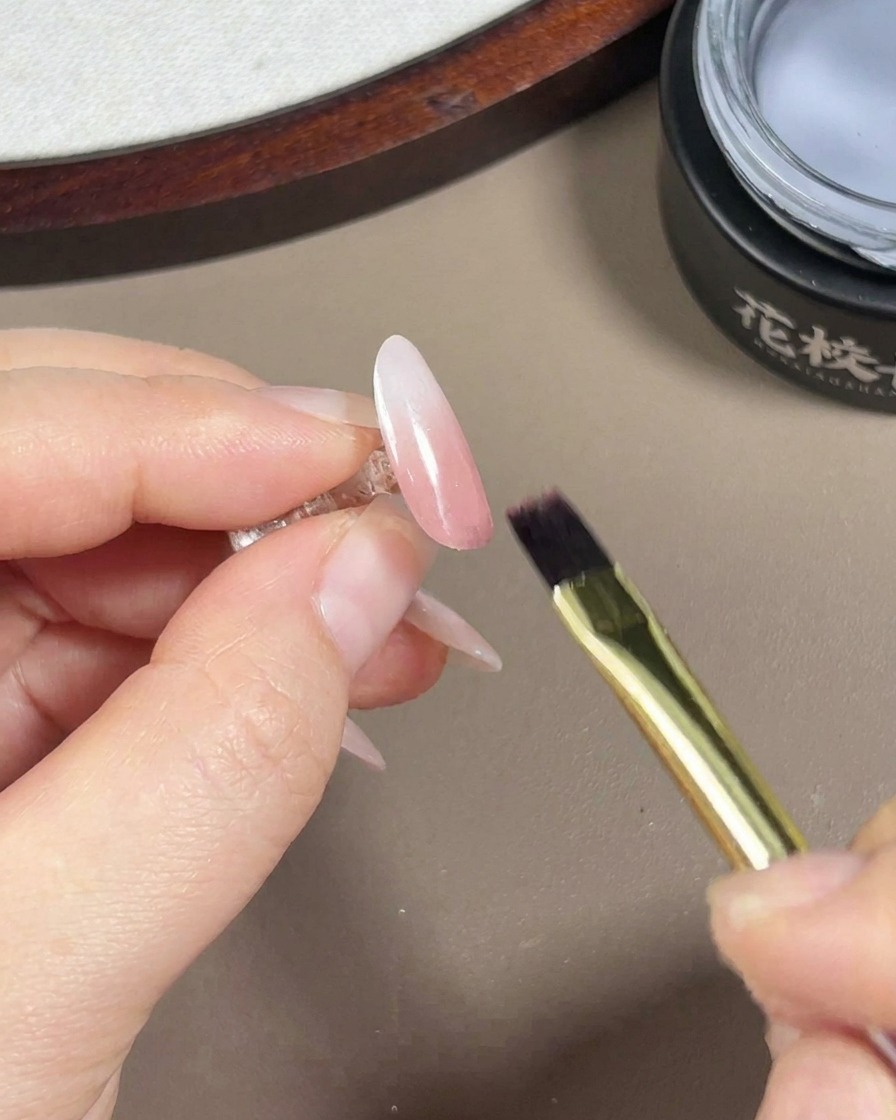
Tip: Only apply chrome powder over a fully cured, no-wipe top coat to ensure the powder adheres properly and creates a mirror-like effect. - 8Sweep off excess powder
Use a clean, dry brush to carefully sweep away any excess floating chrome powder from the nail surface, sidewalls, and cuticle area.cite: 1 This ensures a clean base before moving on to the encapsulation step.cite: 1
Tip: Thoroughly dusting off the excess powder prevents loose sparkles from contaminating your clear gel brushes or top coat bottle. - 9Encapsulate with reinforcement gel
Apply a thin layer of clear reinforcement builder gel over the entire nail to cover the aurora powder. This step is essential to encapsulate the powder, ensuring it stays protected and does not chip or fade prematurely. Ensure you cap the free edge before curing under your lamp.
Tip: Be careful not to apply too much reinforcement gel, or the nail might look bulky; a thin, even coat is all you need for protection. - 10Apply glossy top coat
Finish the nail design by applying a smooth layer of glossy top coat over the entire nail.cite: 1 This final layer seals in the encapsulated powder and adds a durable, high-shine finish to complete the look.cite: 1
Tip: Make sure to gently cap the free edge of the nail with the top coat to prevent premature chipping or peeling.