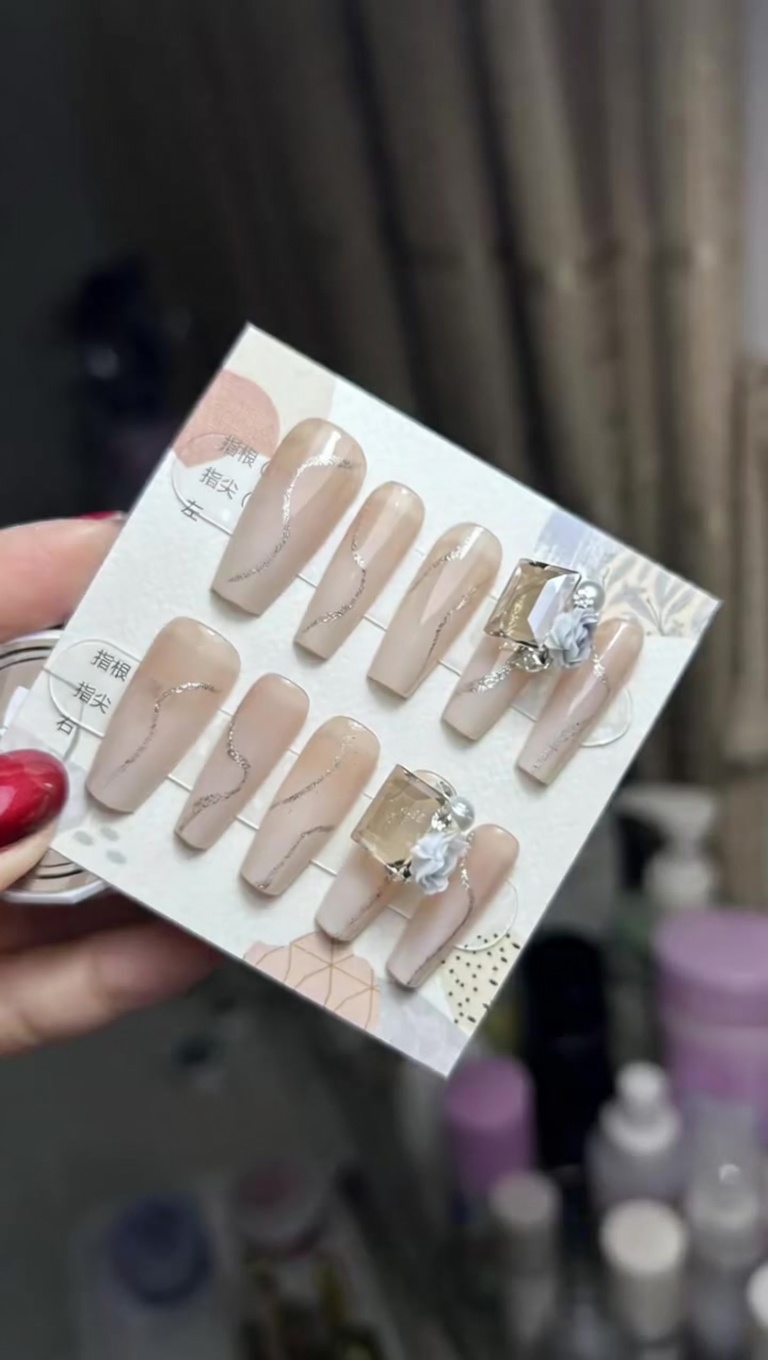
Elegant White Gradient Press-On Nails — Step-by-Step Tutorial
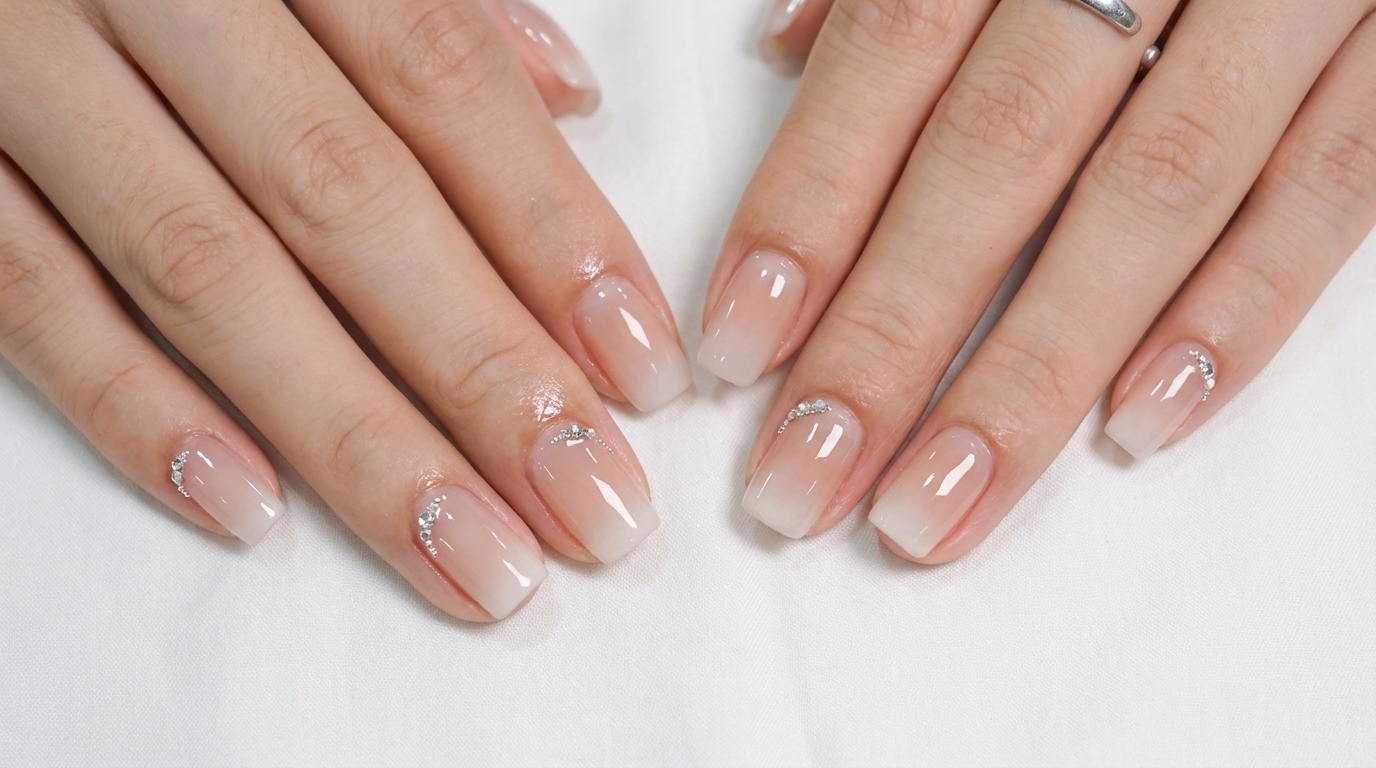
Create a stunning dewy white gradient on a dimensional nude base featuring delicate metallic wire accents and dazzling crystal rhinestones.
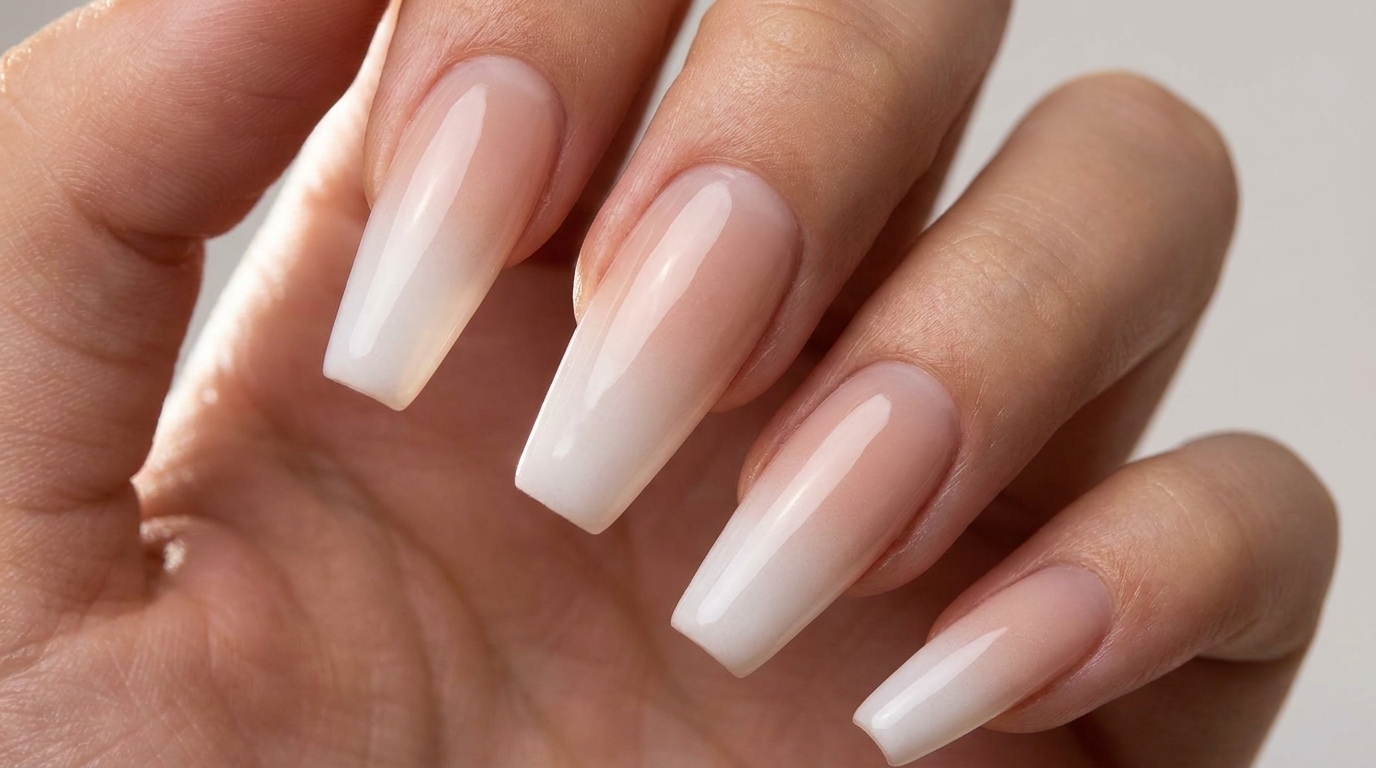
French gradients continue to dominate the modern manicure scene, offering an elegant alternative to classic white tips. This sophisticated look pairs a multi-dimensional nude foundation with soft white ombre fading, elevated by minimalist metallic linework and structural crystal charms. It is an editorial favorite that bridges timeless refinement with current high-fashion nail artistry.
Steps
- 1Prepare the Deep Nude Polish
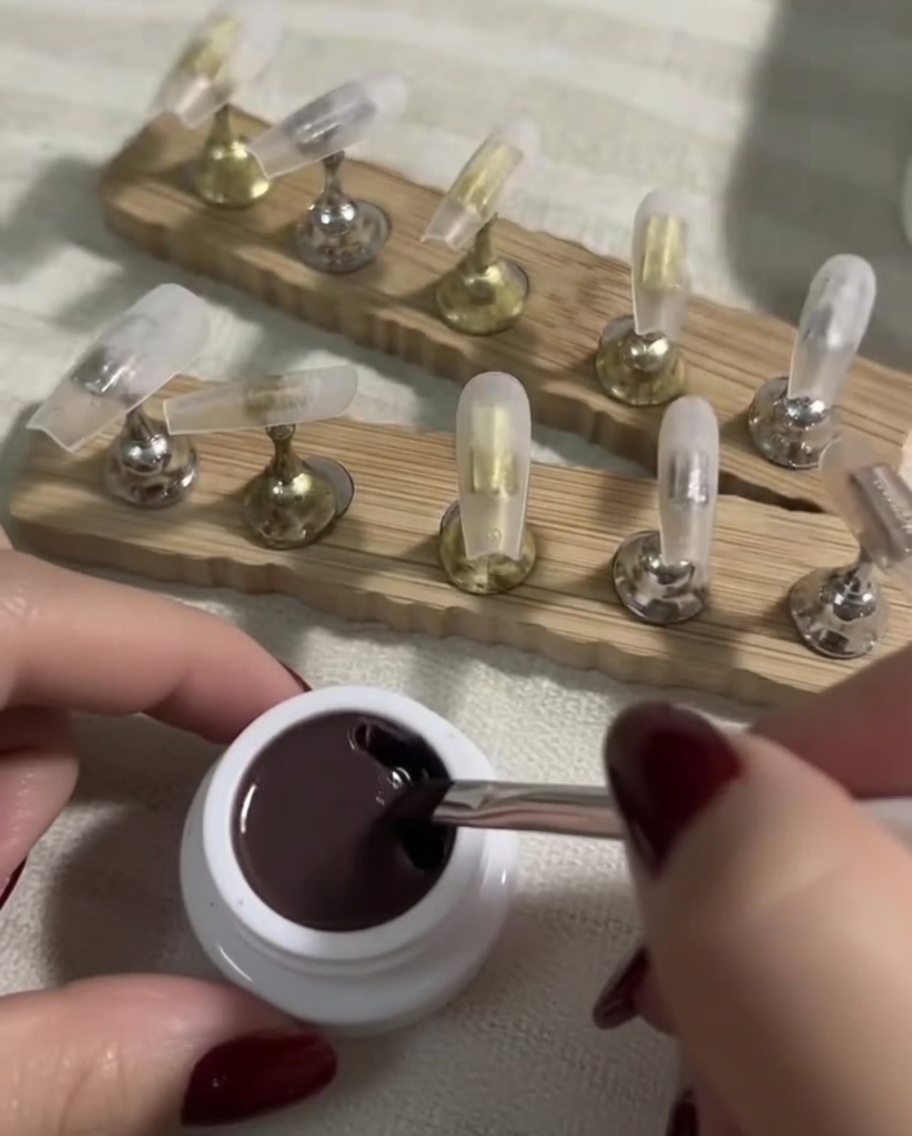
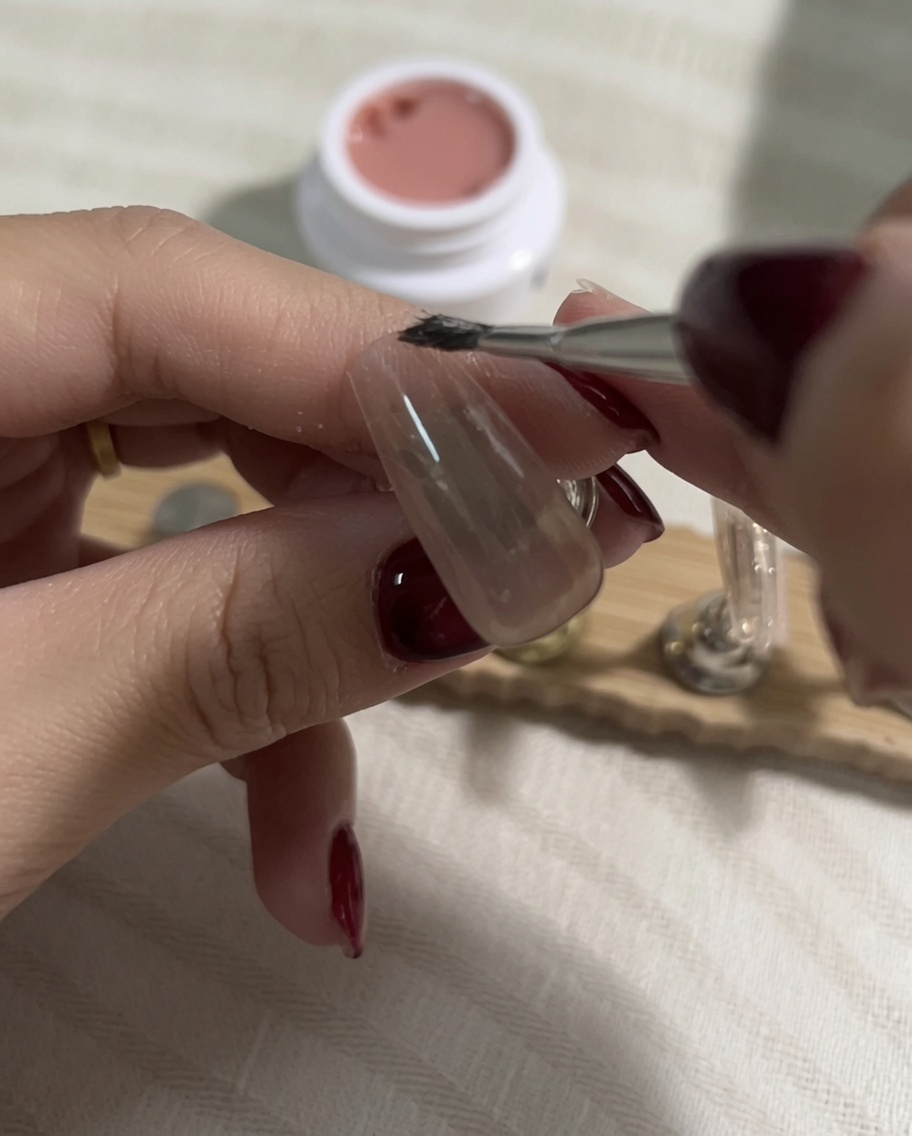
Open your deep nude gel polish jar and mix it gently. Dip a clean, flat gel brush into the product, loading it evenly across the bristles to ensure an easy, smooth application onto the press-on display tips.
Tip: Wipe one side of the brush against the inner rim of the jar to remove excess gel; this prevents flooding the sidewalls and keeps the initial layer ultra-sheer. - 2Apply First Nude Base Coat
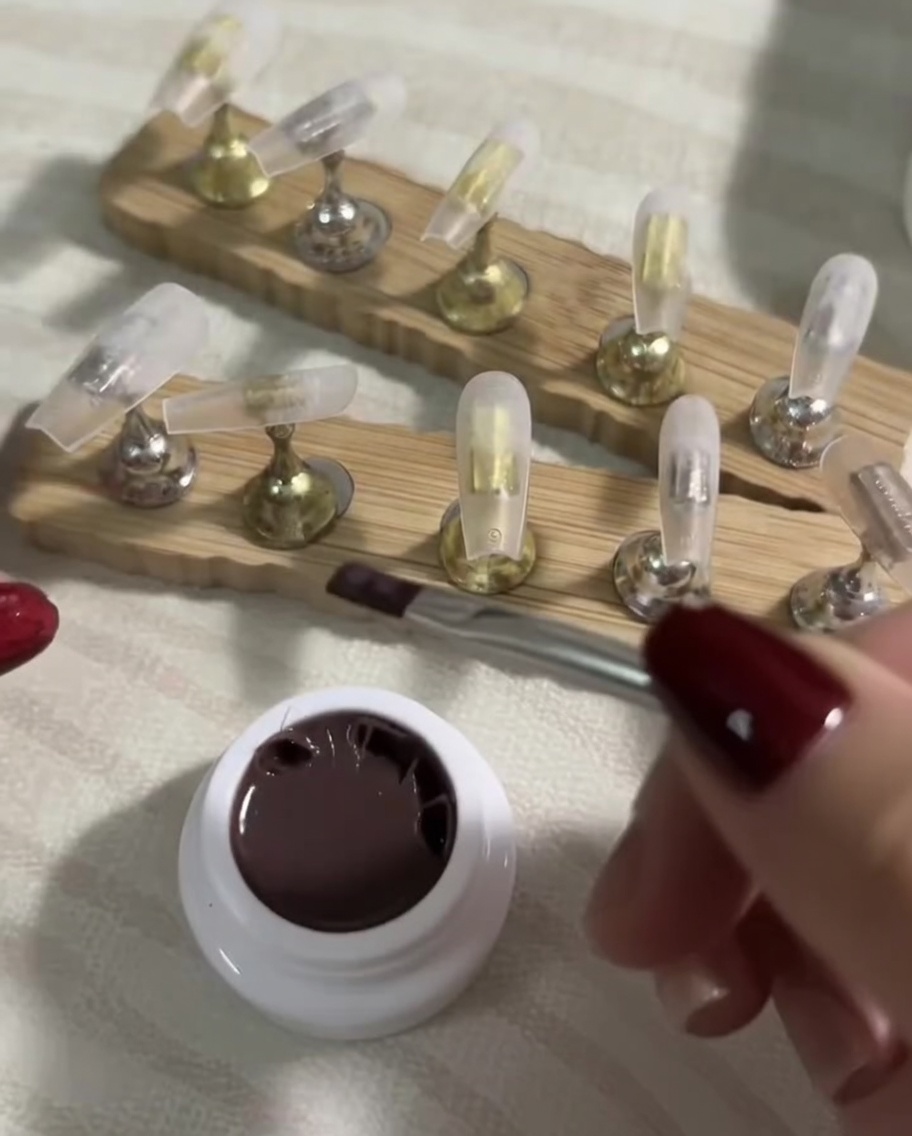
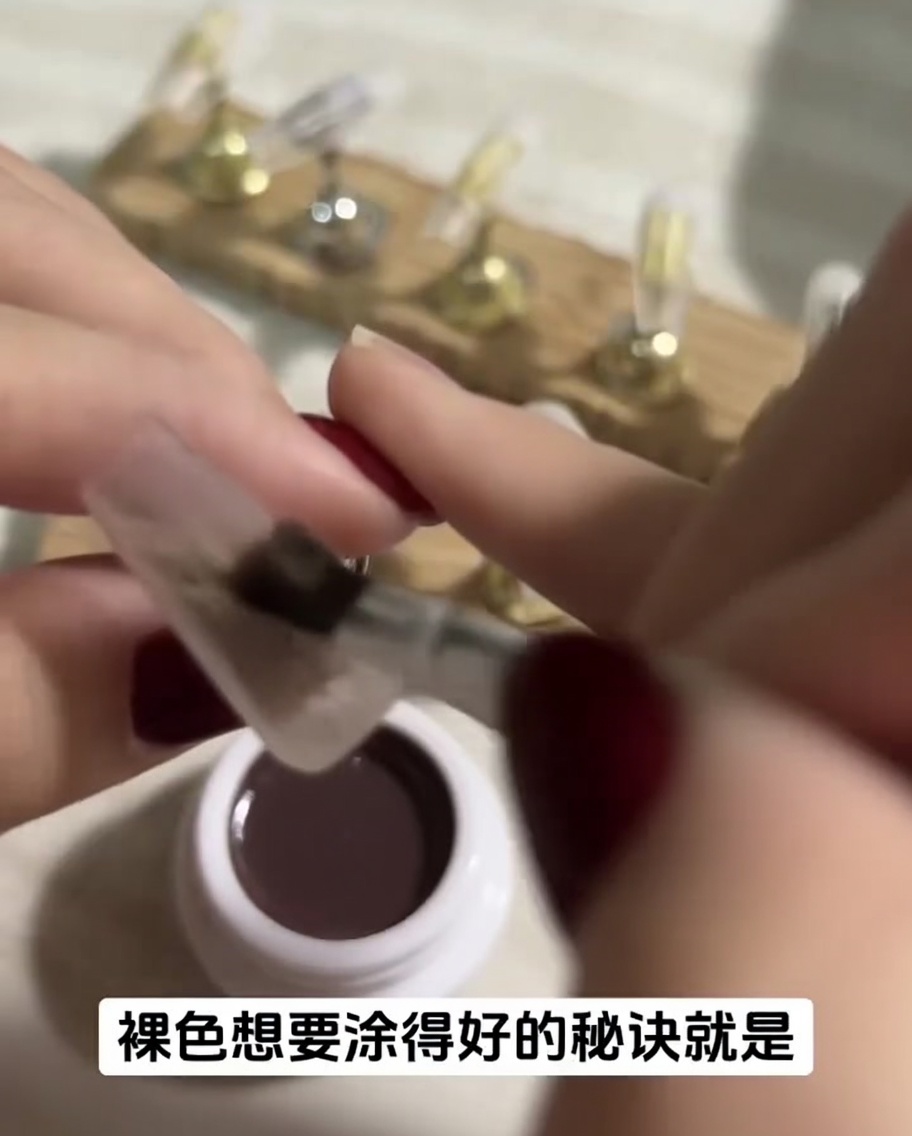
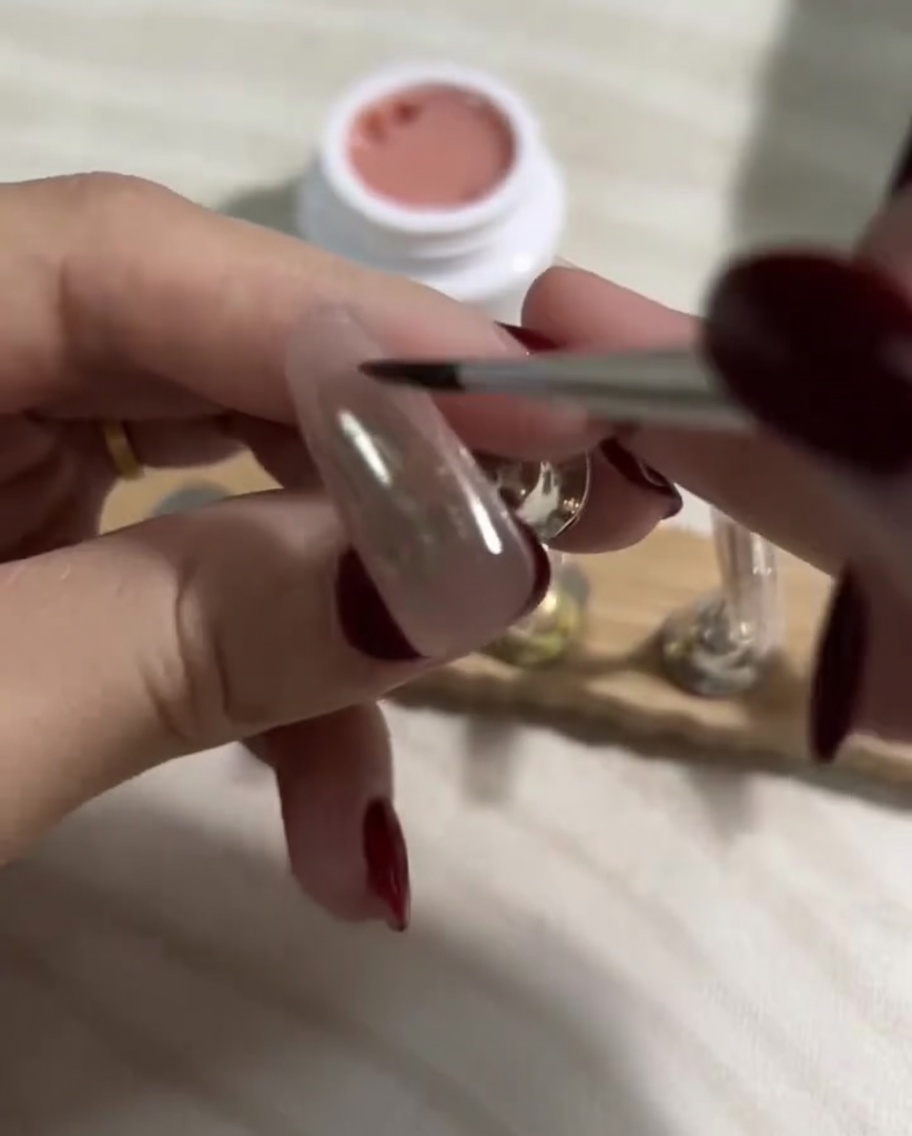
Position your flat gel brush slightly away from the cuticle area of the press-on nail and glide smoothly down to the free edge. Keep this first layer of darker nude gel polish exceptionally thin and sheer so that the foundation remains translucent and dewy, then cure under your UV or LED lamp for 30 seconds.
Tip: Keep this layer exceptionally thin. A sheer first pass prevents the gel polish from wrinkling or bubbling under the lamp and establishes the dewy foundation. - 3Blend the Sidewalls

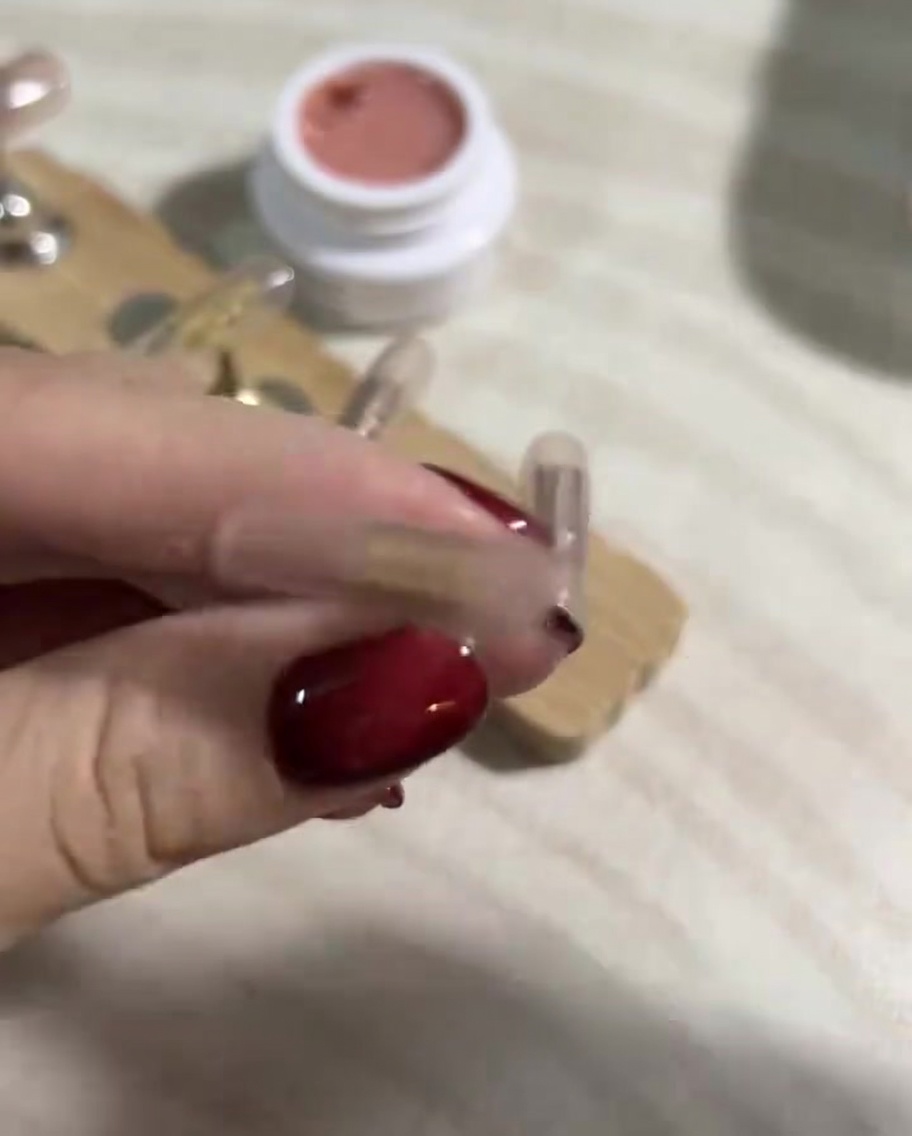
Without picking up more product, guide the flat brush along the left and right sidewalls of the nail tip, blending the nude gel evenly with the center stroke to eliminate any pooling or streakiness before curing.
Tip: If the gel pools along the sidewalls, use a clean, dry detail brush to sweep away excess product before curing under the lamp. - 4Coat Remaining Nails
Repeat the application process by spreading thin, uniform layers of the darker nude base color across the rest of the press-on nail tips to build a consistent base tone, then cure under the UV or LED lamp for 30 seconds.
Tip: Make sure all nails have matching thickness and opacity before placing them under the lamp. - 5Select the Light Nude Tone
After curing the dark nude base fully under your UV or LED lamp, select a lighter, milky shade of nude gel polish. Load your clean flat brush with this brighter tone to prepare for the second dimension layer.
Tip: Layering a lighter nude over a slightly darker base adds visual depth, mimicking the natural gradient of a healthy nail bed. - 6Apply Brighter Nude Coat
Brush the lighter nude gel polish smoothly over the cured foundation layer from cuticle to tip. Ensure the application is uniform across the entire nail surface to brighten the overall base tone, blending the two shades seamlessly. Allow the surface to self-level perfectly, then cure completely under the UV or LED lamp for 60 seconds.
Tip: Hovering the nail upside down for 5 seconds before curing uses gravity to perfect the self-leveling process, creating a flawless reflection line. - 7Cleanse the Base Nails
Saturate a lint-free wipe with gel cleanser. Gently but thoroughly wipe down the surfaces of the fully cured nude base nails to remove the sticky inhibition layer, leaving a completely clean, smooth surface for the upcoming gradient application.
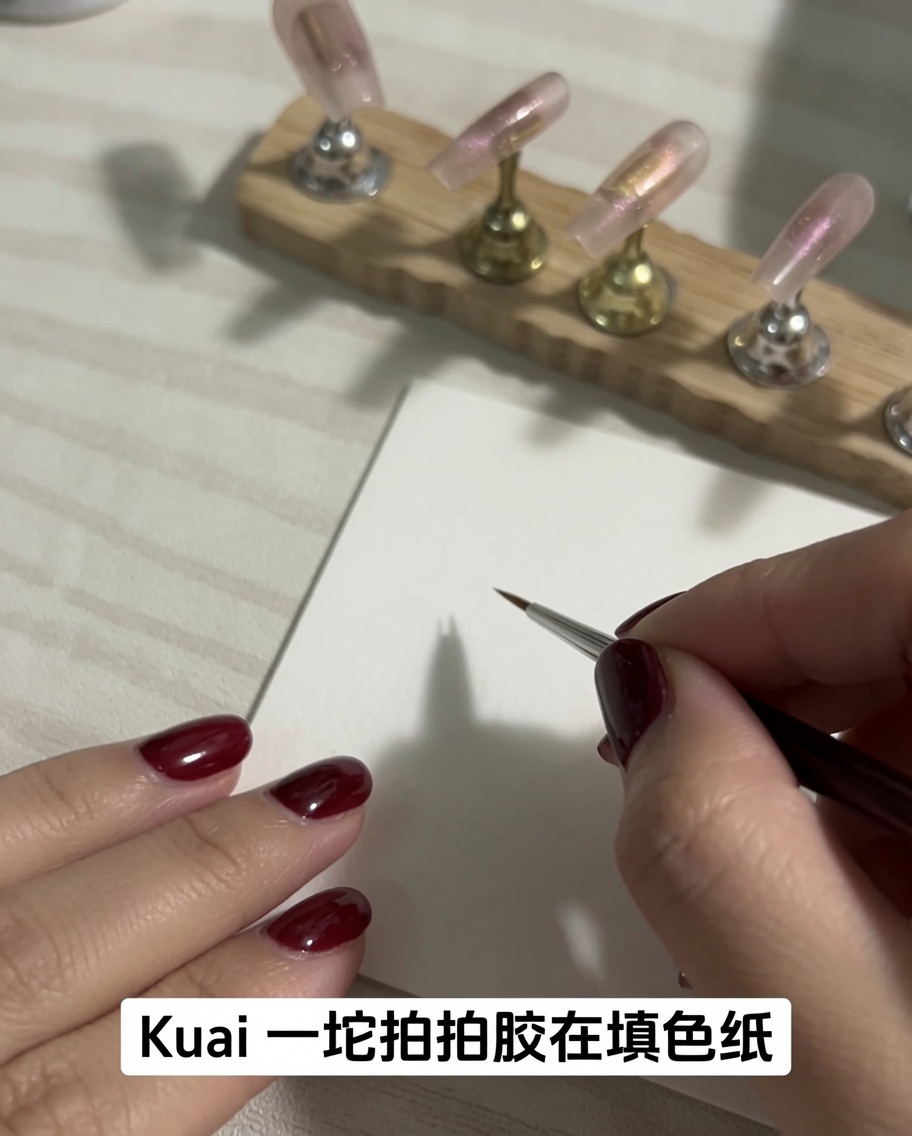
Tip: Do not skip this step. Removing the sticky residue prevents the sponge brush from dragging or creating sticky strings on the base color, giving you a smooth canvas. - 8Place Gel Paint on Palette
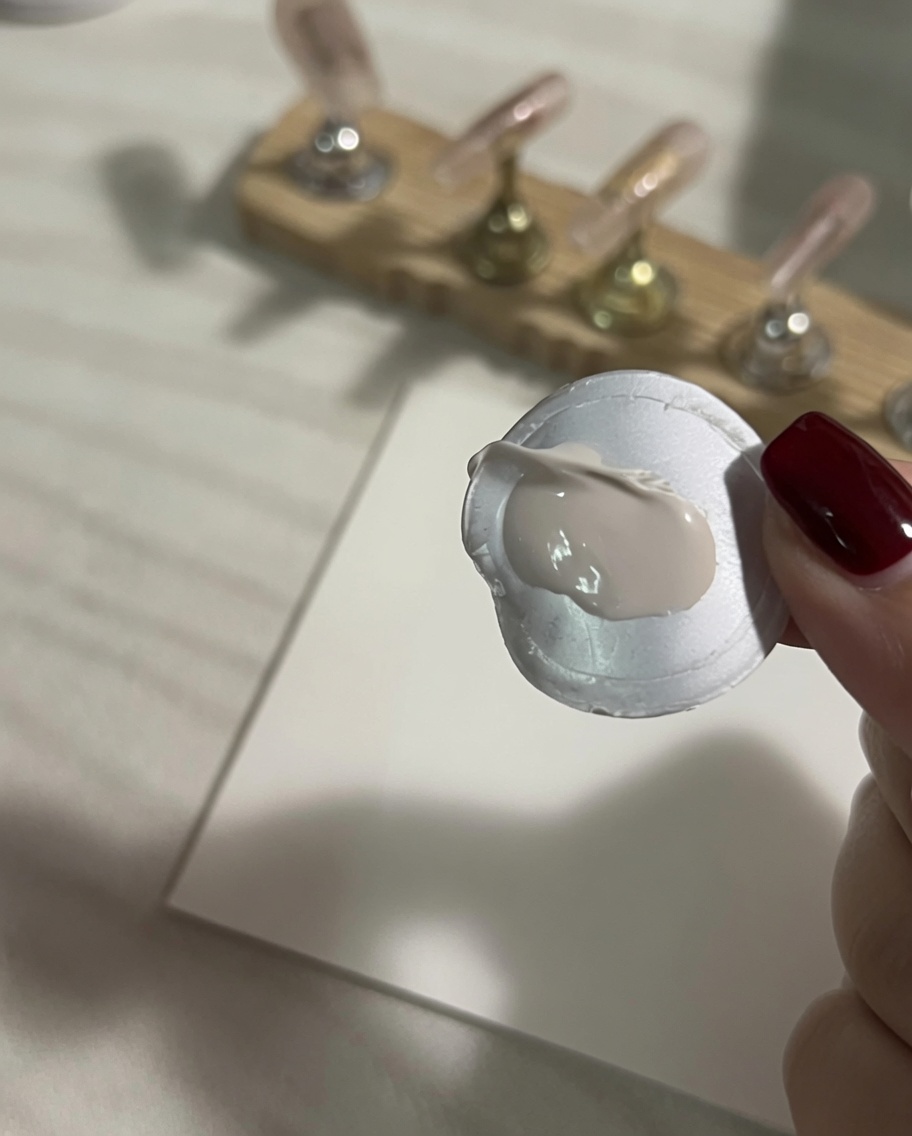
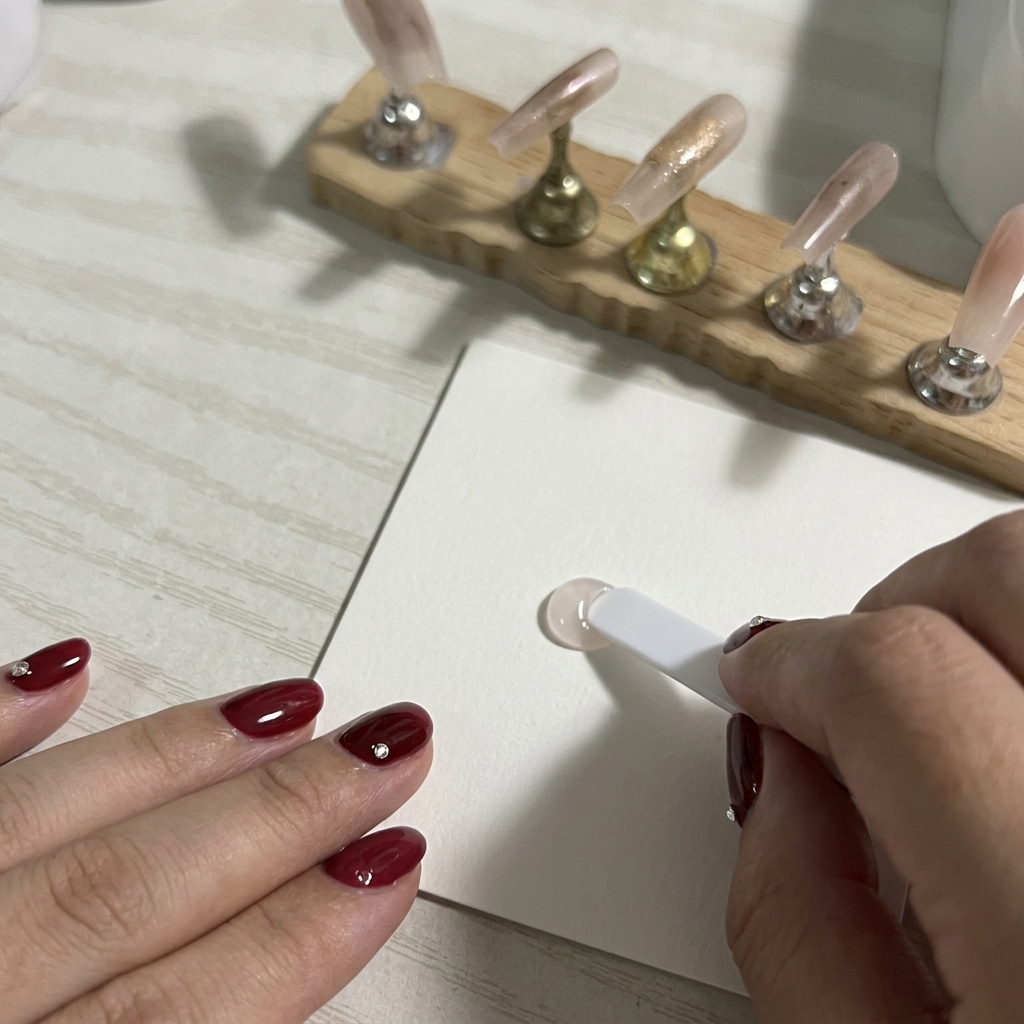
Dispense a small dollop of the thick white gel paint from the jar onto a white silicone mixing palette or palette paper. This provides a controlled surface for loading your blending sponge.
Tip: You only need a small amount of gel paint; a little goes a long way when using the sponge technique. - 9Load the Sponge Brush
Take a clean, round sponge brush and dab it repeatedly into the dollop of white gel paint on your palette paper. Continue tapping until the surface of the sponge is evenly saturated with the pigment.
Tip: Dabbing repeatedly ensures the product penetrates the pores of the sponge uniformly rather than clumping in one spot. - 10Blot Sponge & Distribute
Gently tap the loaded sponge brush onto a clean, empty area of the mixing palette. This blots away excess paint, smooths out any harsh concentrated lines, and ensures a perfectly uniform distribution of product for a flawless gradient.
Tip: Never skip this step; blotting prevents heavy patches or bubbles from being stamped directly onto the nail surface.