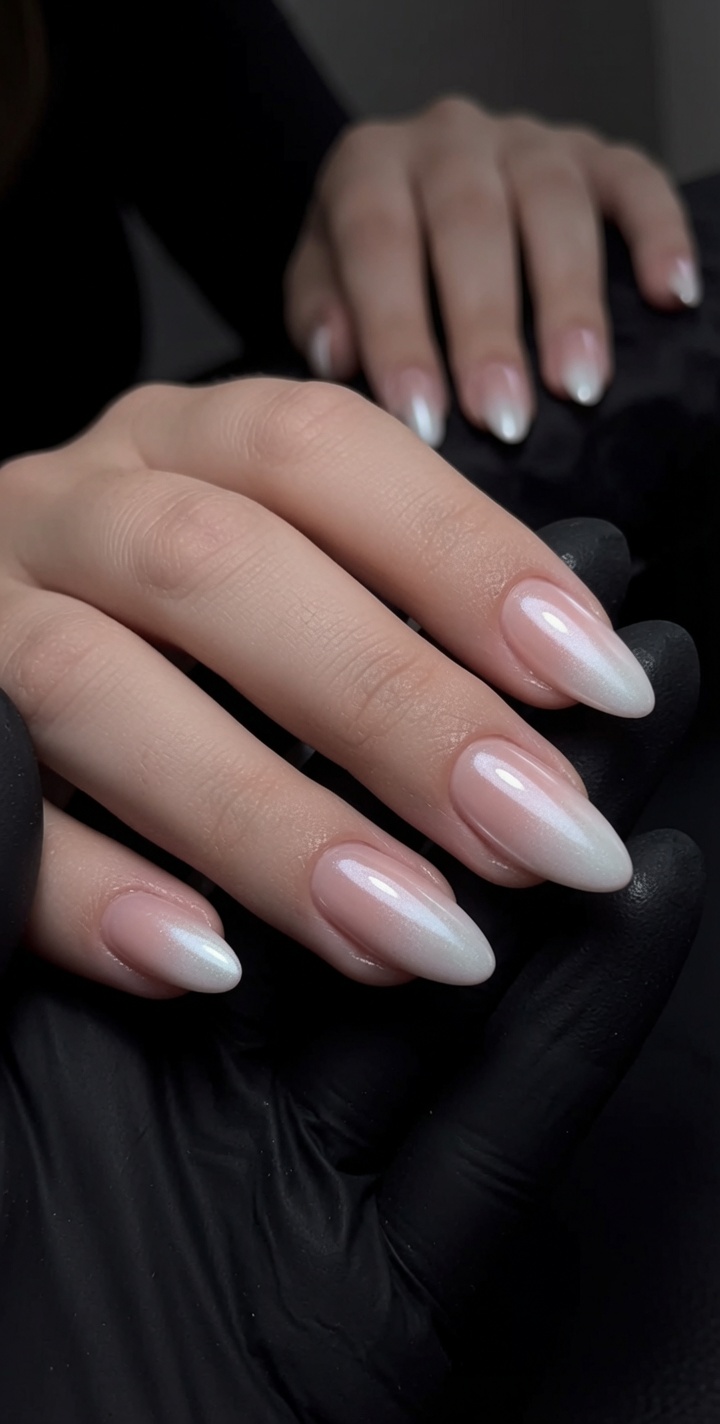
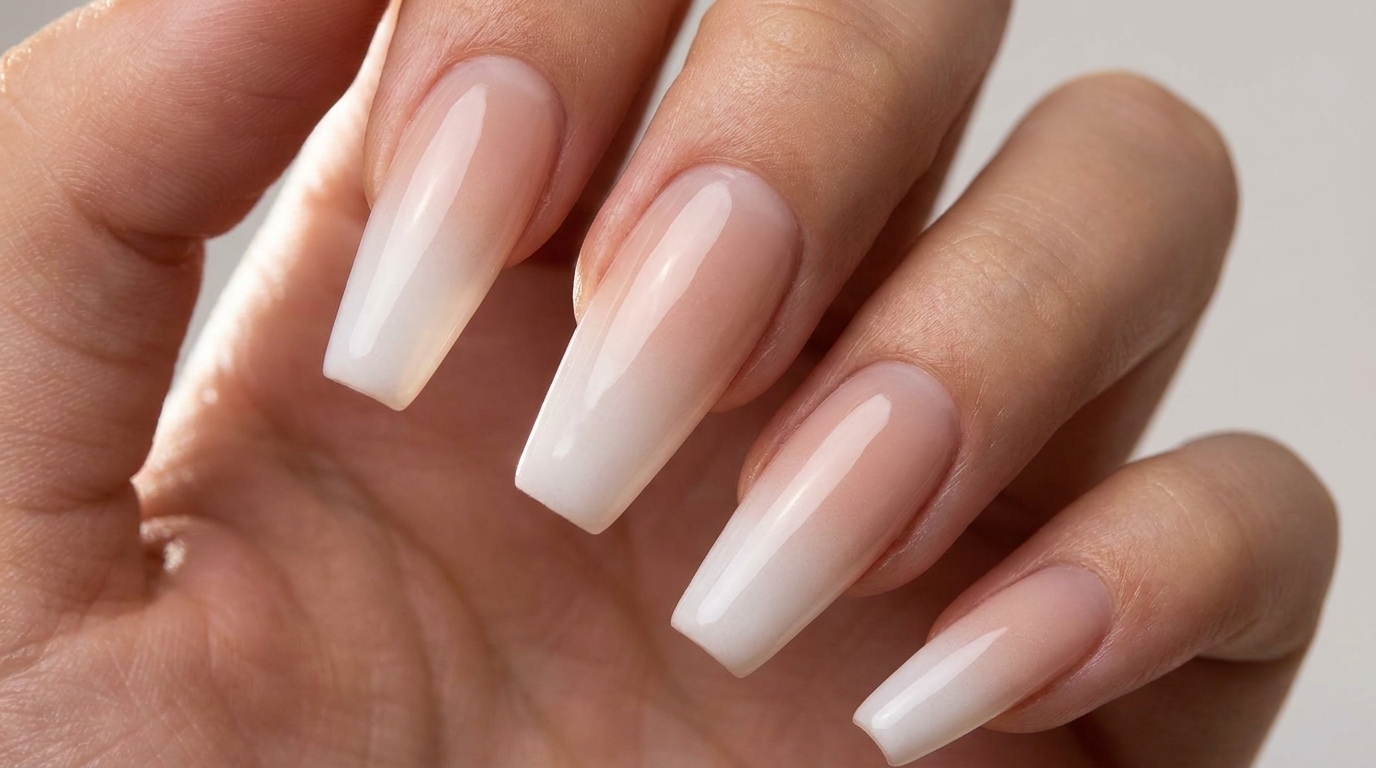
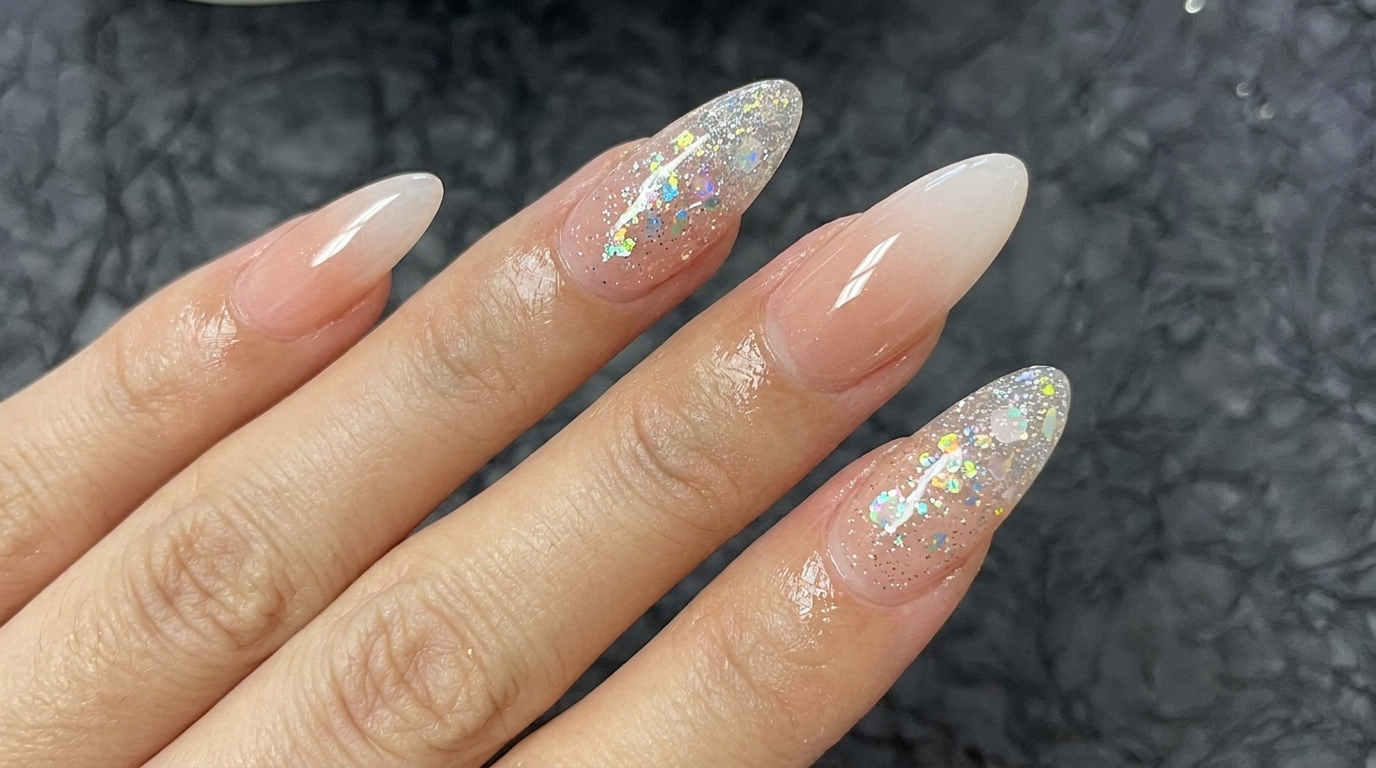
Nude and White Ombre Nails
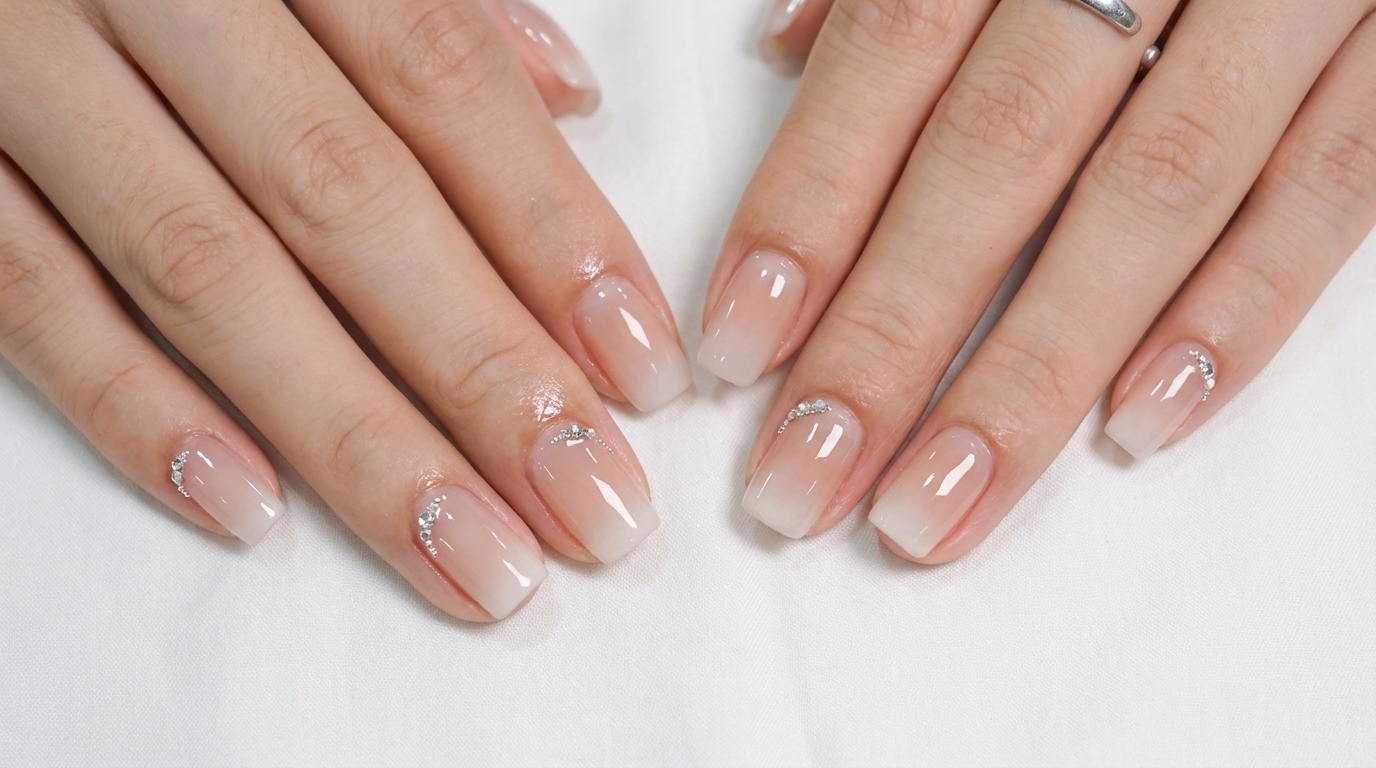
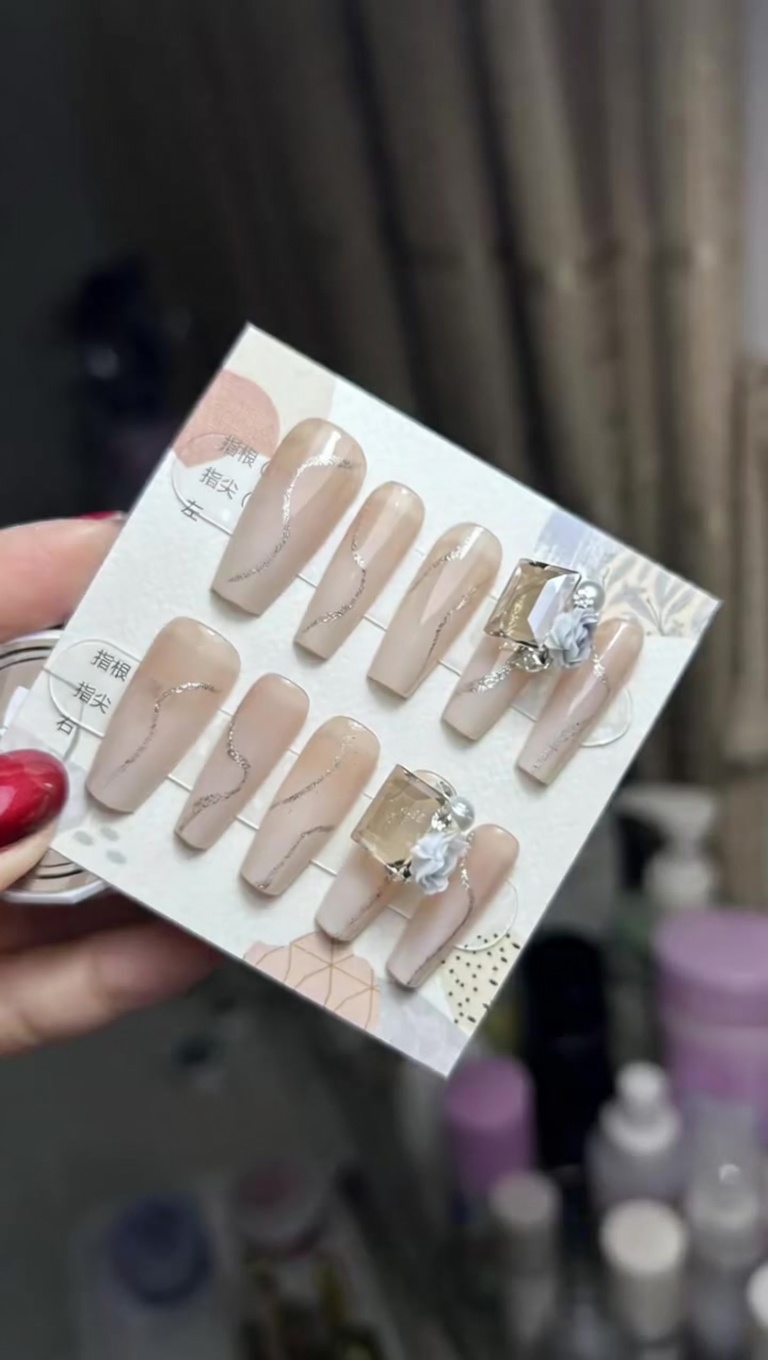
Chunky Glitter Accents
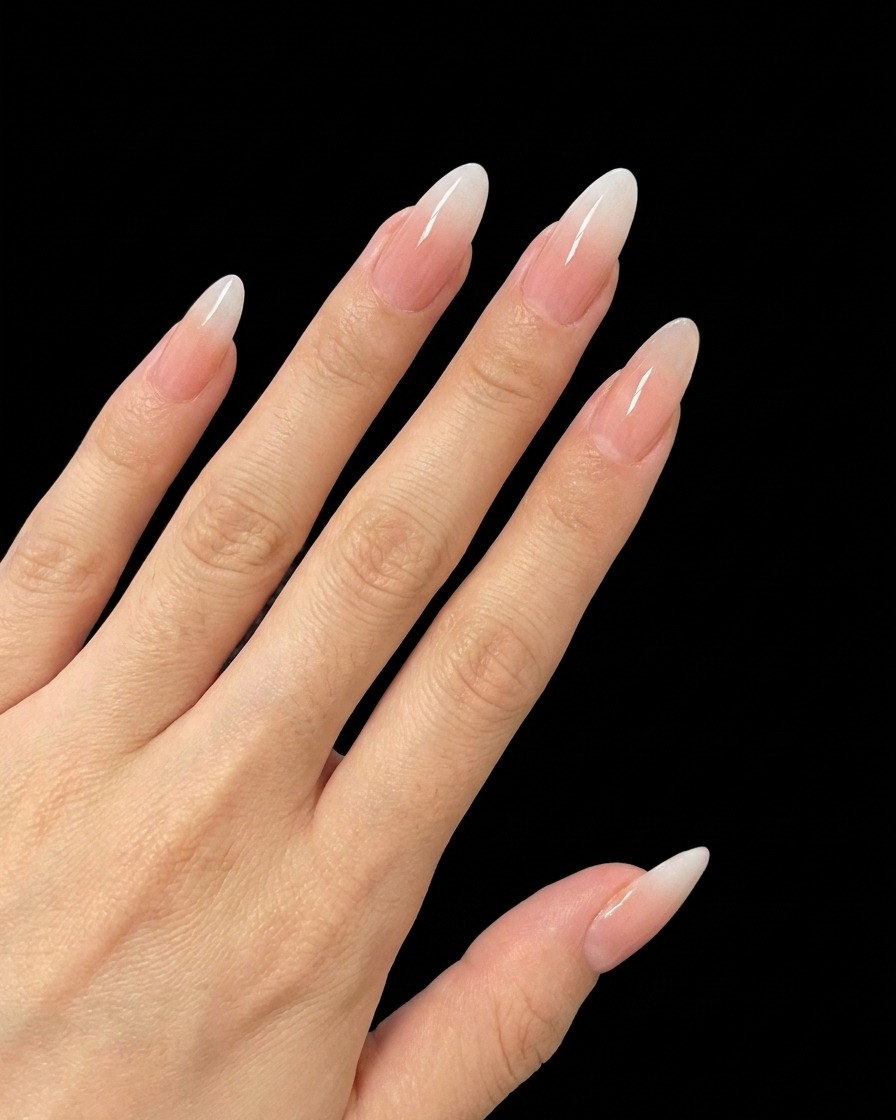
Create a sophisticated, natural look with this nude and white ombre gel manicure. Learn how to blend gradients and add sparkling chunky glitter details.
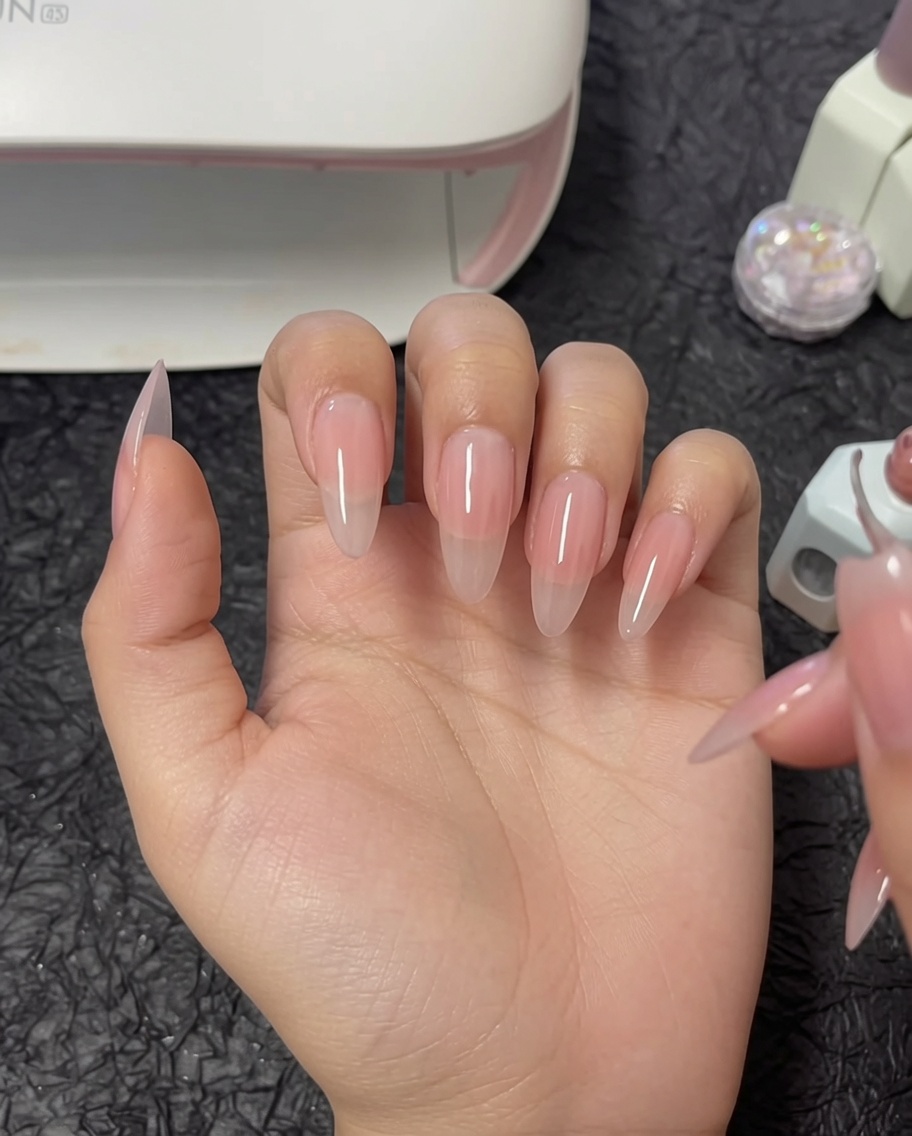
The nude and white ombre is a timeless, elegant choice that brings a fresh, clean aesthetic to any manicure. By layering a soft grayish-pink base with a milky white gradient, you achieve a delicate transition that perfectly mimics the look of high-end salon work. Adding chunky holographic flakes provides just the right amount of sparkle to make this design stand out while keeping it professional and chic.
Steps
- 1Apply first nude base coat
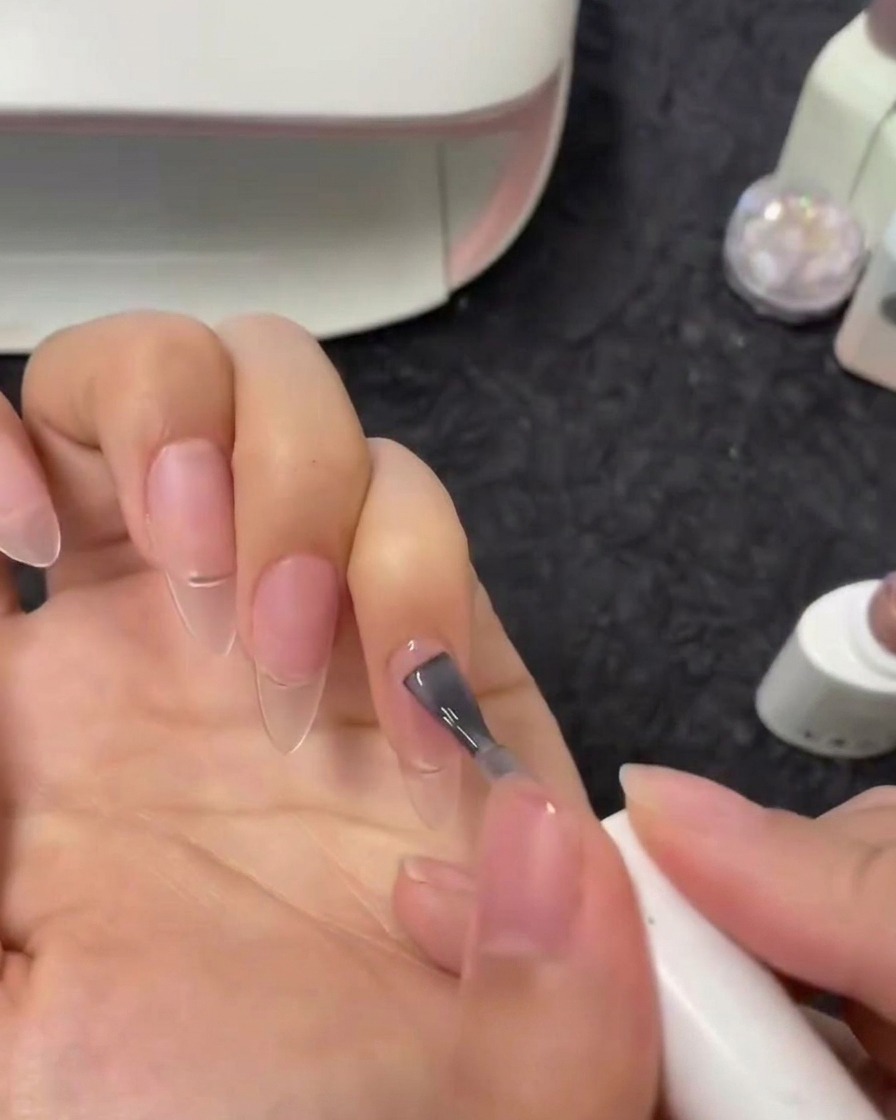
Apply a thin layer of the semi-sheer nude gel polish to the index finger. Start from the cuticle area and sweep toward the free edge, ensuring even coverage across the nail plate for a smooth base.
Tip: Keep the layer thin to prevent pooling at the cuticles. - 2Apply nude gel to middle finger
Continue the application by applying a thin layer of the nude gel polish to the middle finger. Maintain consistent pressure for an even coat.
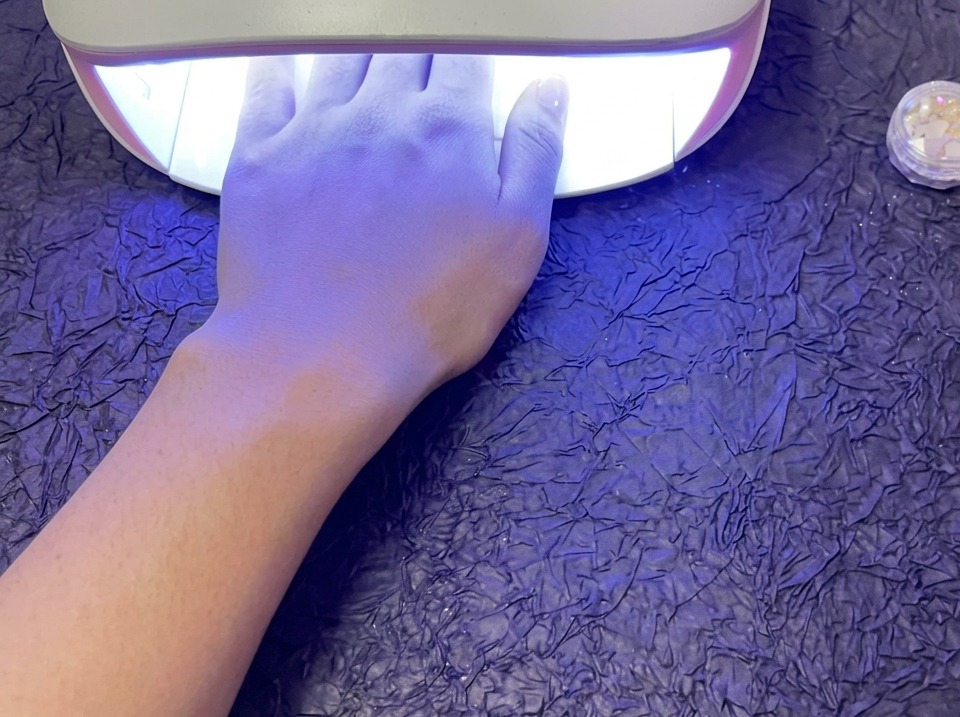
Tip: Apply slowly to ensure clean edges around the cuticle. - 3Cure the base layer
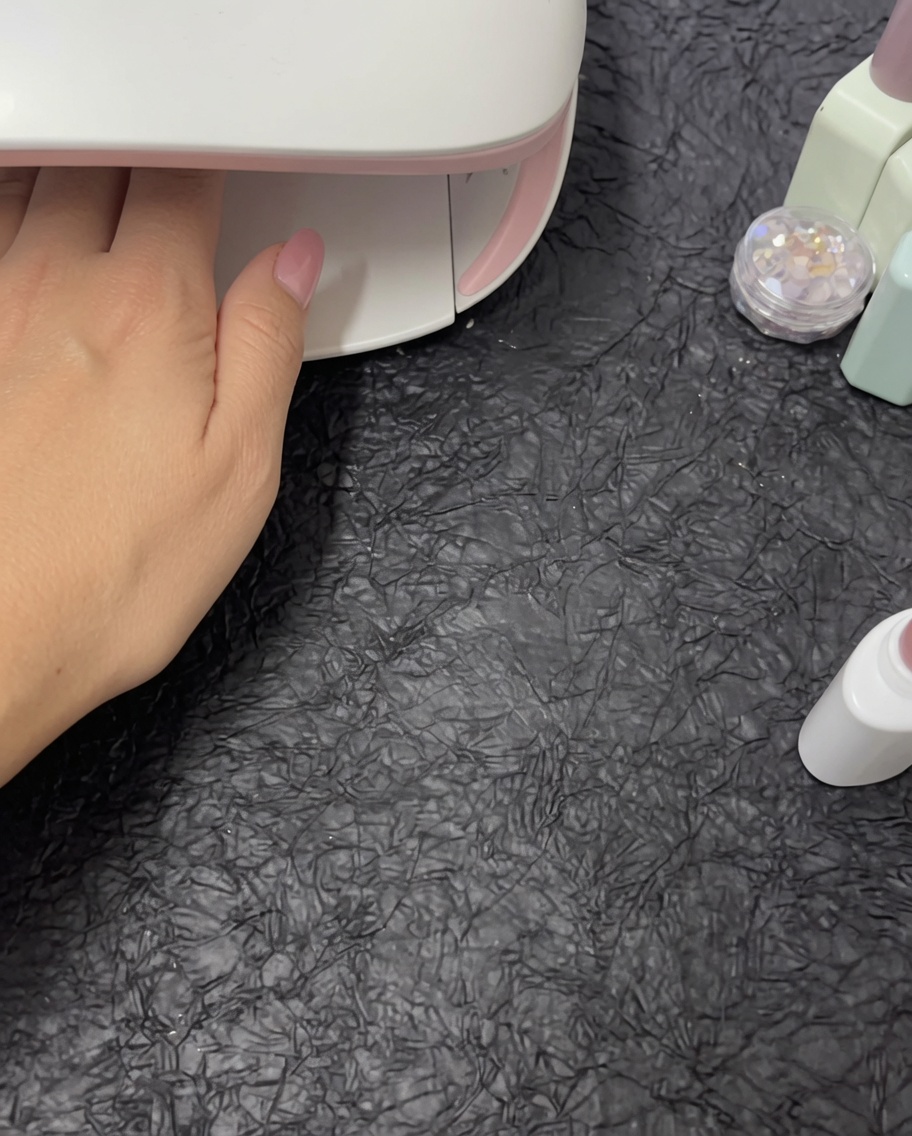
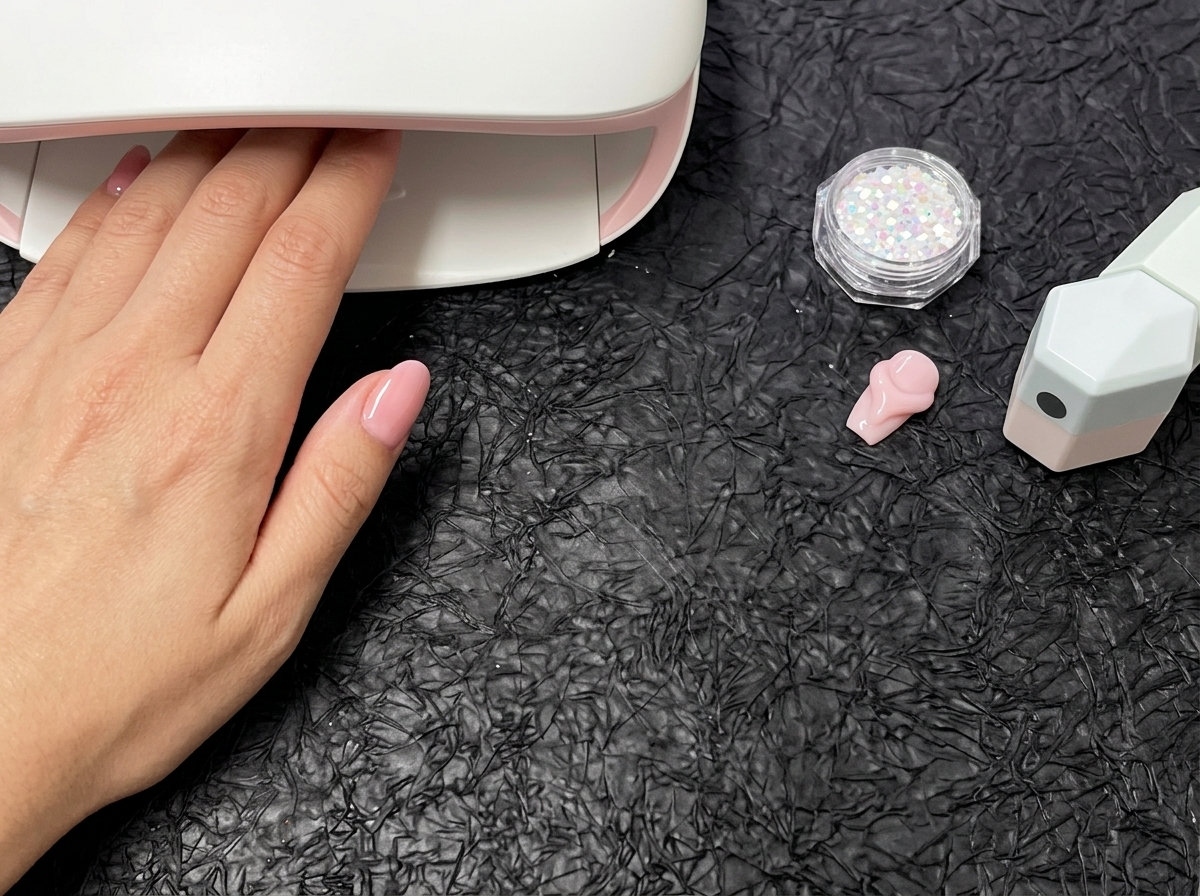
Place your hand inside the UV/LED lamp and cure for 60 seconds. This step ensures the nude base layer is fully set before adding subsequent coats.
Tip: Ensure all fingers are positioned correctly inside the lamp for uniform curing. - 4Apply second coat to index
Apply a second coat of the nude gel polish to the index finger. This builds opacity and gives the nails a beautiful, saturated, grayish-pink nude tone.
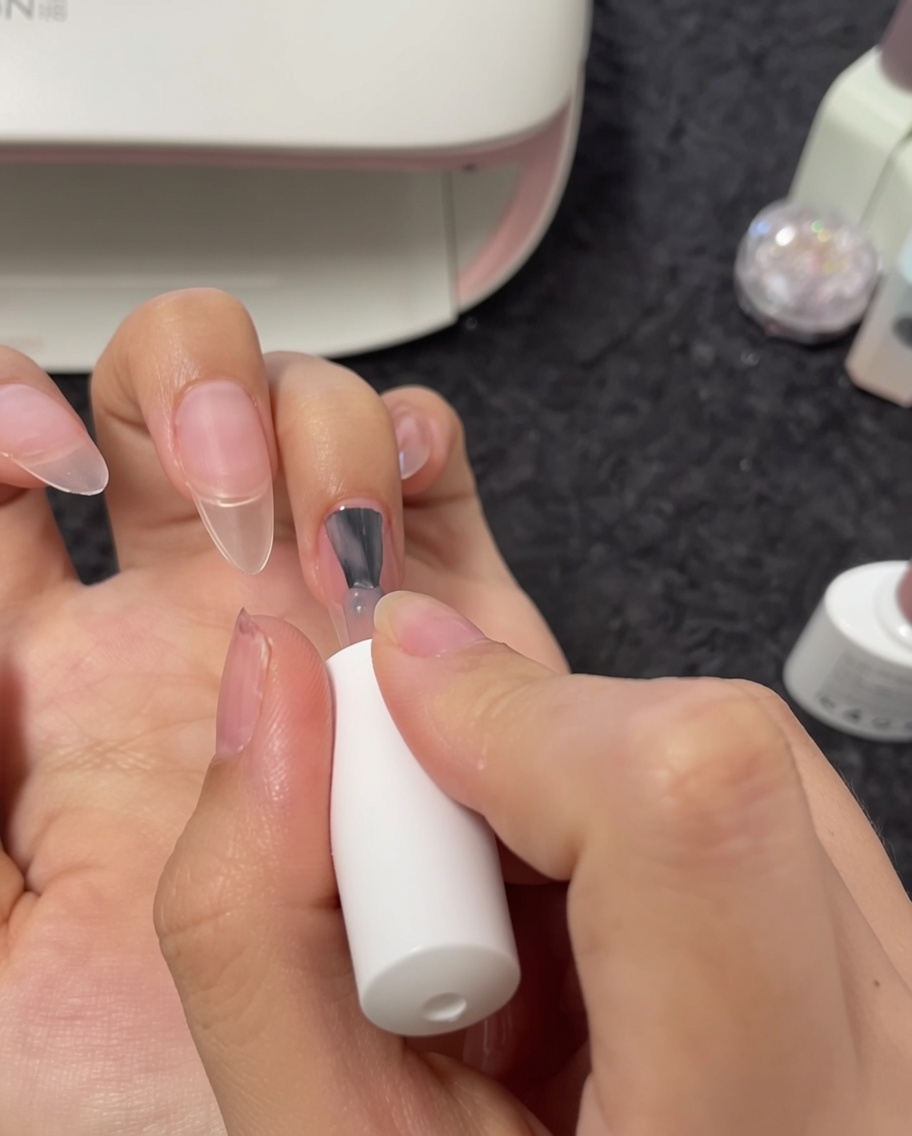
Tip: Ensure the second coat is as smooth as the first for a flawless finish. - 5Apply second coat to thumb
Apply the second coat of nude gel polish to the thumb, following the same technique used for the other fingers to achieve consistent opacity.
Tip: Take your time with the thumb as it is often wider and requires careful application. - 6Cure the second layer
Place the hand back into the UV/LED lamp and cure for another 60 seconds to fully set the second coat of nude gel polish.
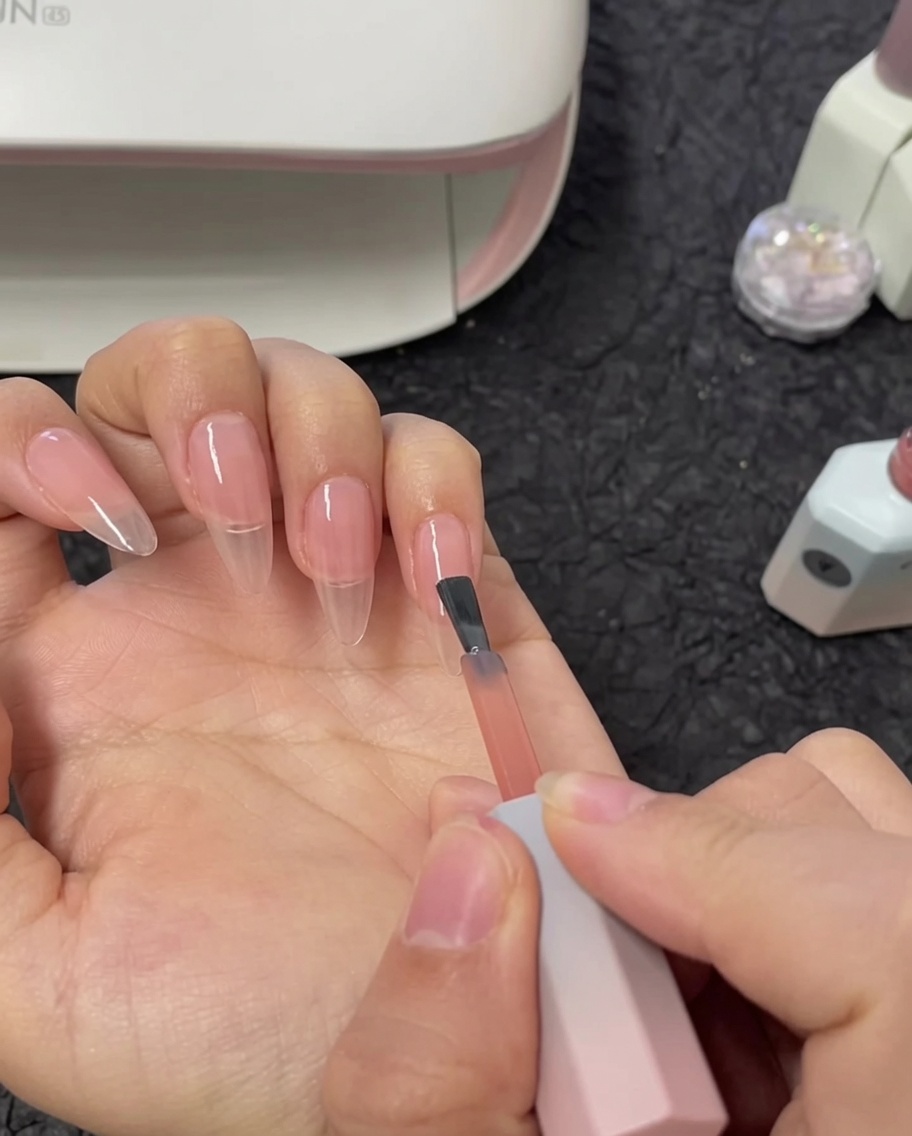
Tip: Check that the nails are fully cured before proceeding to the next step. - 7Apply milky white gel
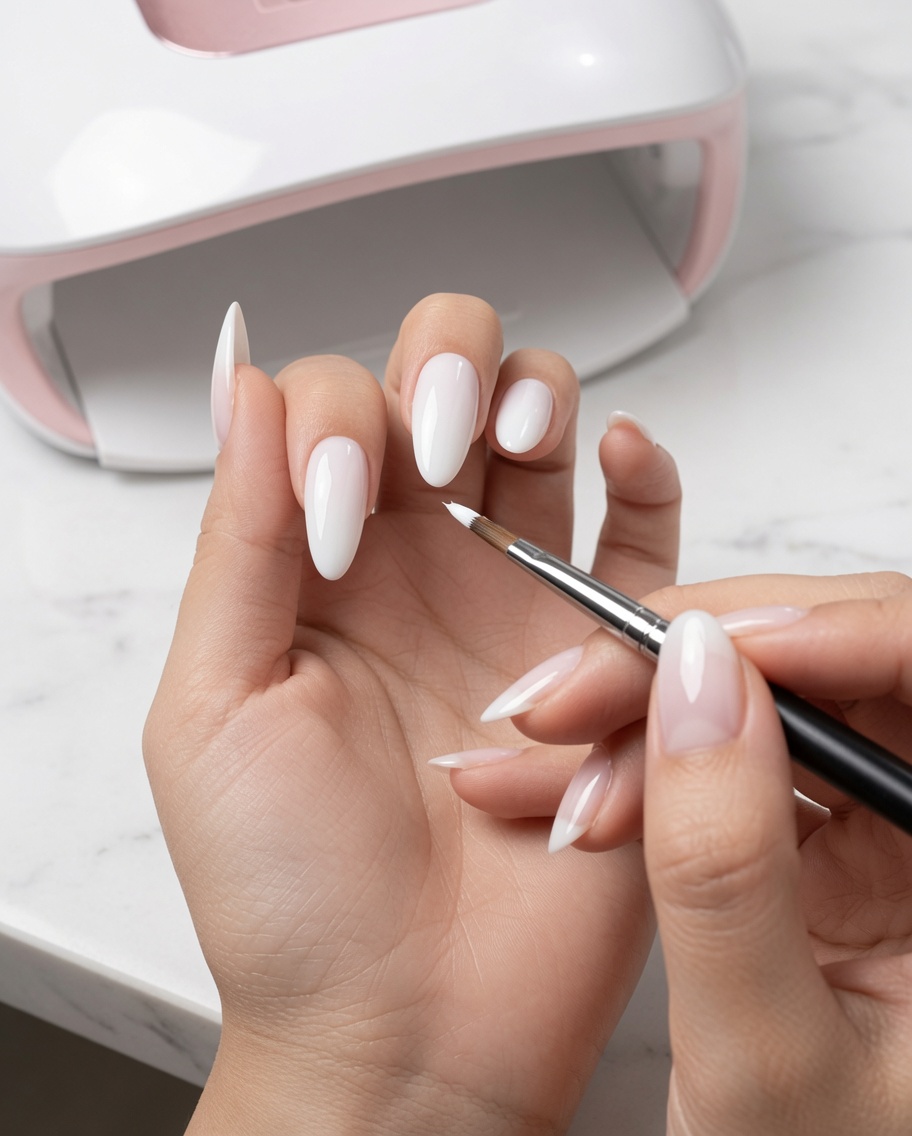
Apply a thin layer of milky white gel polish horizontally across the top half of the pinky nail. This sets the foundation for your ombre transition.
Tip: Keep the layer thin to make the blending process smoother and more natural. - 8Apply white gel to thumb
Apply the same milky white gel polish across the top half of the thumb. Ensure even coverage to prepare for the blending step.
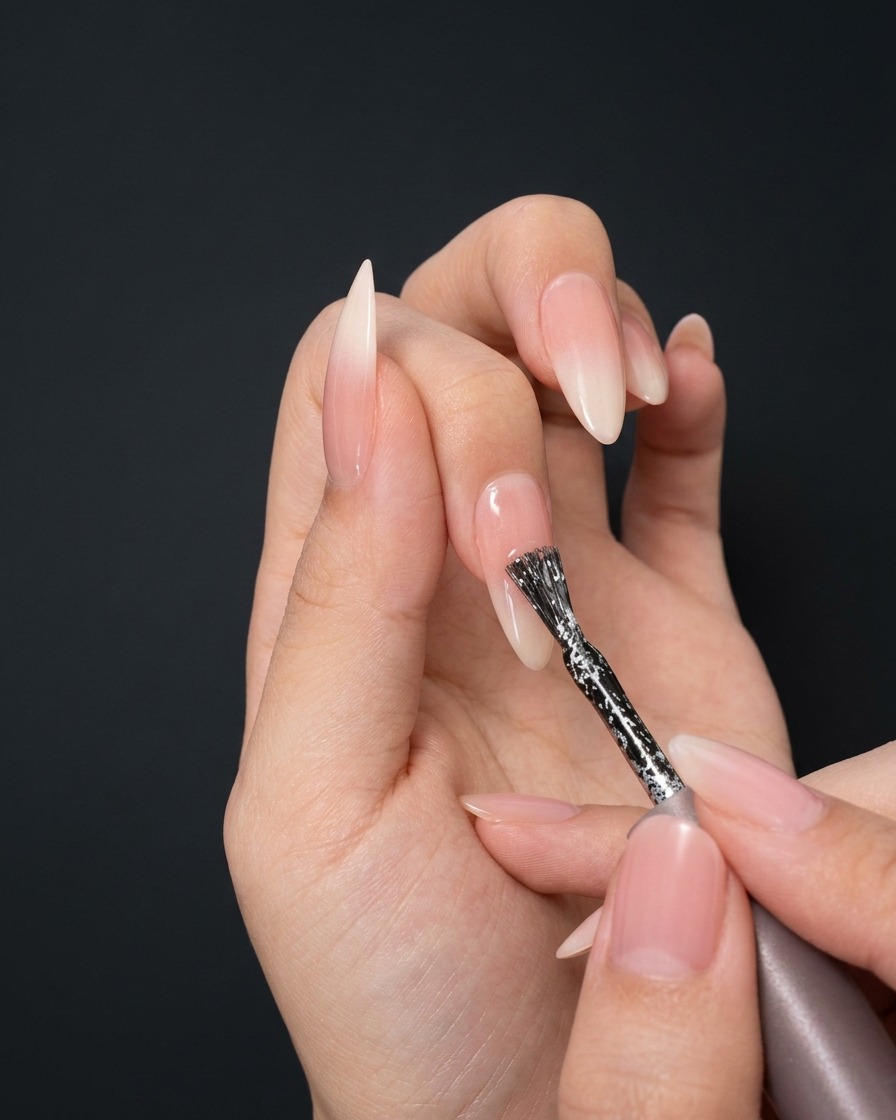
Tip: Use light pressure to keep the gel layer thin and manageable. - 9Blend the ombre gradient
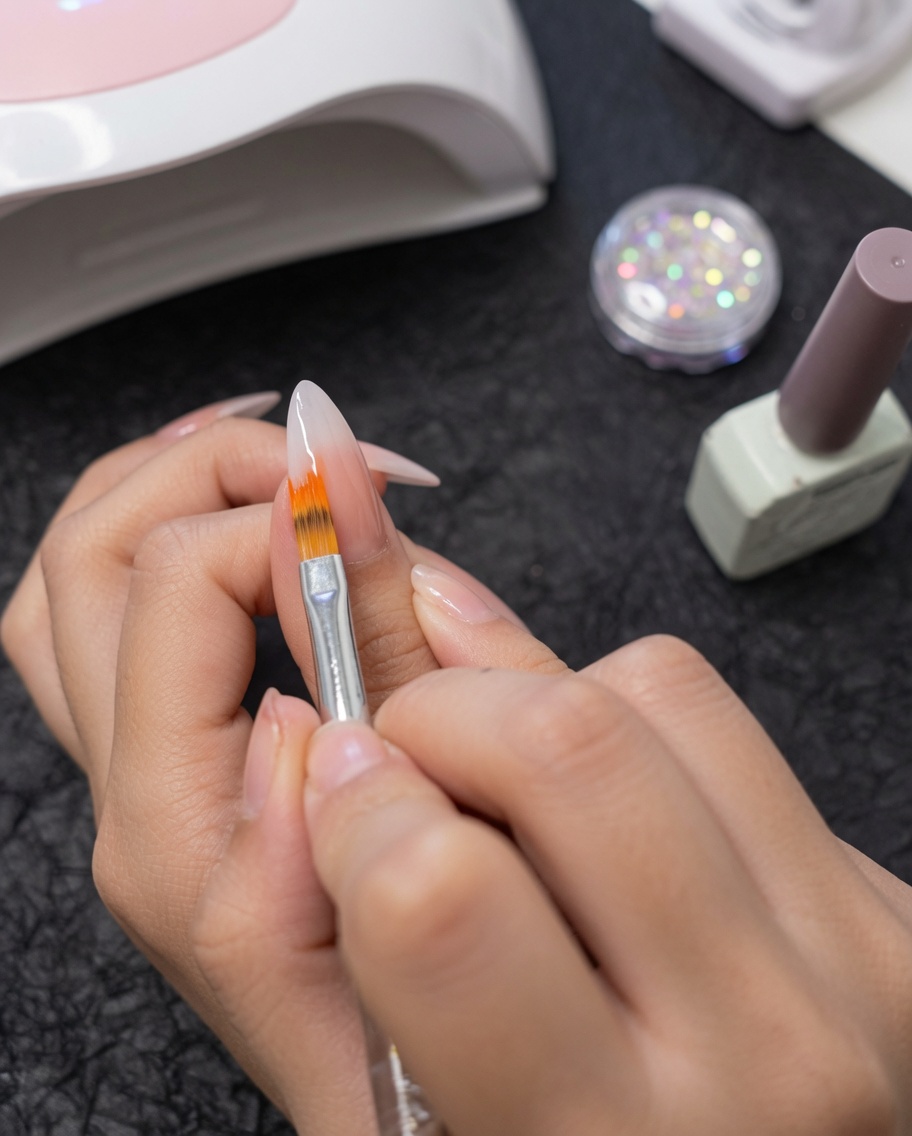
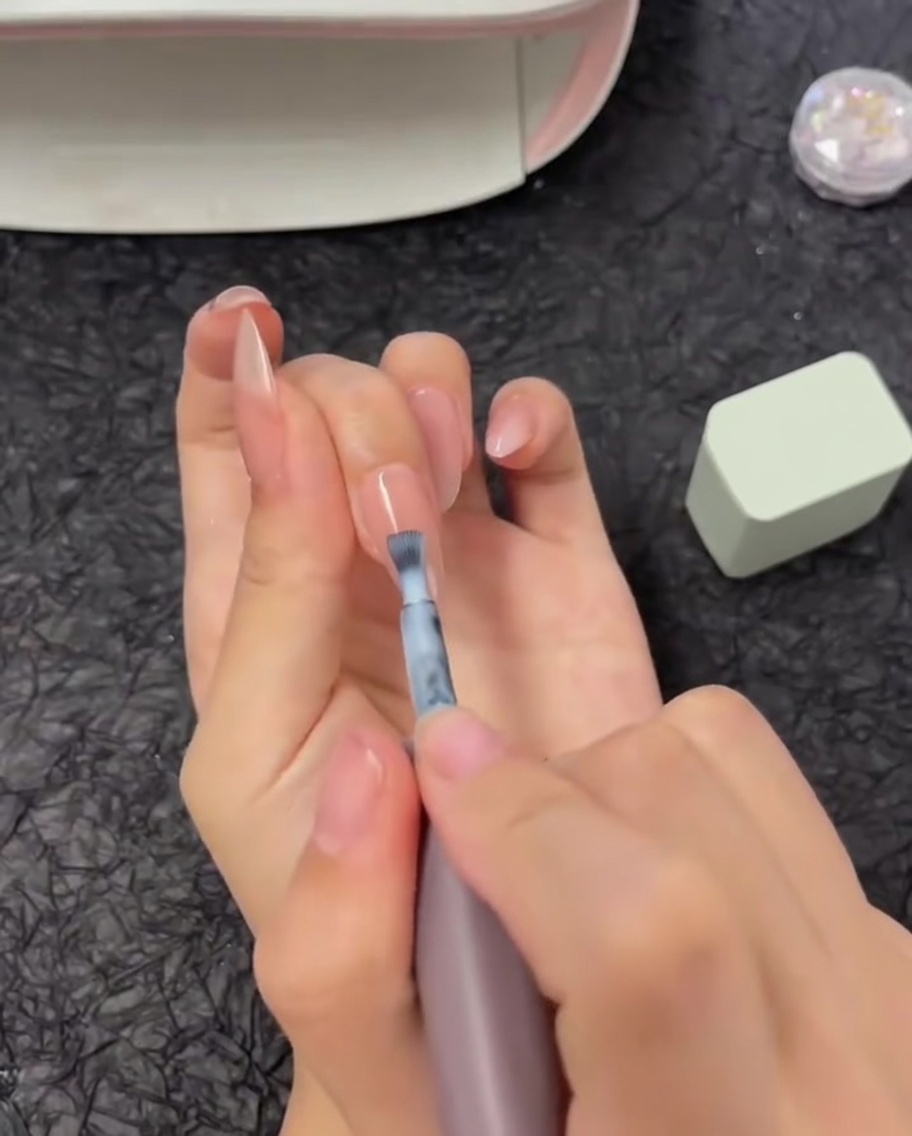
Using a flat gradient brush, gently sweep the white gel downwards toward the cuticle with light, vertical motions. This creates a seamless fade from the milky white tip into the nude base.
Tip: Wipe your brush on a lint-free wipe occasionally to remove excess product and prevent streaking during blending. - 10Blend middle finger gradient
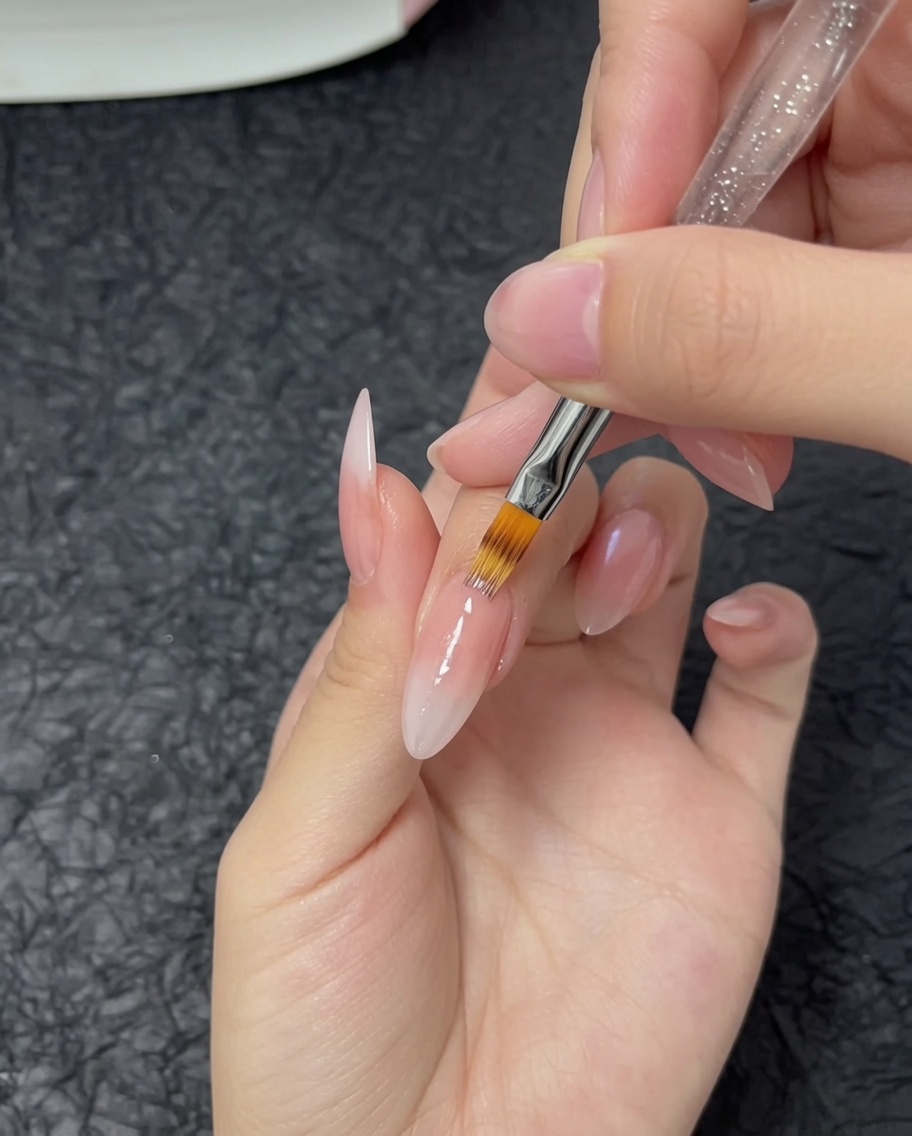
Repeat the blending technique on the middle finger. Sweep the brush in light, downward motions to transition the white gel into the nude base for a soft, professional-looking ombre.
Tip: Maintain a light touch to avoid removing too much pigment from the nail surface. - 11Cure the gradient
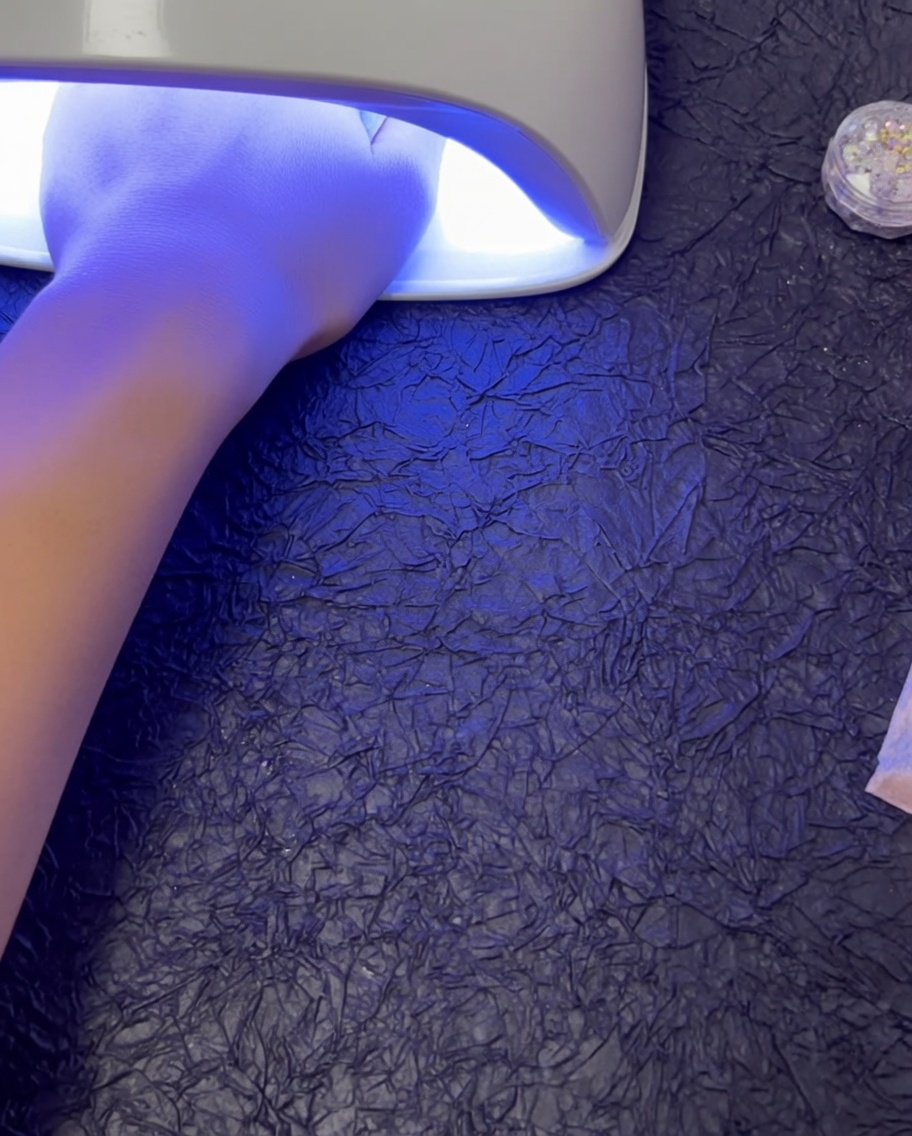
Once you are satisfied with the blend, place the nails under the UV/LED lamp. Cure for 60 seconds to ensure the gel is fully set.
Tip: Ensure all fingers are positioned correctly under the light for even curing. - 12Add fine glitter detail
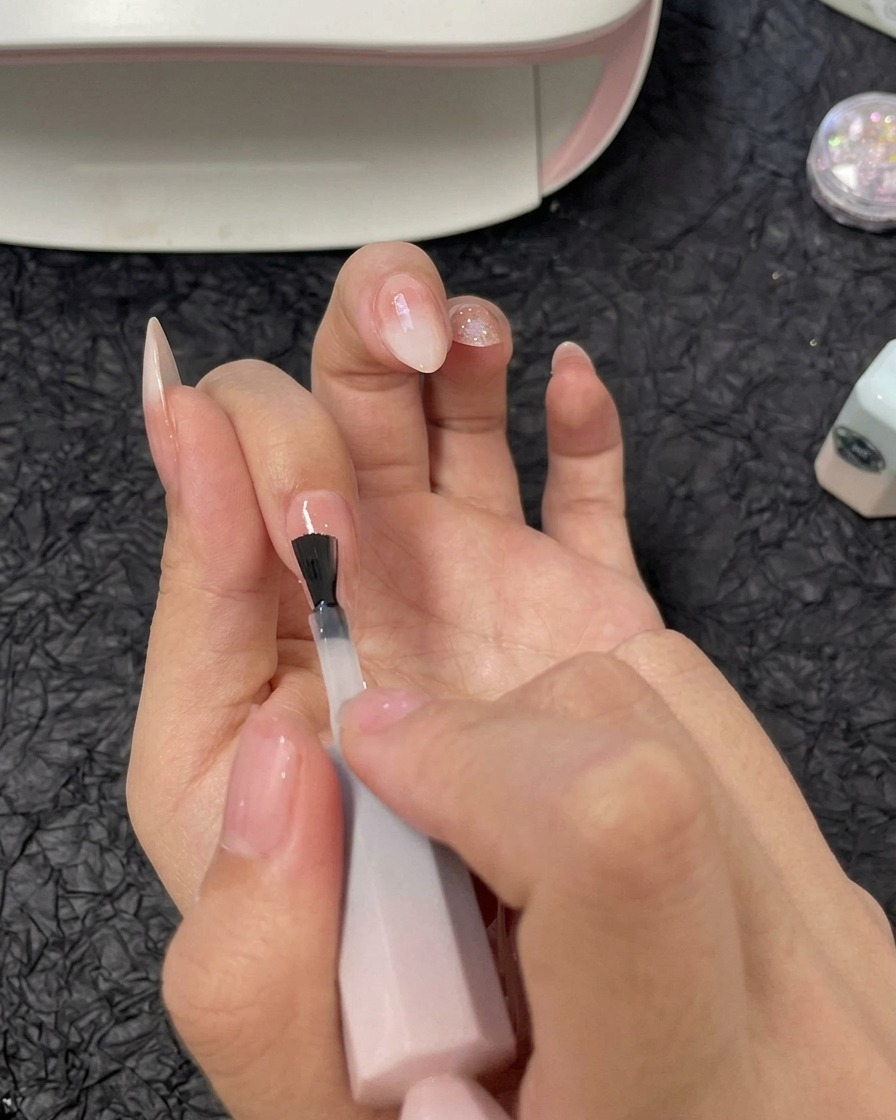
Apply a small amount of clear gel mixed with fine silver glitter to the center of the index finger. Focusing on the center keeps the look elegant and prevents the nail from feeling too heavy with product.
Tip: Use a light dab to control the placement of the glitter and prevent bulk. - 13Apply fine glitter
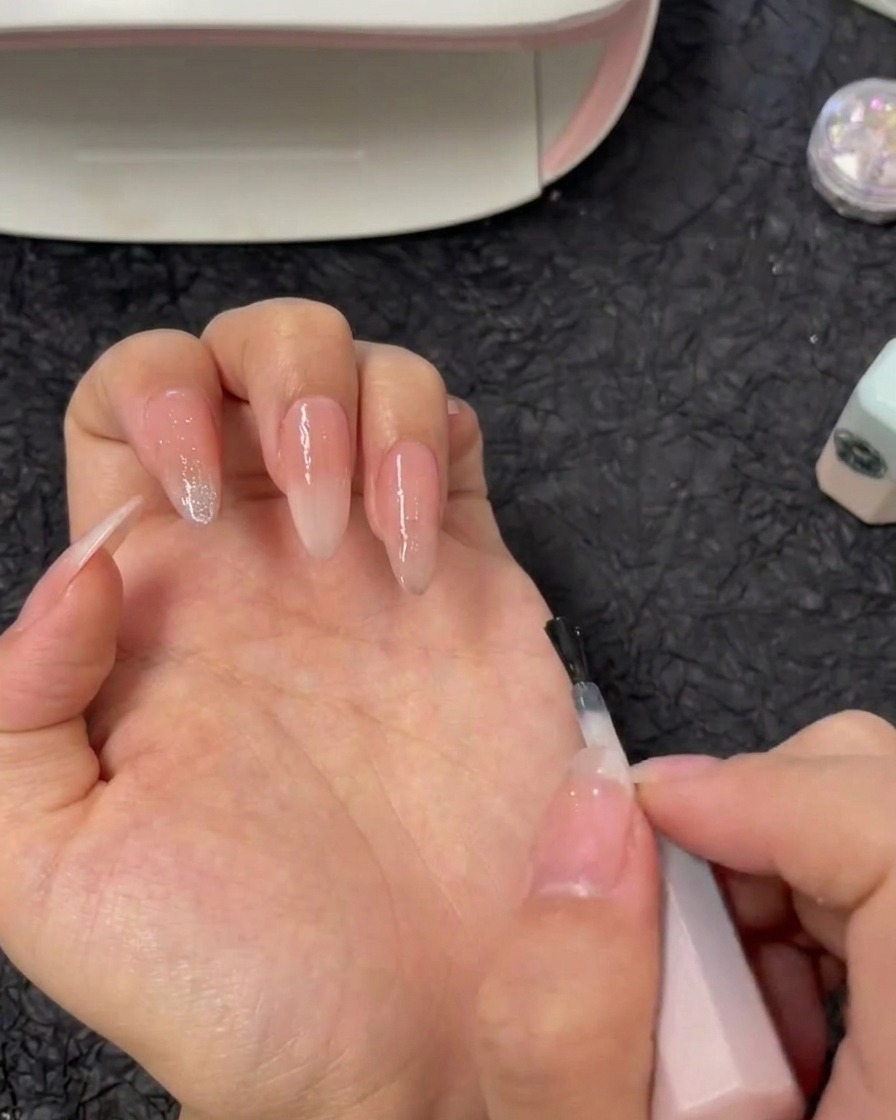
Use a thin detail brush to apply a delicate layer of fine silver glitter polish down the center of the index and ring fingers. You only need to place a small amount in the middle, leaving the edges with the clean nude base.
Tip: Applying the glitter strictly to the center helps create an elongated, elegant appearance for the nail without overwhelming the gradient design. - 14Cure the glitter layer
Once the fine glitter is applied to your desired fingers, carefully place your hand under the UV or LED nail lamp. Cure the nails for 30 to 60 seconds to ensure the glitter polish is fully set.
Tip: Make sure your fingers lie flat inside the lamp so the light hits the center of the nails directly for an even cure. - 15Prepare for chunky glitter
Apply a thin, even layer of clear reinforcement or builder gel over the index finger. Do not cure this layer; the tacky surface acts as a wet adhesive for the chunky glitter pieces.
Tip: Do not cure this layer yet. It must remain wet to grip the chunky glitter pieces in the next step. - 16Apply clear gel to ring finger
Repeat the previous process by applying the clear builder or reinforcement gel to the ring finger, brushing it directly over the fine glitter layer you cured earlier.
Tip: Keep the gel application smooth to avoid adding unwanted bulk to the final nail shape. - 17Pick up chunky glitter flakes
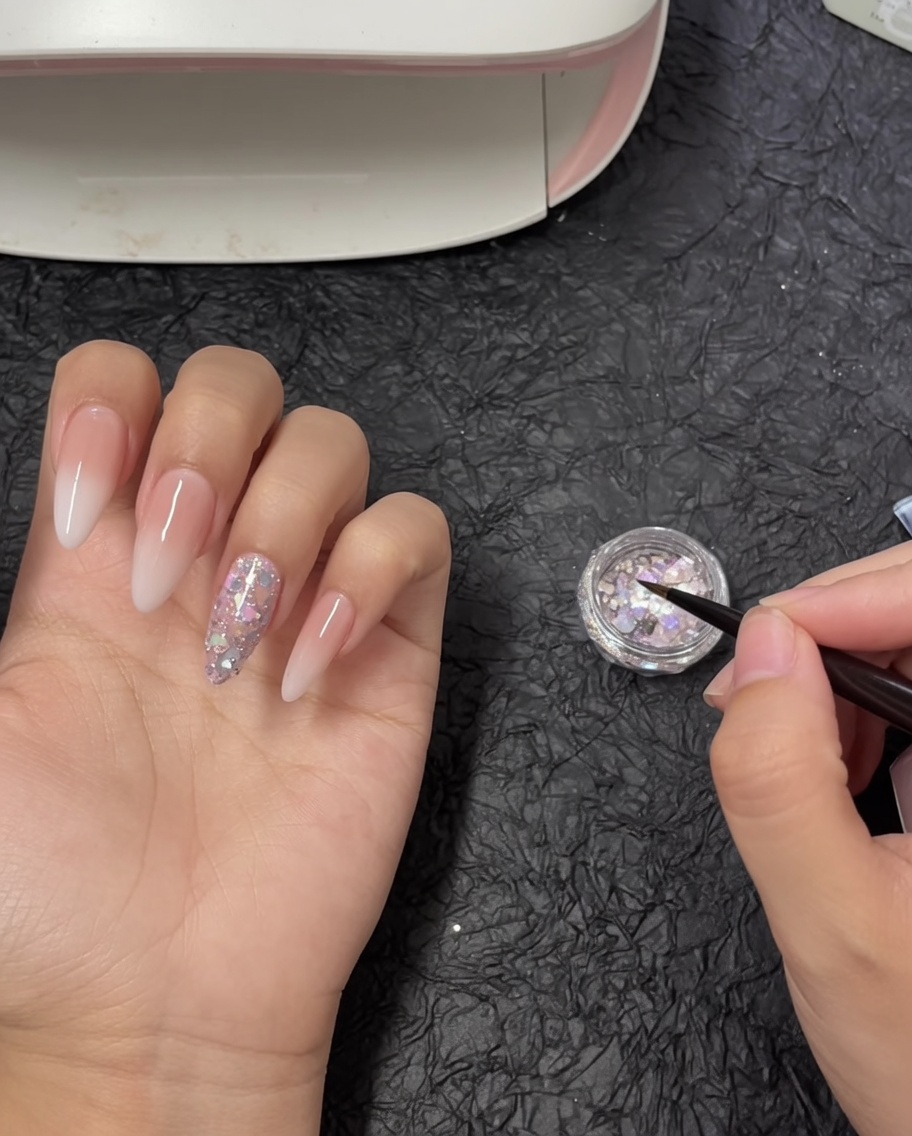
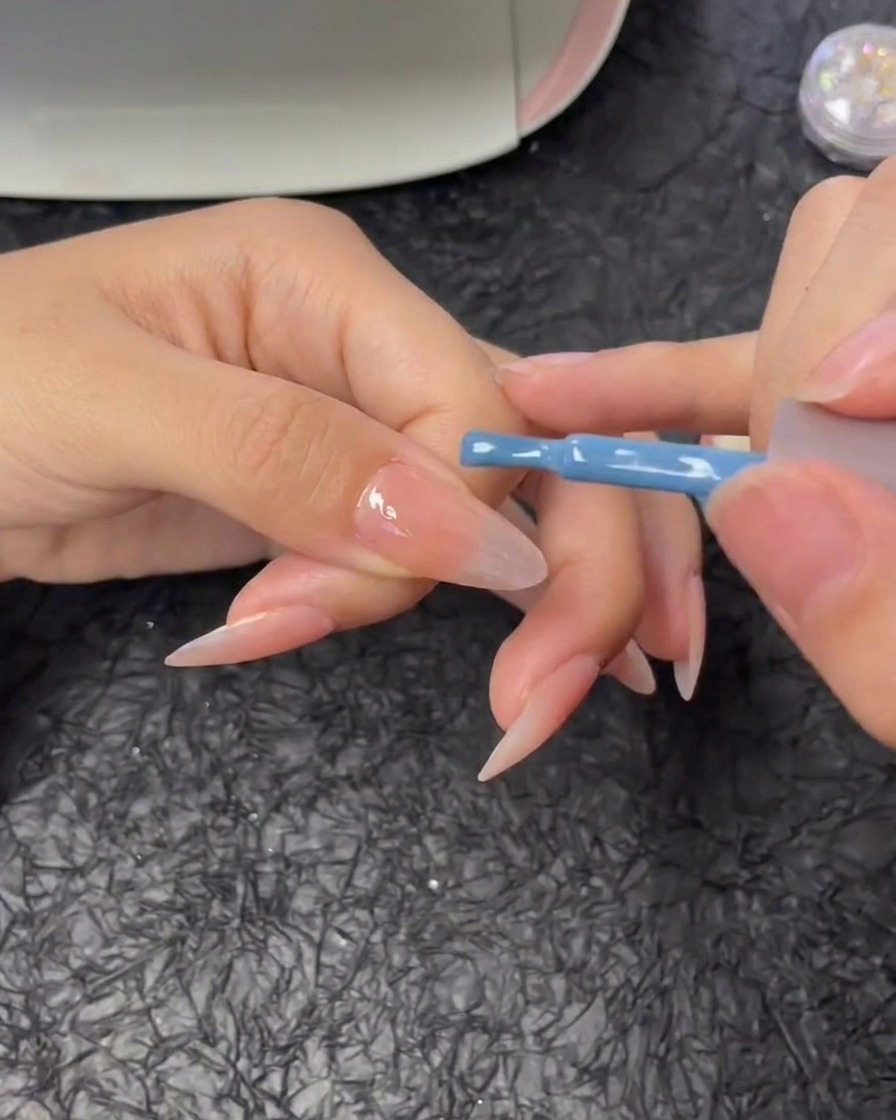
Take a fine detail pen and dip it lightly into a small amount of reinforcement gel, then use the sticky tip to gently pick up individual pieces of chunky holographic glitter flakes from their pot.
Tip: Using a tiny bit of gel on your brush makes it much easier to grab and hold the dry flakes without them falling off. - 18Place chunky holographic flakes
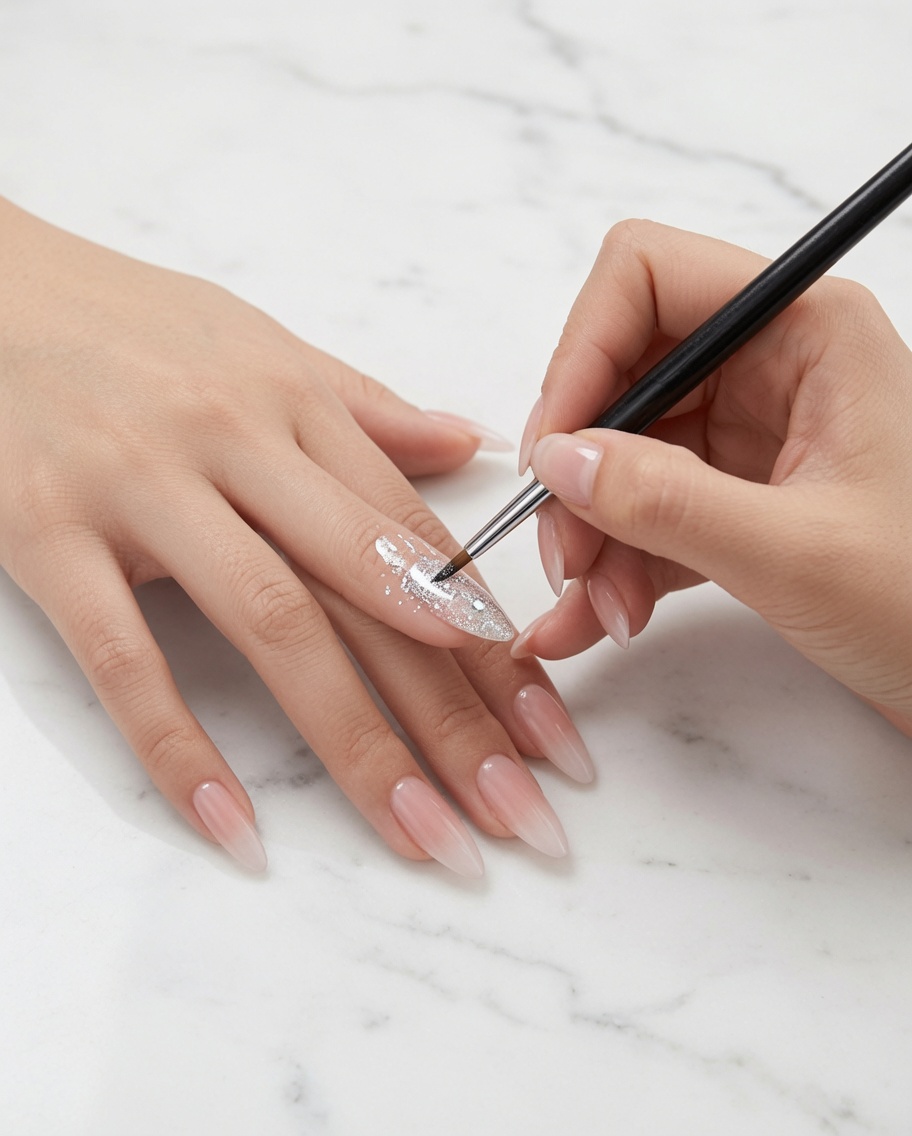
Using a detail pen or brush, pick up individual chunky holographic glitter flakes and press them into the wet reinforcement gel on the center of the nail. Use a minimal amount to maintain a delicate, sparkling effect.
Tip: Gently pat the flakes down with your brush to ensure they lie completely flat against the curve of the nail. - 19Place Chunky Glitter Flakes
Using a detail liner brush or pen dipped in a small amount of reinforcement gel, pick up the chunky glitter flakes individually. Carefully place and adjust them onto the center of the nail over the uncured gel layer, focusing on the index and ring fingers.
Tip: Keep the quantity of chunky flakes minimal to avoid a bulky look and ensure they lie completely flat against the nail surface.