Milky White Ombre Nails — Elegant Gradient Tutorial
Master the art of the perfect milky white ombre with this simple, step-by-step guide. Create a seamless, sophisticated gradient finish right at home.
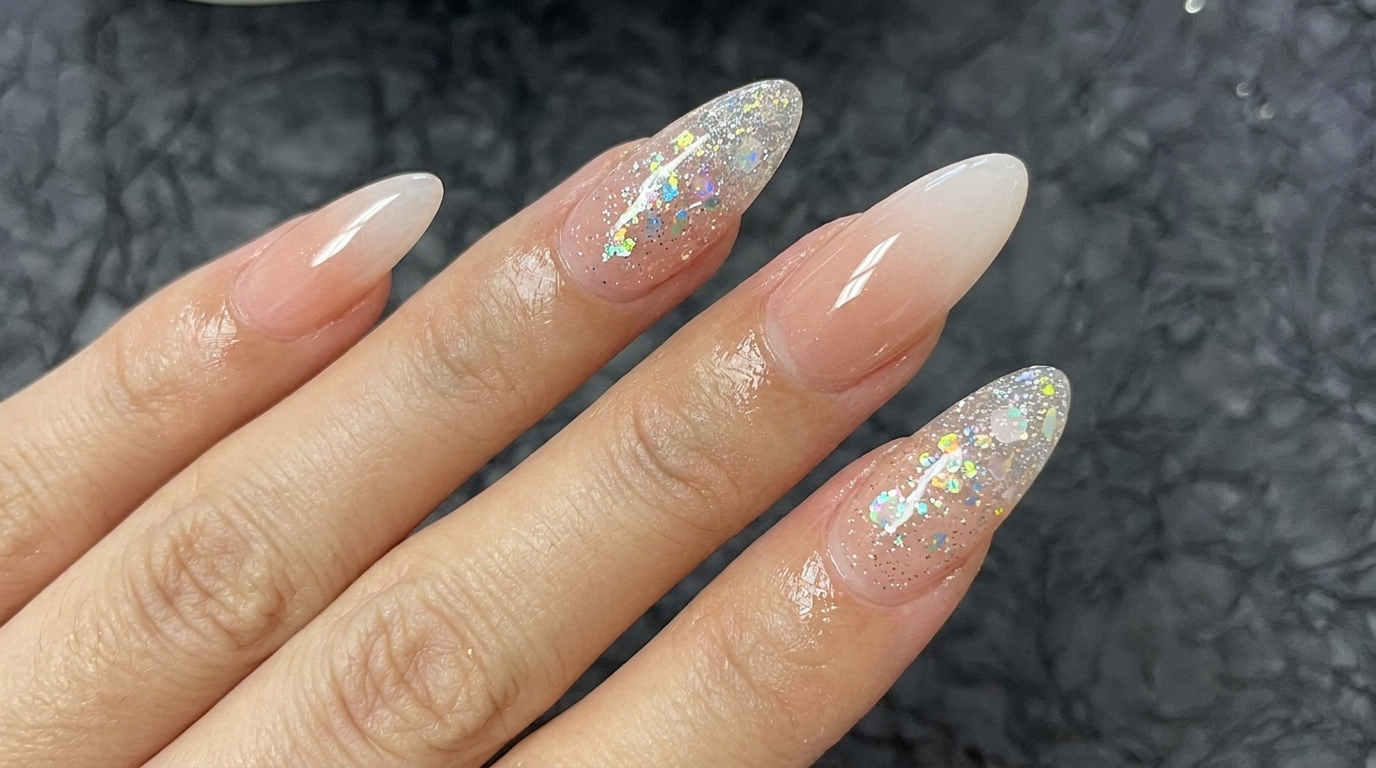
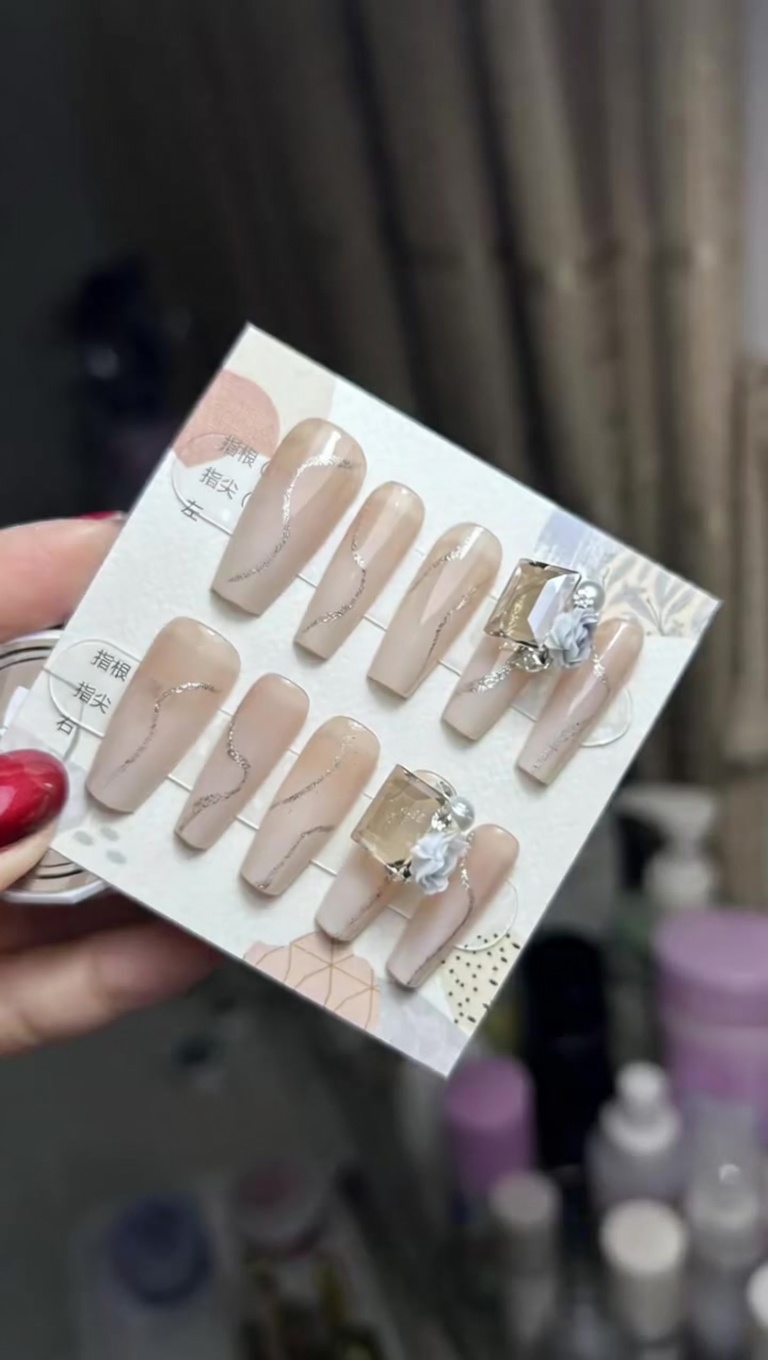
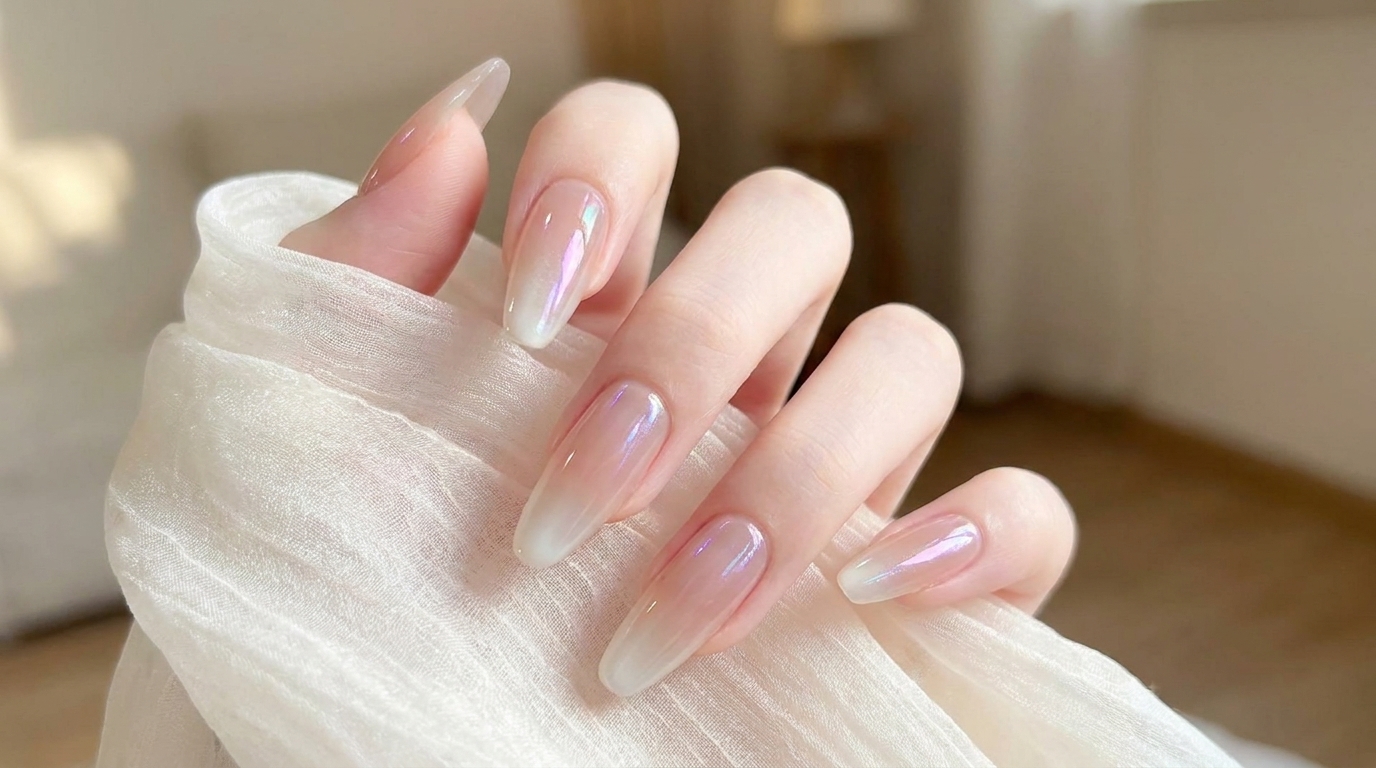
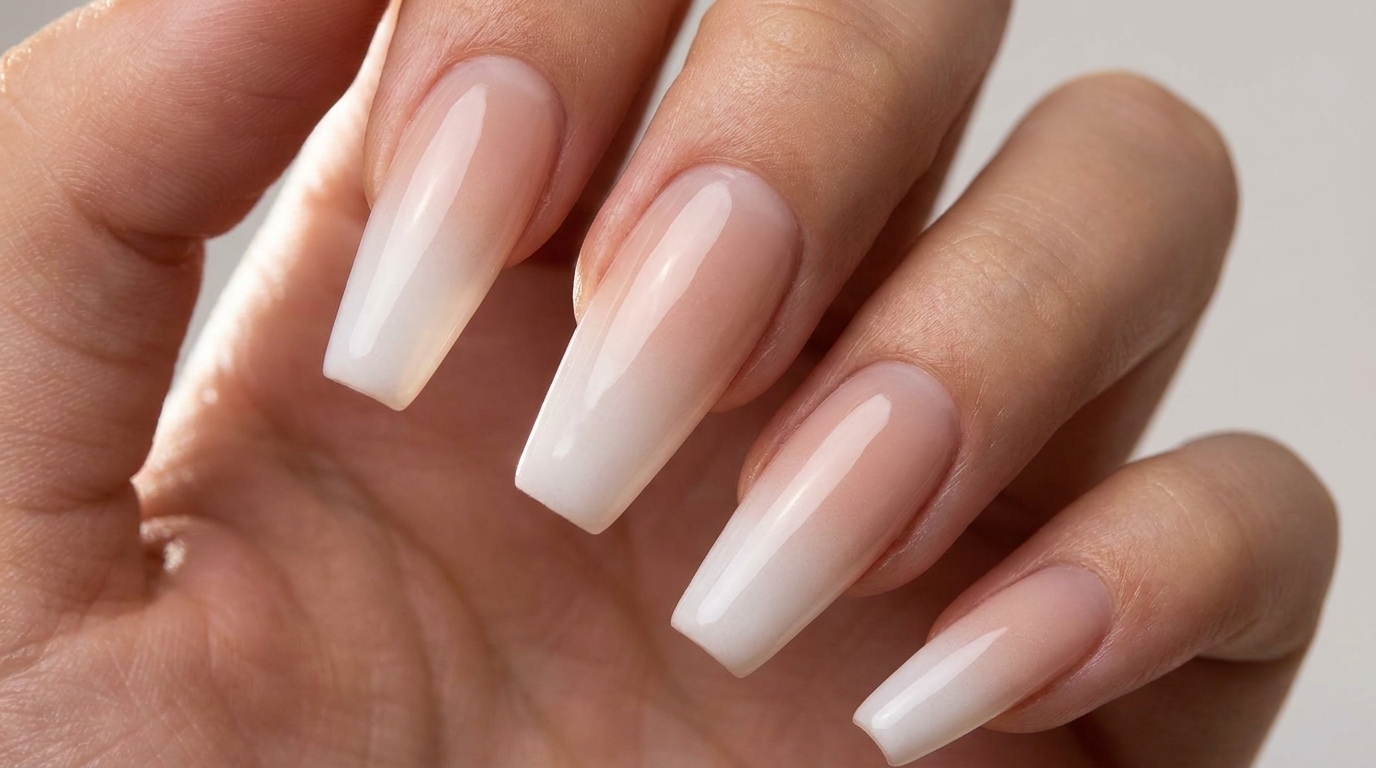
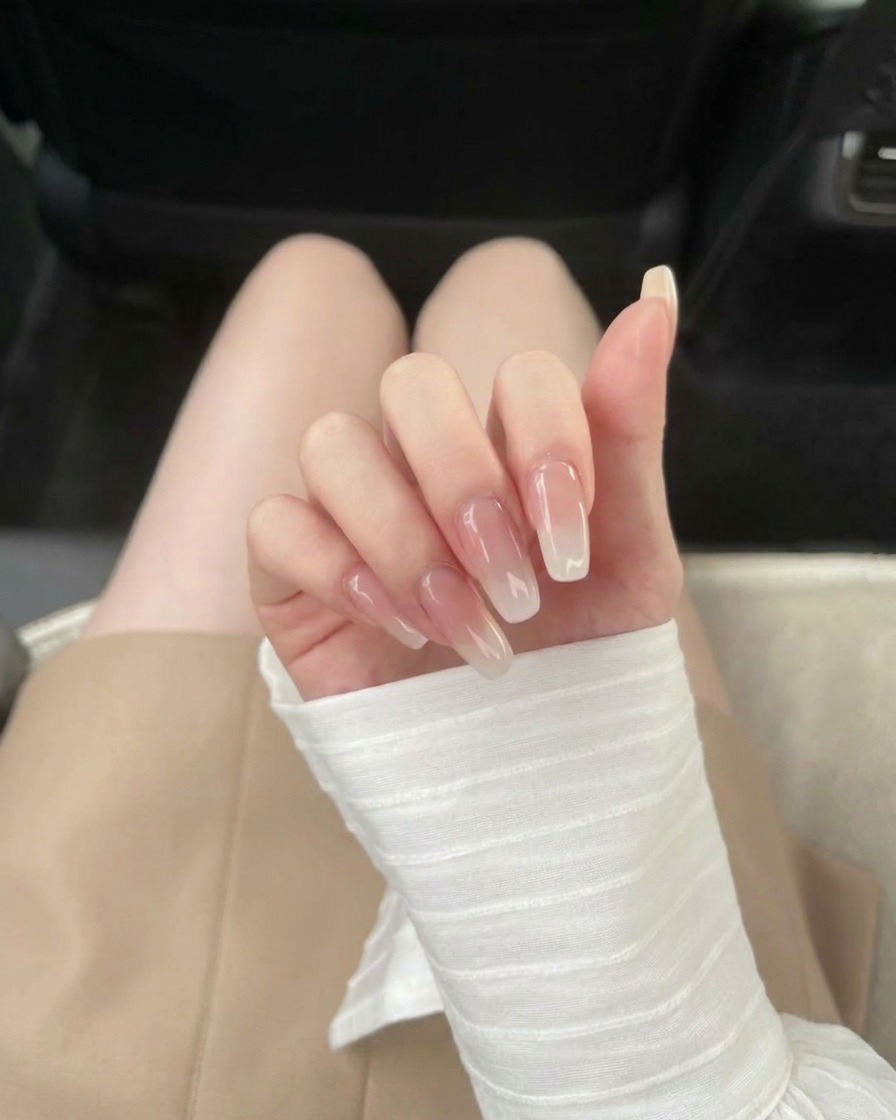
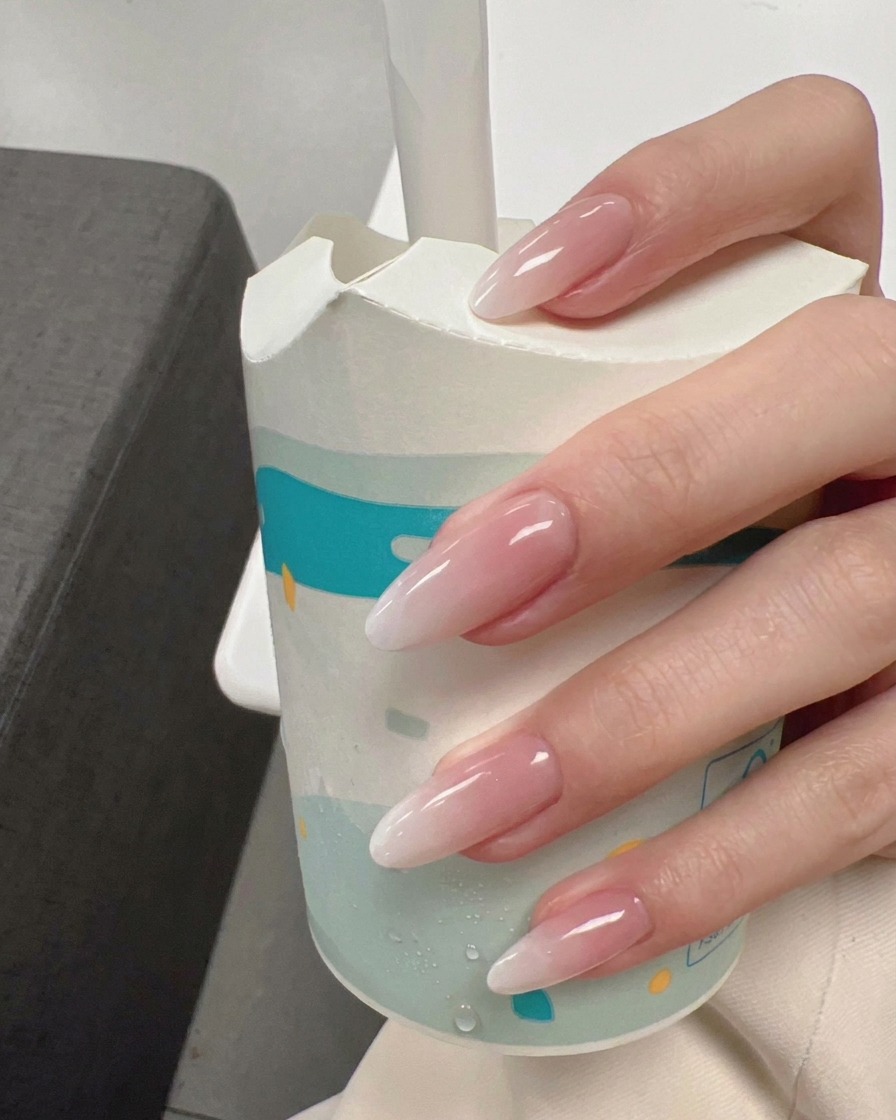
The milky white ombre nail look is the definition of clean, sophisticated style. It offers a soft, ethereal transition that elevates any nail shape, particularly coffin nails. This tutorial breaks down the gradient process into manageable steps, ensuring you achieve a salon-quality, high-shine finish without any hassle.
Steps
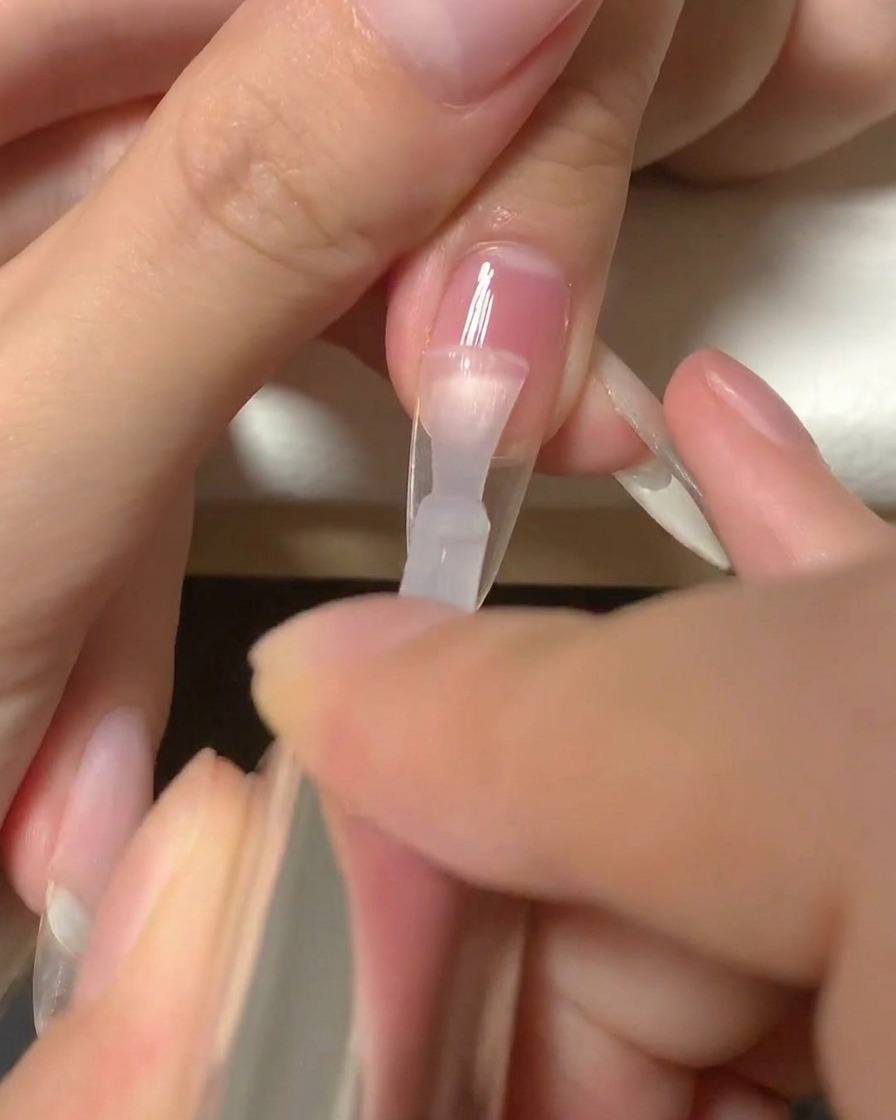
- 1Apply a clear base coat
Begin by applying an even layer of clear base coat onto the nail plate. This creates a smooth foundation that ensures better adhesion for the subsequent gel layers.
Tip: Apply the base coat thinly to avoid pooling around the cuticles. - 2Cure the base coat
Place your nails under the UV/LED lamp to cure the base coat. This step locks the product in place and prepares the nail for color application.
Tip: Ensure your hand is positioned correctly inside the lamp for uniform curing. - 3Apply translucent nude gel
Apply a thin layer of translucent ice nude gel polish over the entire surface of each nail. This provides the soft base color for the gradient look.
Tip: Keep the layer thin to maintain the translucent, icy effect. - 4Cure the nude gel layer

Cure the layer of translucent ice nude gel polish under the UV/LED nail lamp until fully set.
Tip: Check that the gel is smooth and properly cured before moving to the next step. - 5Apply milky white gel

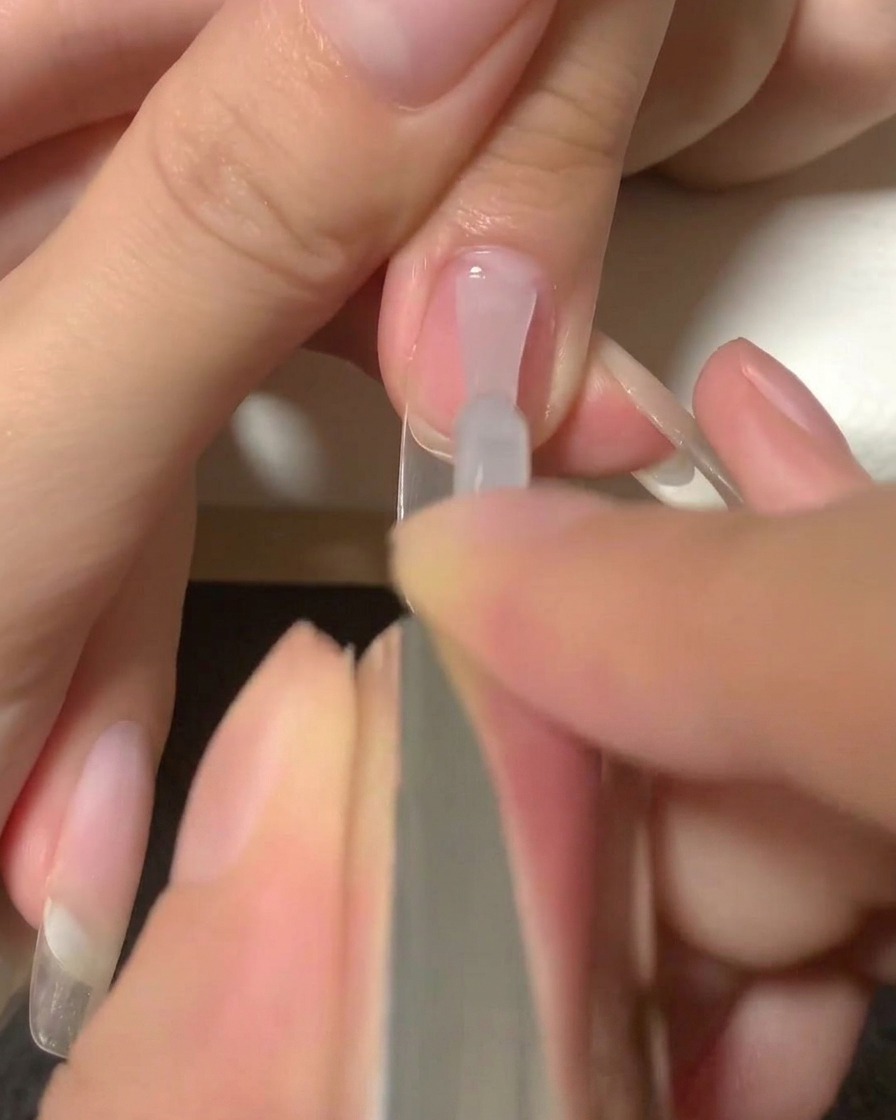
Apply the opaque milky white gel polish starting from the middle of the nail and extending down toward the tip. Focus the intensity at the tip to begin forming the gradient.
Tip: Do not go too close to the cuticle yet, as the gradient starts mid-nail. - 6Blend the gradient
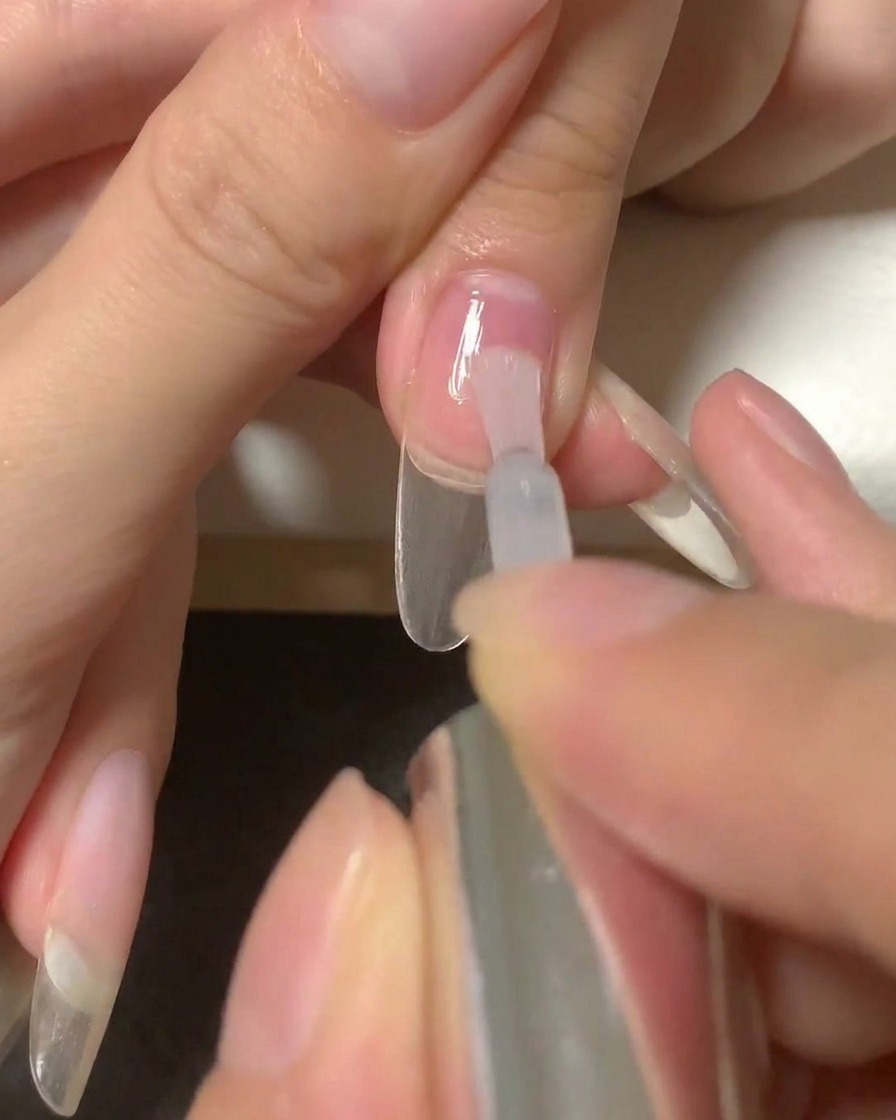
Use a flat gradient blending brush to gently tap and smooth the line where the milky white gel meets the nude base. This creates a seamless, soft transition effect.
Tip: Use light tapping motions to avoid lifting the gel. - 7Cure the gradient
Place your nails under the UV/LED lamp to cure the milky white gradient layer. Ensure your hand is positioned flat to allow even light distribution across all fingers. Curing completely sets the gel and prepares the surface for the next step.
Tip: Keep your hand steady in the center of the lamp for the full recommended curing time to ensure the gel hardens thoroughly. - 8Apply second nude gel layer
Apply a second, thin layer of translucent nude gel polish, starting near the cuticle area and blending it down toward the tip. This step deepens the color at the base, creating a more refined and seamless transition into the milky white gradient.
Tip: Focus on applying this layer smoothly to avoid any thick buildup near the cuticle. - 9Blend the gradient
Using a clean blending brush, gently feather the nude gel downwards from the cuticle area. Continue blending until it merges seamlessly with the milky white tip, creating a soft, natural-looking ombre effect.
Tip: Use a light touch with the blending brush to avoid removing too much product while creating the gradient. - 10Cure the blended layer
Cure the nails under the UV/LED lamp again to set the secondary blended color layer. This final curing step ensures the entire gradient is locked in place and fully hardened.
Tip: Double-check that the gradient looks smooth and even before you start the curing process. - 11Apply top coat
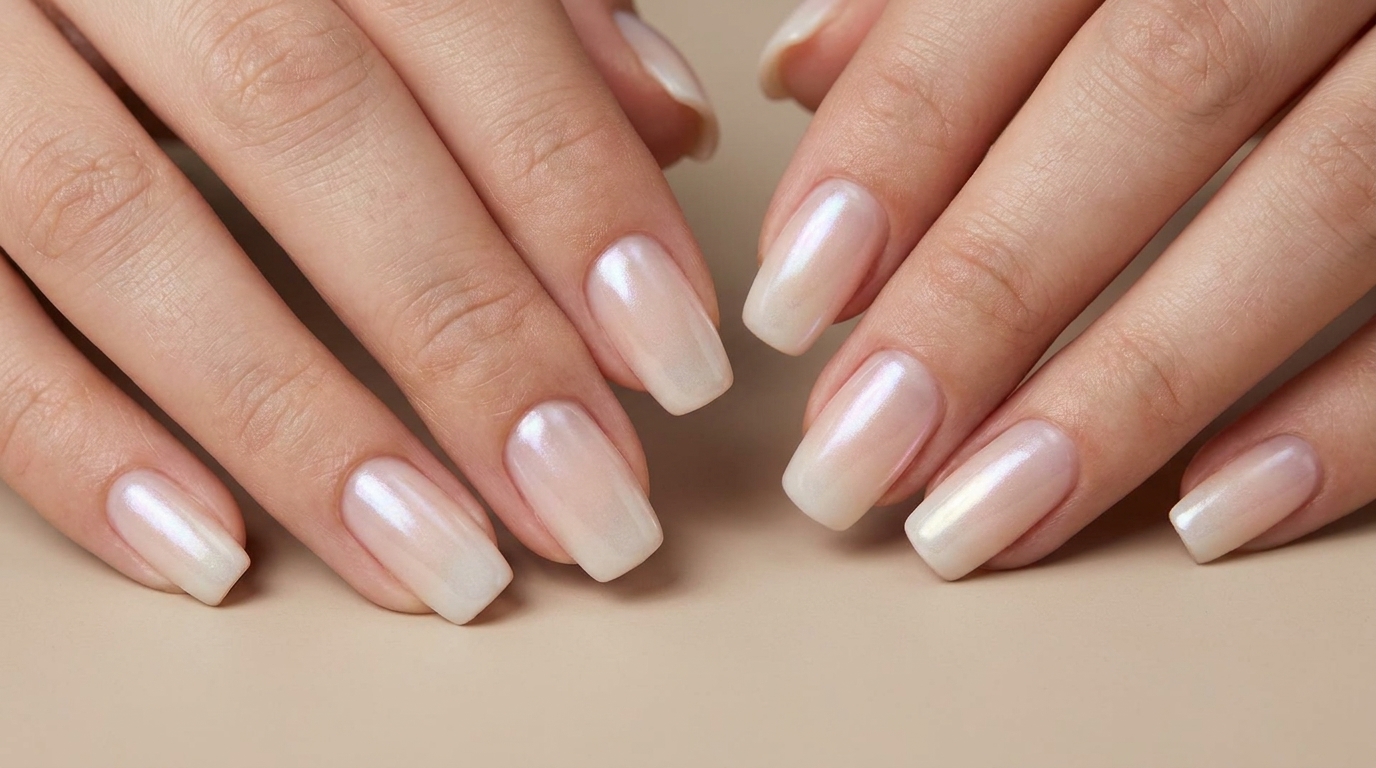
Apply a final, even layer of clear, high-shine glossy top coat over all the nails. Cap the free edges to ensure durability and seal the gradient design, giving the nails a polished, salon-quality finish.
Tip: A high-quality top coat will protect your design and add extra shine that lasts.