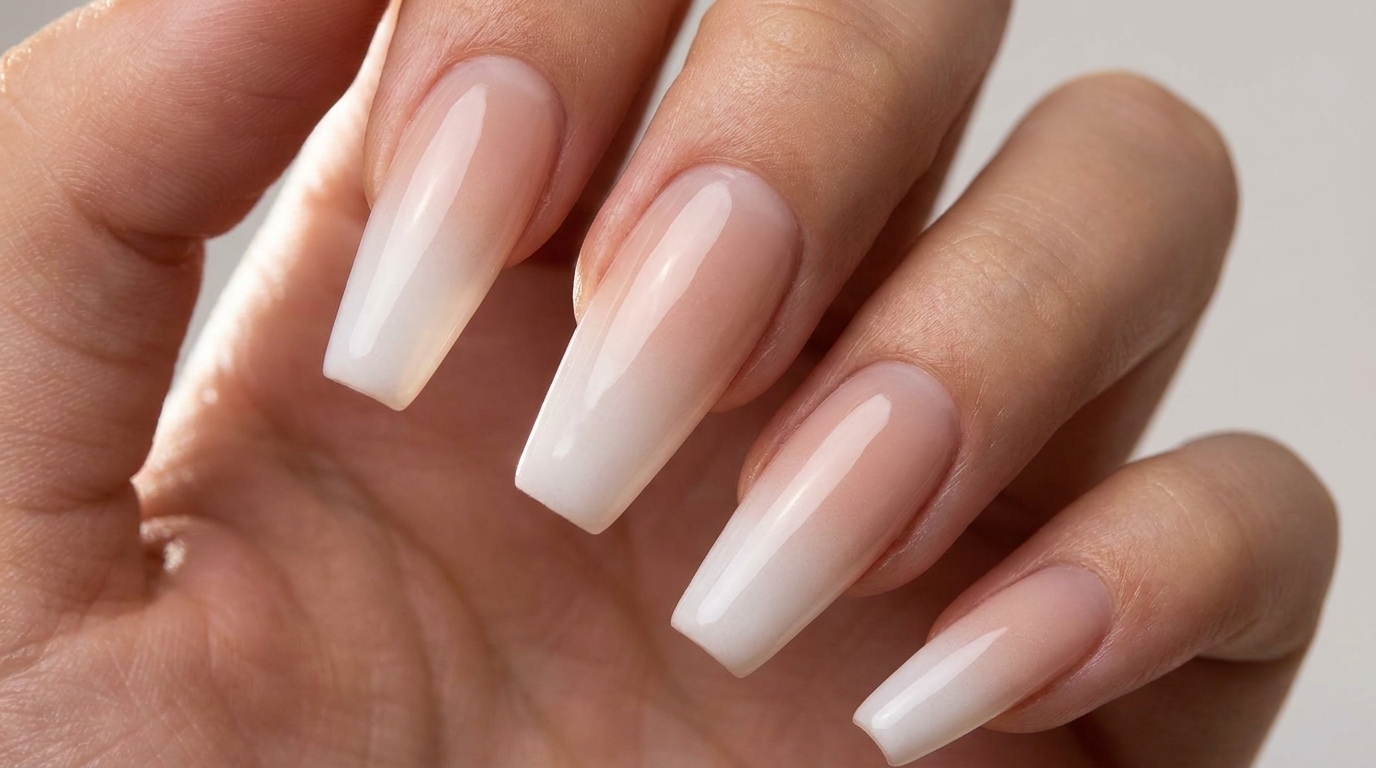
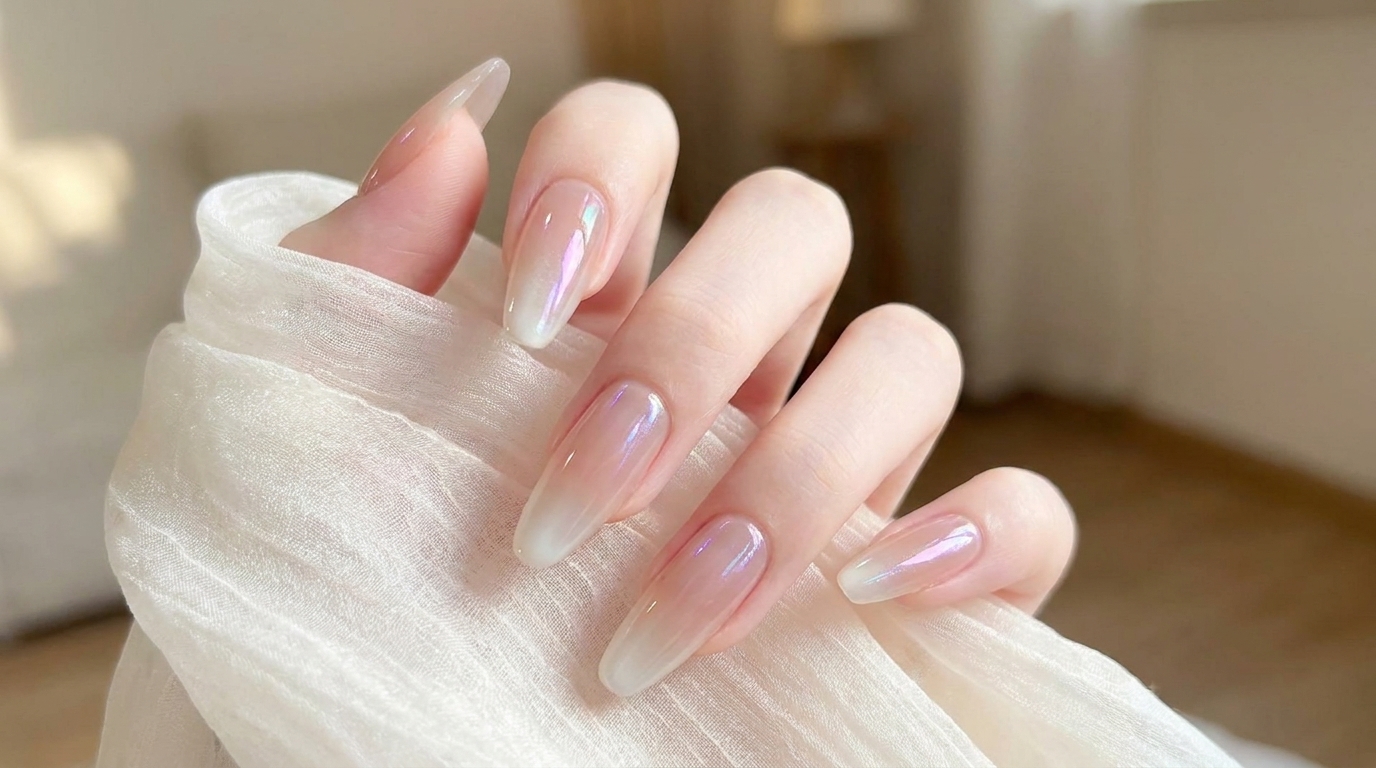
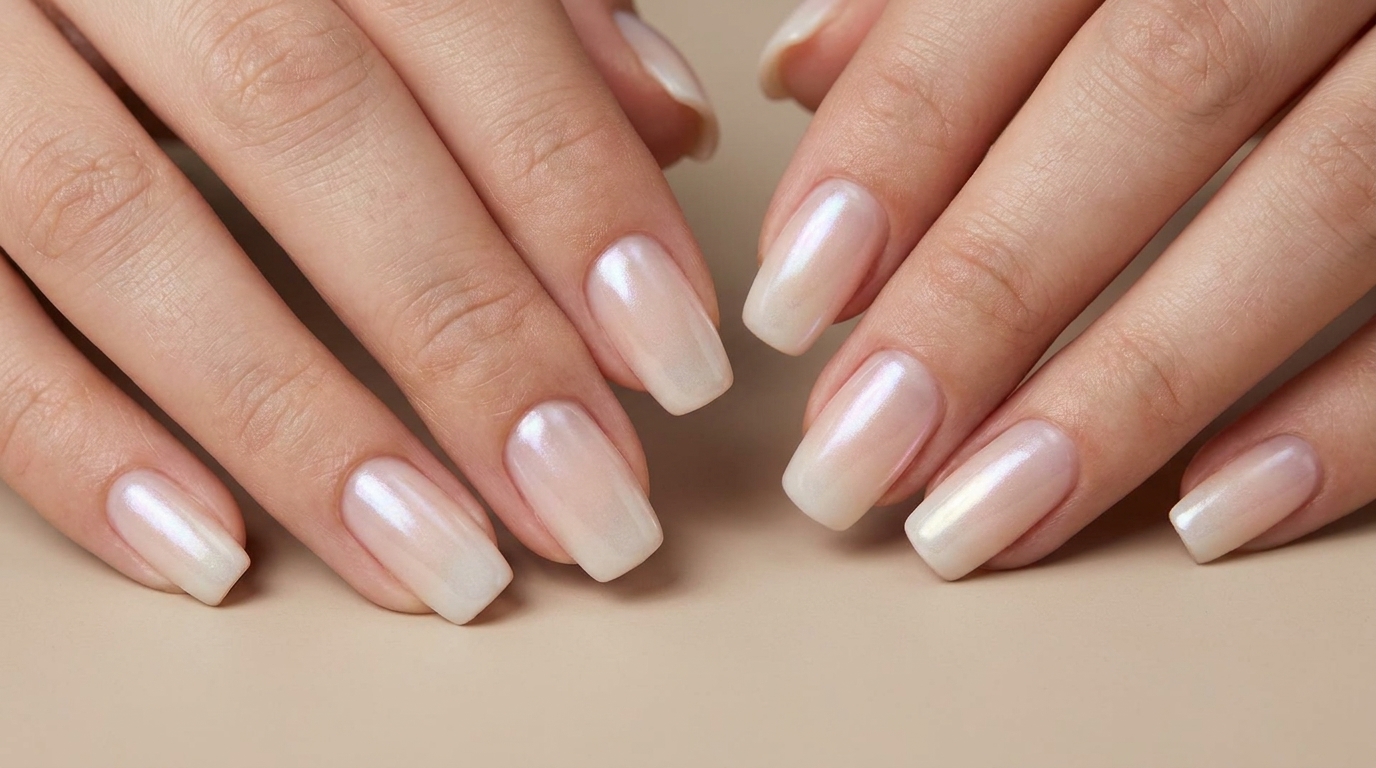
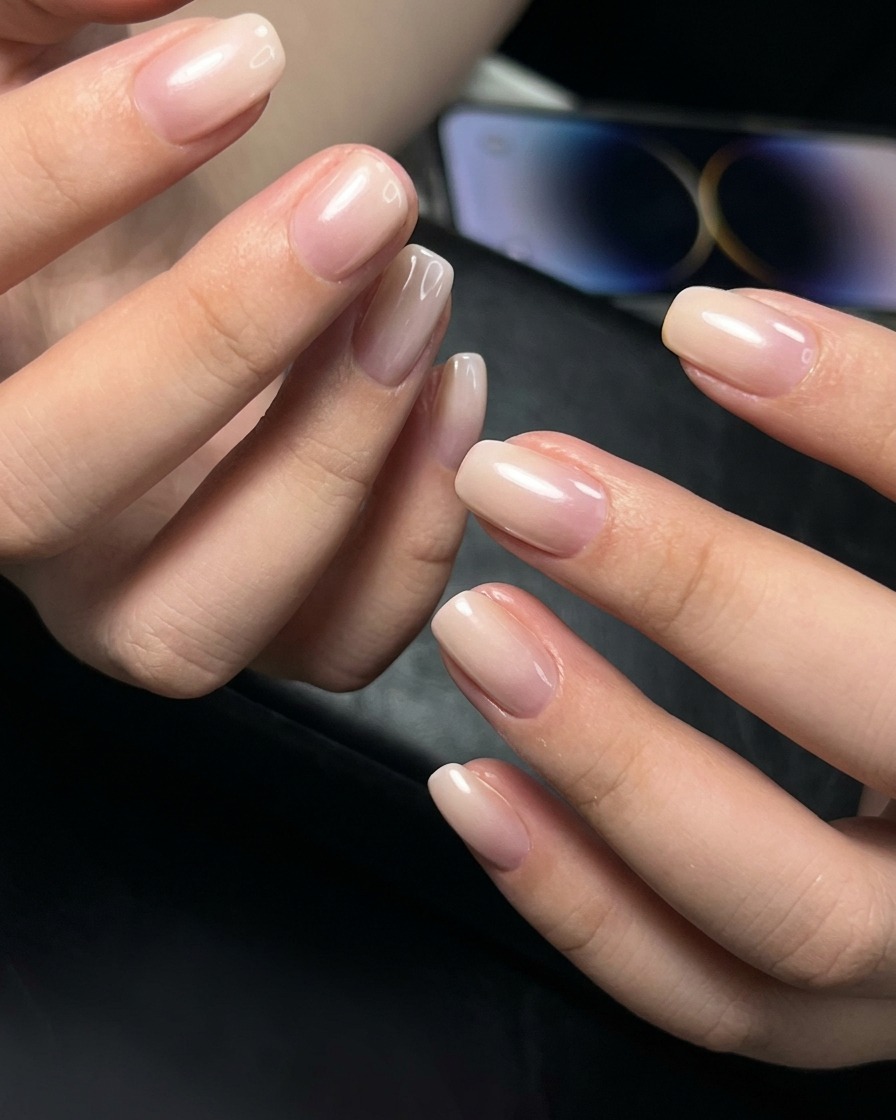
Milky White Gradient Chrome Nails — Professional Step-by-Step Tutorial
Achieve the trendy Hailey-style pearlescent look with this milky white gradient chrome tutorial. Master the perfect clean-prep and apex construction.
The milky white gradient chrome look has taken the beauty world by storm, offering a sophisticated, pearlescent finish that feels both modern and timeless. This tutorial guides you through the professional techniques required to build a strong, refined nail structure before applying that signature glazed shine. Perfect for those who love a clean, high-fashion aesthetic.
Steps
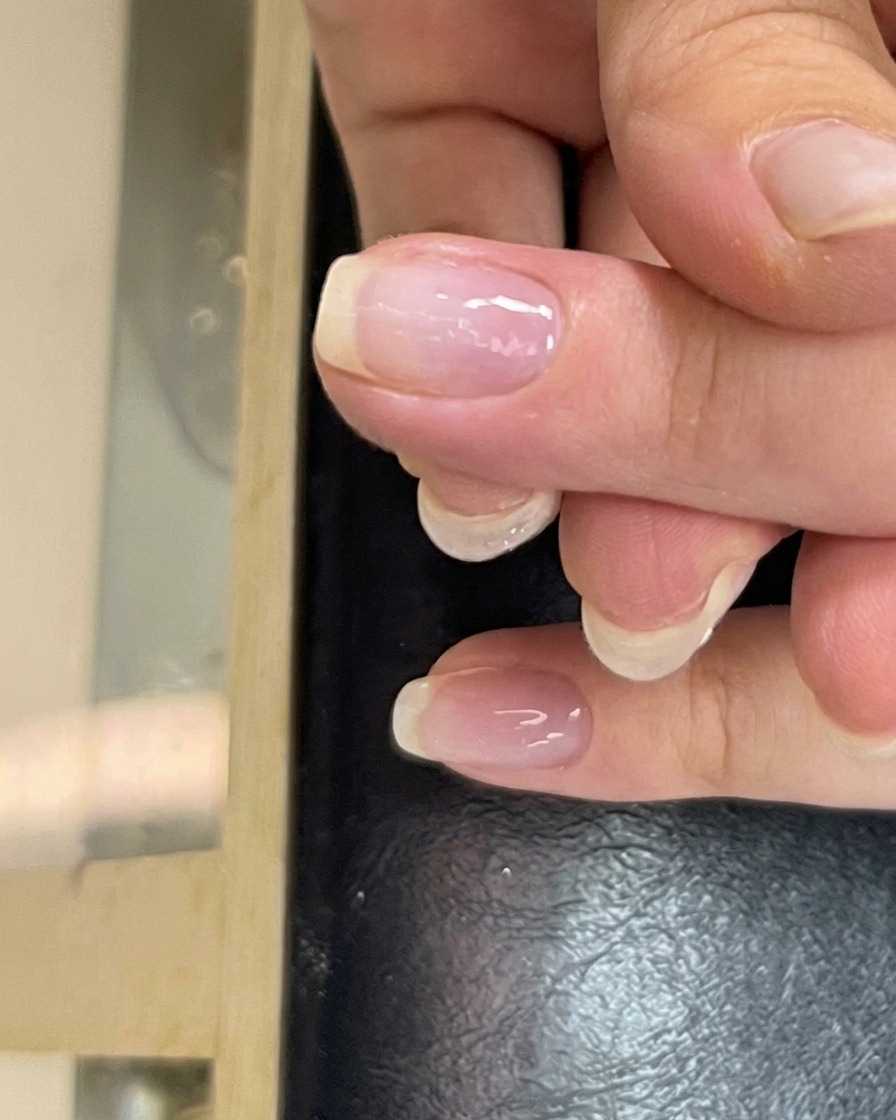
- 1Clear the Cuticle Area
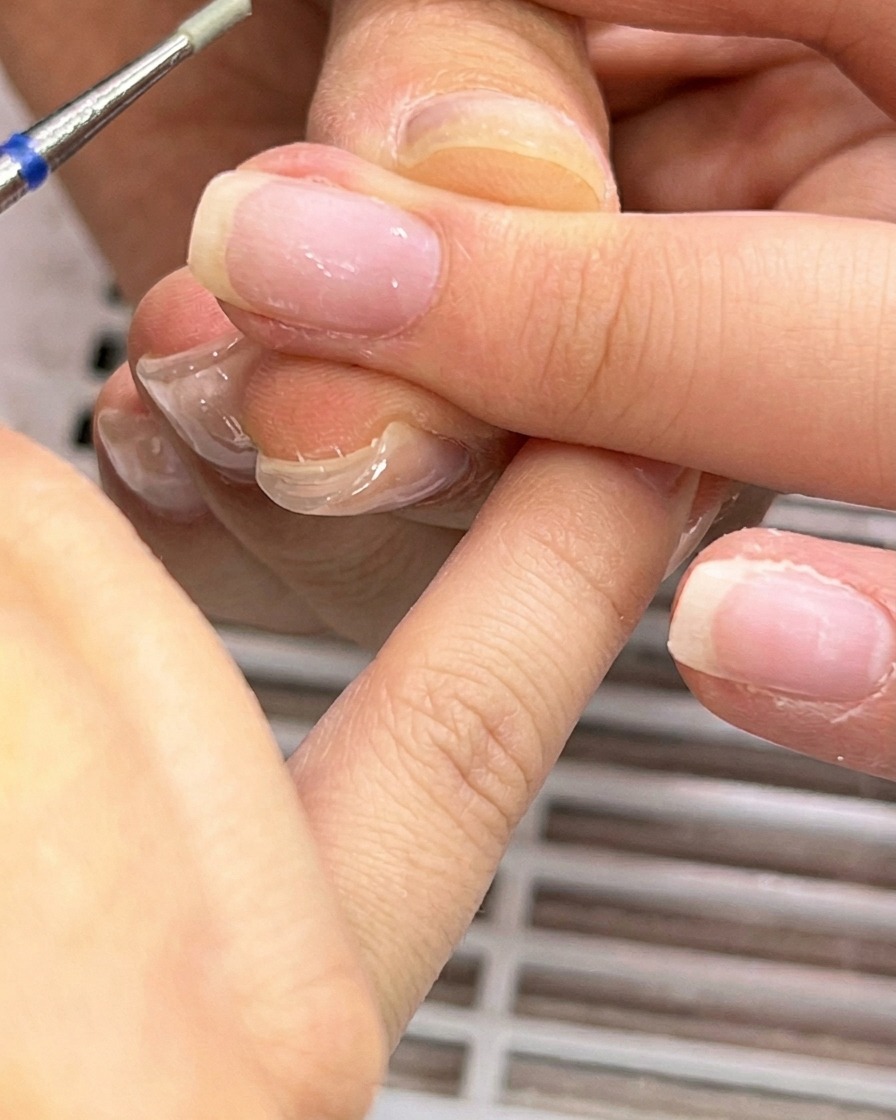
Begin by using an electric drill with an appropriate bit to gently push back and clear the cuticle area around the nail base. Work carefully to avoid damaging the natural nail plate or the sensitive surrounding skin.
Tip: Keep your electric file on a lower speed setting to maintain better control when working so close to the skin. - 2Buff the Nail Plate
Buffing the nail plate thoroughly is incredibly important for product adhesion. Use your buffing attachment to gently remove all the shine from the surface of the natural nail, ensuring an even texture for the gel to grip onto.
Tip: Apply very light pressure—the goal is to remove surface shine without thinning out the natural nail plate. - 3Smooth the Cuticle Line
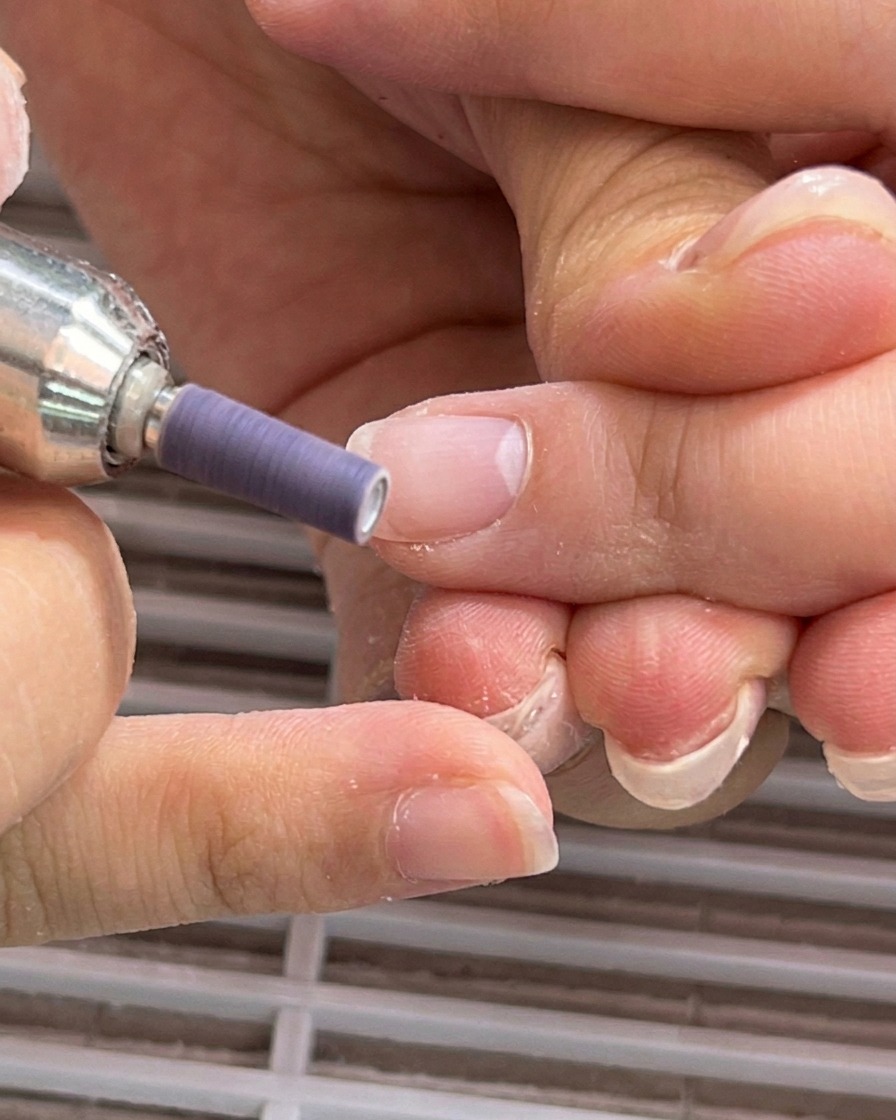
Take a cylinder drill bit or sanding band to lightly smooth out the nail surface near the cuticle line. This refines the prep work, ensuring there are no bumps or lifted skin flakes that could interfere with your gel base application.
Tip: Keep the bit moving constantly in one direction to prevent friction heat from building up on the nail bed. - 4Trim the Dead Skin
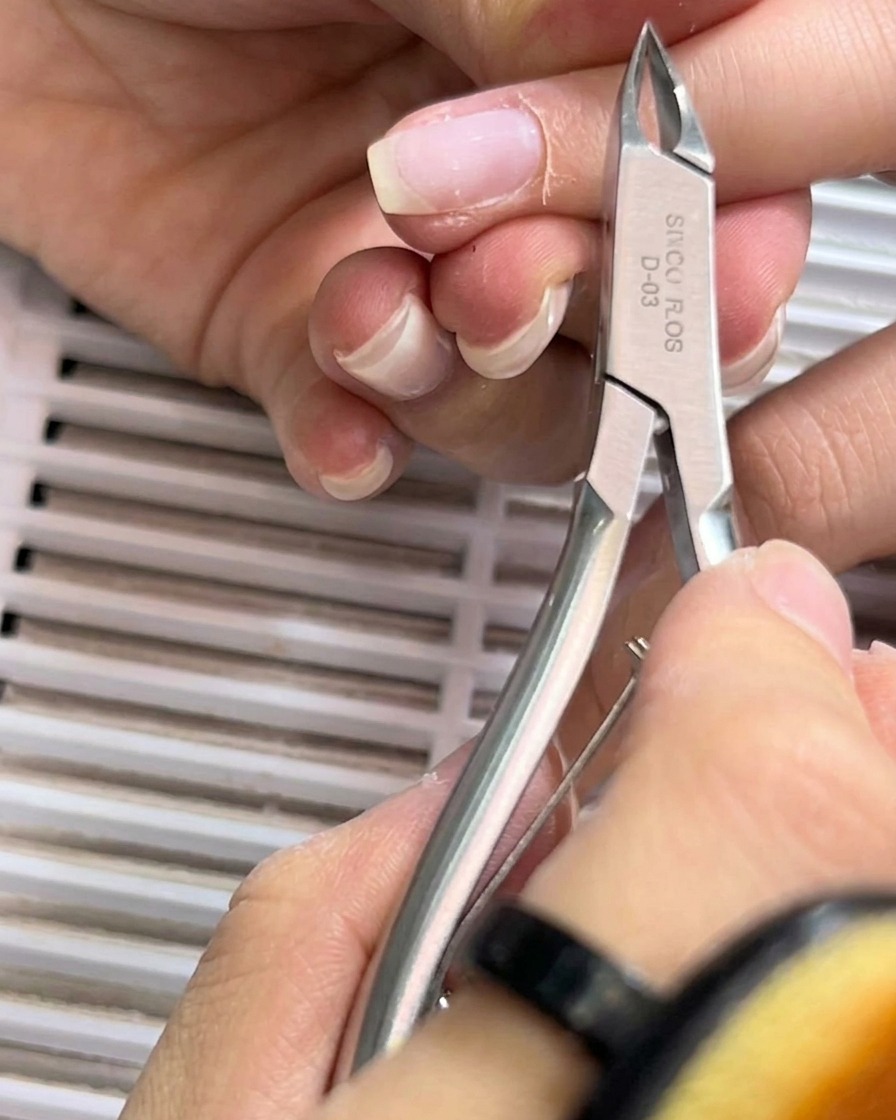
Once the cuticles are pushed back and separated, use sharp metal nippers to carefully trim away the excess dead skin. Focus strictly on removing the loose, non-living tissue for a highly refined and clean finish.
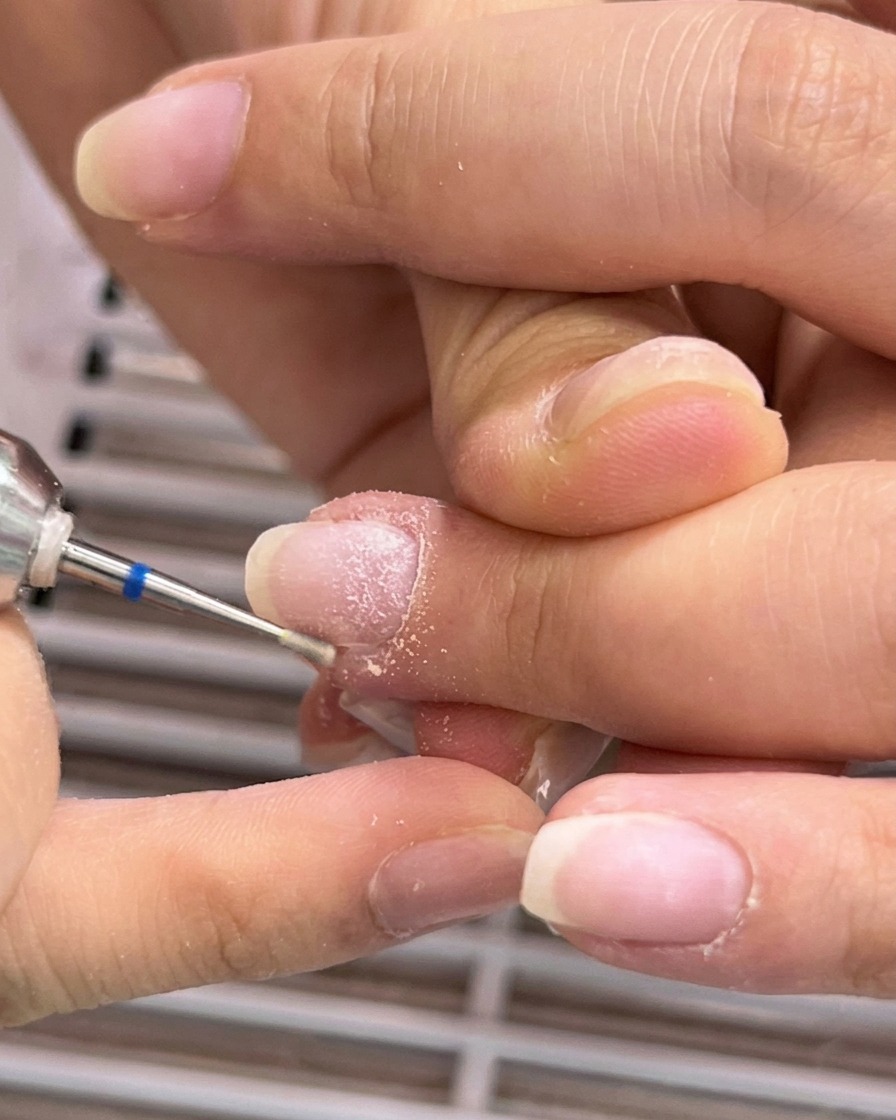
Tip: Make deliberate, clean cuts rather than pulling or tearing the skin, which can cause painful hangnails. - 5Deep Clean the Nail Pocket
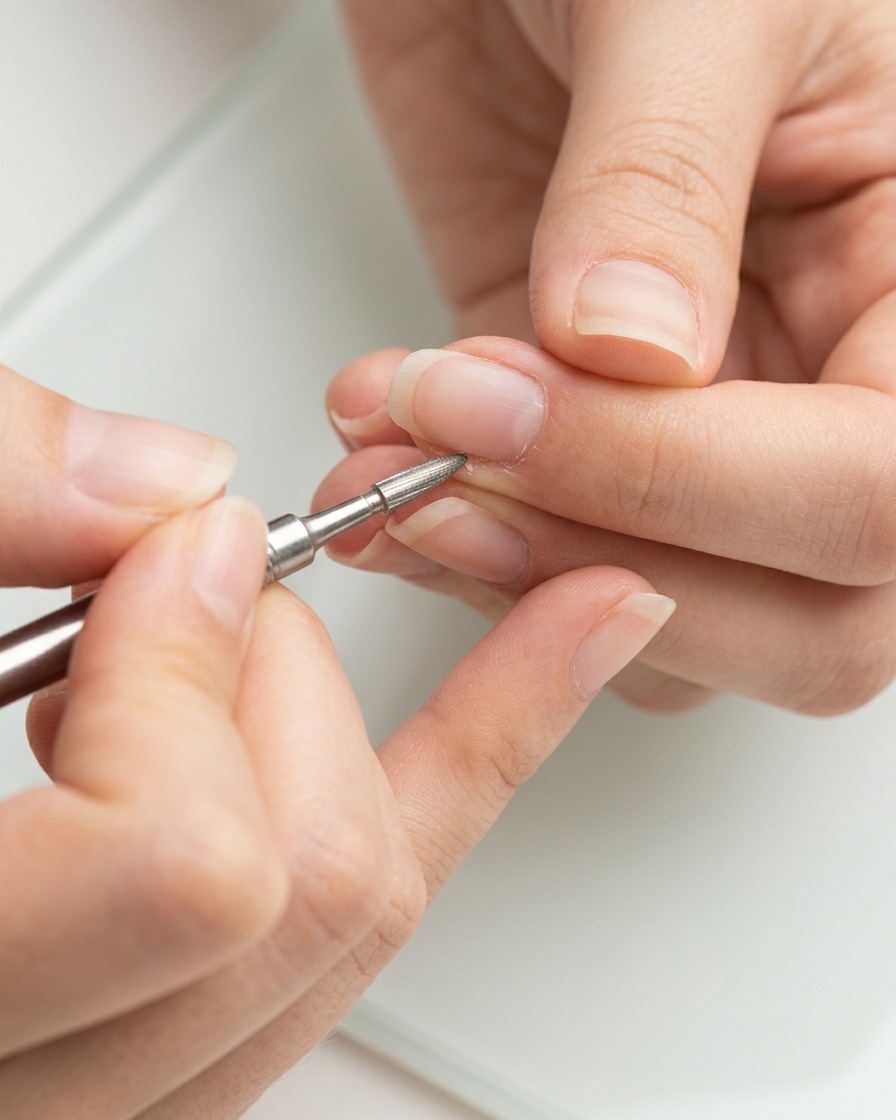
For a flawless manicure, detailed prep is essential. Use a small, fine-tipped drill bit to get into the opened nail pocket and perform a refined cleaning. Gently sweep away any hidden debris or stubborn cuticle clinging to the nail plate.
Tip: Angle the fine bit almost parallel to the nail plate to ensure it glides under the fold without digging into the natural nail. - 6Cleanse and Dehydrate
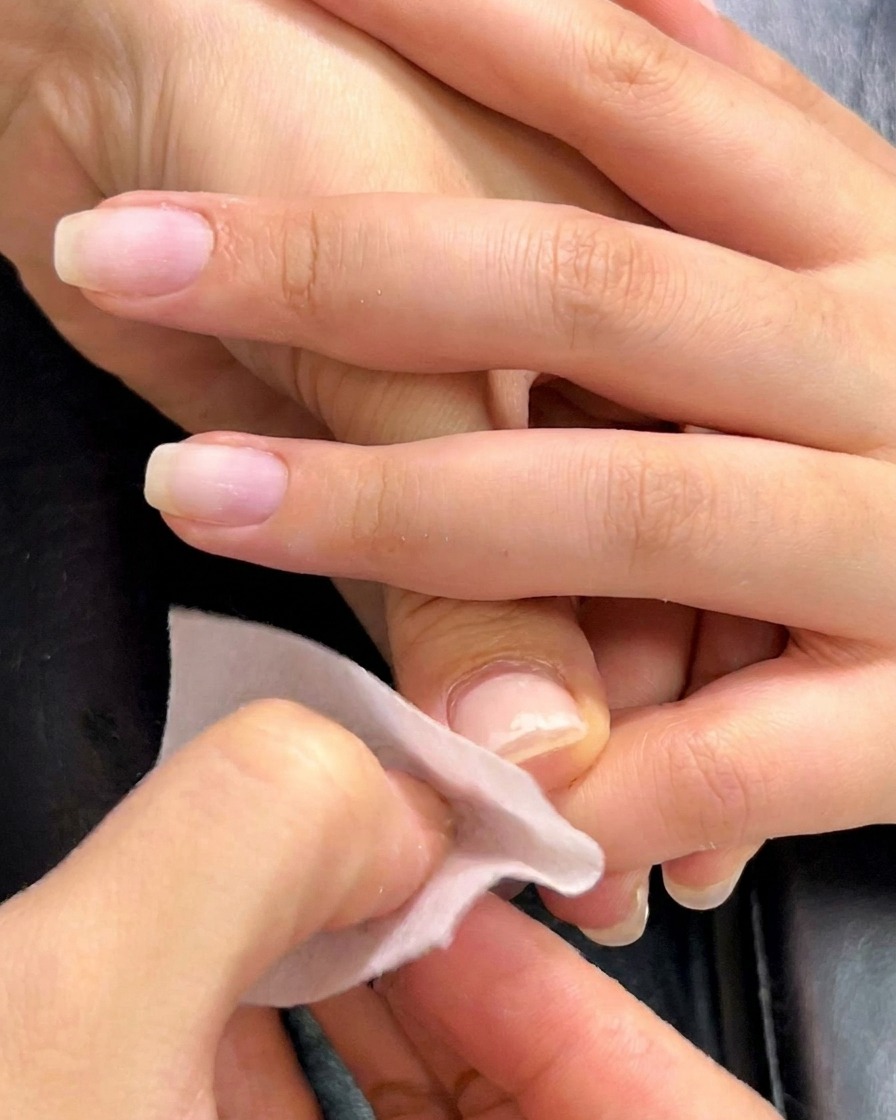
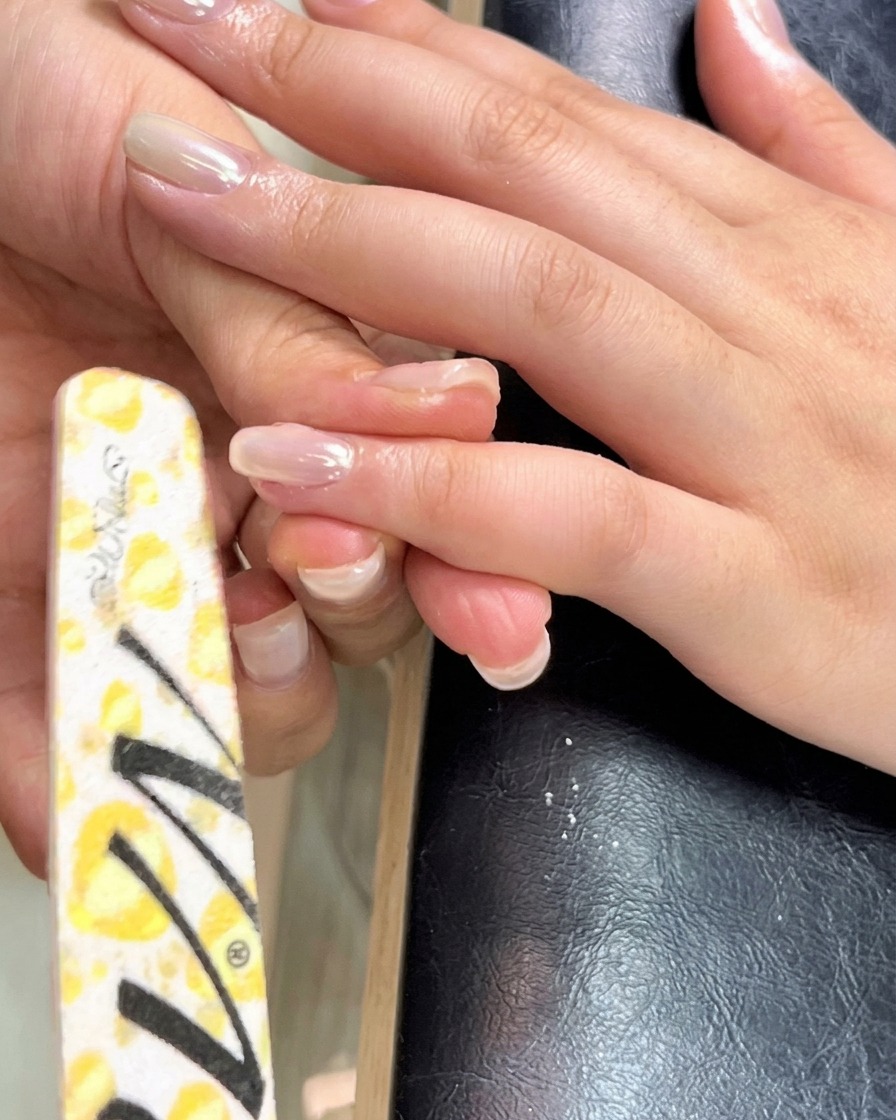
Finish your prep work with a thorough wet prep. Saturate a lint-free wipe with cleanser or alcohol and scrub the entire nail plate, side walls, and under the free edge. This removes all filing dust and oils, leaving a squeaky-clean surface ready for base coat.
Tip: Make sure the cleanser completely evaporates and the nail appears matte and dry before you begin applying your gel base. - 7Apply gel base coat
Apply a thin, even layer of gel base coat to each nail, ensuring you cover the entire nail plate while avoiding the surrounding skin. Cap the free edge to ensure longevity. Cure under your UV/LED lamp as recommended by your specific product instructions.
Tip: A thin, consistent layer prevents pooling around the cuticle and ensures a smooth foundation for your construction gel. - 8Apply construction gel bead
Place a small, controlled bead of construction gel in the center of the nail plate. This serves as the foundation for building the apex, which provides the necessary strength and aesthetic curve to the nail.
Tip: Using a controlled amount of gel helps prevent it from running into the sidewalls before you have a chance to level it. - 9Distribute gel to edges
Using a fine liner brush, gently guide the construction gel from the center bead towards the nail edges and cuticle area. Use light, floating strokes to ensure even coverage without creating streaks.
Tip: The fine tip of a liner brush allows for precise application near the cuticle and sidewalls without flooding. - 10Self-leveling for apex
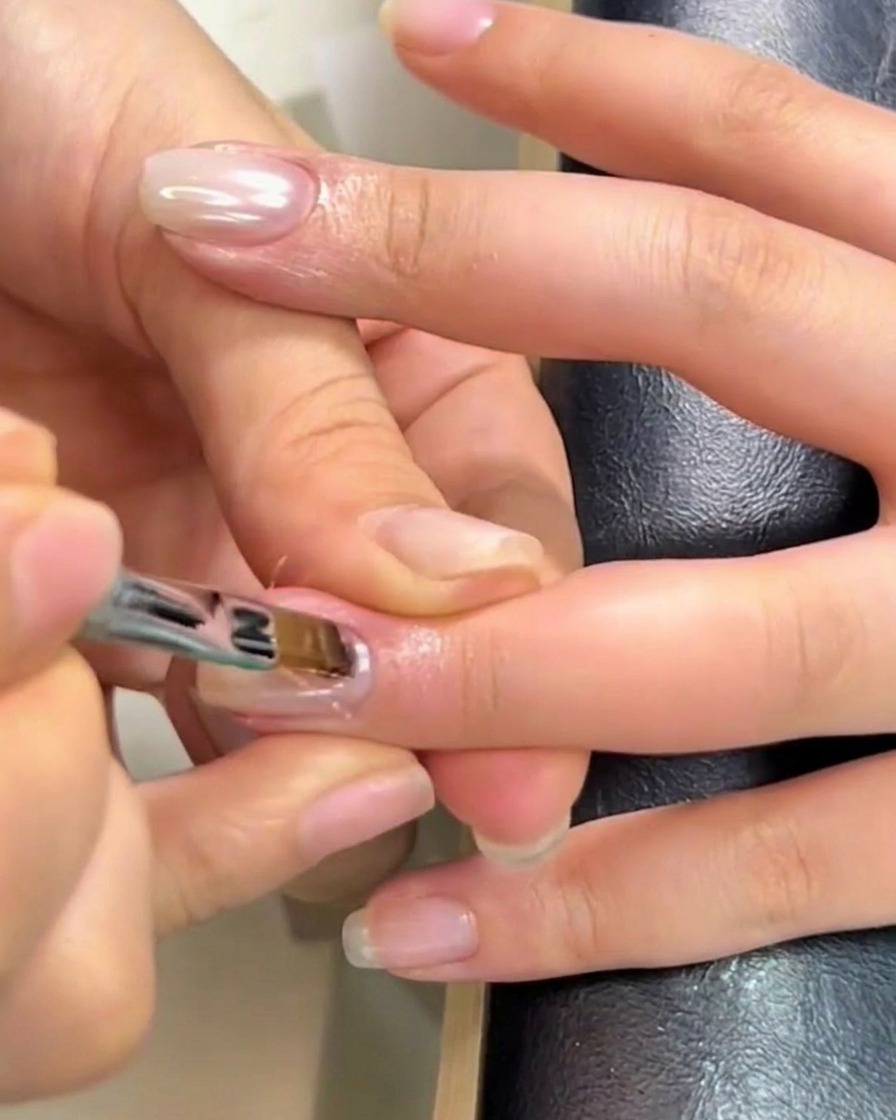
Invert the finger for a few seconds to allow the gel to naturally self-level and build a perfect apex. This gravity-assisted technique ensures a smooth, strong structure before you cure the nail.
Tip: Keep the finger inverted for just enough time to let the gel settle into a smooth curve; avoid over-inverting to prevent the product from running onto the skin. - 11Cleanse and prep for gradient
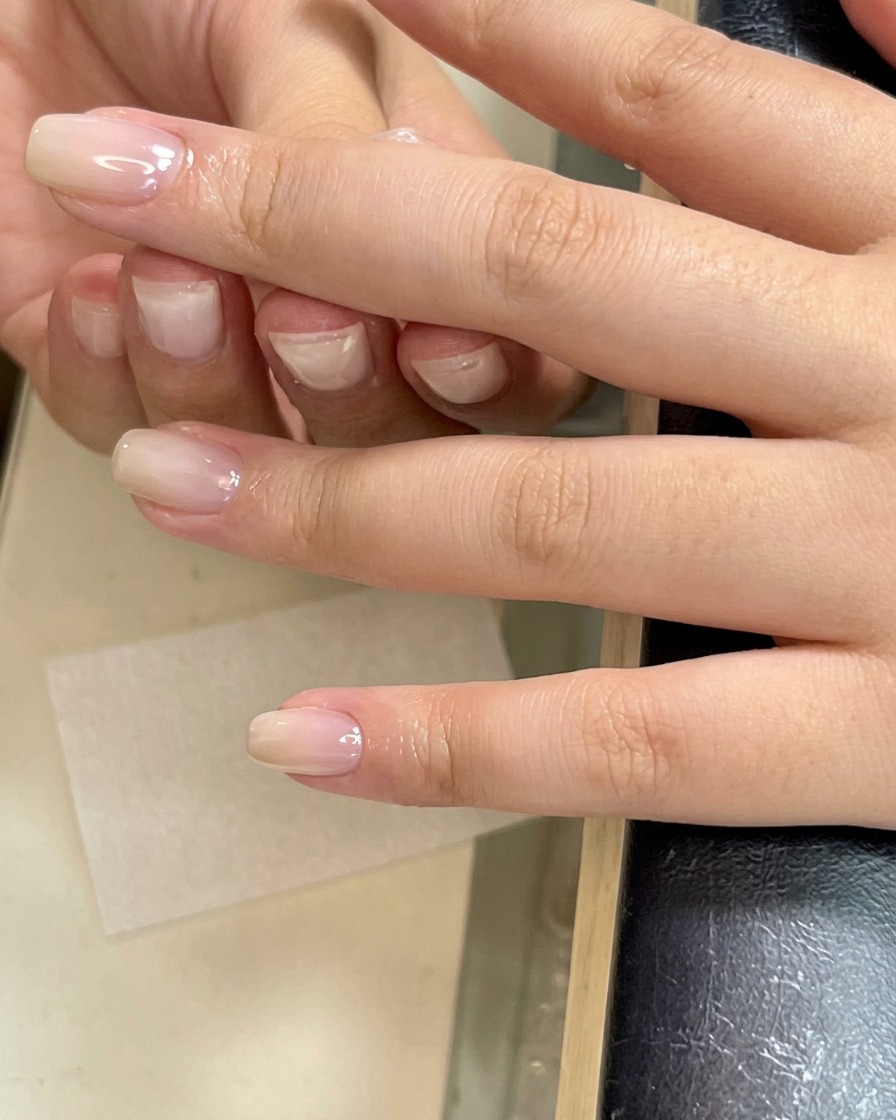
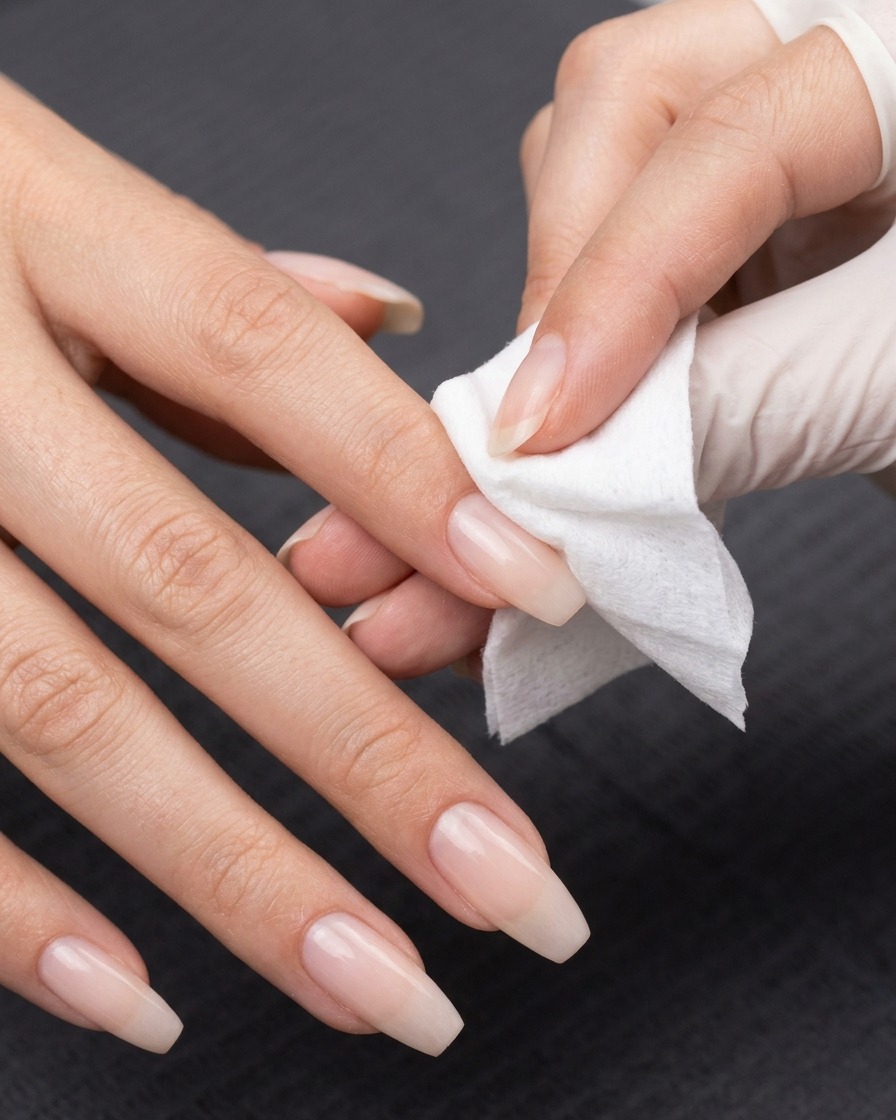
Use a lint-free wipe saturated with cleanser to remove the sticky dispersion layer from the cured nail. Be diligent about wiping the edges and sides to ensure a perfectly clean surface, which is essential for a smooth gradient application.
Tip: Be thorough when wiping the edges, as residue left there can cause dust or debris to stick later. - 12Final Cure Process
Apply your final non-wipe top coat and cure it completely under the UV LED lamp. This step seals the entire manicure, providing a long-lasting high-gloss finish.
Tip: Ensure the top coat is applied smoothly and reaches the edges to protect your nail art or chrome finish.