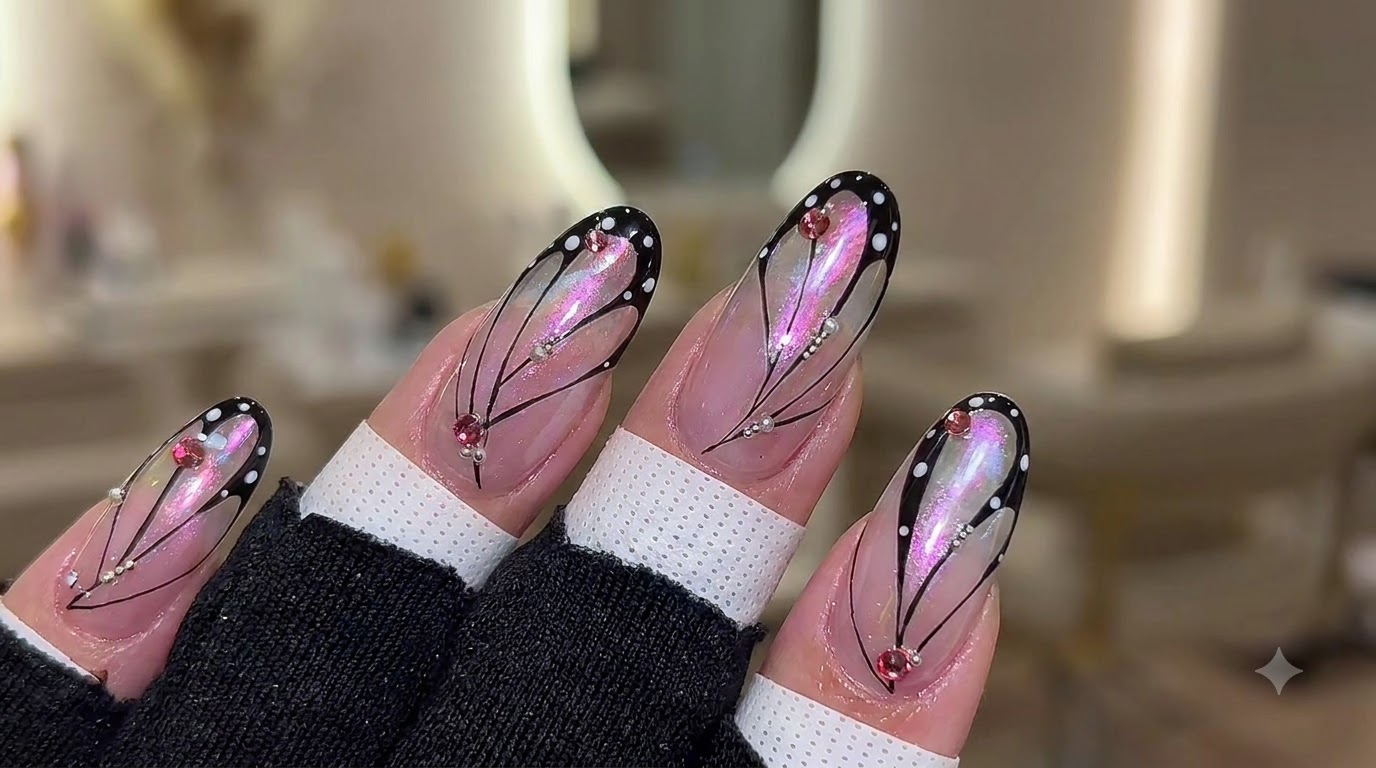
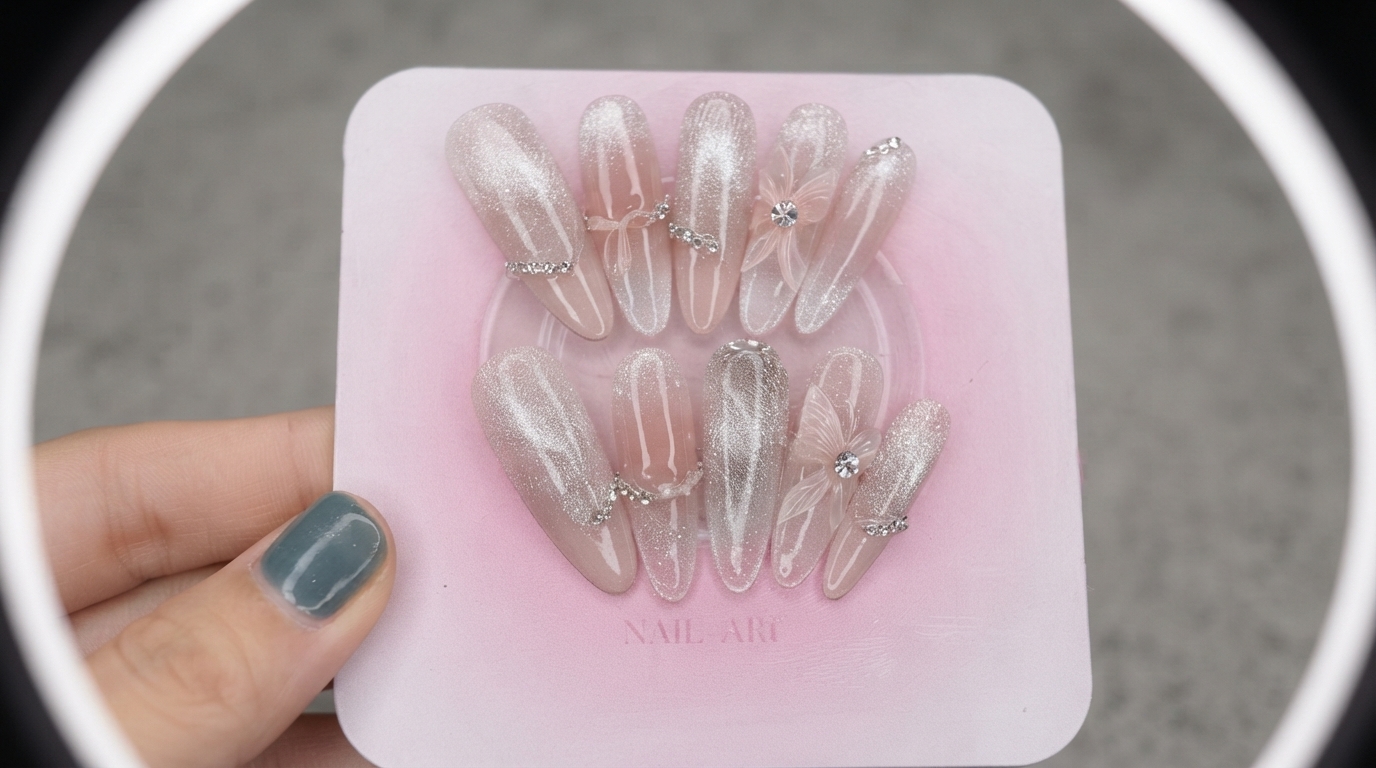
Nude Pink Ombre
Butterfly Nails — Elegant Step-by-Step Tutorial
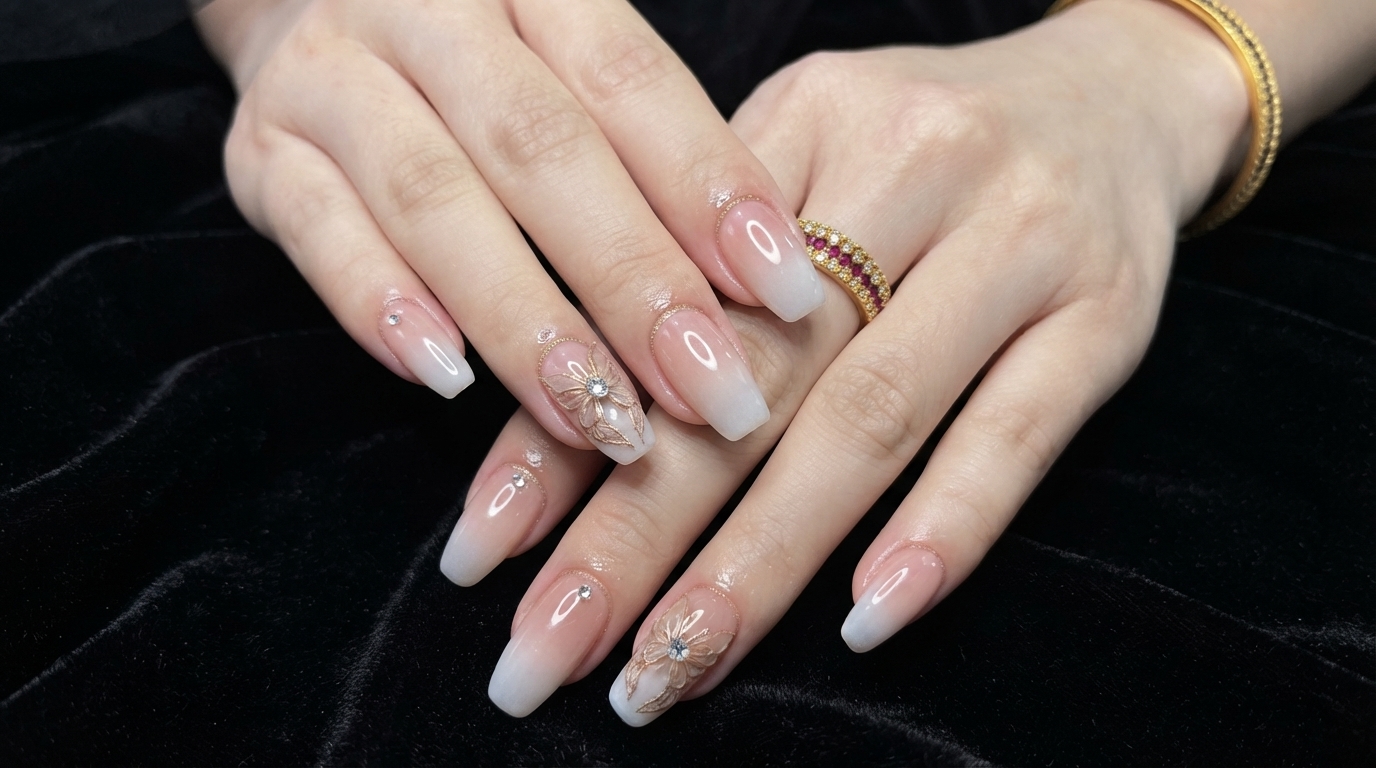
Create an exquisite nude pink ombre design enhanced by subtle gold glitter, delicate rhinestone crystals, and 3D butterfly accents for a luxurious finish.
Combining a seamless nude-to-milky-white fade with intricate 3D accents, this tutorial walks you through creating a high-end salon look at home. Perfect for special occasions or elevated everyday wear, this design blends timeless ombre elegance with modern charm.
Steps
- 1Apply nude pink base color gel
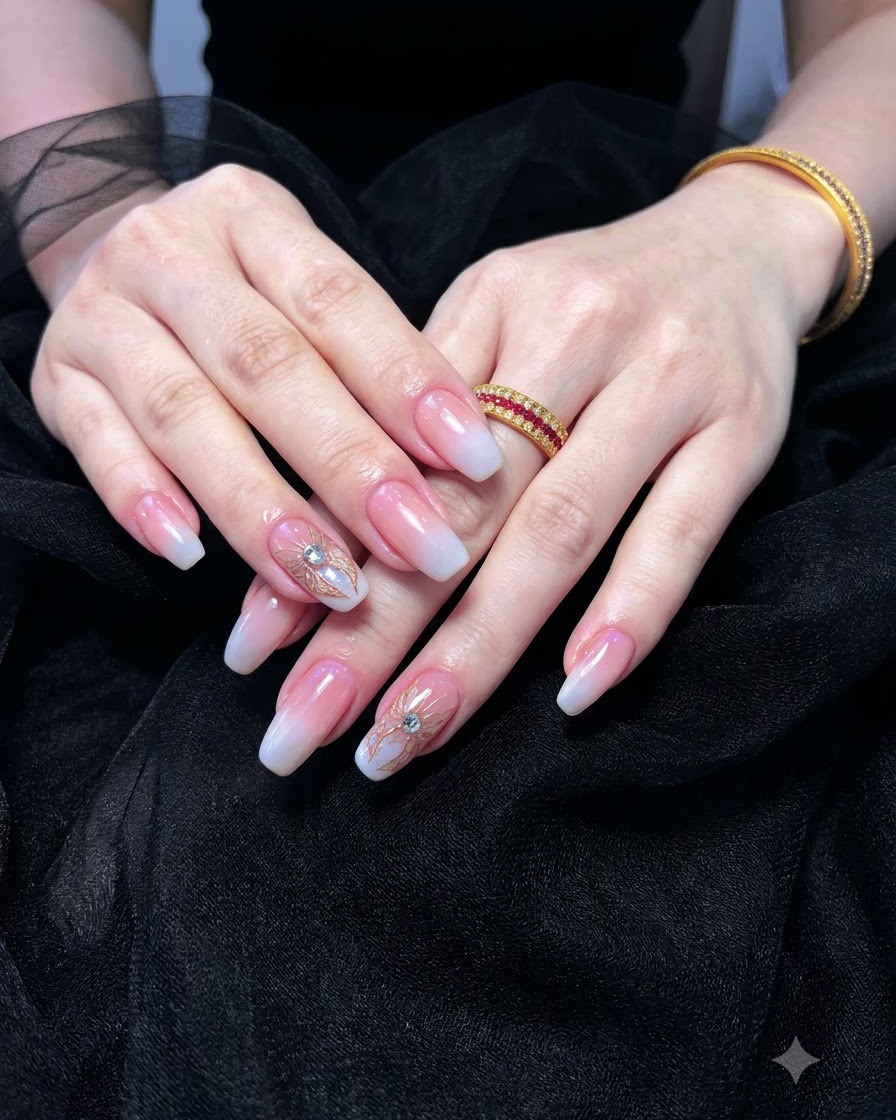
Apply the nude pink base color gel evenly across the surface of the prepared nail plate, ensuring smooth coverage from the cuticle area down to the free edge. Work carefully to avoid flooding the cuticles, and cure under the lamp if required or proceed directly depending on the system workflow.
Tip: Keep the coat thin and even to prevent any pooling or uneven thickness around the nail edges. - 2Cure the nude pink base coat
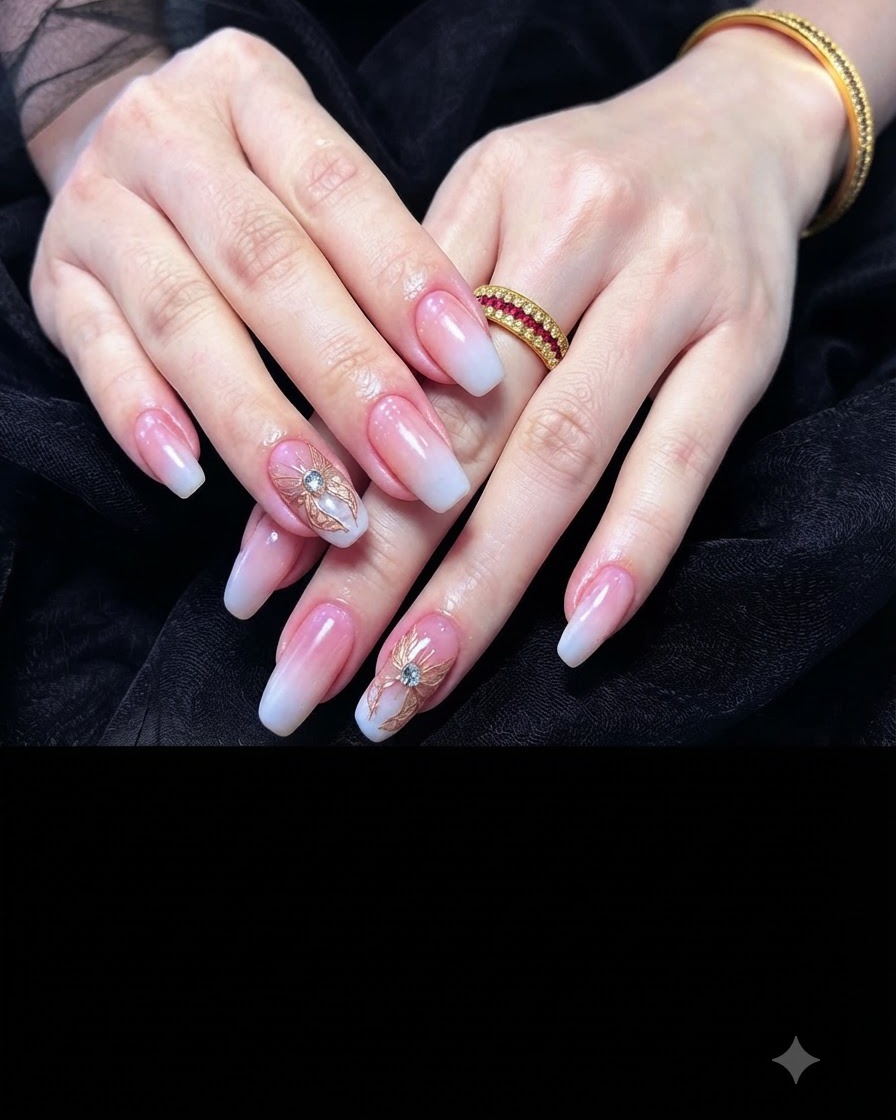
Place the hand inside the UV/LED nail lamp to fully cure the applied nude pink base coat layer. Ensure fingers are properly positioned so light reaches all nail surfaces evenly for the recommended curing time.
Tip: Make sure your hand is placed flat inside the lamp to avoid any uneven curing across the fingers. - 3Apply milky white gel polish to the tips
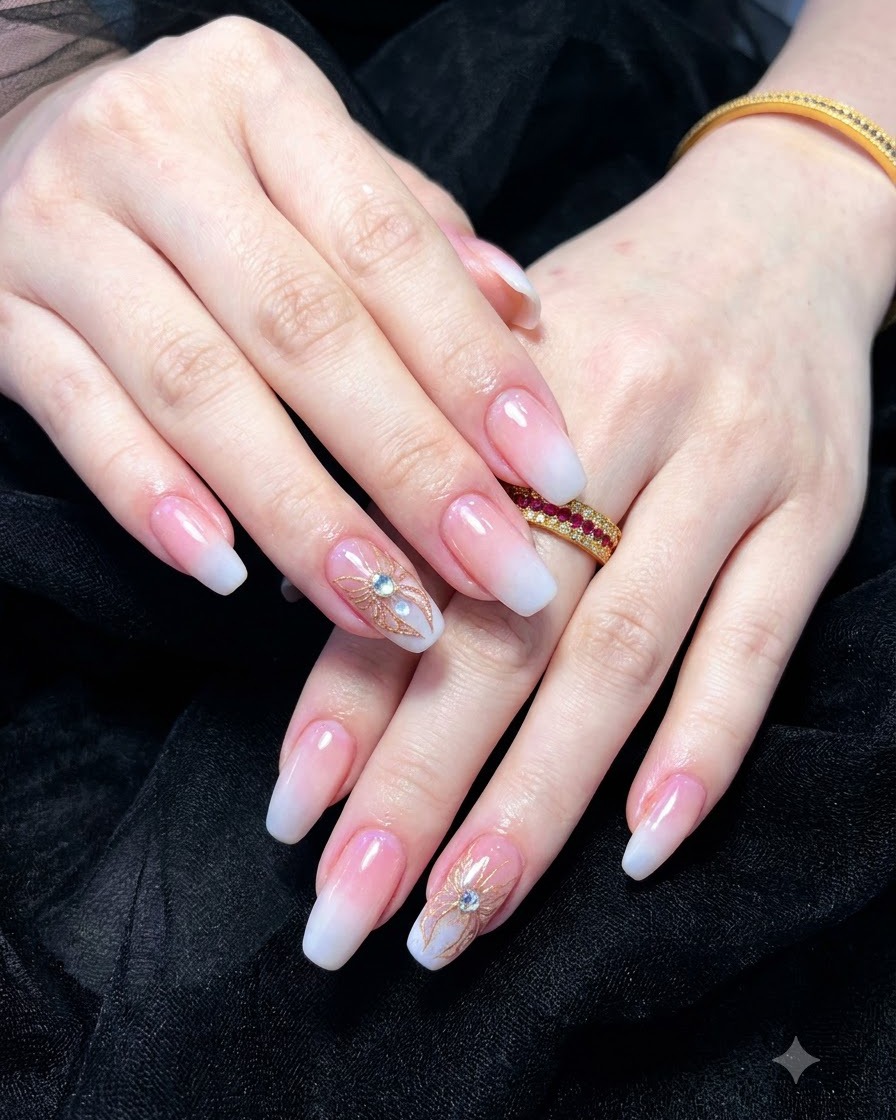
Dab or brush milky white gel polish lightly onto the free edge and tips of each nail to establish the foundation for the gradient ombre effect. Concentrate the pigment heavily at the very tip, fading it slightly upward toward the center.
Tip: Applying less product at the transition line makes blending much easier and prevents a harsh cutoff. - 4Blend the gradient transition
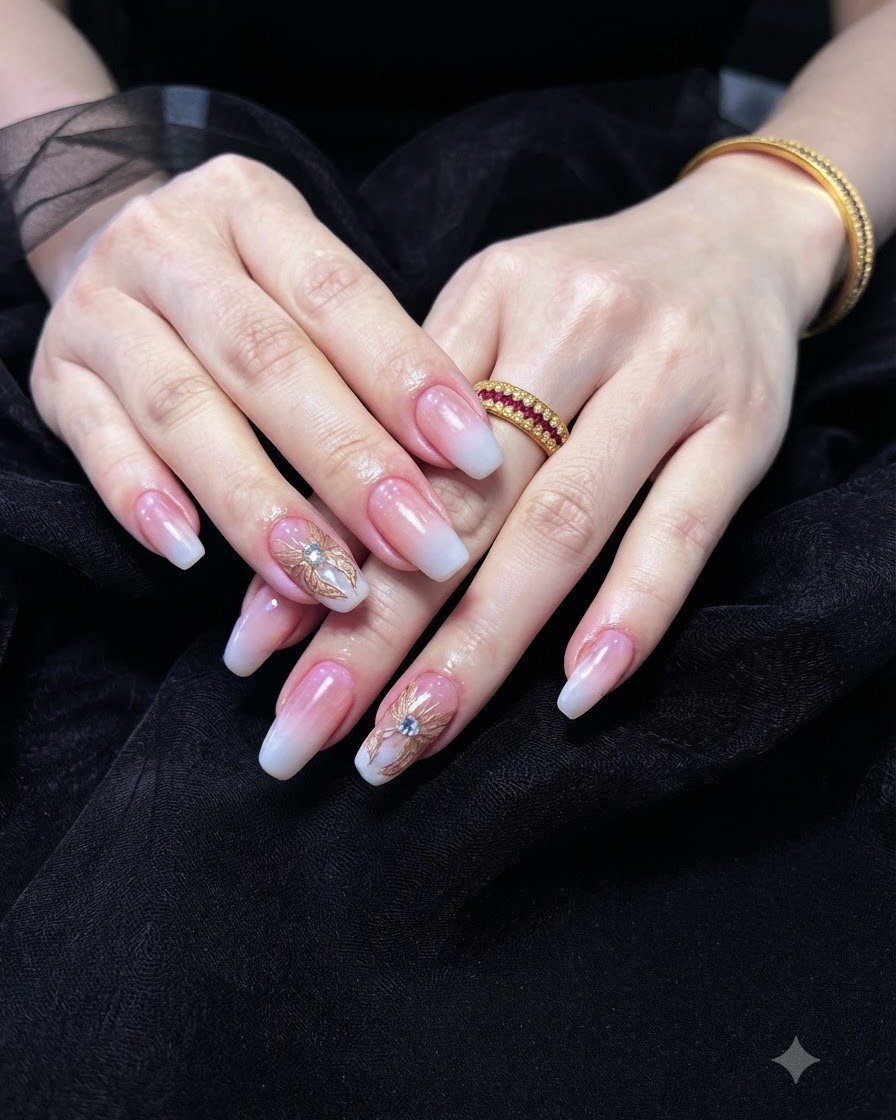
Using a clean gradient sponge or soft blending brush, gently tap and feather the boundary line where the nude base meets the milky white tip. This softens the transition zone, creating a seamless ombre gradient look across the nail surface.
Tip: Use light, vertical dabbing motions rather than heavy dragging to preserve the soft fade. - 5Cure the gradient color layer
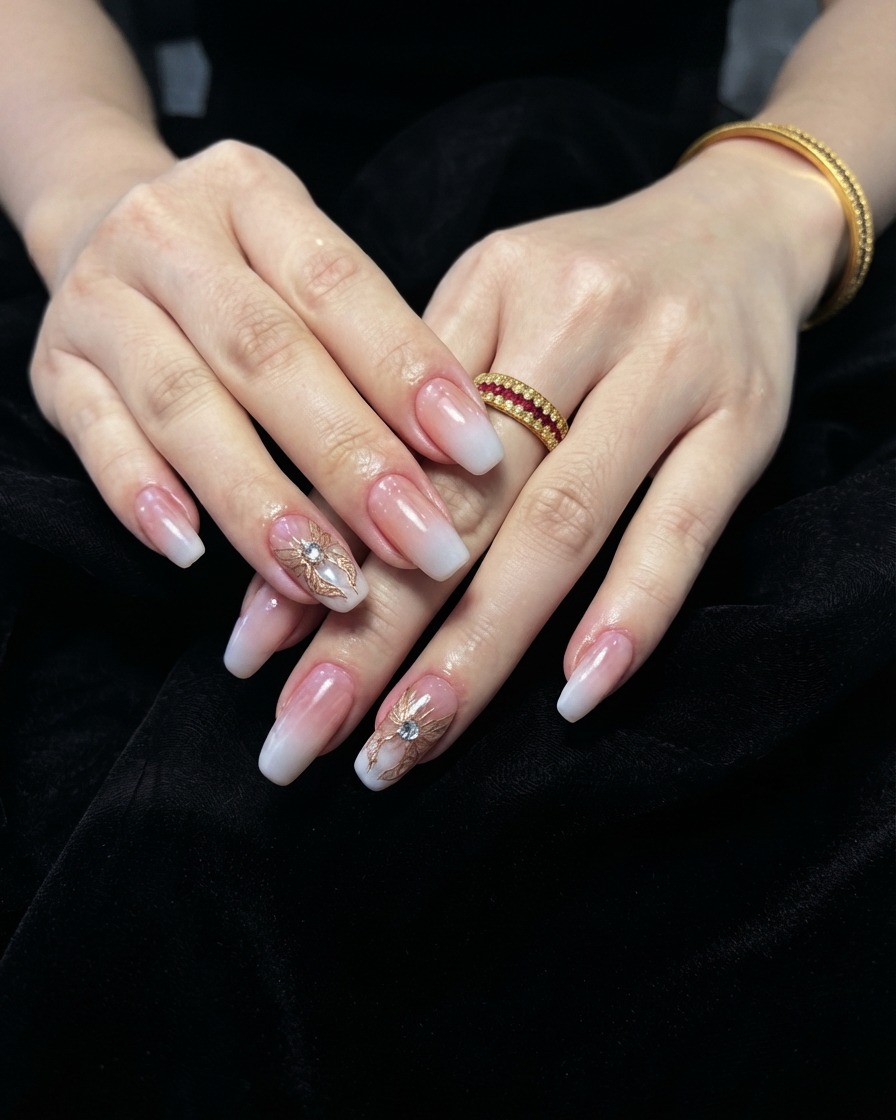
Insert the hand into the UV/LED lamp to cure the freshly blended gradient color layer. Allow the gel to set completely before moving on to any additional layers or top coat applications.
Tip: Check that the ombre blend looks smooth under the lamp light before finalizing the cure. - 6Apply second gradient layer
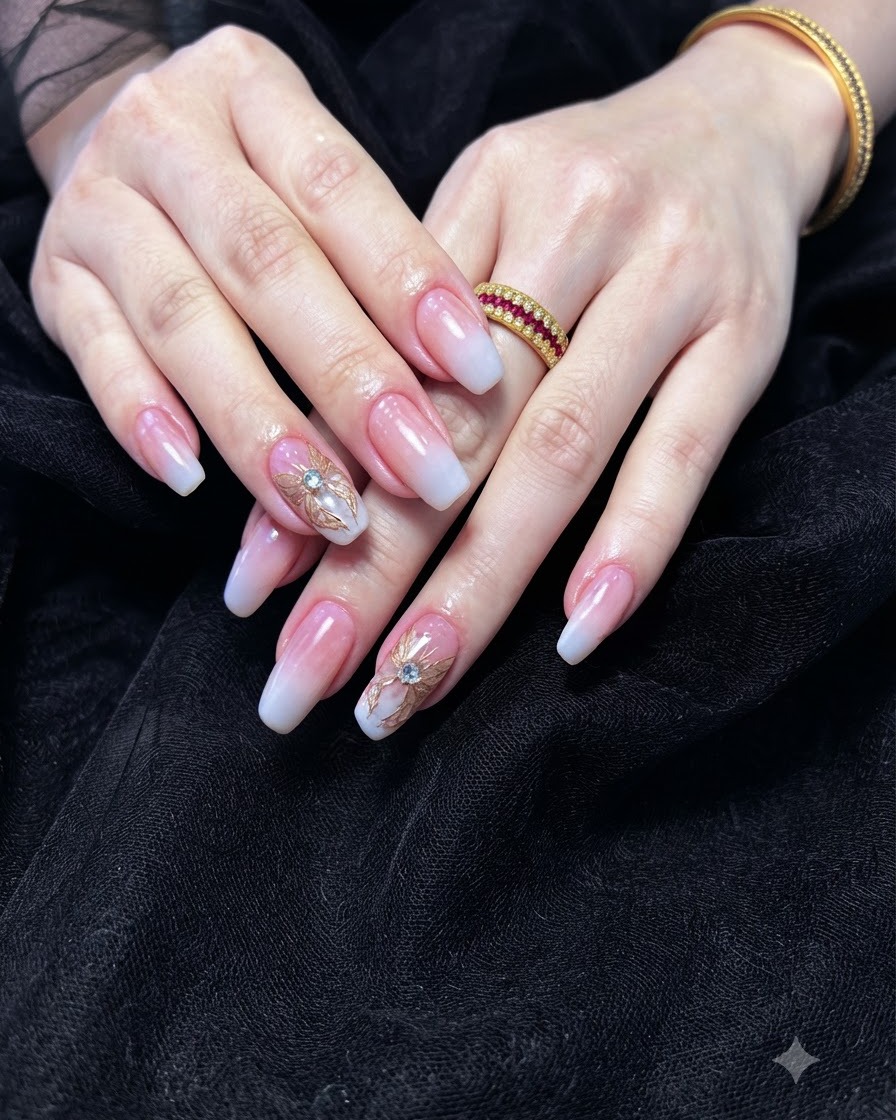
Apply a second thin layer of milky white gel to the tips and re-blend the transition area to increase the opacity and richness of the ombre effect. This ensures the gradient has a solid, professional depth and vivid contrast.
Tip: Building the ombre in two thin layers looks much cleaner than trying to achieve full opacity with one heavy coat. - 7Place rhinestones and butterfly charm
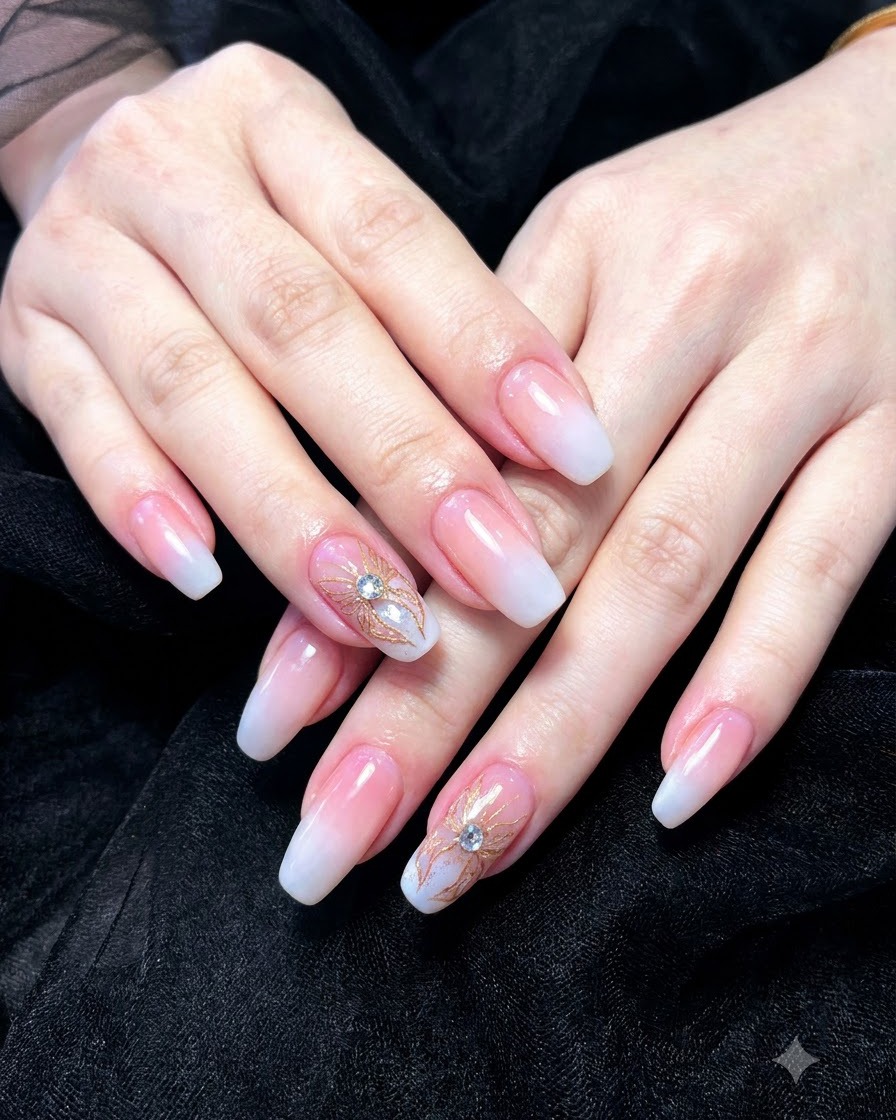
Apply a small dab of gel adhesive to the accent nails where the embellishments will sit. Carefully pick up the small rhinestones and the 3D gold butterfly charm using a wax picker or tweezers, and press them gently into the adhesive. Arrange them harmoniously around the center of the nail bed before curing.
Tip: Position the 3D charm securely into a thicker blob of gel adhesive to ensure it doesnt snag or pop off easily during daily wear. - 8Cure embellishments and color layer
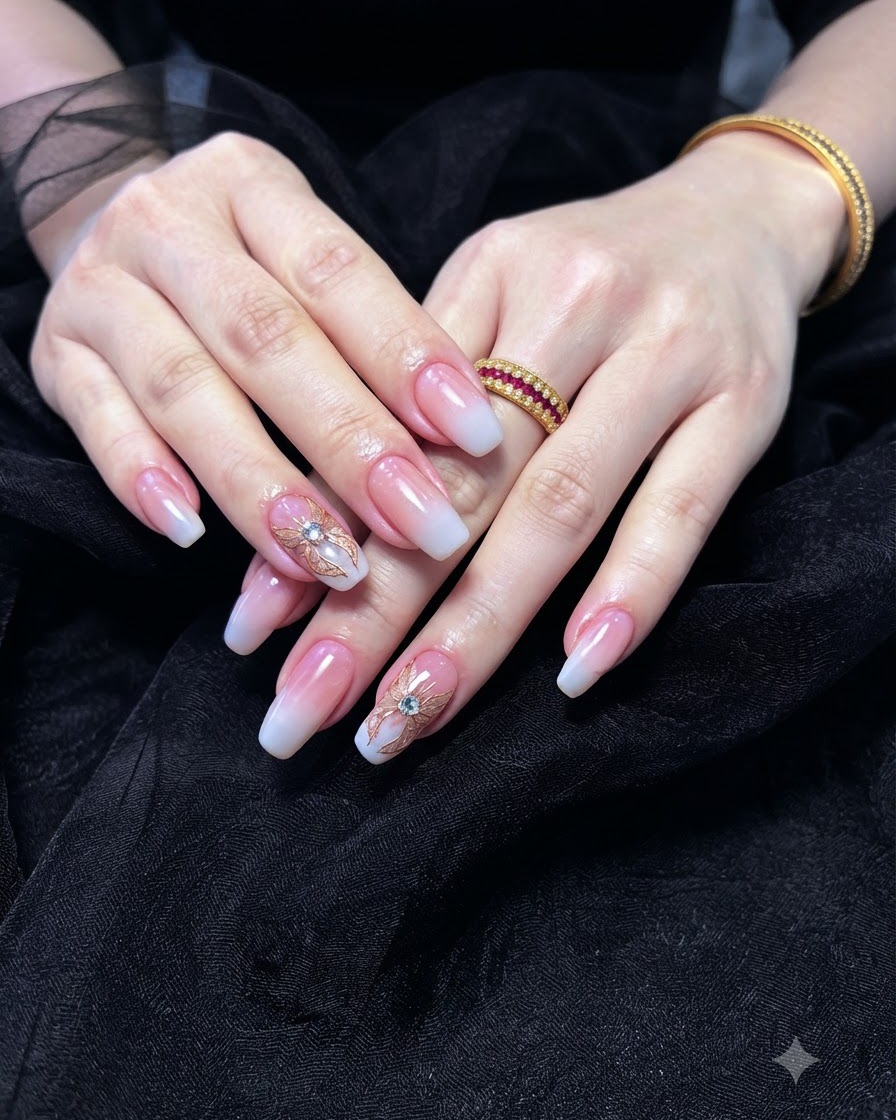
Place both hands under the UV or LED lamp to fully cure the gel adhesive holding the rhinestones and butterfly charm, as well as the surrounding color layers. Ensure the hands are positioned flat so the charms do not shift during the curing process.
Tip: Flash-cure charms for 10 to 15 seconds first if they tend to slide, then perform a full cure to lock them completely in place.