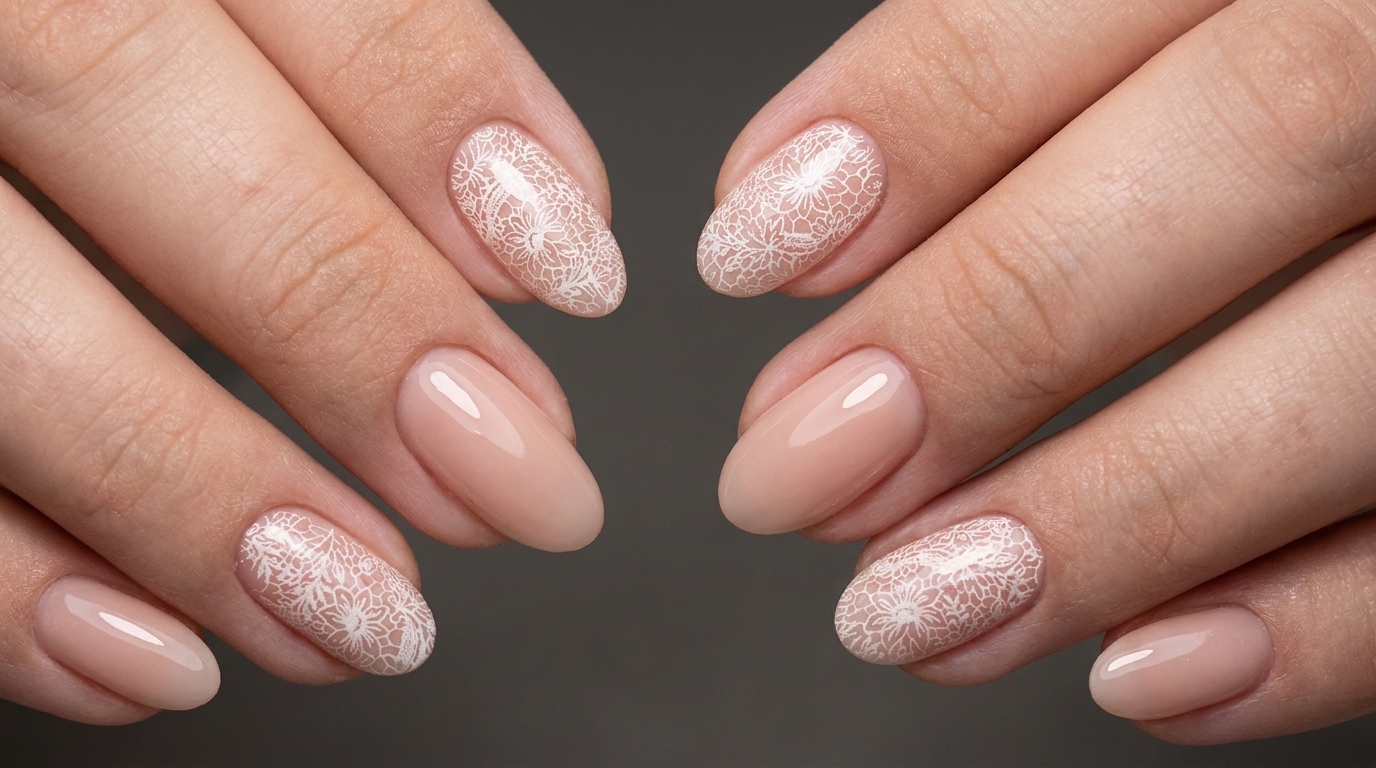
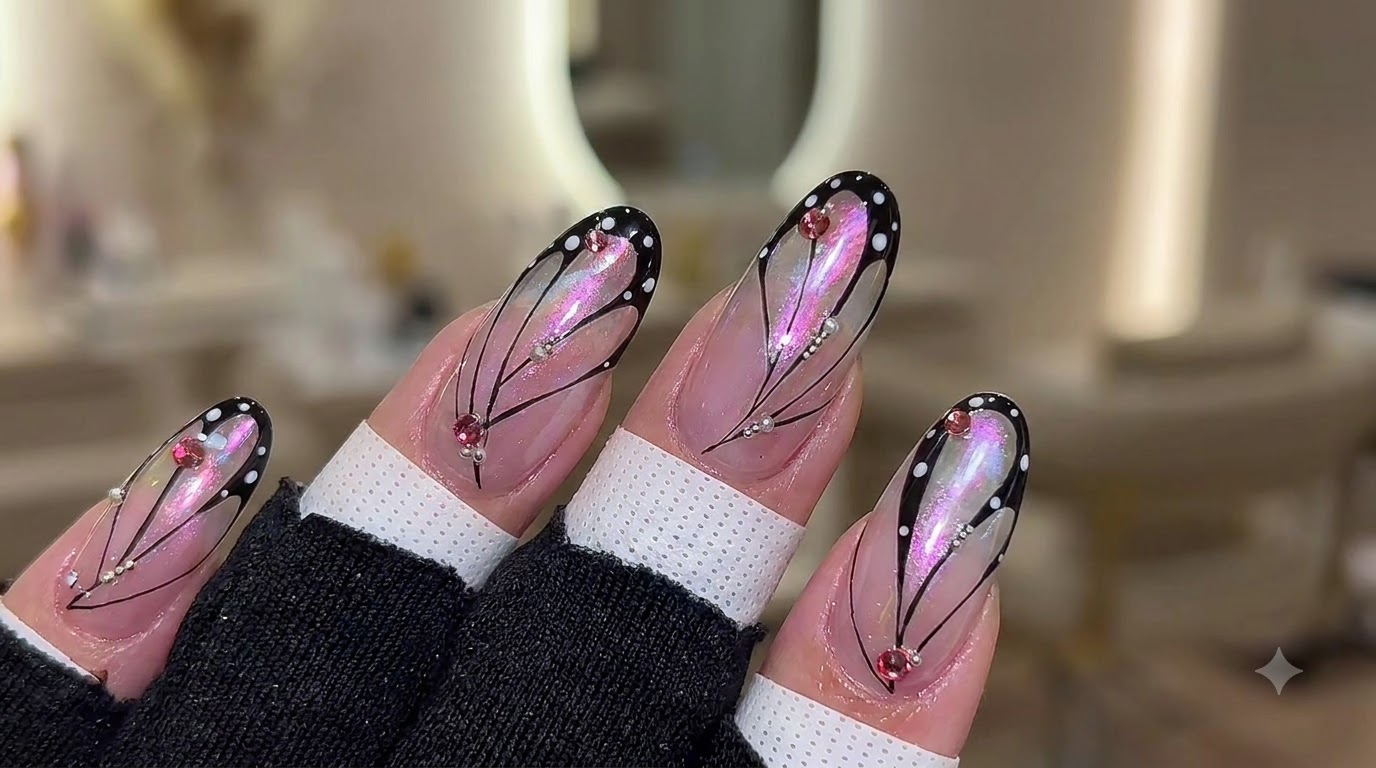
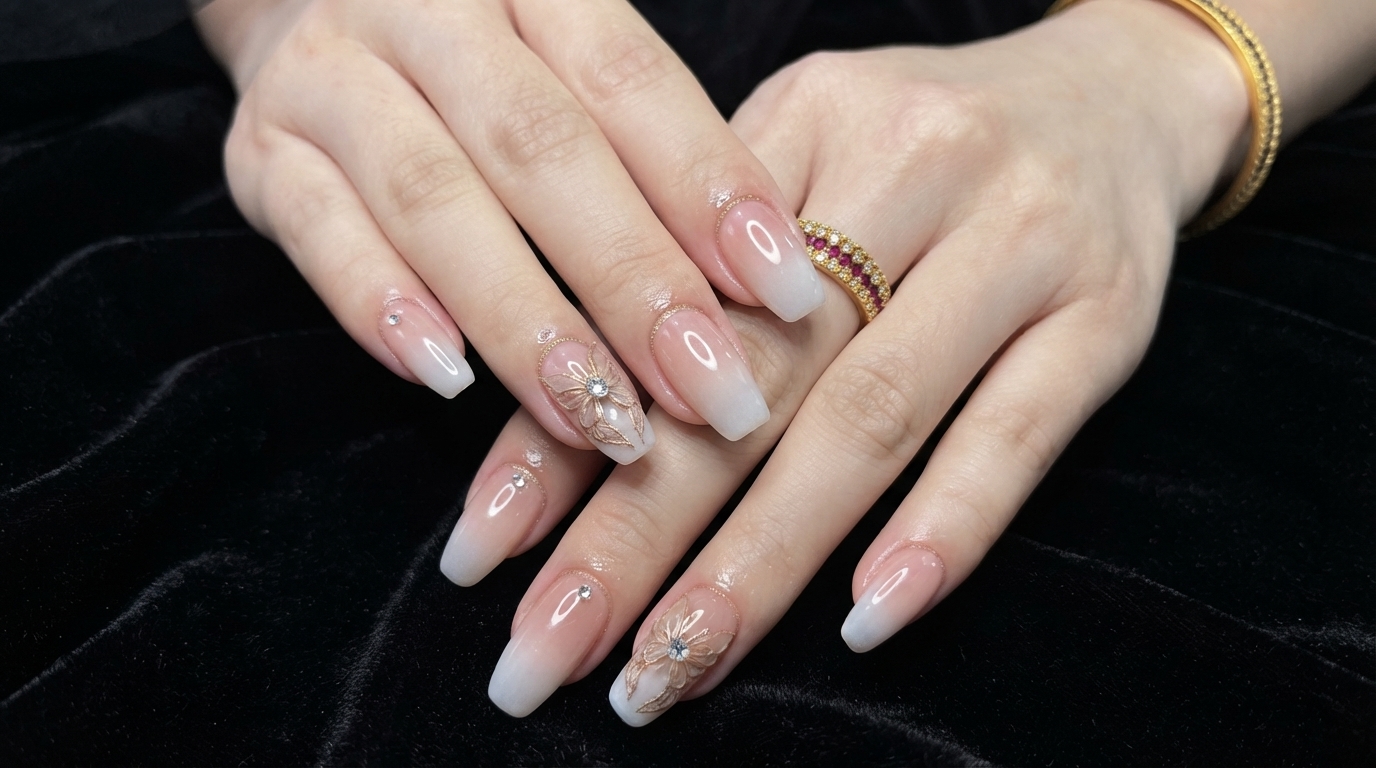
Nude Pink Gradient Magnetic Cat Eye Press-On Nails — Step-by-Step Tutorial
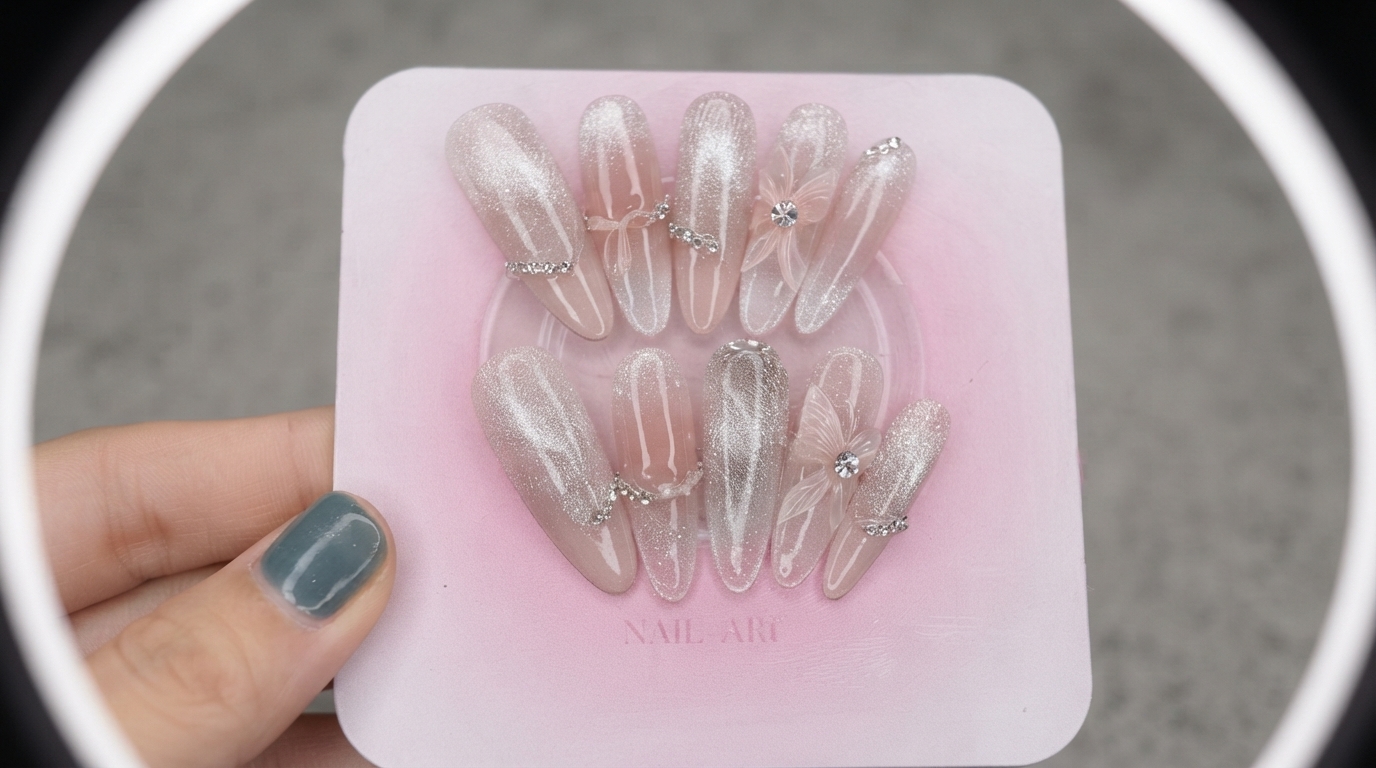
Elevate your style with nude pink gradient magnetic cat eye press-on nails featuring sparkling rhinestone chains, 3D bows, and delicate layered gauze butterflies.
Magnetic cat eye effects paired with soft nude pink gradients create a stunning hazy soft glow that captures light from every angle. Enhanced with delicate 3D crystal bows and layered sheer gauze butterflies, this luxury press-on set strikes the ultimate balance between sweet and sophisticated.
Steps
- 1Highlight crystal bow and chain placement
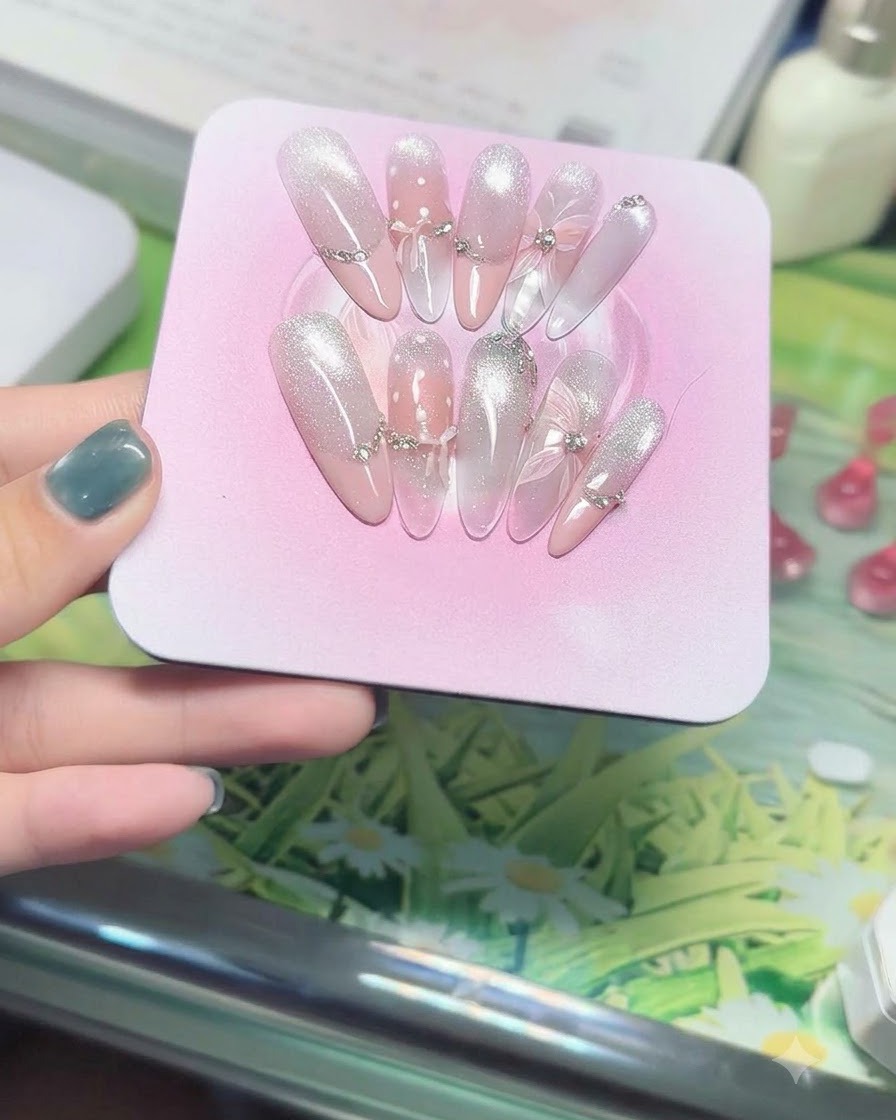
Carefully pan across the completed nail set to showcase the intricate placement of the 3D crystal bows and silver rhinestone chains positioned across the center of the nails. Ensure the charms are securely embedded and sealed to prevent snagging during everyday wear.
Tip: Secure 3D embellishments with a thick layer of builder gel or rhinestone glue, then seal around the edges with top coat without covering the facets of the crystals. - 2Inspect nude pink gradient and top coat
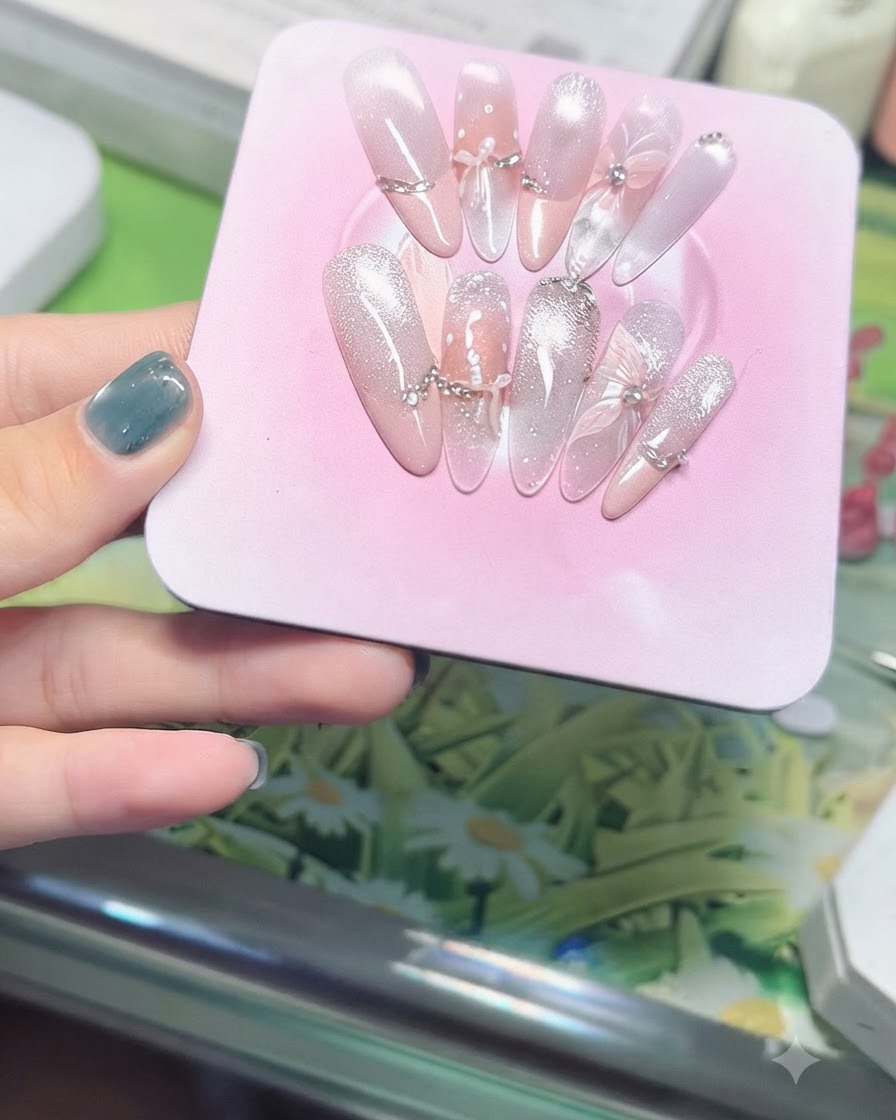
Examine the sheer nude pink gradient blend near the cuticle area to ensure a seamless fade without harsh lines. Verify that the final high-gloss top coat layer is evenly distributed across every nail to protect the underlying cat eye finish and art details.
Tip: A smooth gradient near the cuticle creates a natural grow-out illusion and elevates the overall quality of the press-on set. - 3Capture cat eye light reflection
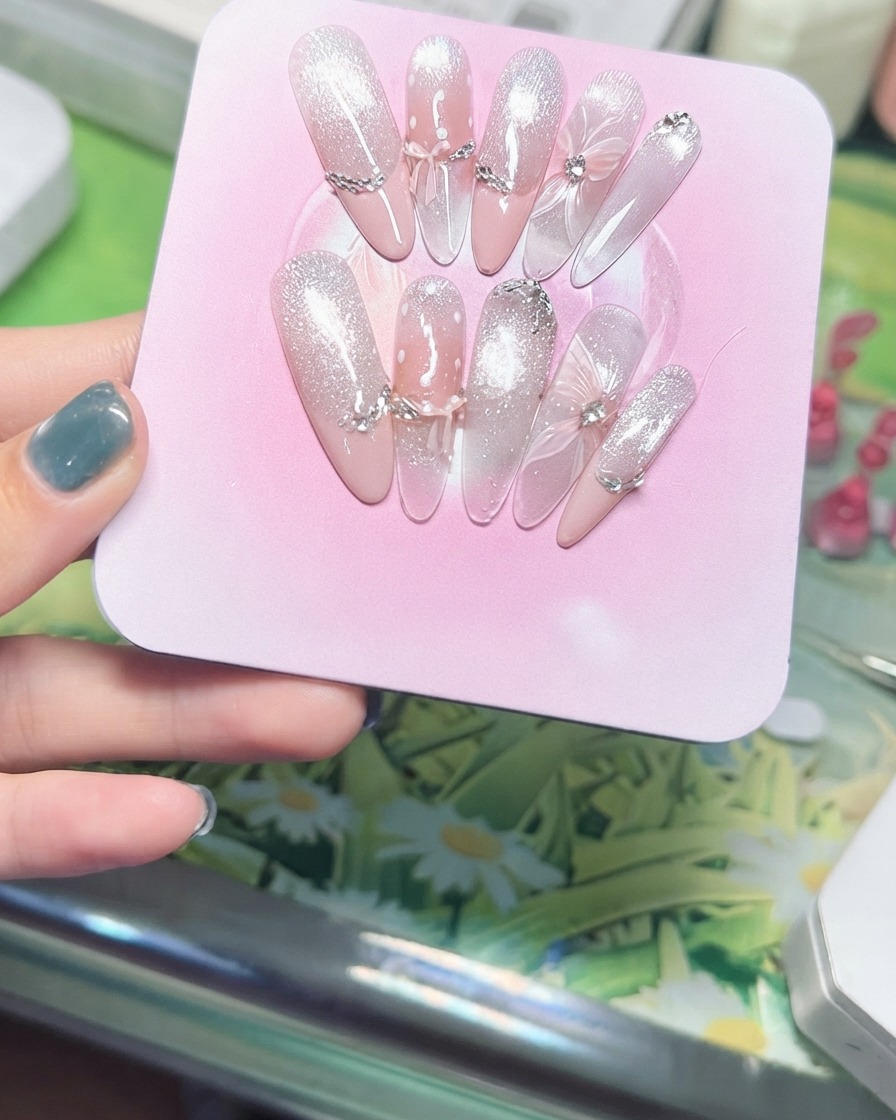
Tilt the pink display stand slowly under bright illumination to observe how the embedded silver glitter and magnetic cat eye particles catch the light. This confirms that the magnetic shimmer creates the desired multi-dimensional hazy soft glow across the nails.
Tip: Moving the display stand at various angles helps ensure the cat eye effect creates an even, luminous sheen across all fingers. - 4Examine 3D butterfly and bow details
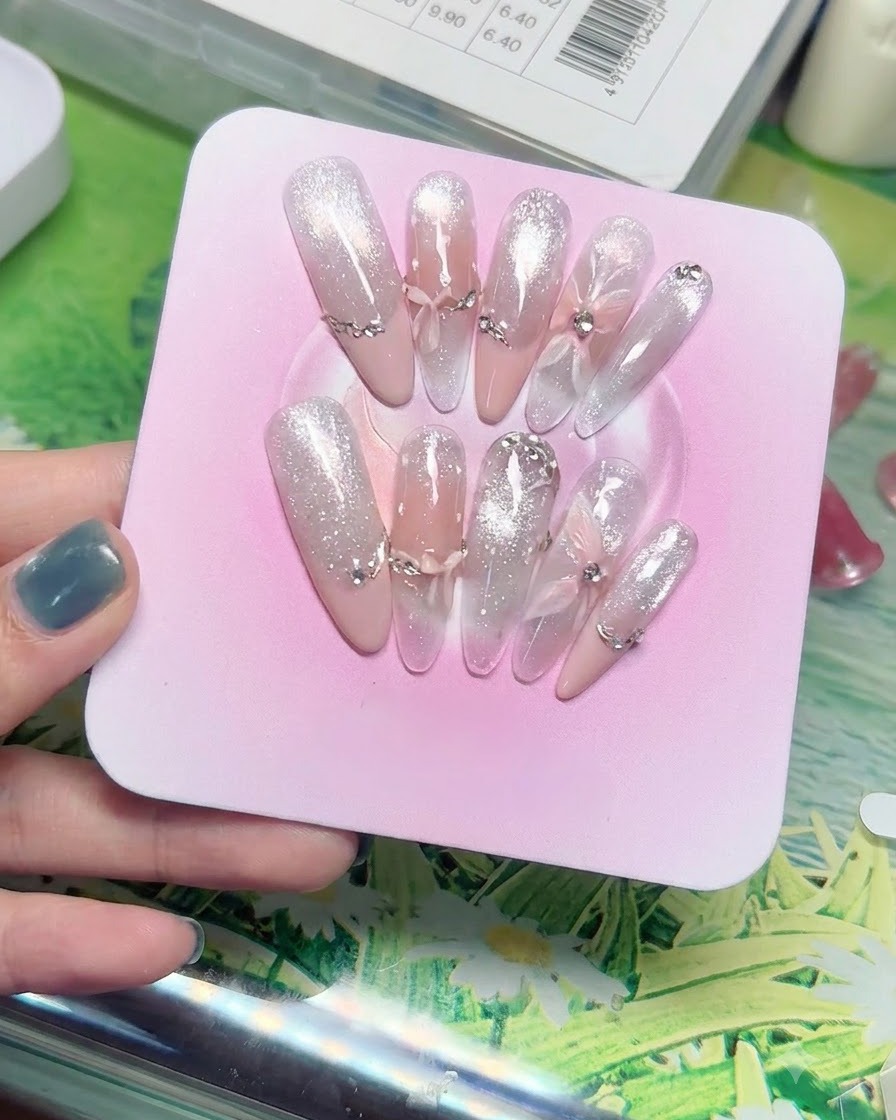
Inspect the intricate 3D gauze butterfly and bow embellishments layered delicately over the sheer nail tips. Ensure the multi-layered texture remains pristine and securely fastened without excess gel pooling around the edges of the gems.
Tip: Use a fine detail brush or silicone tool to smooth any fixing gel around 3D charms before final curing.