Nude and White Lace Stamped Gel Nail Art — Elegant Step-by-Step Tutorial
Discover how to create sophisticated nude and white lace stamped gel nails with delicate floral patterns and a high-gloss finish.
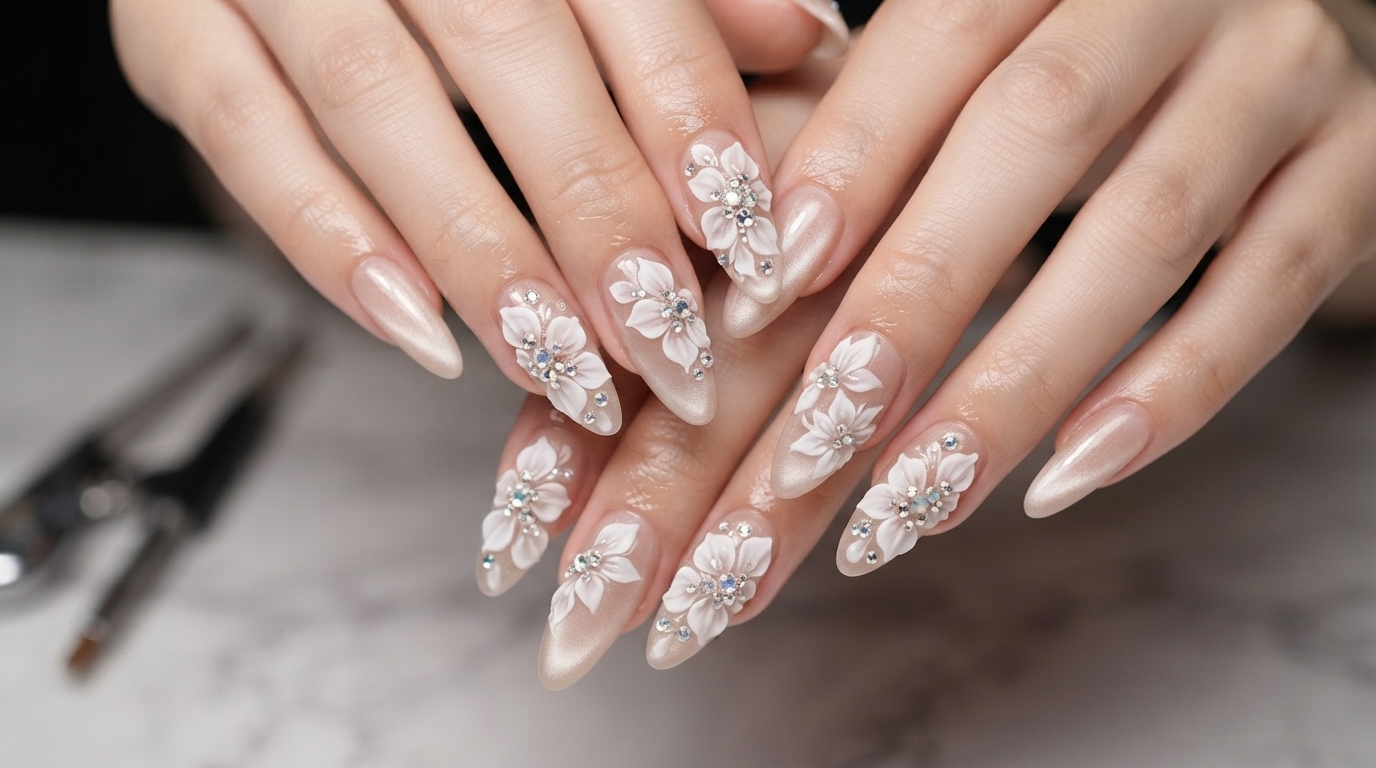
Lace nail art brings a timeless, romantic elegance to any manicure. This look combines a neutral nude builder gel base with crisp white floral stamping for a sophisticated design that works for weddings, special events, or everyday wear.
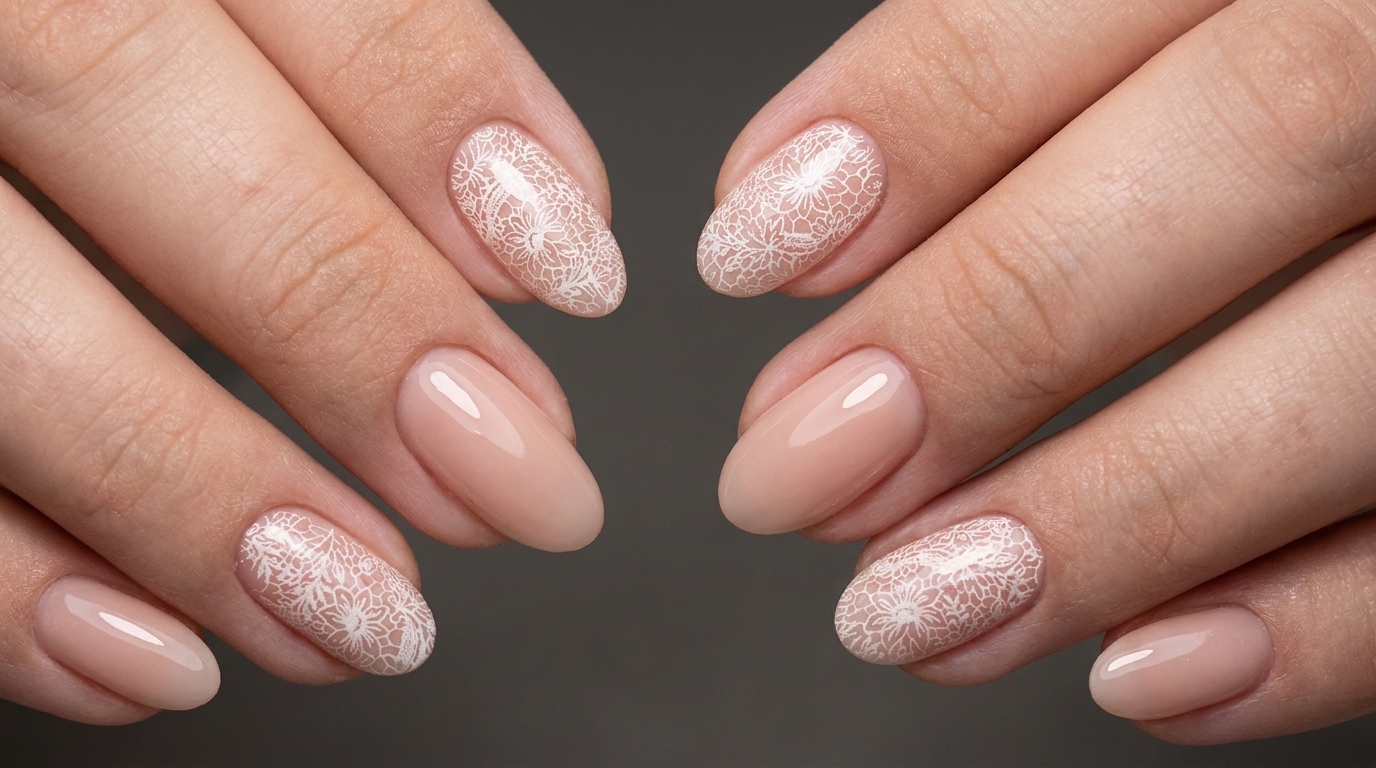
Steps
- 1Prep and smooth the nail surface
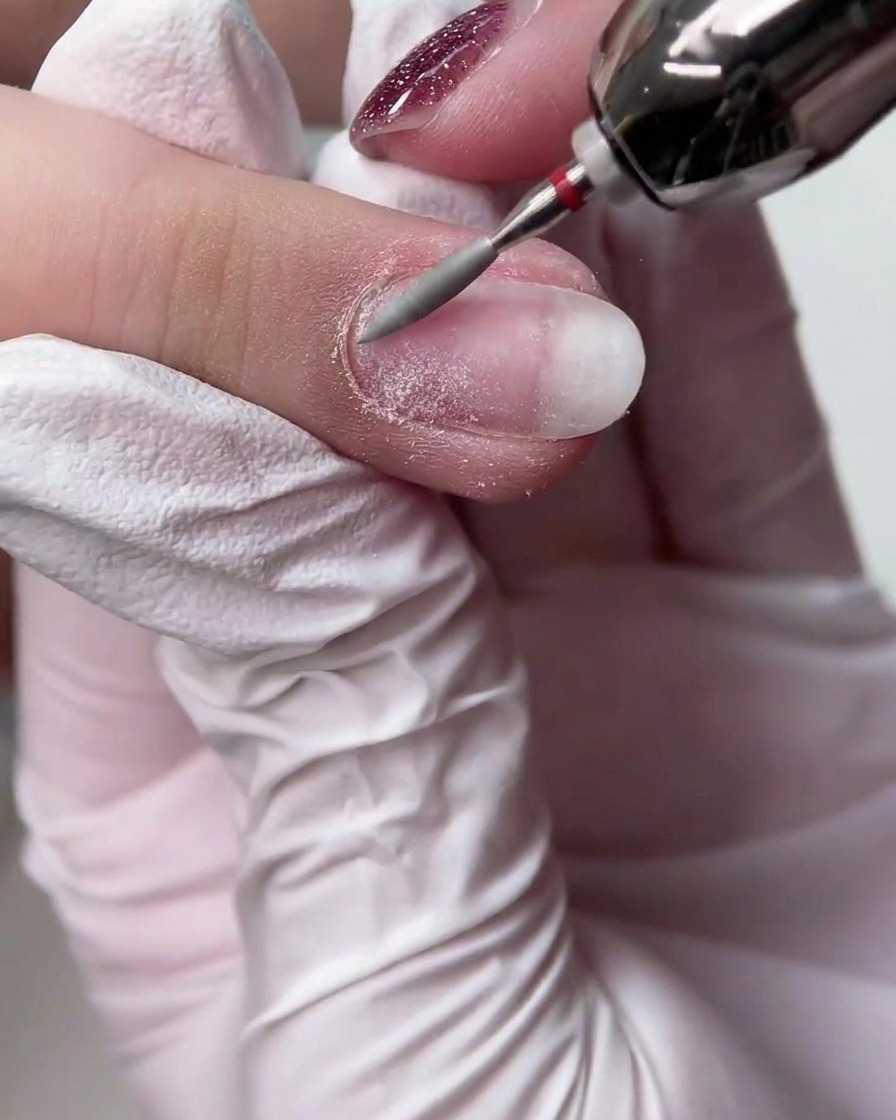
Using a long tapered bit set at 15,000 RPM, carefully prep and smooth the natural nail surface. Gently glide the bit across the nail to remove any remaining shine, oil, or imperfections, creating an ideal texture for gel adhesion. Maintain a steady hand and light pressure to protect the underlying nail plate from thinning or damage.
Tip: Keep the E-file moving constantly and avoid holding the bit in one spot to prevent heat buildup and discomfort. - 2Push back and clean the cuticle area
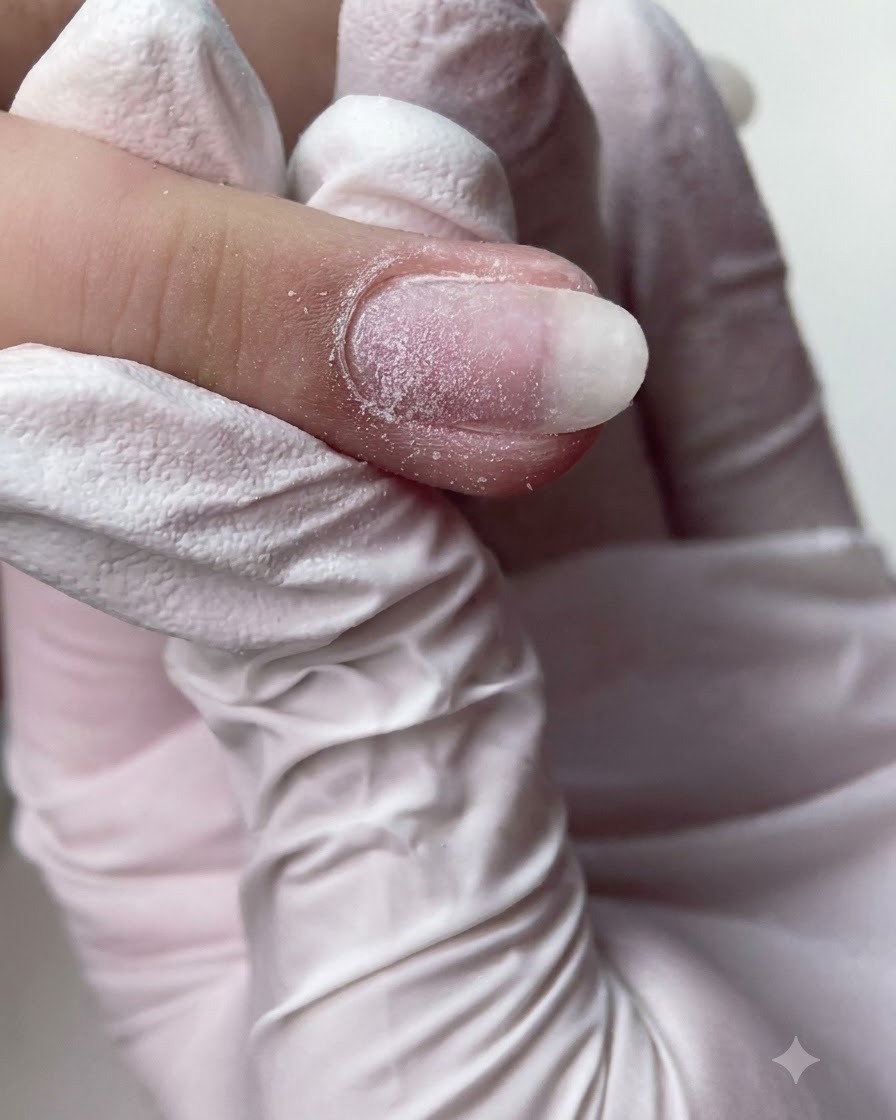
Switch to an inverted cone bit and set your E-file to 10,000 RPM. Gently push back and exfoliate the dead cuticle skin around the proximal nail fold. This action clears away invisible pterygium and dead tissue from the nail plate, ensuring your subsequent product application stays clean and prevents lifting.
Tip: Hold the bit at a shallow angle relative to the nail plate to avoid cutting or grooving the delicate skin and nail matrix. - 3Trim away dead cuticle skin
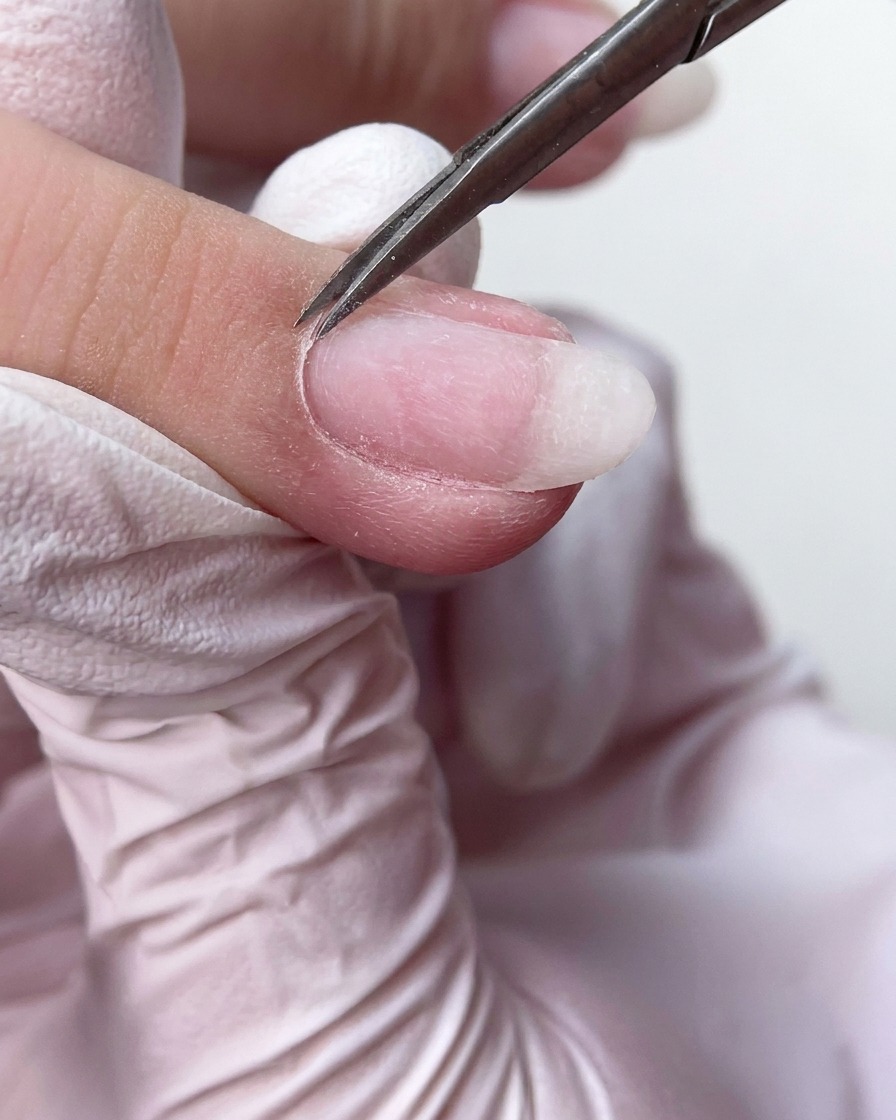
Take fine manicure scissors and carefully trim away the loosened dead cuticle skin along the nail fold. Follow the natural contour of the cuticle line in small, controlled snips to achieve a clean, polished finish. Be cautious not to pull or cut living skin.
Tip: Rest your stabilizing hand firmly against the clients hand to maintain precise control of the fine scissors. - 4Perform wet treatment smoothing
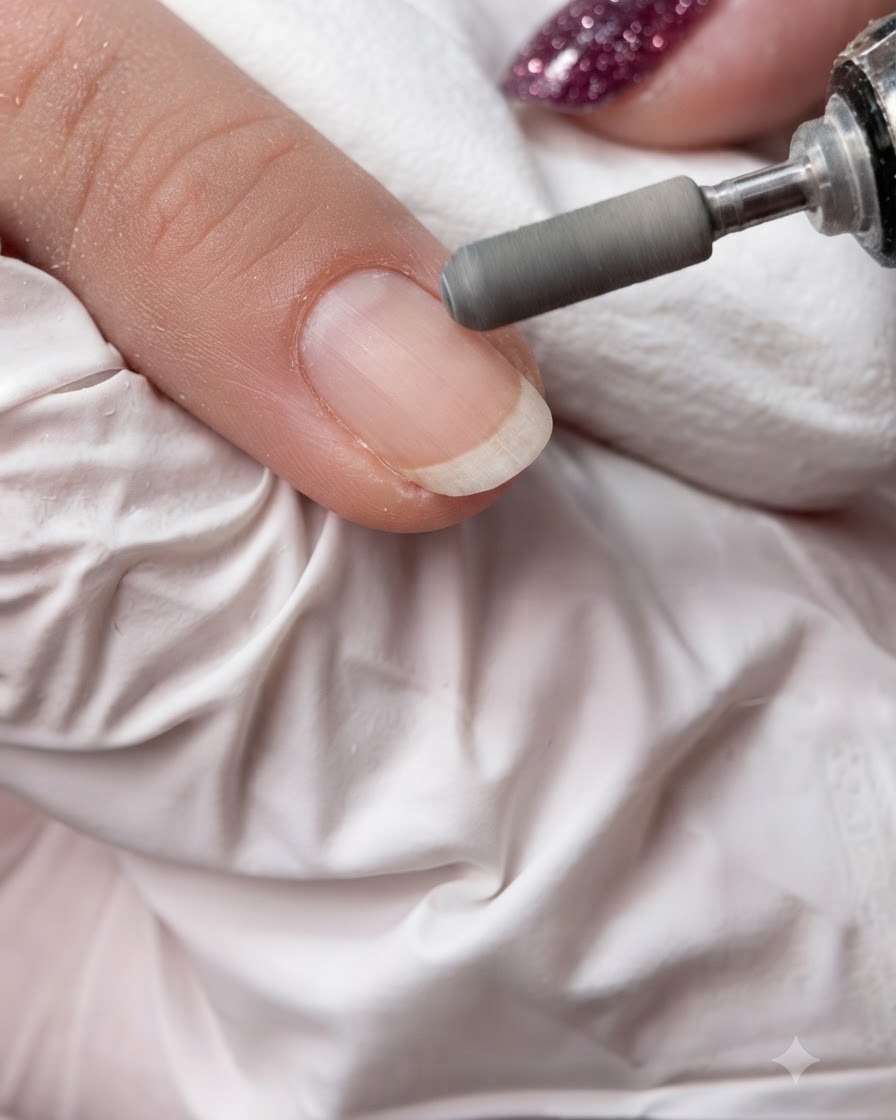
Using a barrel ceramic bit at 15,000 RPM, perform a wet treatment smoothing process across the nail plate. This step helps refine the surface texture further, buffing away any remaining rough patches or residual skin flakes left from the manicure preparation steps.
Tip: Ensure the speed is properly calibrated to 15,000 RPM so the ceramic bit glides smoothly without catching. - 5Clean and refine the nail grooves
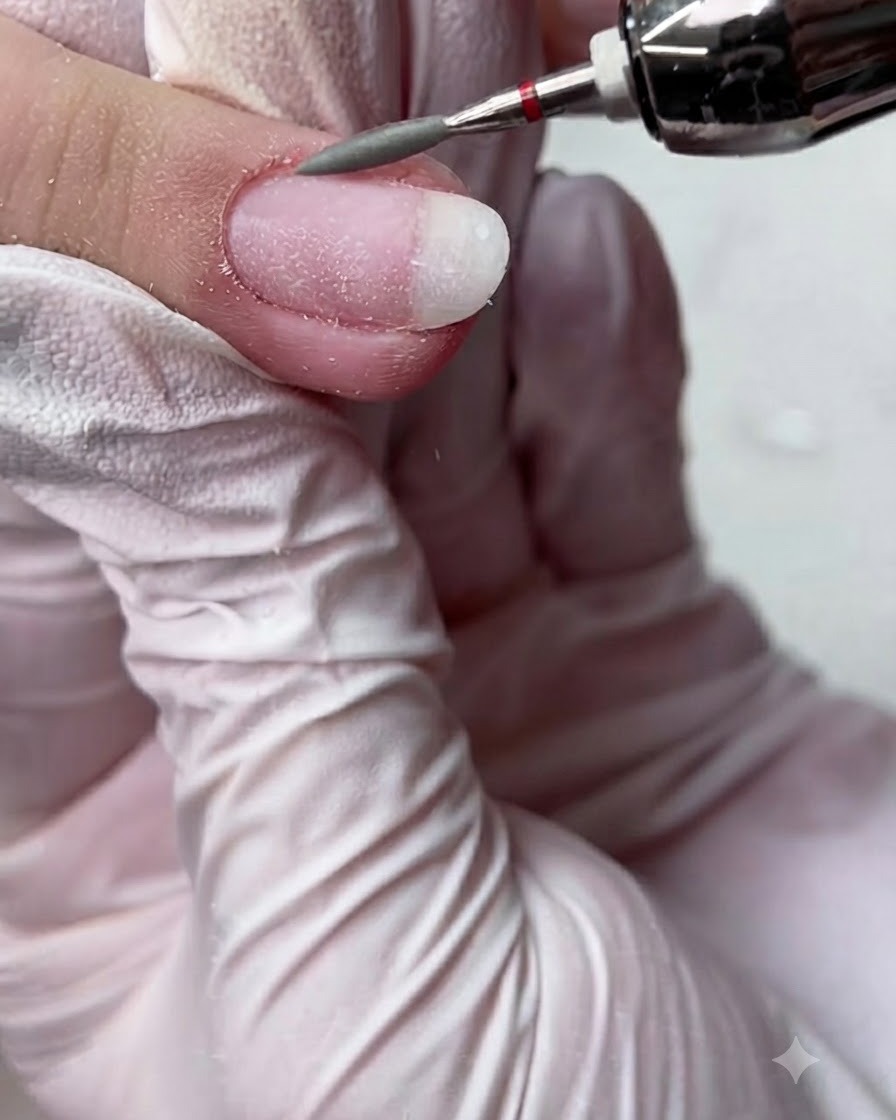
Use a long tapered bit running at 10,000 RPM to meticulously clean and refine the lateral nail grooves. This removes trapped debris and dust from the side walls, ensuring the nail edges are pristine before any base products are applied.
Tip: Work lightly along the sidewalls to thoroughly clean the crevices without causing irritation to the skin. - 6Apply Tricolor Fish base adhesive gel
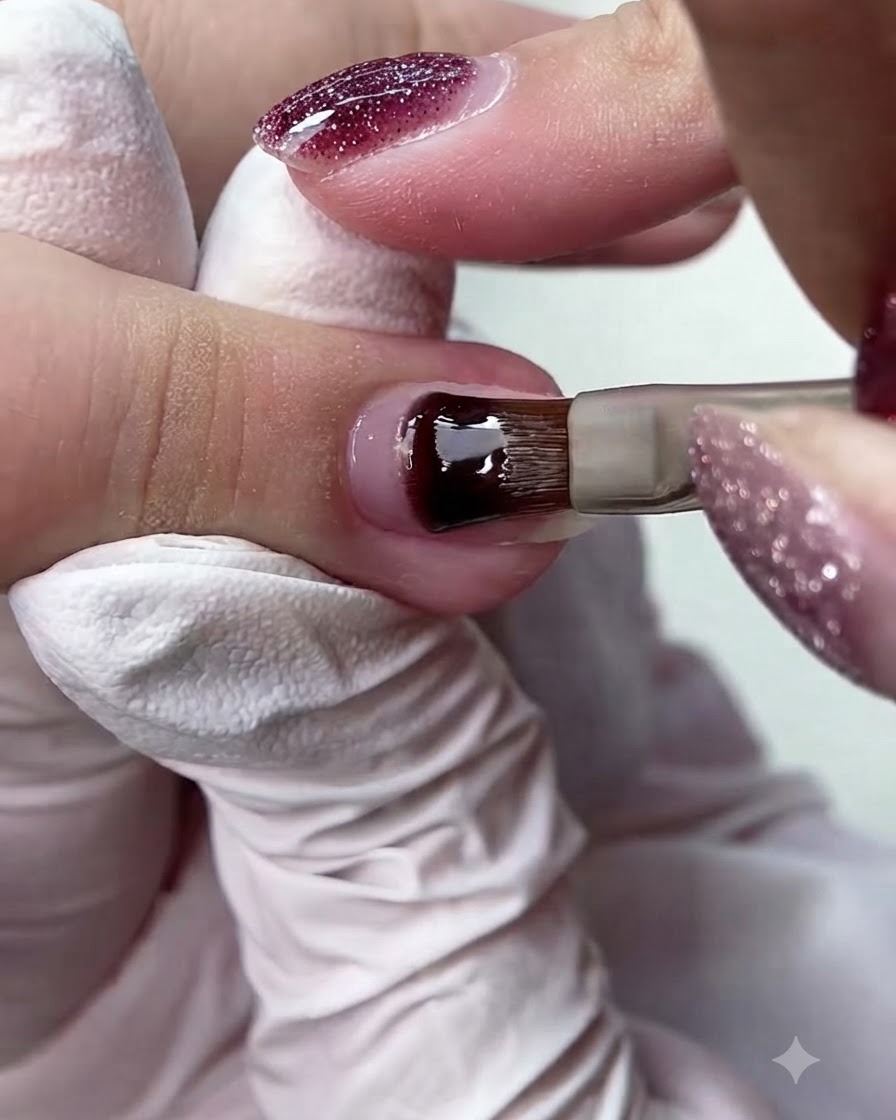
Dip your application brush into the Tricolor Fish base adhesive gel and apply a thin, even coat onto the prepped nail plate. Work the product carefully from the cuticle area toward the free edge, ensuring complete coverage to maximize adhesion for the upcoming gel layers.
Tip: Cap the free edge with a small amount of base gel to prevent premature chipping and lifting at the tip. - 7Apply tinted nude builder gel
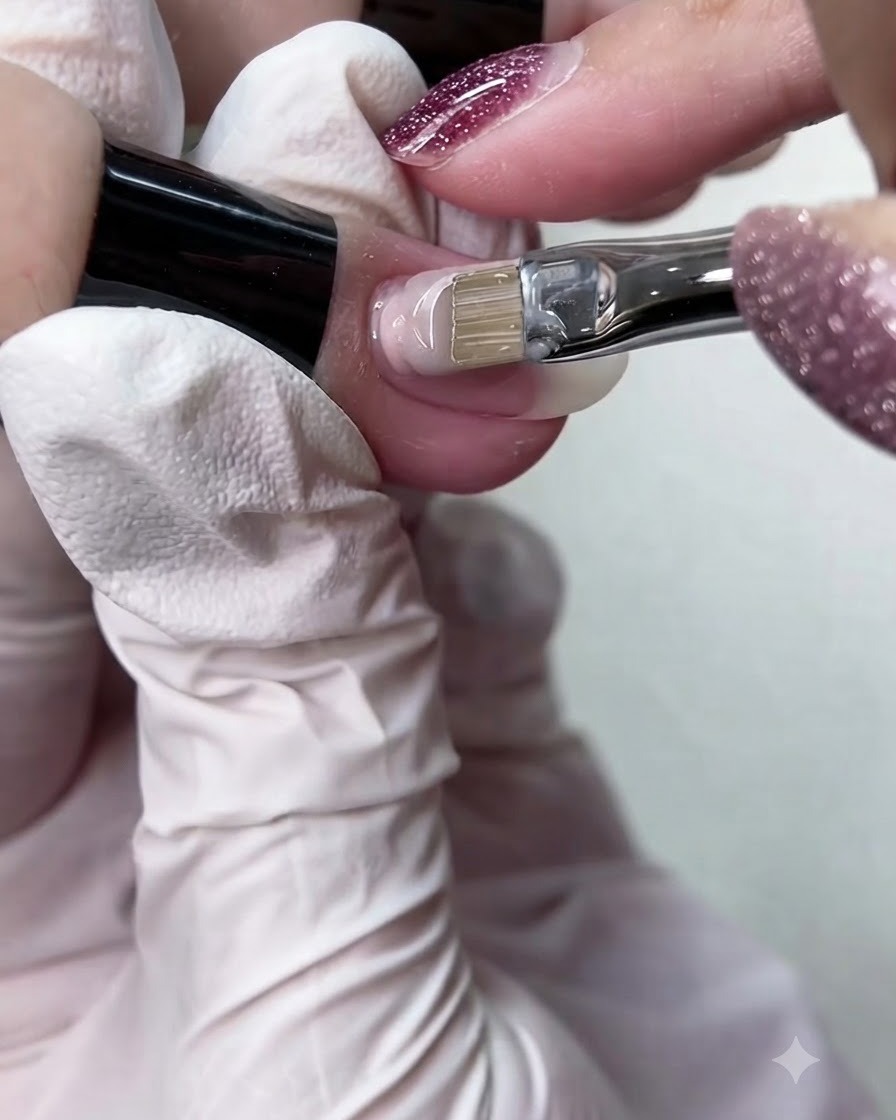
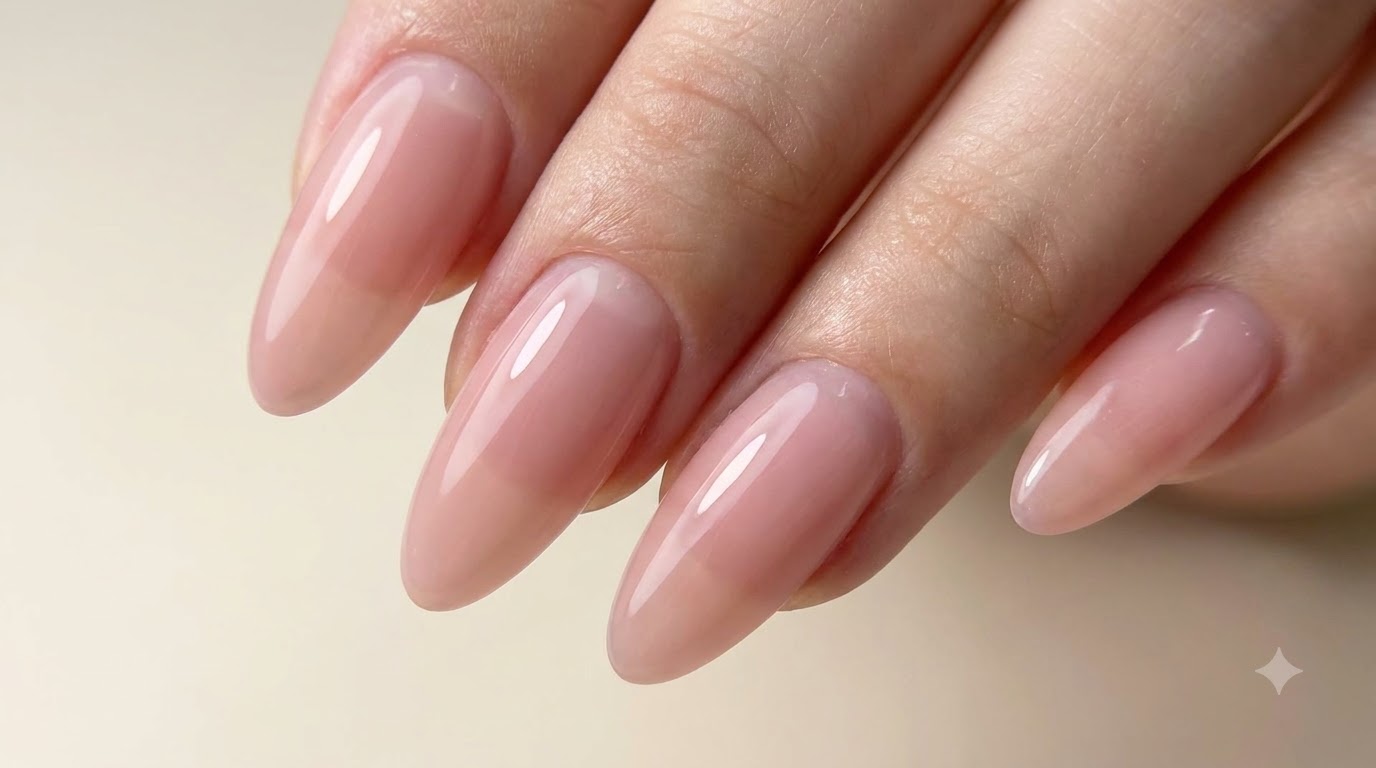
Apply a controlled layer of tinted nude builder gel onto the nail surface to provide structural strength and reinforcement. Smooth the gel evenly across the nail bed, ensuring proper thickness at the apex to prevent breakage while maintaining a natural look.
Tip: Work in small controlled sections and make sure the apex is properly balanced for maximum durability. - 8Refine builder gel with liner brush
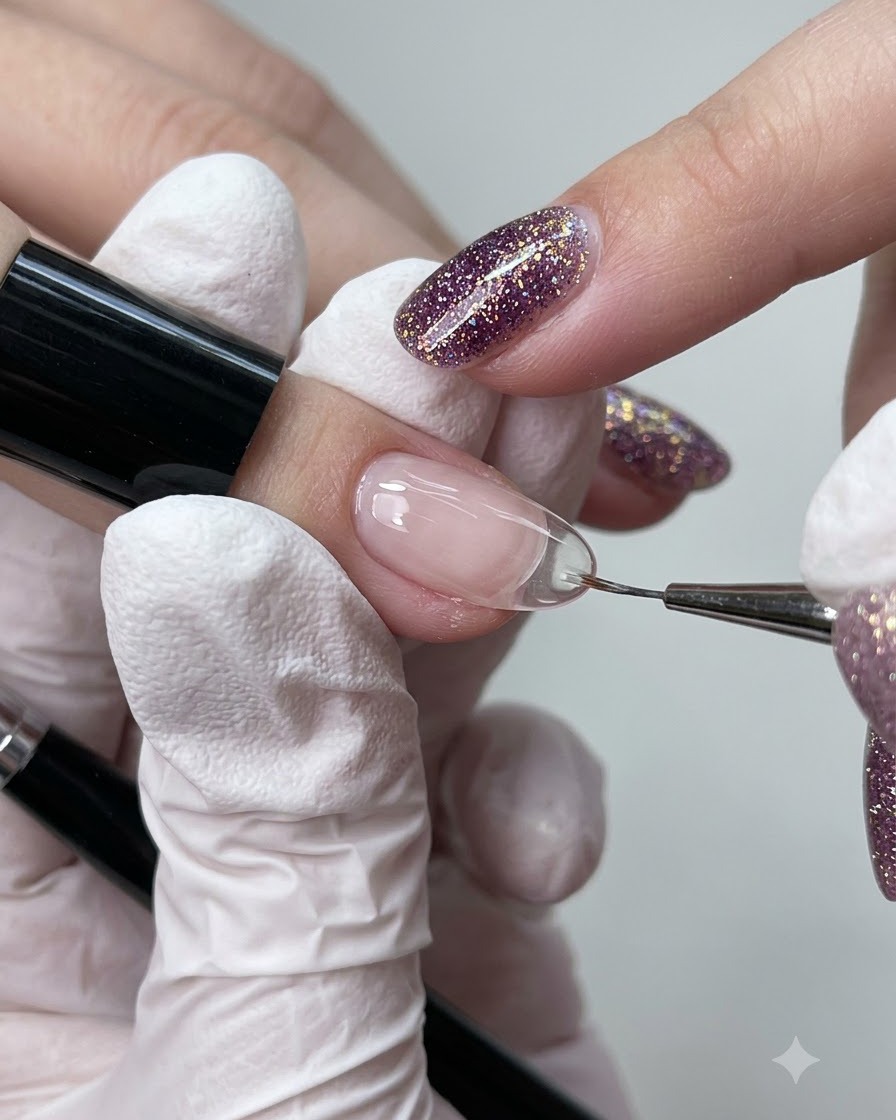
Use a fine detail liner brush to carefully smooth and refine the edges of the builder gel layer around the cuticles and sidewalls. This removes any uneven pooling and creates a clean, polished perimeter before curing.
Tip: Keep your liner brush lightly saturated with slip solution or alcohol if needed to effortlessly glide through the gel layer. - 9Apply soft tube patting glue
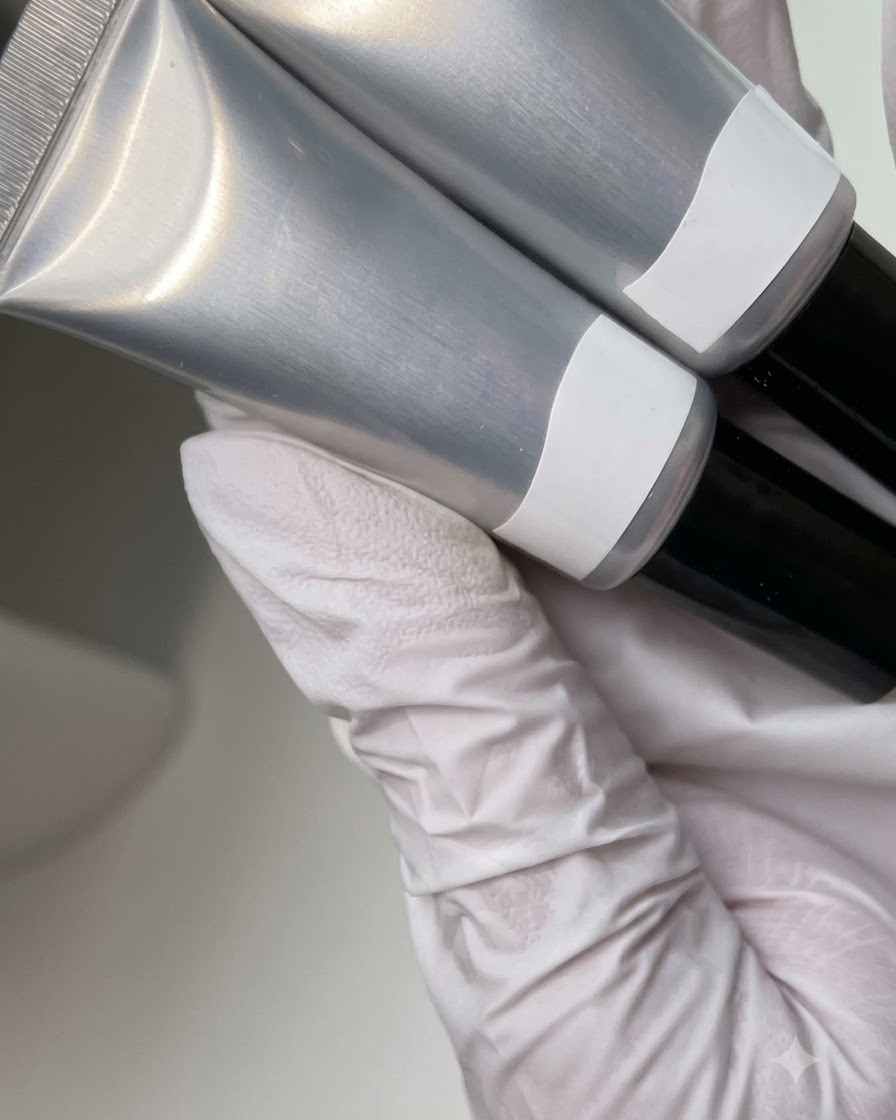
Dispense and apply the Tricolor Fish soft tube patting glue onto the designated areas of the nail surface. This specialized adhesive provides the ideal tacky foundation required for transferring detailed patterns and films.
Tip: Ensure an even and thin distribution of the patting glue to prevent any lifting or bubbling under subsequent layers. - 10Apply translucent white gel
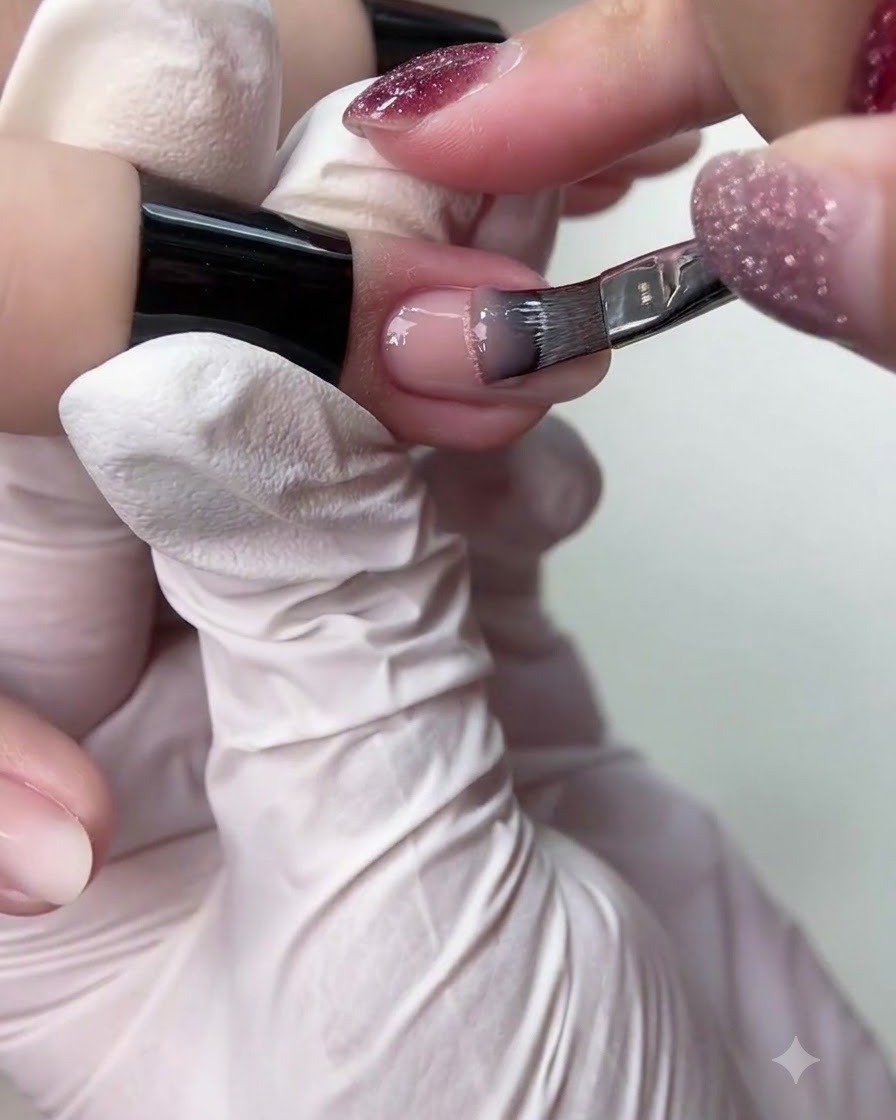
Brush a light layer of translucent white gel directly over the previously applied patting glue layer. This creates a milky, dimensional base effect that enhances the depth of the upcoming nail art transfer.
Tip: Apply with gentle, sweeping strokes to avoid disturbing the underlying glue layer. - 11Transfer floral lace pattern
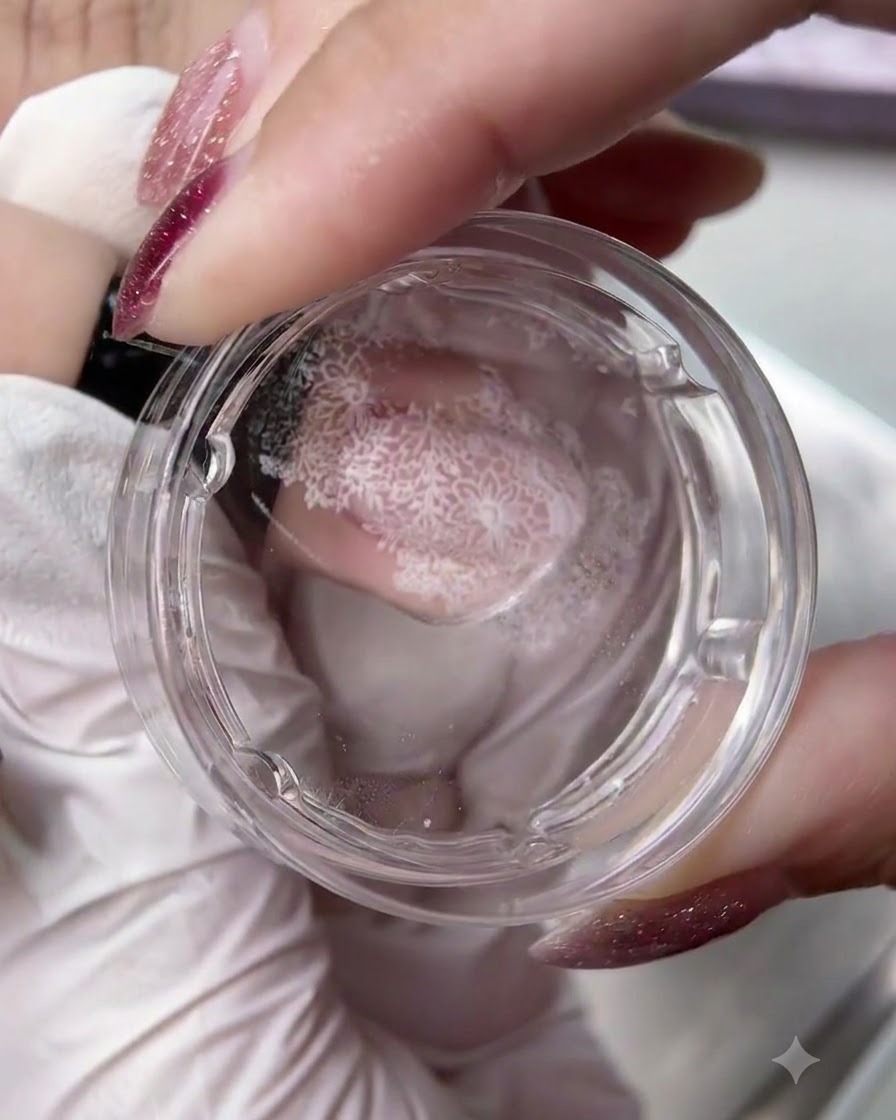
Carefully pick up and transfer the intricate white floral lace pattern from an MR steel stamping plate onto the nail surface. Align the design precisely to achieve a seamless and elegant lace embellishment.
Tip: Roll the stamper smoothly across the nail from one side to the other to prevent air bubbles and distorted patterns. - 12Cure stamped nail art layer
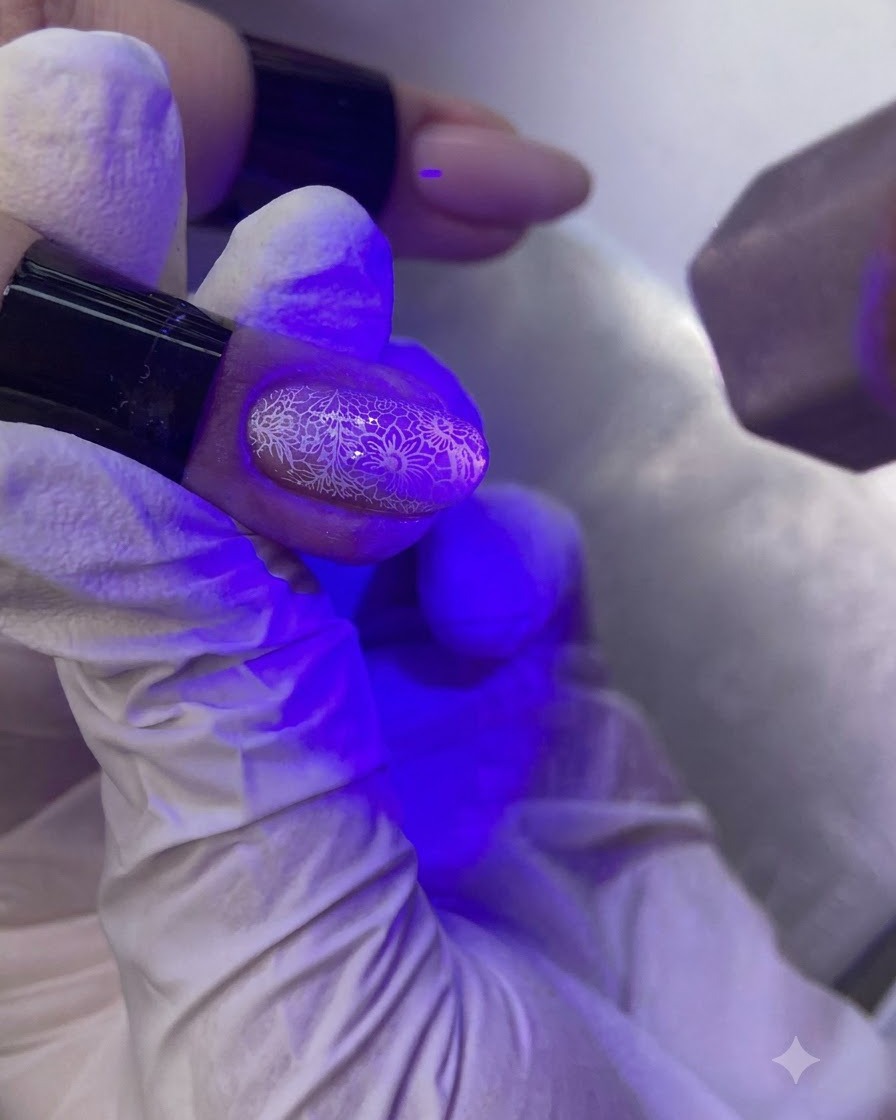
Place the hand under a UV/LED lamp to fully cure the stamped floral lace nail art layer. Ensure proper exposure time so the design is completely set and hardened before moving on to subsequent coats.
Tip: Keep the hand stable inside the lamp to prevent any shifting or wrinkling of the gel layers during curing. - 13Apply sheer nude gel coating
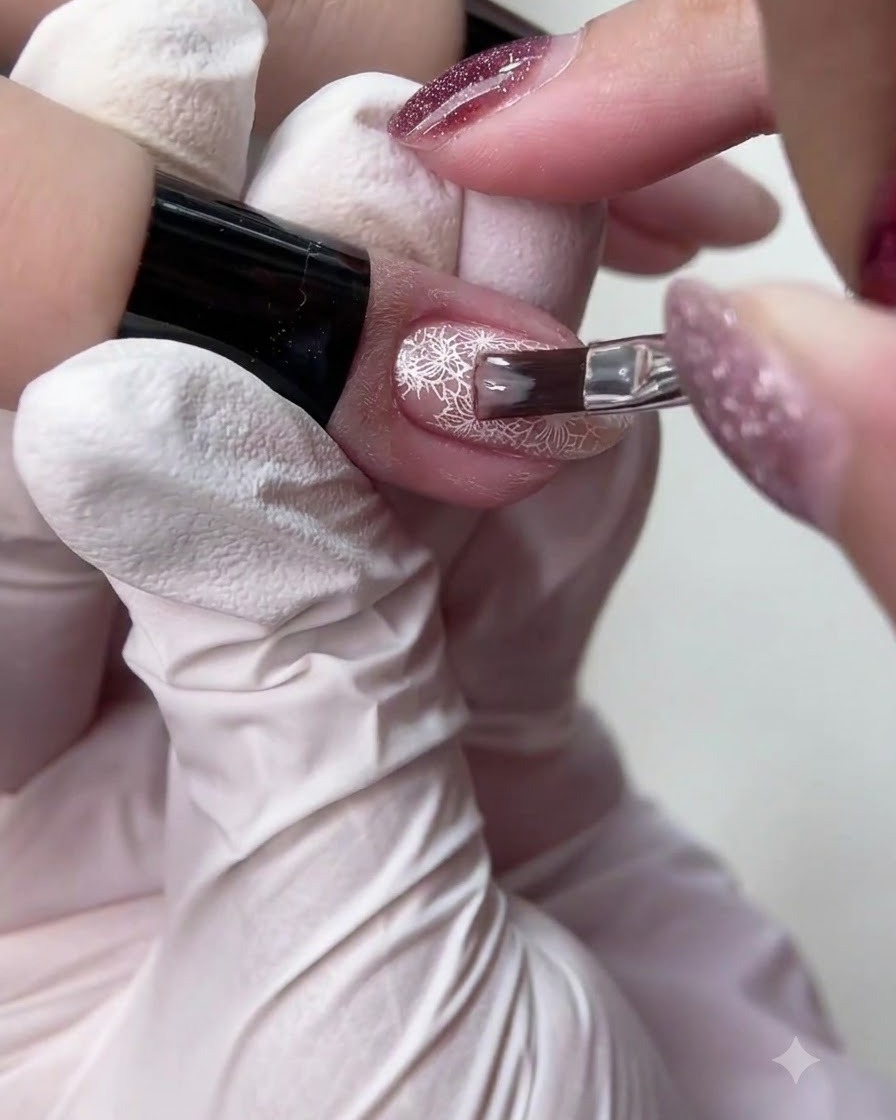
Apply a thin layer of sheer nude gel evenly over the cured white lace pattern to soften the design and give it a subtle, translucent depth. Ensure smooth coverage across the entire nail plate before curing.
Tip: Apply the sheer layer lightly so the delicate details of the lace underneath remain clearly visible. - 14Apply final top coat gel
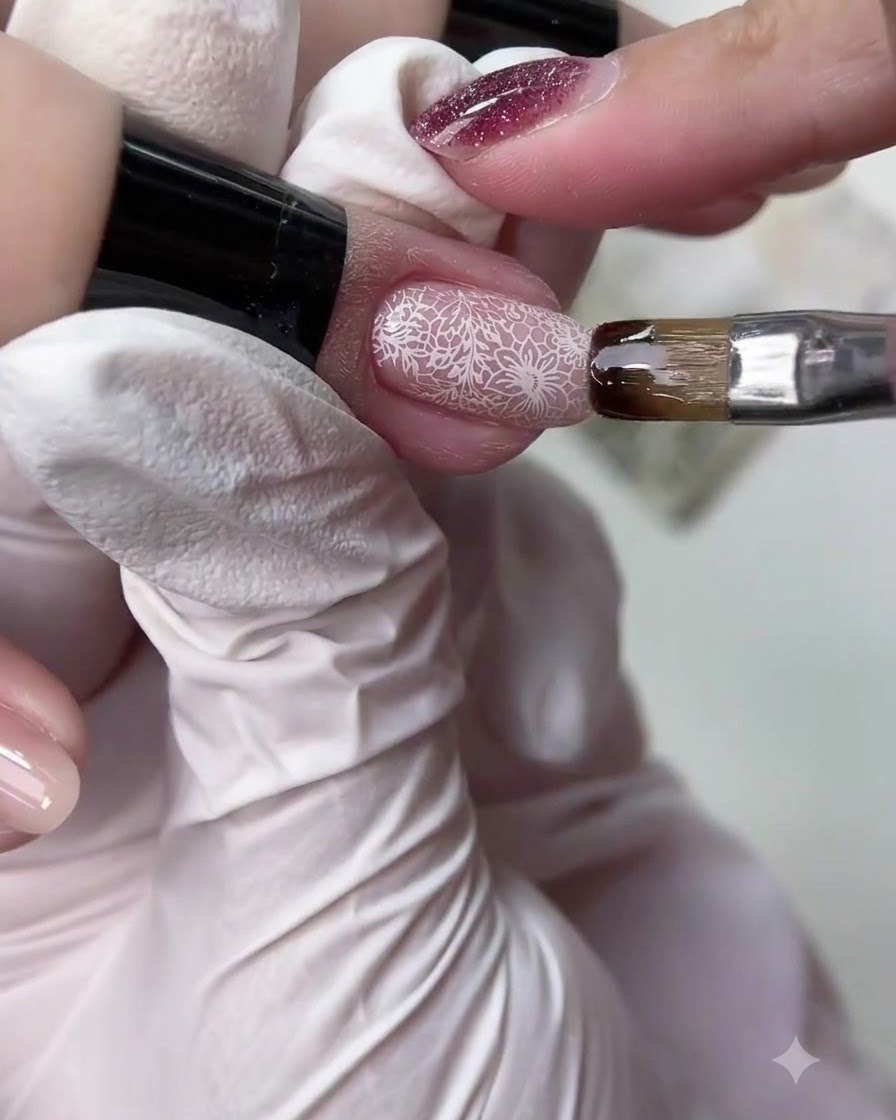
Apply a smooth, even layer of final top coat sealing gel over the entire nail surface. Seal the free edge carefully to protect the layered design and provide a long-lasting glossy finish.
Tip: Capping the free edge with top coat prevents chipping and peeling at the tips. - 15File and refine nail edges
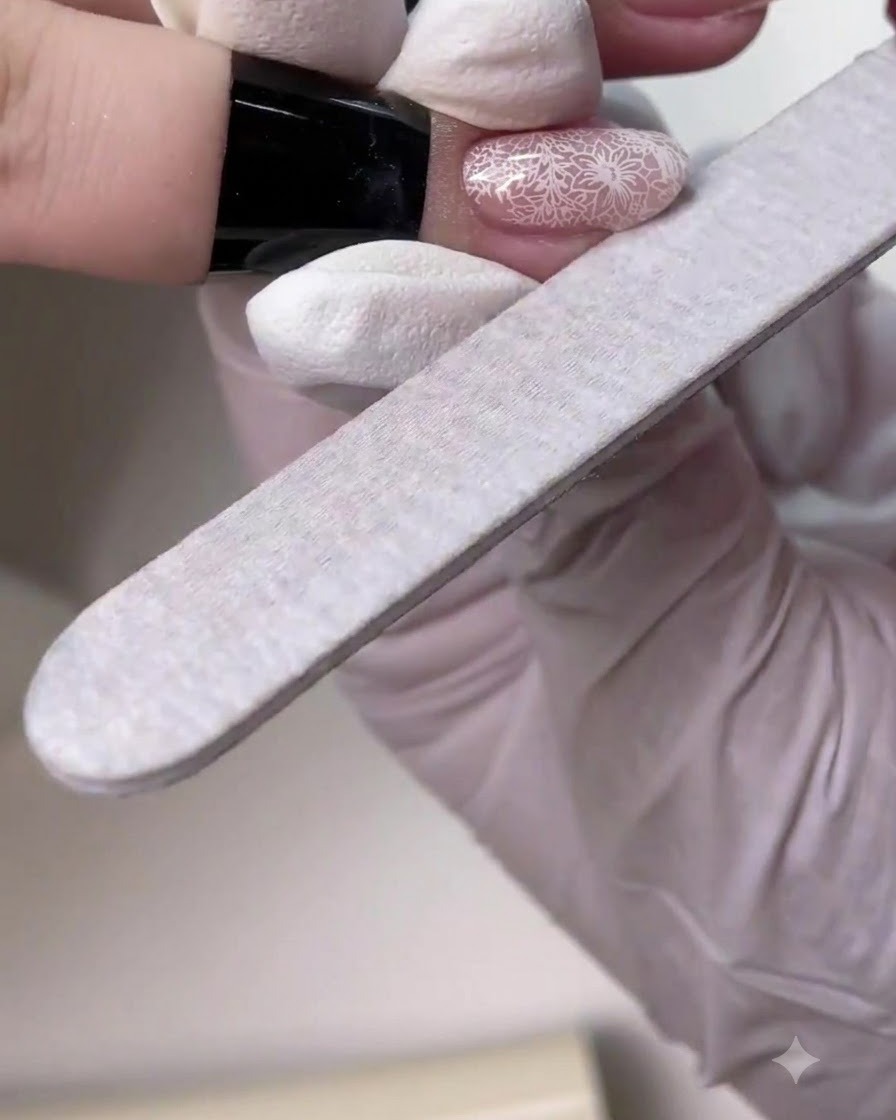
Use a hand nail file to gently file and refine the nail edges and final shape. Smooth out any minor irregularities around the perimeter to ensure a clean, professional finish.
Tip: Keep the file parallel to the sides of the nail to maintain a balanced, symmetrical contour. - 16Apply nourishing cuticle oil
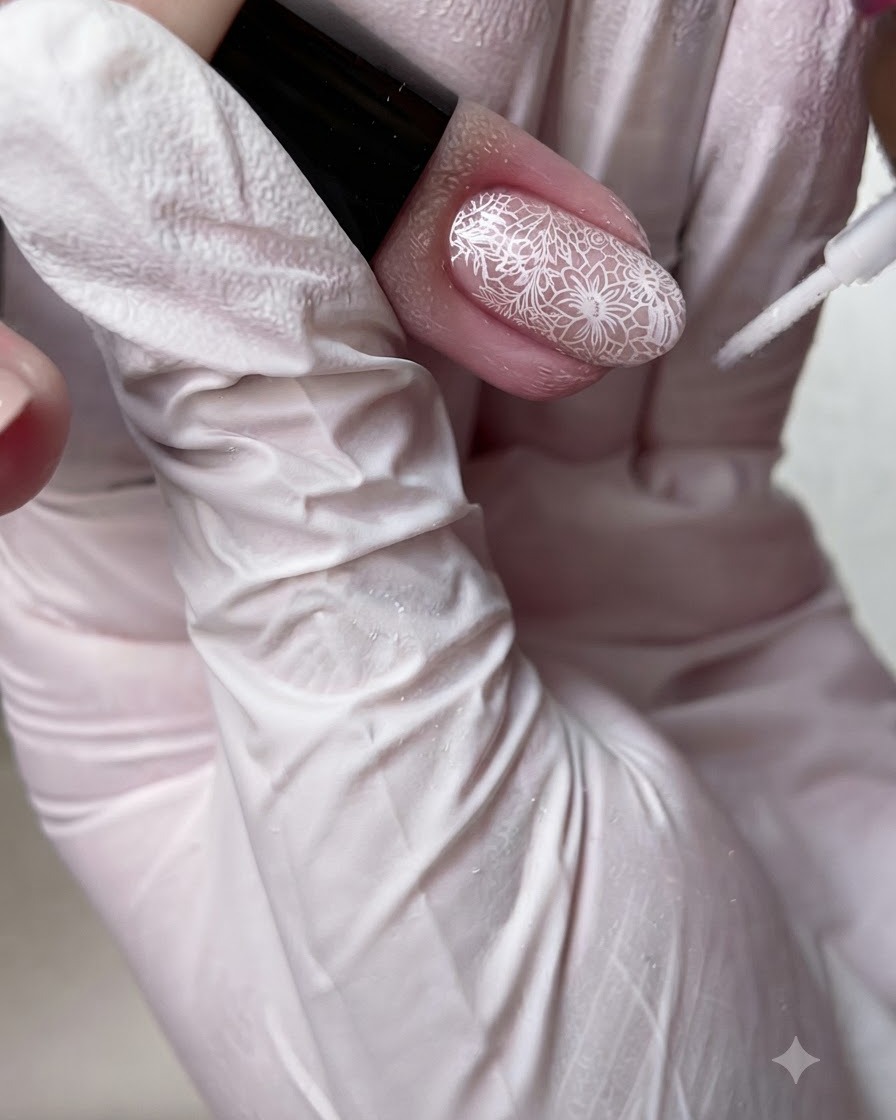
Apply nourishing cuticle oil around the nail fold and massage gently to restore moisture to the skin. This final step keeps the surrounding cuticles soft, healthy, and hydrated after the manicure process.
Tip: Gently massaging the oil improves circulation around the nail bed and highlights the clean finish of the manicure.