Super Gentle Soft Light Pink Gradient Almond Nails — Step-by-Step Tutorial
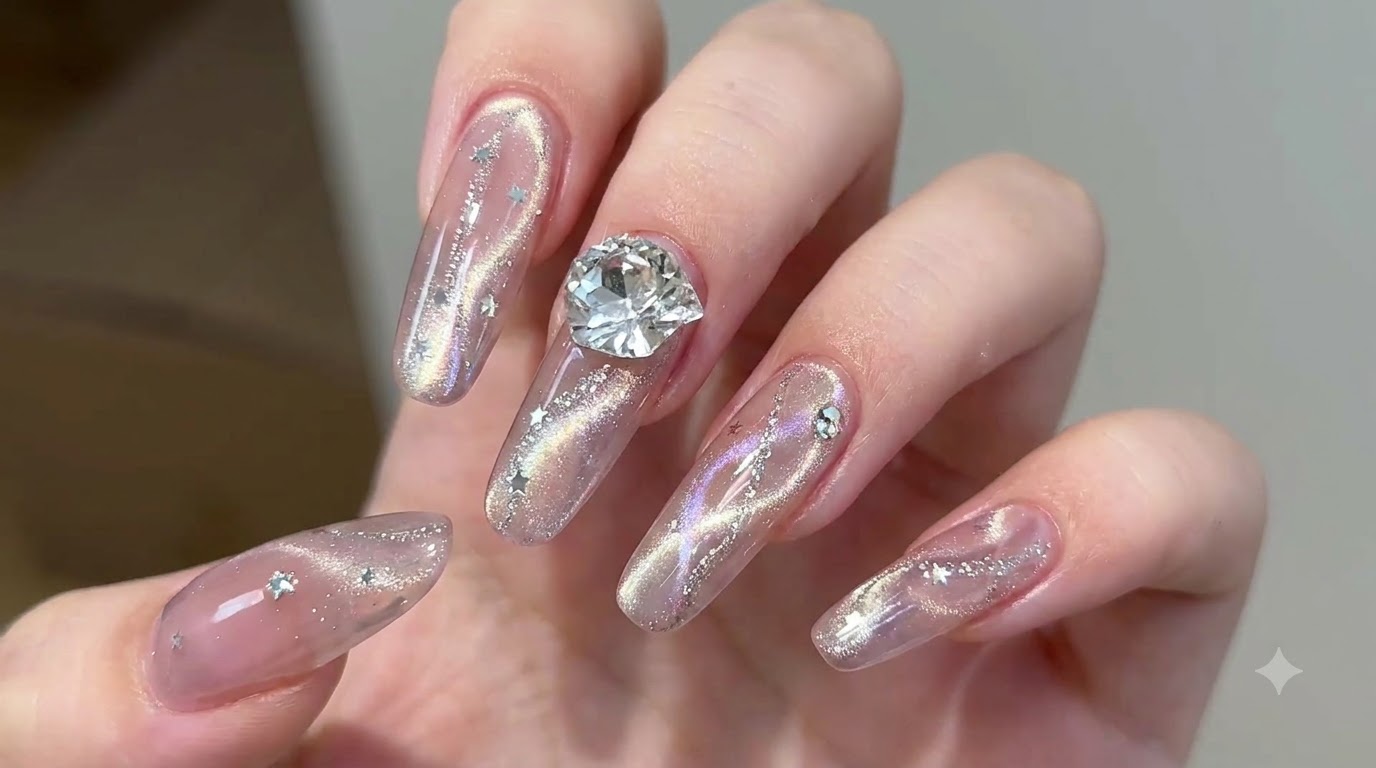
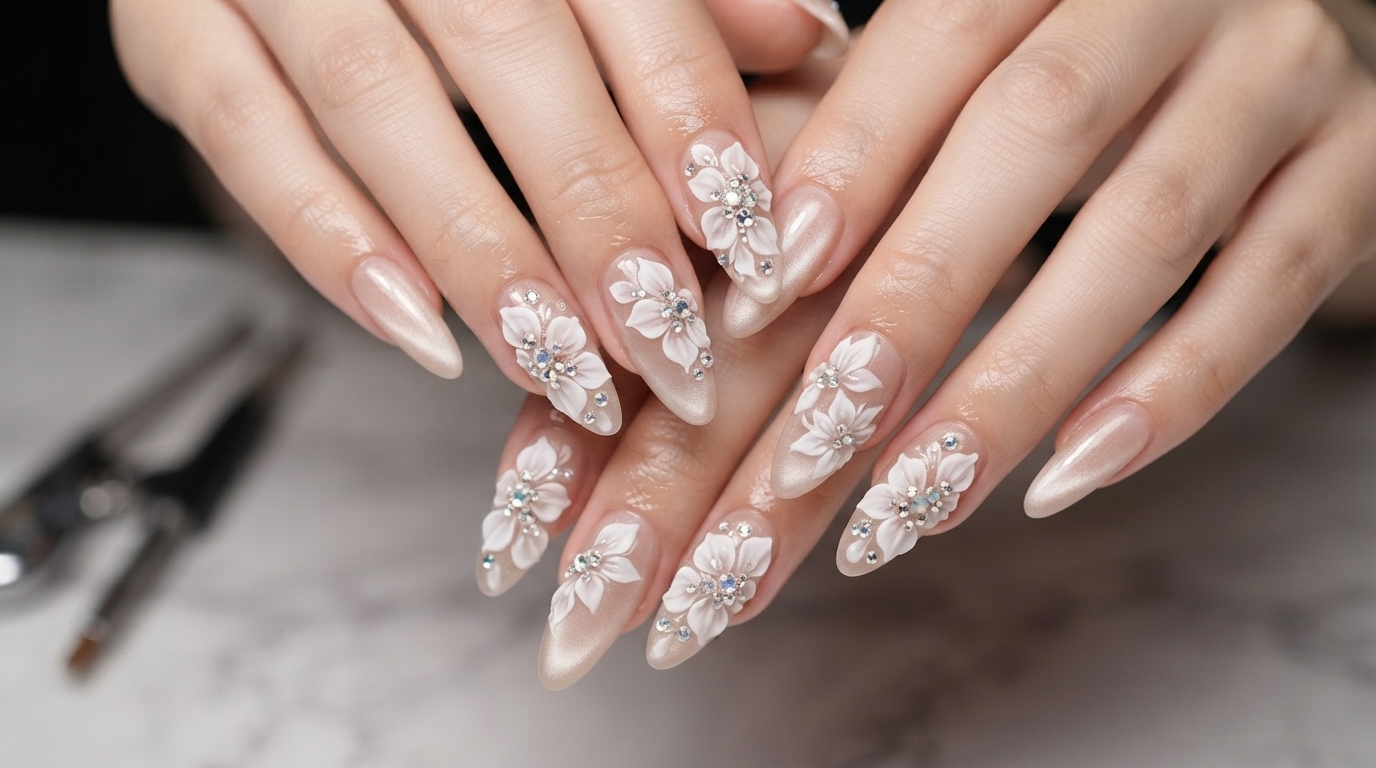
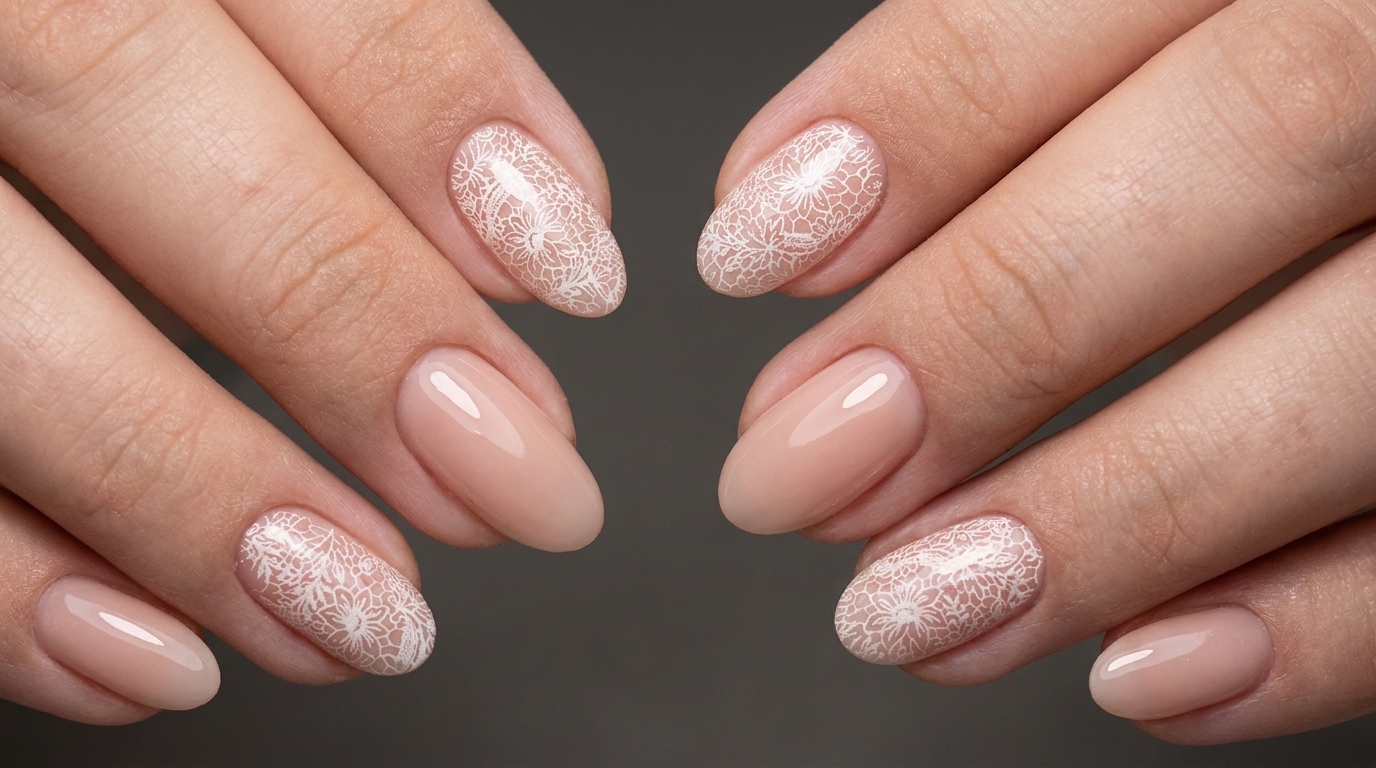
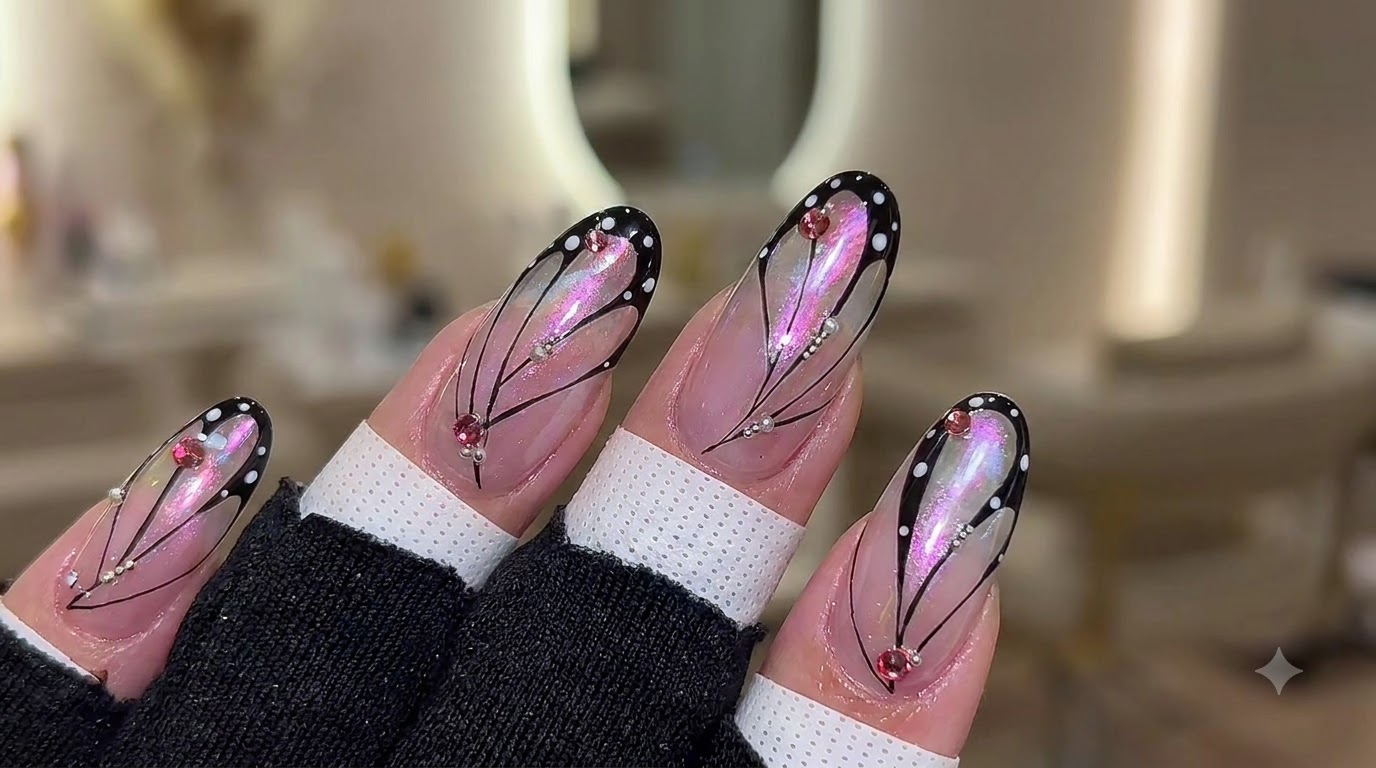
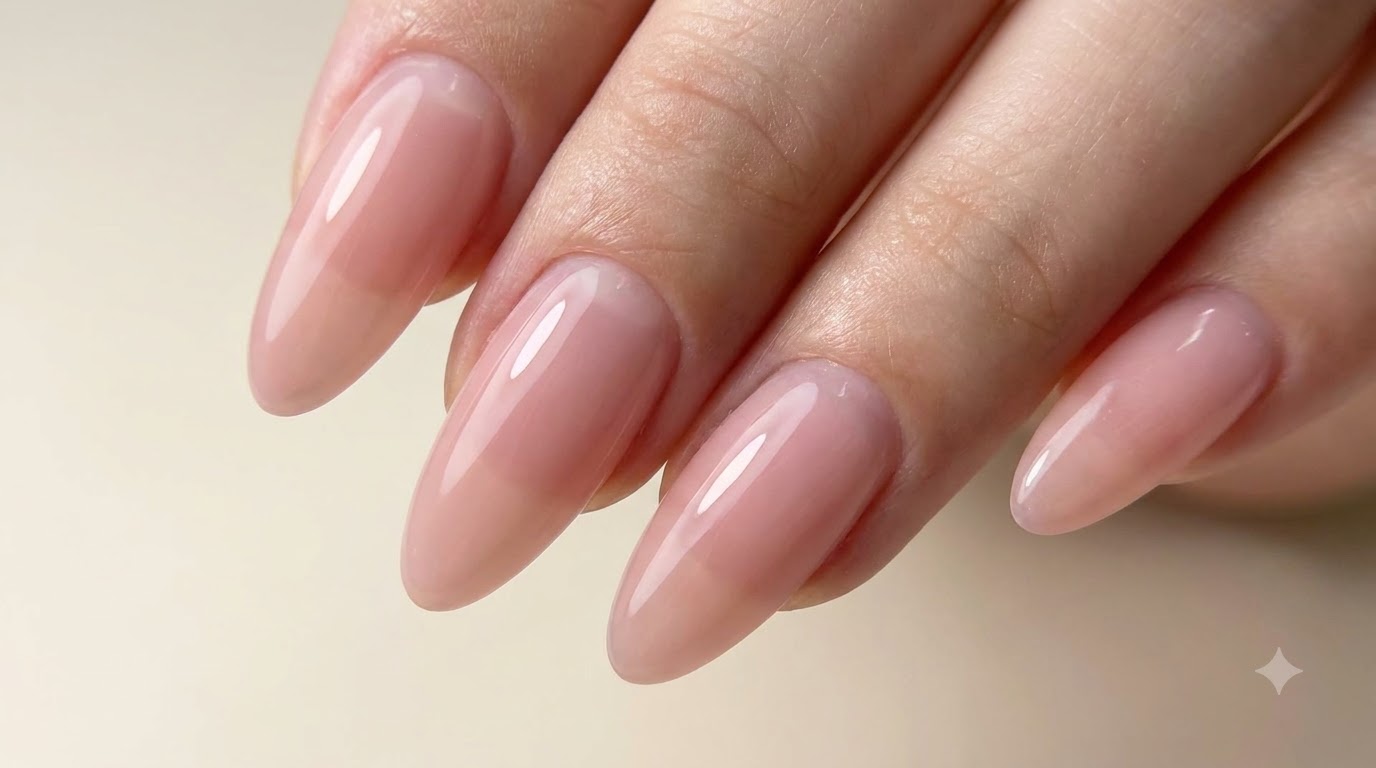
Create effortless elegance with custom soft pink gradient almond nails, featuring a translucent finish and a delicate, flawless color fade.
Subtle, milky, and beautifully understated, soft pink gradient nails offer a timeless aesthetic that elongates the fingers and flatters every skin tone. This tutorial walks you through creating a clean salon-quality translucent fade using custom-mixed soft pink tones paired with a sophisticated almond shape.
Steps
- 1Start with clean, bare nails
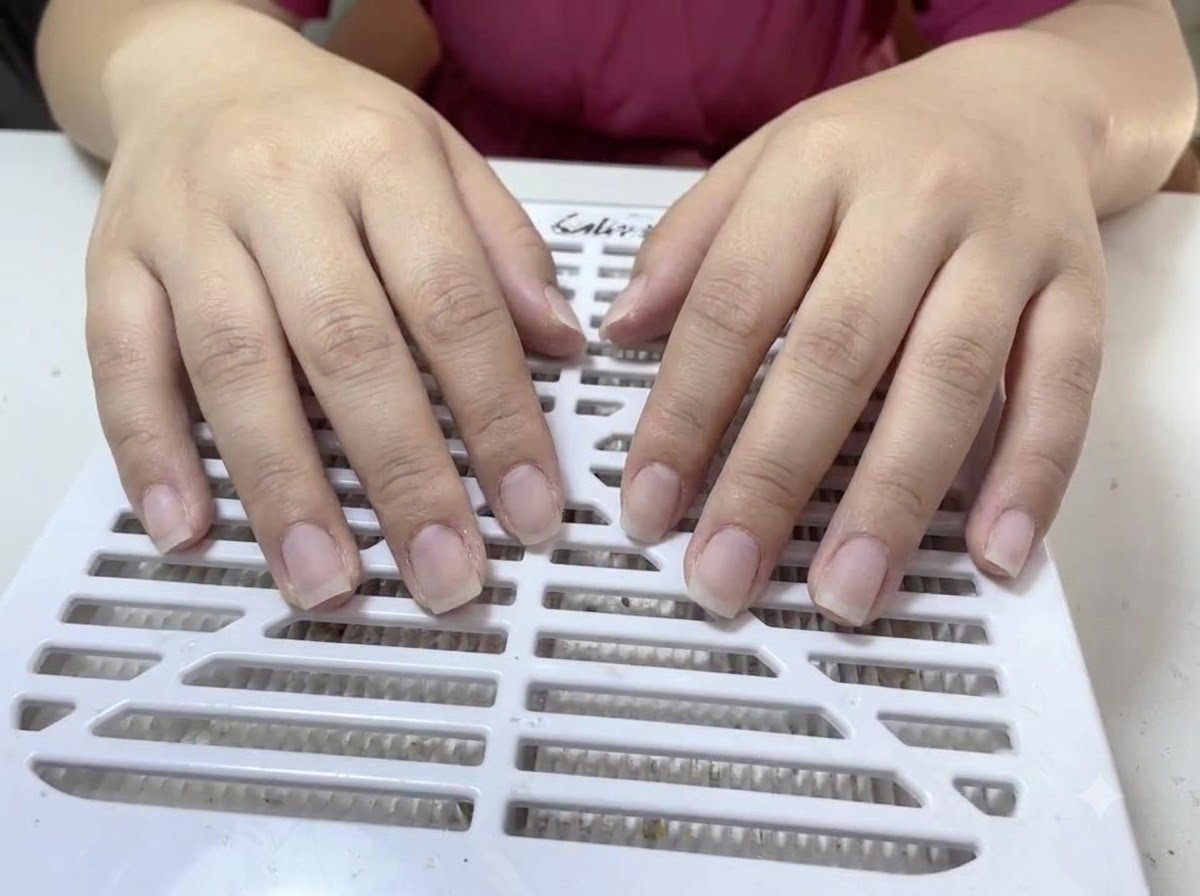
Begin by resting your hands comfortably on a dust collector or clean towel. Ensure your natural nails are completely bare and free of any old polish, lotions, or surface oils. This clean, unprepared canvas is essential before moving into the filing and cuticle preparation stages.
Tip: Washing your hands thoroughly with oil-free soap before starting helps ensure better adhesion for your gel products. - 2Shape the nails into an almond form
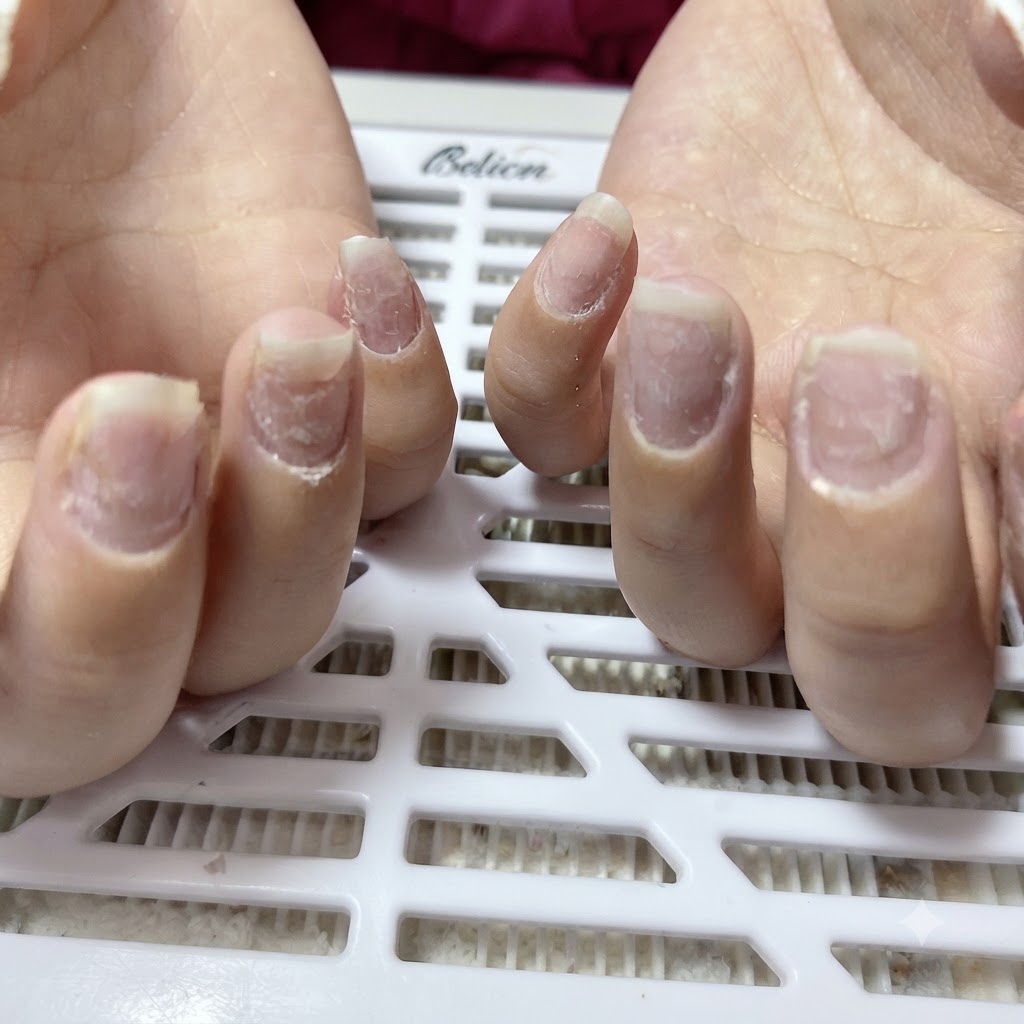
Using a manual nail file, carefully taper the free edges of your natural nails to create a soft, elegant almond shape. Work along the sidewalls and gently round out the tip. Once the shaping is complete, you will notice fine nail dust left behind, which should be completely brushed away before applying any liquid products.
Tip: Always file your natural nails in one continuous direction rather than using a back-and-forth sawing motion to prevent the nail layers from splitting. - 3Apply base coat gel
Apply a thin layer of base coat gel carefully onto the prepped nail plate, ensuring complete coverage from the cuticle to the free edge. Cap the edge to prevent any lifting and cure under the UV or LED lamp as specified.
Tip: Keep the base coat layer thin to ensure proper curing and long-lasting adhesion. - 4Apply first layer of soft pink color gel
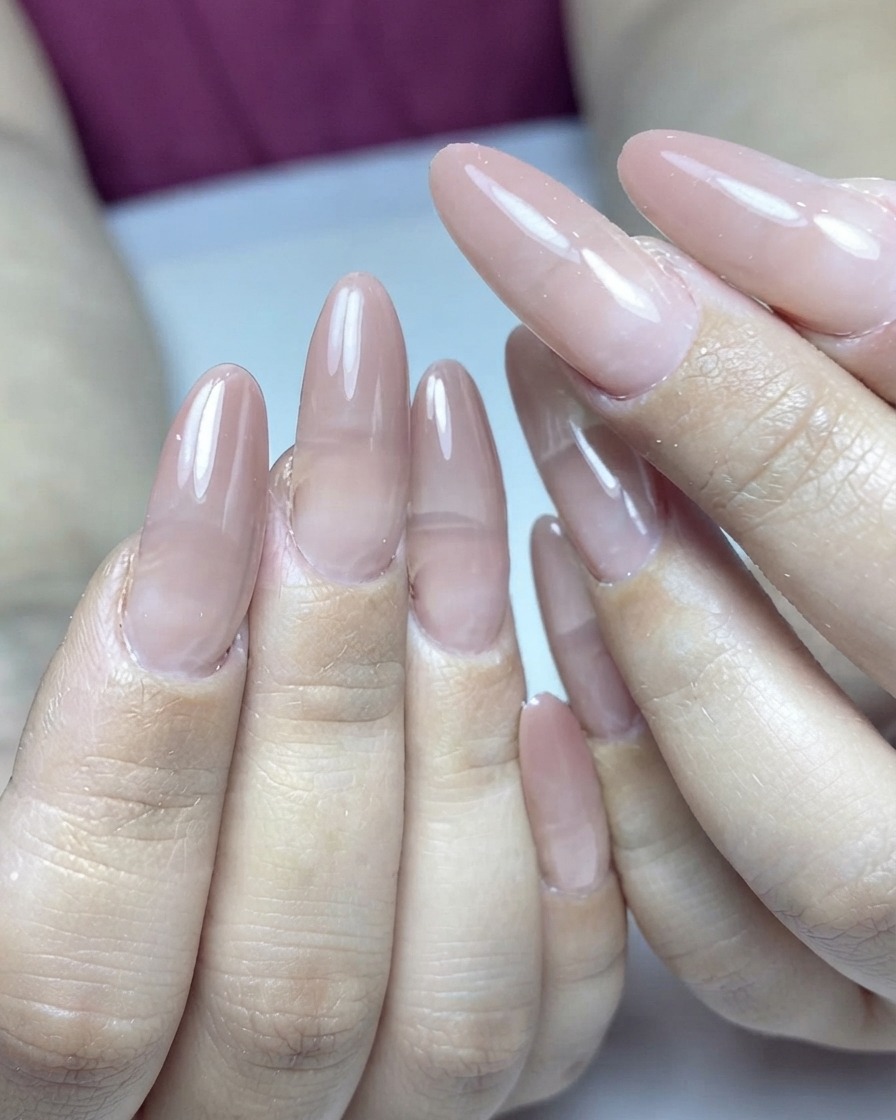
Apply the first layer of the custom-mixed soft pink color gel across the nail to form the smooth gradient base. Ensure the application is even and thin before curing under the lamp.
Tip: Building the gradient with thin layers prevents bulkiness and ensures a smooth color transition. - 5Apply second layer of pink color gel
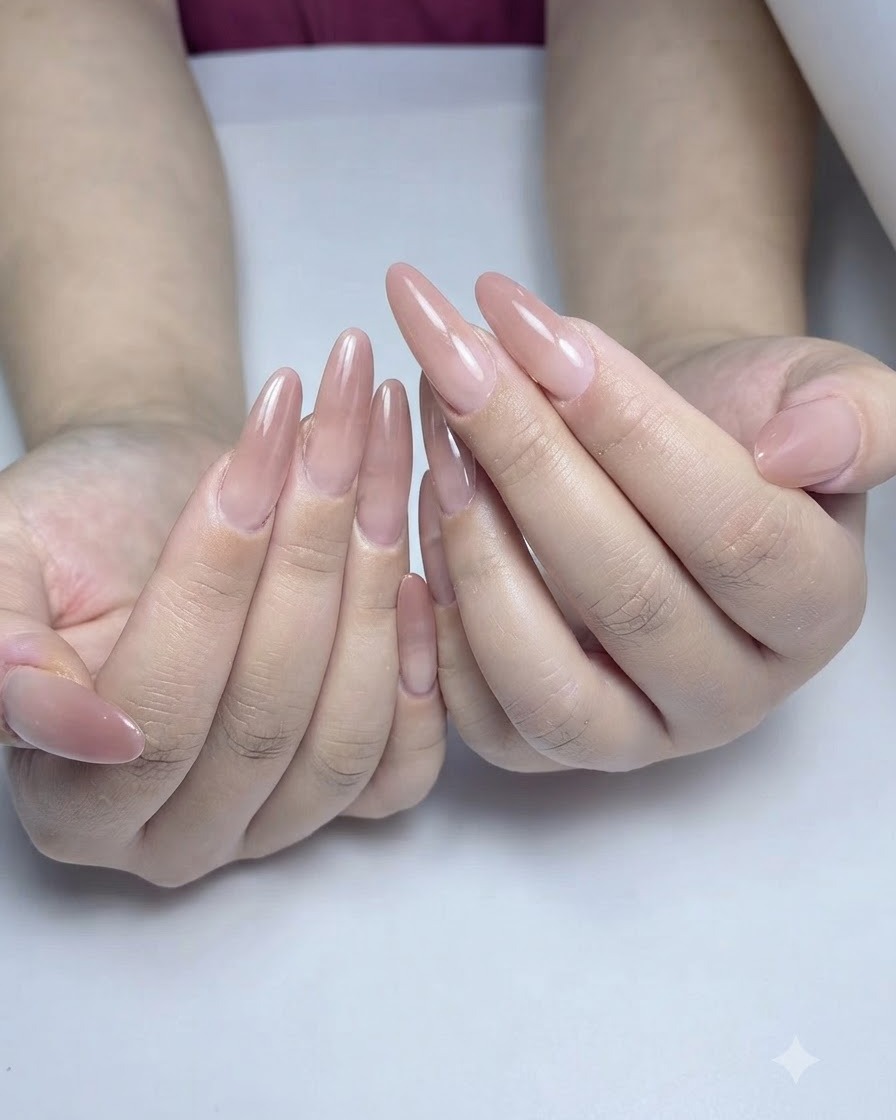
Apply the second layer of pink color gel to deepen and enrich the gradient effect across the nails. Blend gently and cure under the UV or LED lamp to set the color intensity.
Tip: Concentrate the second layer slightly more toward the desired area to enhance the depth of the gradient.