Flowing Ribbon Cat-Eye Nails
Sequins — Step-by-Step Tutorial
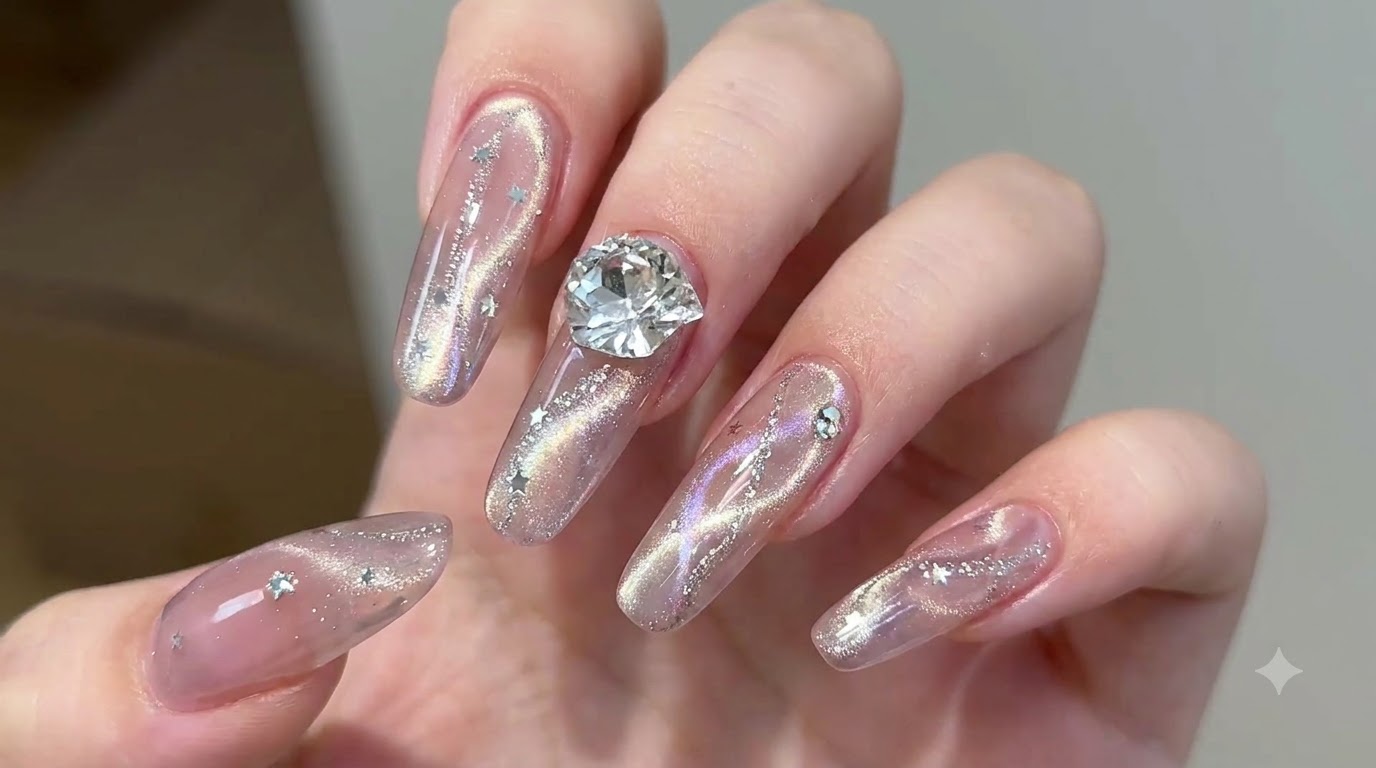
Create a dreamy, dynamic flowing ribbon cat-eye manicure featuring swirling magnetic effects, delicate star sequins, and sparkling rhinestone accents.
Cat-eye gel has evolved into a mesmerizing art form, and this dynamic flowing ribbon technique is the perfect example. By manipulating the magnetic particles with both cylindrical and ring-shaped magnets, you can create a three-dimensional, swirling effect that shifts with every movement. Embellished with delicate star sequins and bold rhinestones, this look is dreamy, striking, and incredibly fun to create.
Steps
- 1Apply base cat-eye gel
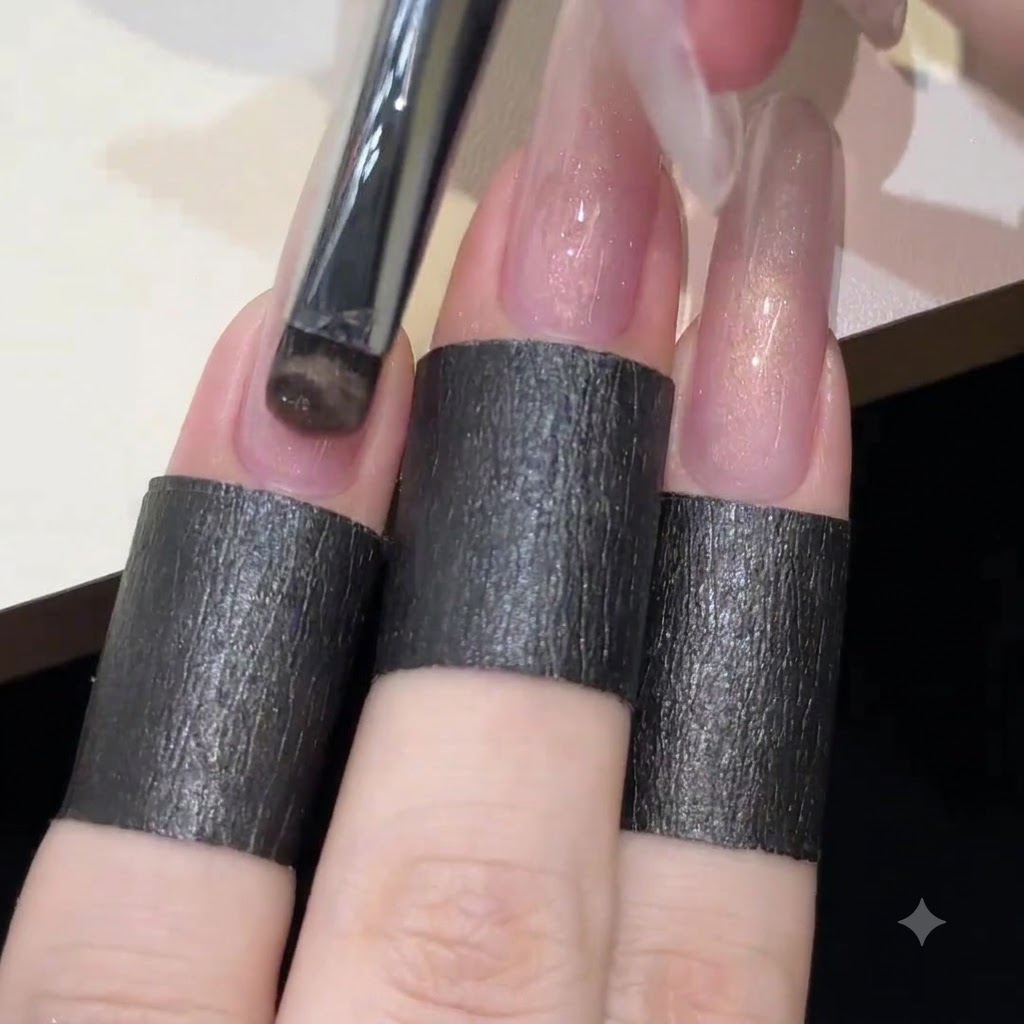
Using a standard gel brush, apply an even coat of sheer pinkish cat-eye gel over the entire nail surface. Ensure smooth and complete coverage from the cuticle area down to the free edge, as this layer provides the foundation for the magnetic ribbon design.
Tip: Do not cure this layer in the lamp yet; the gel must remain wet to react to the magnets in the following steps. - 2Draw wide shimmer band with a cylindrical magnet
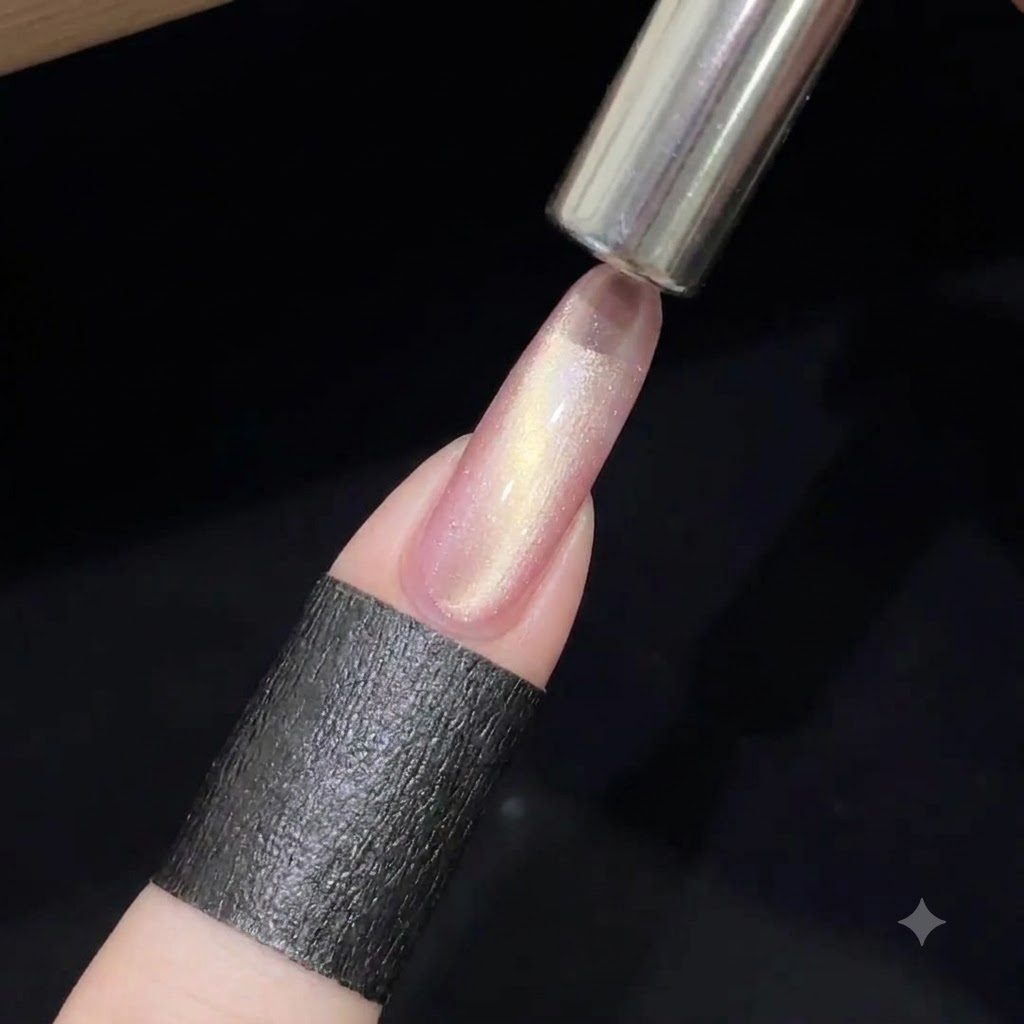
Hold a cylindrical magnet close to the uncured cat-eye gel surface to pull the magnetic particles into a wide, luminous band of light running down the center of the nail. Keep the magnet steady to achieve a smooth, even distribution of shimmer.
Tip: Do not touch the wet gel surface with the magnet. Maintain a consistent distance for an even shimmer line. - 3Create the ribbon effect
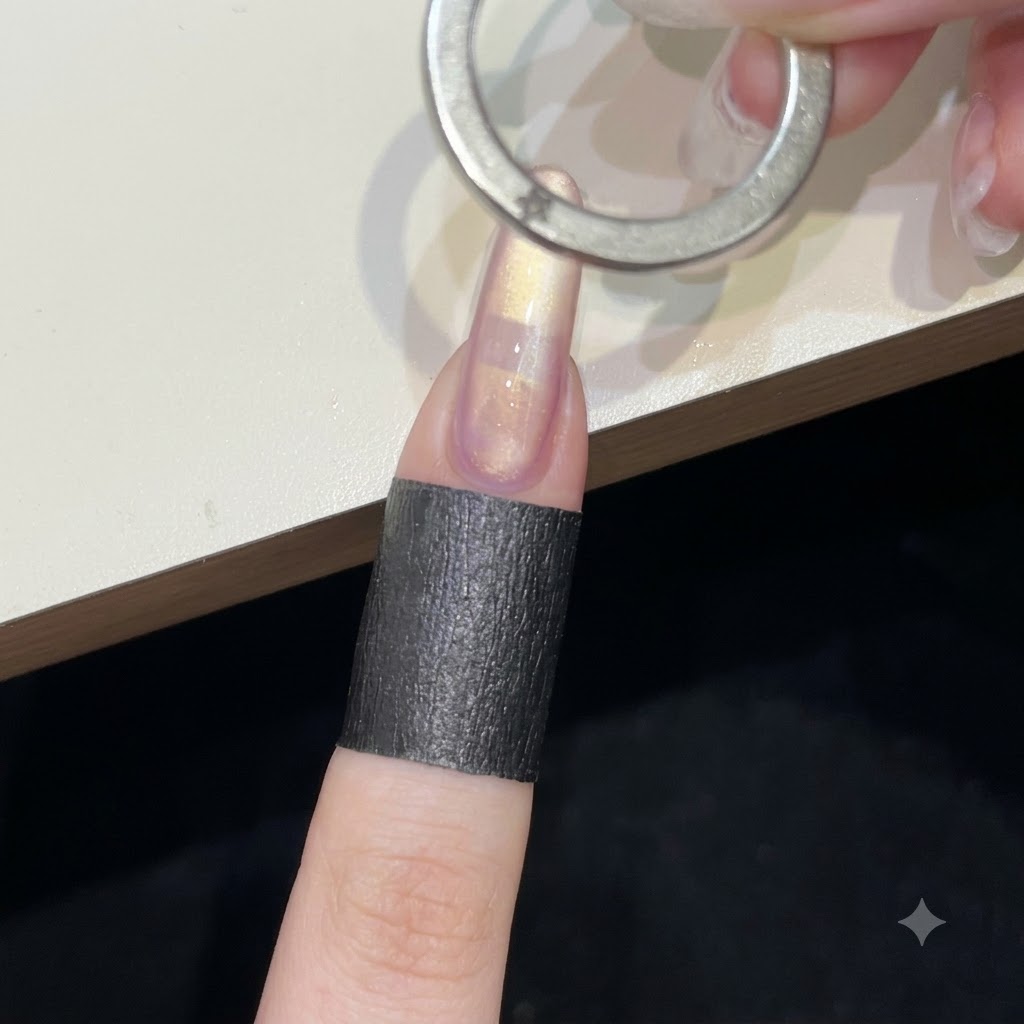
While the cat-eye gel is still wet, carefully place a ring-shaped ribbon magnet horizontally over the center of the nail. Hold it steady for a few seconds to pull the magnetic particles into a dynamic, swirling ribbon shape across the surface.
Tip: Keep the magnet as close to the nail as possible without accidentally touching the wet gel to achieve the sharpest and most prominent ribbon line. - 4Add a purple cat-eye accent
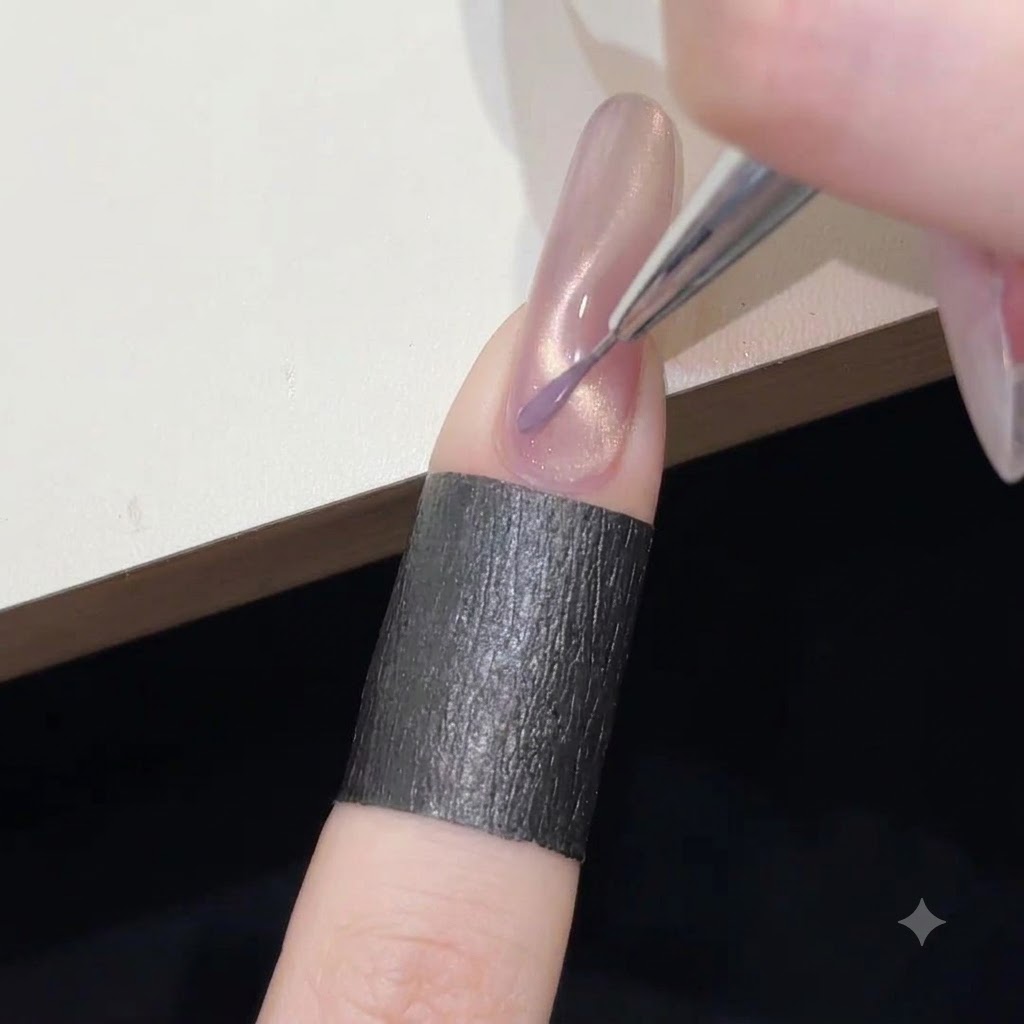
Using a fine liner brush, pick up a small amount of purple cat-eye gel. Carefully paint a delicate, squiggly line tracing along or crossing over the ribbon design you just created to add more dimension and color contrast to the look.
Tip: Keep your hand steady and use only the very tip of the liner brush to maintain a smooth, ultra-thin line that doesnt overpower the base. - 5Activate shimmer on the purple cat-eye line
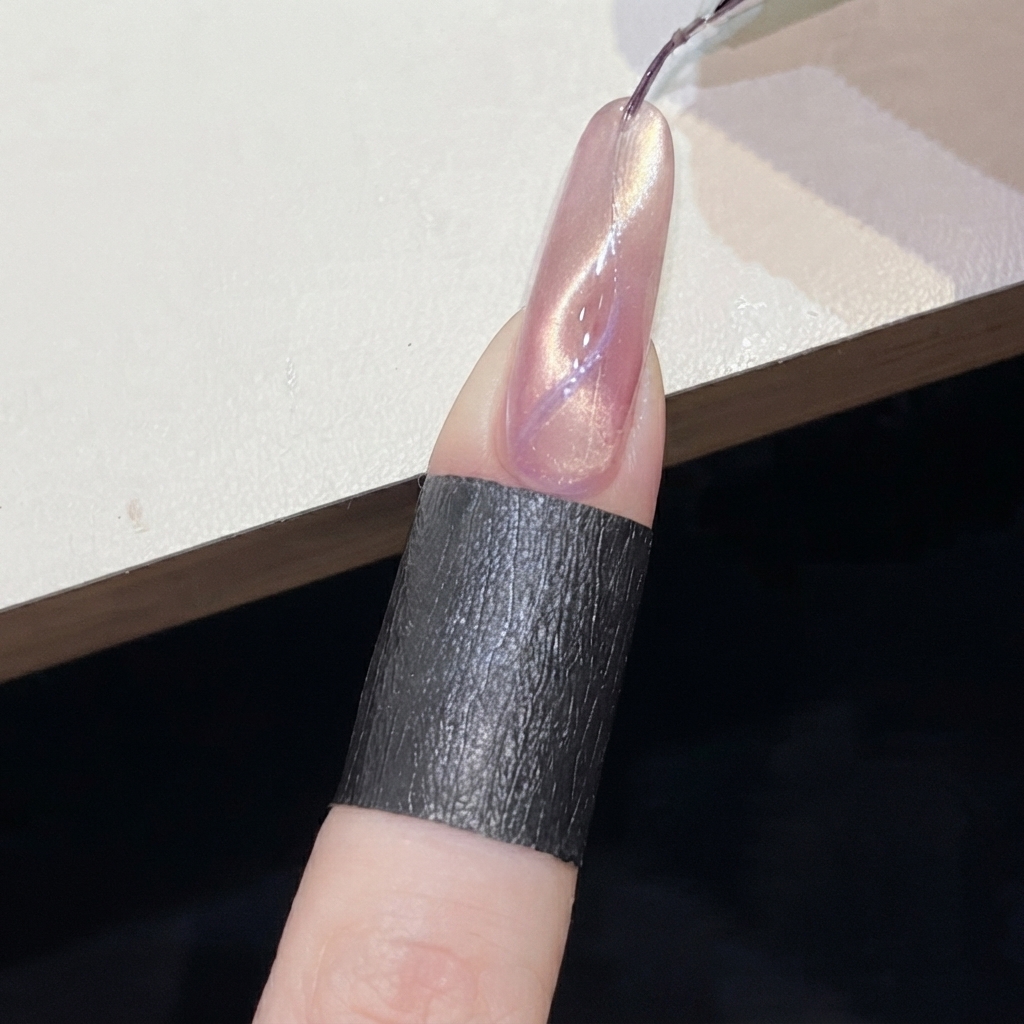
Bring the cylindrical magnet close to the painted purple cat-eye line to activate and sharpen the magnetic particles. This enhances the depth and brilliance of the secondary accent line, creating a dynamic multi-dimensional look.
Tip: Precise placement of the magnet ensures the shimmer follows the exact path of the line. - 6Trace thin squiggly line with platinum glitter
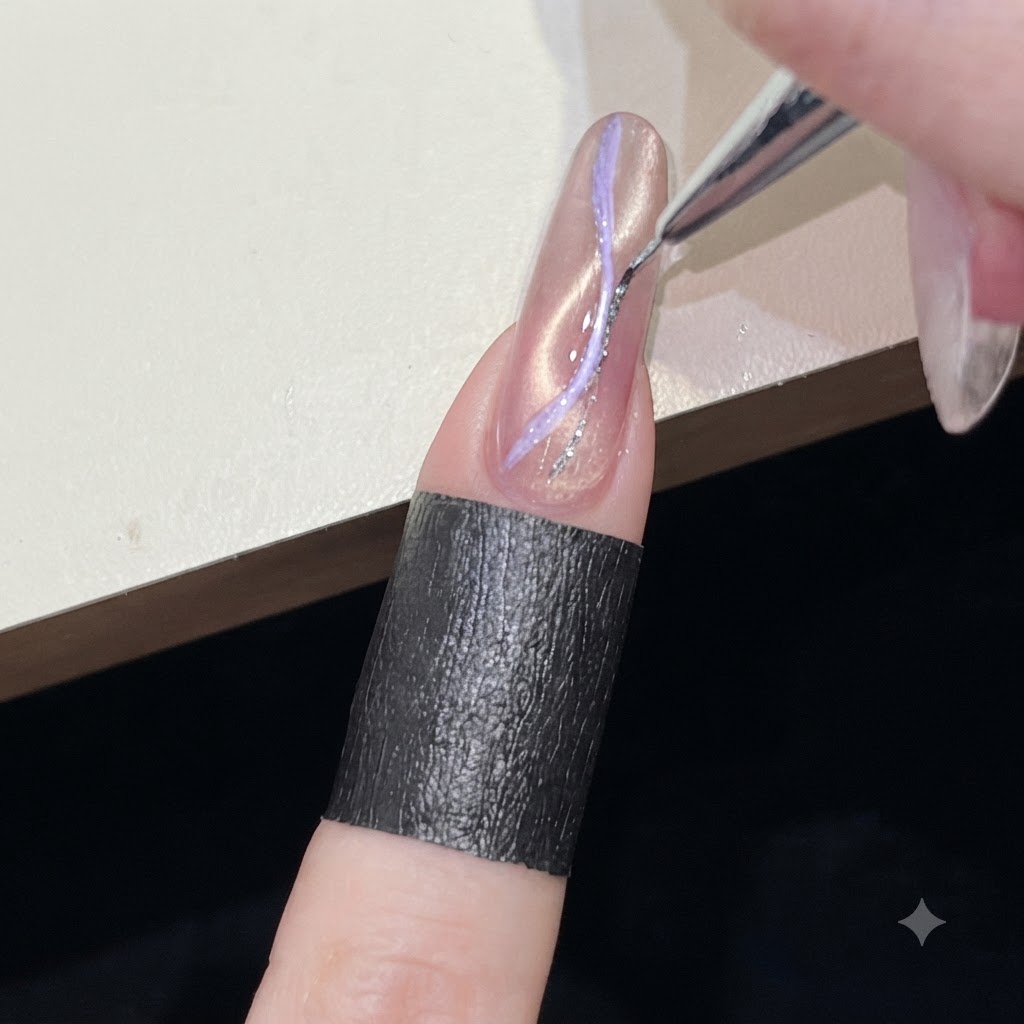
Dip a fine liner brush into silver platinum glitter gel and trace a delicate, wavy line alongside the previous design elements. This adds an extra layer of sparkle and intricate detail to the ribbon cat-eye effect.
Tip: Use light pressure on the liner brush to draw crisp, ultra-thin glitter lines. - 7Apply clear reinforcement or builder gel
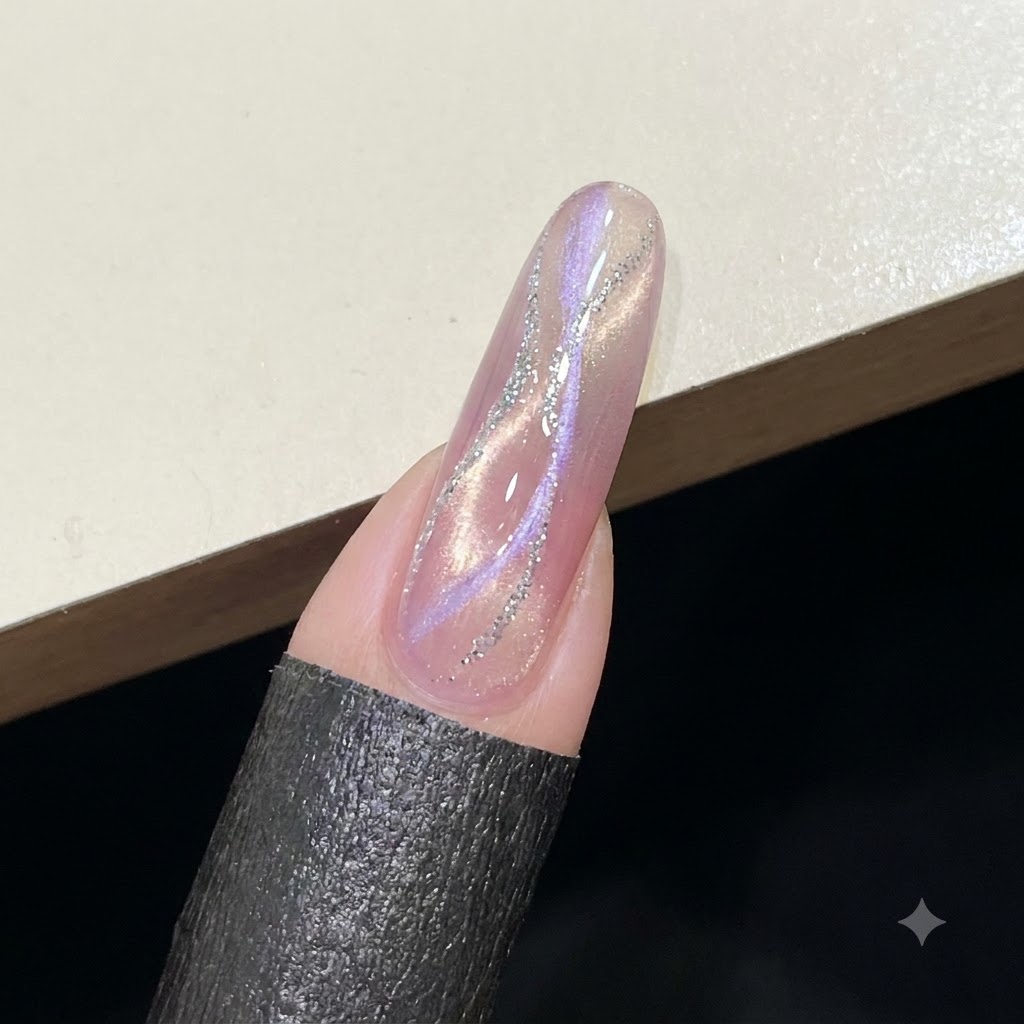
Brush a smooth layer of clear builder or reinforcement gel across the entire nail surface without curing it. This wet layer acts as an adhesive base to securely hold upcoming nail art embellishments like sequins and flakes.
Tip: Ensure an even layer is applied so that placed sequins do not sink unevenly or shift out of place. - 8Place silver star sequins onto wet gel
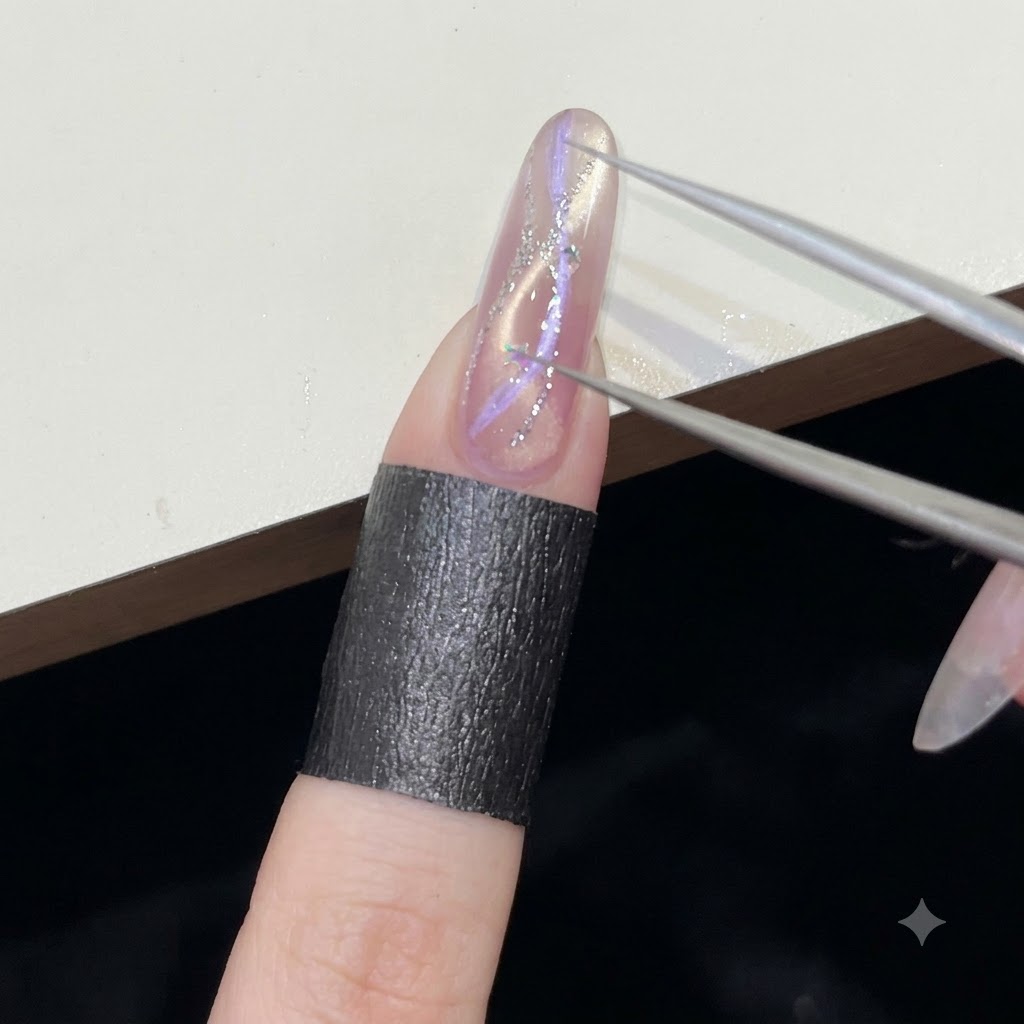
Using pointed tweezers, pick up tiny silver star-shaped sequins and individual glitter flakes, carefully placing them onto the wet, uncured clear gel surface. Arrange them artistically along the ribbon design to complement the sparkle.
Tip: Lightly press each sequin into the wet gel to ensure it lies flat and wont catch on clothing later. - 9Review your intermediate progress
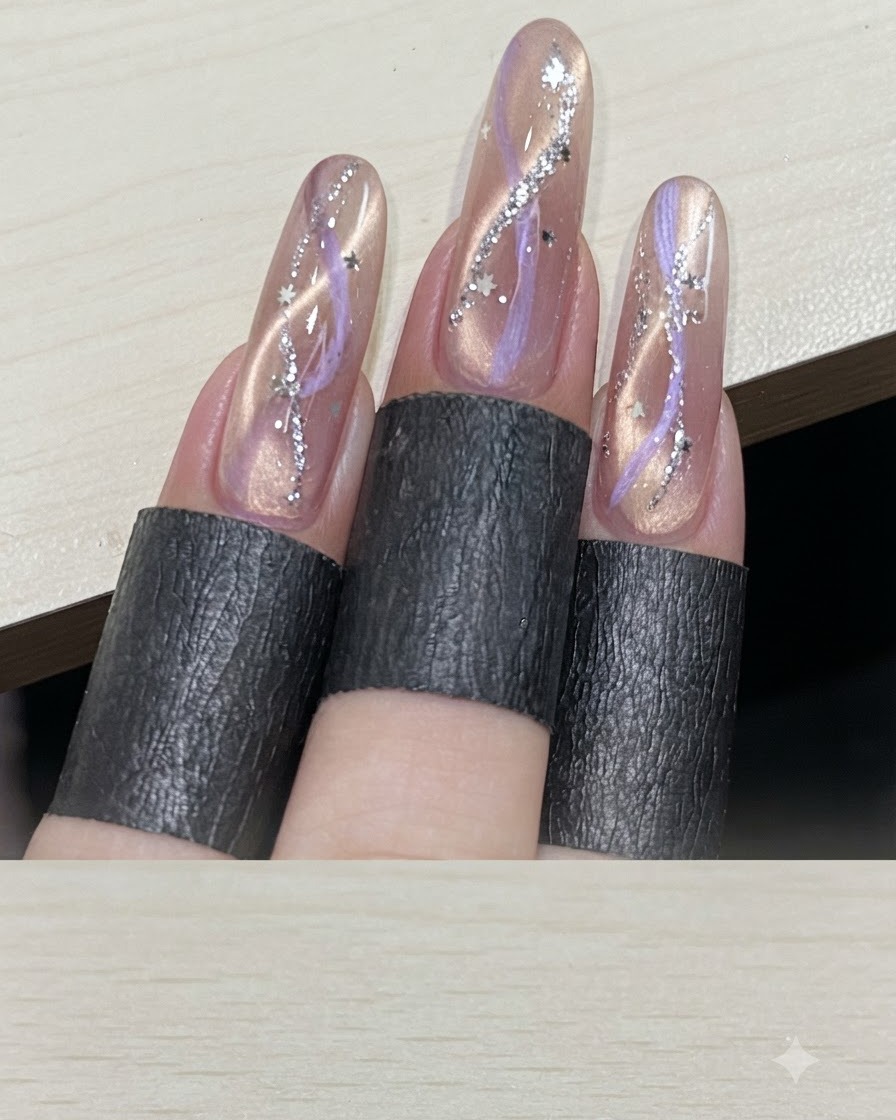
Take a moment to observe the completed ribbon cat-eye and sequin design across all fingers. This allows you to check for consistency and overall aesthetic balance before sealing the design with a top coat and adding rhinestones.
Tip: Checking multiple fingers together helps ensure the nail art flow is uniform across the entire hand. - 10Apply leveling top coat
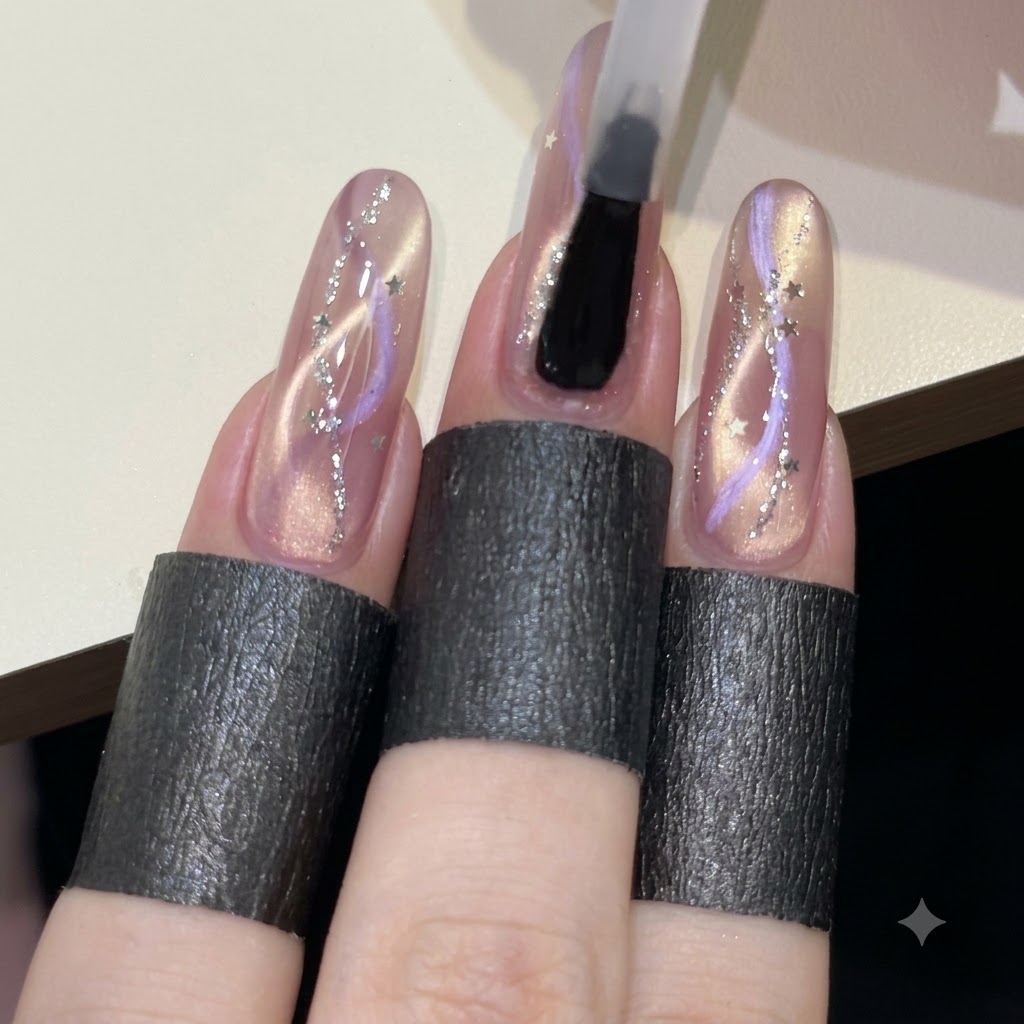
Apply a generous layer of glossy top coat over the entire nail. Use a light touch, slightly floating the brush over the surface to build the apex and level out any unevenness from the glitter and sequins.
Tip: Floating the top coat helps encapsulate the sequins and creates a perfectly smooth, glass-like finish. - 11Place the main rhinestone
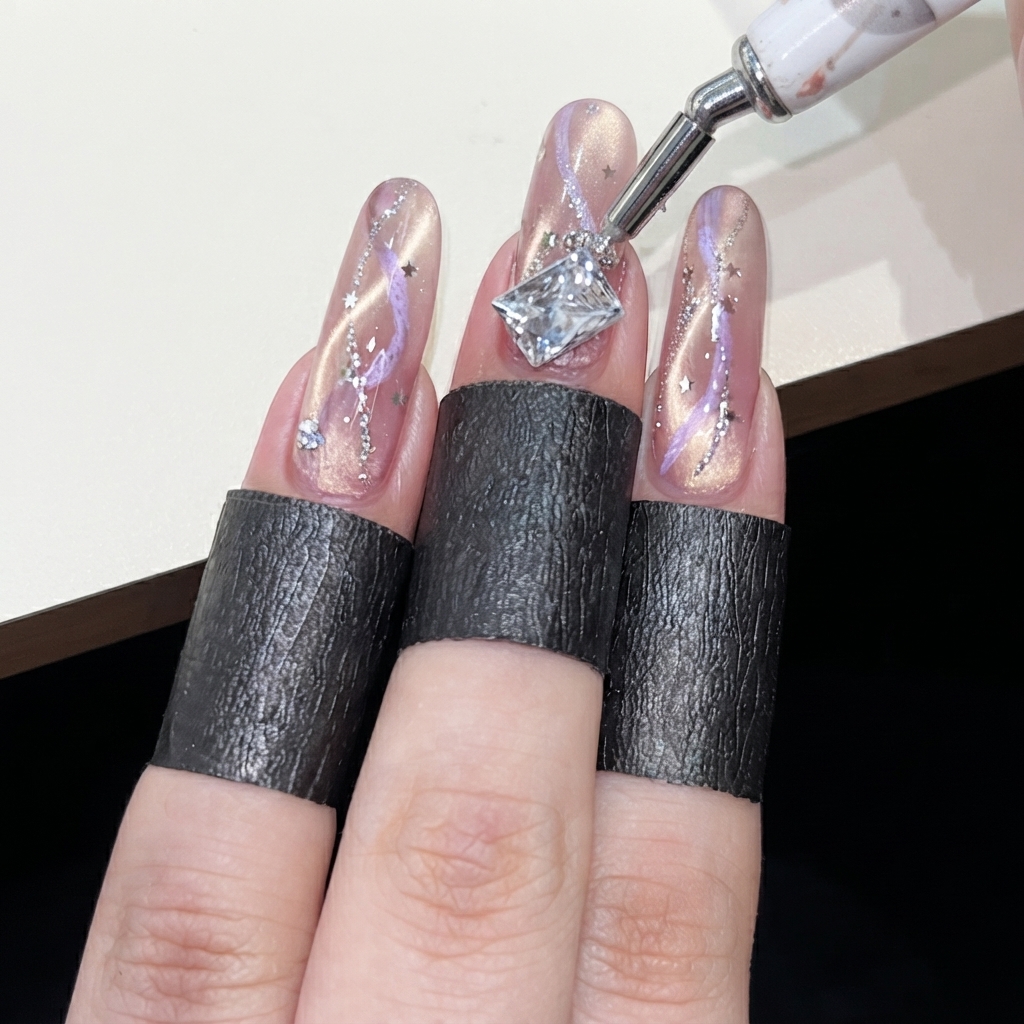
Using a wax picker pen, pick up a large, diamond-shaped clear rhinestone. Carefully place it onto the center of the nail, near the cuticle area, to serve as the main focal point of your 3D design.
Tip: Press the rhinestone gently into an uncured layer of gel or gem glue to ensure it adheres securely. - 12Add accent rhinestones
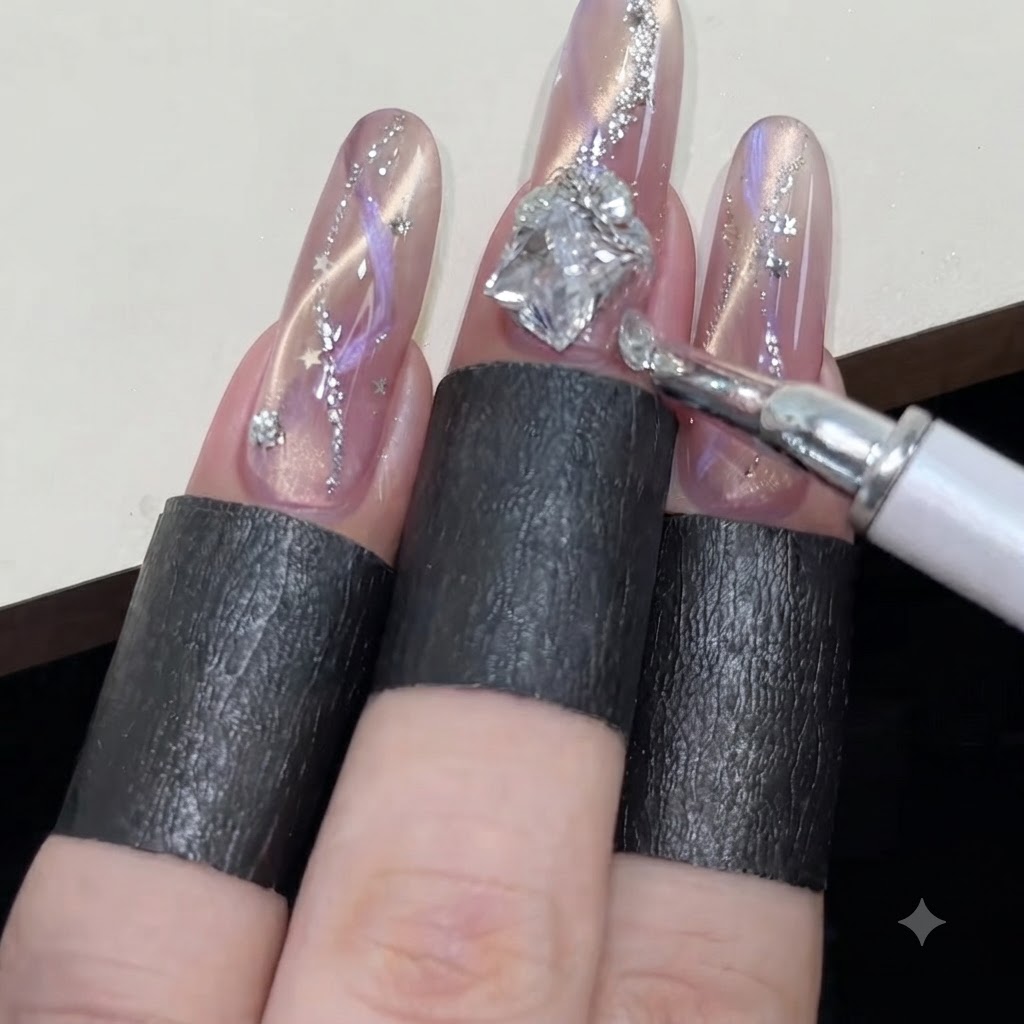
Continue using the wax pen to pick up smaller round rhinestones. Place them delicately alongside the larger gem to enhance the sparkling, dynamic flow of the ribbon effect. Finally, use a hard top coat around the edges of all rhinestones to seal them securely in place.
Tip: Grouping stones of varying sizes creates a more organic, balanced look than using gems of a single size.