Nude Butterfly
Crystal Embellished Long Almond Gel Nails Tutorial
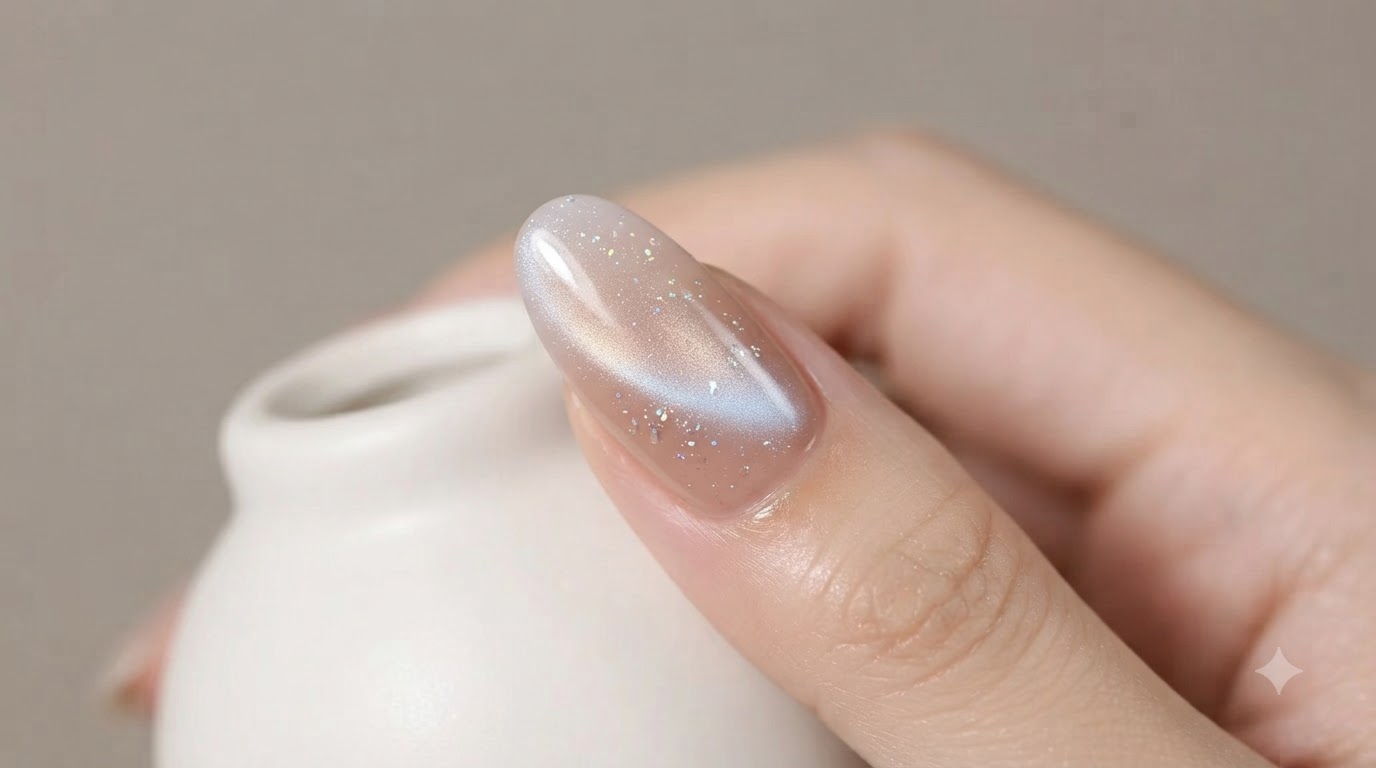
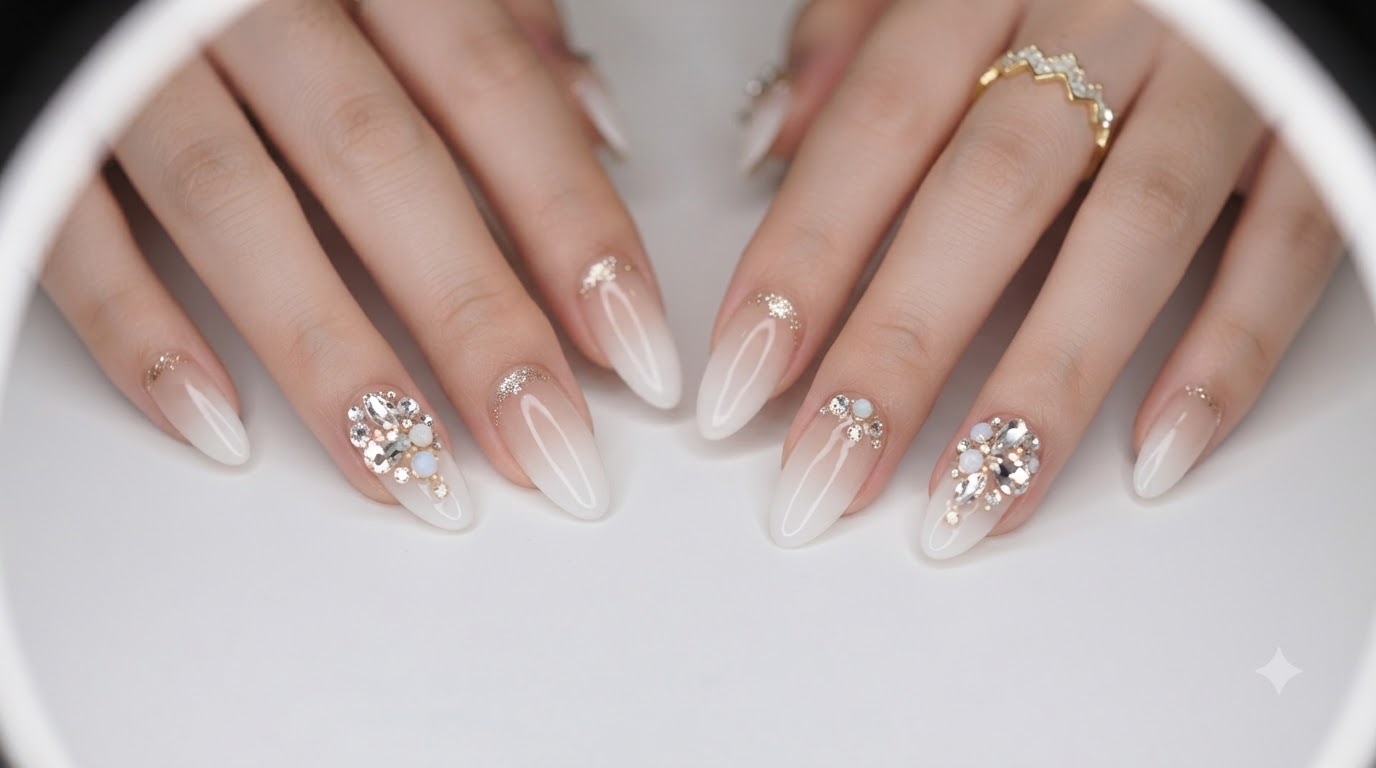
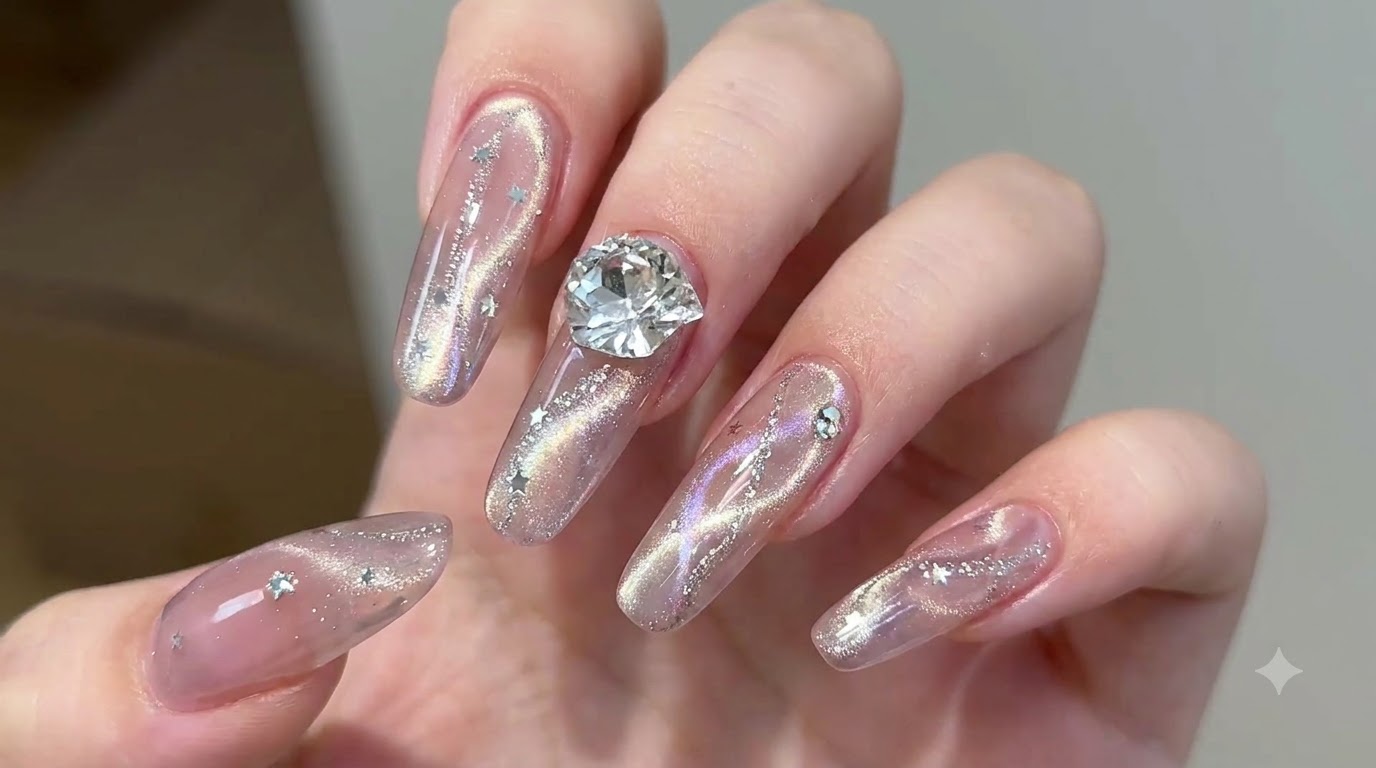
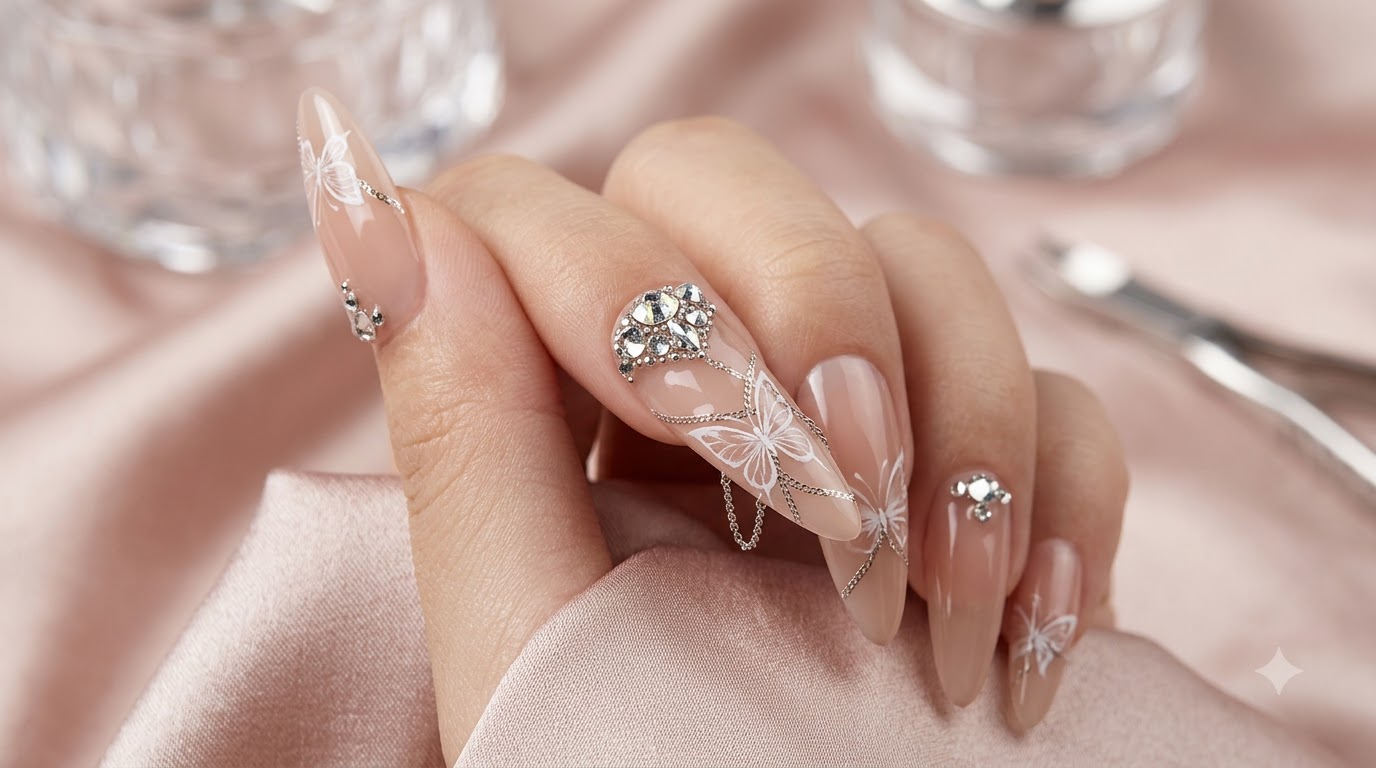
Discover how to create luxurious nude almond gel nails featuring delicate hand-painted white butterflies, silver chains, and sparkling crystal clusters.
Elevate your nail art game with this stunning milk tea nude design that merges whimsical butterfly freehand painting with high-end crystal and chain embellishments. Perfect for special occasions or anyone craving a sophisticated, editorial manicure look.
Steps
- 1Apply builder gel for nail architecture
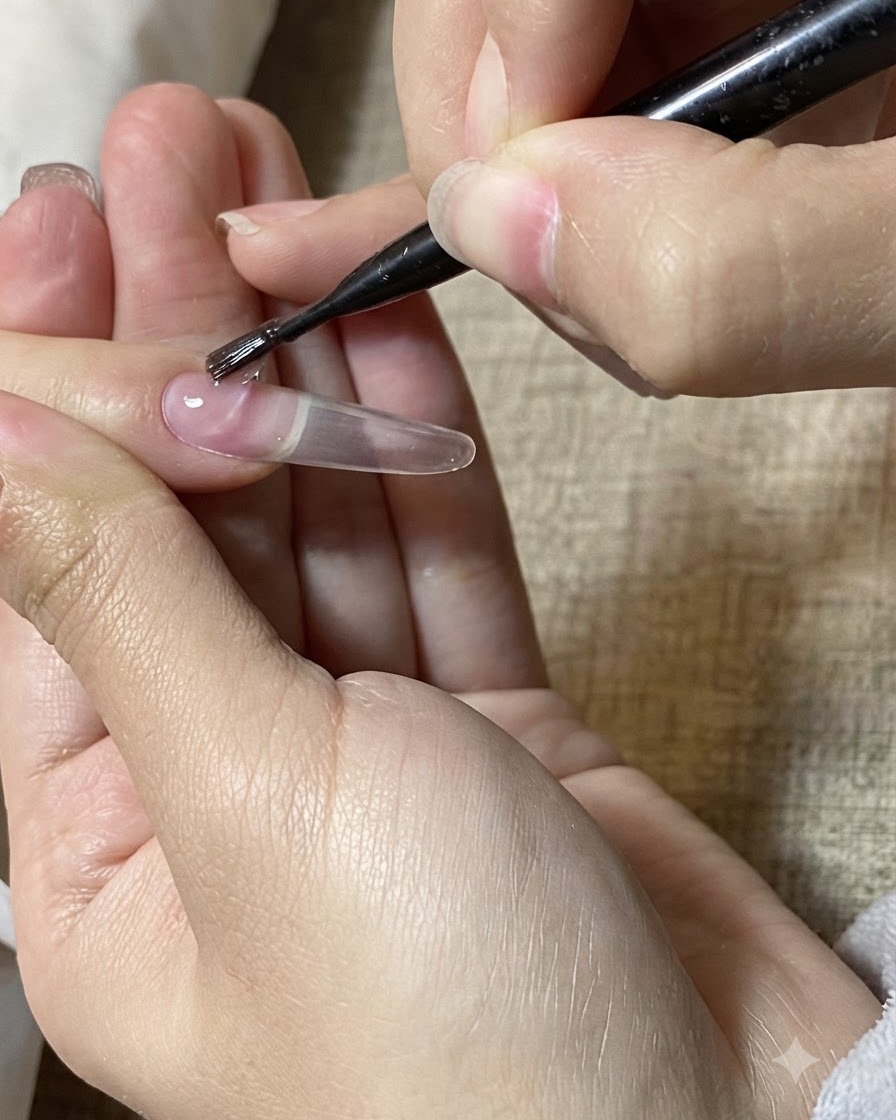
Apply a controlled amount of builder gel onto the nail extension using a fine detailing brush, working carefully to structure the correct apex and nail architecture. Ensure the gel is evenly distributed to provide structural strength for the long extension without looking bulky.
Tip: Keep your brush light and let the gel self-level slightly before curing to minimize filing later. - 2Refine and smooth the gel layer
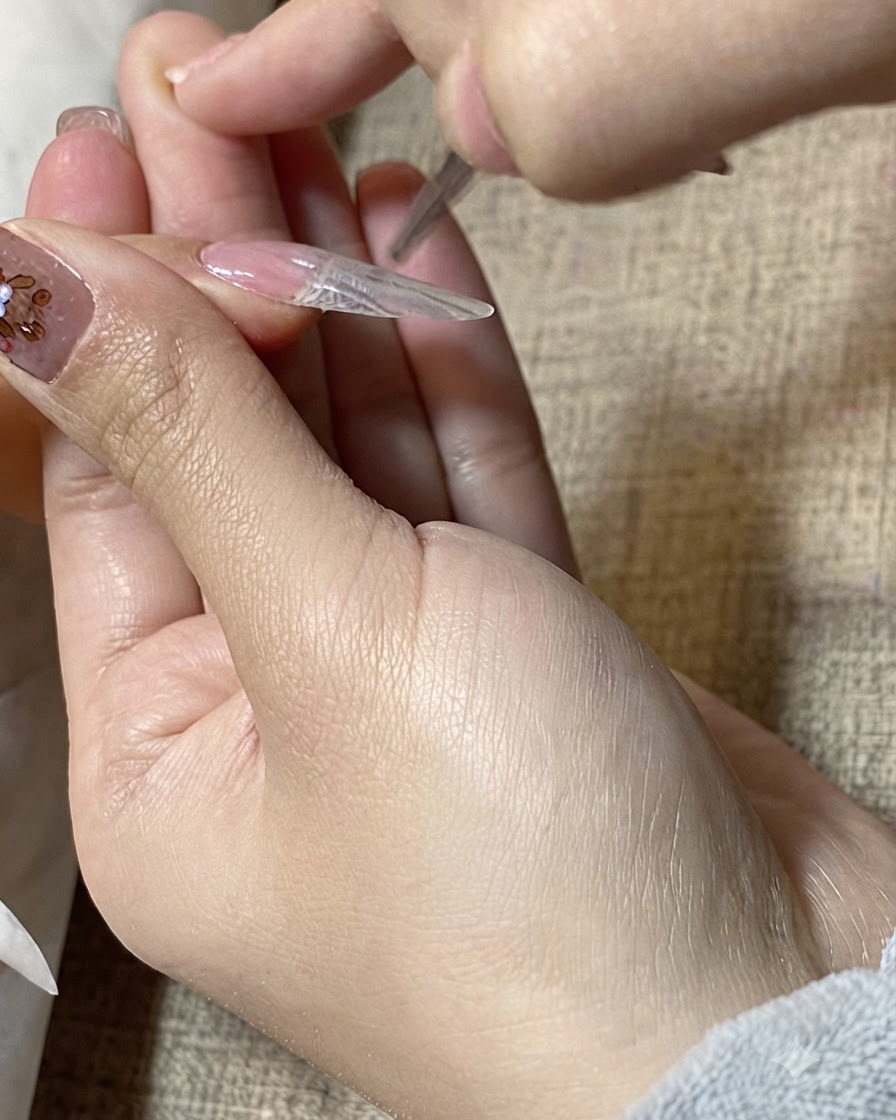
Carefully refine the gel application across the nail surface using a fine detailing brush. Smooth out any uneven areas, making sure the transition from the natural nail plate to the extension is seamless and polished.
Tip: Work in small sections and check your angles under the light to catch any surface dips or ridges. - 3Open MC Mocha Gel shade 01
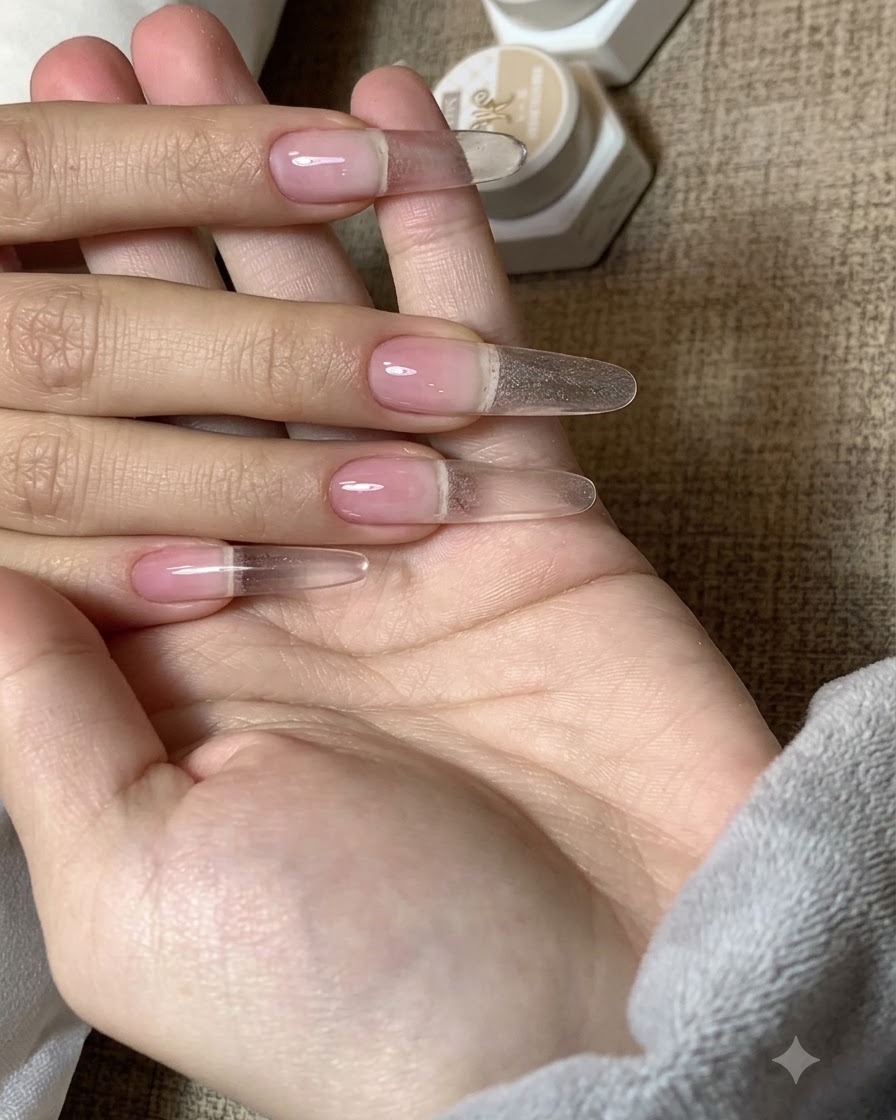
Open the jar of MC Mocha Gel shade 01, which will be used to cover and define the free edge linecite: 1. Ensure your workspace and brushes are ready for the precision color application step.
Tip: Keep the jar lid loosely closed when not actively dipping to prevent dust or airborne particles from settling into the gel. - 4Clean application sponge with tape
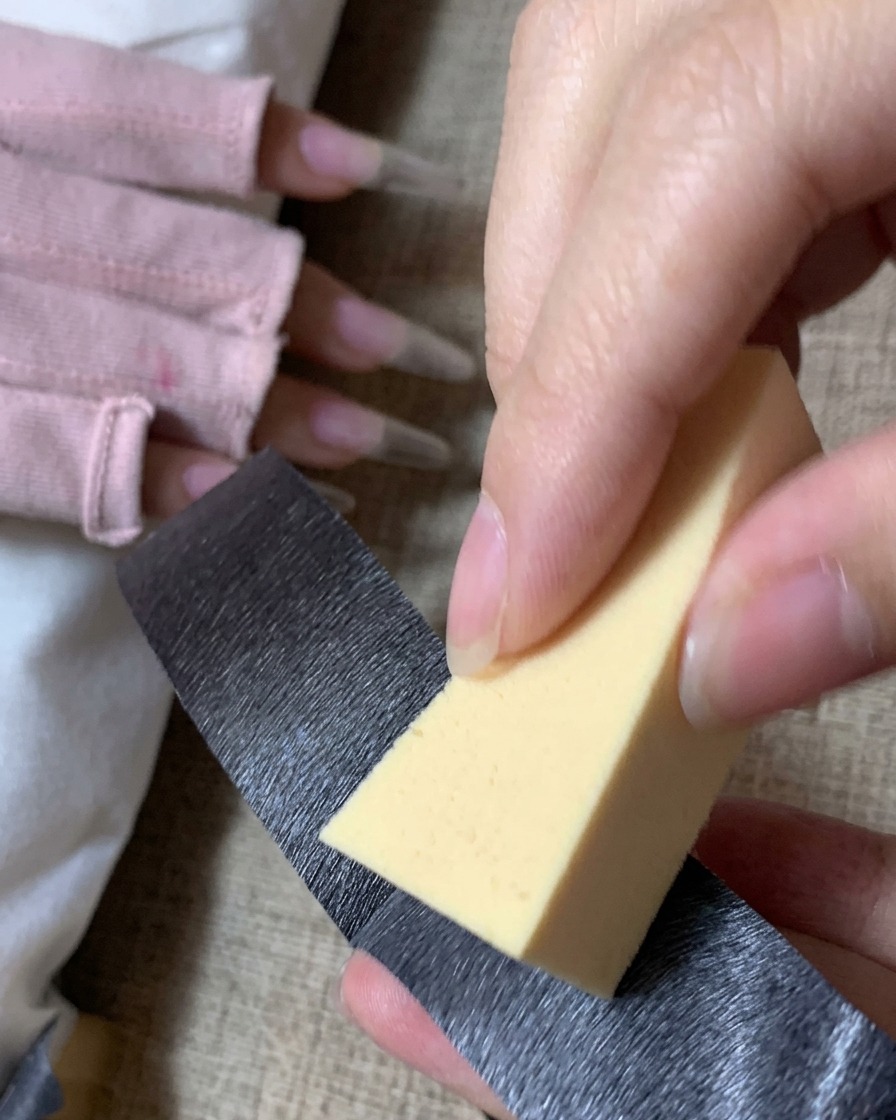
Take a piece of adhesive tape and gently press it against the surface of the sponge to lift away any microscopic dust or debriscite: 1. Using a clean sponge ensures that your gradient application remains smooth and free of unwanted texture spots.
Tip: Press firmly but gently so you do not tear or damage the delicate texture of the sponge foam. - 5Apply first thin gradient layer
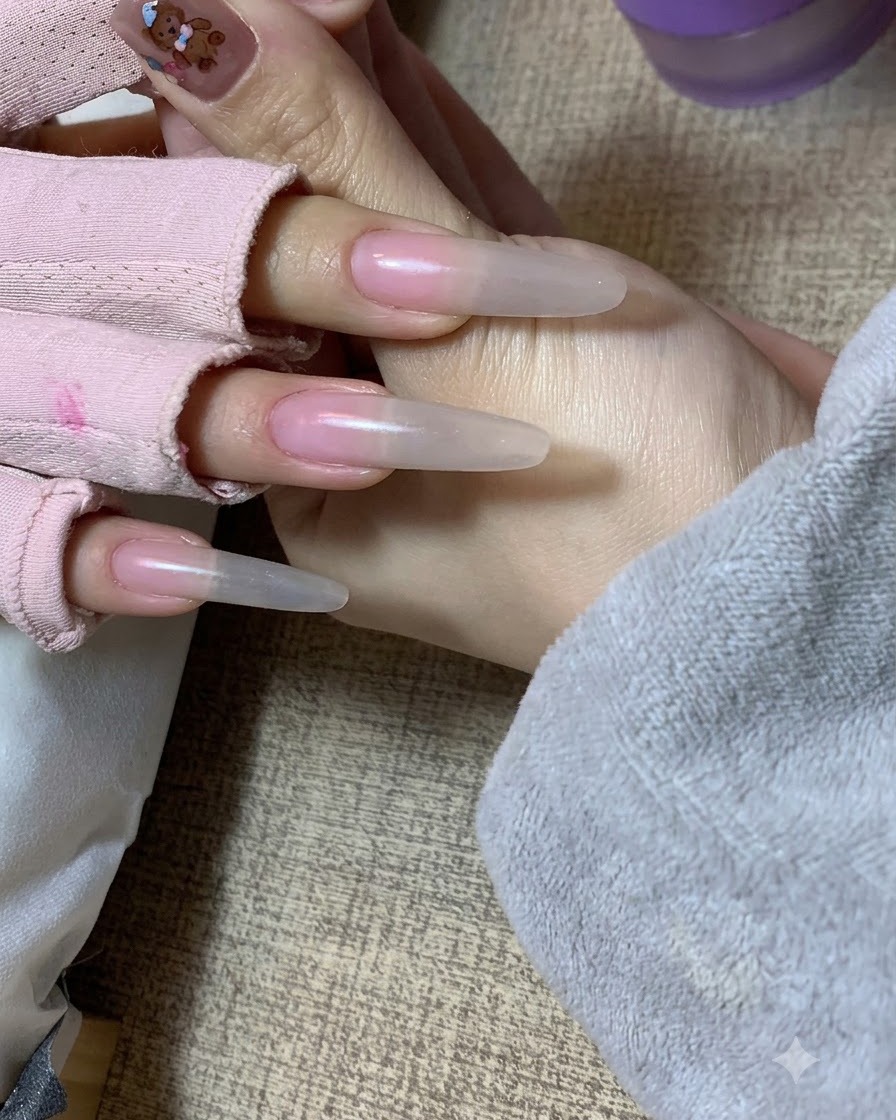
Apply the first thin coat of nude color gel using a gentle sponge patting technique to achieve a soft gradient effectcite: 1. A thin initial layer creates a delicate transition base before building up opacity.
Tip: Keep your patting motions light and consistent to prevent harsh lines from forming in the gradient transition. - 6Apply second layer for edge coverage
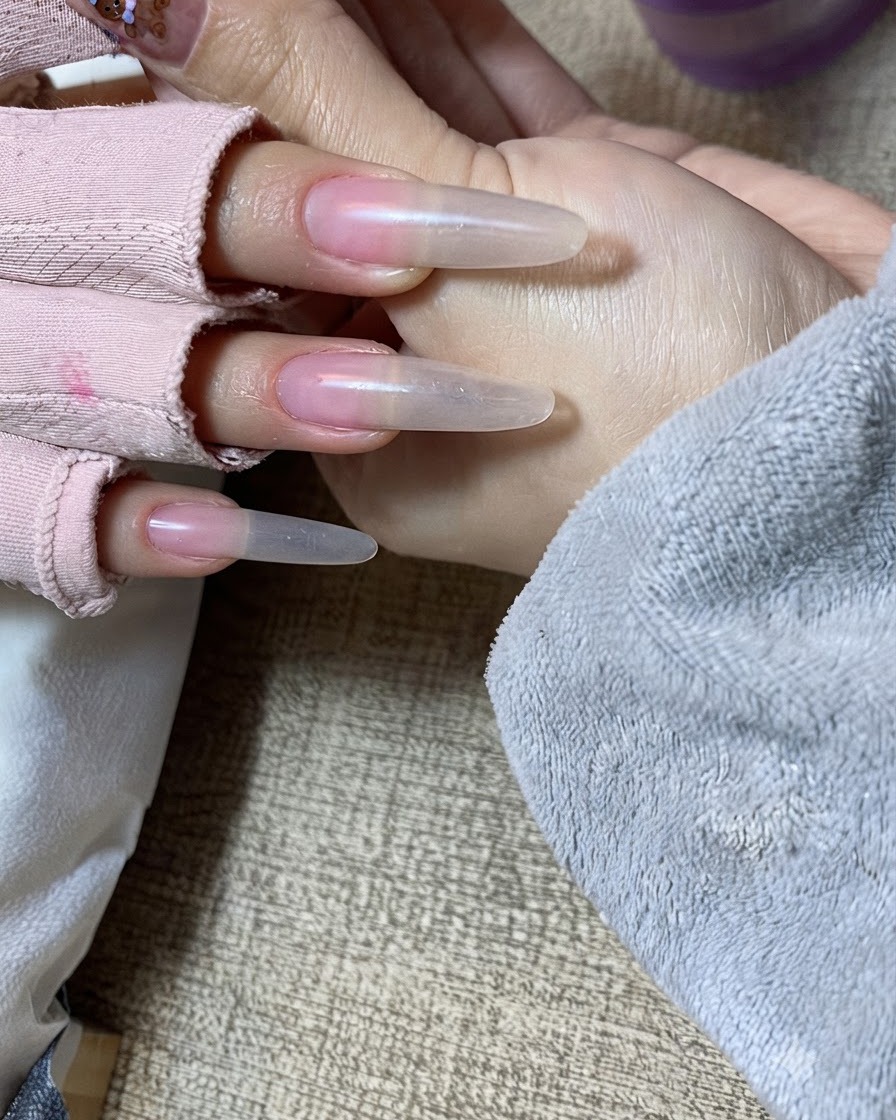
Apply the second layer of nude color gel, focusing specifically on patting the free edge line position to ensure strong coverage and opacitycite: 1. This patting technique yields a delicate finish while effectively hiding the transition line.
Tip: Concentrate more pigment toward the free edge while keeping the cuticle area sheer for a natural ombre look. - 7Dip fine brush into MC Mocha color gel
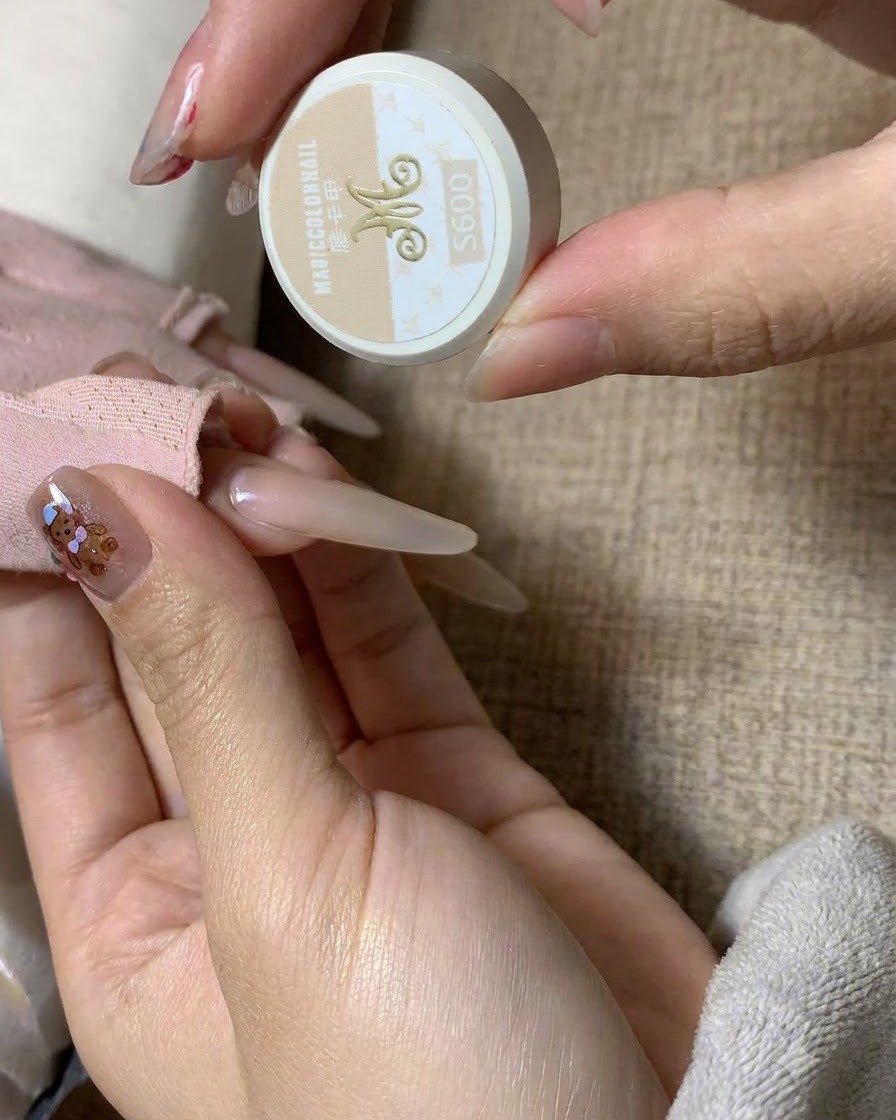
Carefully dip a fine nail art brush into the MC Mocha 2nd Generation S600 milk tea color gel jar, picking up a controlled amount of product to ensure smooth, even application without excess bulk.
Tip: Keep your brush strokes light and controlled to avoid overloading the bristles with thick gel. - 8Apply milk tea color gel to the nail plate
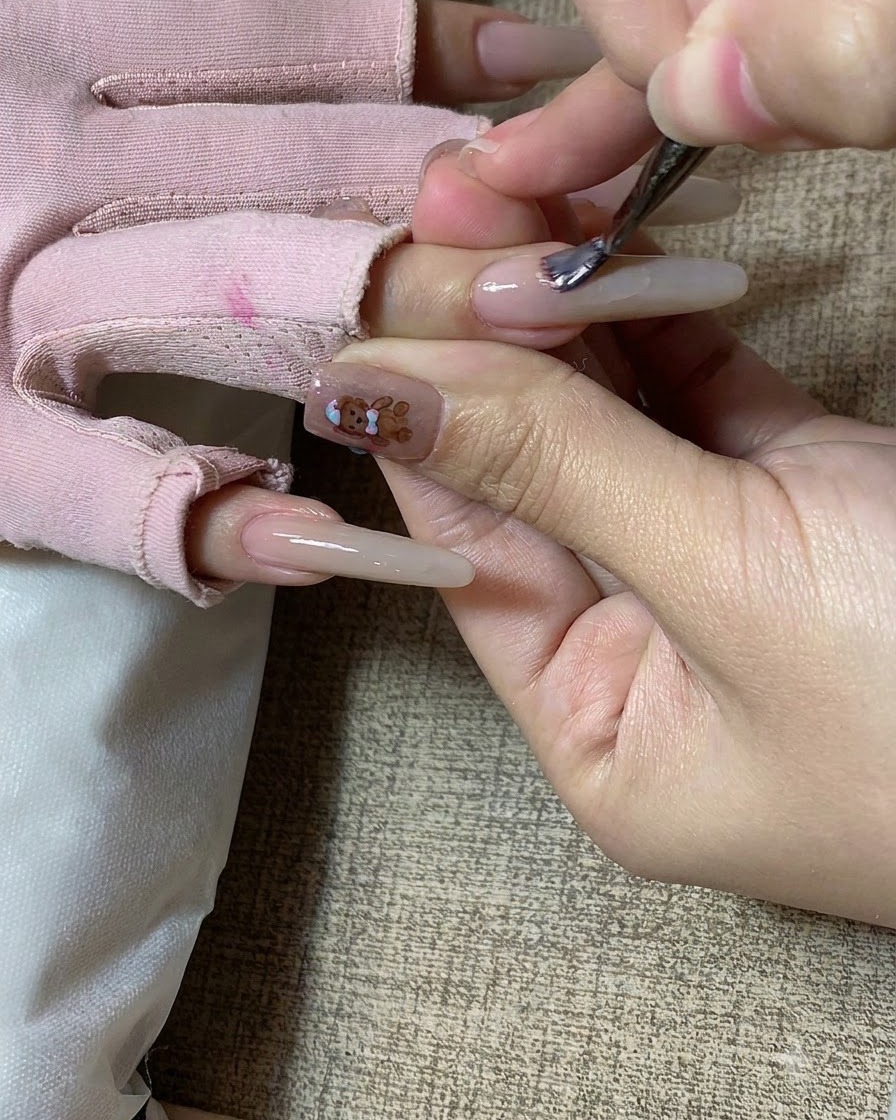
Smoothly apply the milk tea color gel across the nail plate, ensuring complete coverage and a neat finish along the edges. Maintain a steady hand for an even layer.
Tip: Apply in thin, even layers to prevent wrinkling or uneven curing under the lamp. - 9Smooth and perfect the color layer
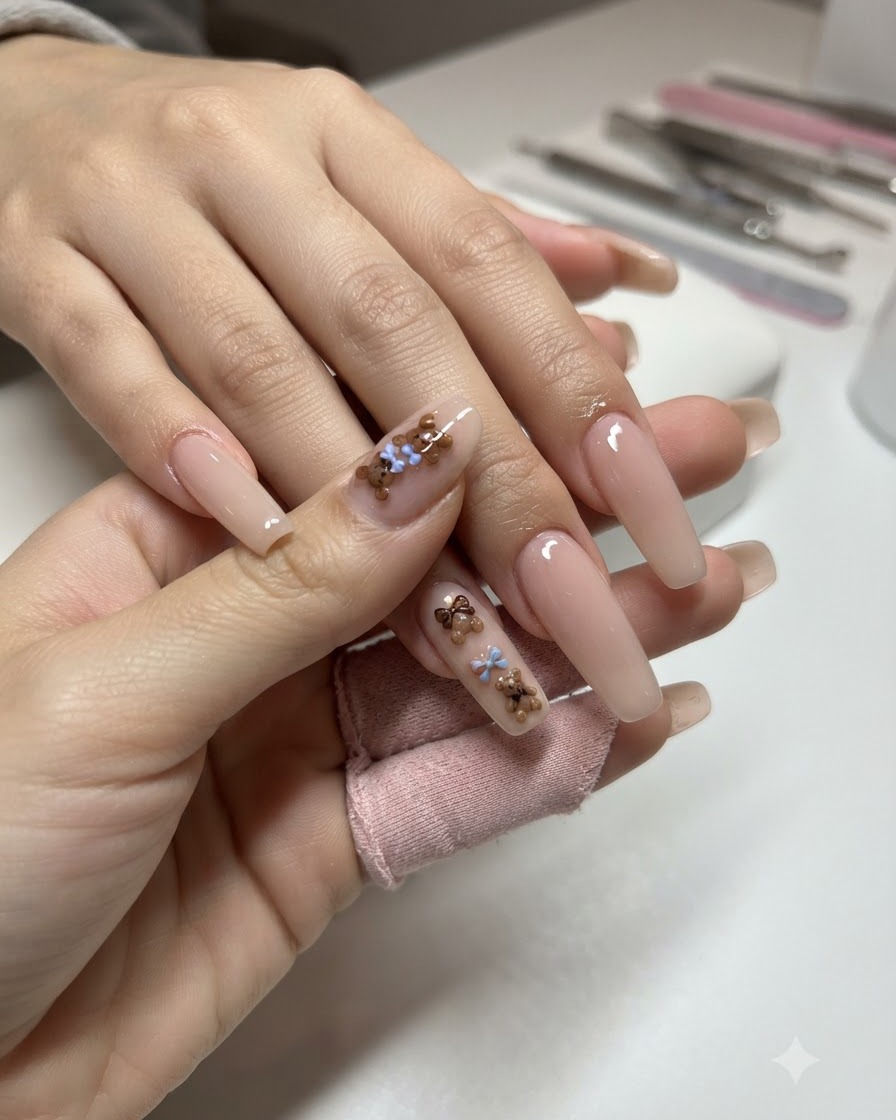
Gently smooth and perfect the milk tea color layer across the entire nail surface to ensure a flawless, uniform finish before curing.
Tip: Check the reflection on the gel surface to verify that the leveling is completely smooth. - 10Open MC white color gel pot
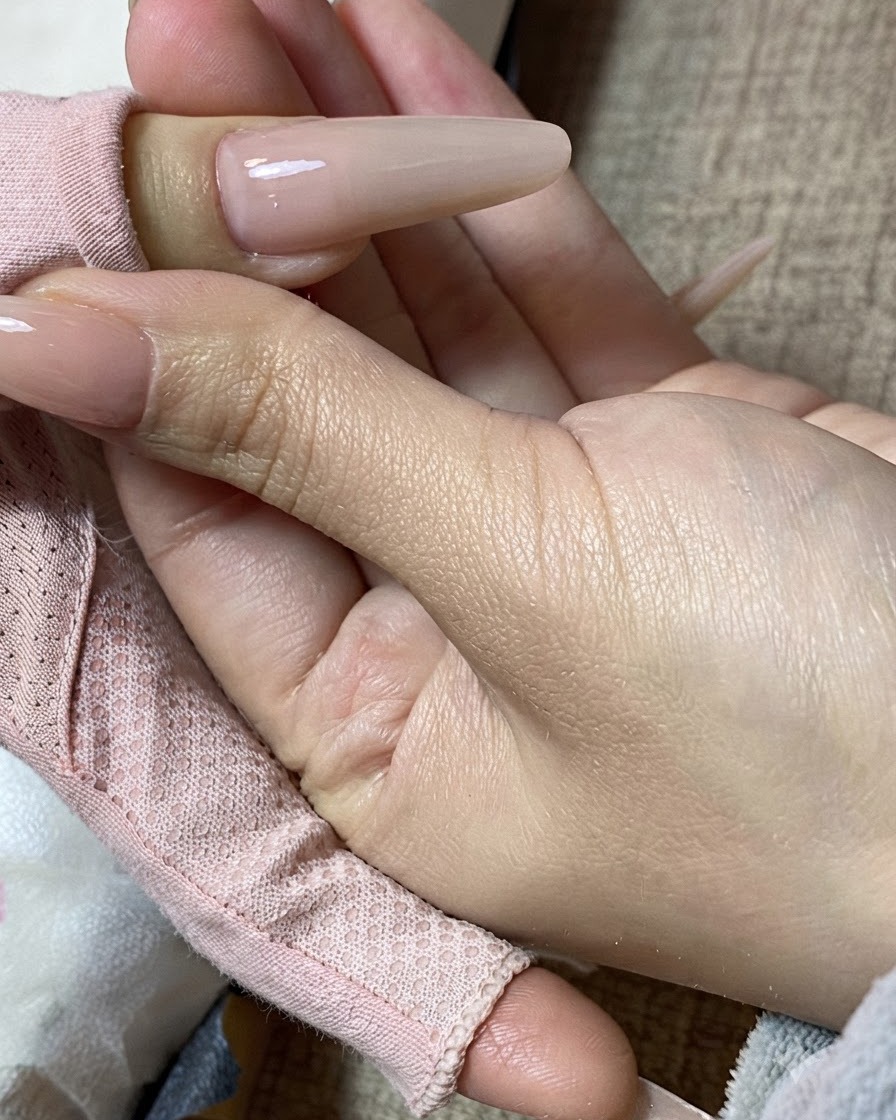
Uncap the pot of MC white color gel, preparing the product for the upcoming freehand butterfly nail art details.
Tip: Keep the gel pot closed when not actively painting to prevent dust and light exposure. - 11Paint butterfly wings with white gel
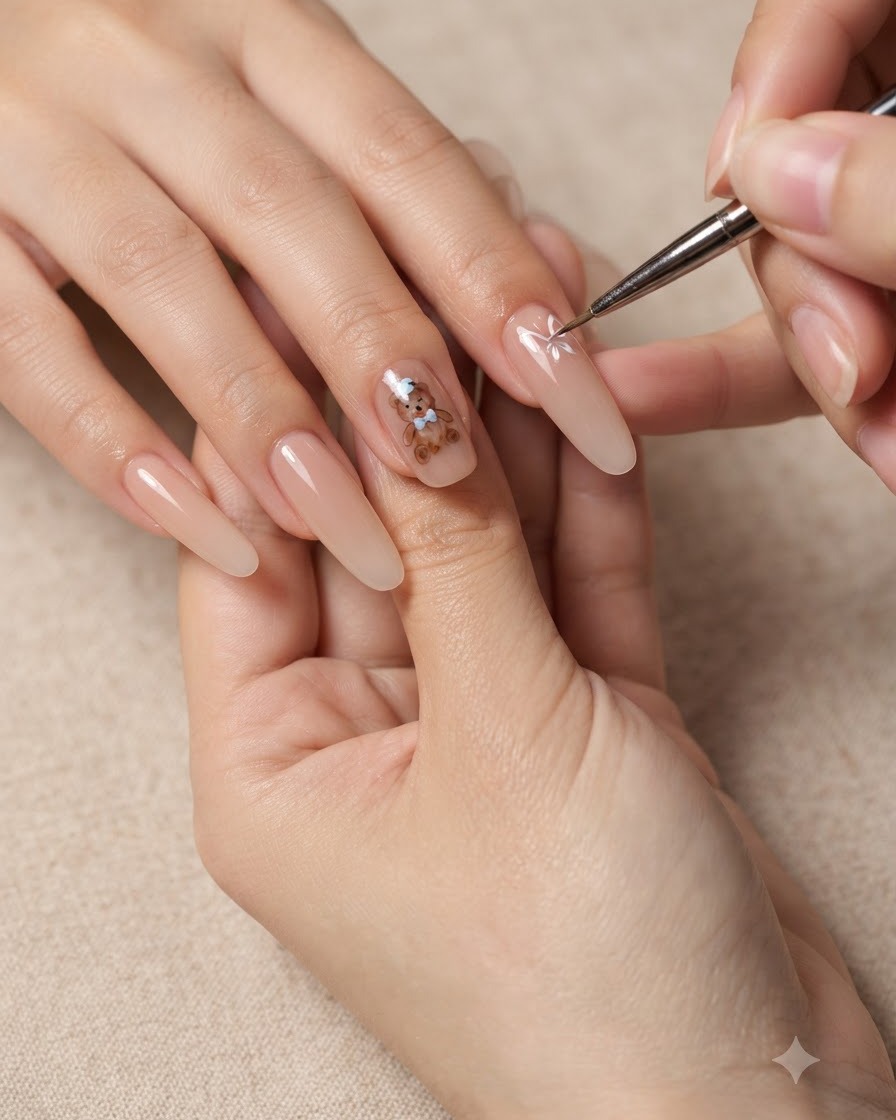
Using a fine liner brush loaded with white gel, begin freehand painting the delicate outlines of the butterfly wings onto the accent nail.
Tip: Use light pressure on the tip of the liner brush to create crisp, thin lines for the wings. - 12Outline intricate butterfly wing details
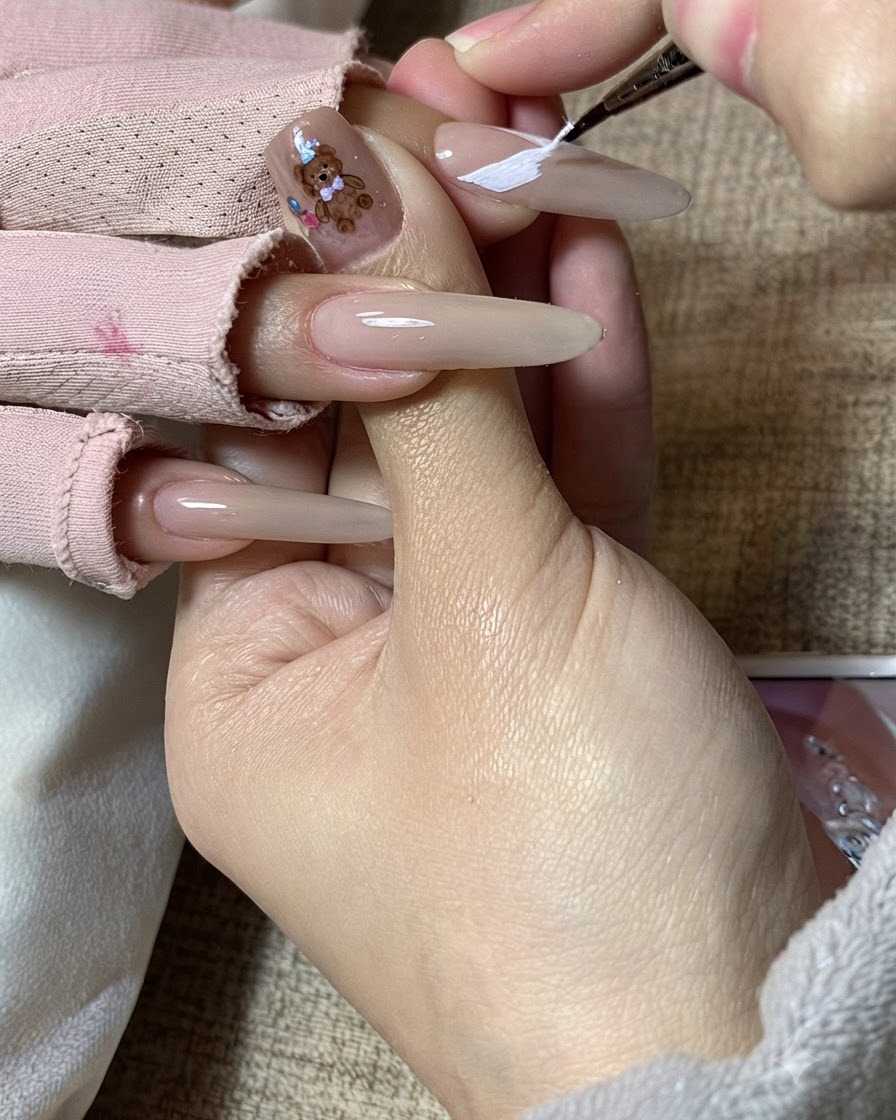
Continue outlining the intricate details and structural lines of the butterfly wings with white gel to give the design depth and dimension.
Tip: Work in small sections and cure briefly if needed to prevent accidental smudging. - 13Refine the butterfly art
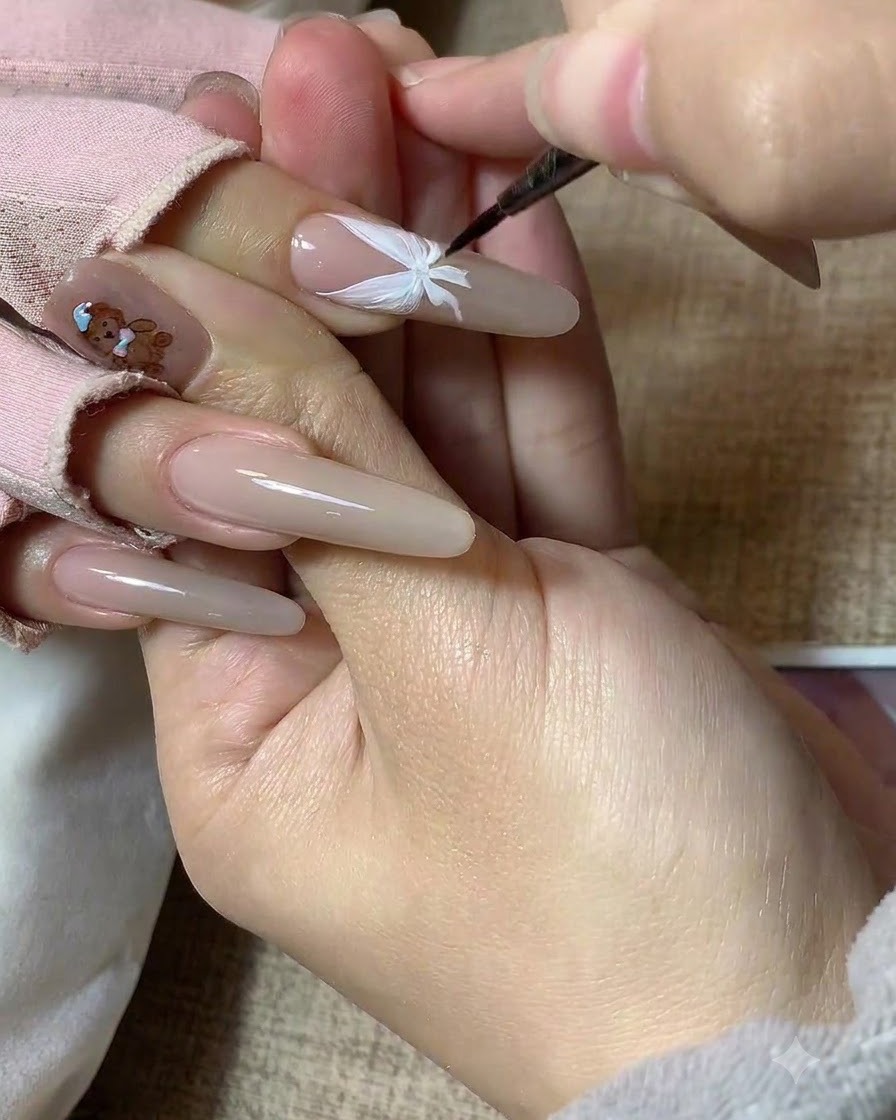
Carefully refine and fill in portions of the white butterfly art design to ensure clean lines and solid coverage. Use a fine liner brush to define the intricate wing shapes and structural details against the nude base.
Tip: Keep a light touch with the liner brush to maintain sharp, delicate lines for intricate nail art. - 14Add wing texture and lines
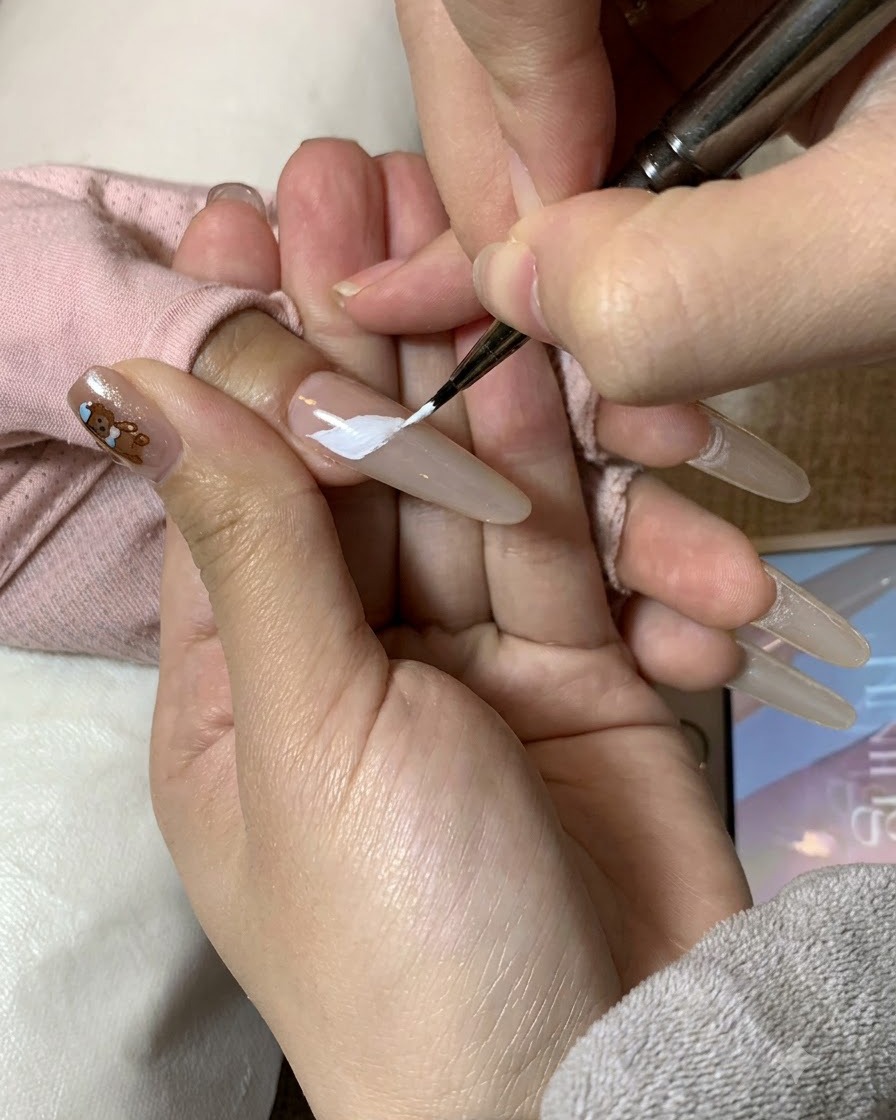
Add fine decorative lines and texture details to the butterfly wings using white gel. Draw delicate strokes radiating from the center to give the wings a realistic, feathered appearance.
Tip: Work in thin strokes so the texture lines remain crisp and do not clump together. - 15Complete butterfly detailing
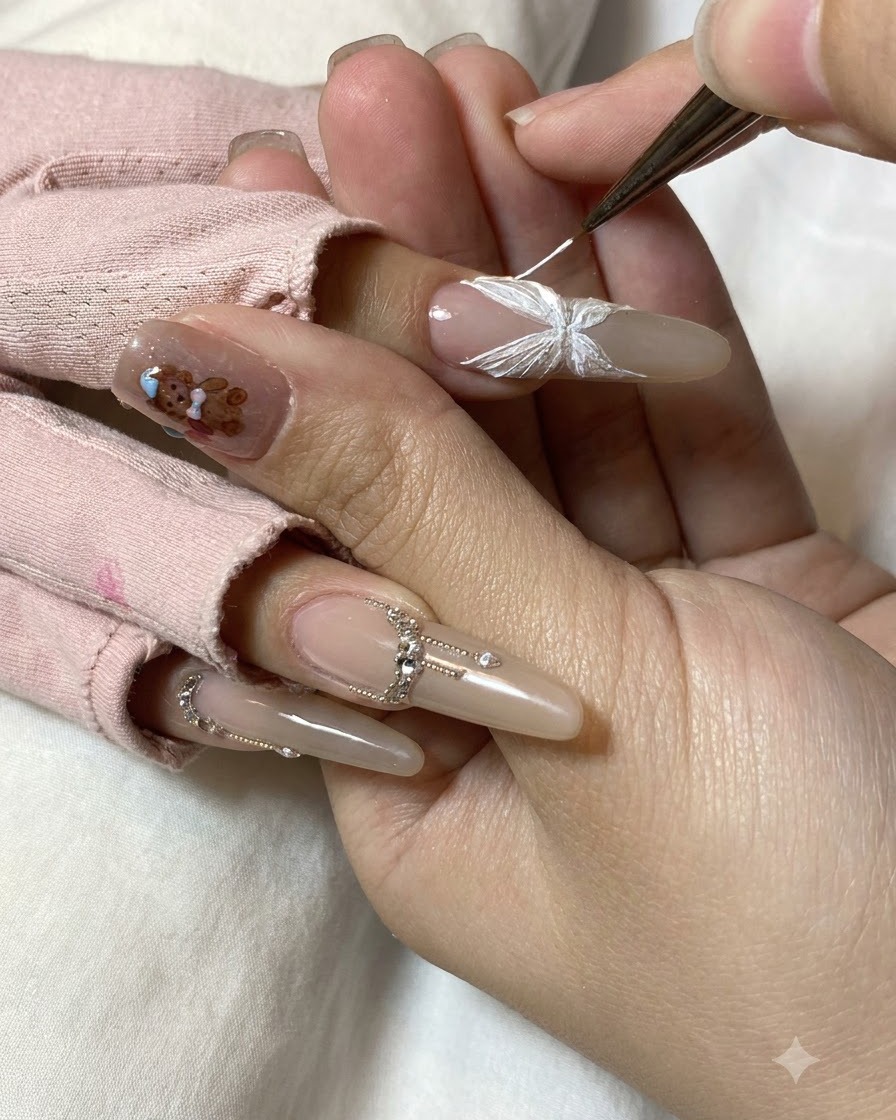
Incorporate delicate detailing strokes to complete the butterfly motif structure. Make sure all edges and symmetry lines are well-defined before proceeding to final sealing.
Tip: Check your symmetry from different angles before curing to ensure a balanced look. - 16Accent wing edges
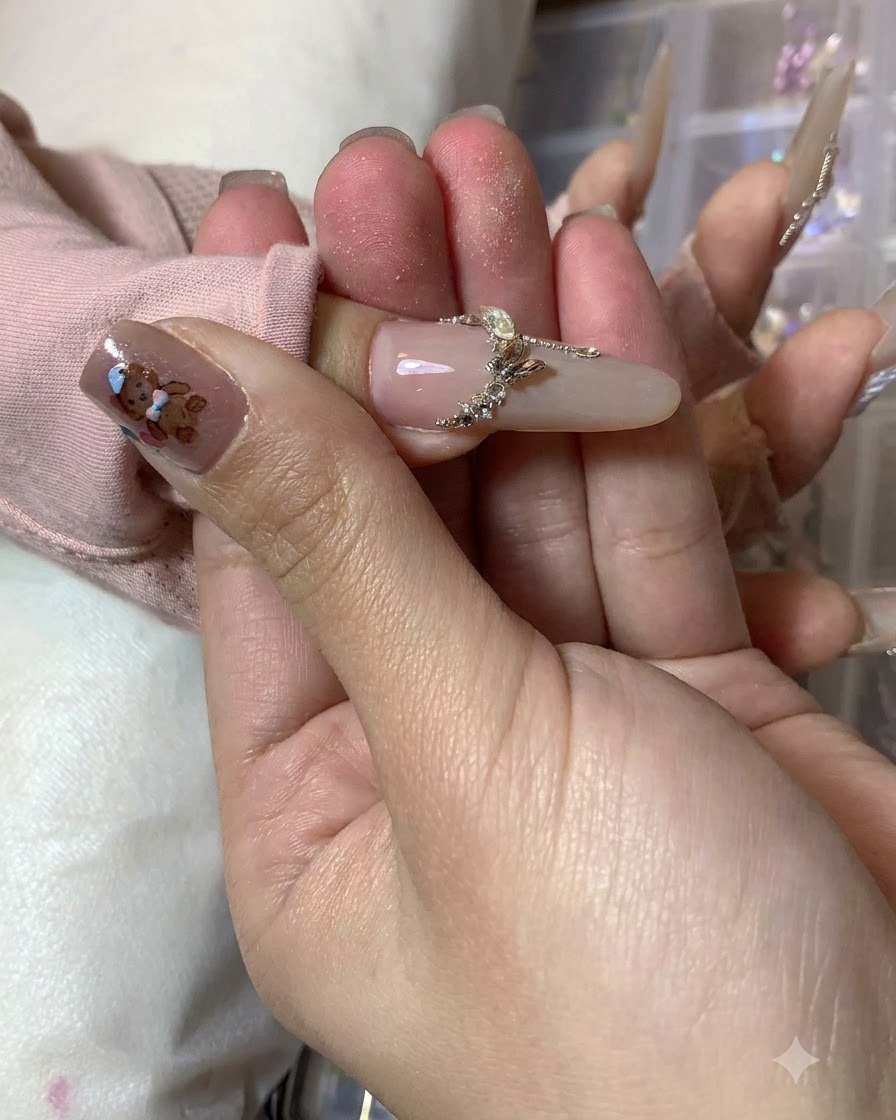
Apply white gel details to accent the edges of the painted butterfly wings, highlighting their shape. This final accentuation makes the design pop against the milk tea base color before top coat application.
Tip: Use a minimal amount of gel on the tip of your brush to prevent bleeding along the highlighted edges.