Nude Gradient Cat-Eye Nails — Step-by-Step Summer Nail Art Tutorial
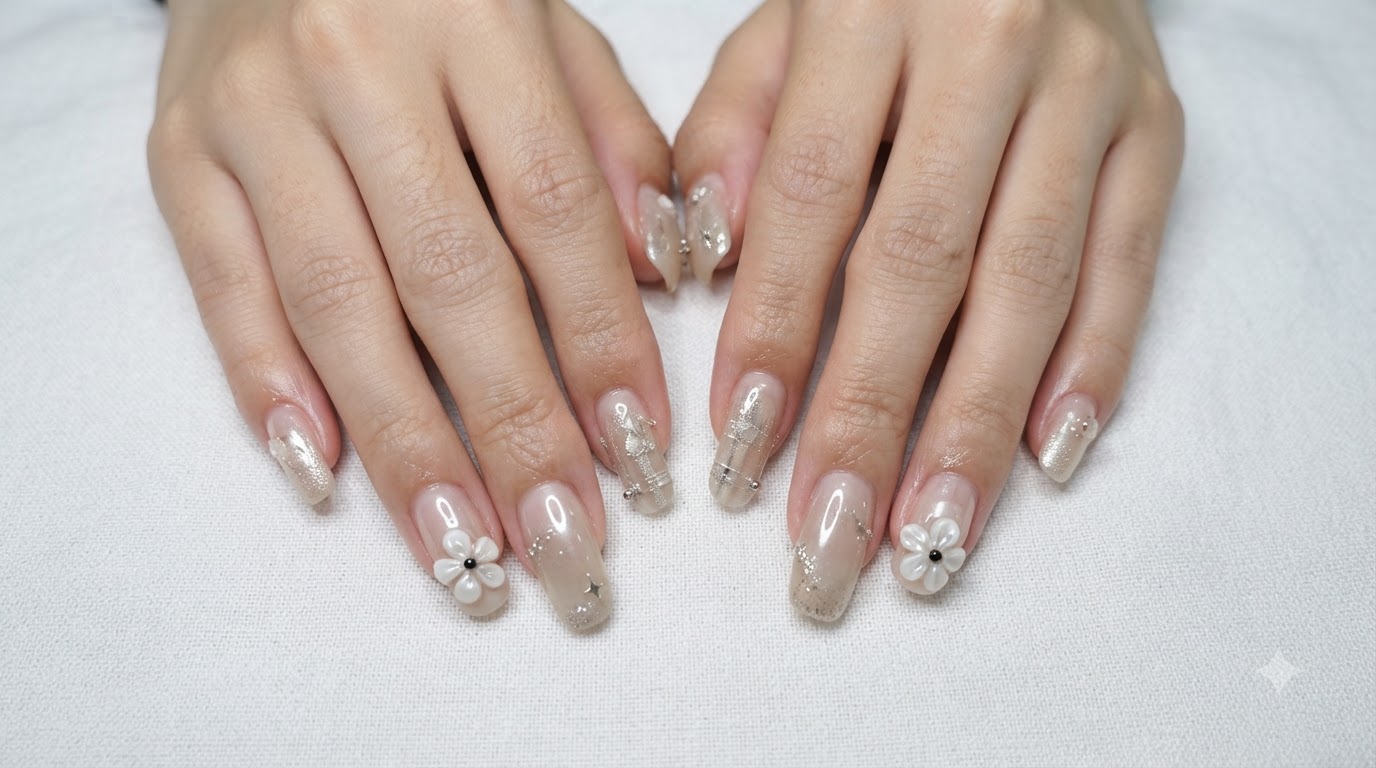
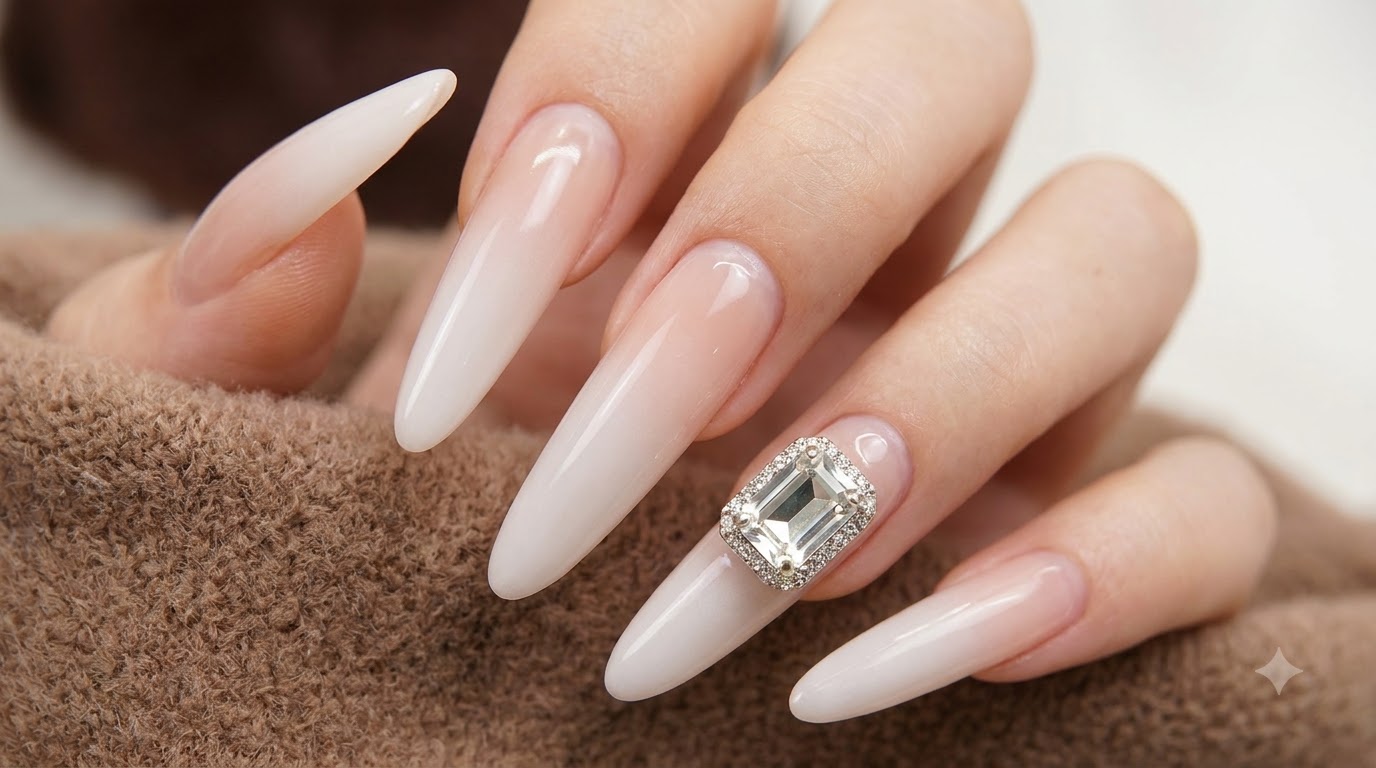
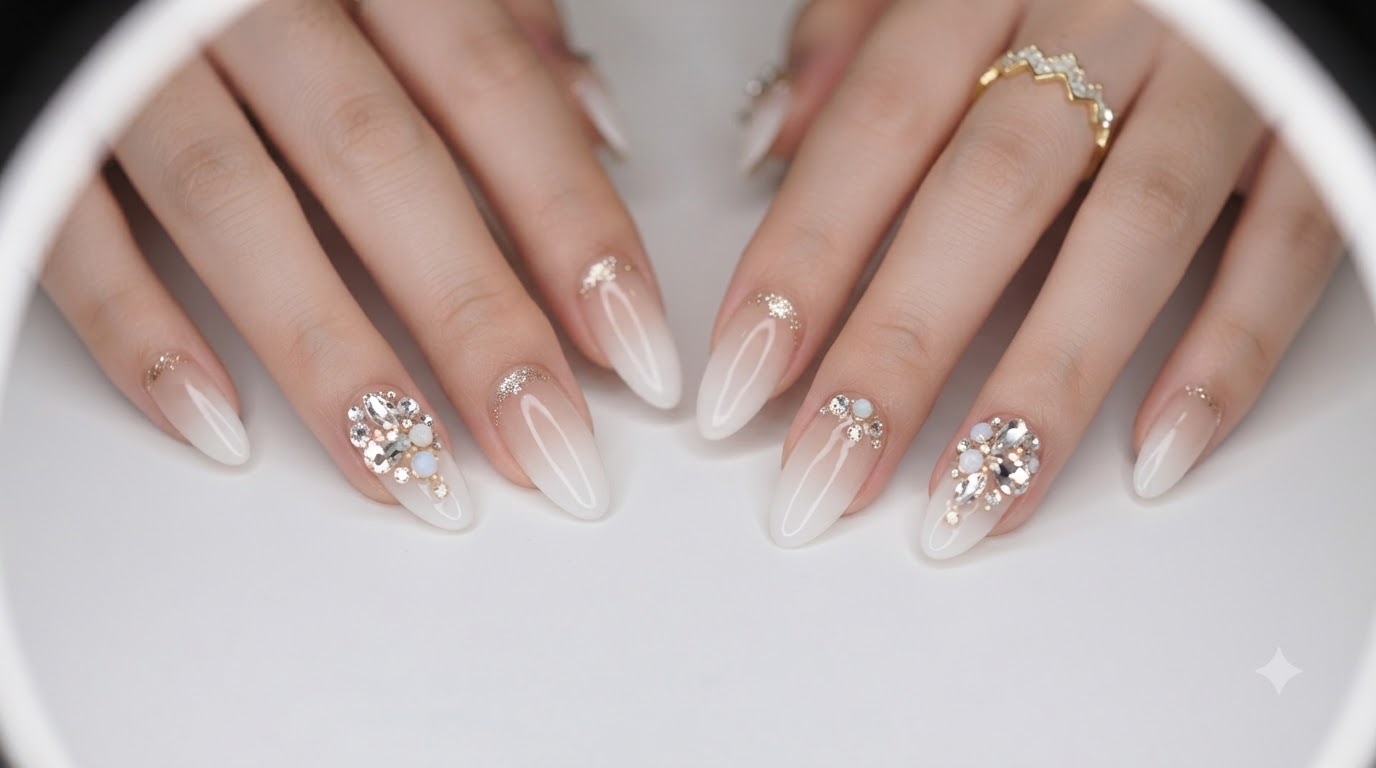
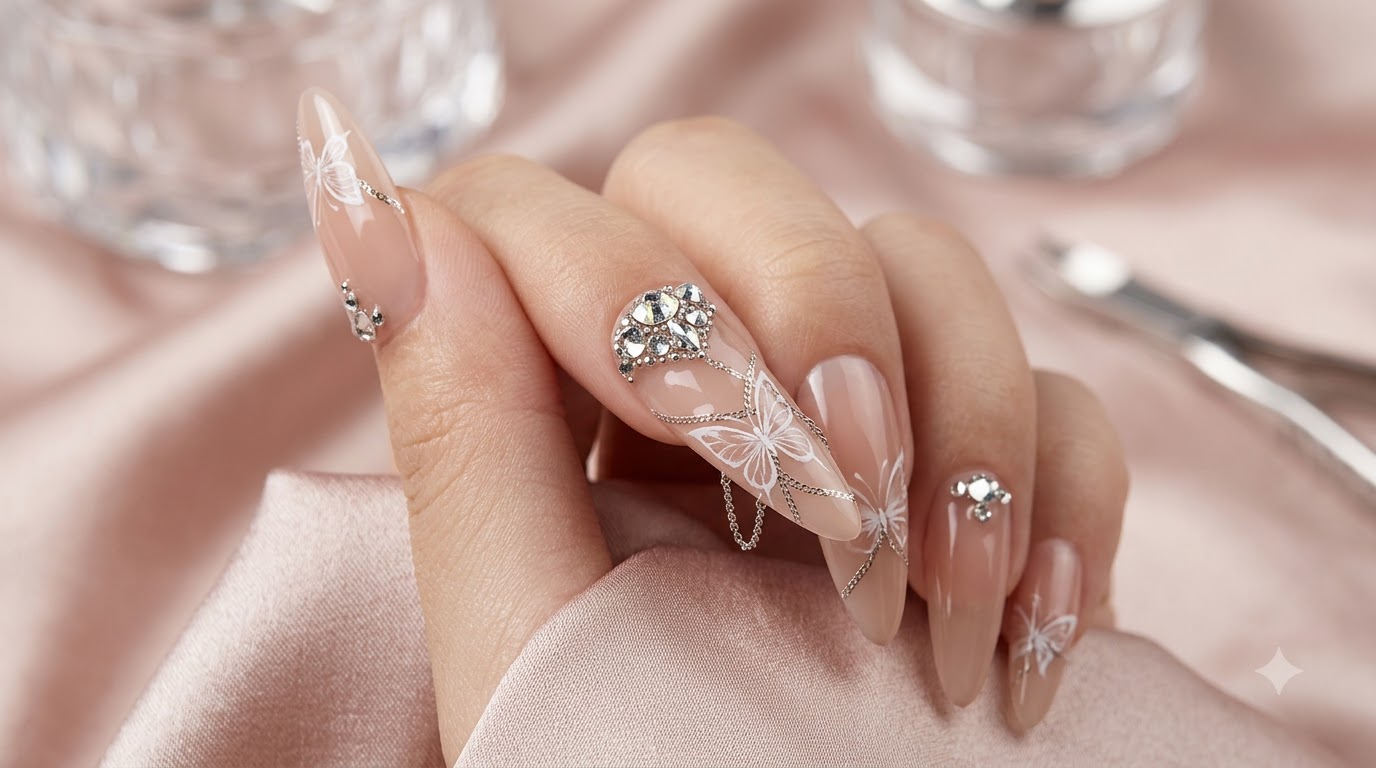
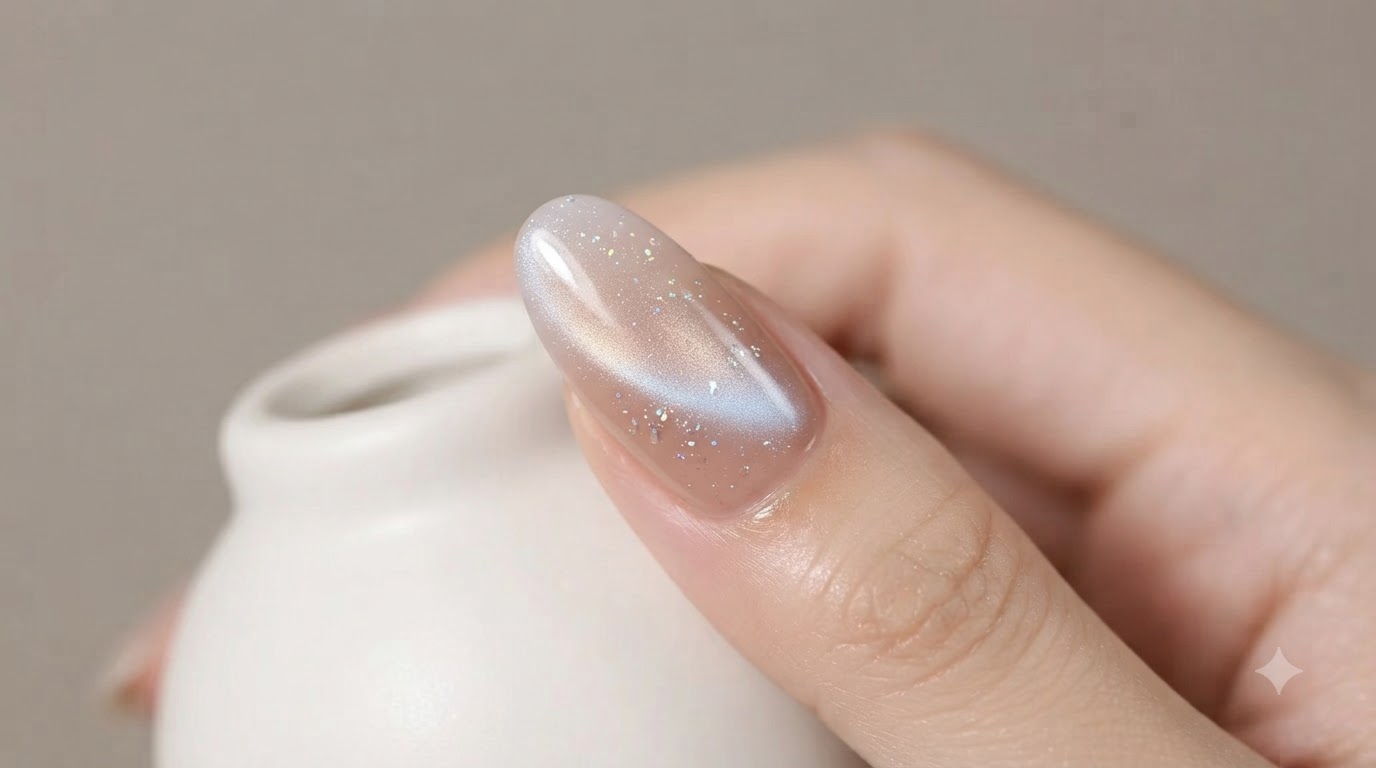
Create a stunning nude gradient cat-eye manicure with this simple step-by-step tutorial. Featuring soft magnetic shimmer and a glossy finish perfect for summer.
Cat-eye manicures continue to dominate salon requests, and this nude gradient variation offers a fresh, clean take on the trend. By layering solid clay gels with magnetic polishes and textured bubble accents, this look achieves an ethereal depth that feels uniquely summery. The combination of a matte-like clay base and high-shine magnetic gradient creates a sophisticated finish that is surprisingly approachable to recreate at home.
Steps
- 1Apply a nude base gel
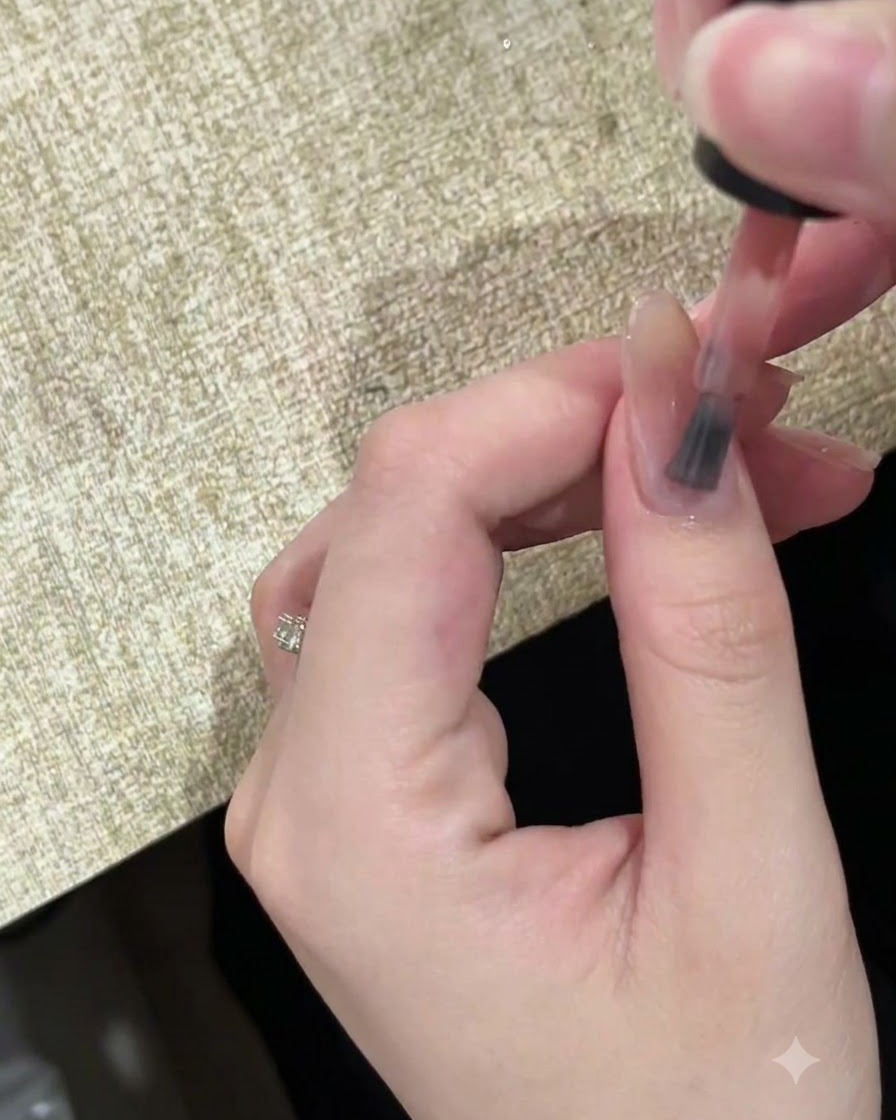
Begin by applying a smooth, even layer of nude-colored base gel to the prepared natural nail. This creates a clean, uniform canvas that enhances the final look of the cat-eye and gradient designs.
Tip: Avoid flooding the cuticle area to prevent premature lifting of the gel. - 2Cure the base coat
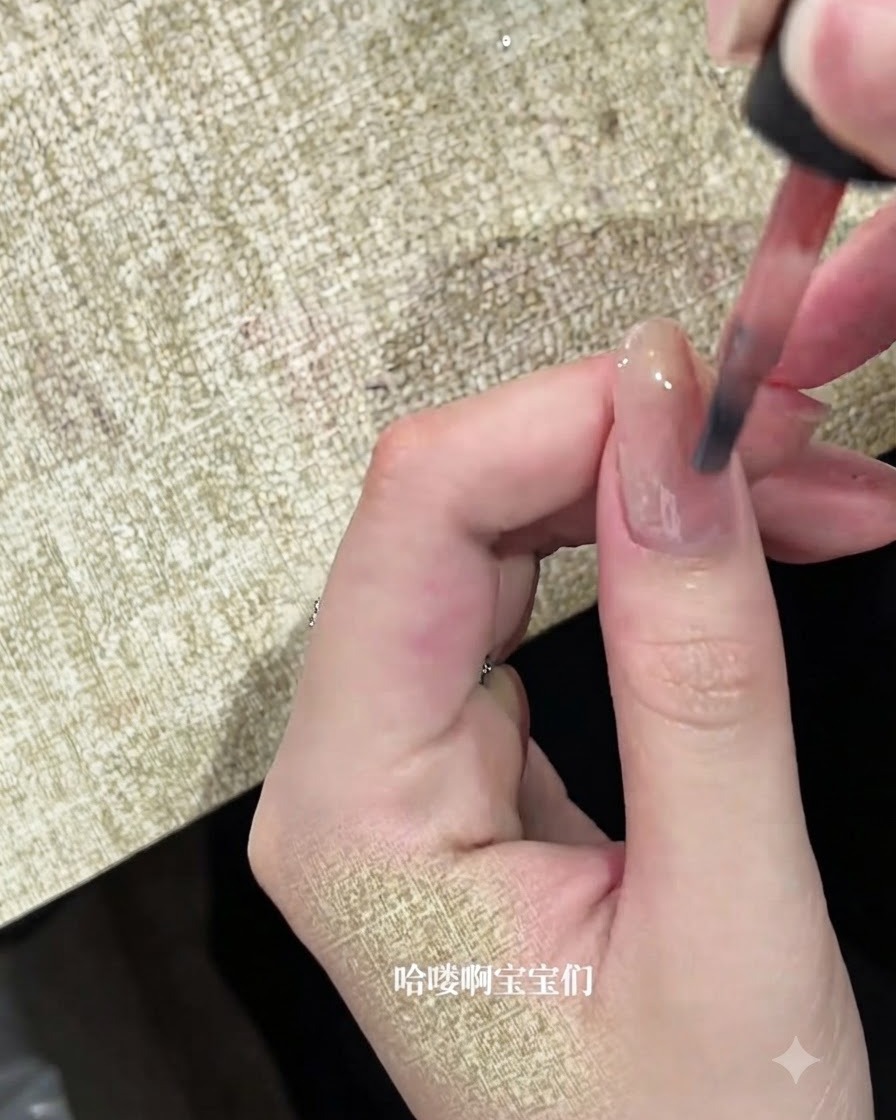
Place your hand under the UV or LED lamp to cure the freshly applied nude base coat. Follow your lamps recommended curing time to ensure the layer sets properly and creates a durable foundation for the upcoming nail art steps.
Tip: Make sure your hand is positioned evenly under the lamp lights so all fingers cure uniformly. - 3Select colors from the gel palette
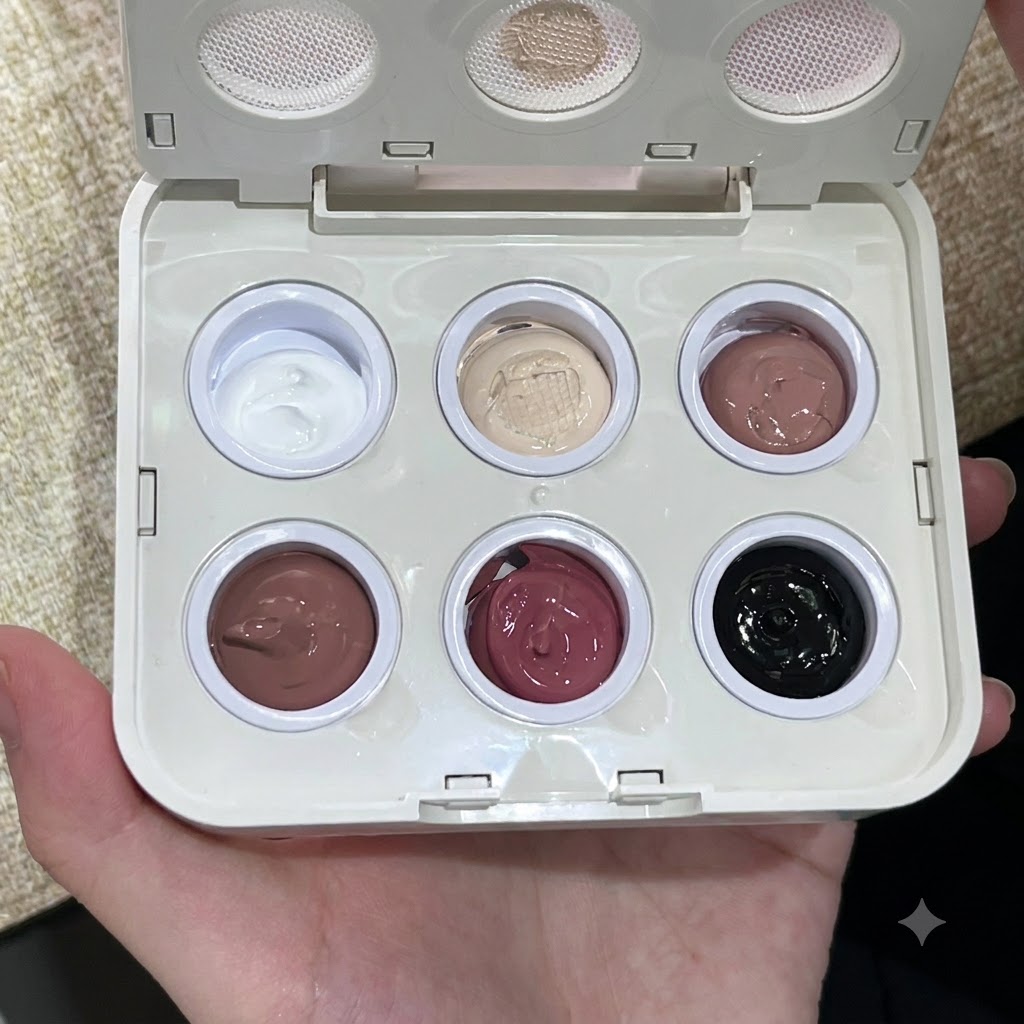
Open the solid gel palette containing your basic colors. This palette features a convenient grid design that makes it easy to portion and pick up the exact amount of gel you need. For this look, prepare to use small amounts of white, black, and red gel.
Tip: Solid gels have a clay-like texture that prevents them from stringing or running, making them ideal for precise application. - 4Prep the gel on the grid
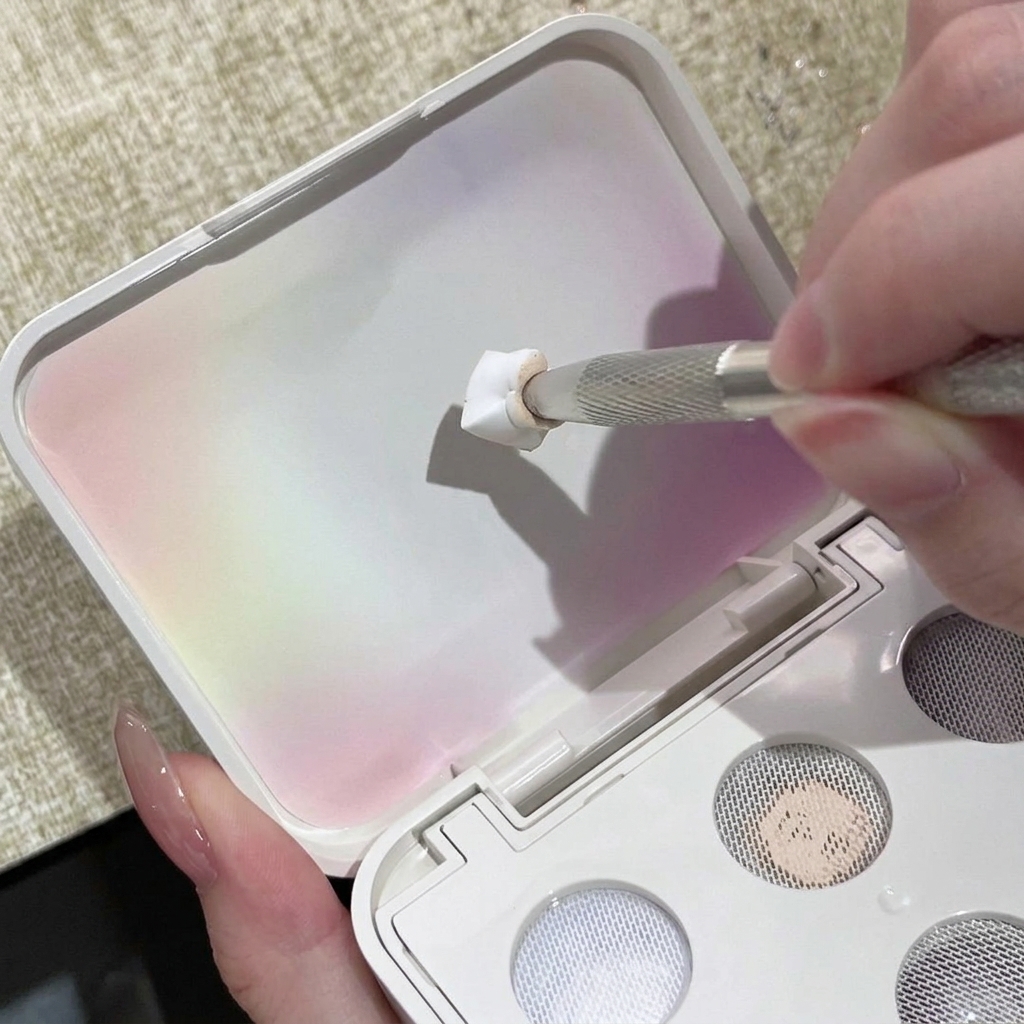
Using your metal tool, pat the solid gel onto the textured grid surface of the palettes lid. This action helps evenly distribute the clay-like gel, creating a uniform layer on the tool for a smooth application without stringing.
Tip: The grid texture is excellent for controlling the amount of product you pick up. - 5Apply solid gel to the nail
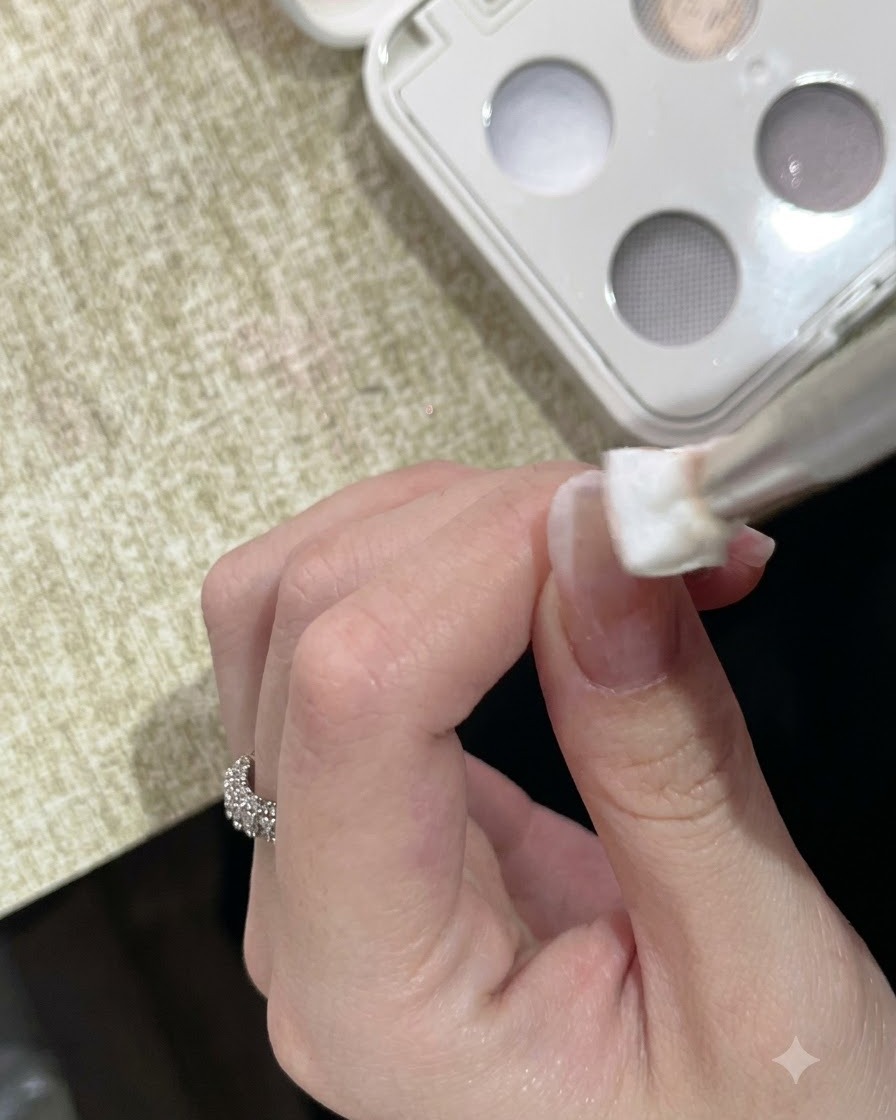
Take a small amount of the solid gel and gently pat it onto the nail surface using a sponge tool. The gel features a clay-like texture that goes on smoothly and wont string, allowing you to easily build up a matte-like layer.
Tip: Patting rather than wiping the gel helps maintain an even, opaque application without disturbing the base layer. - 6Apply sparkling cat-eye polish
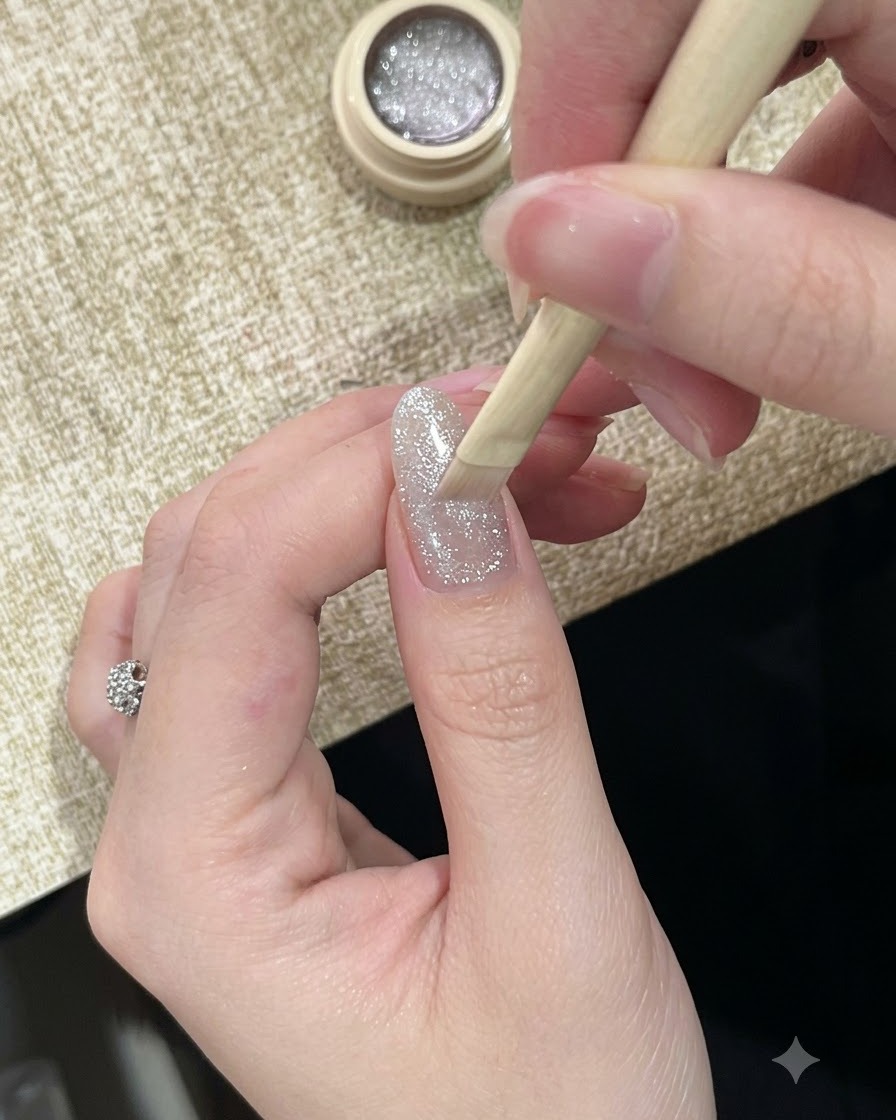
Brush on an even layer of sparkling cat-eye polish over the entire nail. This clear, non-yellowing gel is packed with magnetic shimmer and serves as the perfect foundation for your gradient cat-eye effect.
Tip: Apply an even coat to ensure the magnetic particles can shift smoothly across the nail when using the magnet. - 7Position magnet at the tip
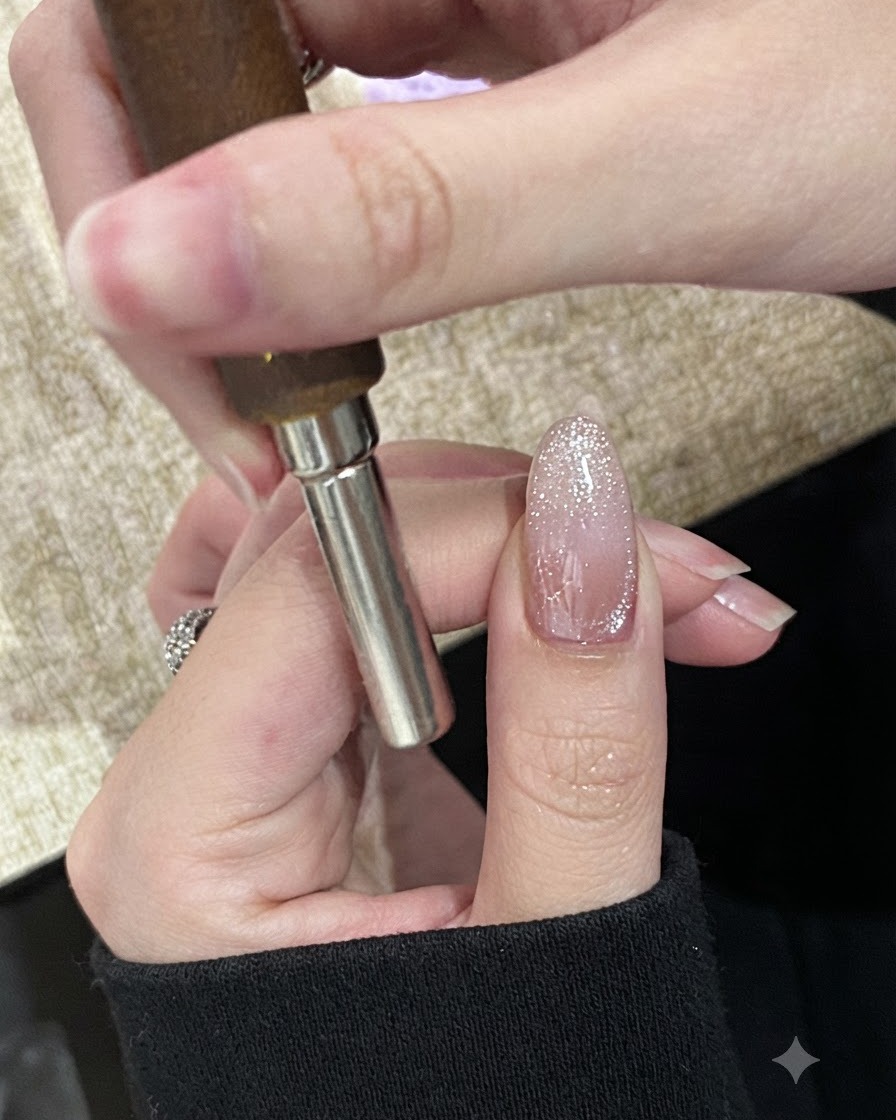
After applying a layer of sparkly, clear cat-eye polish to the nail, bring your cylindrical magnet close to the free edge. Move the magnet gently back and forth side to side to start shifting the magnetic particles at the tip.
Tip: Keep the magnet close to the nail without touching the wet polish to ensure a strong magnetic pull. - 8Create a magnetic gradient
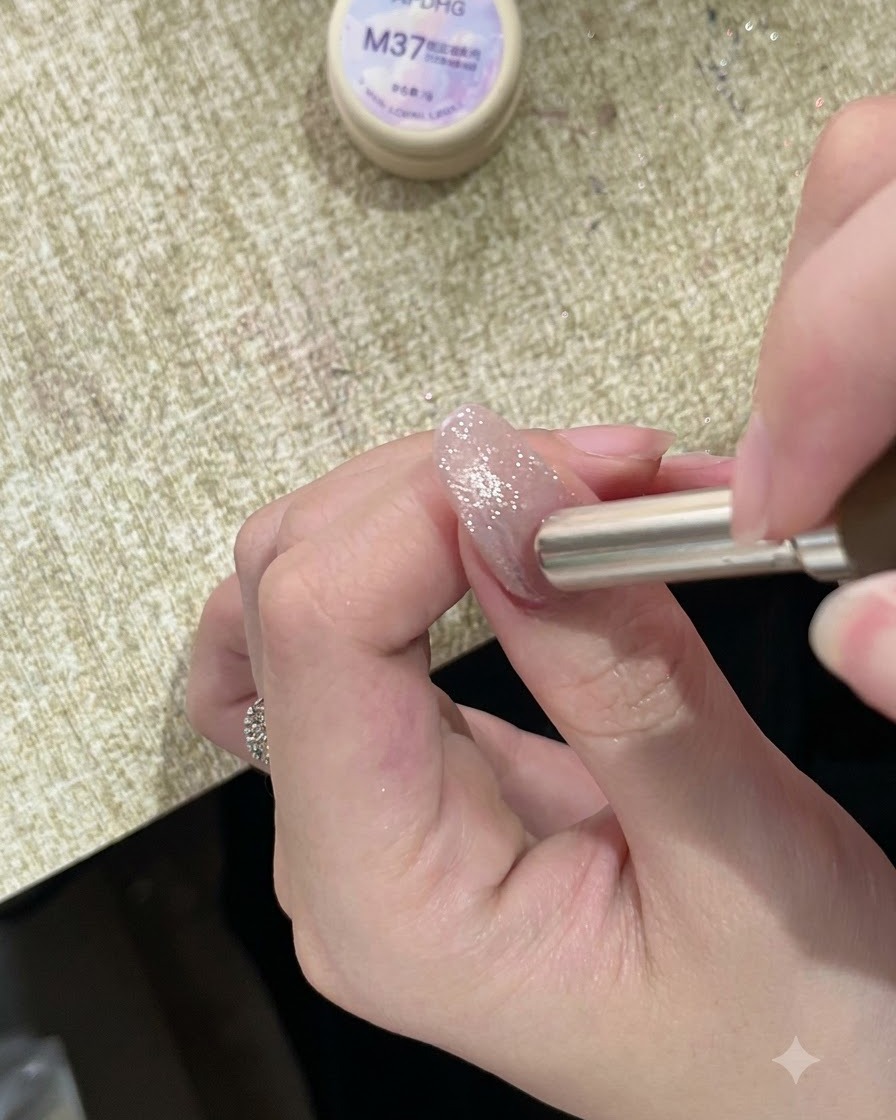
Reposition the magnet near the cuticle at the base of the nail. Slowly and steadily sweep the magnet upwards from the bottom to the top to pull the sparkly particles, creating a seamless, glowing gradient effect.
Tip: For the best result, use a clear, non-yellowing cat-eye polish to make the sparkling gradient truly pop. - 9Add bubble gel accents
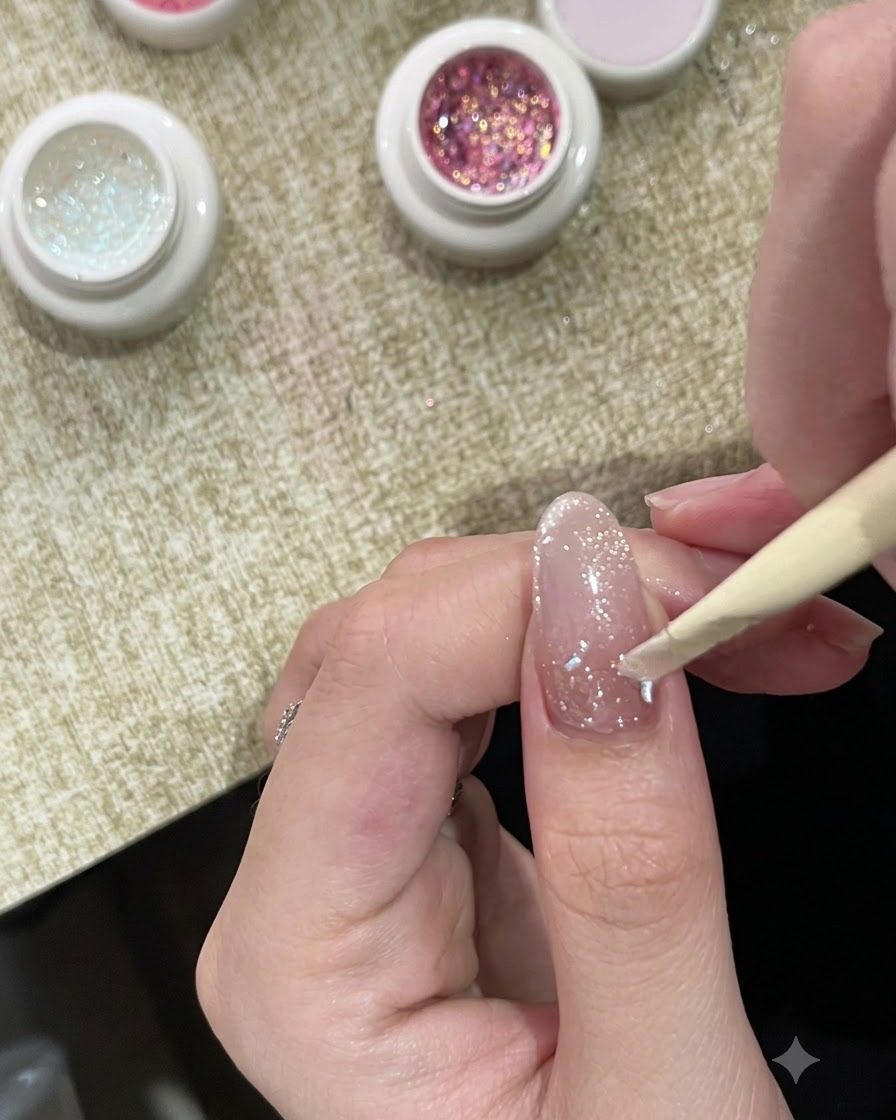
Take a white sparkling bubble gel with a bluish tint and apply it directly to the cuticle area. Gently drag and blend the chunky glitters downward to create an additional textured gradient effect that adds a fresh, summery look to the design.
Tip: Use a pointed tool or a wooden stick to carefully push individual glitter pieces into place for a balanced look. - 10Cure the white bubble gel
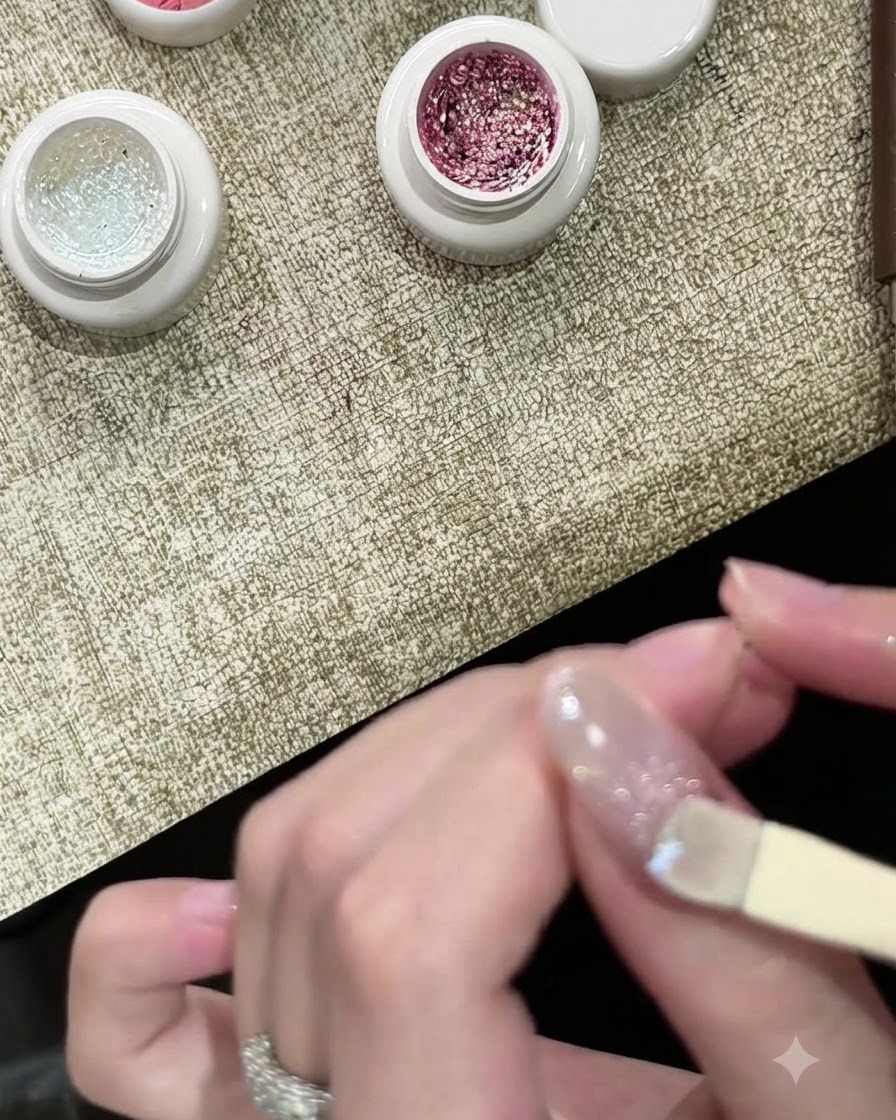
Place the hand back into the UV or LED lamp to cure the newly applied layer of white bubble gel. Ensure the gel sets completely before moving on to the next phase of the gradient design.
Tip: Check that the bubble texture is evenly distributed before curing to maintain a clean look. - 11Apply a pink gel layer
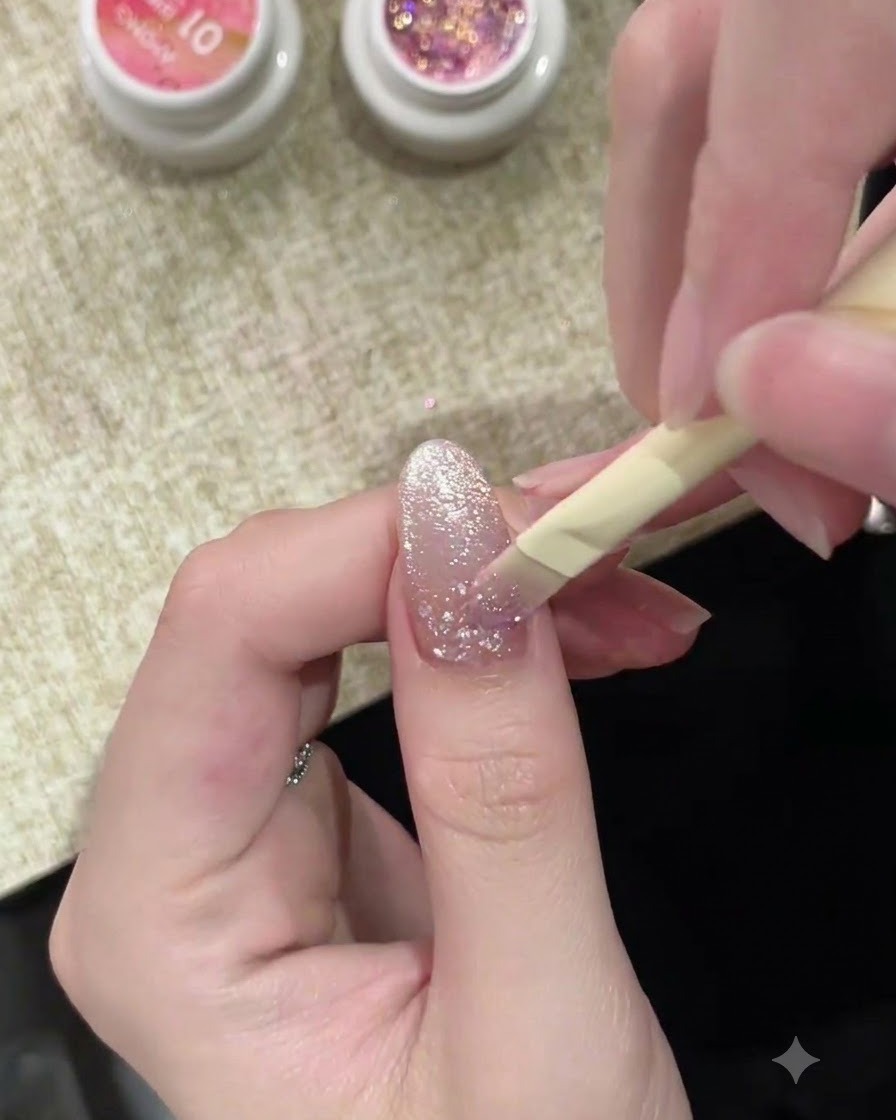
Take a brush and apply a layer of light pink gel evenly over the cured bubble gel layer. This adds a soft, fresh tint that enhances the depth and summer-ready look of the design.
Tip: Apply with gentle strokes so you do not disturb the texture of the underlying bubble gel. - 12Apply a high-transparency top coat
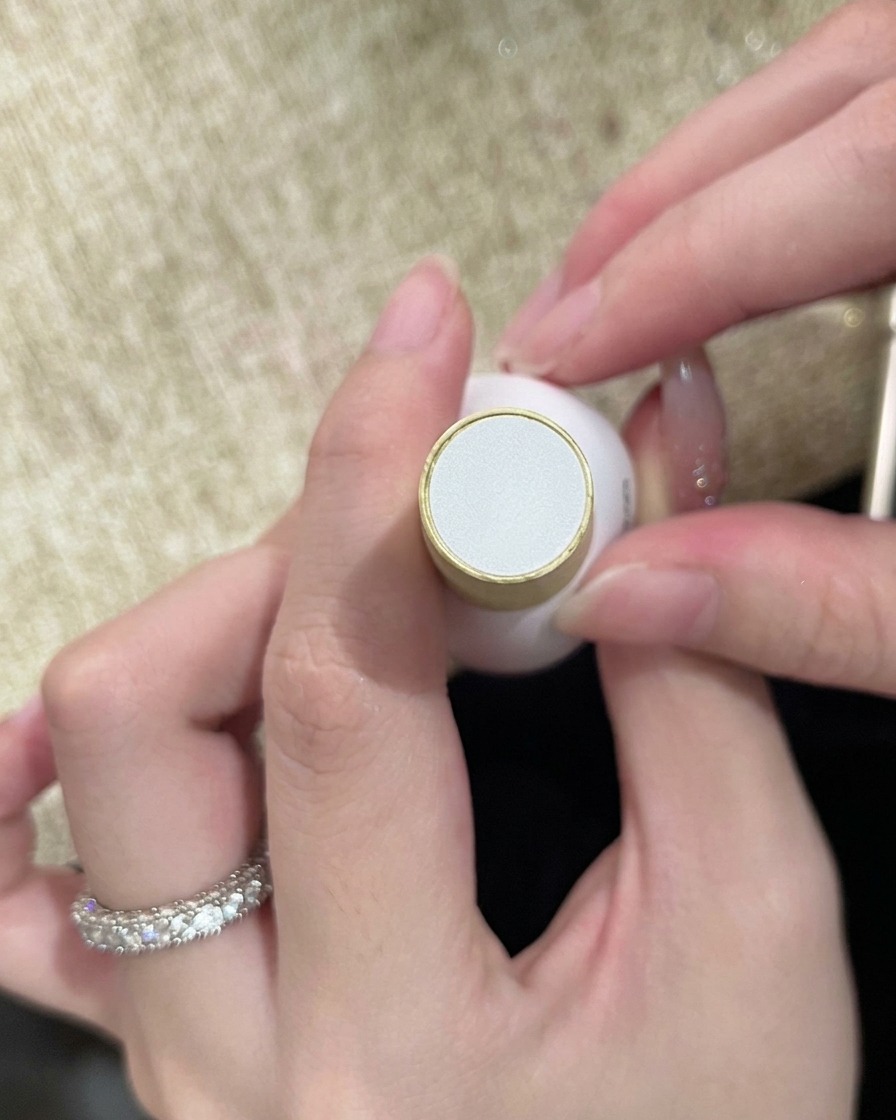
Finish the manicure by applying a layer of high-transparency top coat to build the nail structure and seal in all the previous layers. This creates a glossy, clean, and professional finish that protects your summer nail design.
Tip: Cap the free edge with the top coat to prevent chipping and maintain longevity.