Milky White Ombre Nails
Rhinestones — Step-by-Step Tutorial
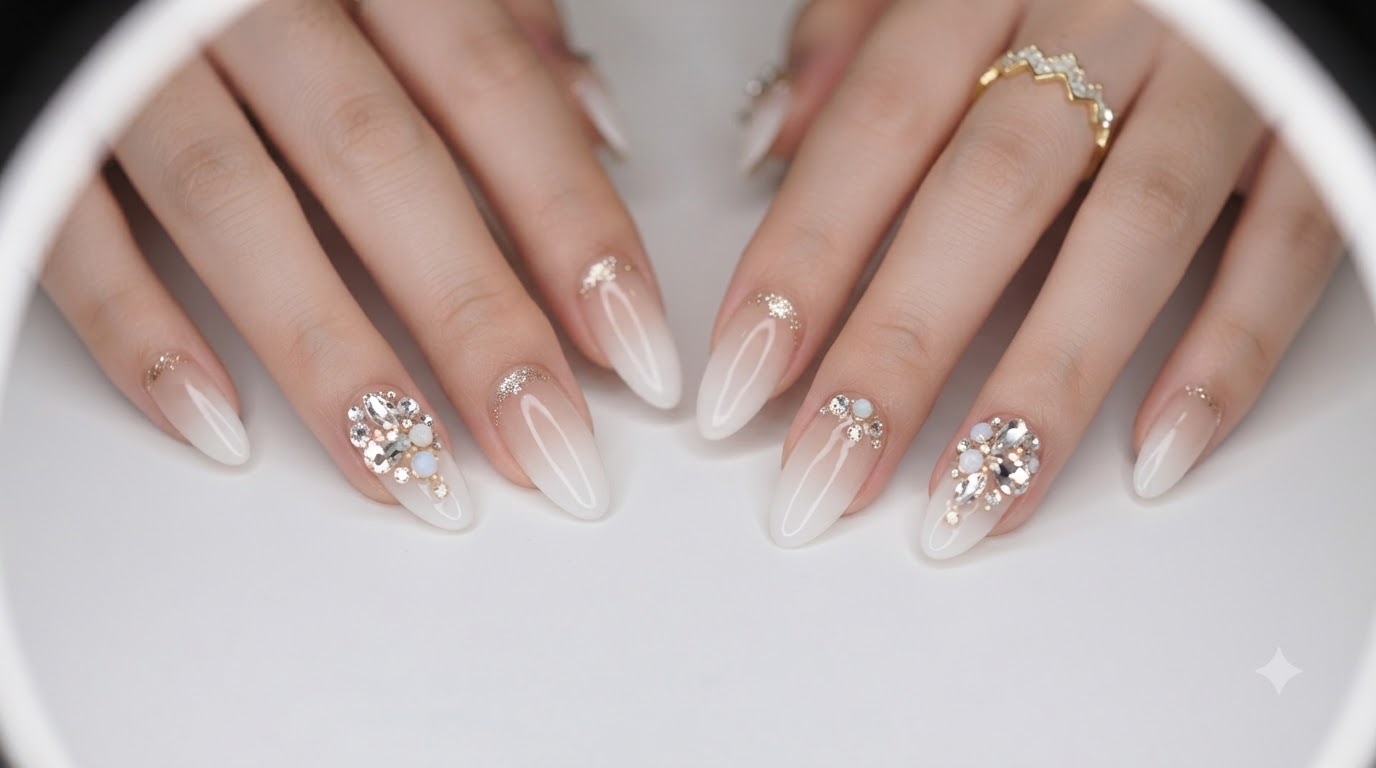
Create a viral milky white ombre gel manicure with a slender stiletto shape and a sparkling statement rhinestone.
This milky white ombre is an absolute go-to style that has captured over a million views online. Achieving this look combines a sheer nude base with a specialized patting gel technique, finished with a stunning, high-shine rhinestone accent on a slender stiletto silhouette.
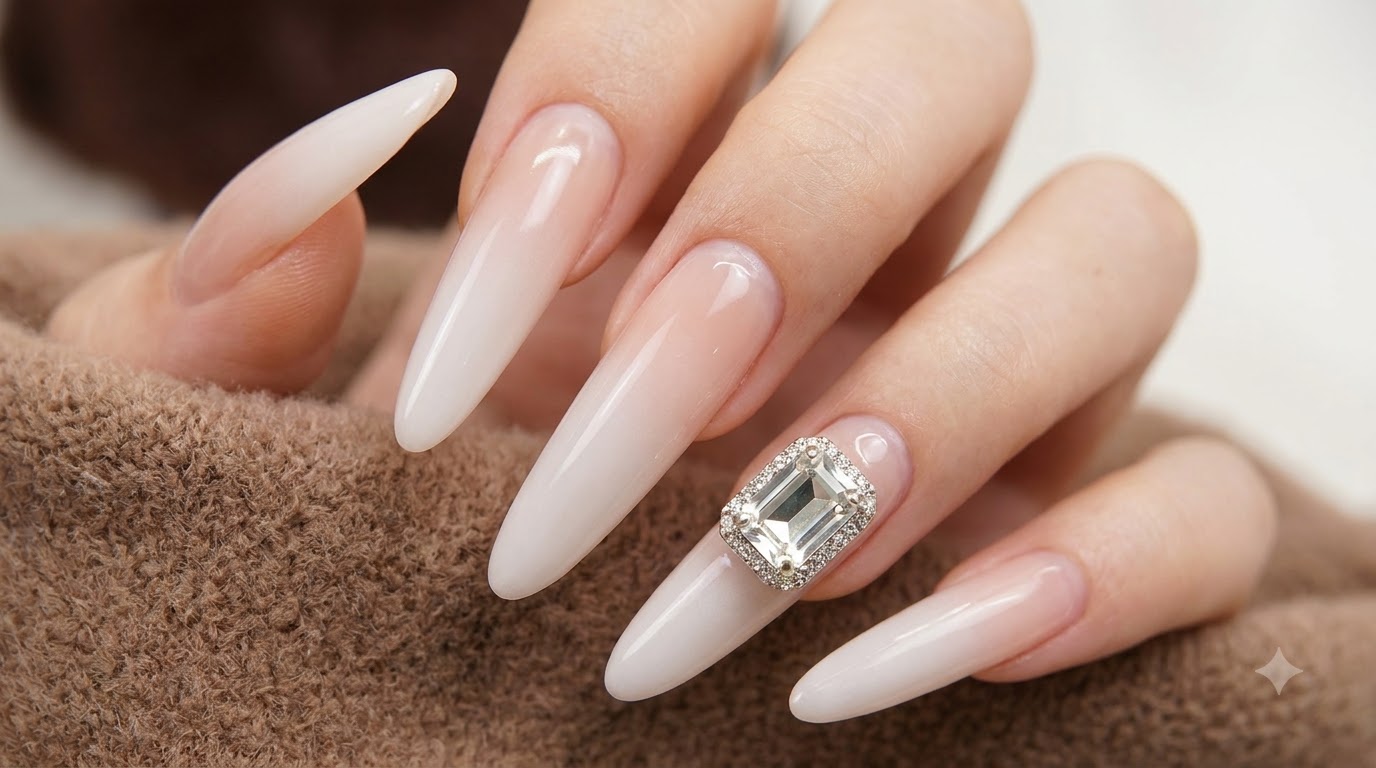
Steps
- 1Apply sheer nude base coat
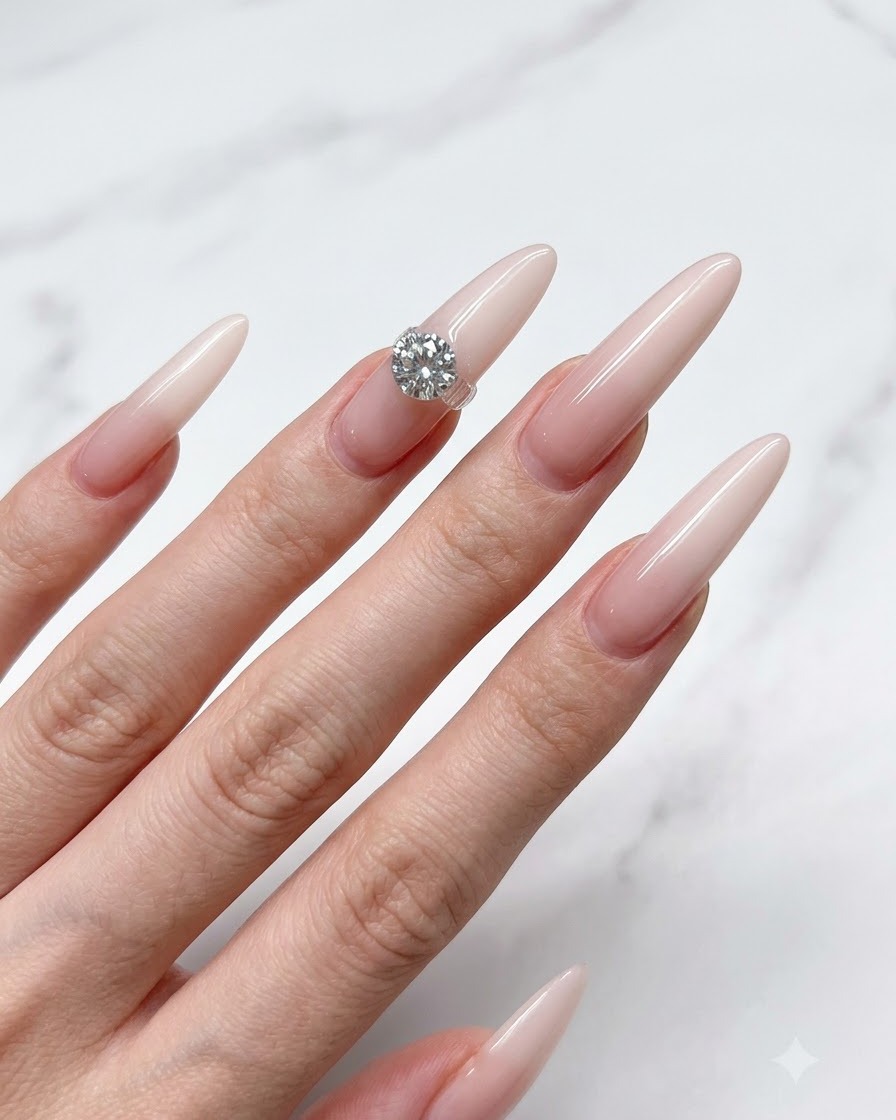
Apply a smooth and even layer of sheer nude base coat across the prepped natural nail surface using a nail brush. Ensure the product is distributed evenly from the cuticle down to the extended edge to provide a flawless foundation for the ombre gradient.
Tip: Keep the base layer relatively thin to avoid bulkiness and ensure proper curing under the UV/LED lamp. - 2Apply milky white gel to the tips
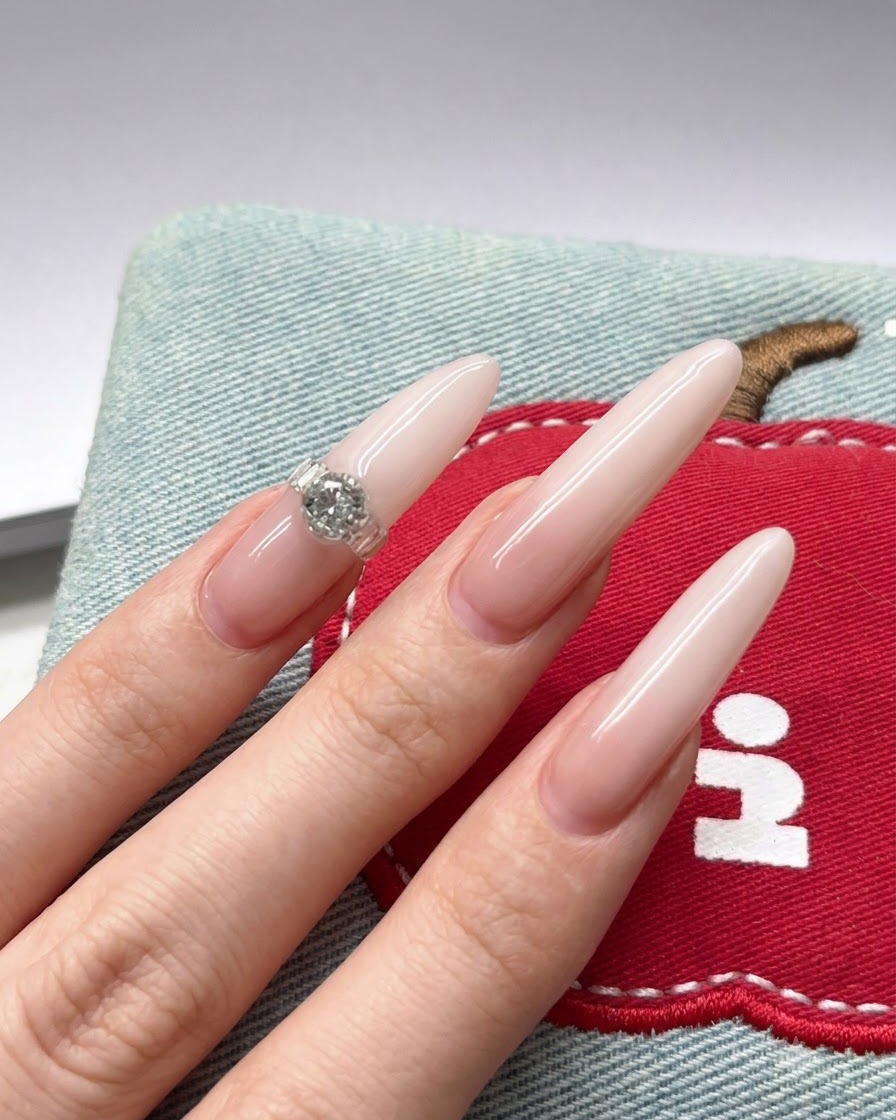
Take the milky white patting gel and brush it directly onto the tips of the nails. Concentrate the heaviest product intensity right at the very end of the nail, allowing it to taper slightly as it moves upward toward the center.
Tip: Concentrating the pigment at the tip ensures a striking contrast for the classic ombre look. - 3Apply gradient patting technique
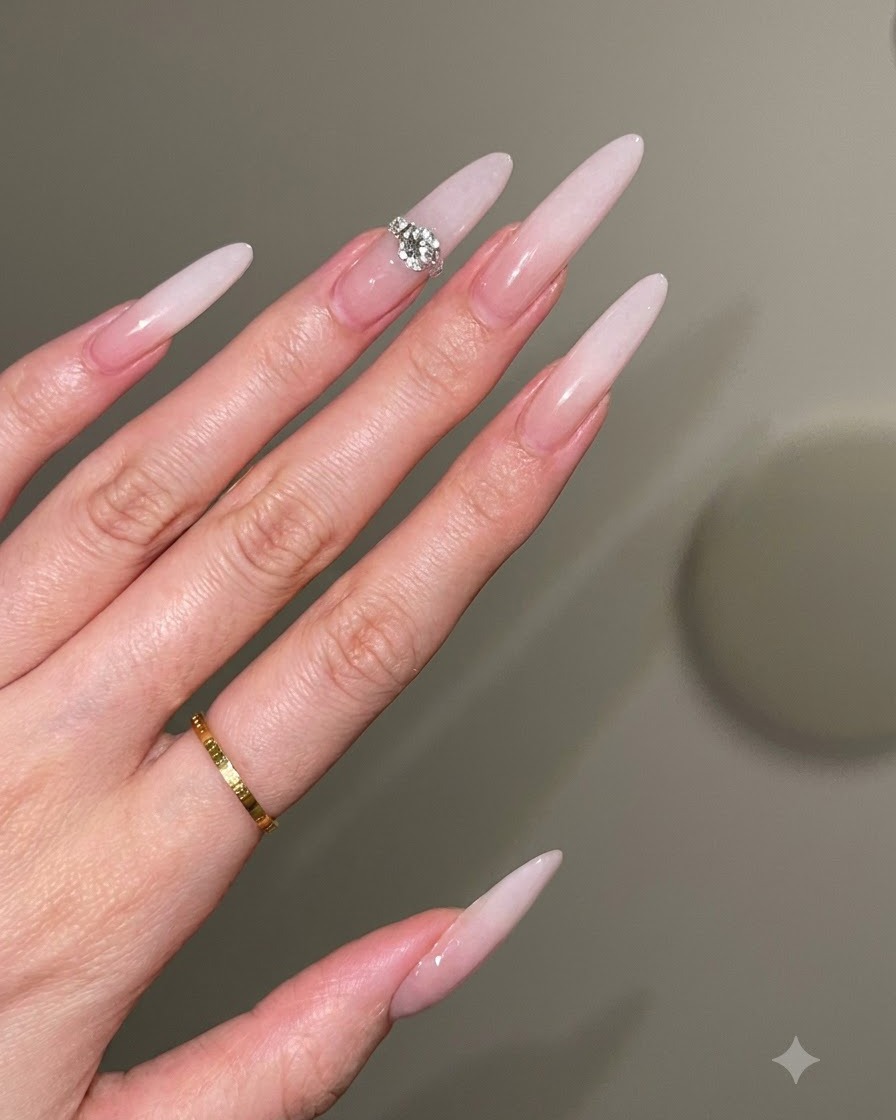
Using a controlled tapping motion with the brush, gently blend the milky white gel into the nude base. This technique softens the transition point, creating a seamless and natural gradient effect across the nail surface.
Tip: Keep your brush strokes light and use a gentle tapping motion to avoid harsh lines or pooling of the gel. - 4Build gradient opacity with a second layer
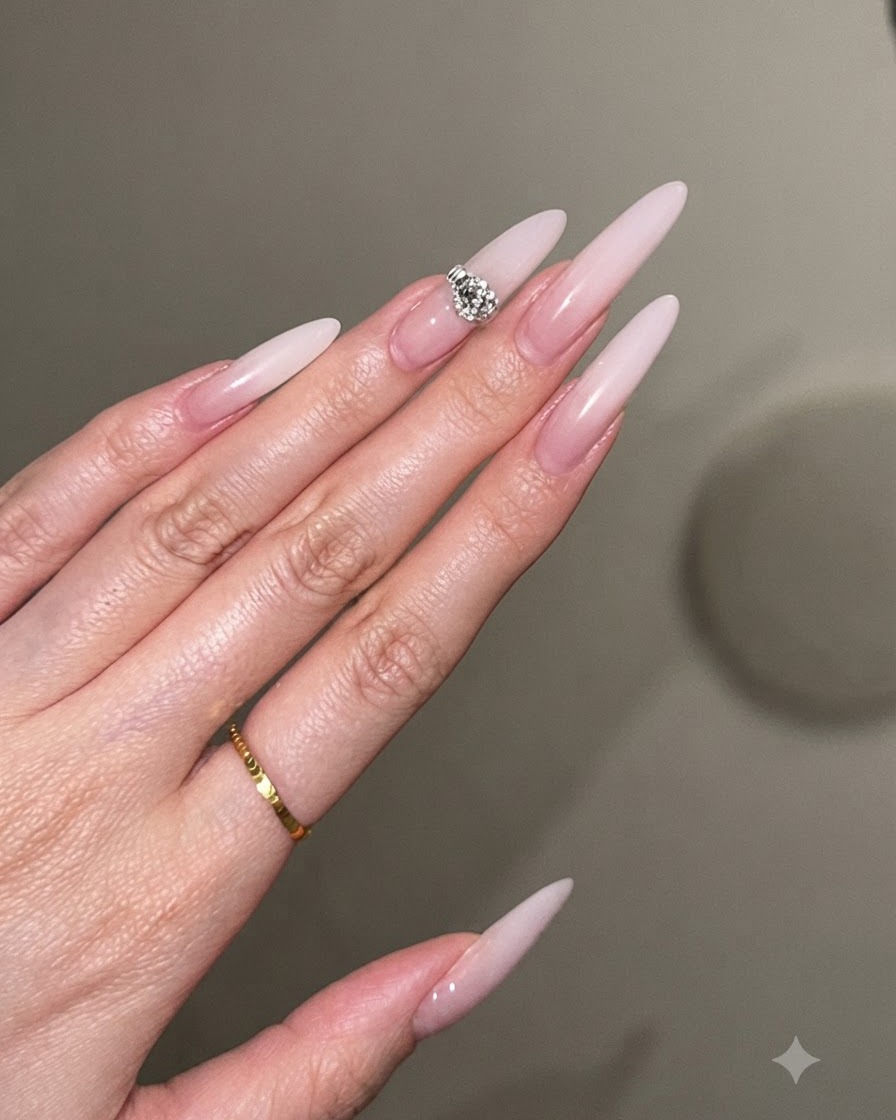
Apply a second, slightly thinner layer of milky white gel, concentrating the product more heavily toward the tip. This second application builds up the opacity of the gradient, ensuring the white transition looks rich and well-defined.
Tip: Apply this layer slightly lower down the nail than the first to preserve the smooth gradient transition. - 5Apply adhesive for rhinestone placement
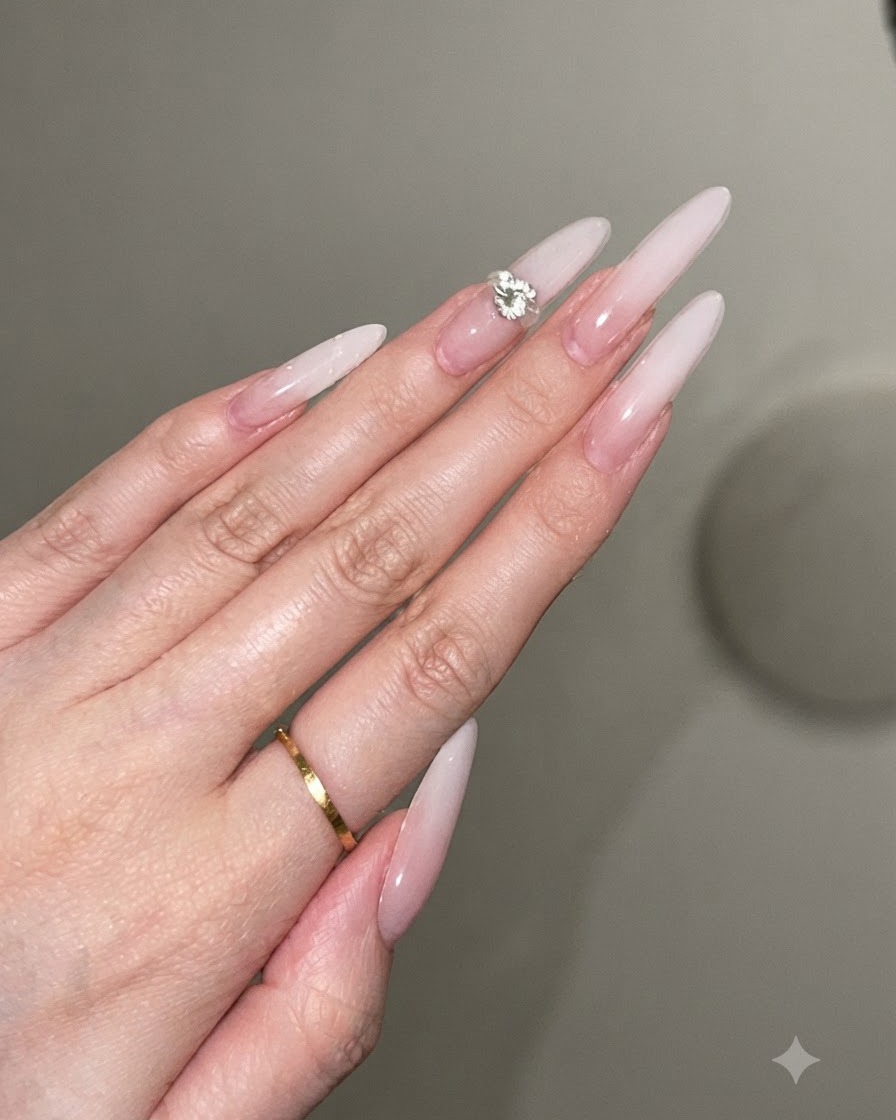
Place a small dollop of specialized rhinestone adhesive or thick clear builder gel right onto the center of the ring finger nail where you want the embellishment to sit. This sticky base will securely anchor the rhinestone in place before curing.
Tip: Do not use too much adhesive, or it will overflow around the edges of the gem and dull its shine. - 6Place and press the rhinestone
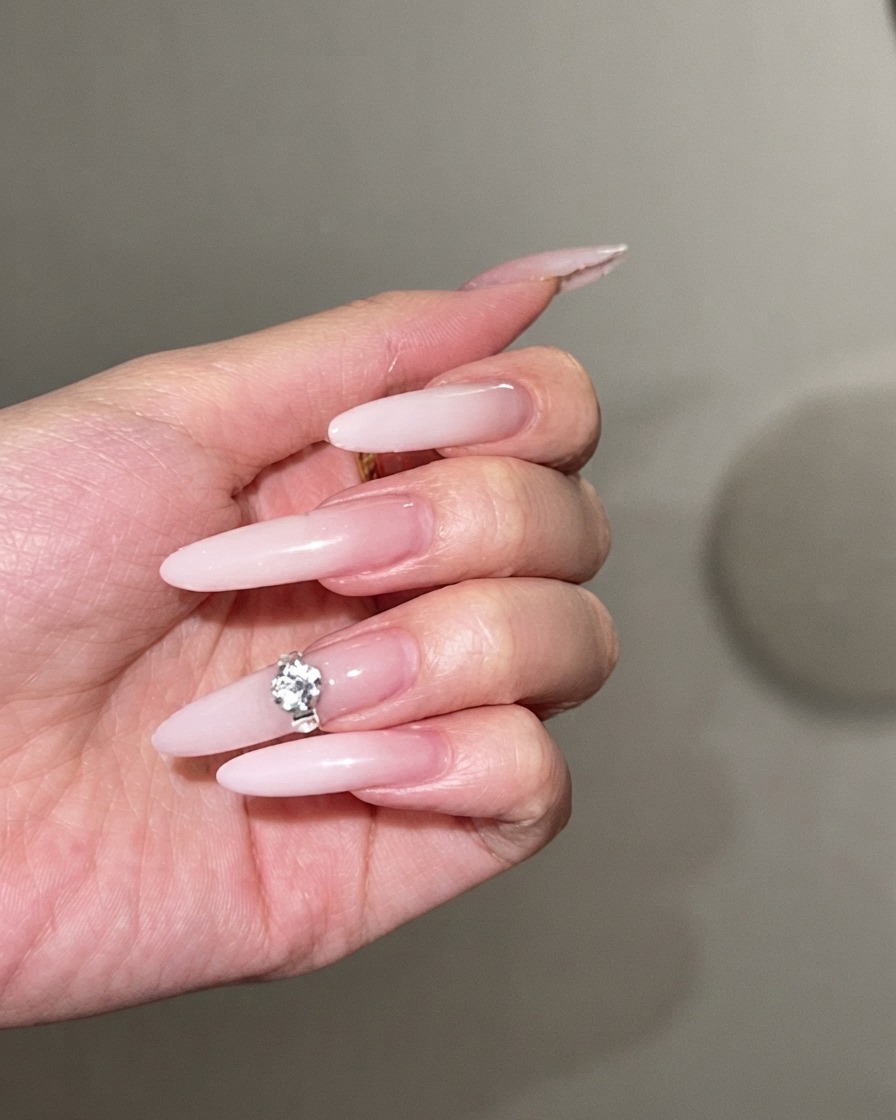
Using a wax picker or precision tweezers, pick up a large, multifaceted rhinestone and carefully set it into the wet adhesive on the ring finger. Press down gently to embed it securely into the gel before curing under the lamp.
Tip: Check the alignment from multiple angles to ensure the rhinestone sits perfectly straight before flash-curing. - 7Refine and shape the stiletto edges
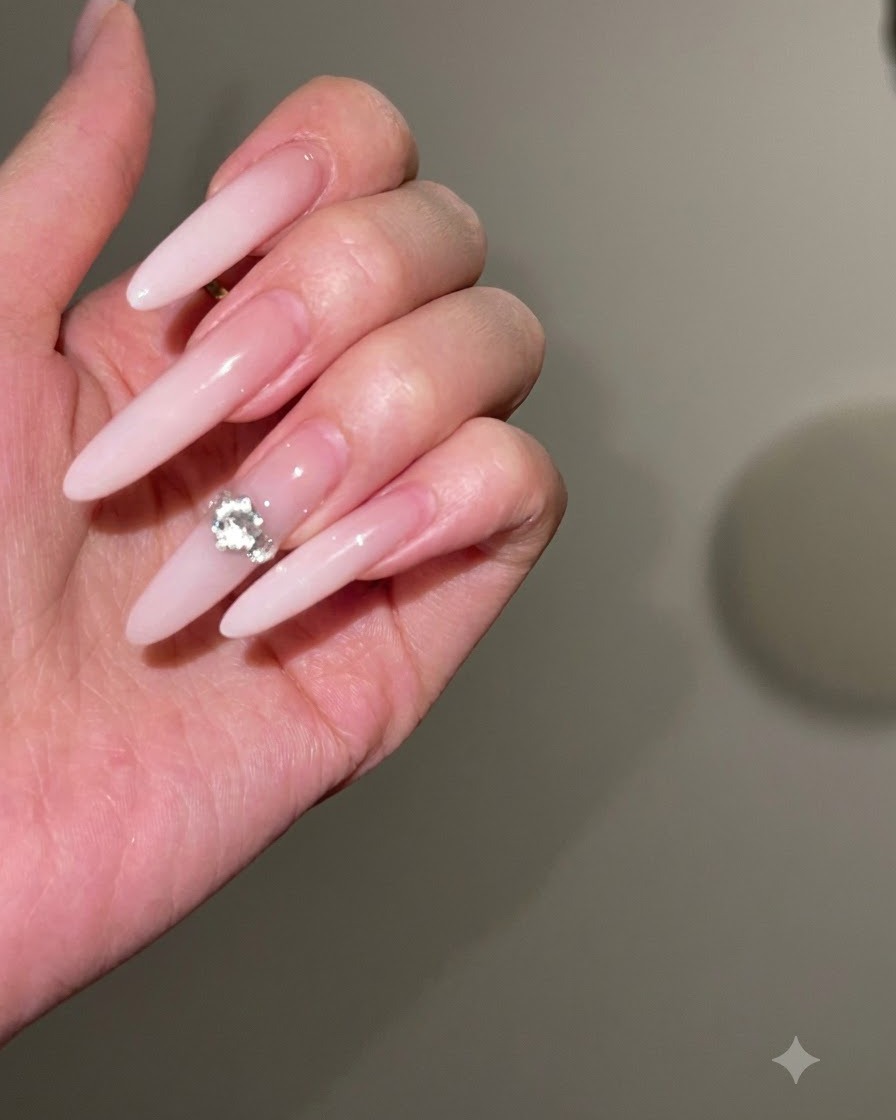
Using a professional nail file, carefully refine and slim down the sides of the long nail extension. This final filing step creates a sharp, slender stiletto silhouette that visually lengthens the fingers and provides a sleek structure.
Tip: File symmetrically from both sides toward the center apex to maintain a balanced, perfectly straight stiletto point.