Nude Pink with Silver Gradient Cat-Eye Nails — Step-by-Step Tutorial
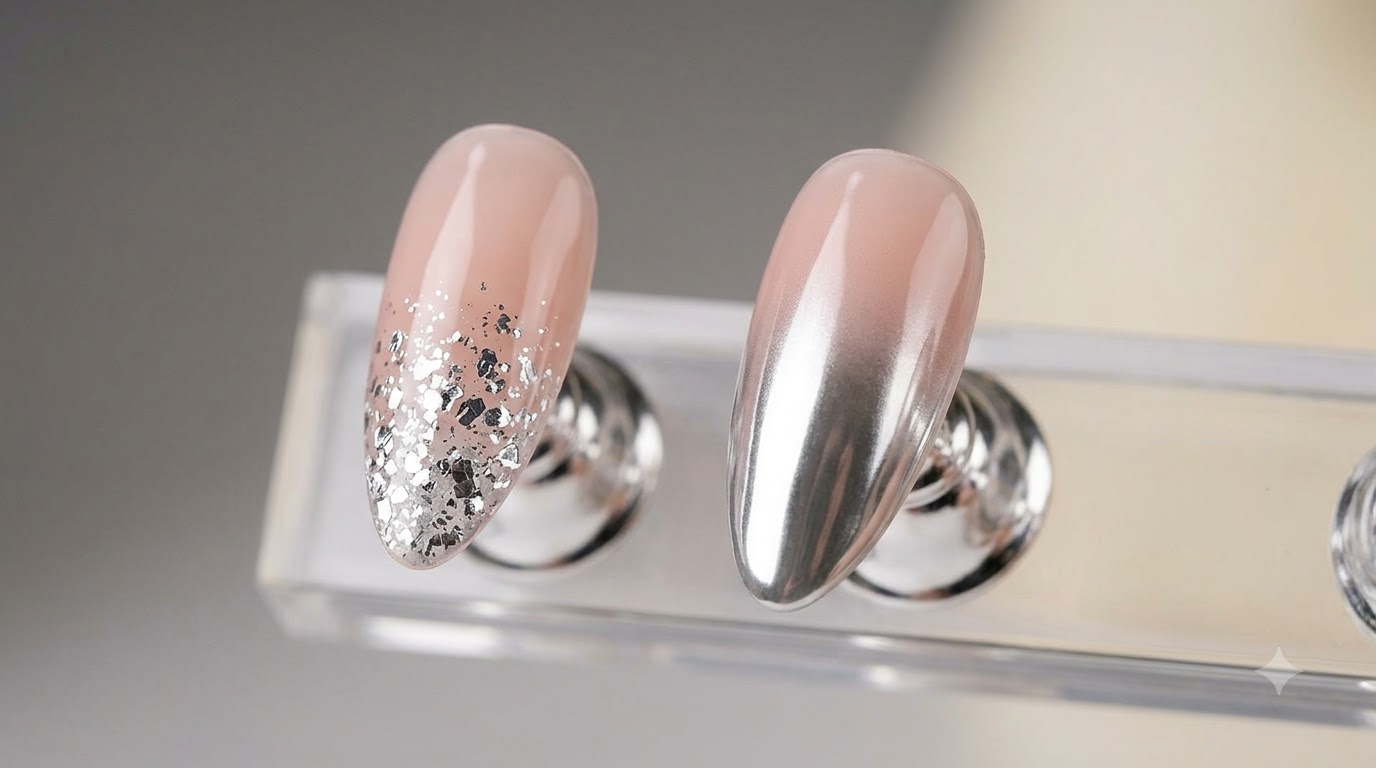
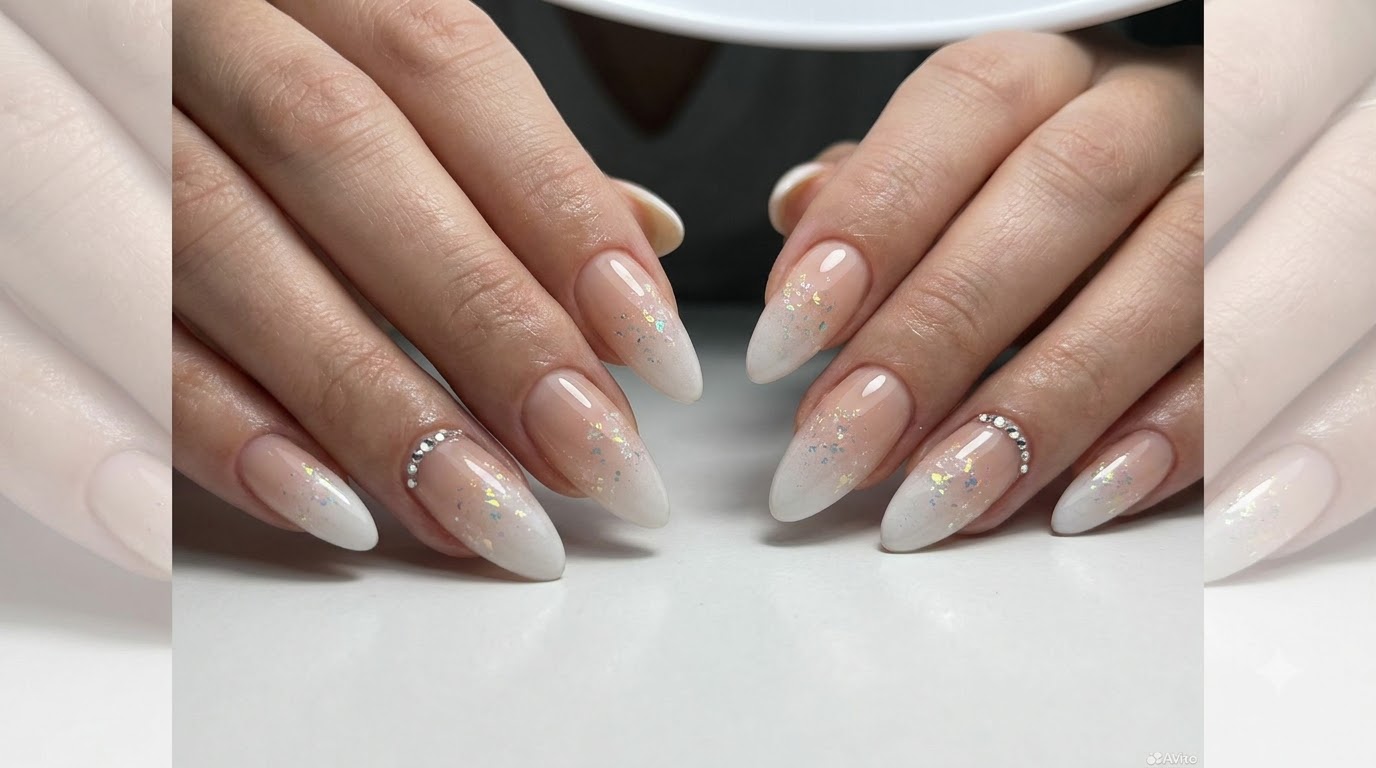
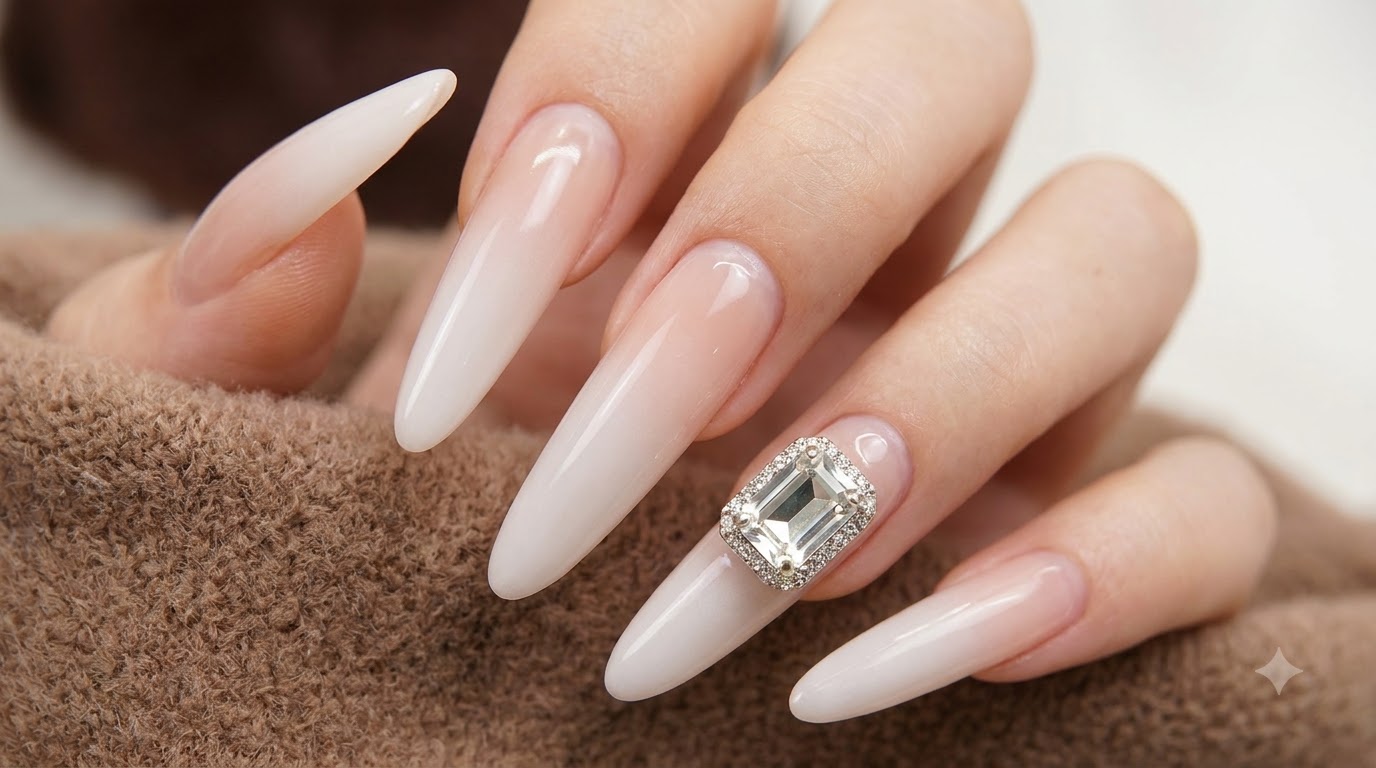
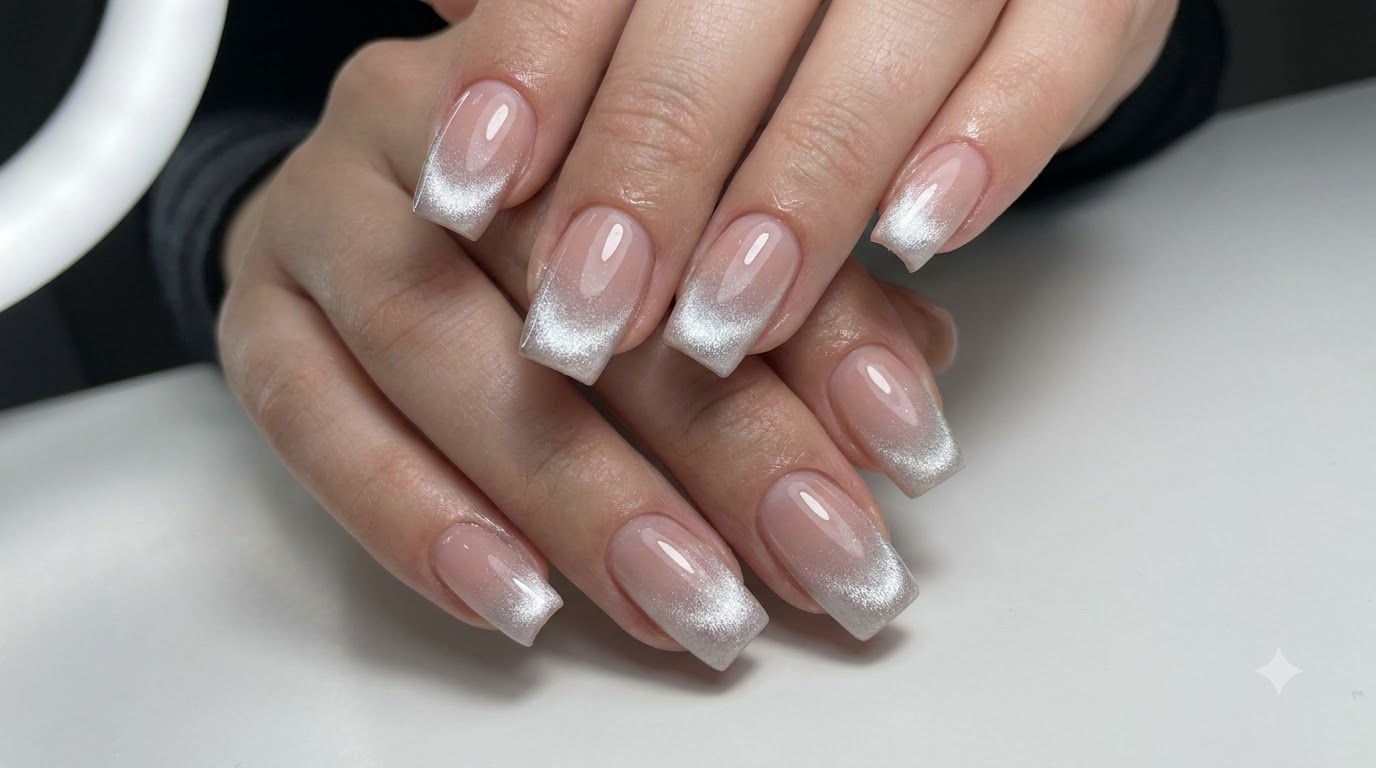
Achieve a stunning salon-quality look with nude pink gel and a glowing silvery-white magnetic cat-eye gradient effect on square nails.
Combining a classic sheer nude pink base with a futuristic metallic cat-eye gradient creates a sophisticated French illusion effect. This trend elevates minimalist manicures by adding depth, shifting shimmer, and a high-gloss finish that catches the light from every angle.
Steps
- 1File around the cuticle area
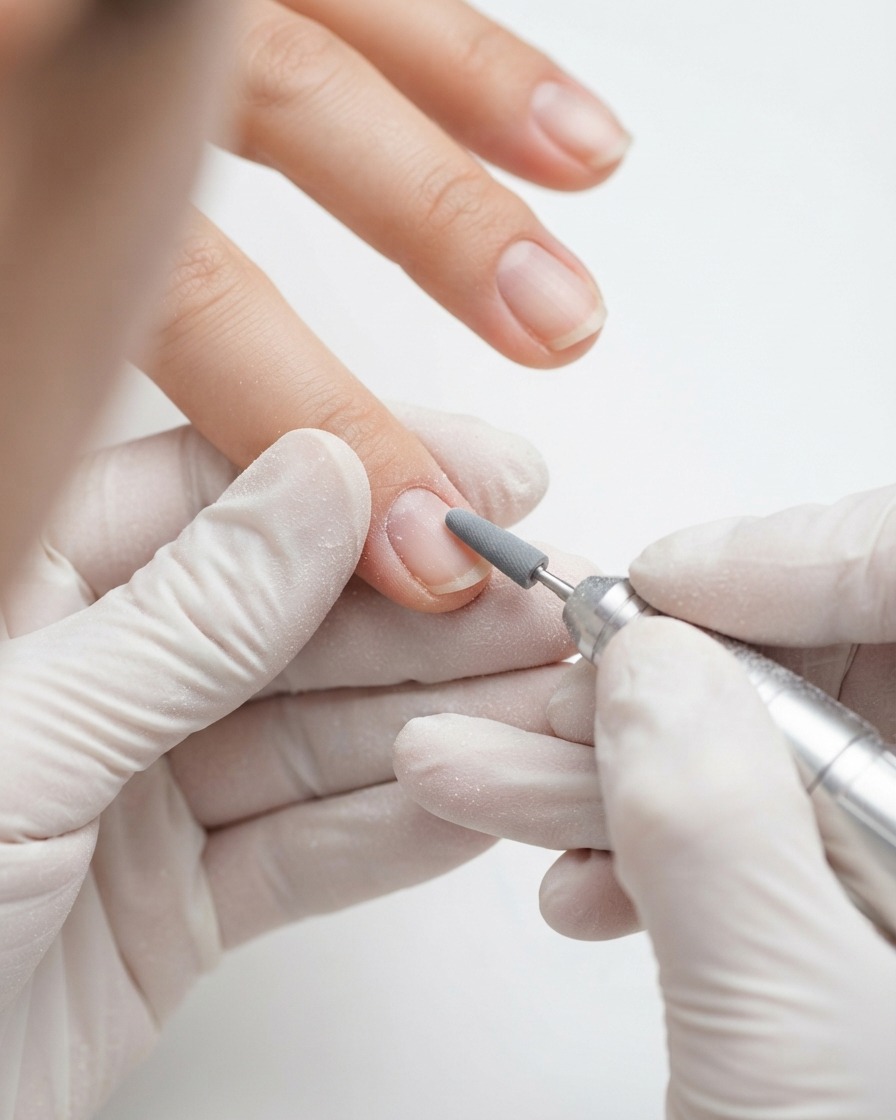
Carefully maneuver the sanding band near the cuticle area and along the lateral sidewalls to smooth down any remaining shine or dead skin adherence in hard-to-reach zones.
Tip: Tilt the handpiece slightly to use the edge of the sanding band safely without cutting into the skin. - 2Lift the cuticle on the left side
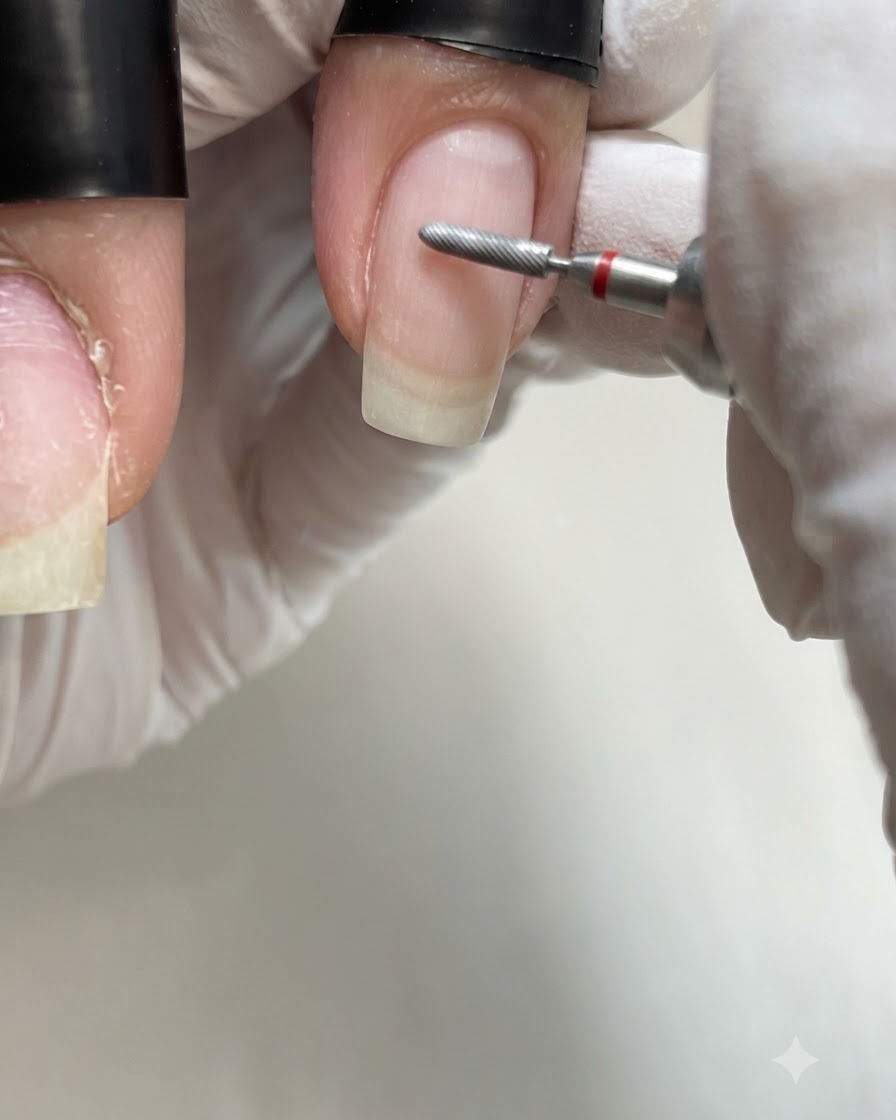
Switch to a thin flame diamond bit, setting your e-file to forward or reverse depending on your working hand. Gently guide the tip along the left side of the nail pocket to lift and separate the cuticle from the nail plate.
Tip: Use light, sweeping motions and maintain a low RPM to protect the delicate skin and nail matrix. - 3Deep Clean Cuticle Pocket
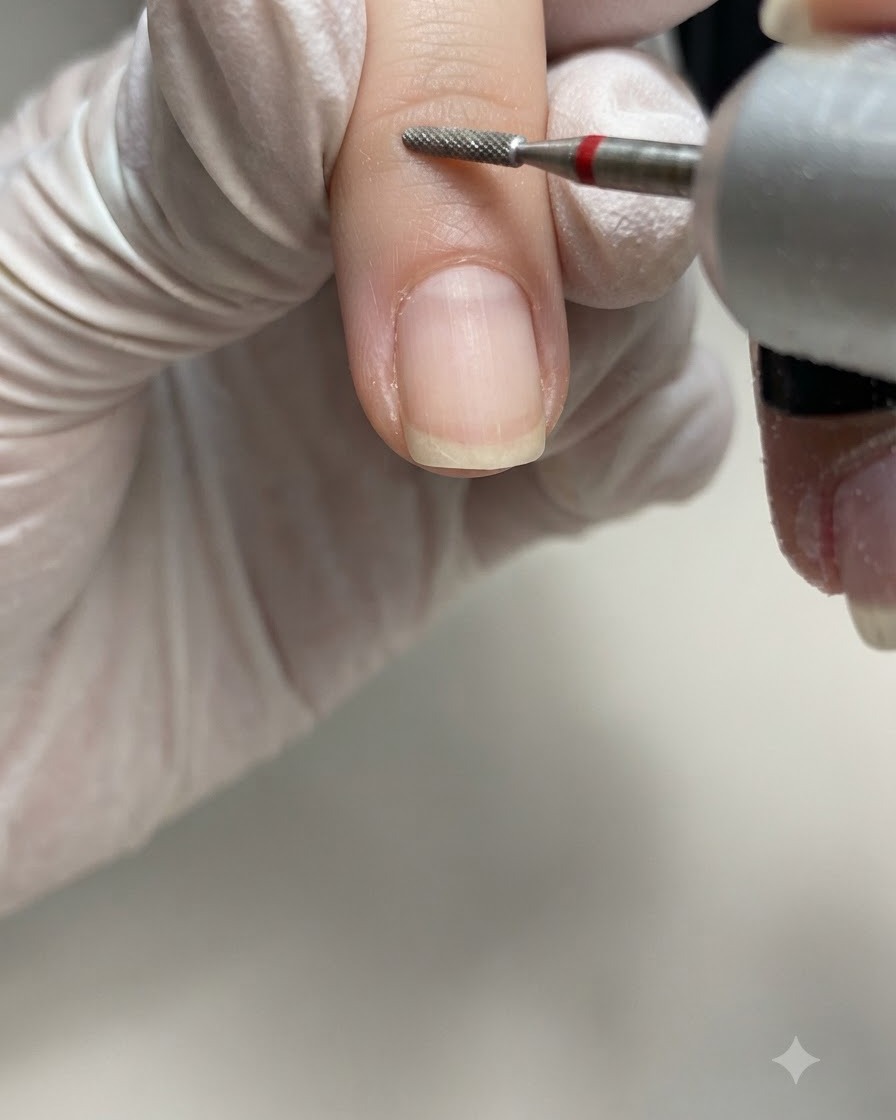
Using a flame diamond bit on your e-file, gently clean the right side of the cuticle pocket. Work carefully along the nail edge to remove any remaining dead skin and debris hidden underneath the cuticle fold. This deep cleaning process ensures a flawless, smooth surface for your product application.
Tip: Keep the e-file at a low speed and use gentle, sweeping motions to avoid damaging the natural nail plate or sensitive surrounding skin. - 4Trim Left Sidewall Skin
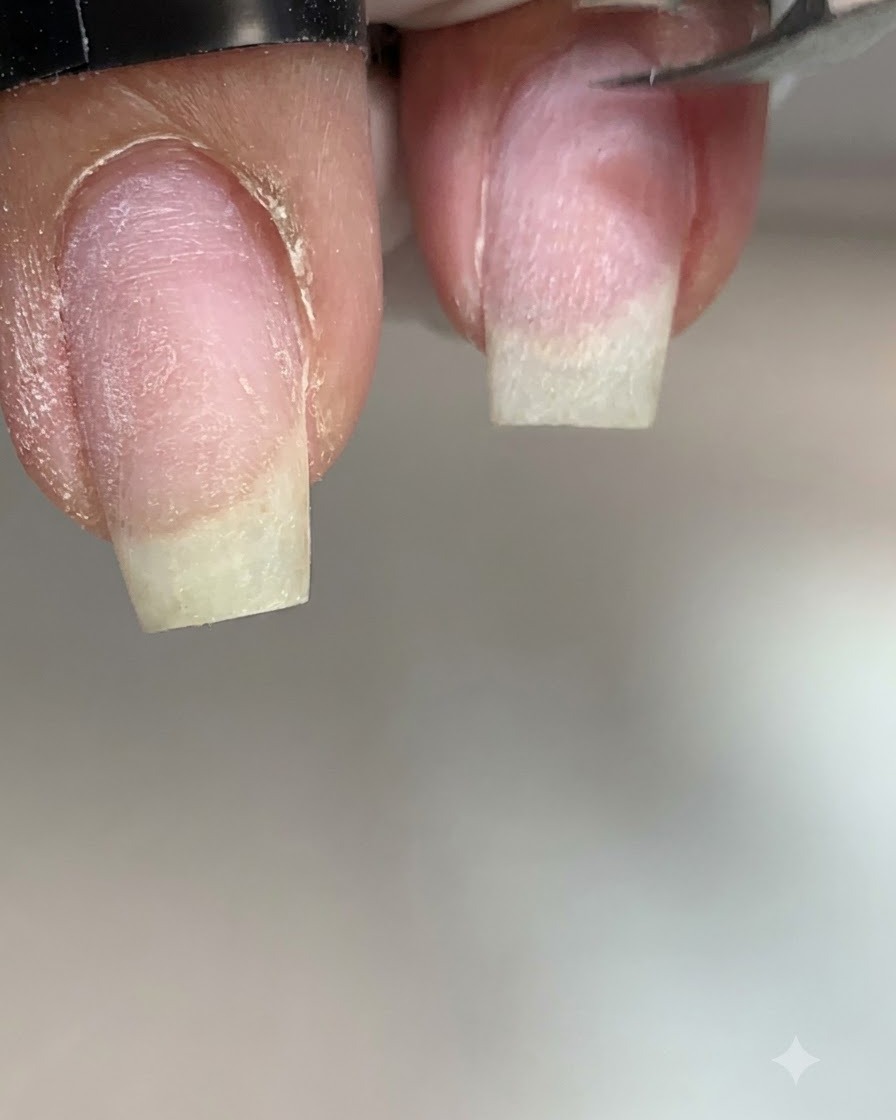
Take your metal cuticle nippers and carefully trim the lifted dead skin, starting from the left sidewall of the nail. Only nip the white, non-living tissue that has been pushed back during the e-file prep. Be gentle and precise to create a clean, manicured frame around the nail plate without cutting live tissue.
Tip: Never pull or tear the skin with your nippers; always make clean, intentional cuts to prevent hangnails and irritation. - 5Trim the cuticle band
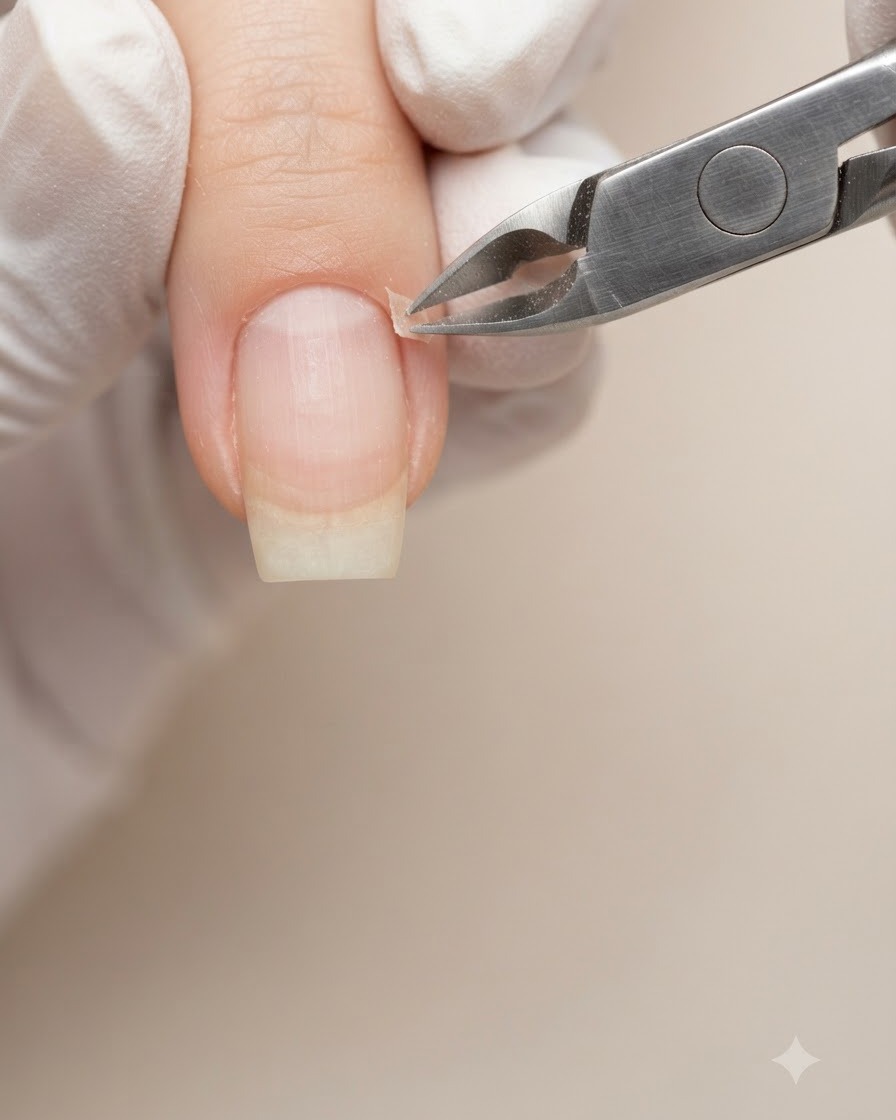
Using sharp metal cuticle nippers, carefully snip away the lifted dead skin and cuticle band, following the natural contour across the top arch of the nail in one smooth motion.
Tip: Do not pull or yank the skin; snip cleanly with the tips of the nippers to avoid bleeding or jagged edges. - 6Finish Nipping Right Side
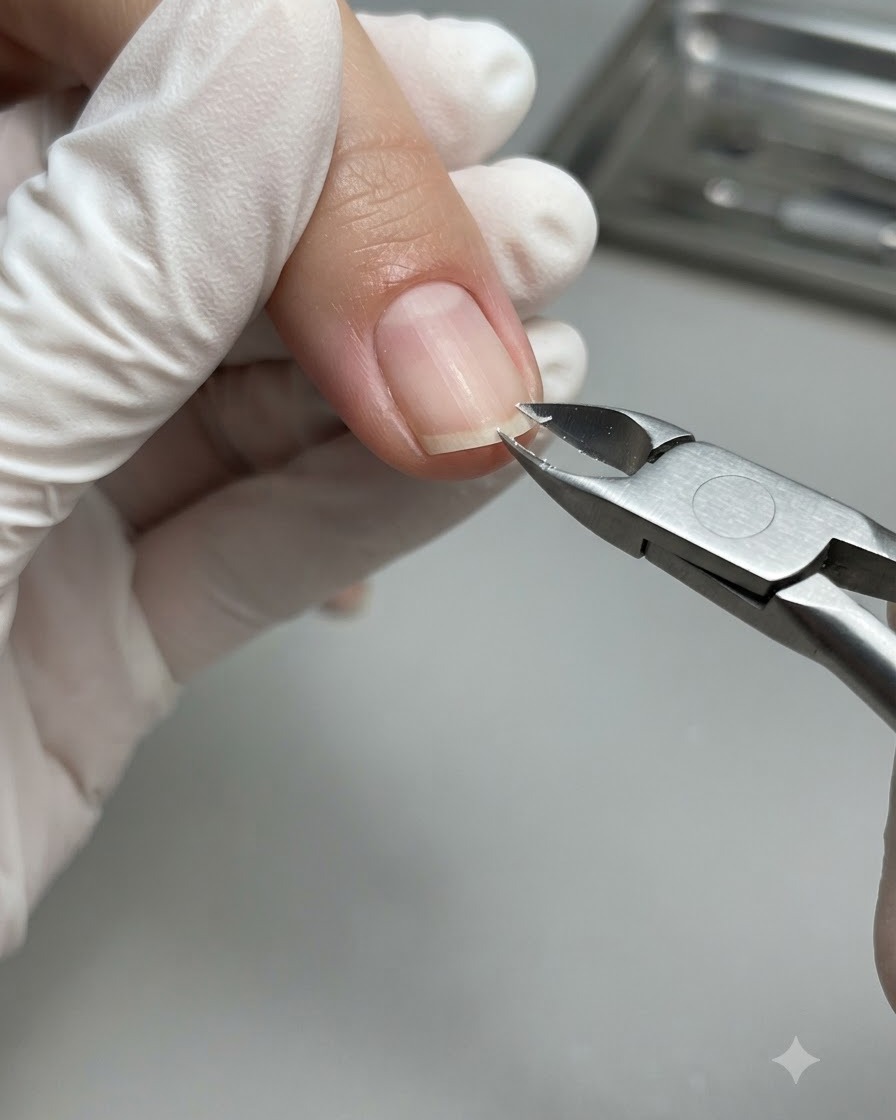
Continue with your cuticle nippers to trim the remaining dead skin down the right side of the nail. Ensure the entire cuticle line is uniformly clean. Take your time to precisely nip away the loose skin, following the curve of the cuticle to leave a neat, perfectly prepped edge.
Tip: Angle the blades of your nippers slightly away from the live skin to ensure you are only removing the lifted, dead tissue. - 7Polish Proximal Nail Fold
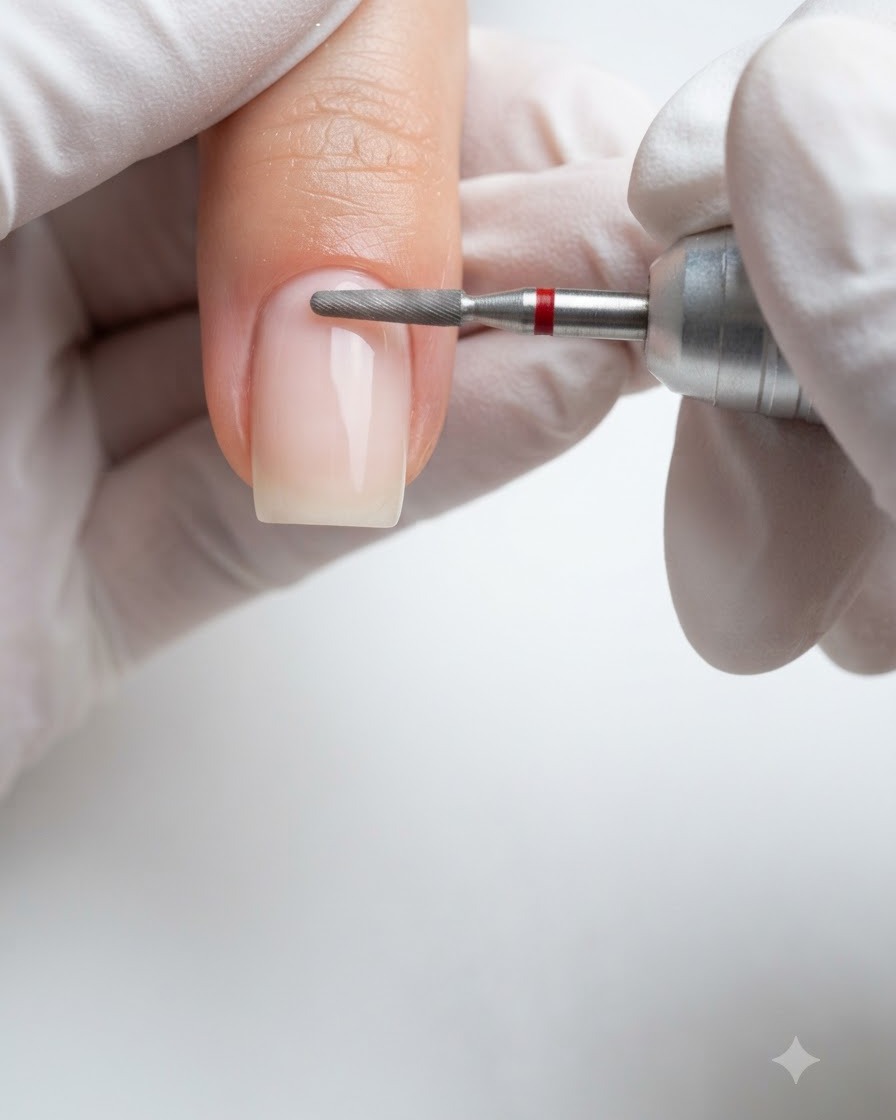
Switch your e-file to a small ball or micro diamond bit. Gently run the bit over the skin around the proximal nail fold to exfoliate and polish the area. This finishing step smooths out any rough microscopic edges left behind after nipping, leaving the skin perfectly soft and seamless.
Tip: Use a very light touch and a low RPM setting to gently buff the skin without causing heat spikes or friction burns. - 8Buff Lateral Nail Folds
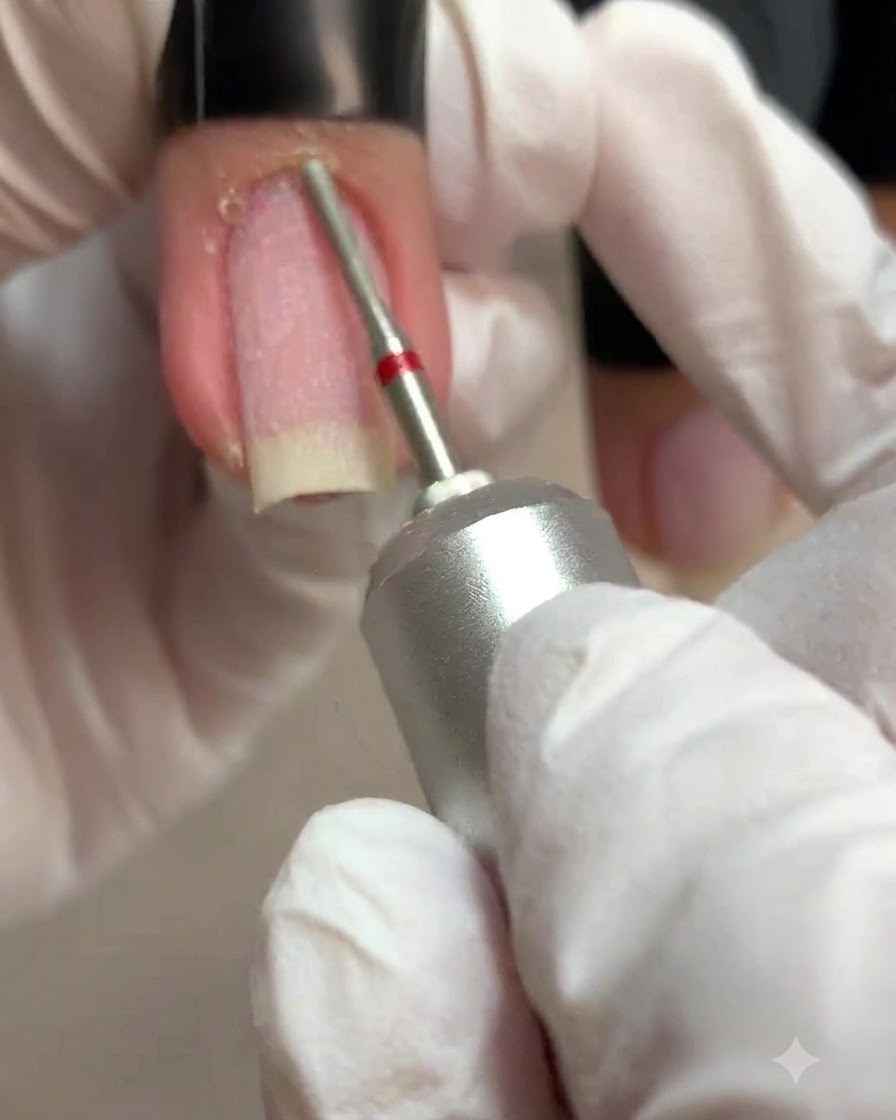
Use the micro bit to buff away any remaining dry, hardened skin on the lateral nail folds alongside the nail plate. Gently trace the sides of the finger to smooth out calloused areas, ensuring the entire perimeter of the nail is perfectly prepped, soft, and ready for product application.
Tip: Continuously keep the bit moving to prevent heat build-up in one spot and ensure an even, smooth exfoliation of the skin. - 9Apply Base Gel
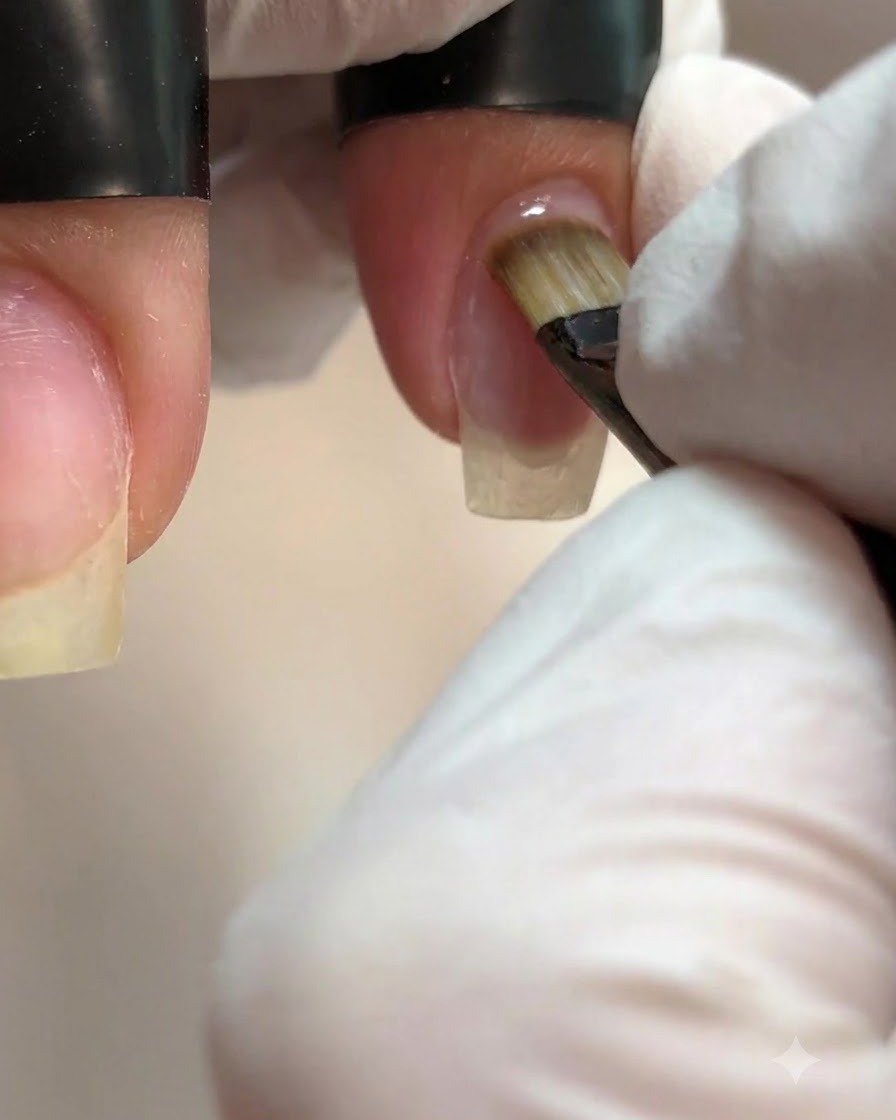
Brush a thin, even layer of clear base gel across the entire natural nail plate to ensure strong adhesion for subsequent builder gel layers.
Tip: Make sure to seal the free edge to prevent early lifting. - 10Cure Base Gel
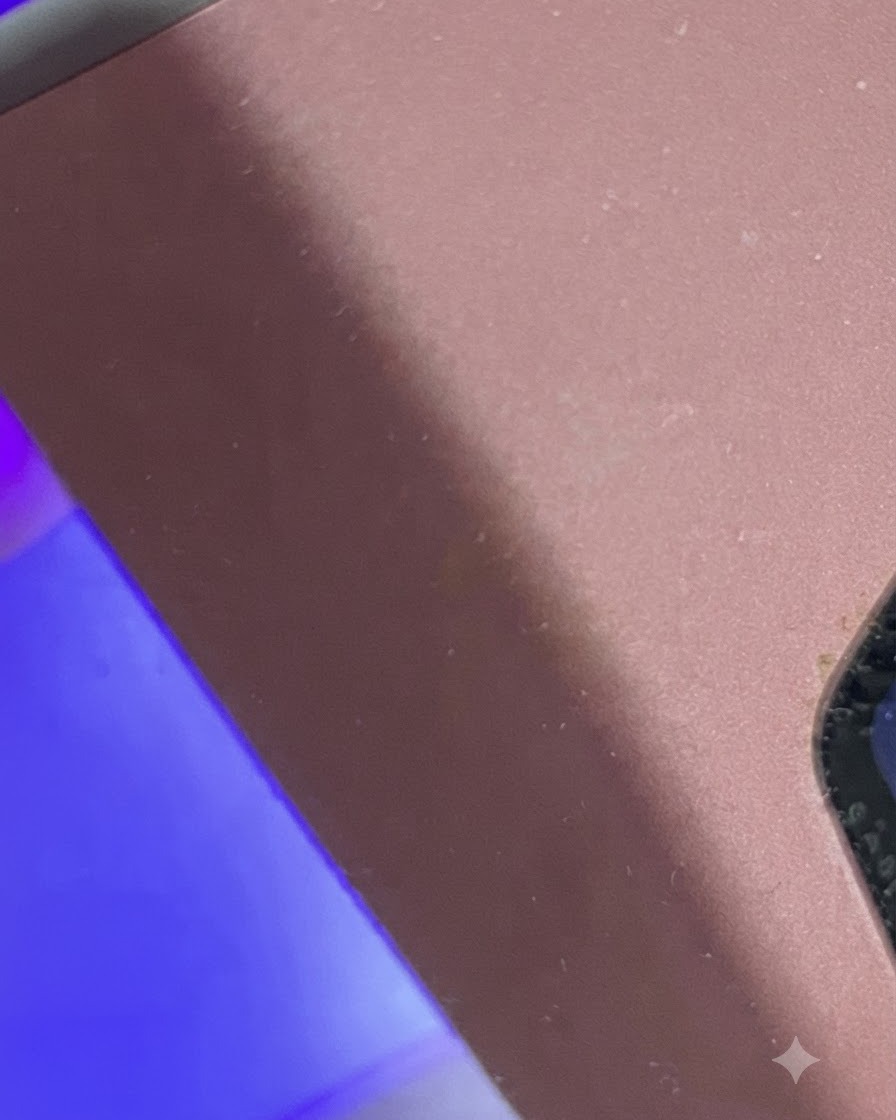
Place the finger under a mini handheld UV/LED lamp to cure the base gel layer fully before moving on to reinforcement.
Tip: Keep the finger steady under the mini lamp to avoid shifting. - 11Apply Builder Gel Bead
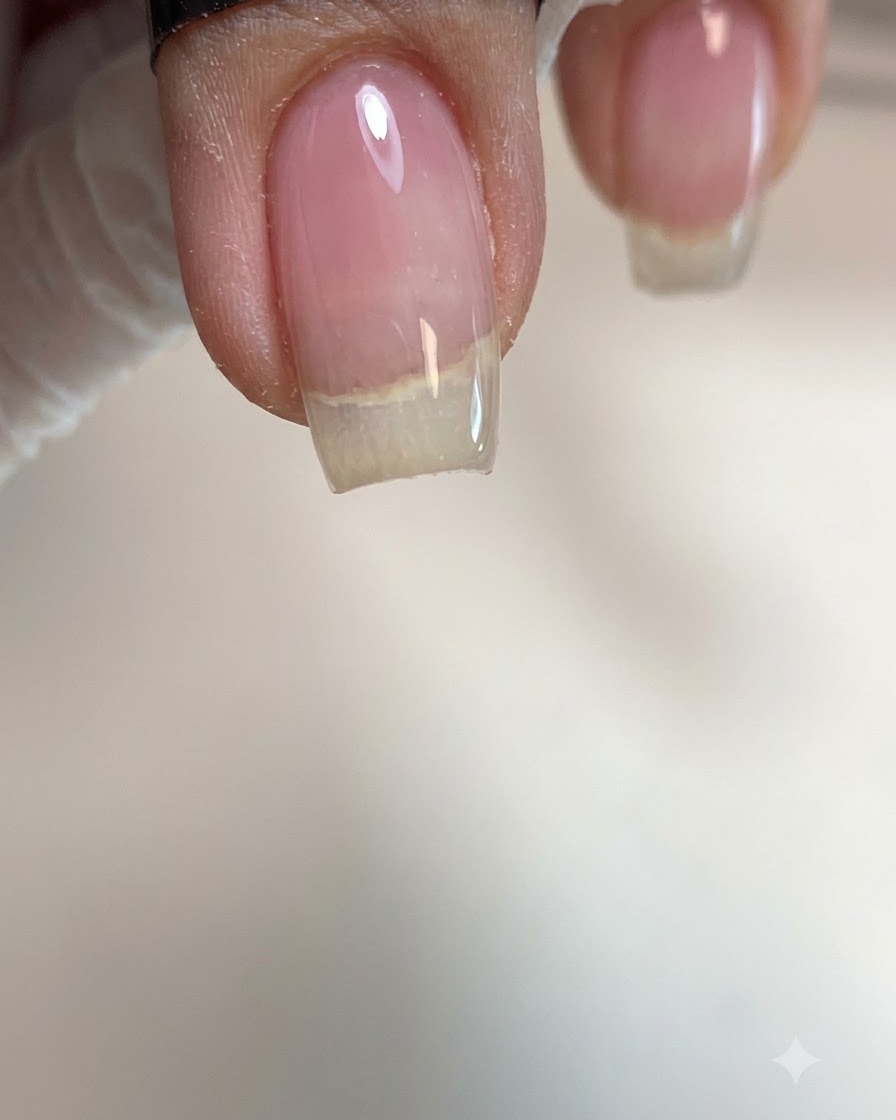
Apply a thicker bead of clear builder or reinforcement gel directly to the center of the nail to create structural strength and apex support.
Tip: Placing the bead centrally helps self-leveling across the nail surface. - 12Apply clear builder gel to cuticle line
Take a fine liner brush and carefully spread the clear builder gel upward to neatly meet the cuticle line. This technique ensures a precise application without flooding the surrounding skin, giving the nail structure a smooth and professional finish.
Tip: Work in small amounts with the liner brush to maintain full control and avoid thick pooling near the cuticles. - 13Cure Reinforcement Gel
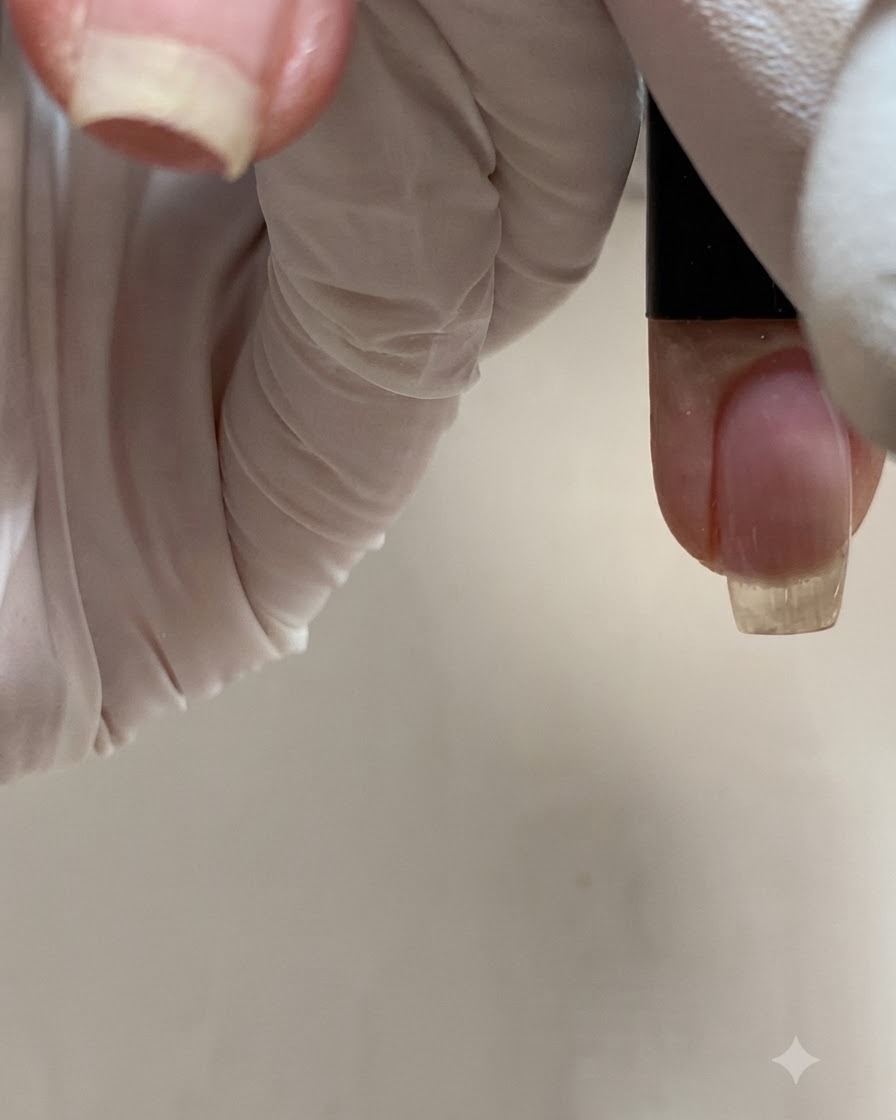
Place the hand back under the mini UV/LED lamp to cure the reinforcement gel layer completely, locking in the apex structure.
Tip: Ensure proper curing time to avoid uncured gel underneath. - 14Wipe Inhibition Layer
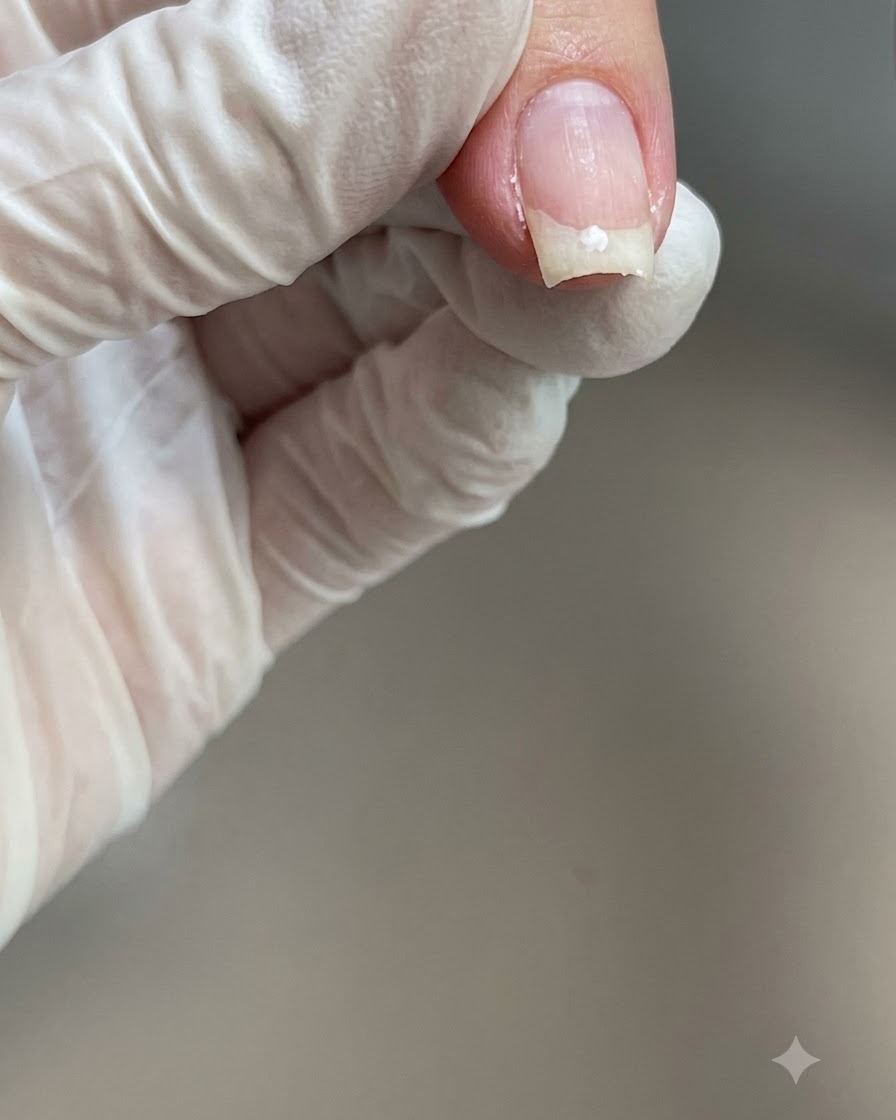
Wipe the nail surface thoroughly with a lint-free pad soaked in cleanser to remove the tacky inhibition layer left after curing.
Tip: Use a fresh section of the lint-free wipe for each nail to avoid smudging. - 15Buffer and refine the nail surface
Use a fine sponge buffer block to gently smooth out any uneven surface texture across the nail and refine the shape of the free edge. This prepares the nail perfectly for top coat application.
Tip: Buff lightly in one direction or light sweeping motions to preserve the thickness of your build layer. - 16Apply sheer nude pink color gel
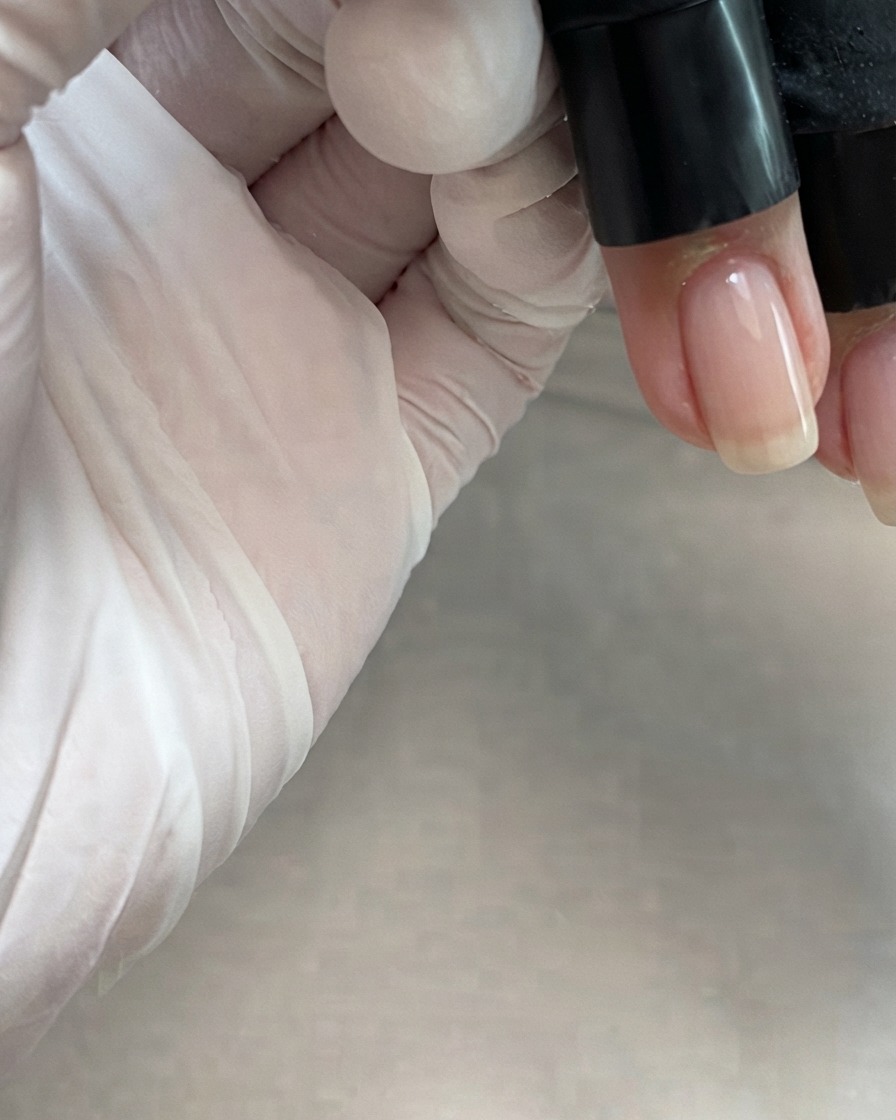
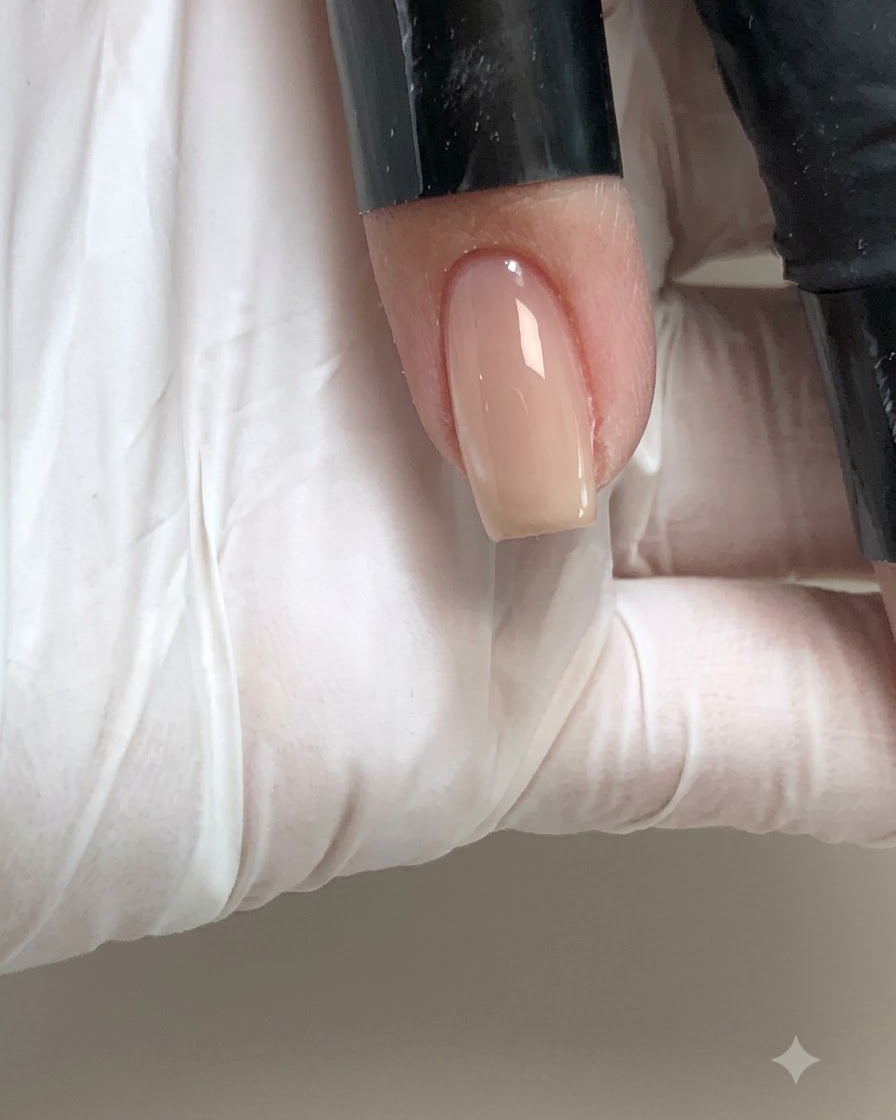
Apply a thin layer of sheer nude pink color gel polish down the center of the nail, preparing the base for smooth and even coverage.
Tip: Start down the center to control the amount of product near the cuticle. - 17Cover sidewalls and coat entire nail
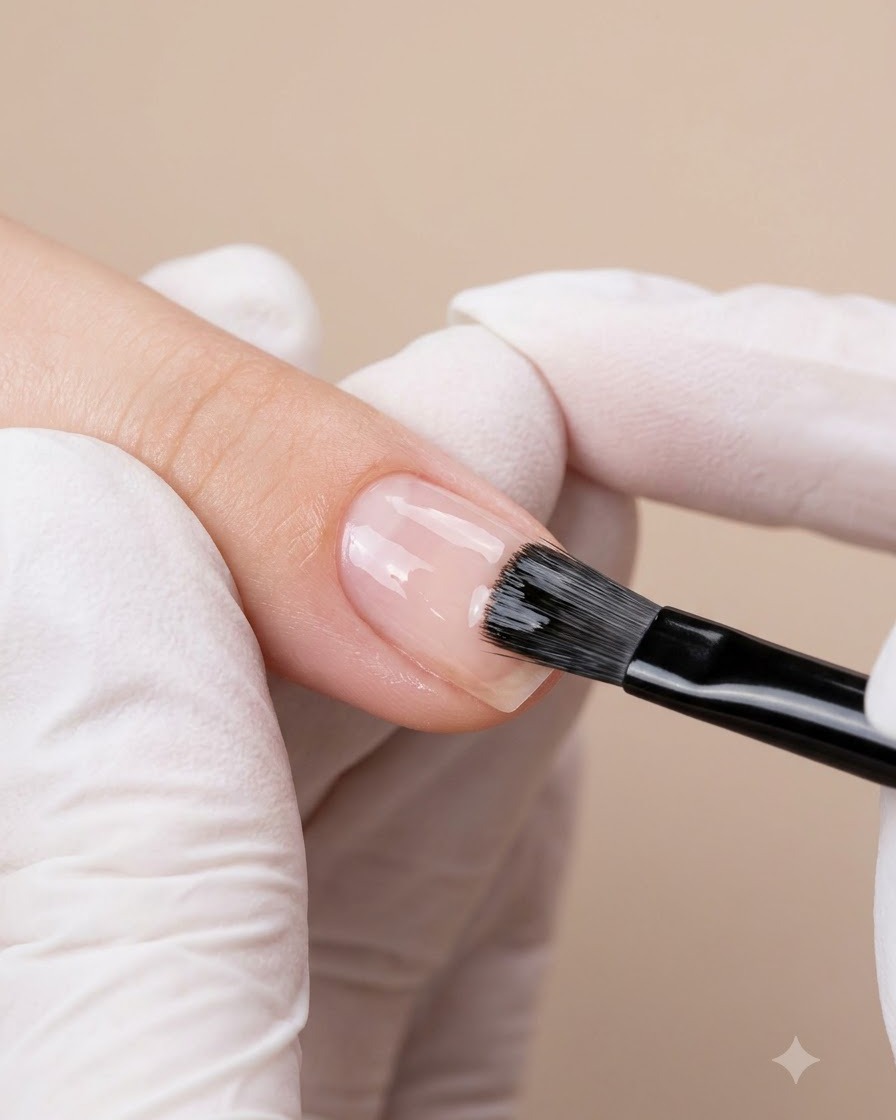
Using the brush, gently guide the nude pink gel outward to fully cover the sidewalls and ensure an even, smooth coat across the entire nail surface.
Tip: Keep light pressure on the brush to avoid creating streaks in the sheer polish. - 18Cure the color layer
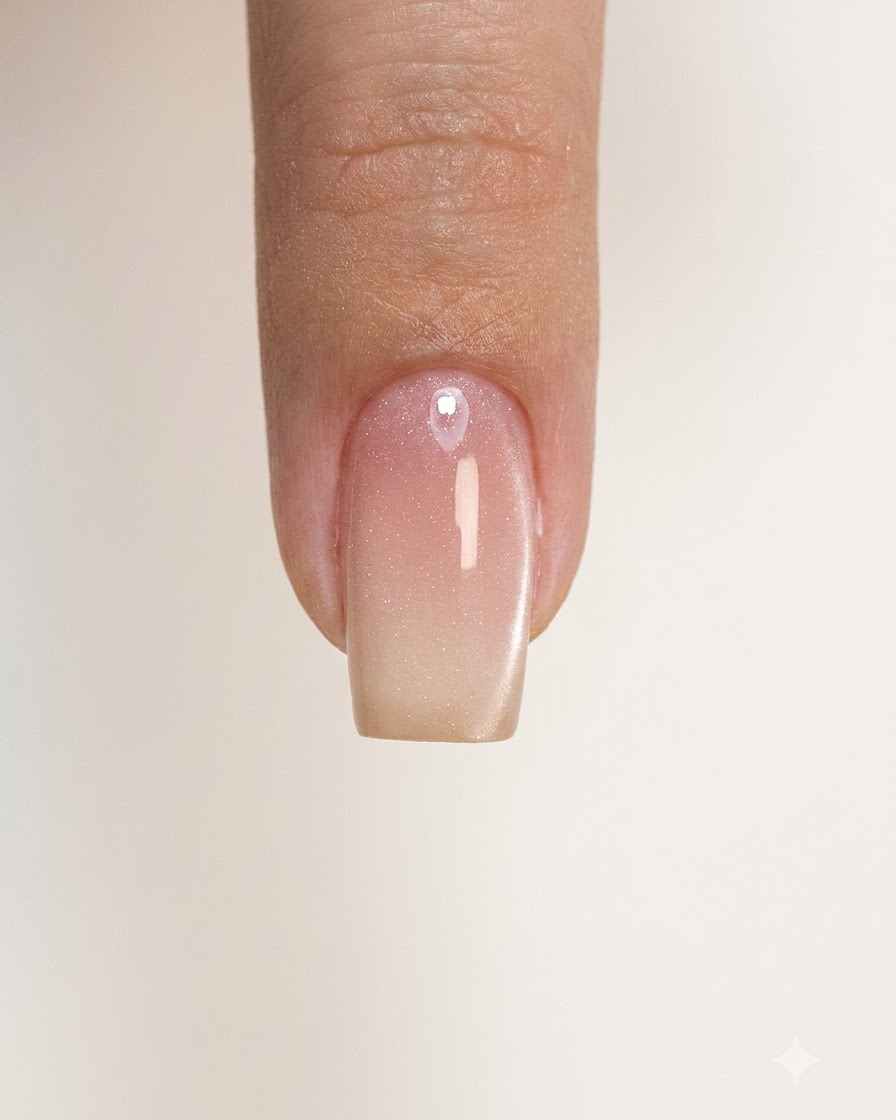
Place the finger under a UV or LED lamp to cure the nude pink color layer completely. Follow your gel brands specific curing time guidelines to ensure proper setting.
Tip: Make sure the hand is placed flat inside the lamp to cure all areas evenly. - 19Apply silver magnetic cat-eye gel polish
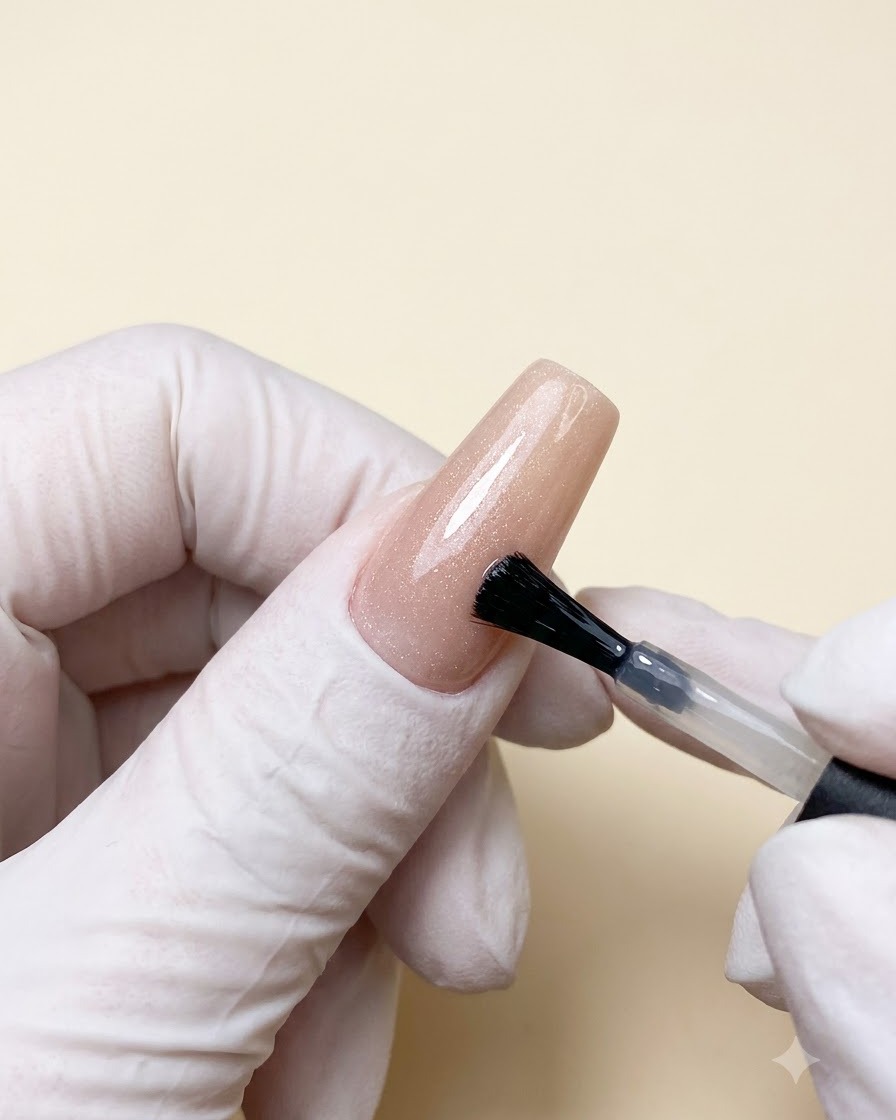
Apply a generous layer of silver magnetic cat-eye gel polish directly over the cured nude base layer to create a rich, shimmering foundation for the cat-eye effect.
Tip: Apply an even coat to ensure the magnetic particles move uniformly when activated. - 20Apply cat-eye gel base coat
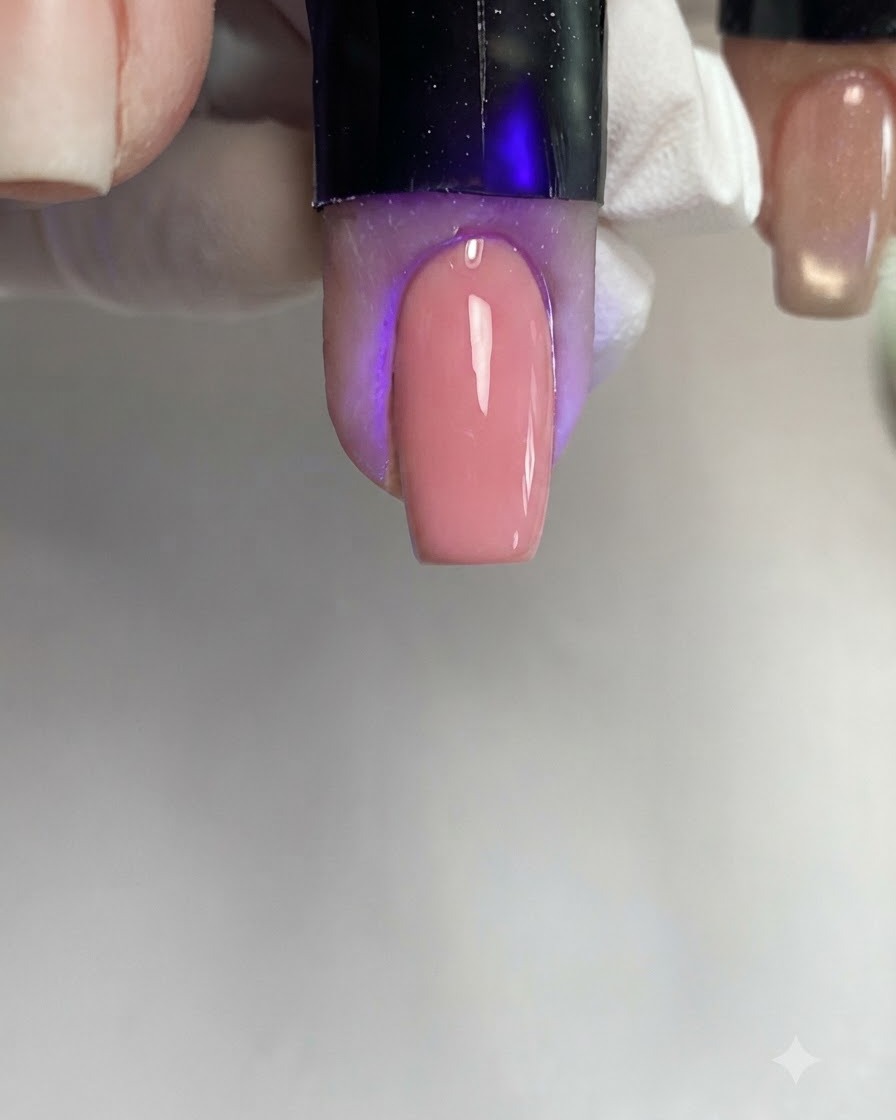
Apply the cat-eye gel evenly across the nail surface from the base down to the free edge, ensuring smooth and complete coverage without pooling at the cuticles. This layer serves as the magnetic base before you create the glowing design effect.
Tip: Make sure the coat is applied smoothly and evenly so the magnetic particles disperse cleanly. - 21Clean up cuticle line with a liner brush
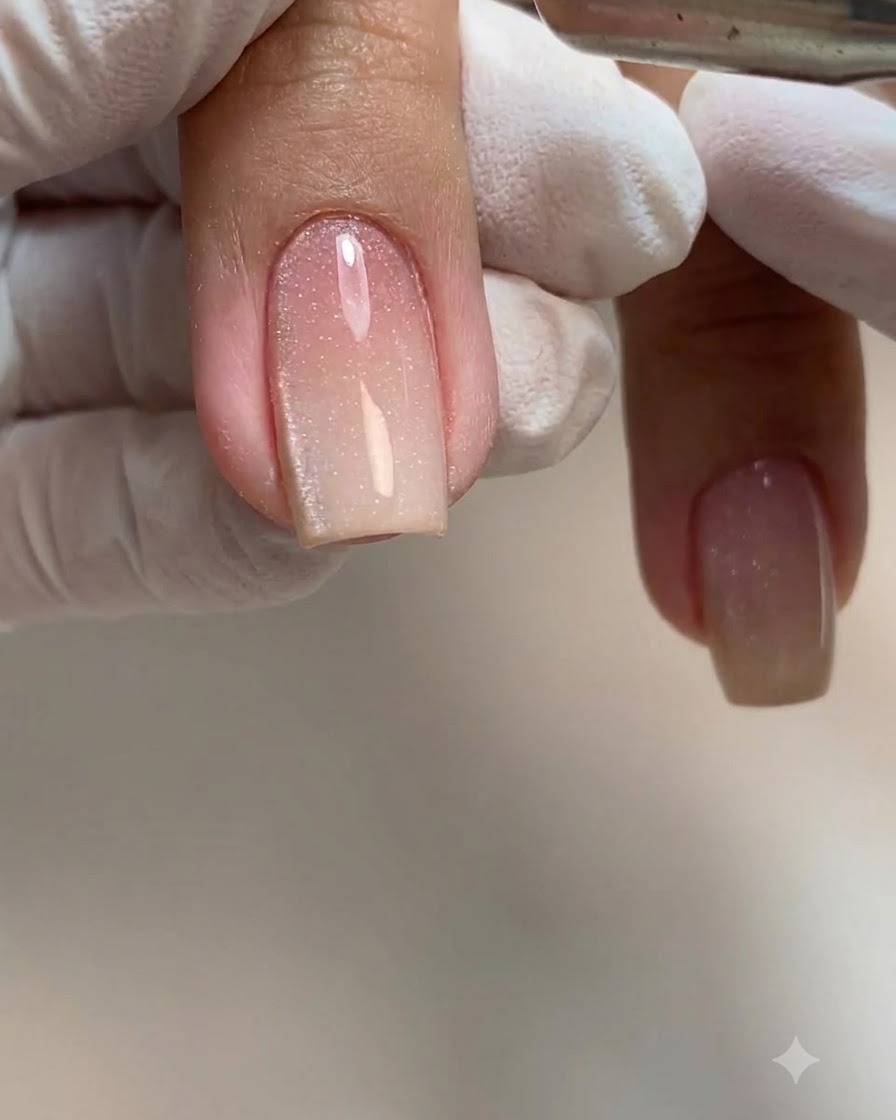
Take a fine liner brush and gently push the wet cat-eye gel right up to the cuticle line for a seamless, professional finish. This ensures there are no gaps or uneven edges near the skin.
Tip: Work with a light hand to avoid creating streaks or removing too much product near the base. - 22Position magnet for gradient effect
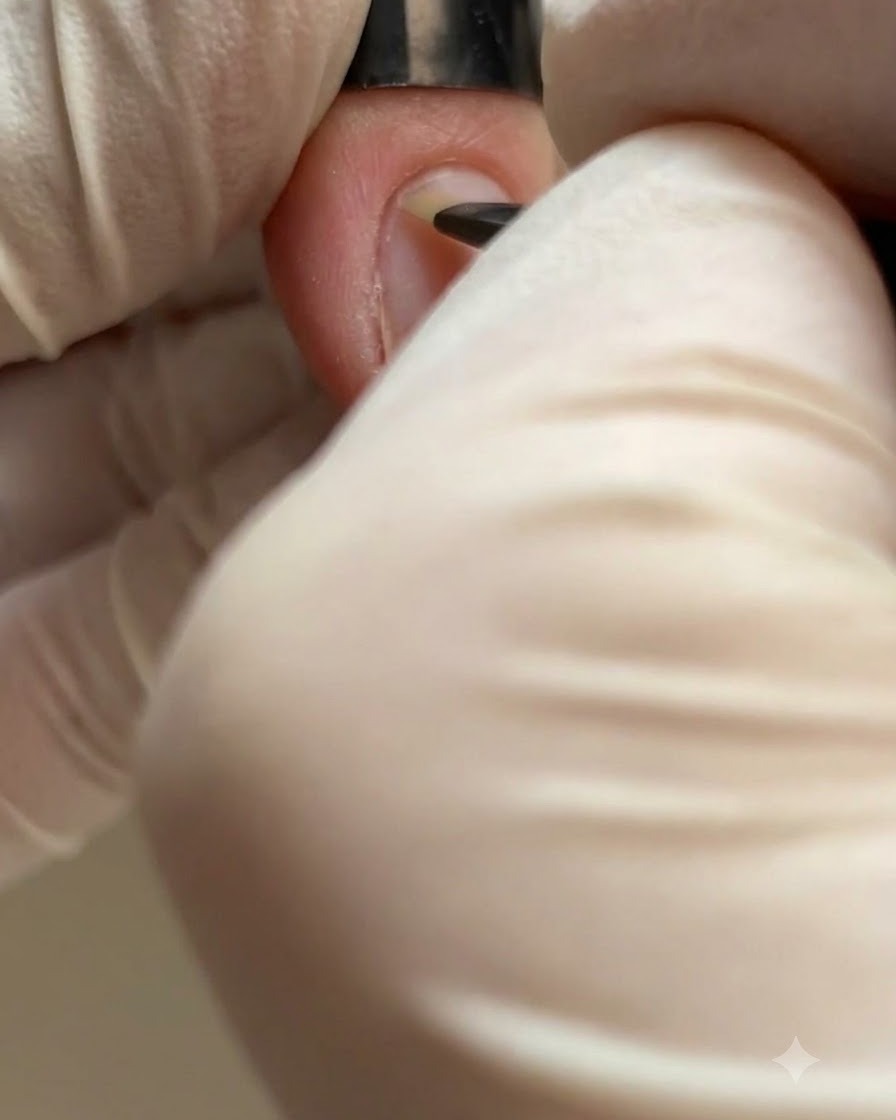
Hold a cylindrical magnet vertically close to the tip of the nail to drive the magnetic particles upward, creating a concentrated cat-eye gradient or bright glowing shift.
Tip: Keep the magnet steady and close to the nail without touching the wet polish surface. - 23Refine cat-eye glow angle
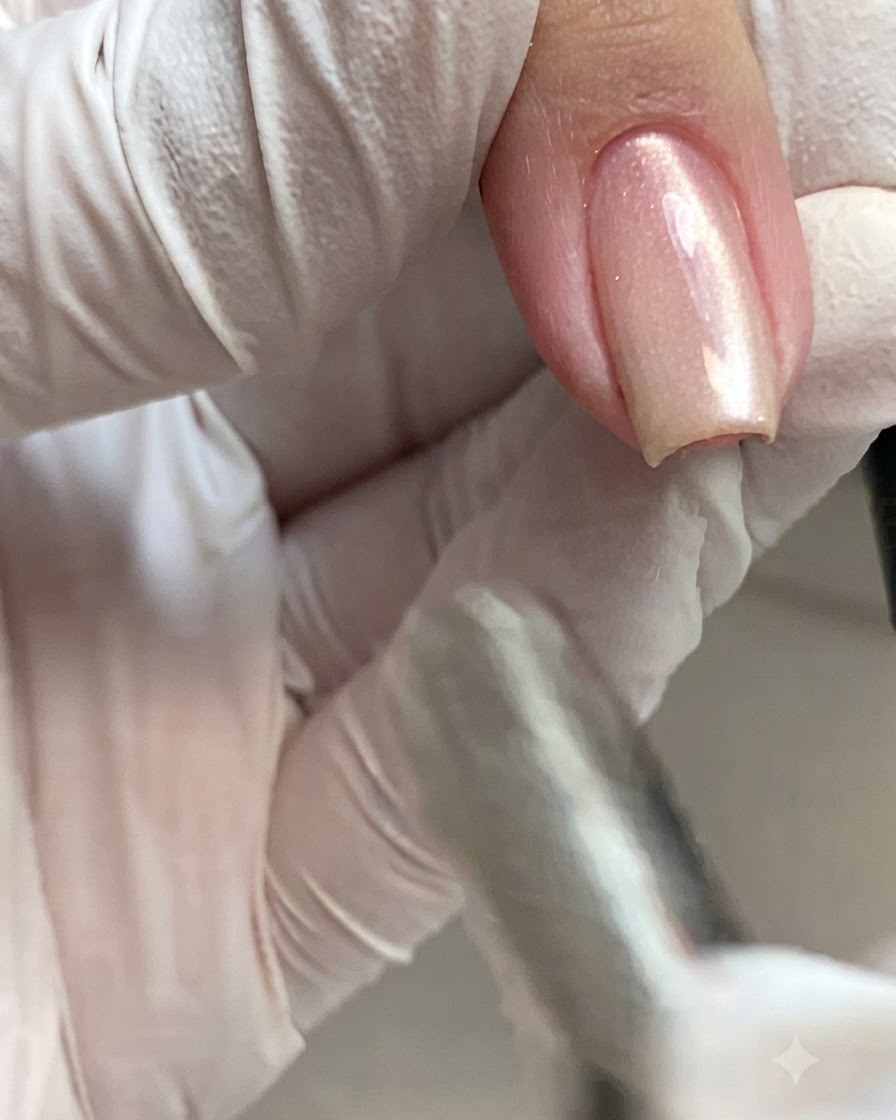
Tilt and adjust the angle of the magnet along the sides of the nail to sharpen the magnetic reflection line, locking in the glowing cat-eye intensity before curing.
Tip: Double-check the reflection from multiple angles under your lamp light to ensure a crisp highlight. - 24Final cure under UV/LED lamp
Place the manicured nail under the UV or LED lamp for a final cure. This step ensures all layers, including the magnetic design and top coat, are fully hardened and locked in place for long-lasting durability.
Tip: Make sure your hand is positioned flat inside the lamp to ensure even light distribution across the entire nail surface.