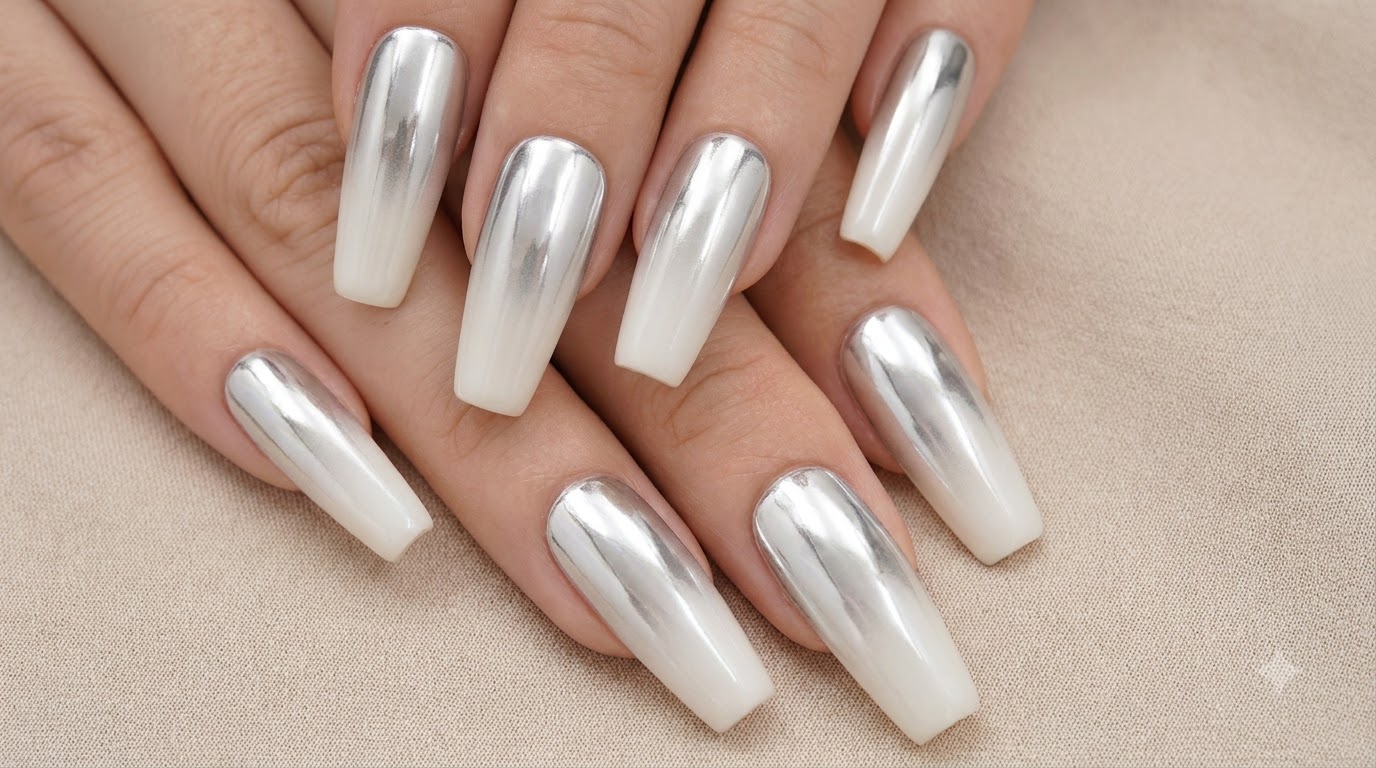
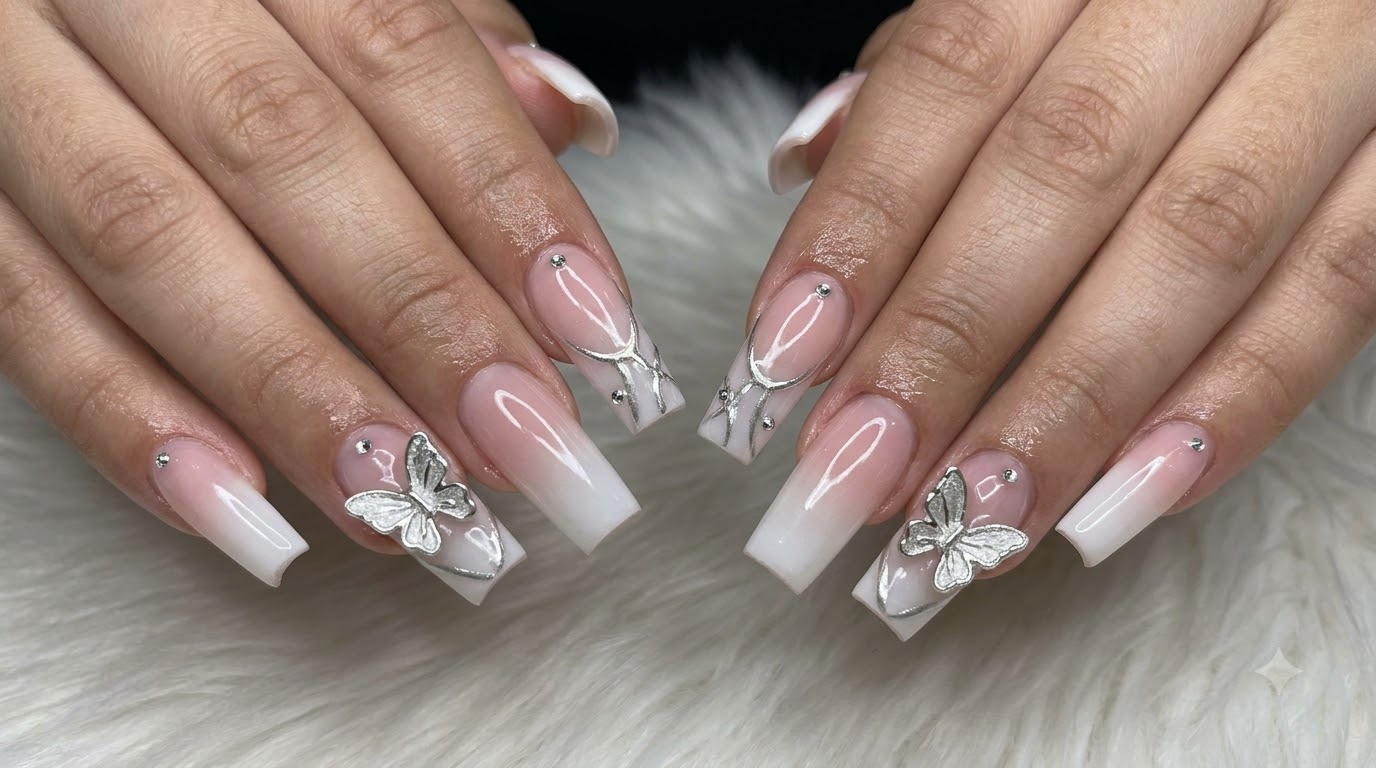
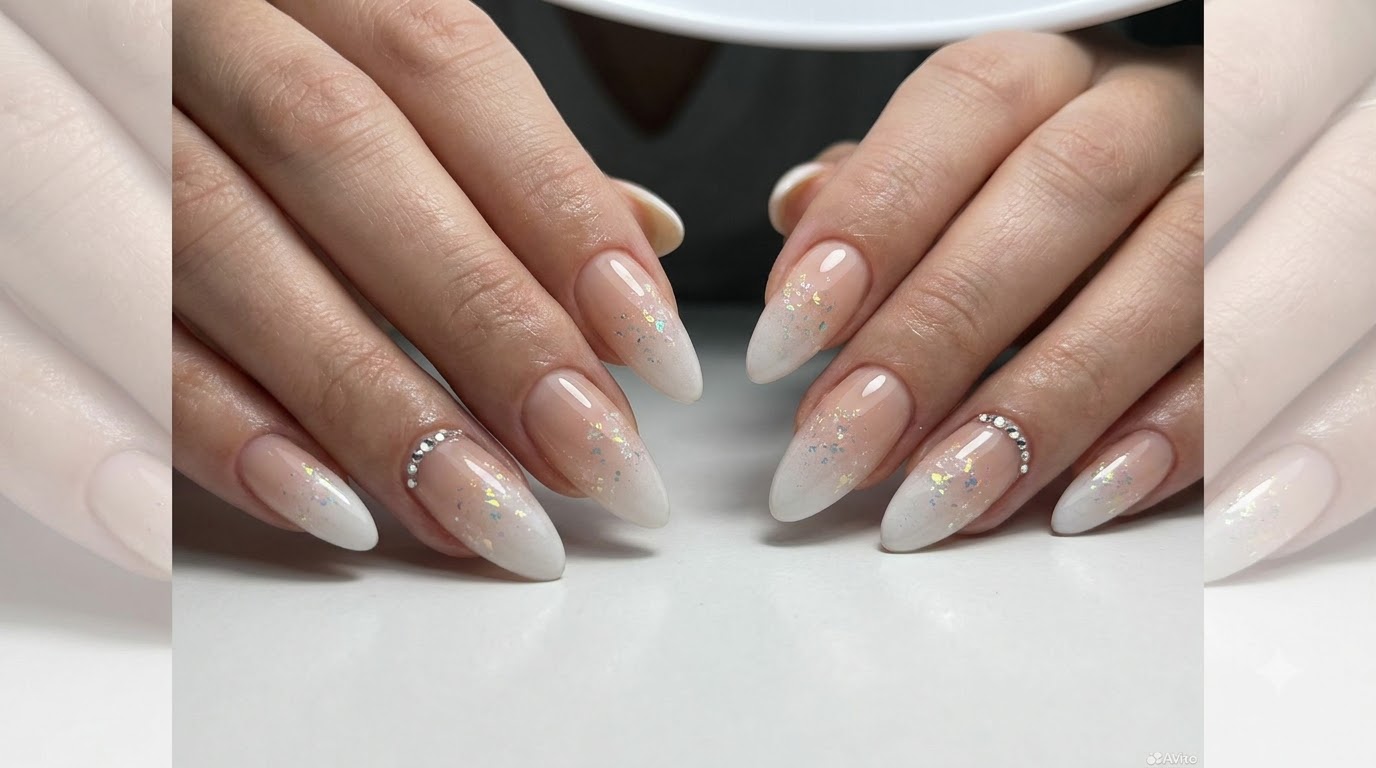
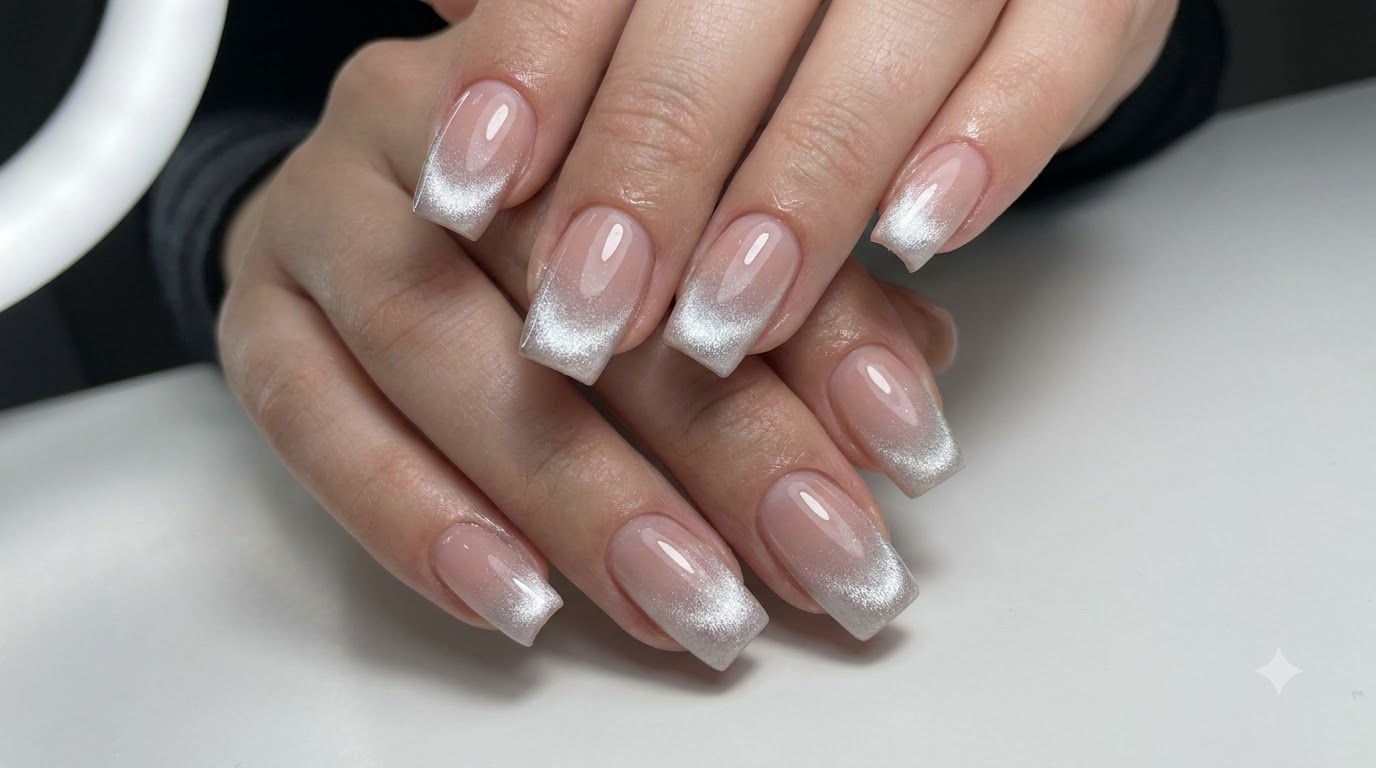
Seamless Mirror Powder Gradient Nail Art — Step-by-Step Tutorial
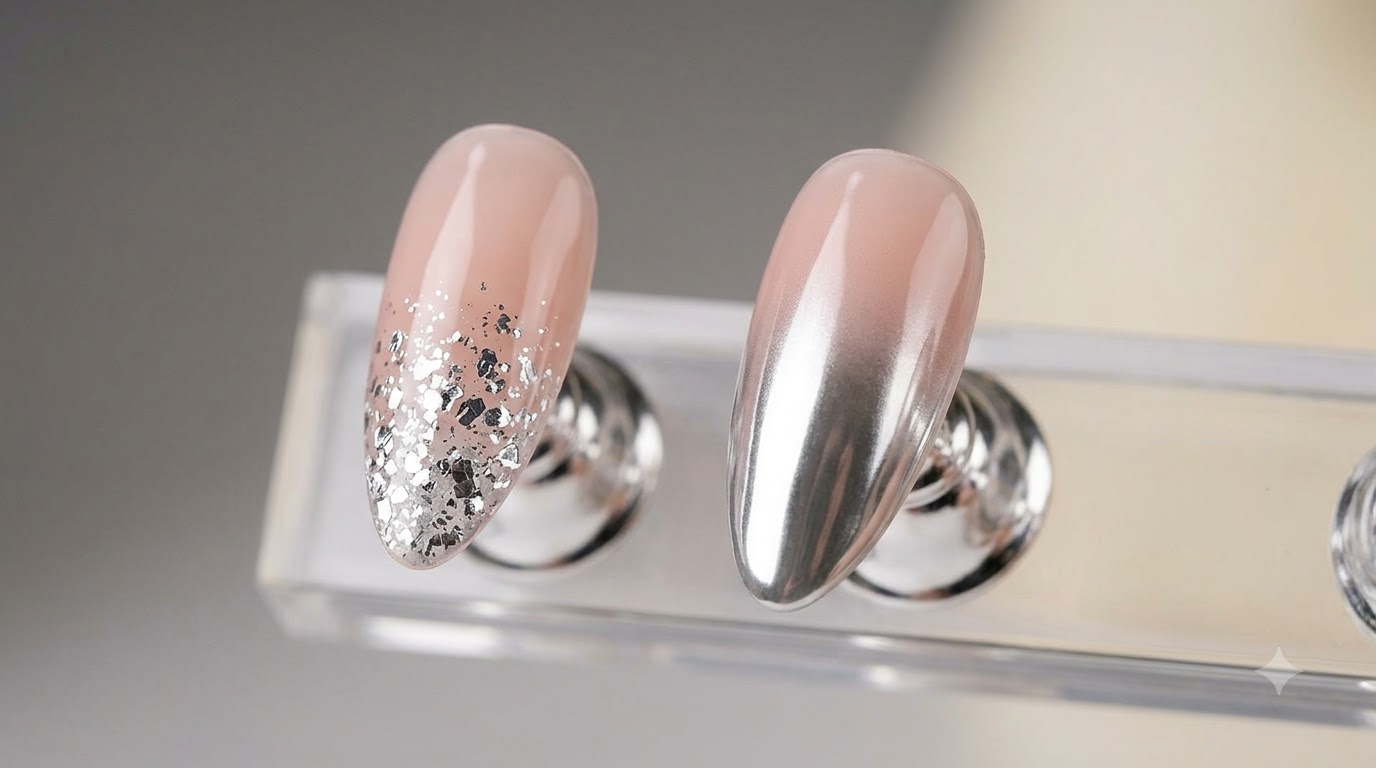
Master the secret to a seamless, mark-free mirror powder gradient with this professional step-by-step tutorial.
Achieving a smooth gradient with mirror powder can often look blotchy and dull if the technique is incorrect. This tutorial guides you through a specialized sealing and foam sponge method to create a flawless, natural mirror gradient transition every time.
Steps
- 1Apply Mirror Powder Seal Coat
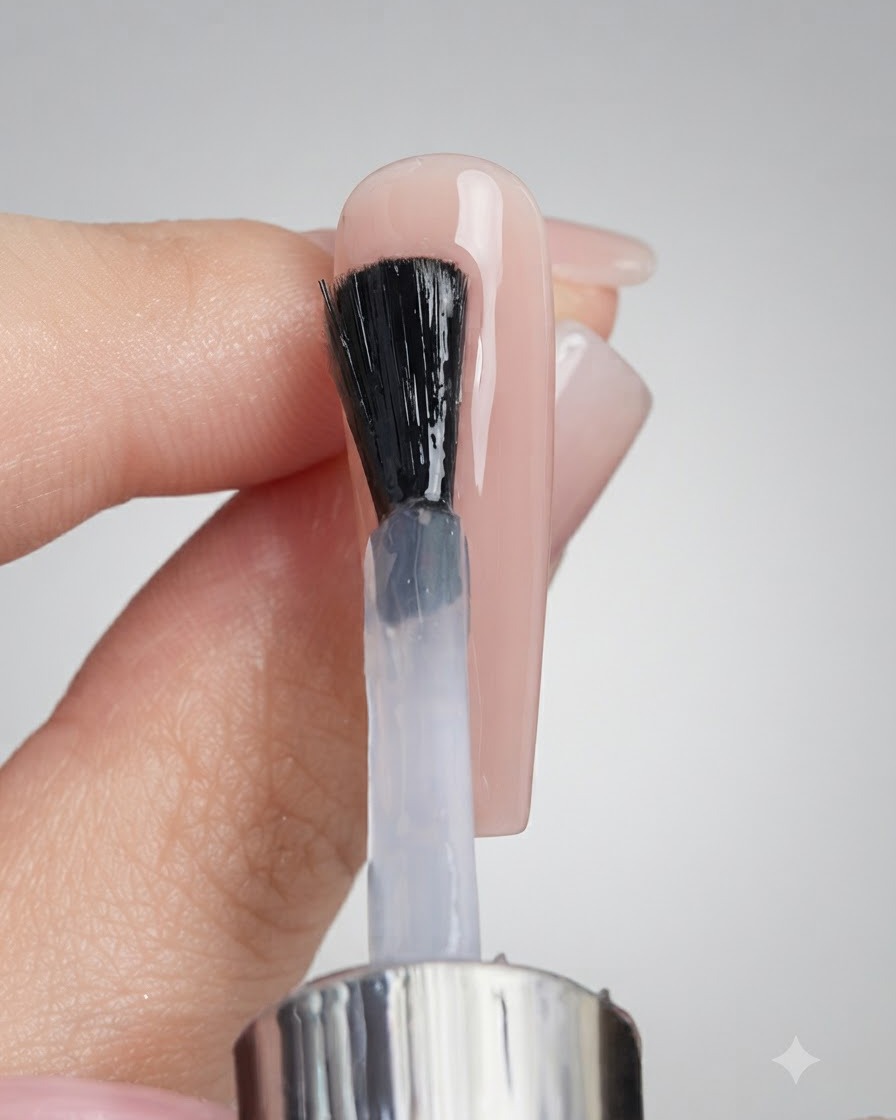
Apply a specialized seal coat designed for mirror powder over the entire nude gel base on the nail surface. Ensure smooth and complete coverage to prepare the nail for the powder application.
Tip: Make sure the seal coat is applied evenly without any pooling or streaks to guarantee a flawless mirror finish. - 2Prepare Alcohol Wipe
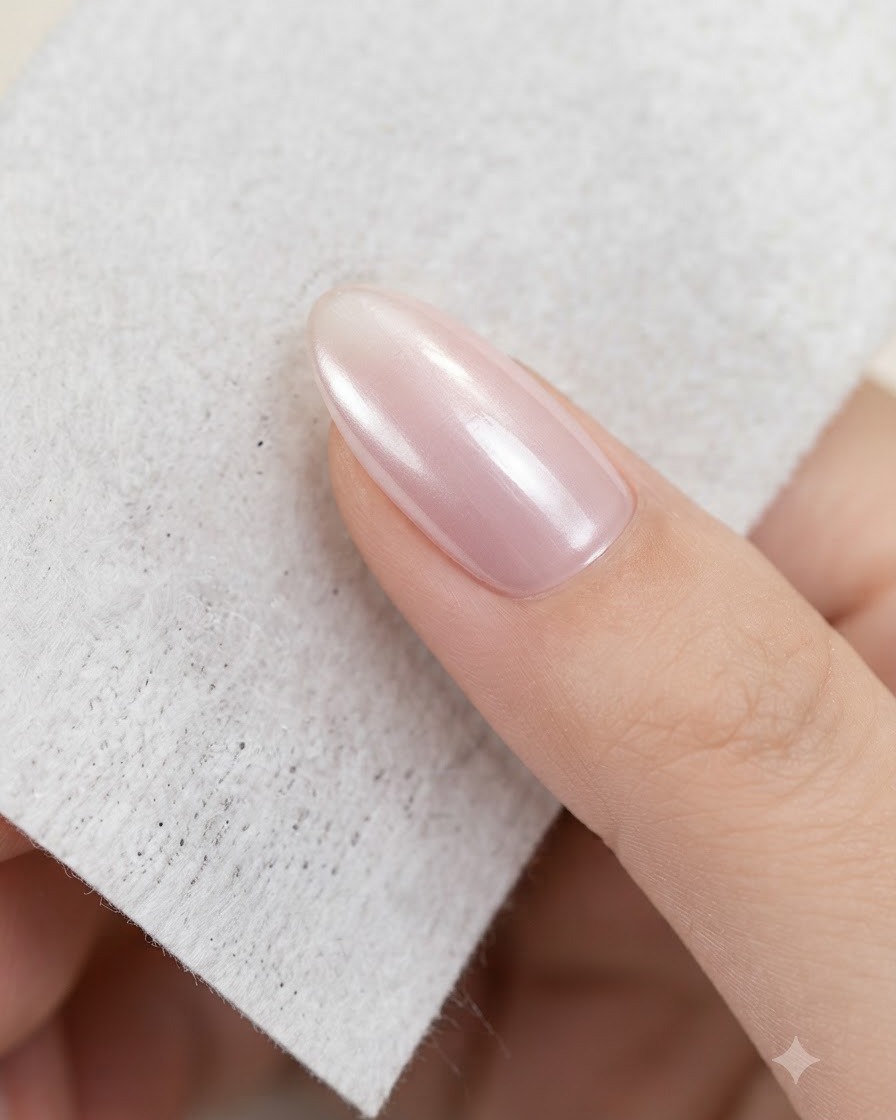
Take a small lint-free wipe and slightly dampen it with alcohol. This will be used to properly buff and distribute the mirror powder.
Tip: Do not soak the wipe completely; just a slight dampness is needed to control the powder application. - 3Buff Mirror Powder
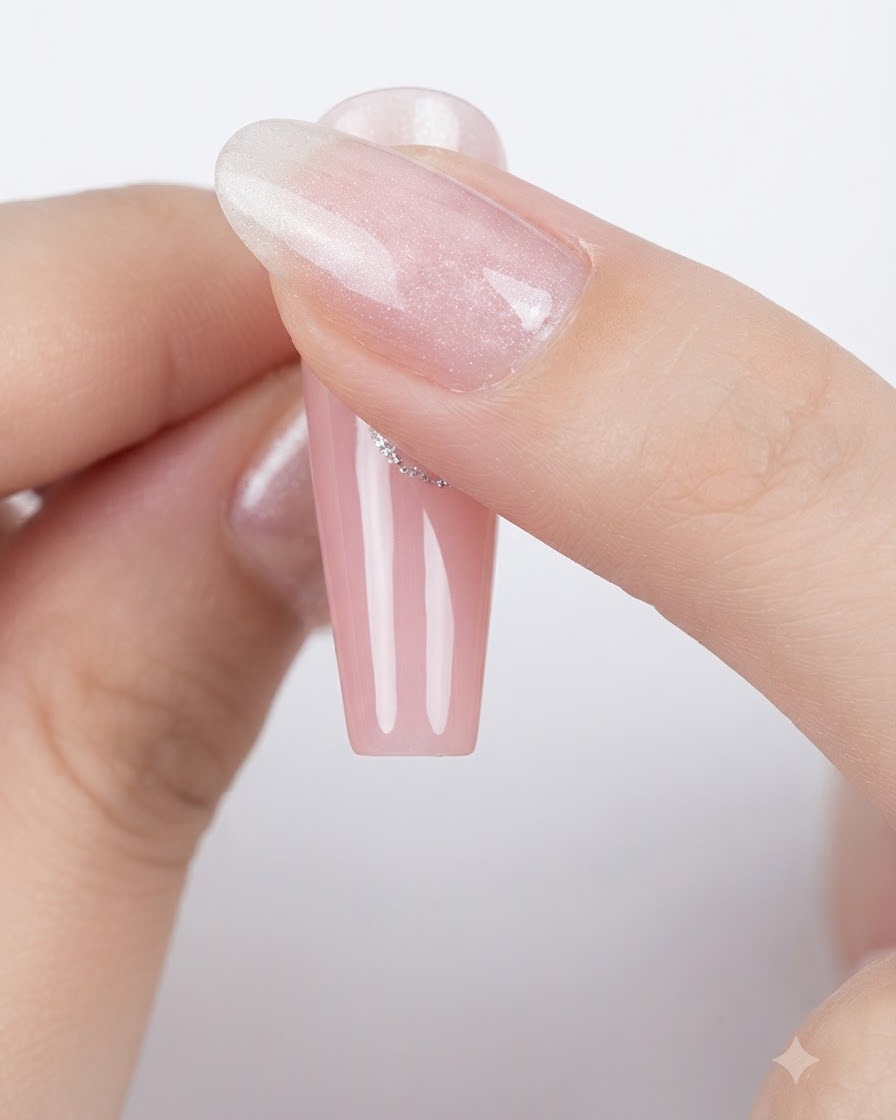
Using the alcohol-dampened wipe, gently buff the mirror powder onto the nail surface using a circular motion. This technique helps achieve a smooth, mark-free transition.
Tip: Use light, consistent circular motions to avoid scratching or creating a blotchy finish. - 4Remove Excess Powder
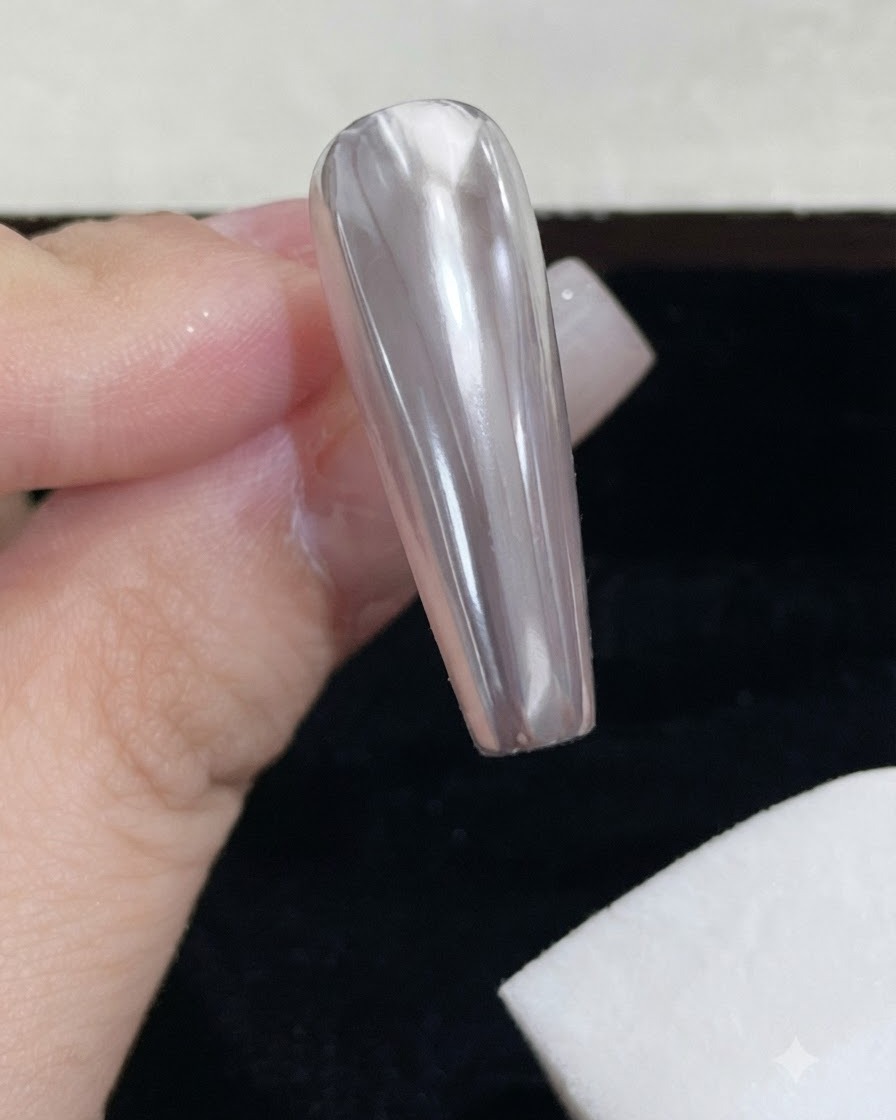
Take a white foam sponge block and gently wipe away any excess floating mirror powder from the nail surface. This cleans up the look and preps it for the next design steps.
Tip: Brush lightly so you do not disturb or remove the bonded mirror layer underneath. - 5Dispense Patting Gel
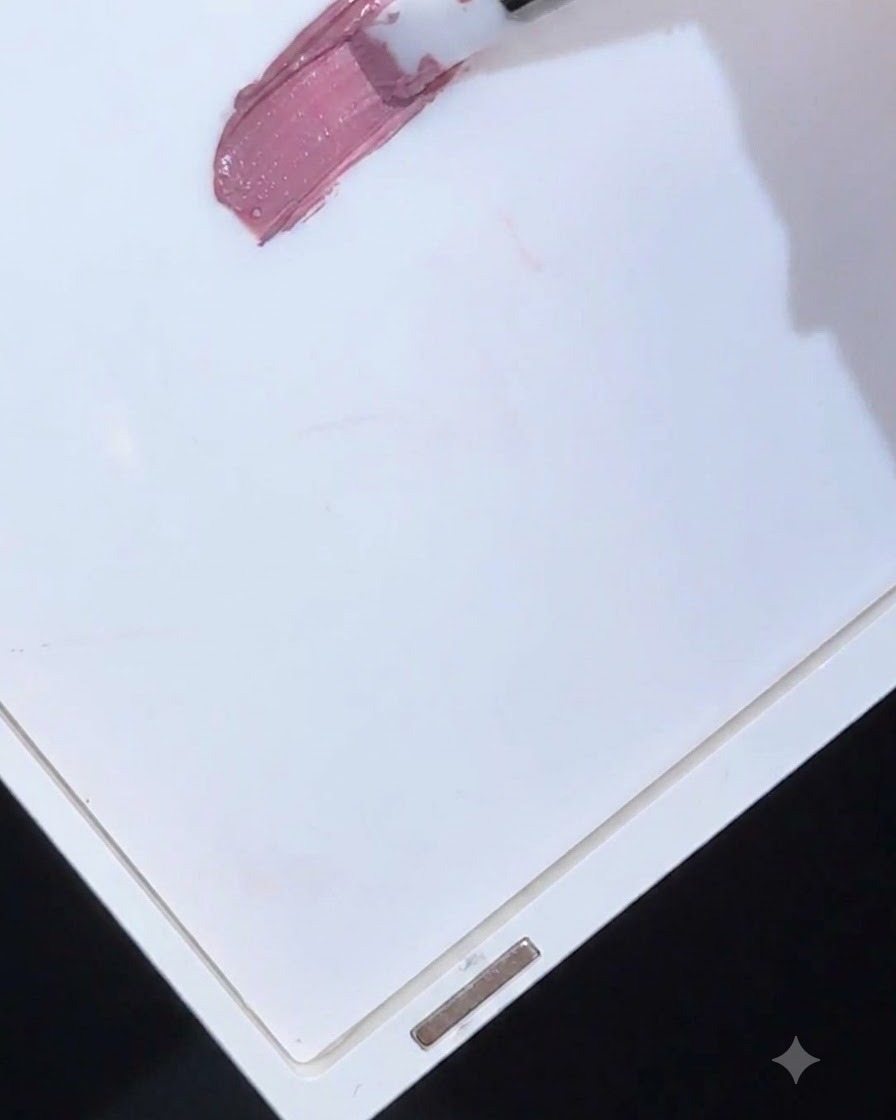
Using a brush, spread your desired Magic Square patting gel color onto a plastic palette. This makes it easy to pick up the product with a sponge for the gradient effect.
Tip: Spread the gel out into a thin, even layer on the palette to avoid picking up too much product at once. - 6Load Gel onto Sponge
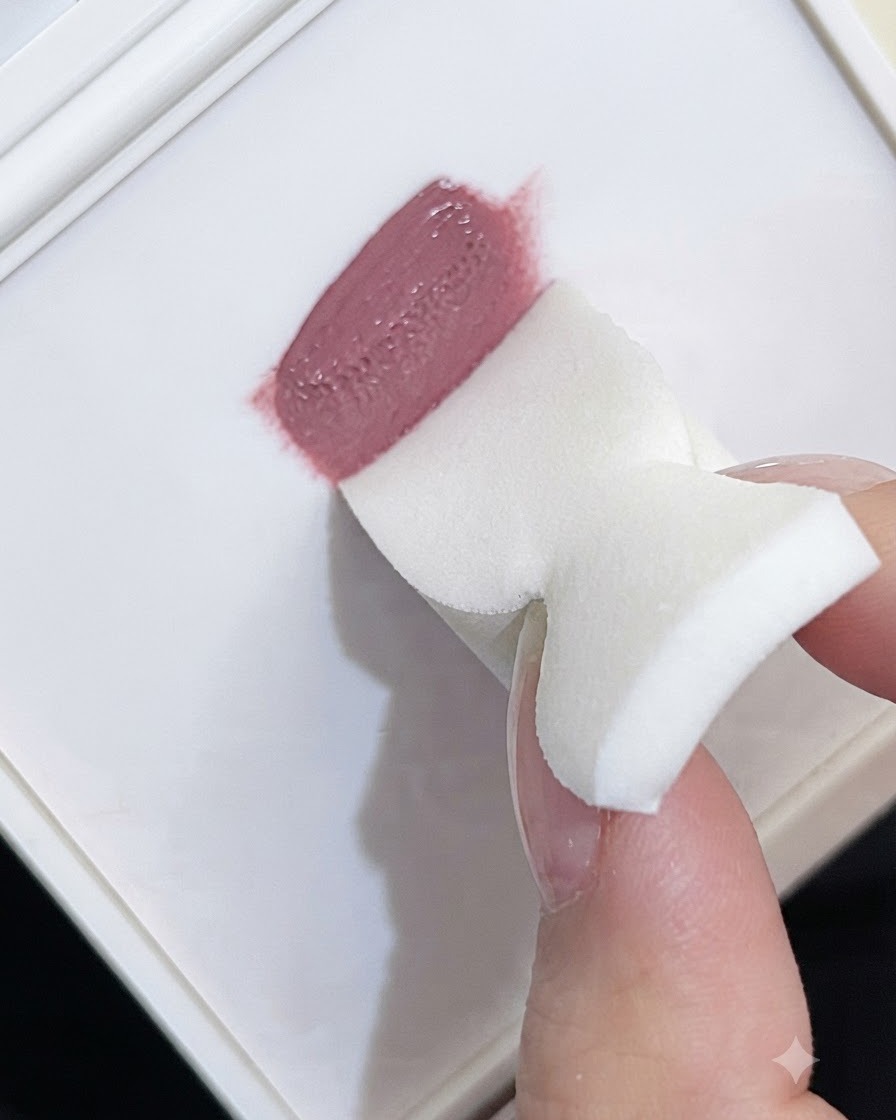
Use the edge of a foam sponge to pick up the color gel from the palette. Ensure the color is evenly distributed along the edge of the sponge for an even gradient application.
Tip: Tap off any excessive blobs of gel on the palette before bringing the sponge to the nail. - 7Create Gradient Texture on Sponge
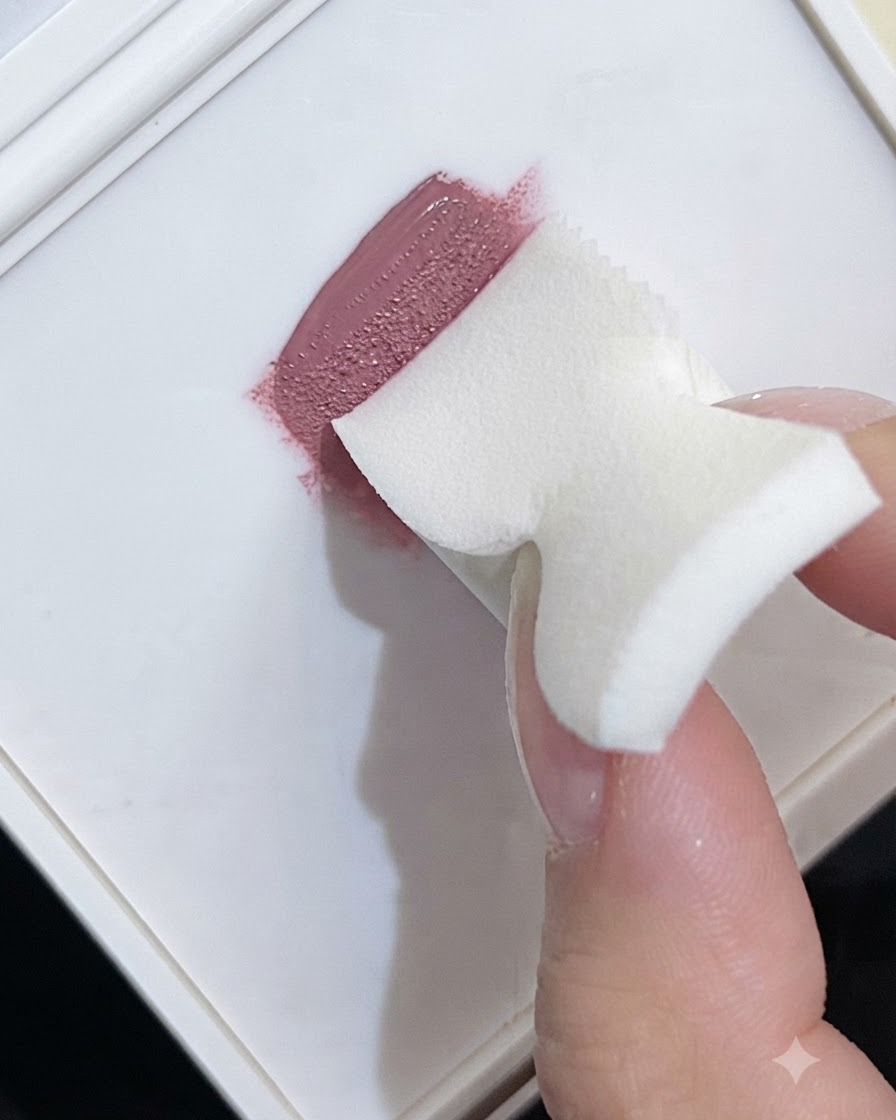
Take the Magic Square patting gel, spread your desired color onto the palette, and use the foam sponge to pick up the color. Using a careful technique of patting on one side while pulling back, create the desired gradient texture directly on the sponge surface.
Tip: Patting and slightly pulling back helps distribute the gel unevenly on the sponge, which is key to achieving a smooth and natural gradient transition. - 8Pat Gel onto Nail Surface
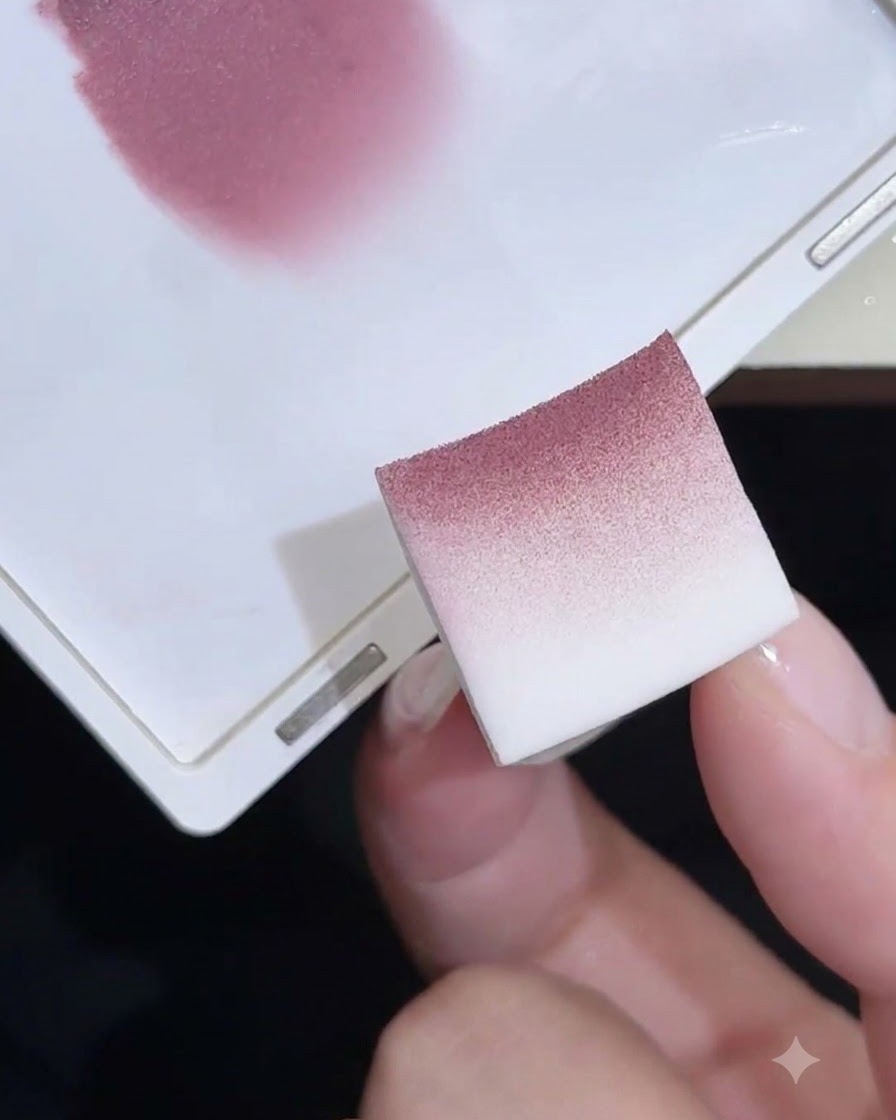
Using the gel-loaded foam sponge, gently pat the color onto the nail surface. Aim the darker color toward the posterior edge and blend it out evenly toward the tip.
Tip: Keep your motions light and controlled to prevent harsh lines and ensure an even, smoky fade. - 9Apply Second Layer for Depth
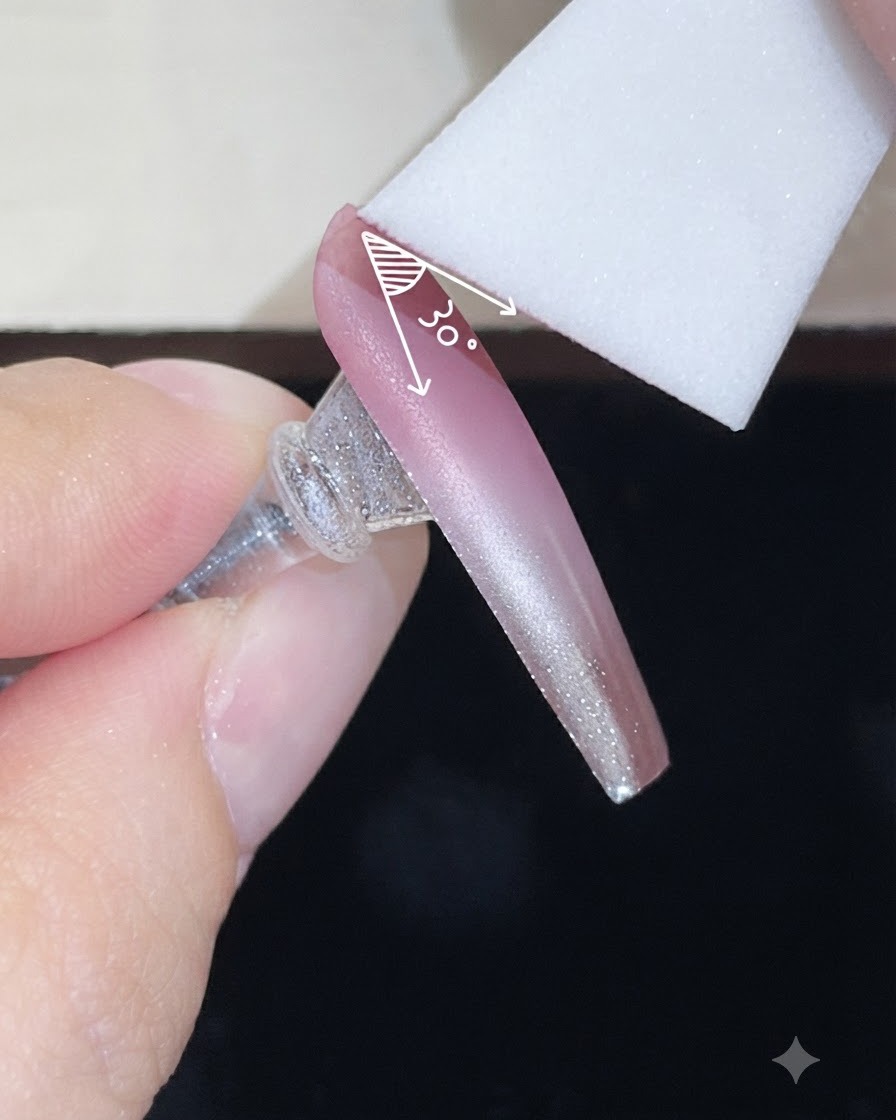
After fixing the maximum range with the first layer, repeat the process with a second layer. Lift the sponge slightly during application to concentrate more color density at the tip.
Tip: Layering allows you to build up the opacity gradually without making the gradient look muddy or thick. - 10Apply Mirror-Seal Top Coat
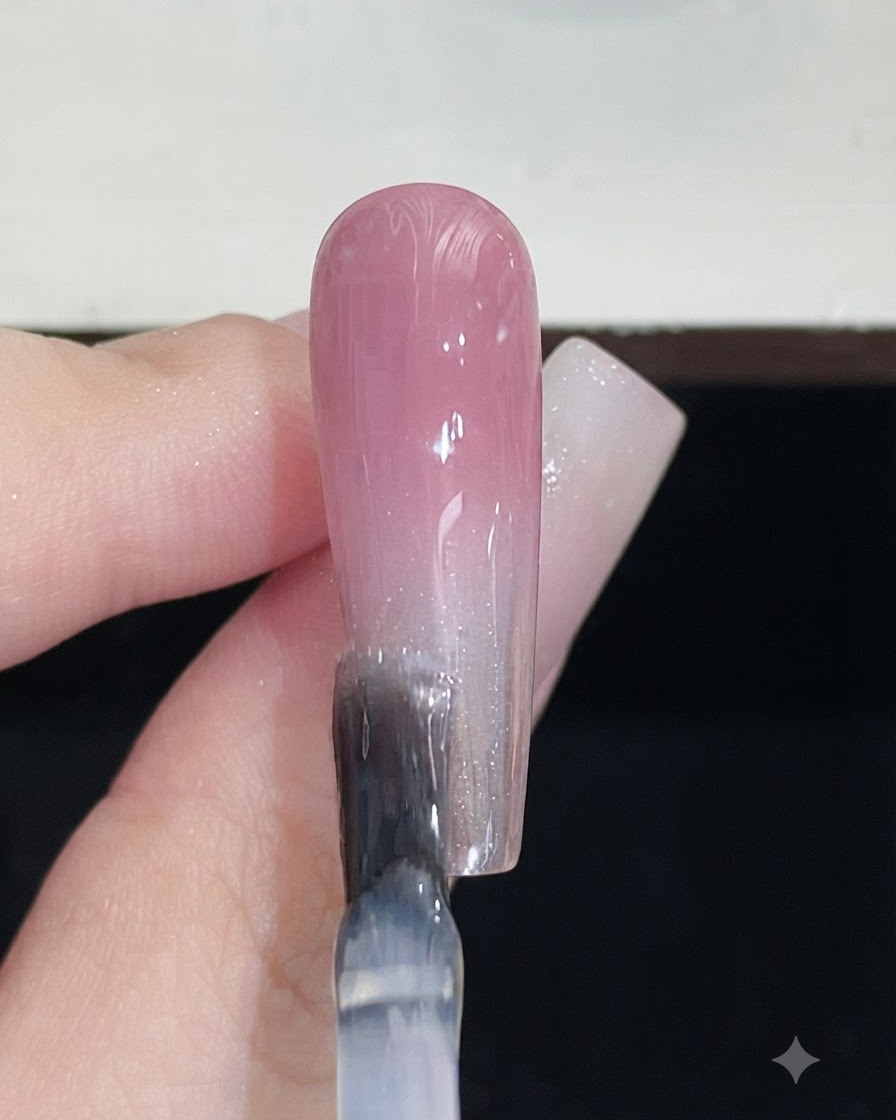
Finish the process by applying a layer of mirror-seal coat over the entire nail surface. This seals in the gradient, locks the design securely, and provides a high-gloss, seamless finish.
Tip: Be sure to cap the free edge with the top coat to prevent chipping and ensure longevity.