Milky White Gradient
Silver 3D Butterfly Nails — Step-by-Step Tutorial
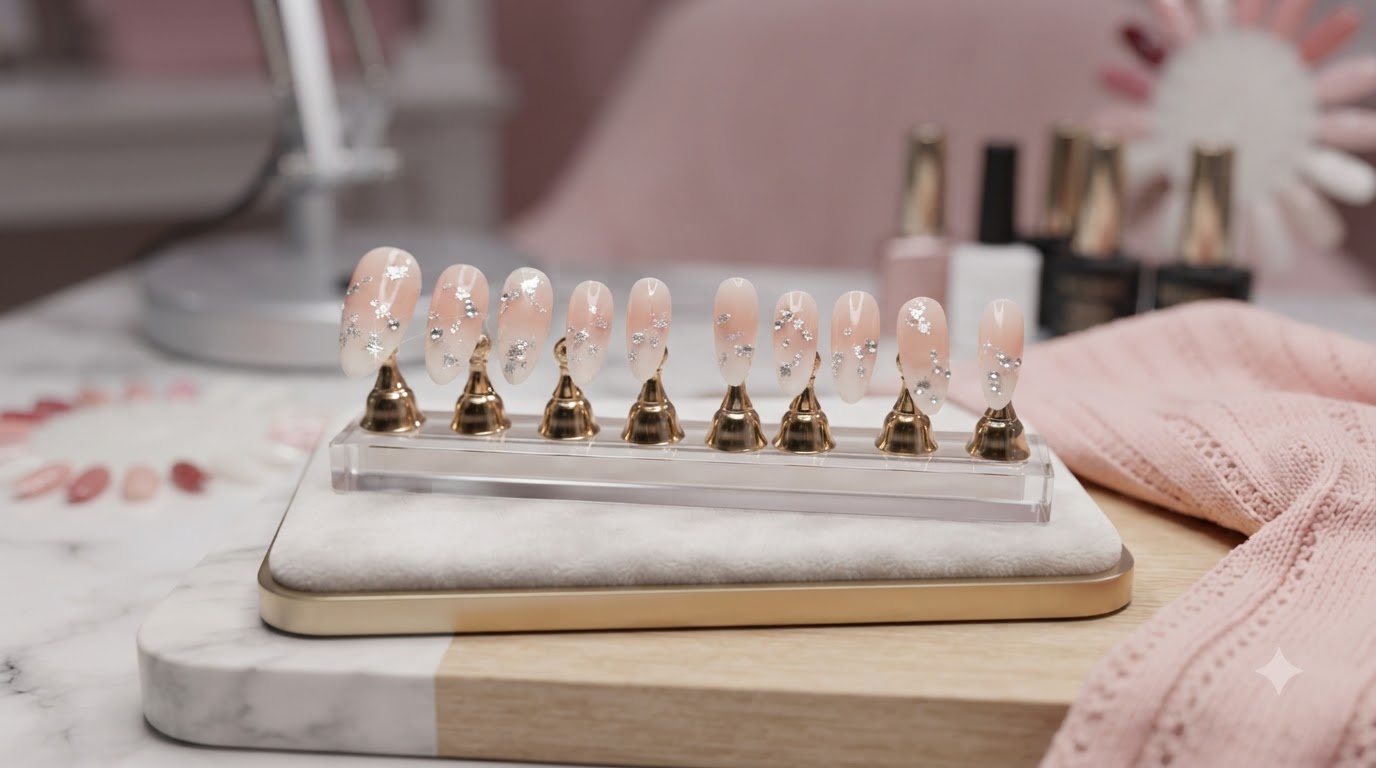
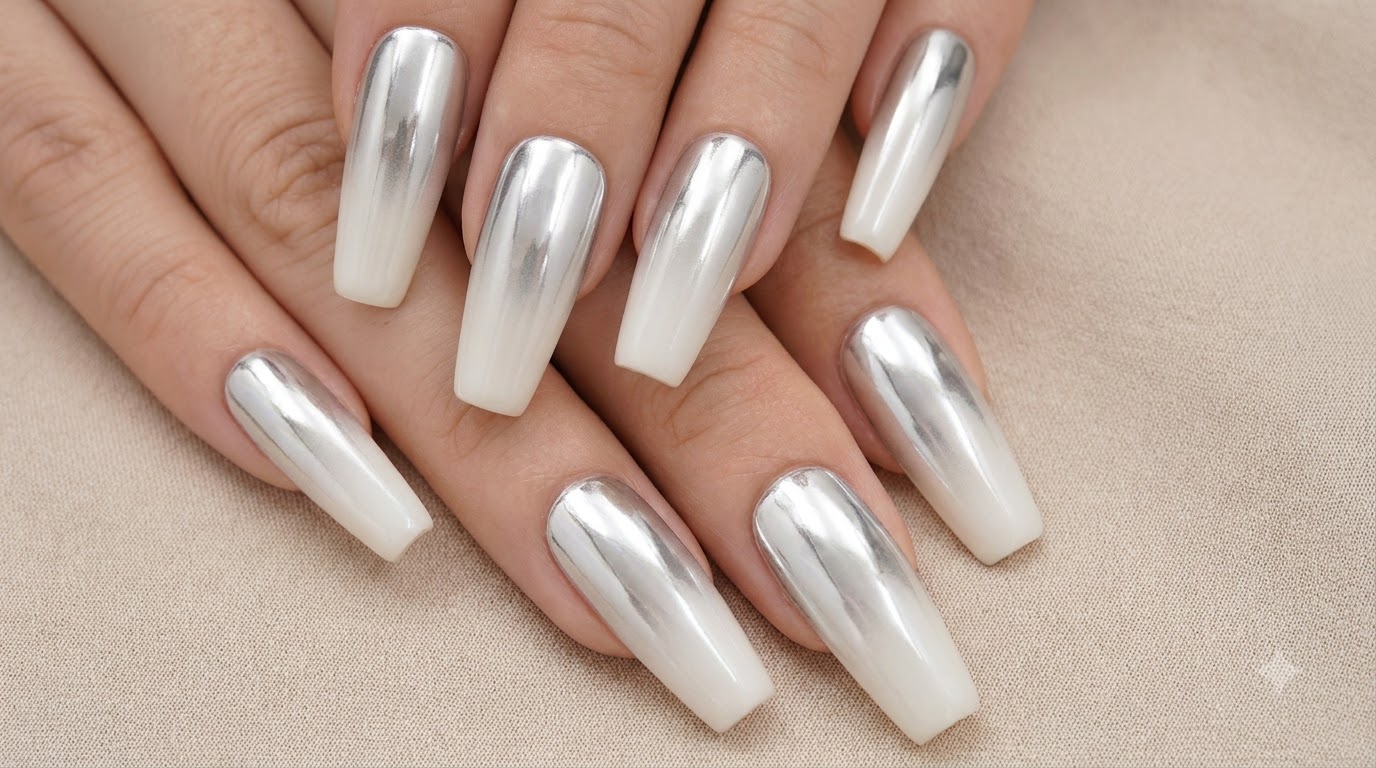
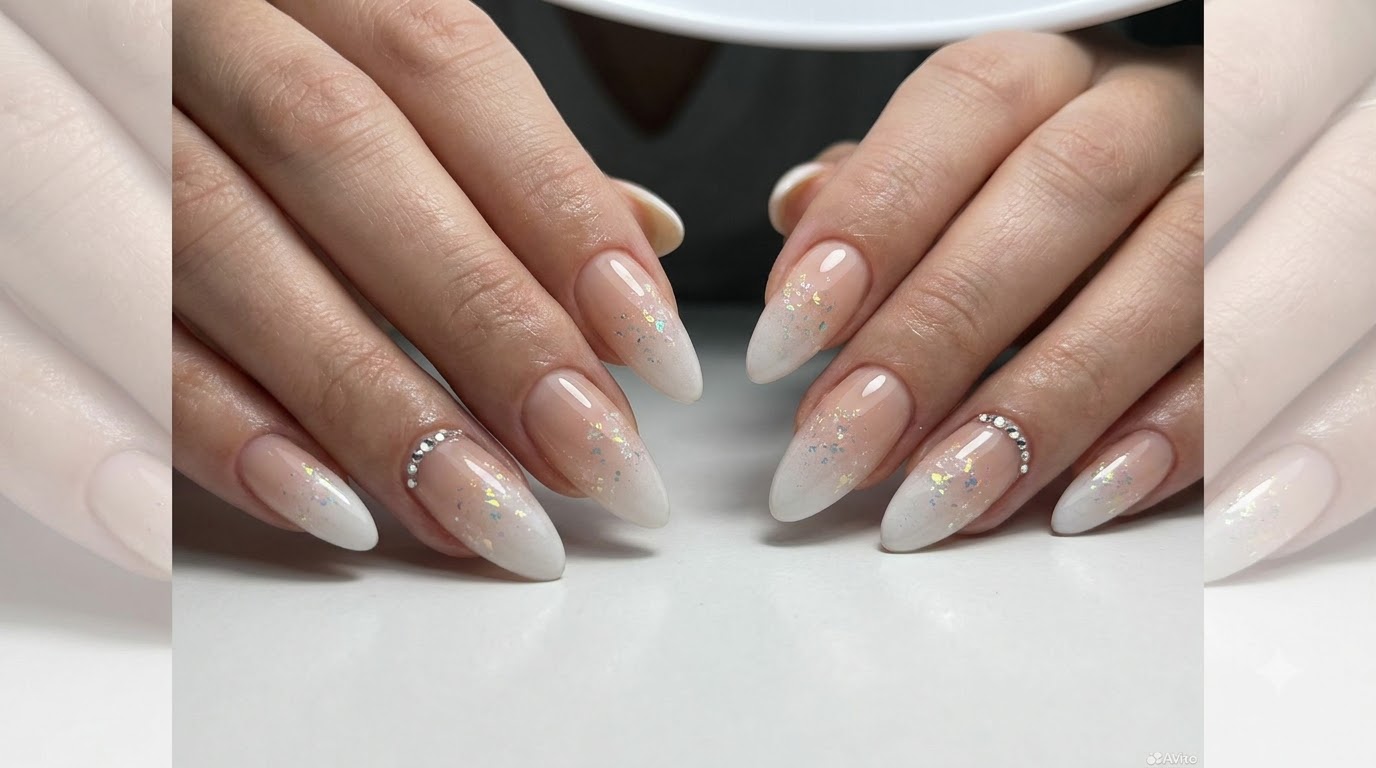
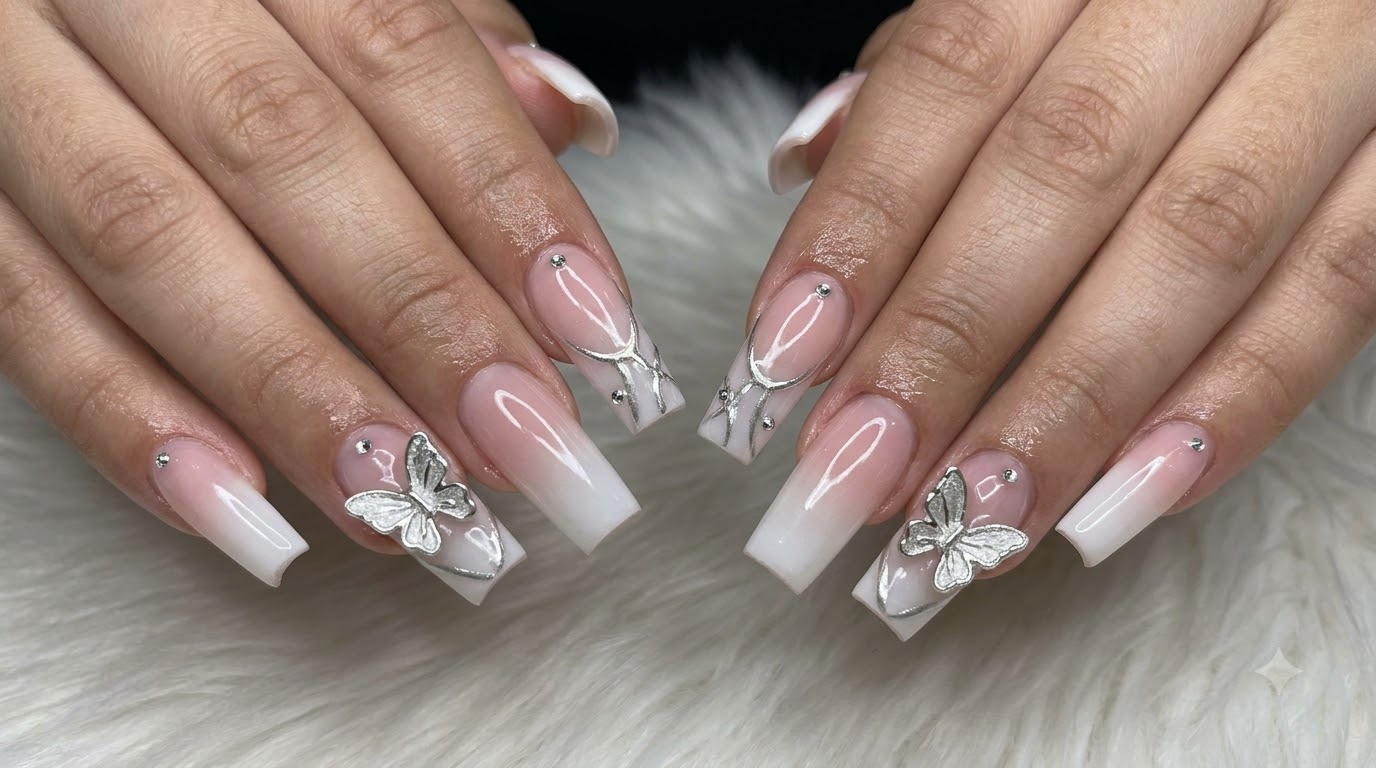
Create an elegant milky white gradient manicure featuring delicate silver chrome line art, scattered rhinestones, and stunning 3D silver butterflies.
Combining a soft milky white gradient with intricate metallic accents and dimensional elements creates a high-end salon aesthetic. This look balances clean milky tones with eye-catching silver chrome butterfly embellishments and subtle crystal placements for an unforgettable finish.
Steps
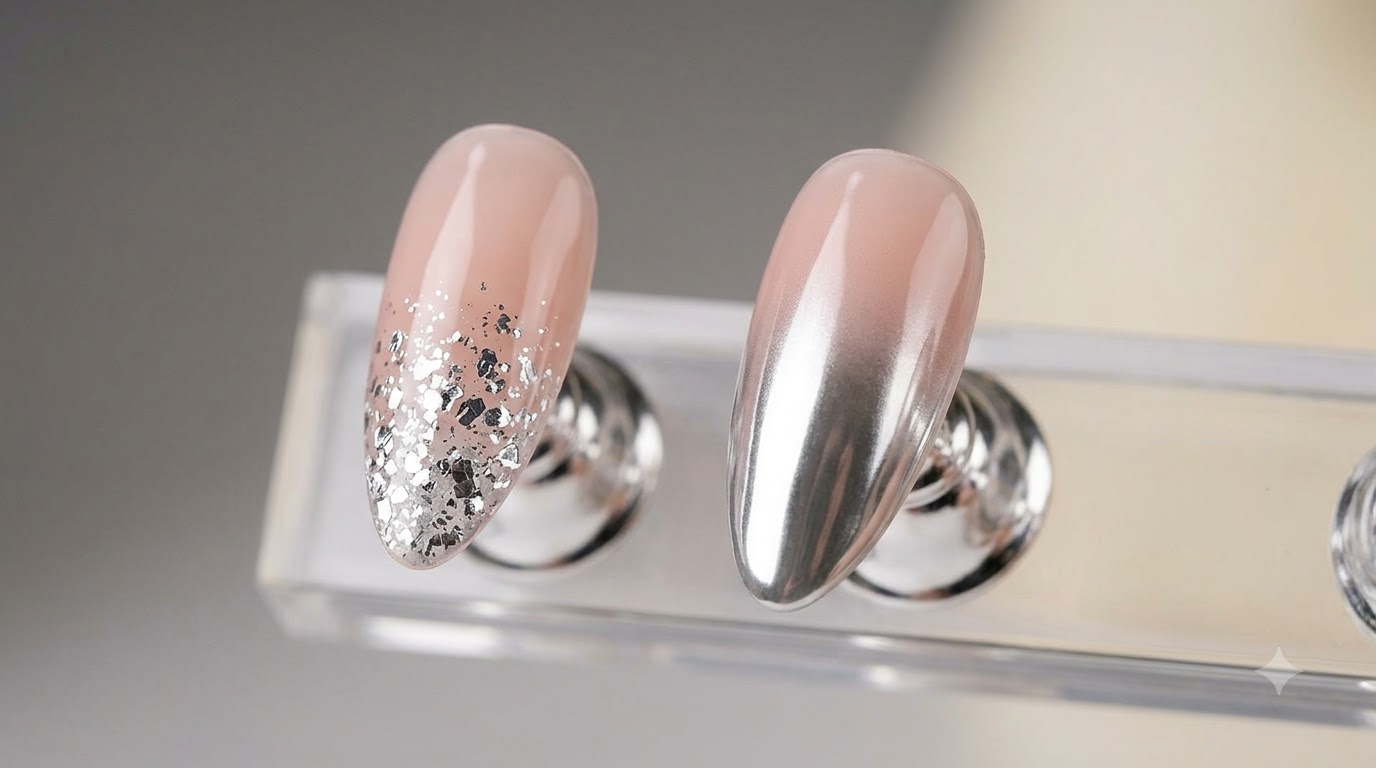
- 1Apply silver glitter lines and rhinestones
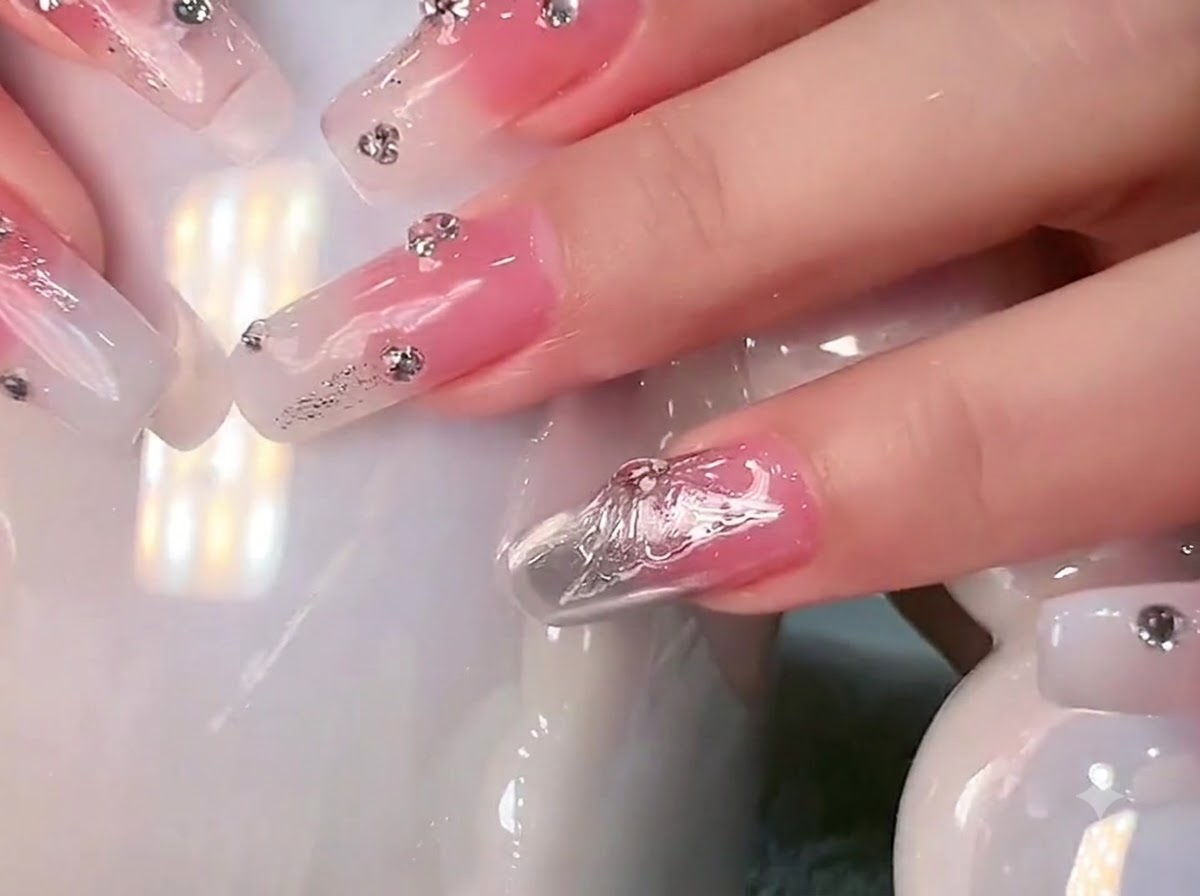
Apply delicate silver glitter lines and carefully place individual rhinestones near the cuticles on the gradient nails. Secure them with a clear top coat or gem gel and cure under the lamp to ensure lasting wear.
Tip: Place rhinestones while the gel is uncured using a wax pencil or dotting tool for precise positioning. - 2Position individual rhinestones near cuticles
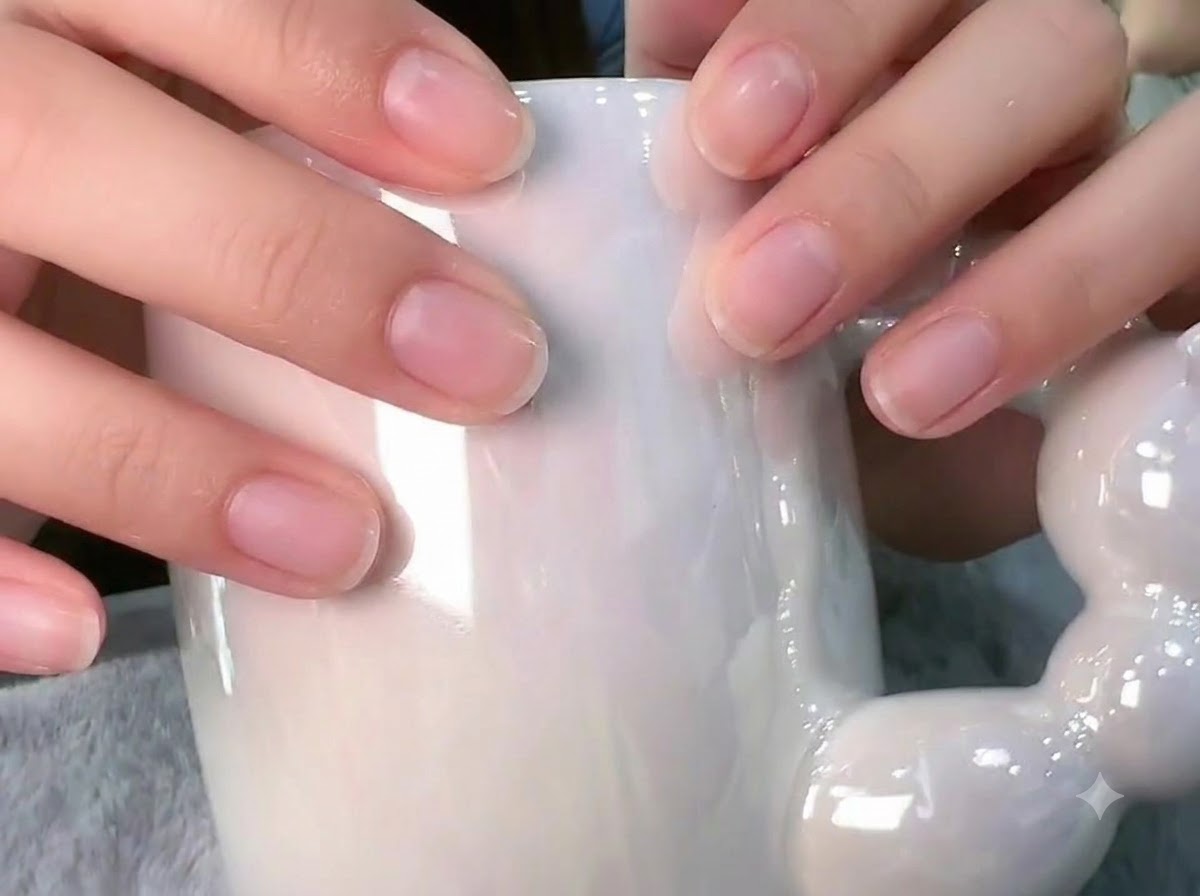
Carefully place individual rhinestones near the cuticle areas of the prepped gradient nails to add a delicate, sparkling accent to your manicure.
Tip: Use a wax pencil or fine-tipped tweezers for precise rhinestone placement. - 3Create silver chrome line art and butterfly elements
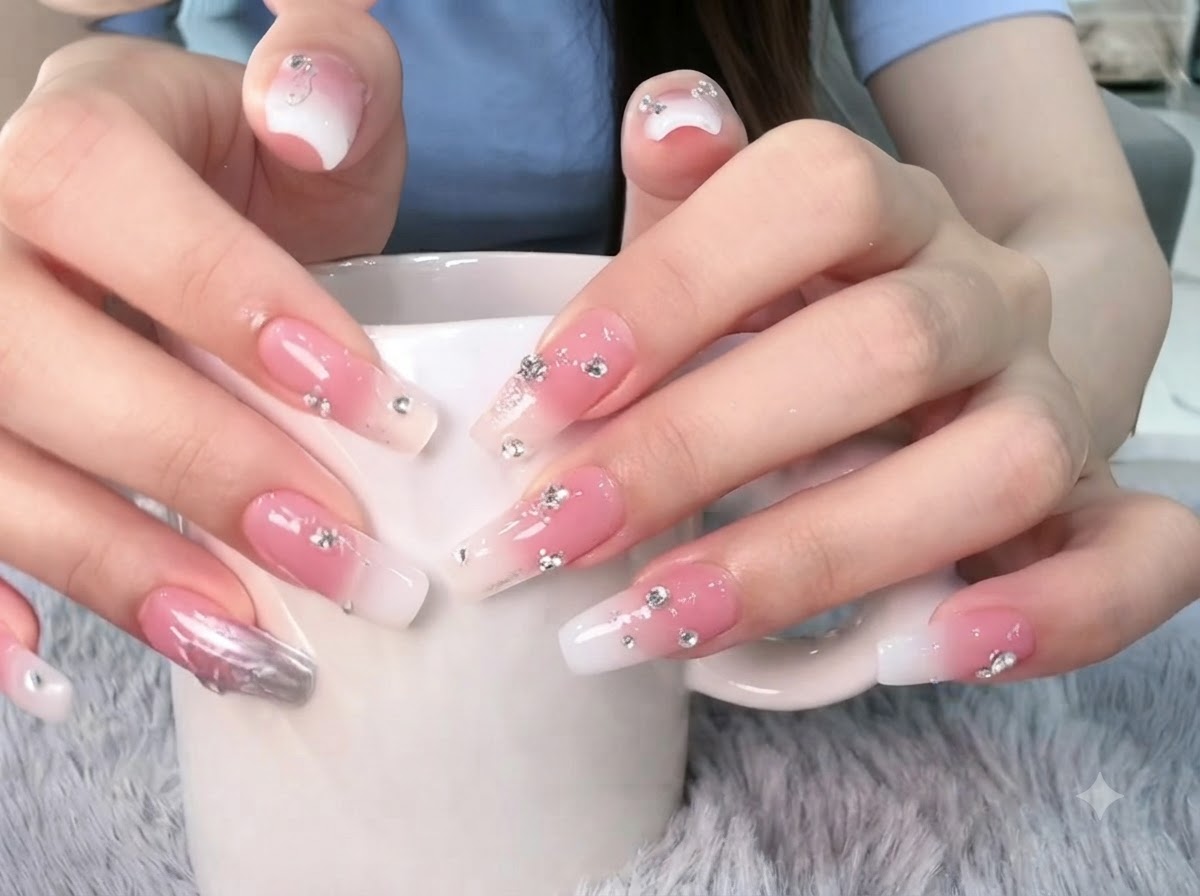
Create a stunning 3D silver chrome butterfly or abstract line art design on an accent nail to elevate the overall manicure. Ensure the chrome powder or 3D gel is fully cured and sealed with a top coat.
Tip: Buff chrome powder smoothly onto a non-wipe top coat that has been cured for the recommended time for a mirror-like shine. - 4Review overall style and design consistency
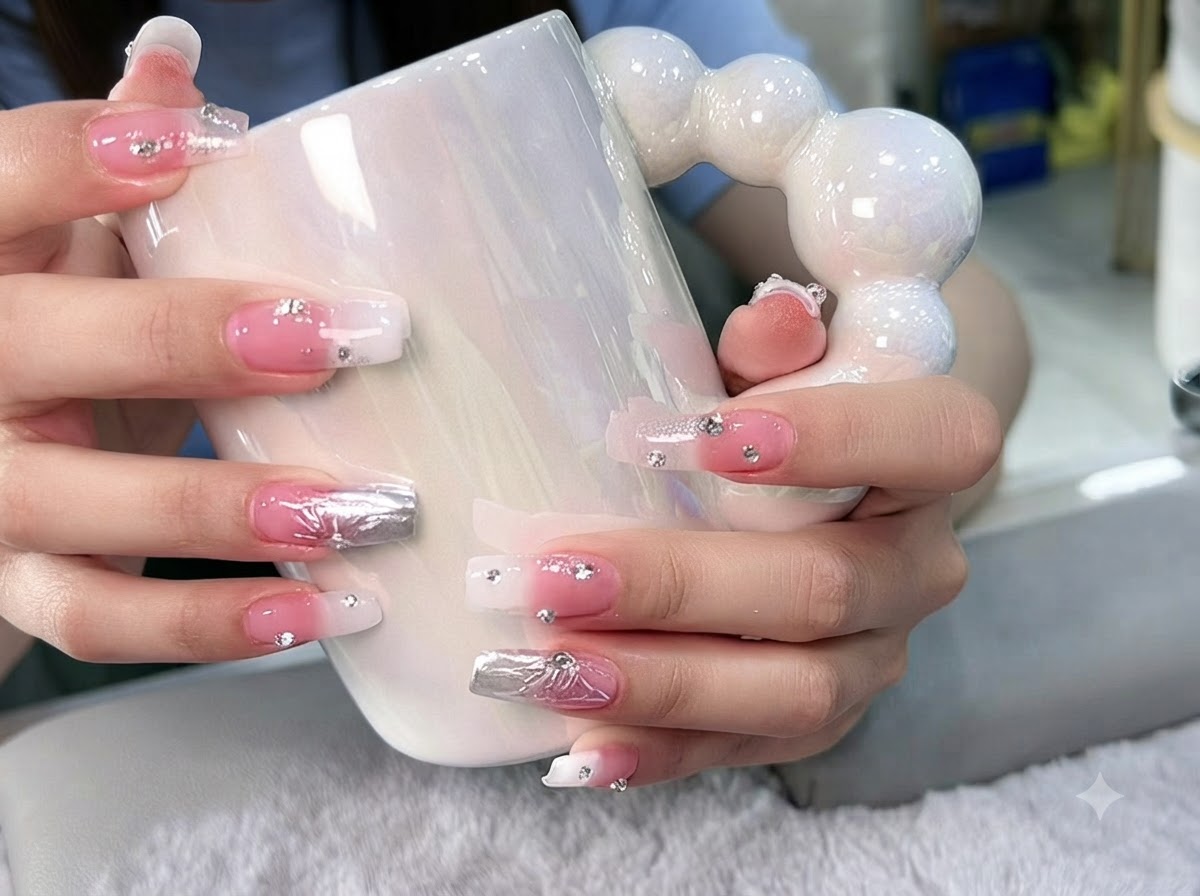
Rest your hands on the mug handle to inspect the completed gradient and crystal embellishments, ensuring uniform style and balance across all fingers.
Tip: Check that the crystal placement looks balanced from different angles before curing. - 5Showcase detailed 3D nail art under lighting
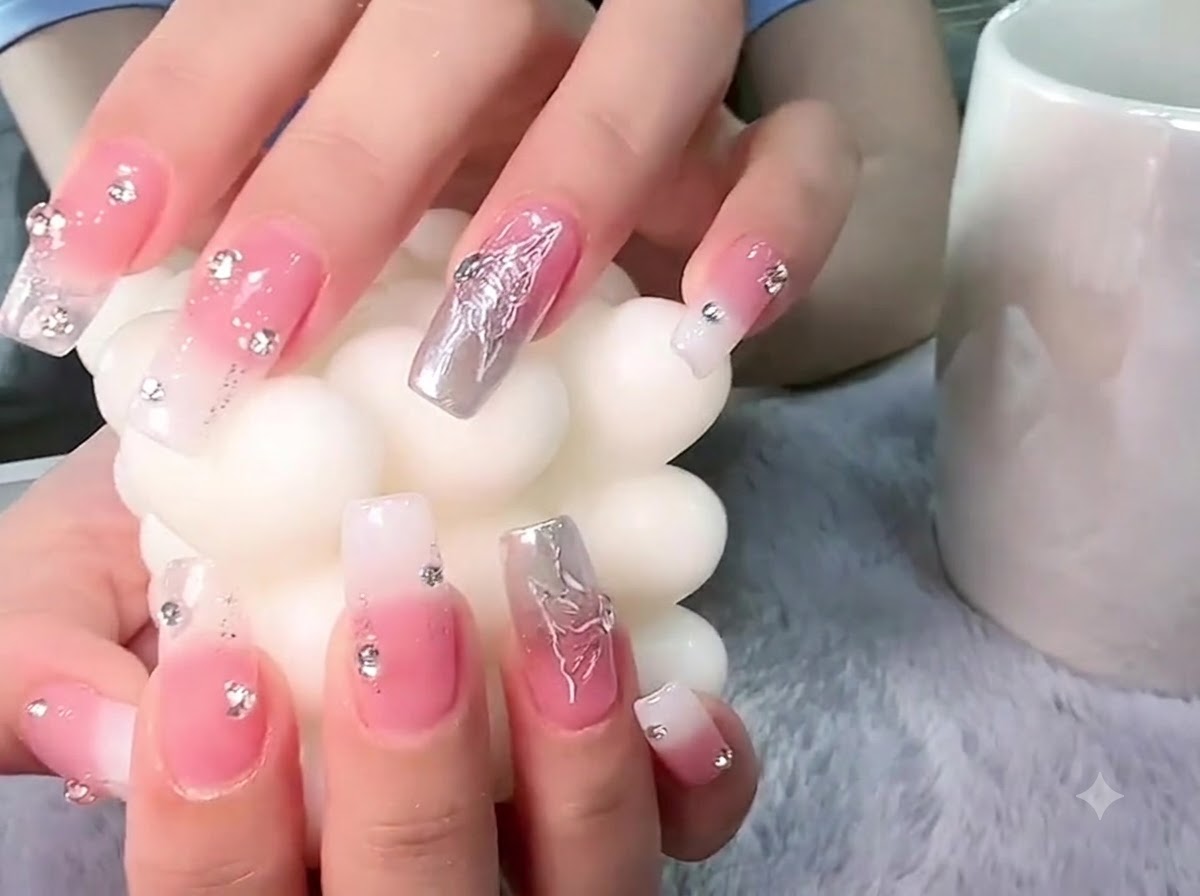
Position the hands against a textured prop like a pillar candle to highlight the intricate details of the silver chrome elements and embedded rhinestones under bright lighting.
Tip: Good lighting helps bring out the reflective properties of chrome and crystal embellishments during final presentation.