Milky White
Nude Gradient Almond Nails — Step-by-Step Tutorial
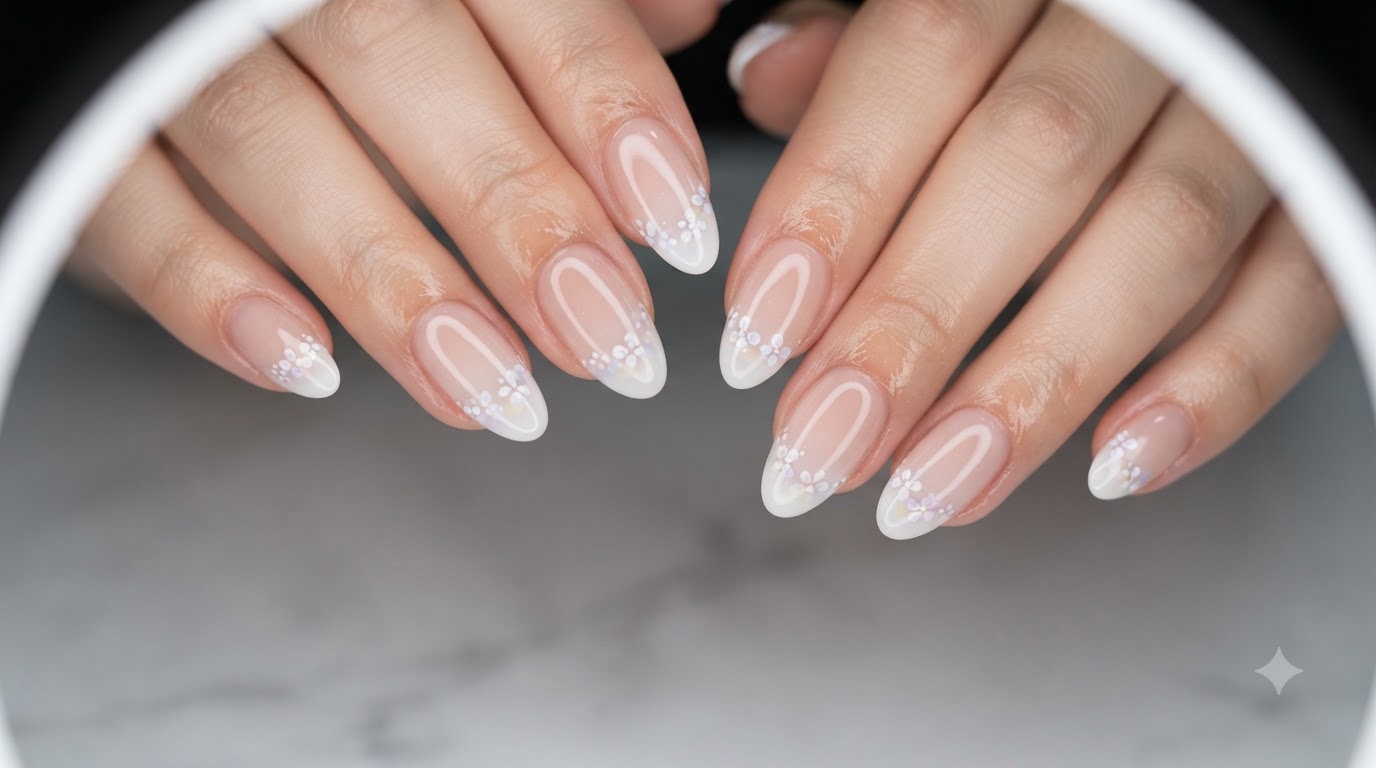
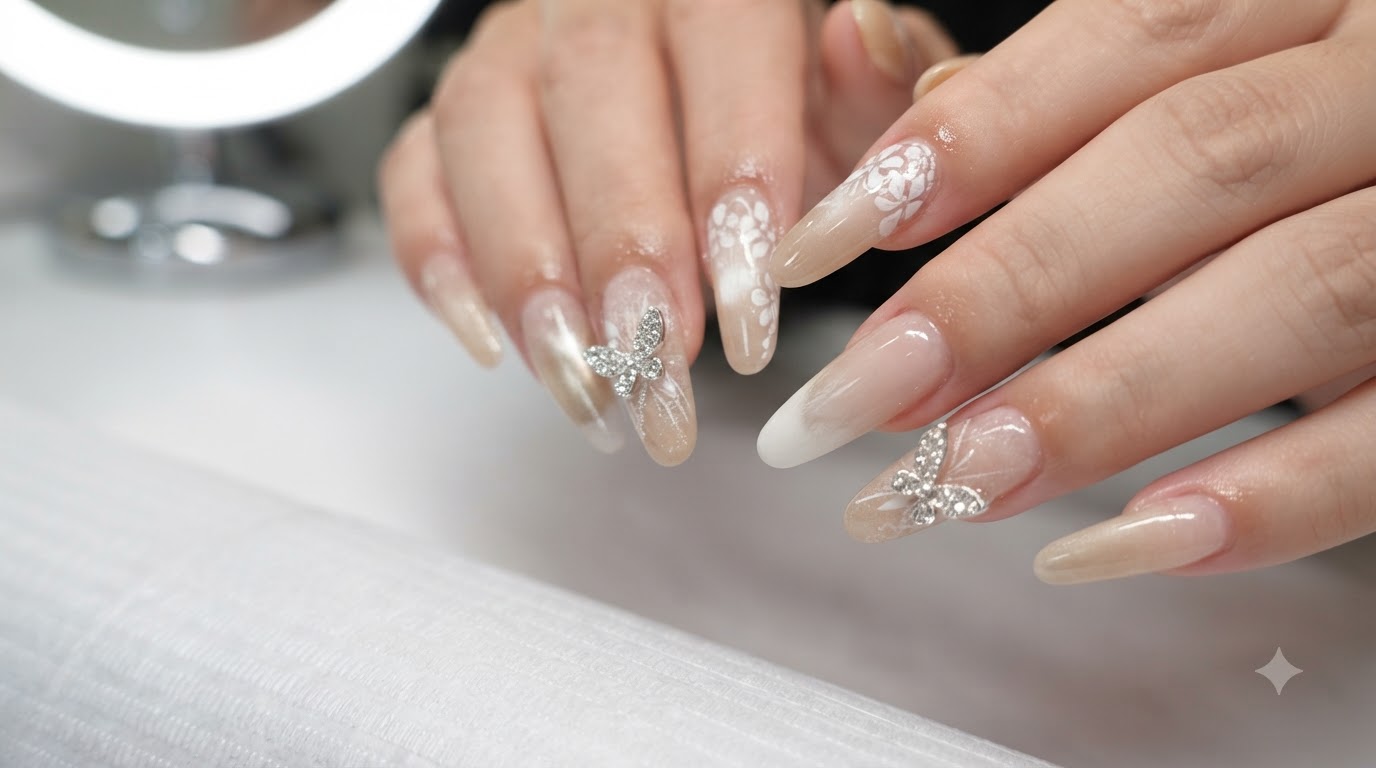
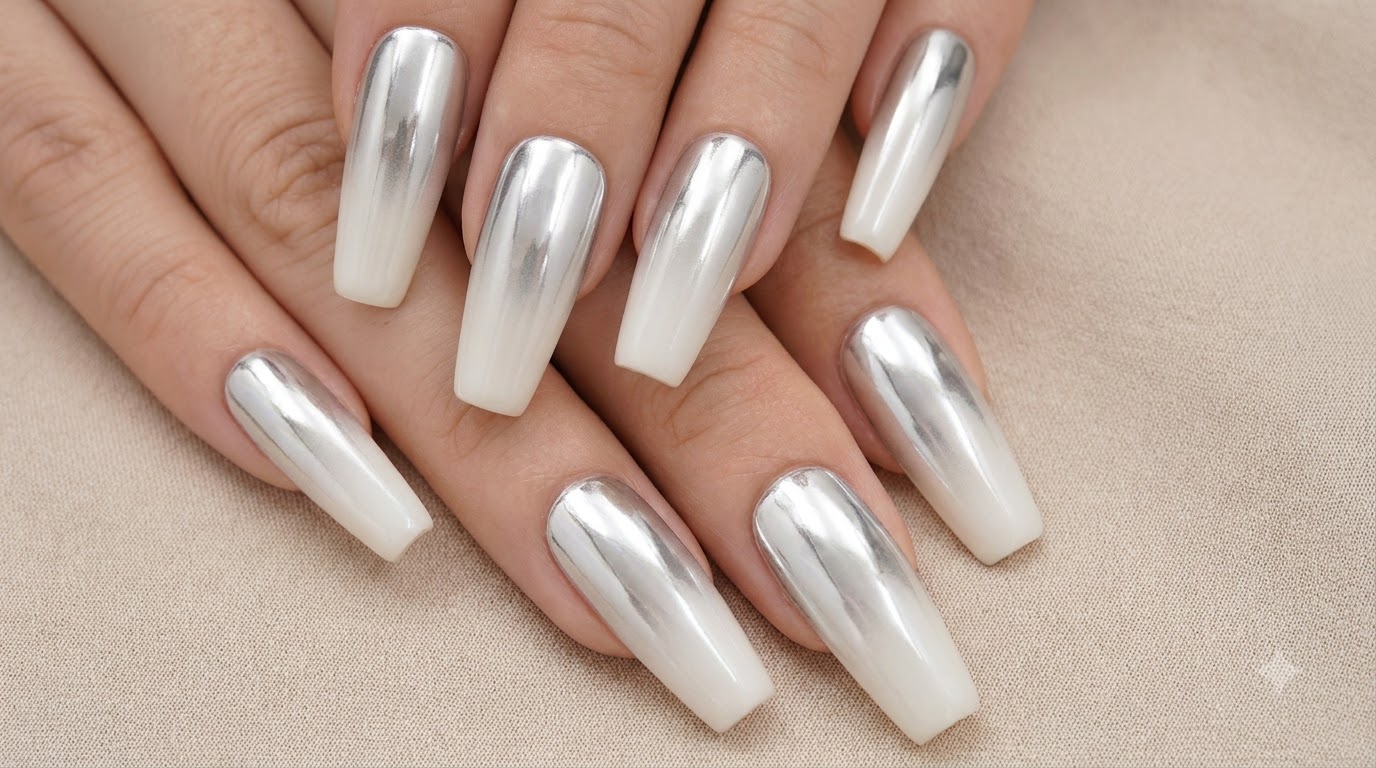
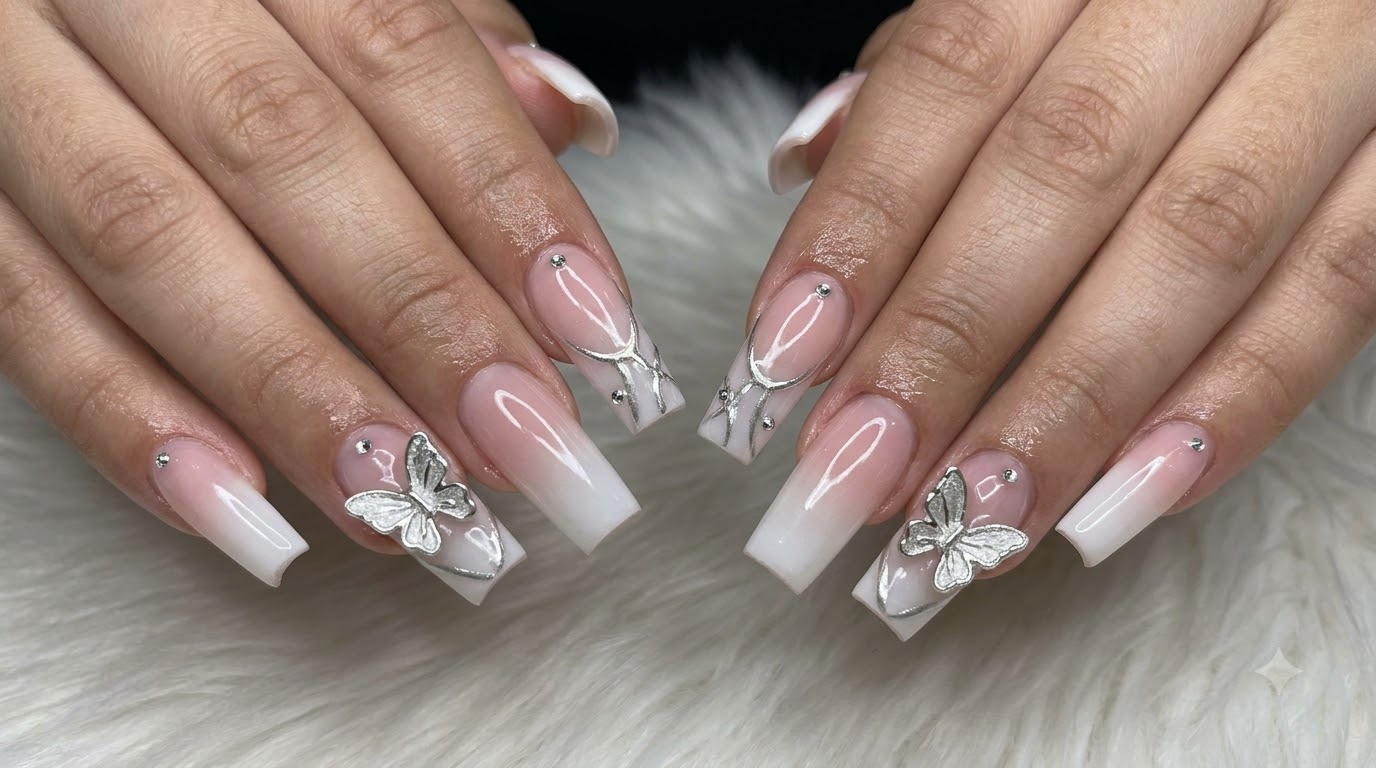
Create delicate milky white and peach nude gradient press-on nails featuring scattered silver foil flakes and rhinestone accents for an elegant, versatile look.
Gradient ombre transitions combined with delicate metallic details bring a fresh, elevated touch to classic almond nails. This soft and sophisticated style offers a subtle shimmer that transitions effortlessly from everyday wear to special occasions.
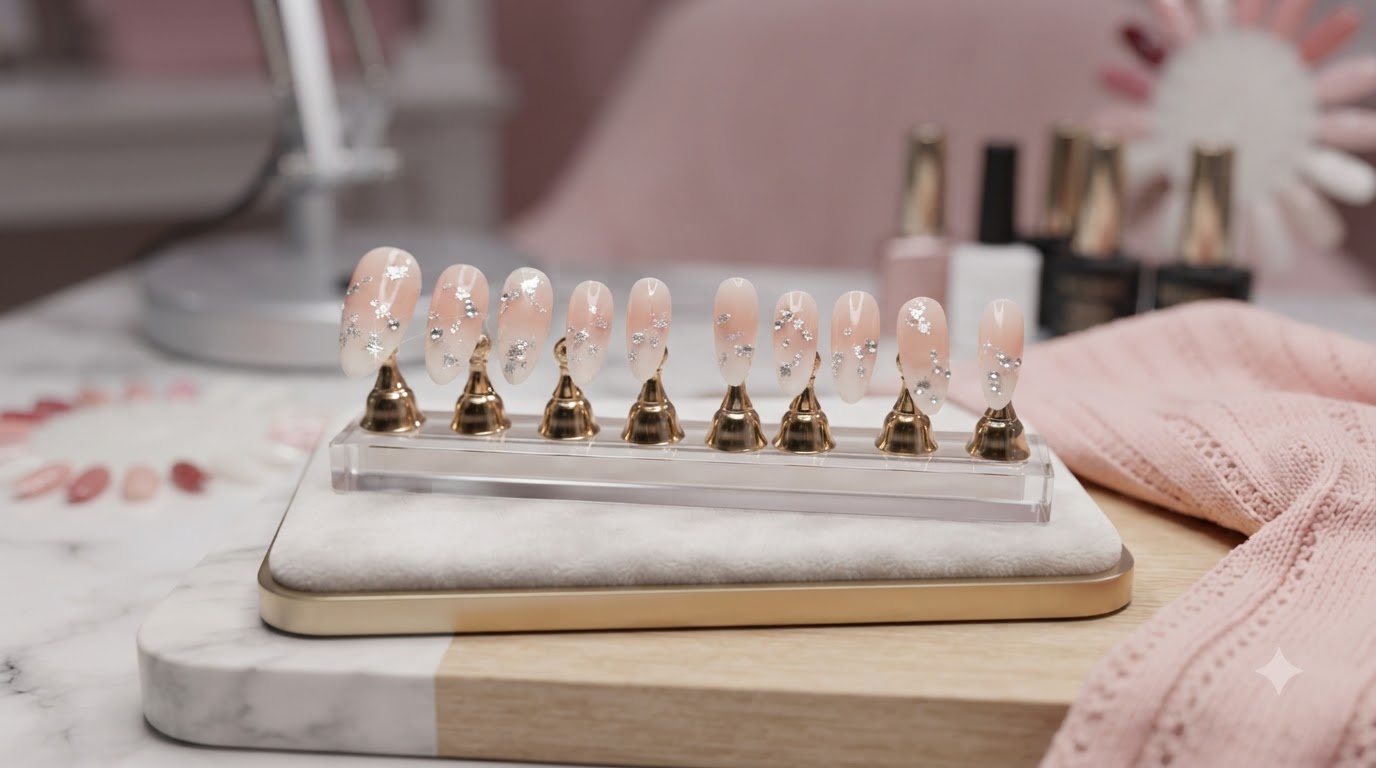
Steps
- 1Apply the gradient press-on nails
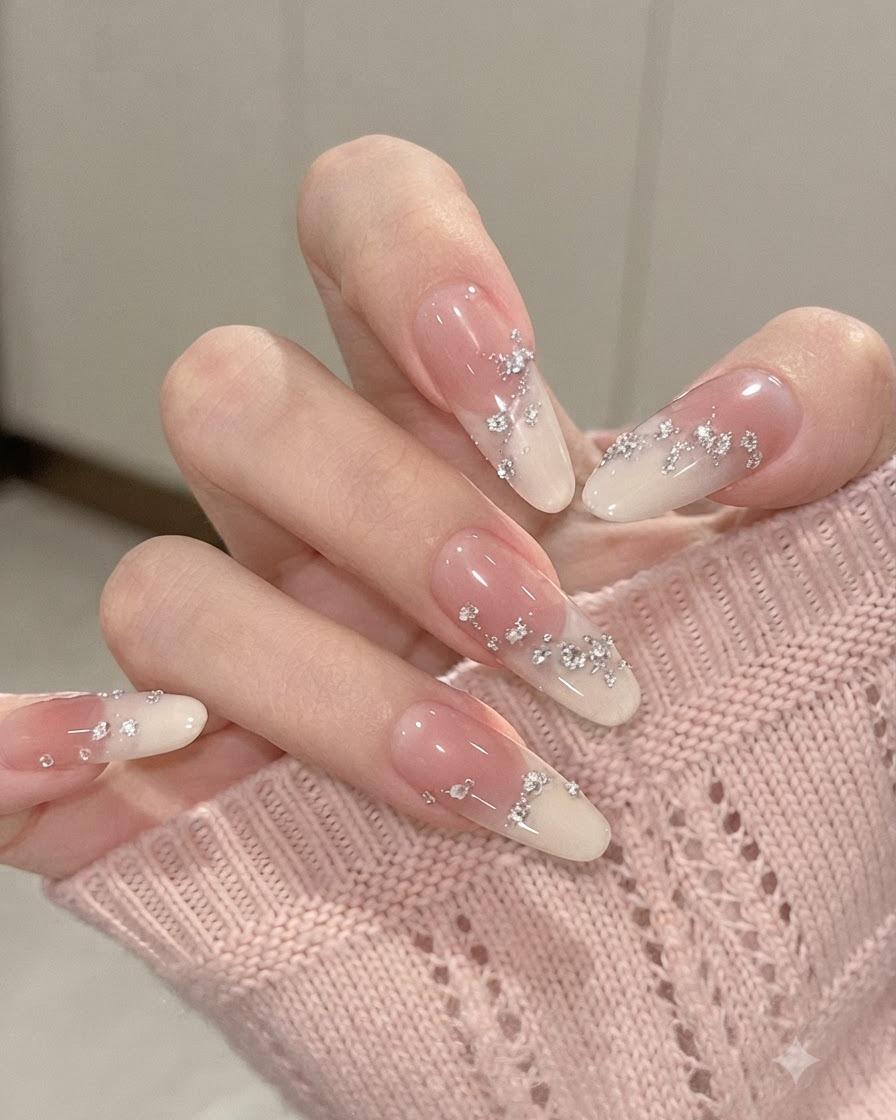
Align the base of each gradient press-on nail with your natural cuticle line. Press down firmly and hold for twenty seconds to ensure the adhesive bonds securely without any air bubbles.
Tip: Wash your hands thoroughly and wipe your natural nails with rubbing alcohol before application to remove any natural oils. - 2Secure the rhinestone embellishments
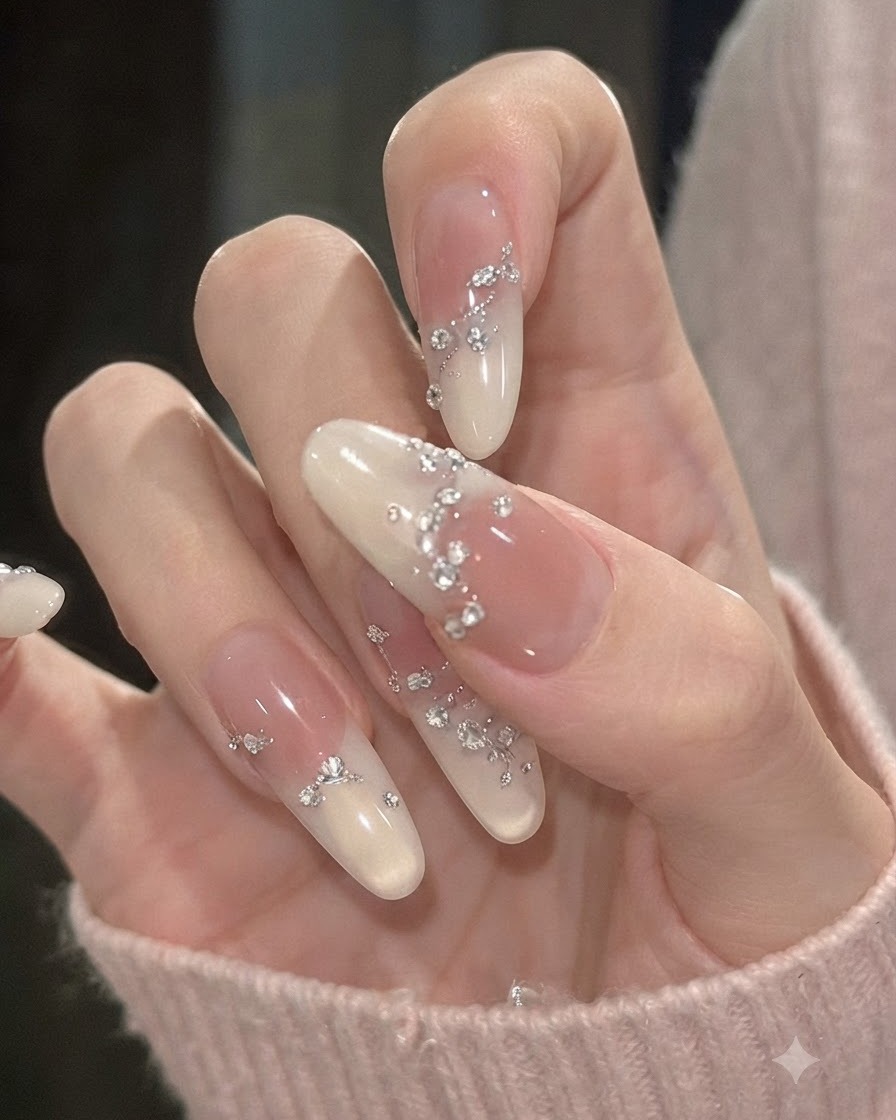
Apply a small dot of clear nail glue or gem gel onto the index and middle fingers where you want to place the crystals. Gently press the rhinestones into the gel and let them set completely.
Tip: Pick up the tiny rhinestones using a wax tip dotting tool to maintain complete control over their exact placement. - 3Add silver foil flakes to the thumb

Dab a tiny amount of base coat near the cuticle line of the thumb. Use a fine detail brush to pick up small pieces of silver foil and press them flat into the tacky layer.
Tip: Keep the foil pieces small and sparse so they complement the soft gradient transition rather than overpowering the design. - 4Seal with a glossy top coat
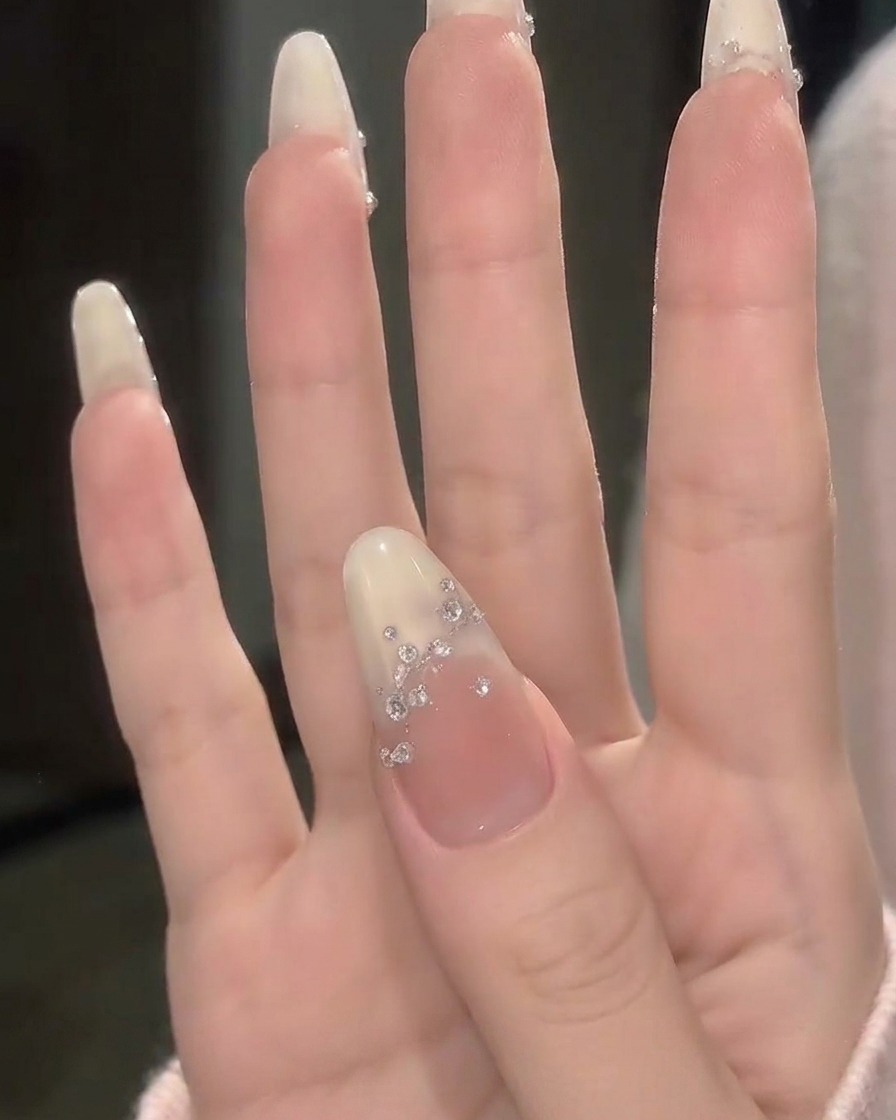
Brush a generous layer of high gloss top coat over every nail to seal the foil and rhinestones while enhancing the ombre transition. Ensure the edges are capped to prevent any snagging.
Tip: Avoid applying the top coat directly over the top of the rhinestones so they maintain their sharp facets and maximum sparkle.