Nude Moonlight Ombre Nails
Floral Lace and Silver Butterflies — Step-by-Step Tutorial
Discover how to create ethereal nude moonlight ombre nails featuring delicate hand-painted floral lace and sparkling 3D silver butterfly charms.
Nude ombre gradients paired with intricate lace art and metallic embellishments offer a sophisticated, high-end salon aesthetic. This detailed tutorial guides you through achieving a seamless French fade transition combined with detailed hand-painted florals and secure charm placement for a breathtaking finish.
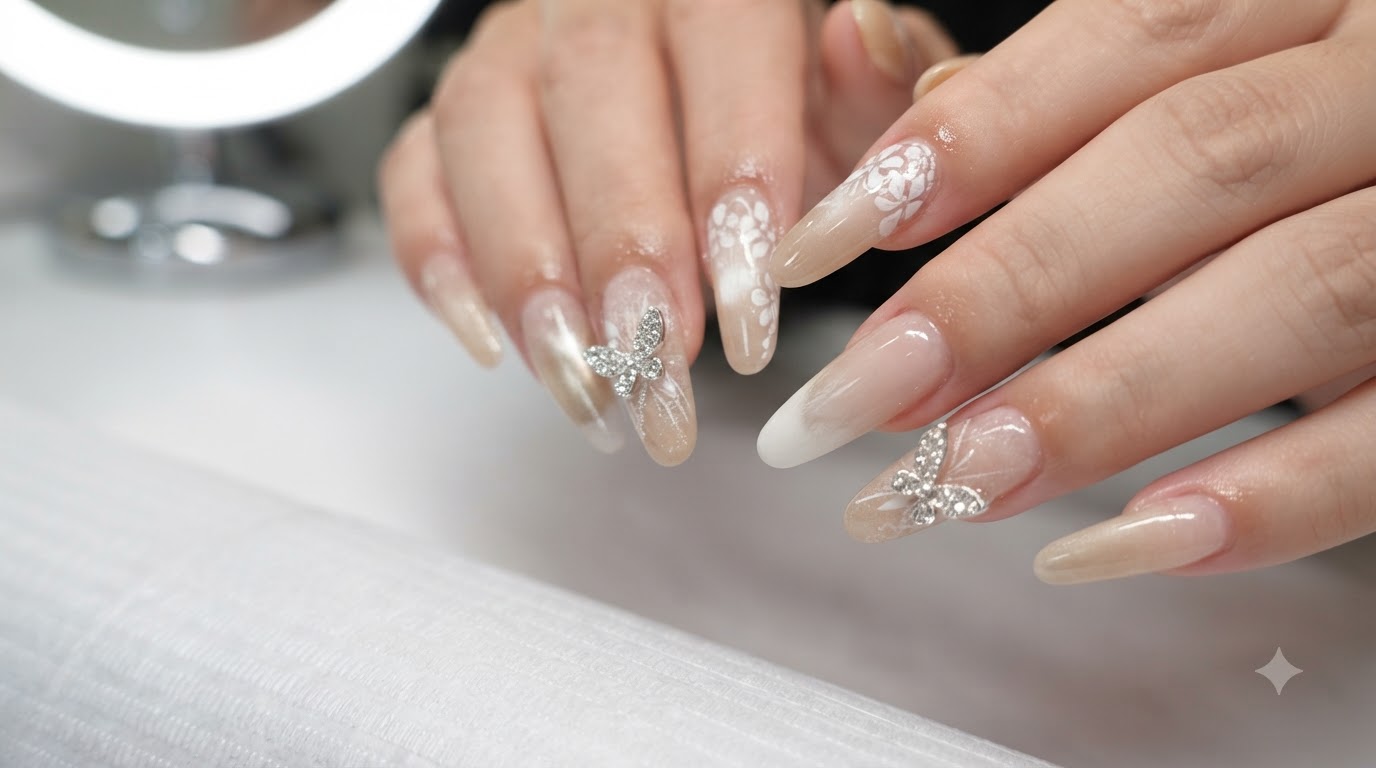
Steps
- 1Showcase sheer gradient base and French fade transition
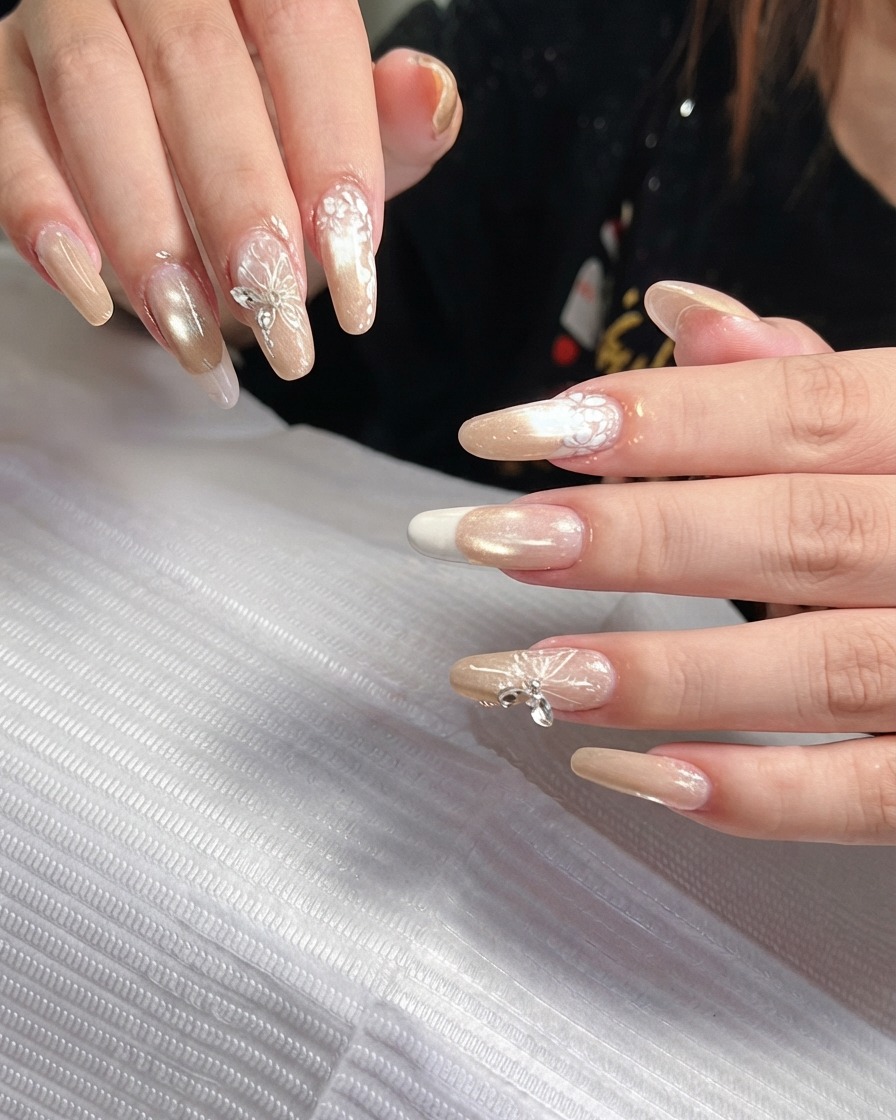
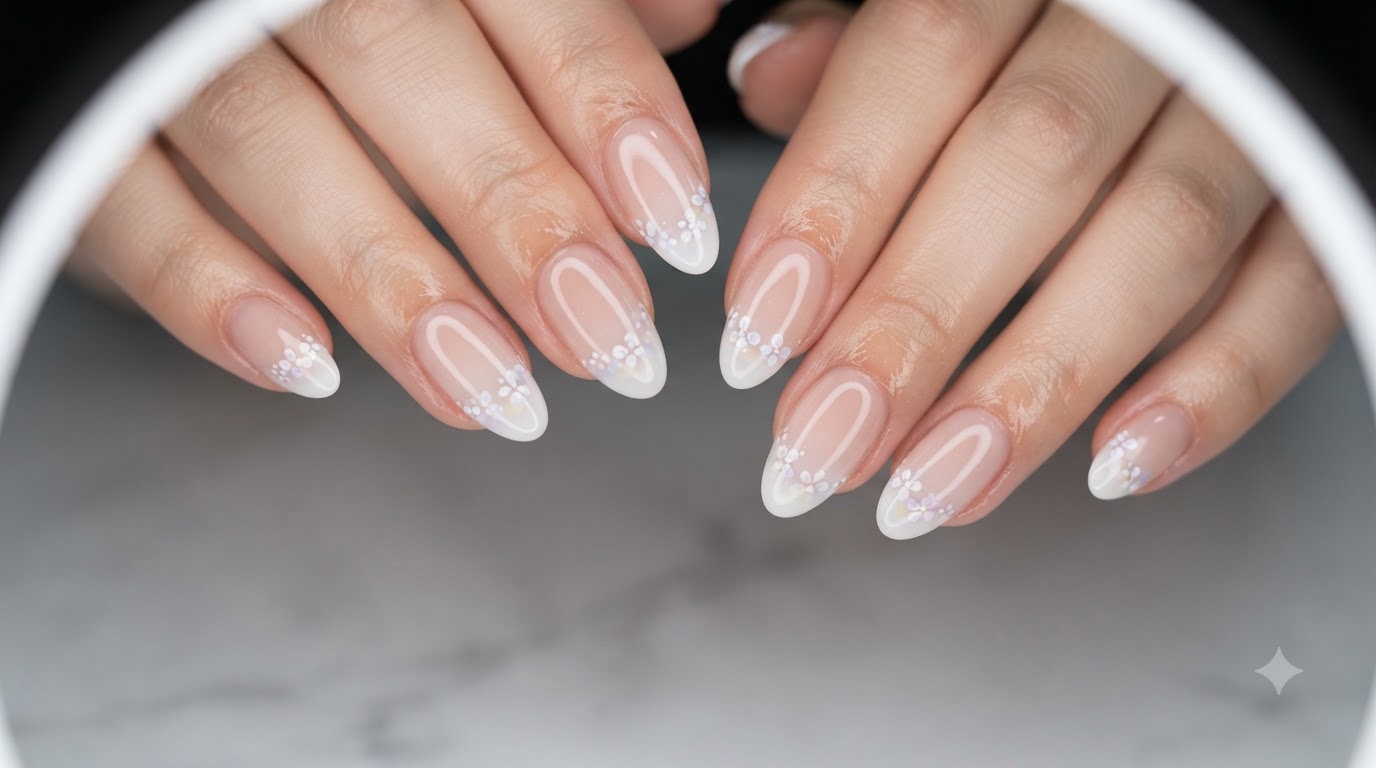
Shift the focus to the right-hand fingers to display the seamless sheer gradient base and delicate French fade transition. Ensure the nude tones blend smoothly into the lighter tips for a flawless ethereal finish.
Tip: Keep the gradient transition soft and diffused to maintain the natural, lightweight look. - 2Highlight hand-painted white floral lace details
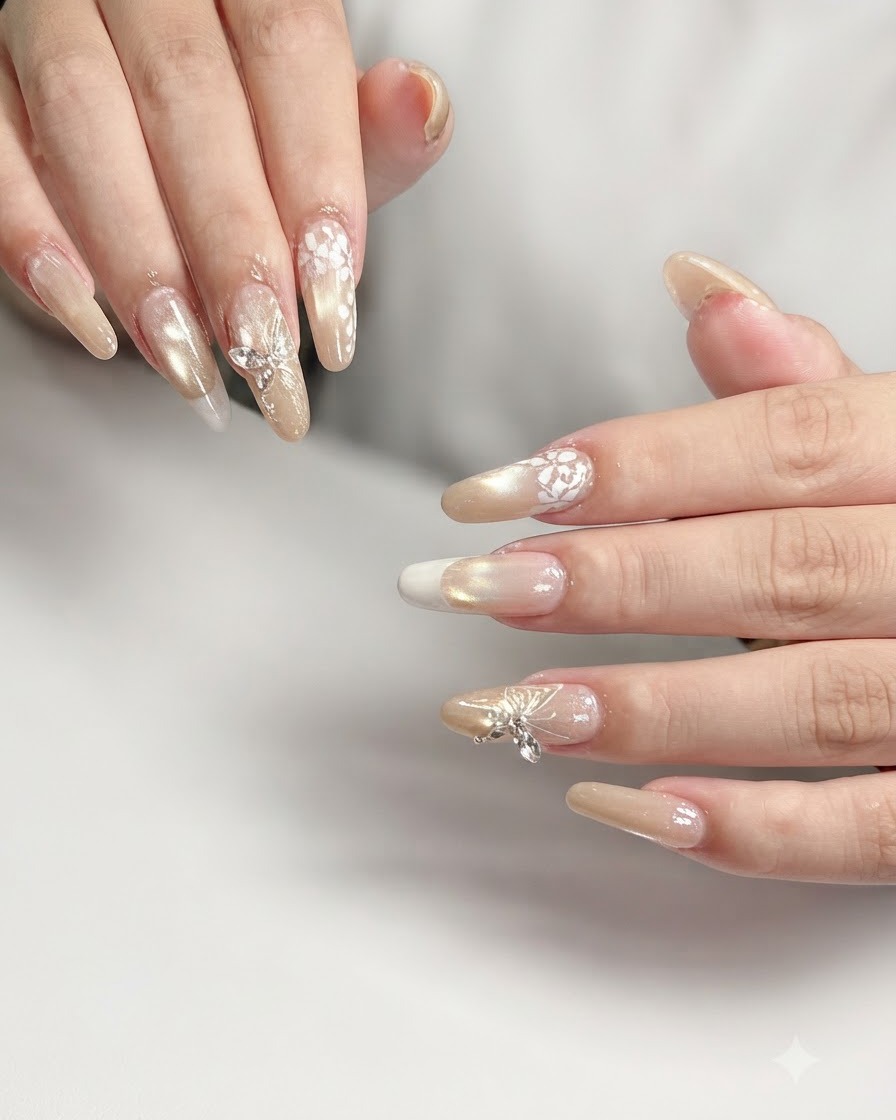
Pan across the fingers to accentuate the intricate hand-painted white floral lace detailing on the ring finger nail plate. Use a fine detail brush to create crisp, delicate petals and vines against the nude gradient background.
Tip: Use a highly pigmented white gel liner and a fine-liner brush to achieve sharp, clean lines without bulk. - 3Attach 3D silver butterfly embellishments
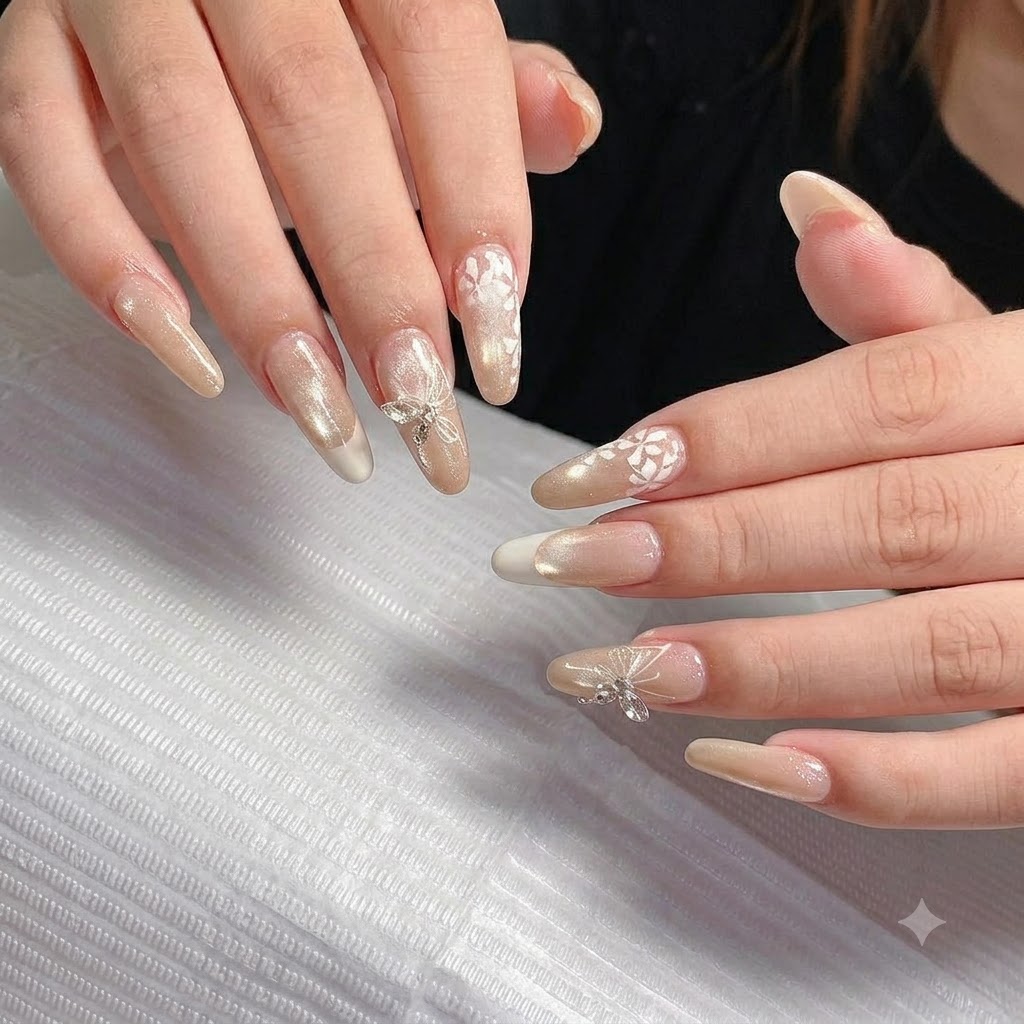
Carefully place and secure the 3D silver butterfly embellishment at the base of the accent nail using thick rhinestone gel or builder gel. Flash cure briefly to hold it in place before a full cure.
Tip: Seal around the edges of the charm with top coat to prevent snagging while avoiding covering the intricate metallic details. - 4Demonstrate glossy top coat finish
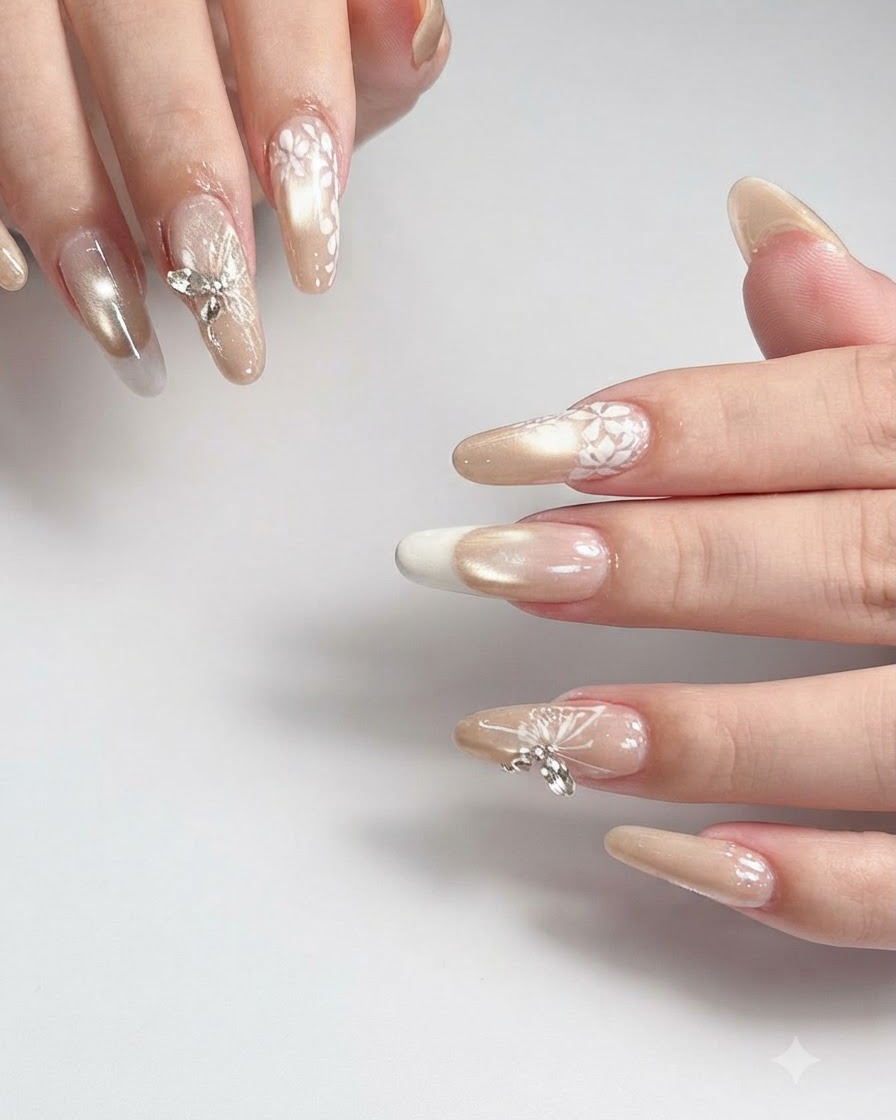
Shift the fingers slightly to catch the light and showcase the high-gloss top coat finish applied across all nails. Ensure the surface is completely smooth and evenly sealed to protect both the nail art and charms.
Tip: Cap the free edge with top coat to prevent premature chipping and peeling of the manicure. - 5Showcase sculpted extensions and smooth sidewalls
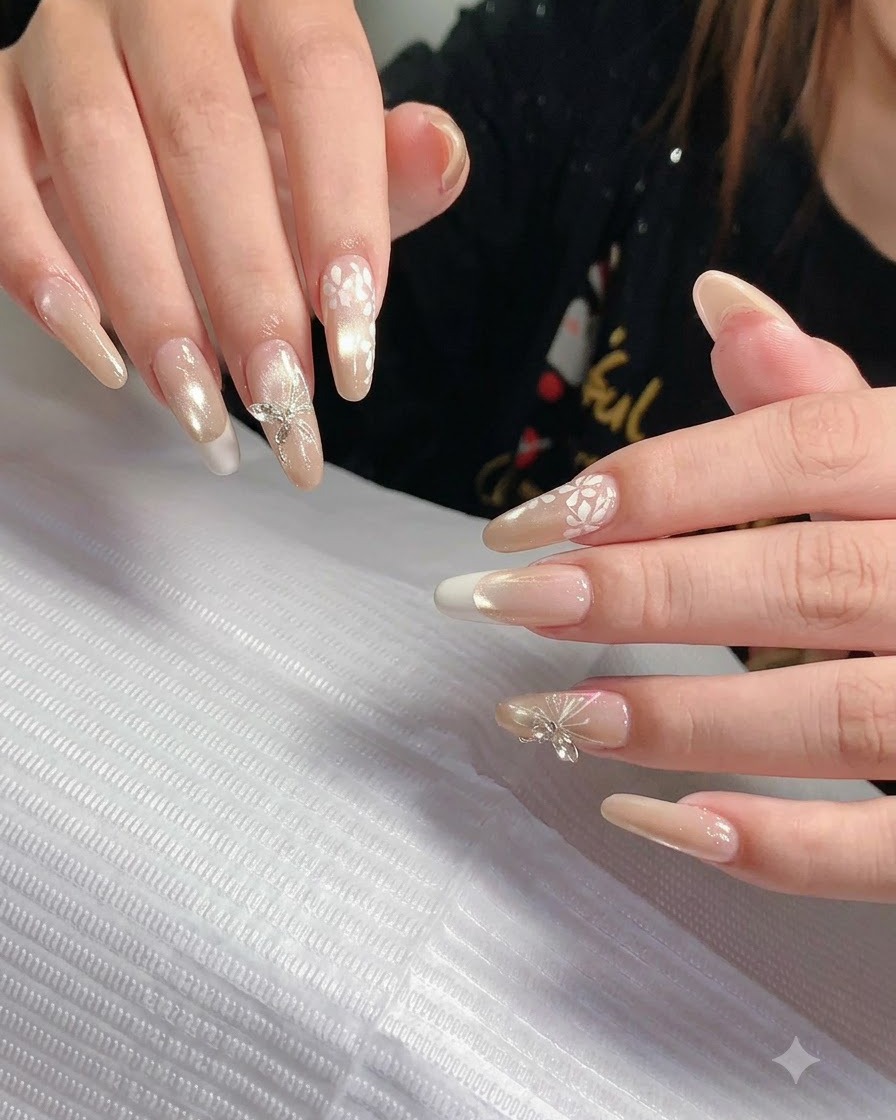
Gently rotate the hands to inspect the structural integrity, ensuring the sidewalls are straight and the apex is properly balanced for durability. This ensures the long extensions look refined and feel strong before finalizing the manicure.
Tip: Check the profile view under good lighting to ensure there are no lumps or uneven thickness along the nail bed.