Spring Ice-Clear Small Flower Nail Art — Step-by-Step Tutorial
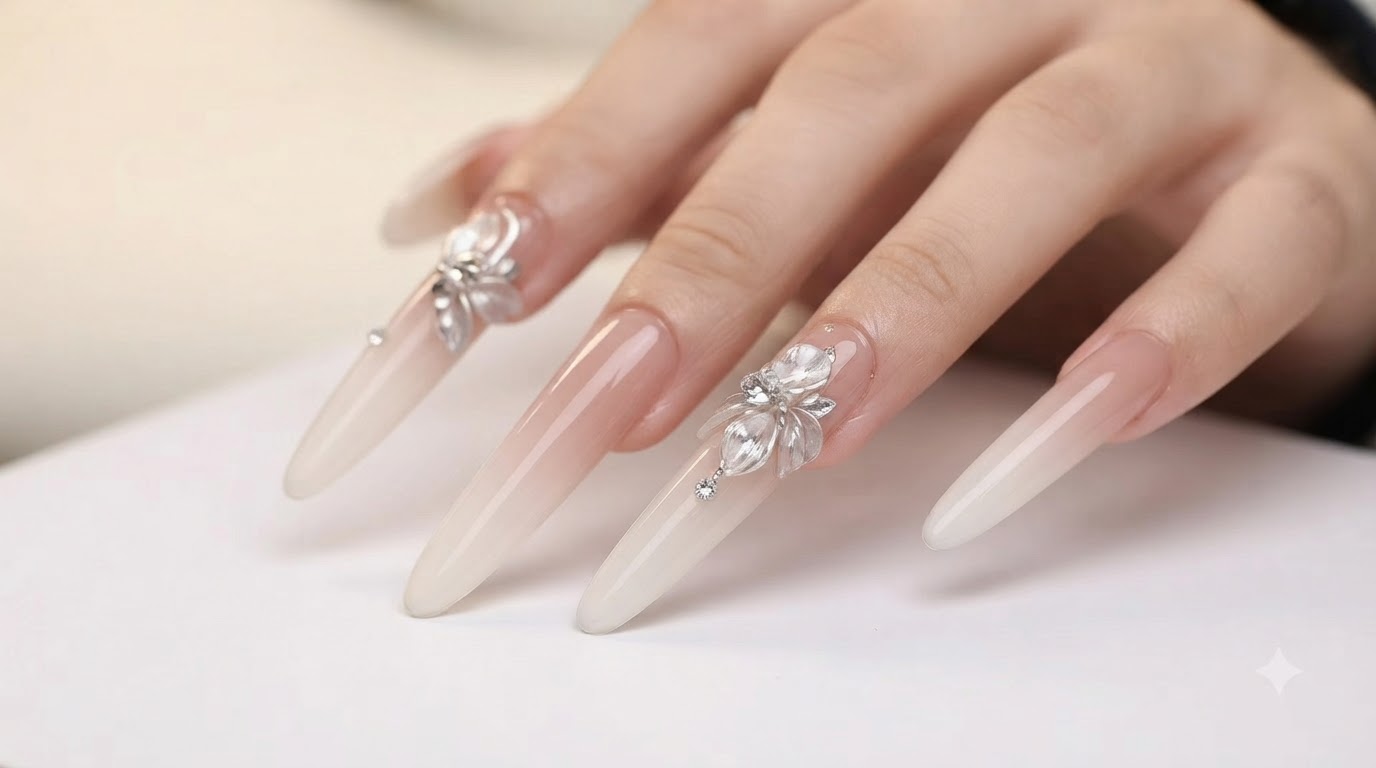
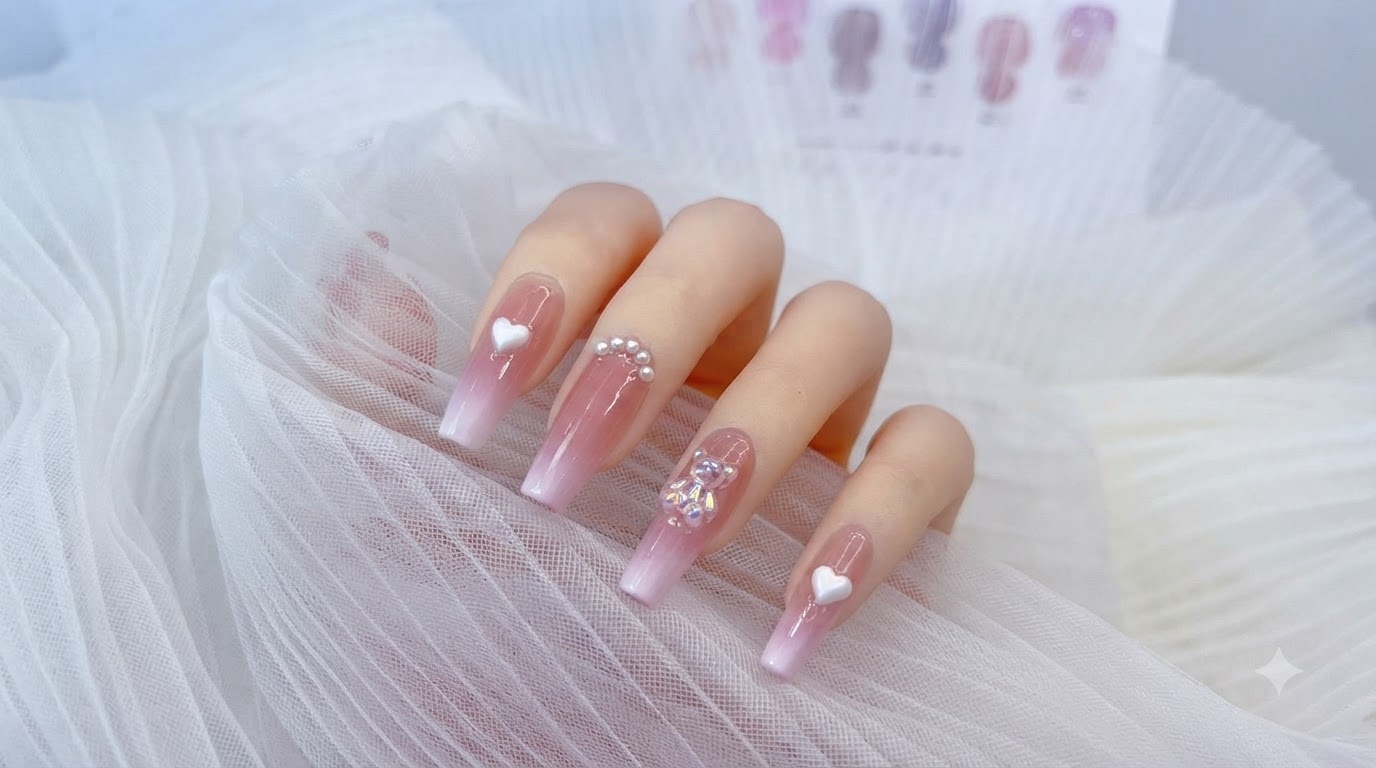
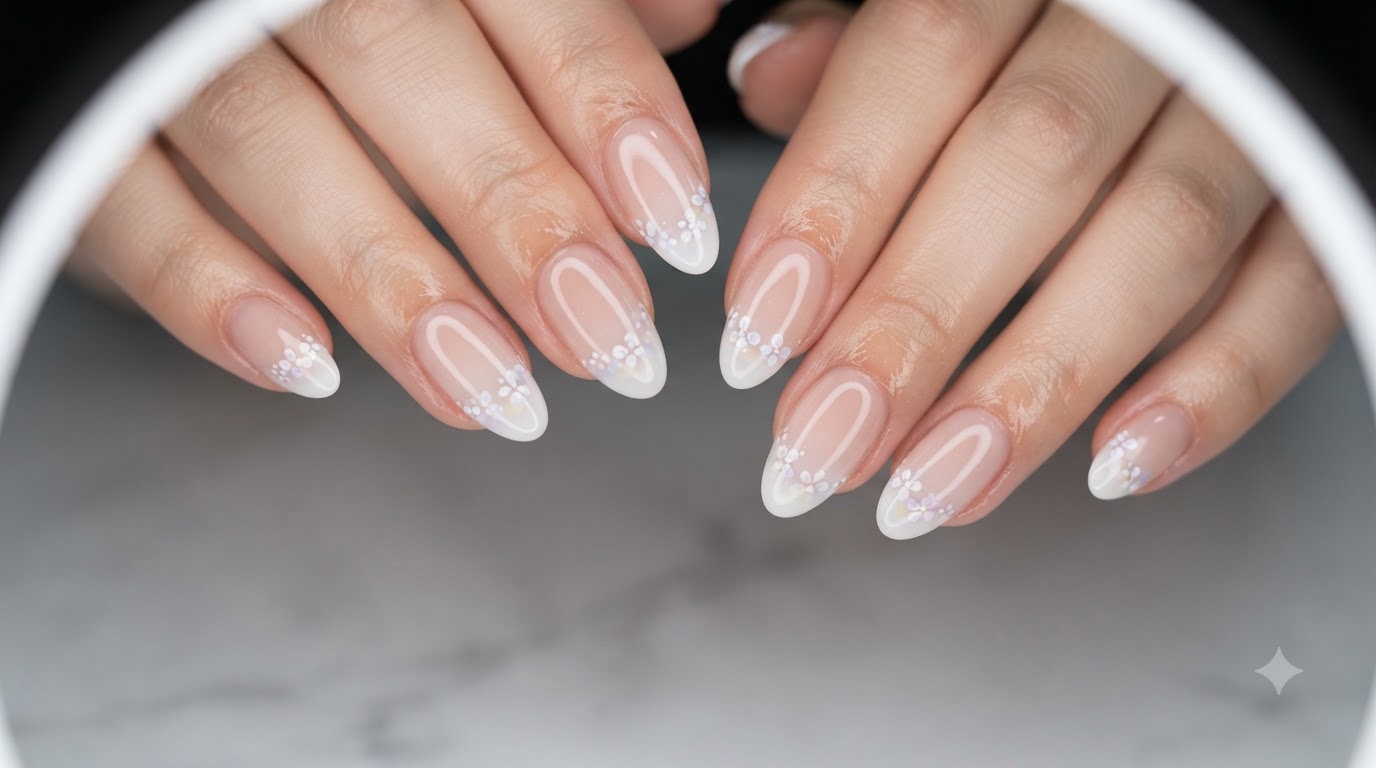
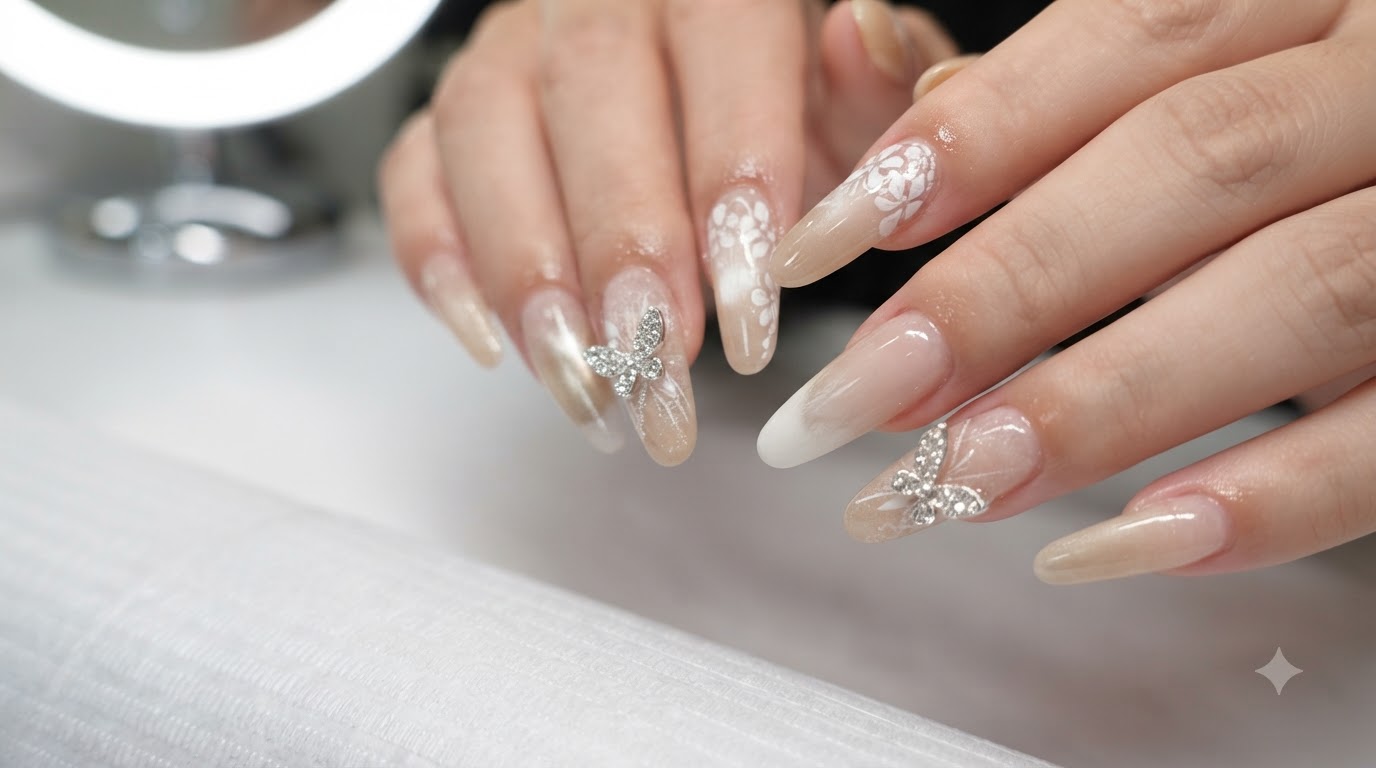
Create a delicate spring-themed manicure featuring sheer nude-pink jelly polish, magnetic cat-eye shimmer, and adorable hand-painted pastel floral details.
Spring nail art is all about embracing soft colors, translucent textures, and whimsical floral motifs. This ice-clear design combines a glowing magnetic cat-eye base with charming multi-colored miniature flowers, giving you a fresh and glassy salon-quality finish that captures the essence of the season.
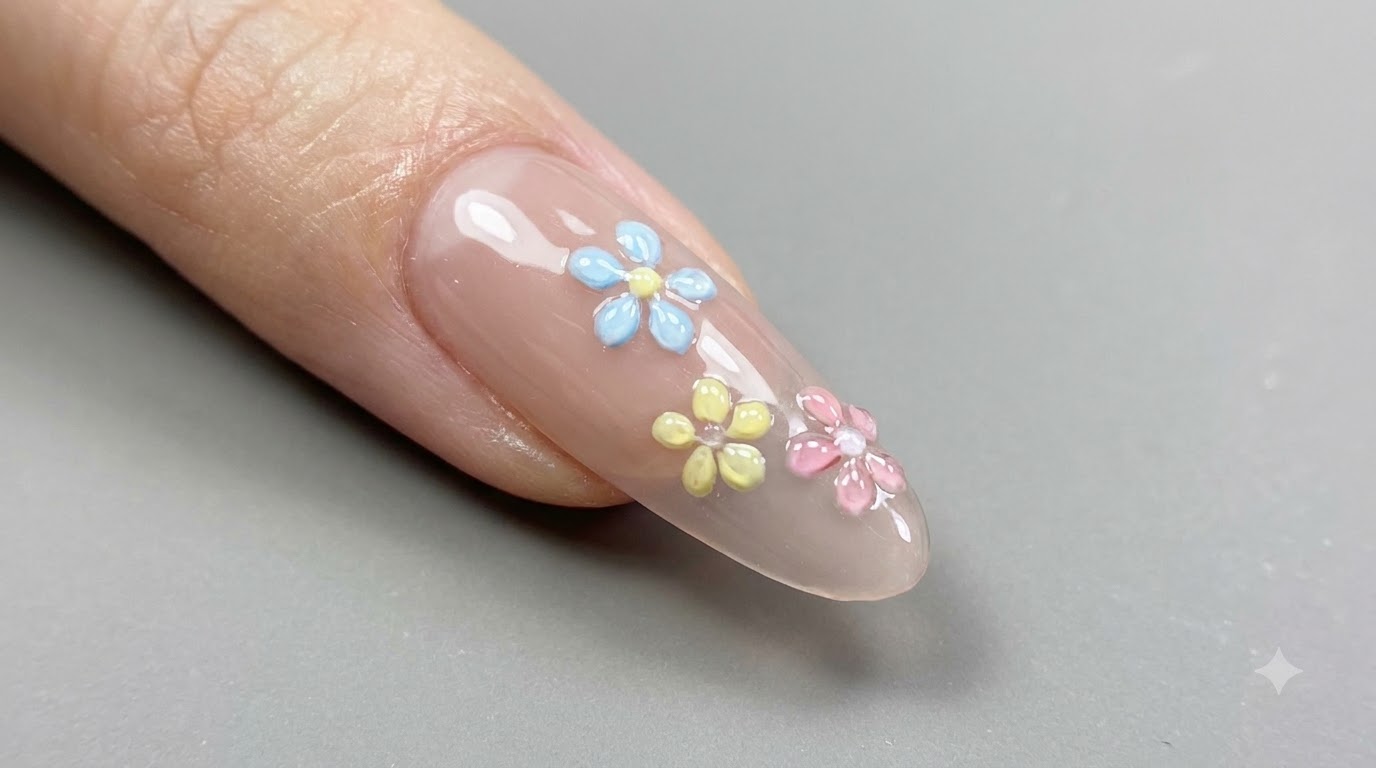
Steps
- 1Apply base gel
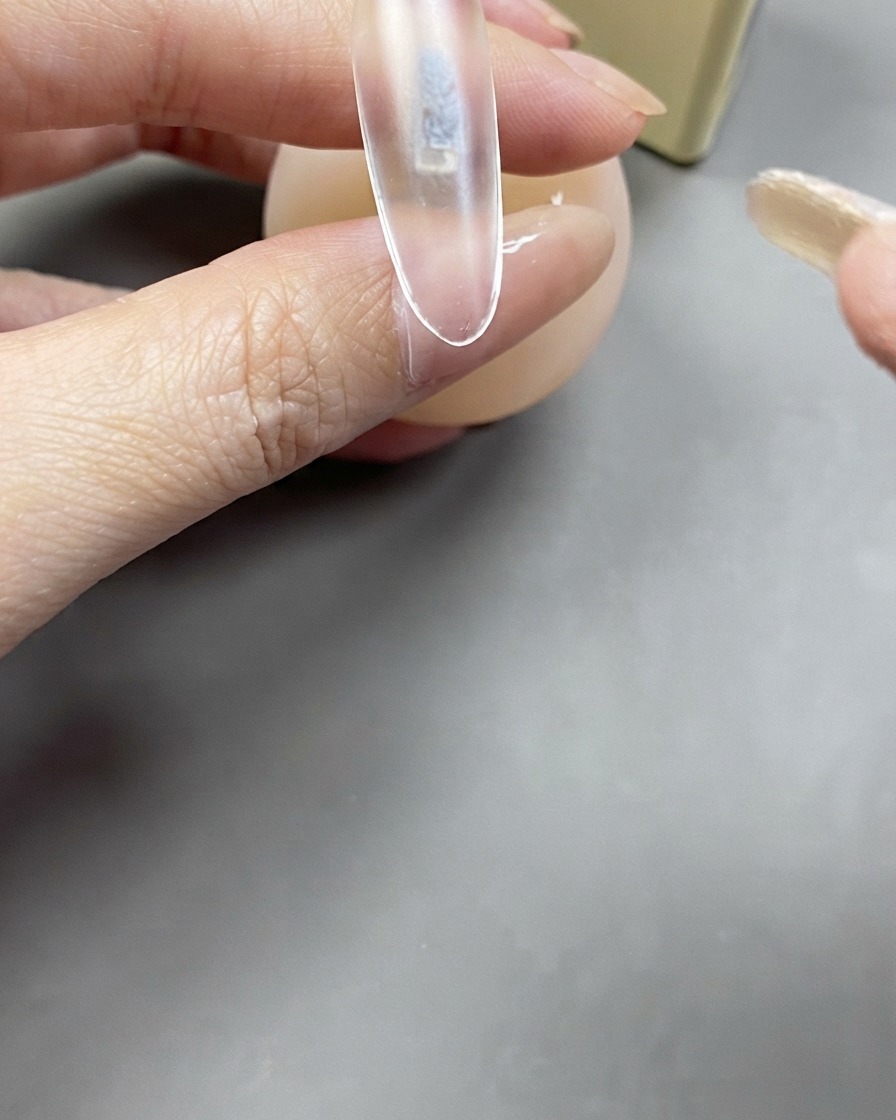
Apply a layer of base gel evenly onto the clear nail extension to ensure strong adhesion for subsequent layers. Cure under a UV or LED lamp as required.
Tip: Make sure the base gel is applied thinly and covers the entire nail surface evenly. - 2Place clear builder gel
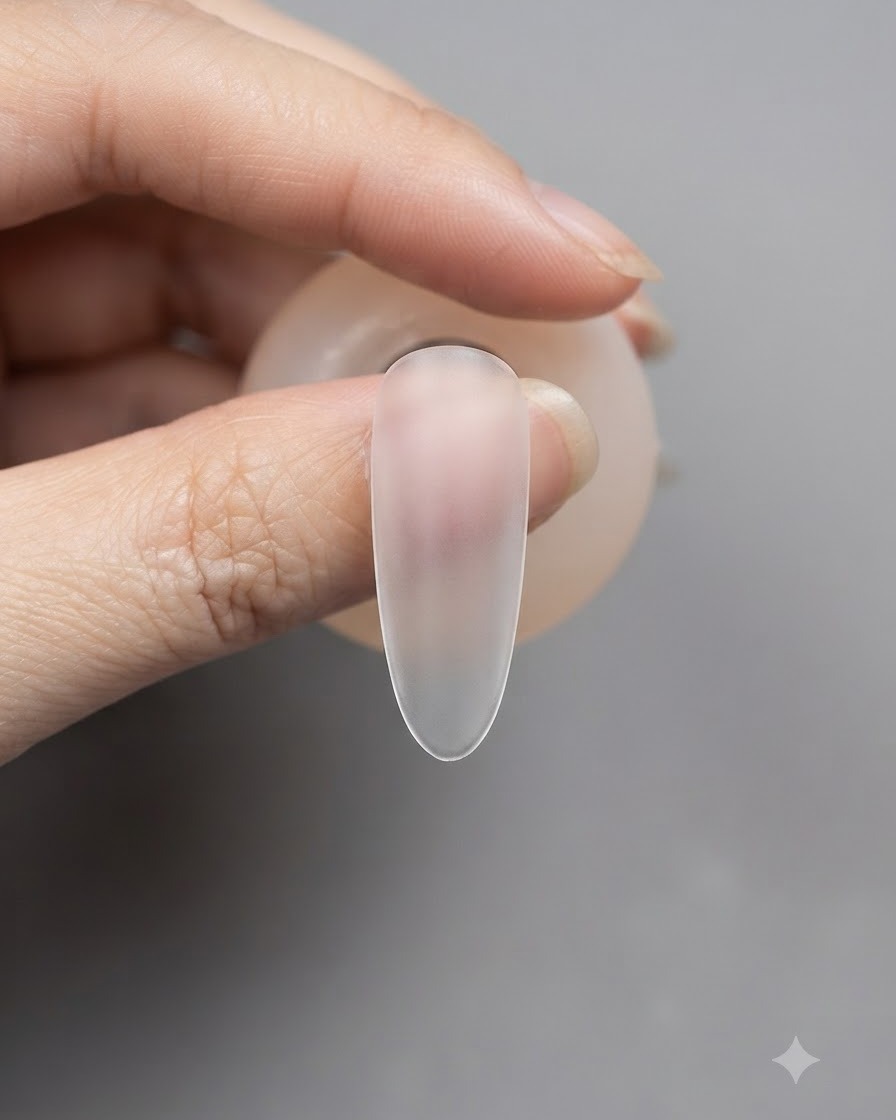
Place a small amount of clear builder gel in the center of the nail to create dimension or structure. Cure under the lamp after placement.
Tip: Control the amount of builder gel so it doesnt spread too close to the cuticles. - 3Apply sheer nude-pink gel polish
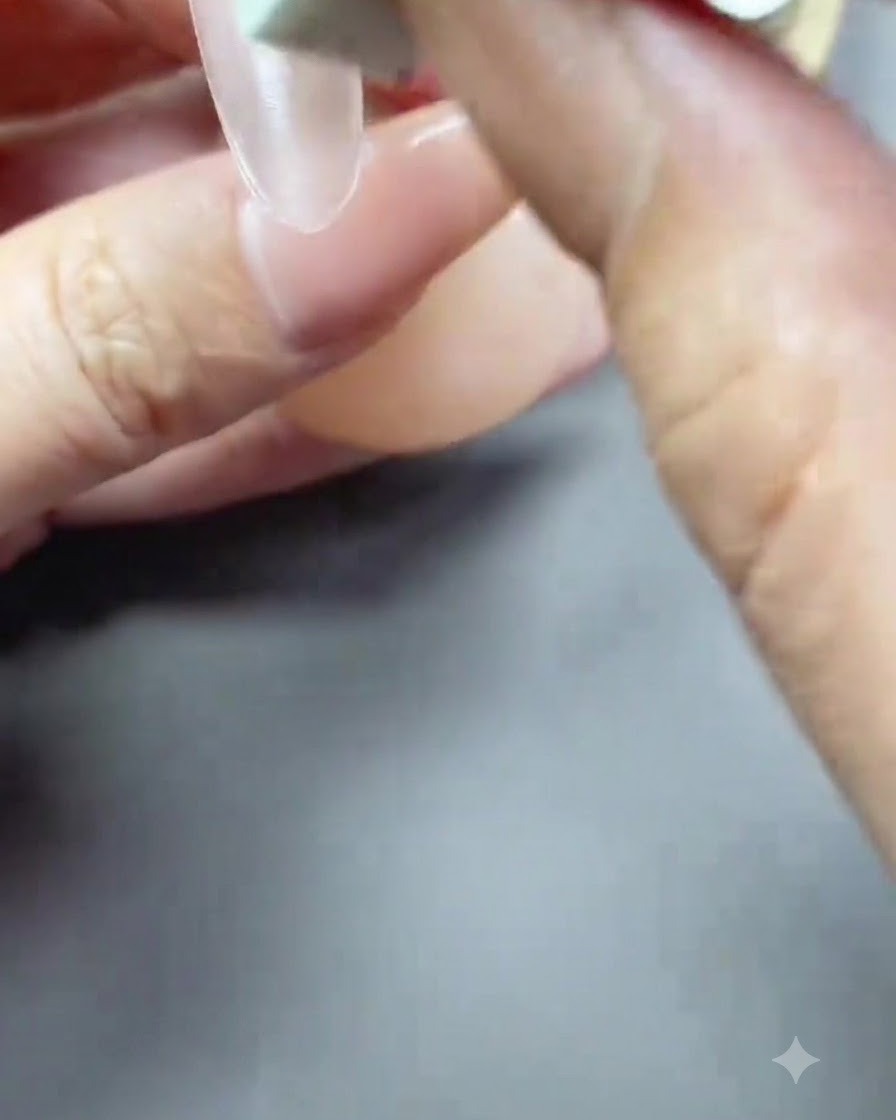
Apply a thin layer of sheer nude-pink gel polish over the entire nail to establish a clean and smooth base color. Cure thoroughly under the lamp.
Tip: Keep the layer thin to prevent wrinkling during the curing process. - 4Apply magnetic cat-eye gel polish
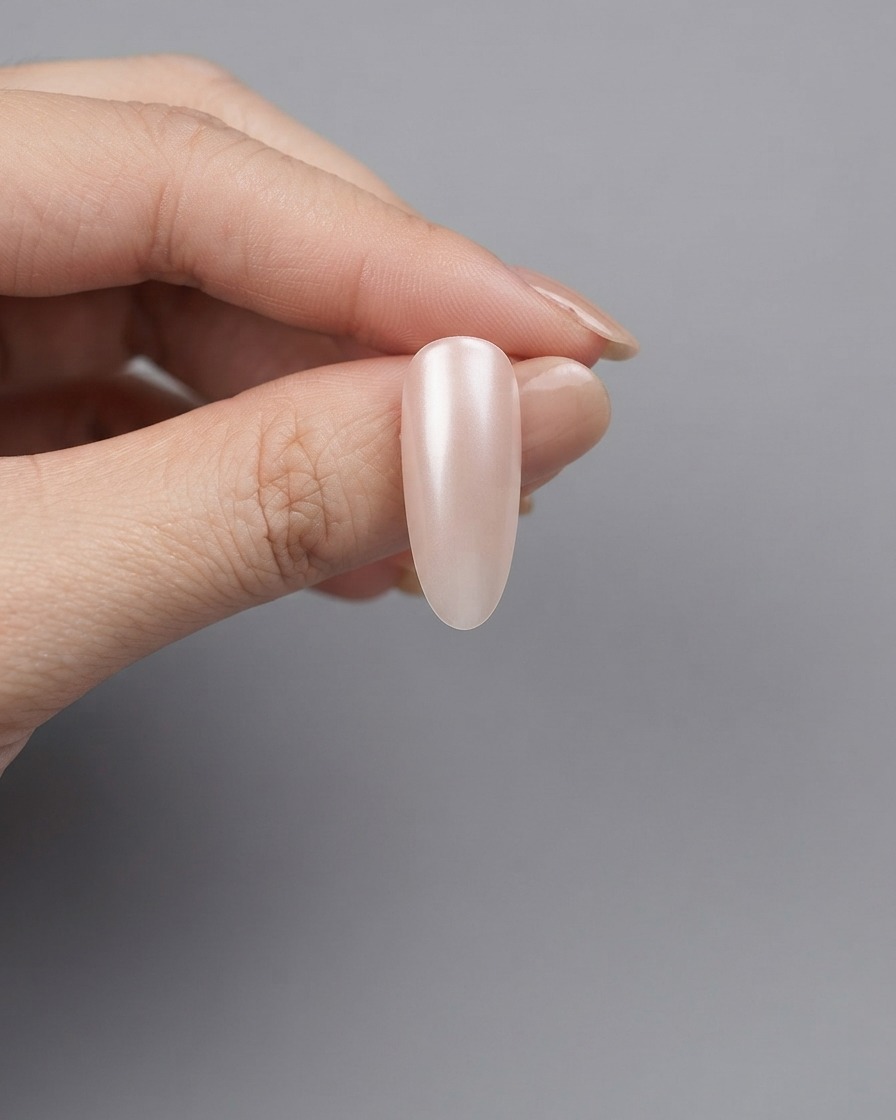
Apply a coat of magnetic cat-eye gel polish evenly across the nail surface without curing it yet, preparing it for the magnetic effect.
Tip: Do not cure the polish before using the magnet tool. - 5Create magnetic effect
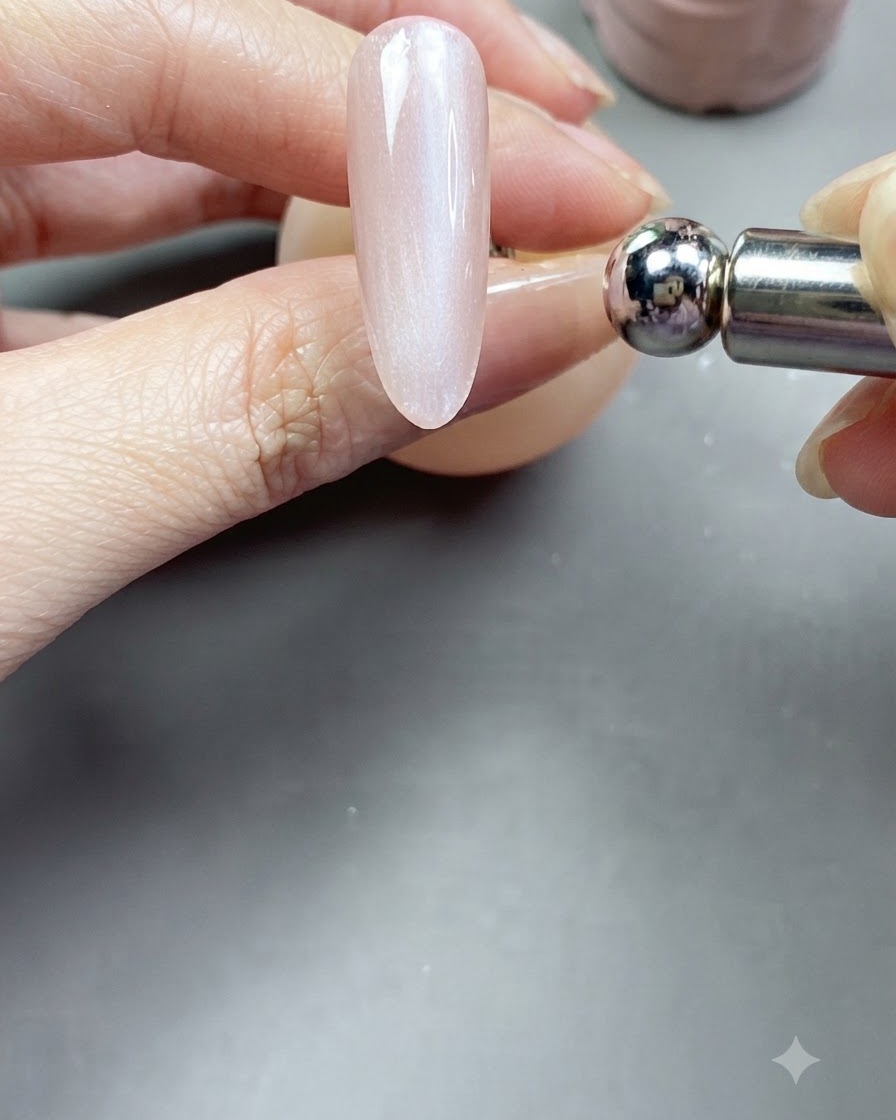
Hold the magnet tool closely over the wet cat-eye gel to shift the particles and create a soft, diffused highlight effect. Cure immediately after achieving the desired look.
Tip: Keep the magnet steady and close to the nail without touching the wet surface. - 6Paint the first flower petal
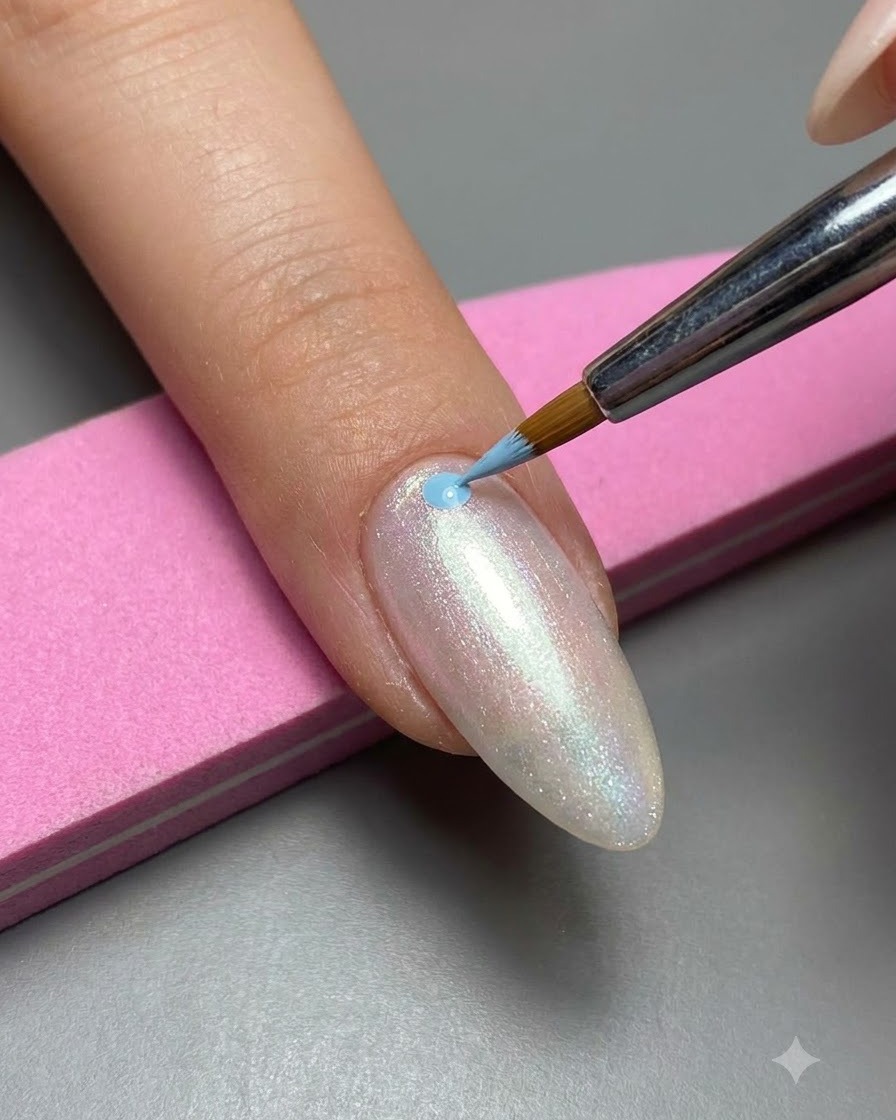
Dip a fine liner brush into light blue gel polish and carefully paint an individual petal for the top flower. Cure after painting to lock in the shape.
Tip: Use a light touch with the fine liner brush to achieve clean and delicate petal edges. - 7Paint the flower center
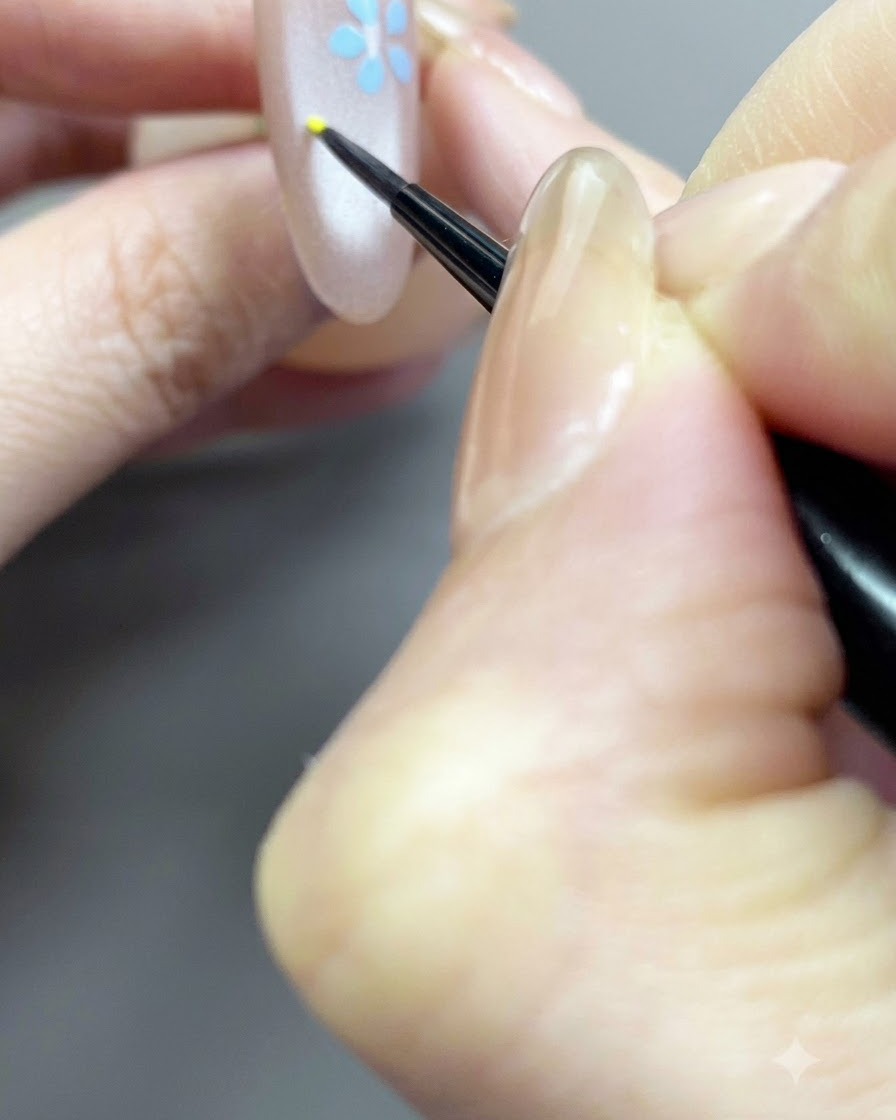
Using a fine liner brush and yellow gel polish, carefully paint a small dot in the center of the nail to serve as the flowers center. Keep the dot neat and properly positioned where the petals will meet.
Tip: A very fine liner brush helps you control the amount of gel so the center doesnt spread too large. - 8Paint a soft pink flower
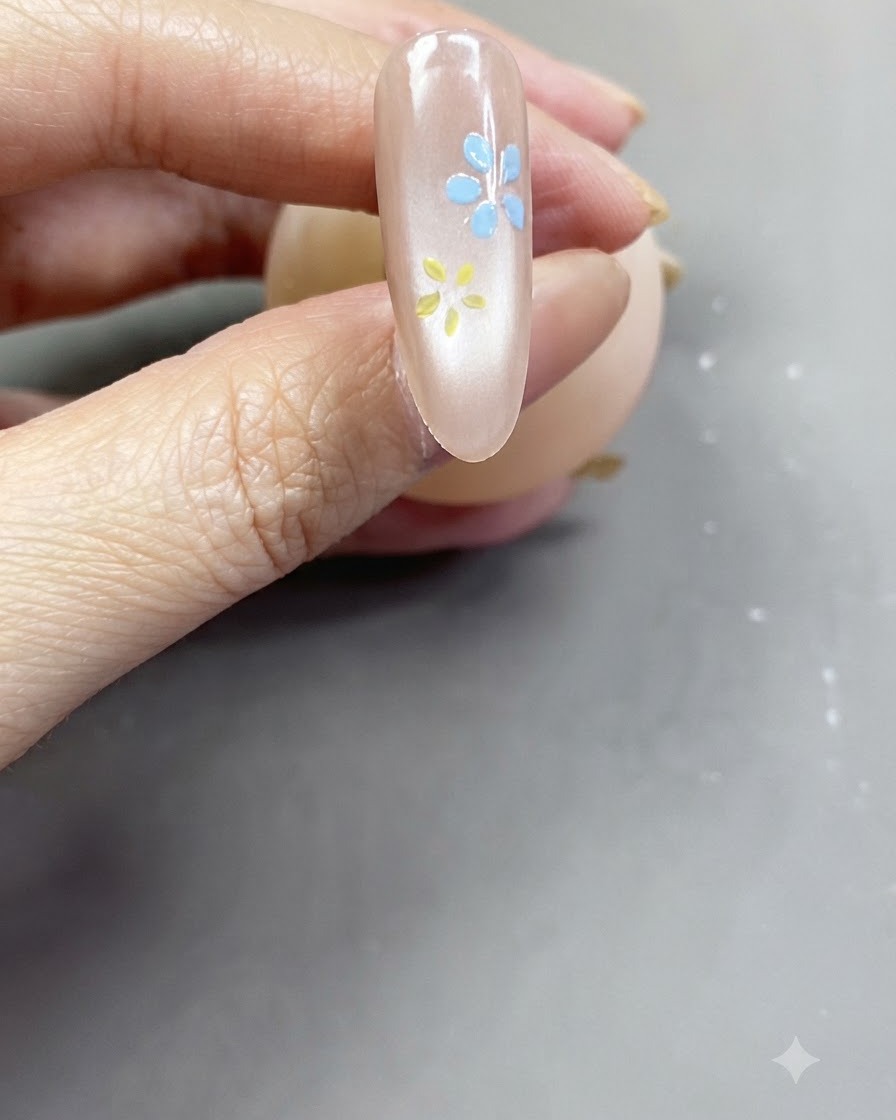
Take a fine liner brush with soft pink gel polish and paint individual petals to form a delicate flower on the nail surface. Flash cure or fully cure each petal layer as needed to lock in the precise shape before moving on.
Tip: Curing individual petals sequentially prevents the gel from running or blurring into neighboring colors. - 9Apply top coat
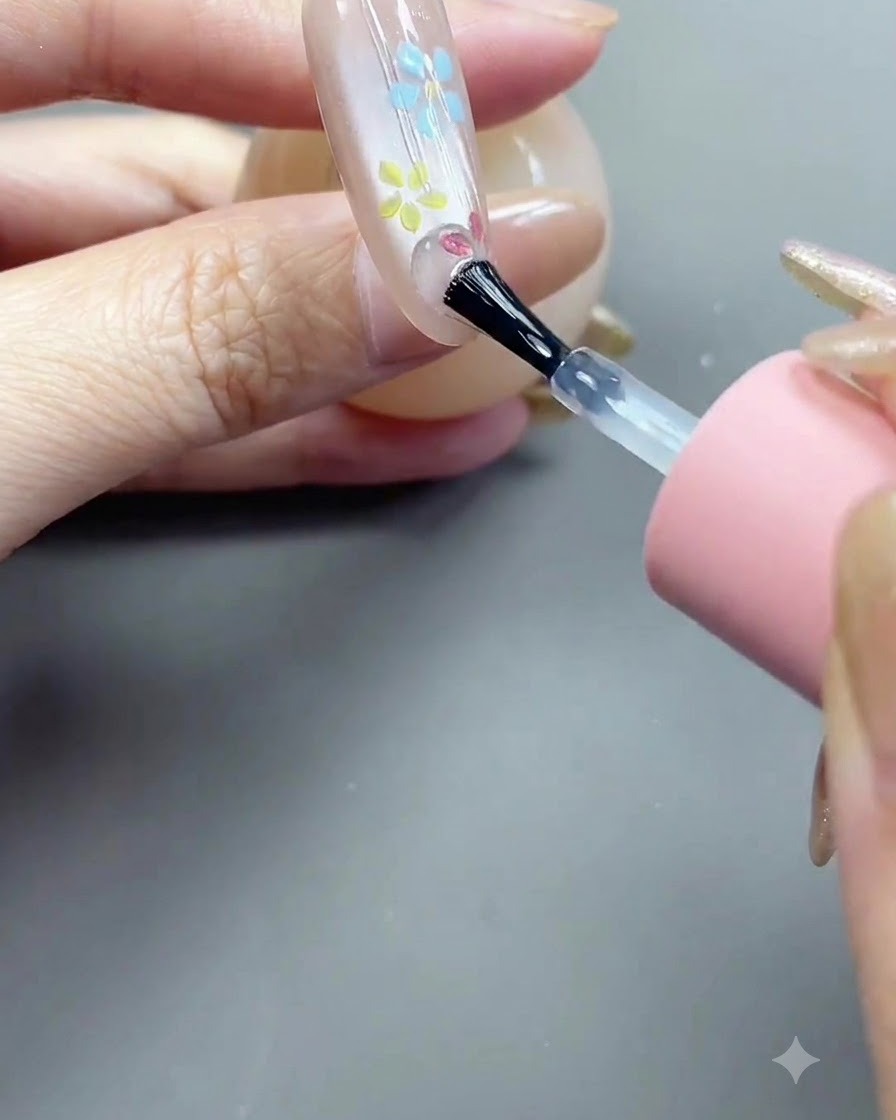
Apply a generous yet even layer of top coat over the entire nail surface, ensuring all the painted flower details are fully encapsulated. Seal the free edge carefully to protect your nail art from chipping.
Tip: Make sure the top coat covers all raised sections of the painted petals smoothly to create a level, high-gloss finish. - 10Cure the nail under the UV lamp
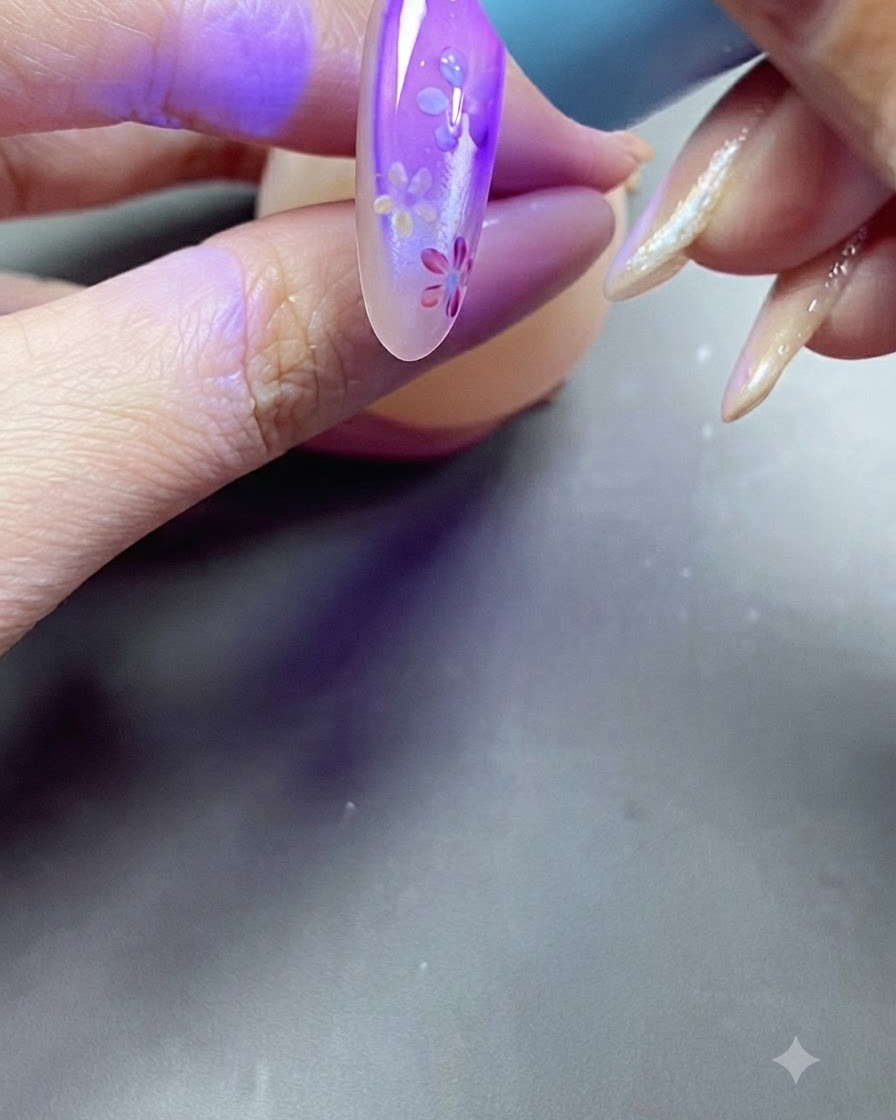
Place the hand under the UV or LED lamp to cure the nail design, securing the painted elements and ensuring the gel hardens properly. Follow standard curing times to prevent shifting.
Tip: Ensure your hand is placed flat and evenly under the lamp light to cure all areas uniformly.